Owner's Guide Television
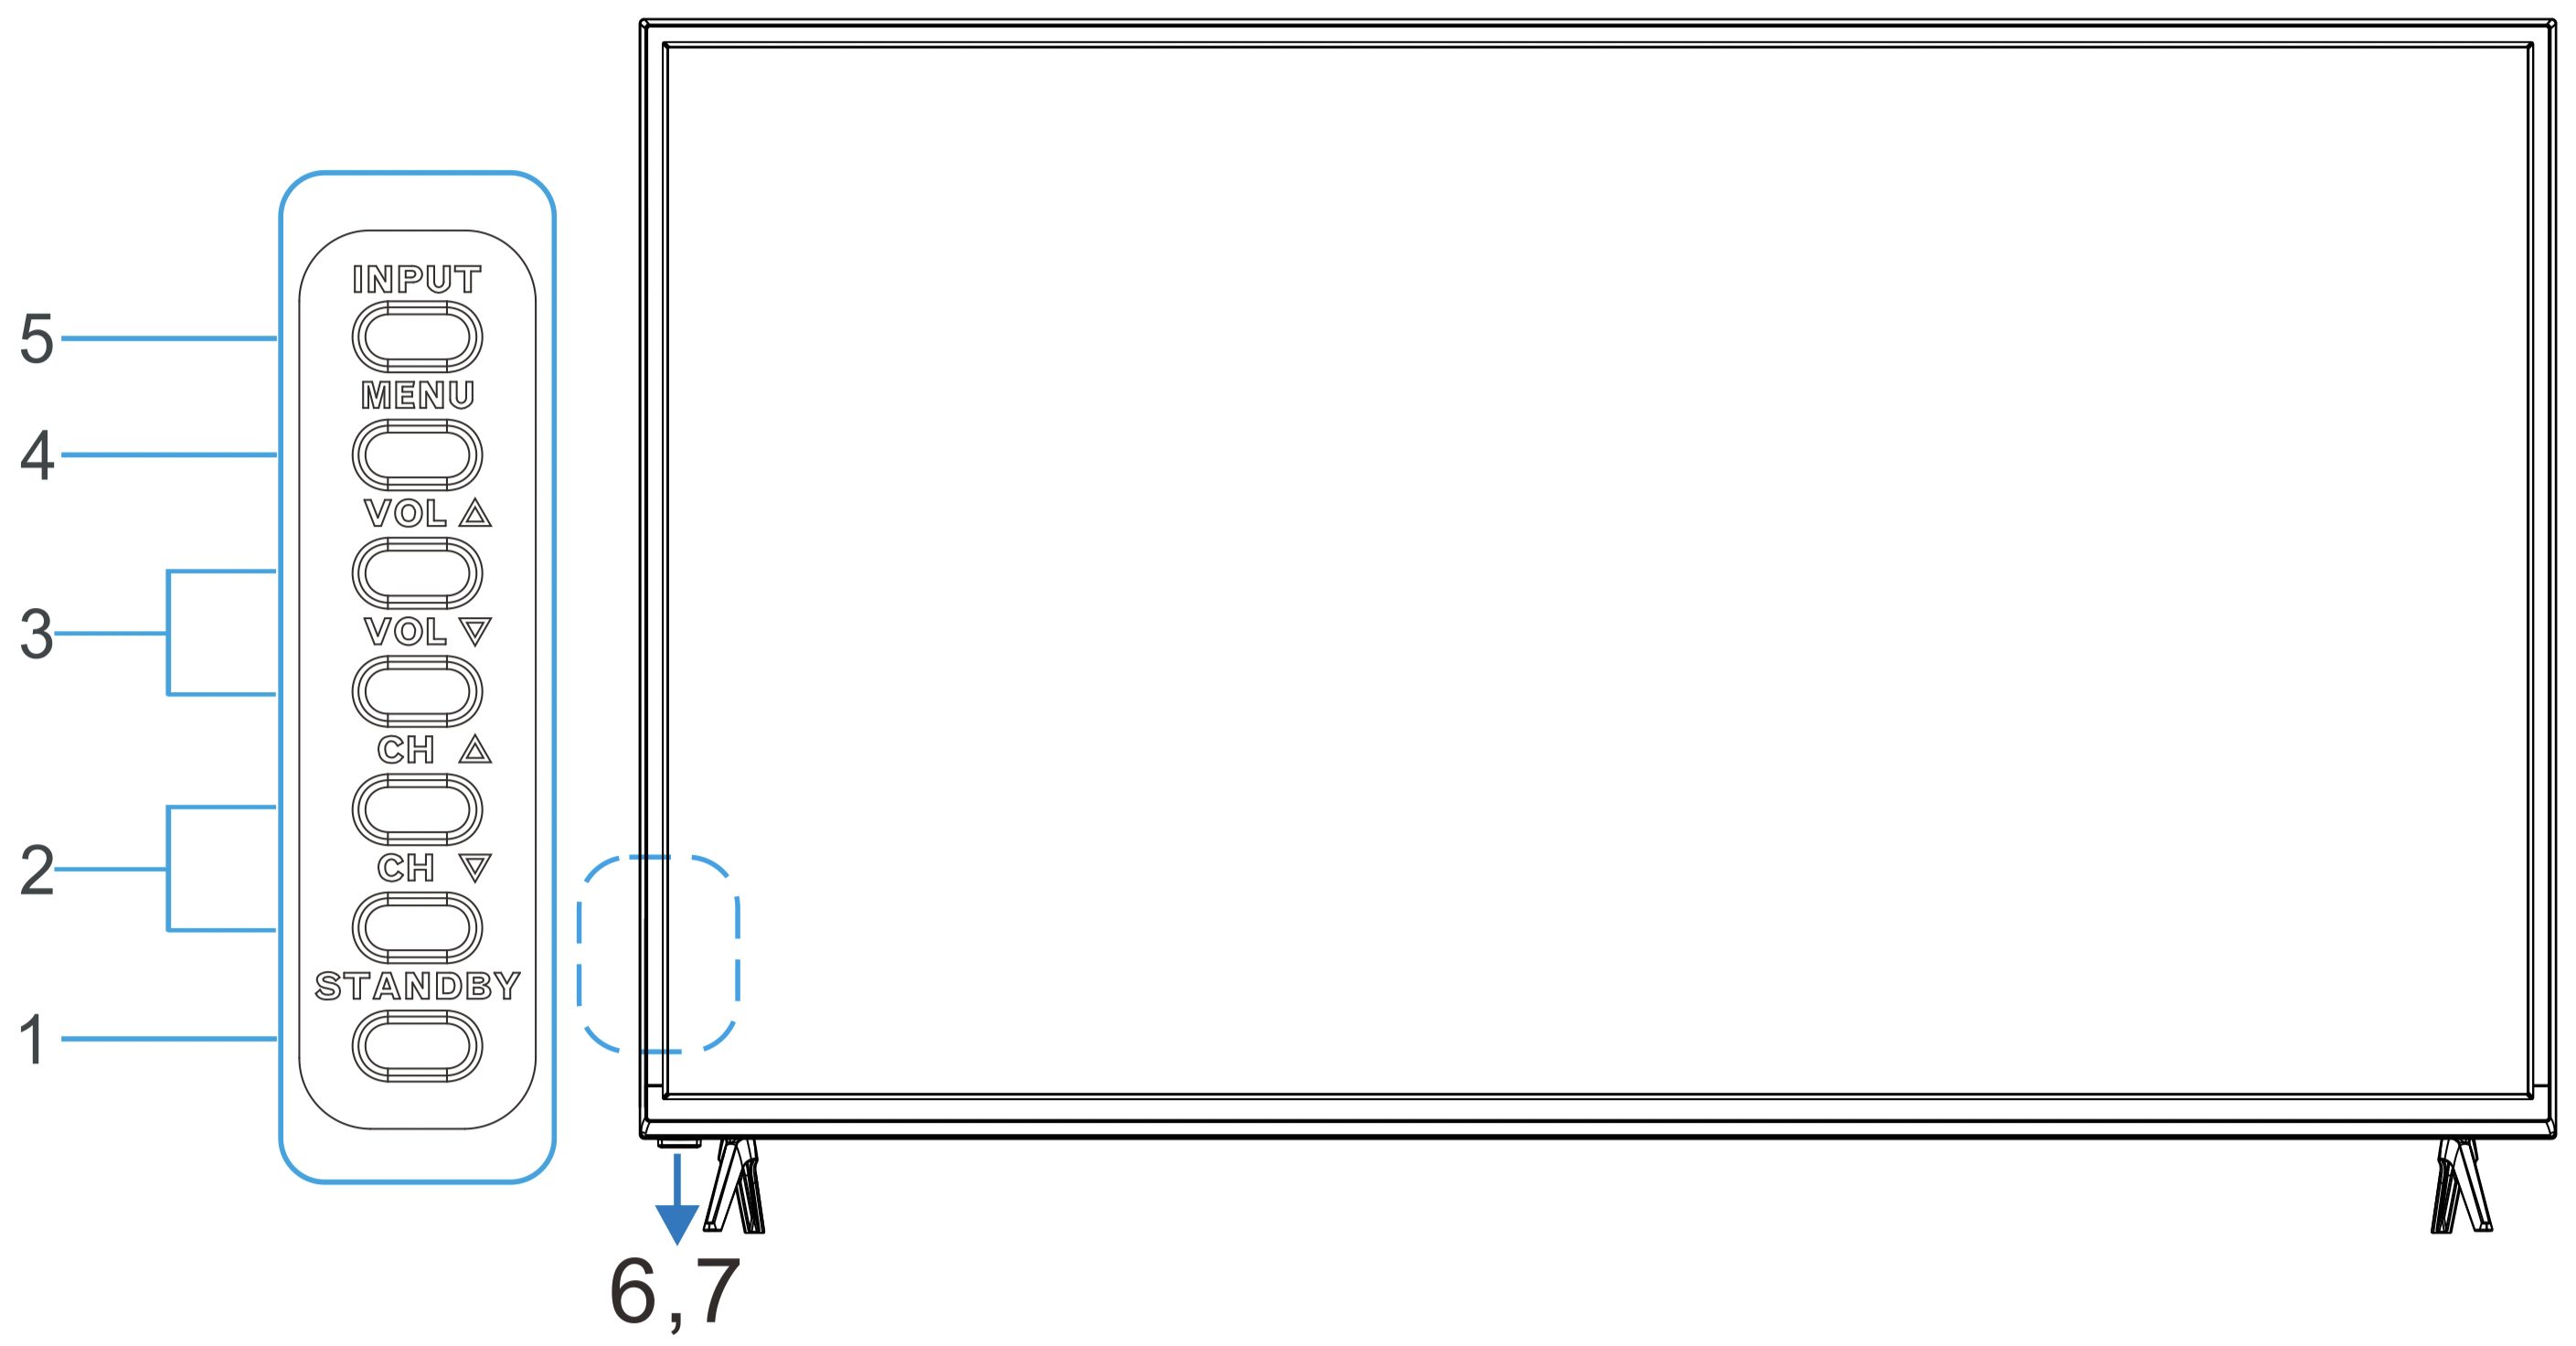
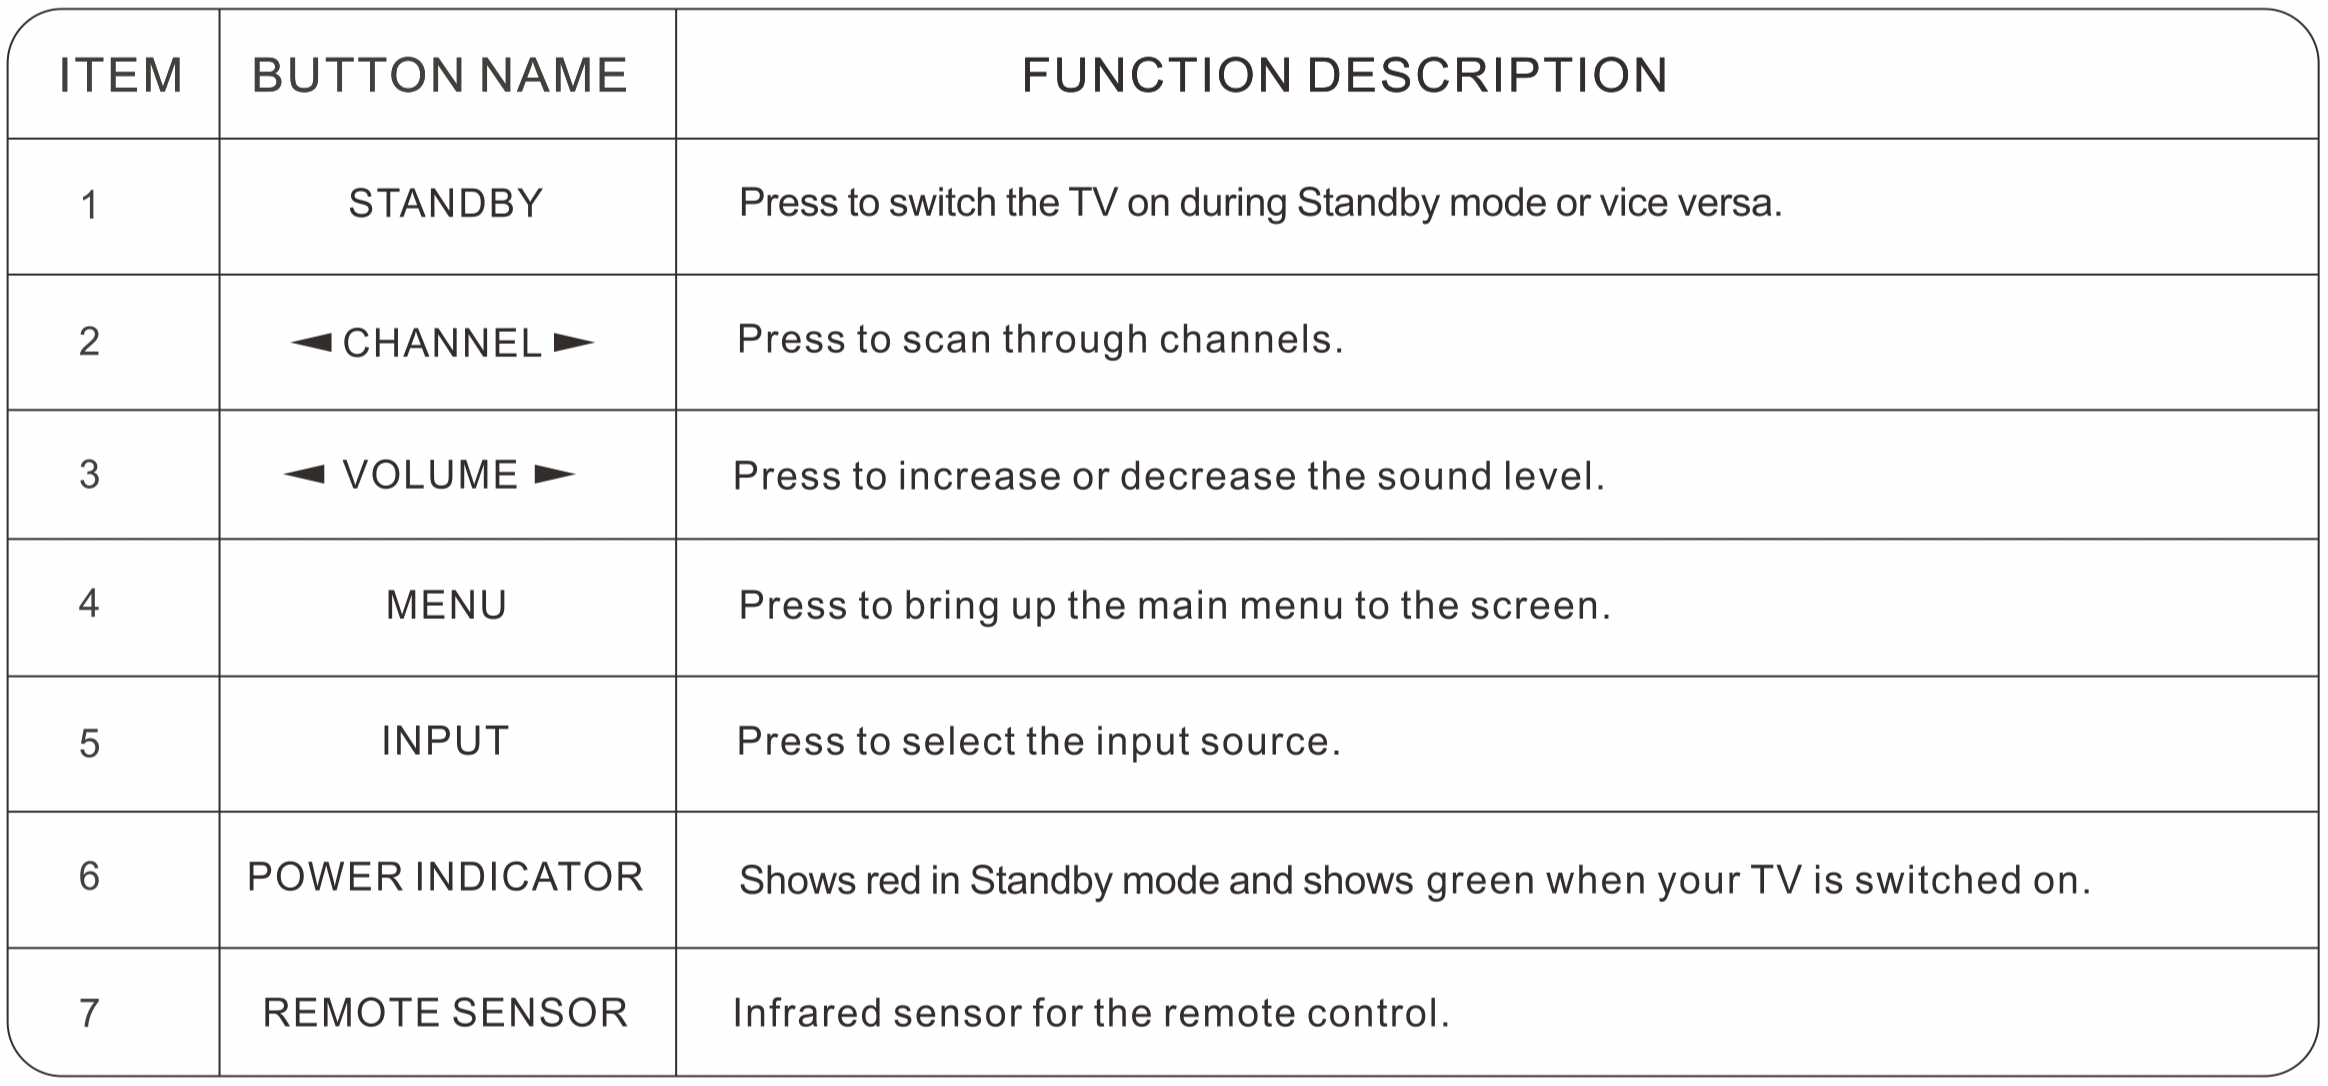
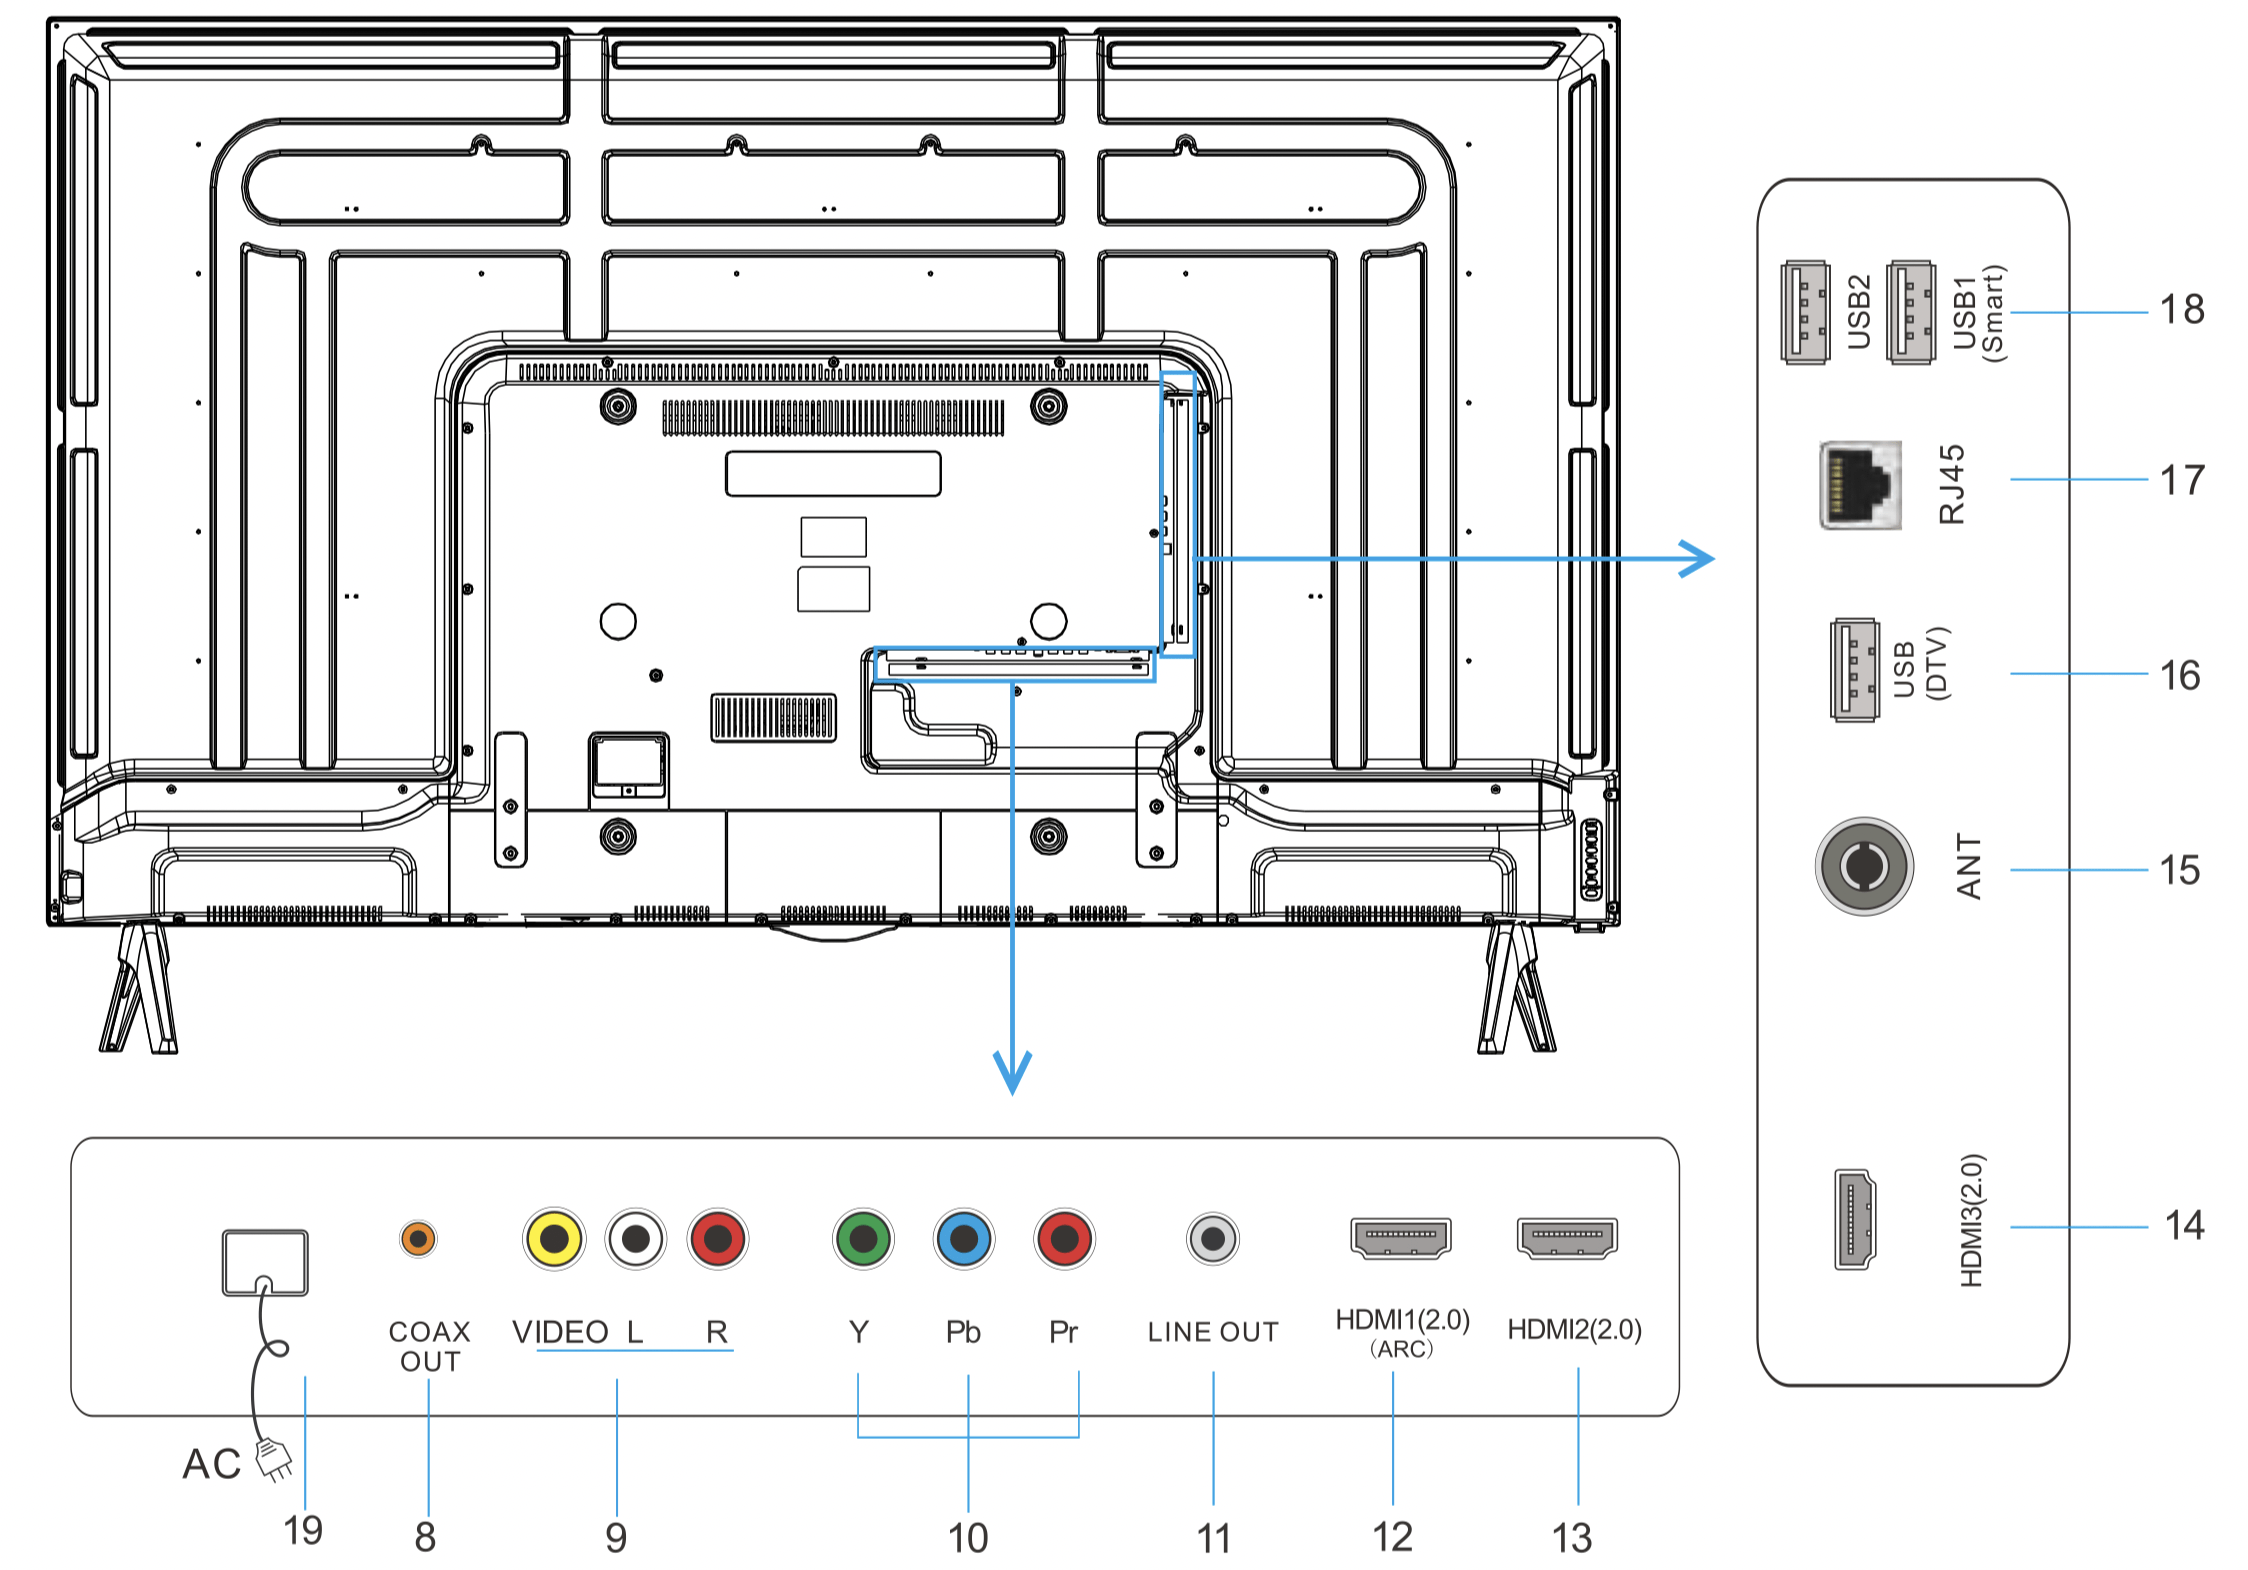
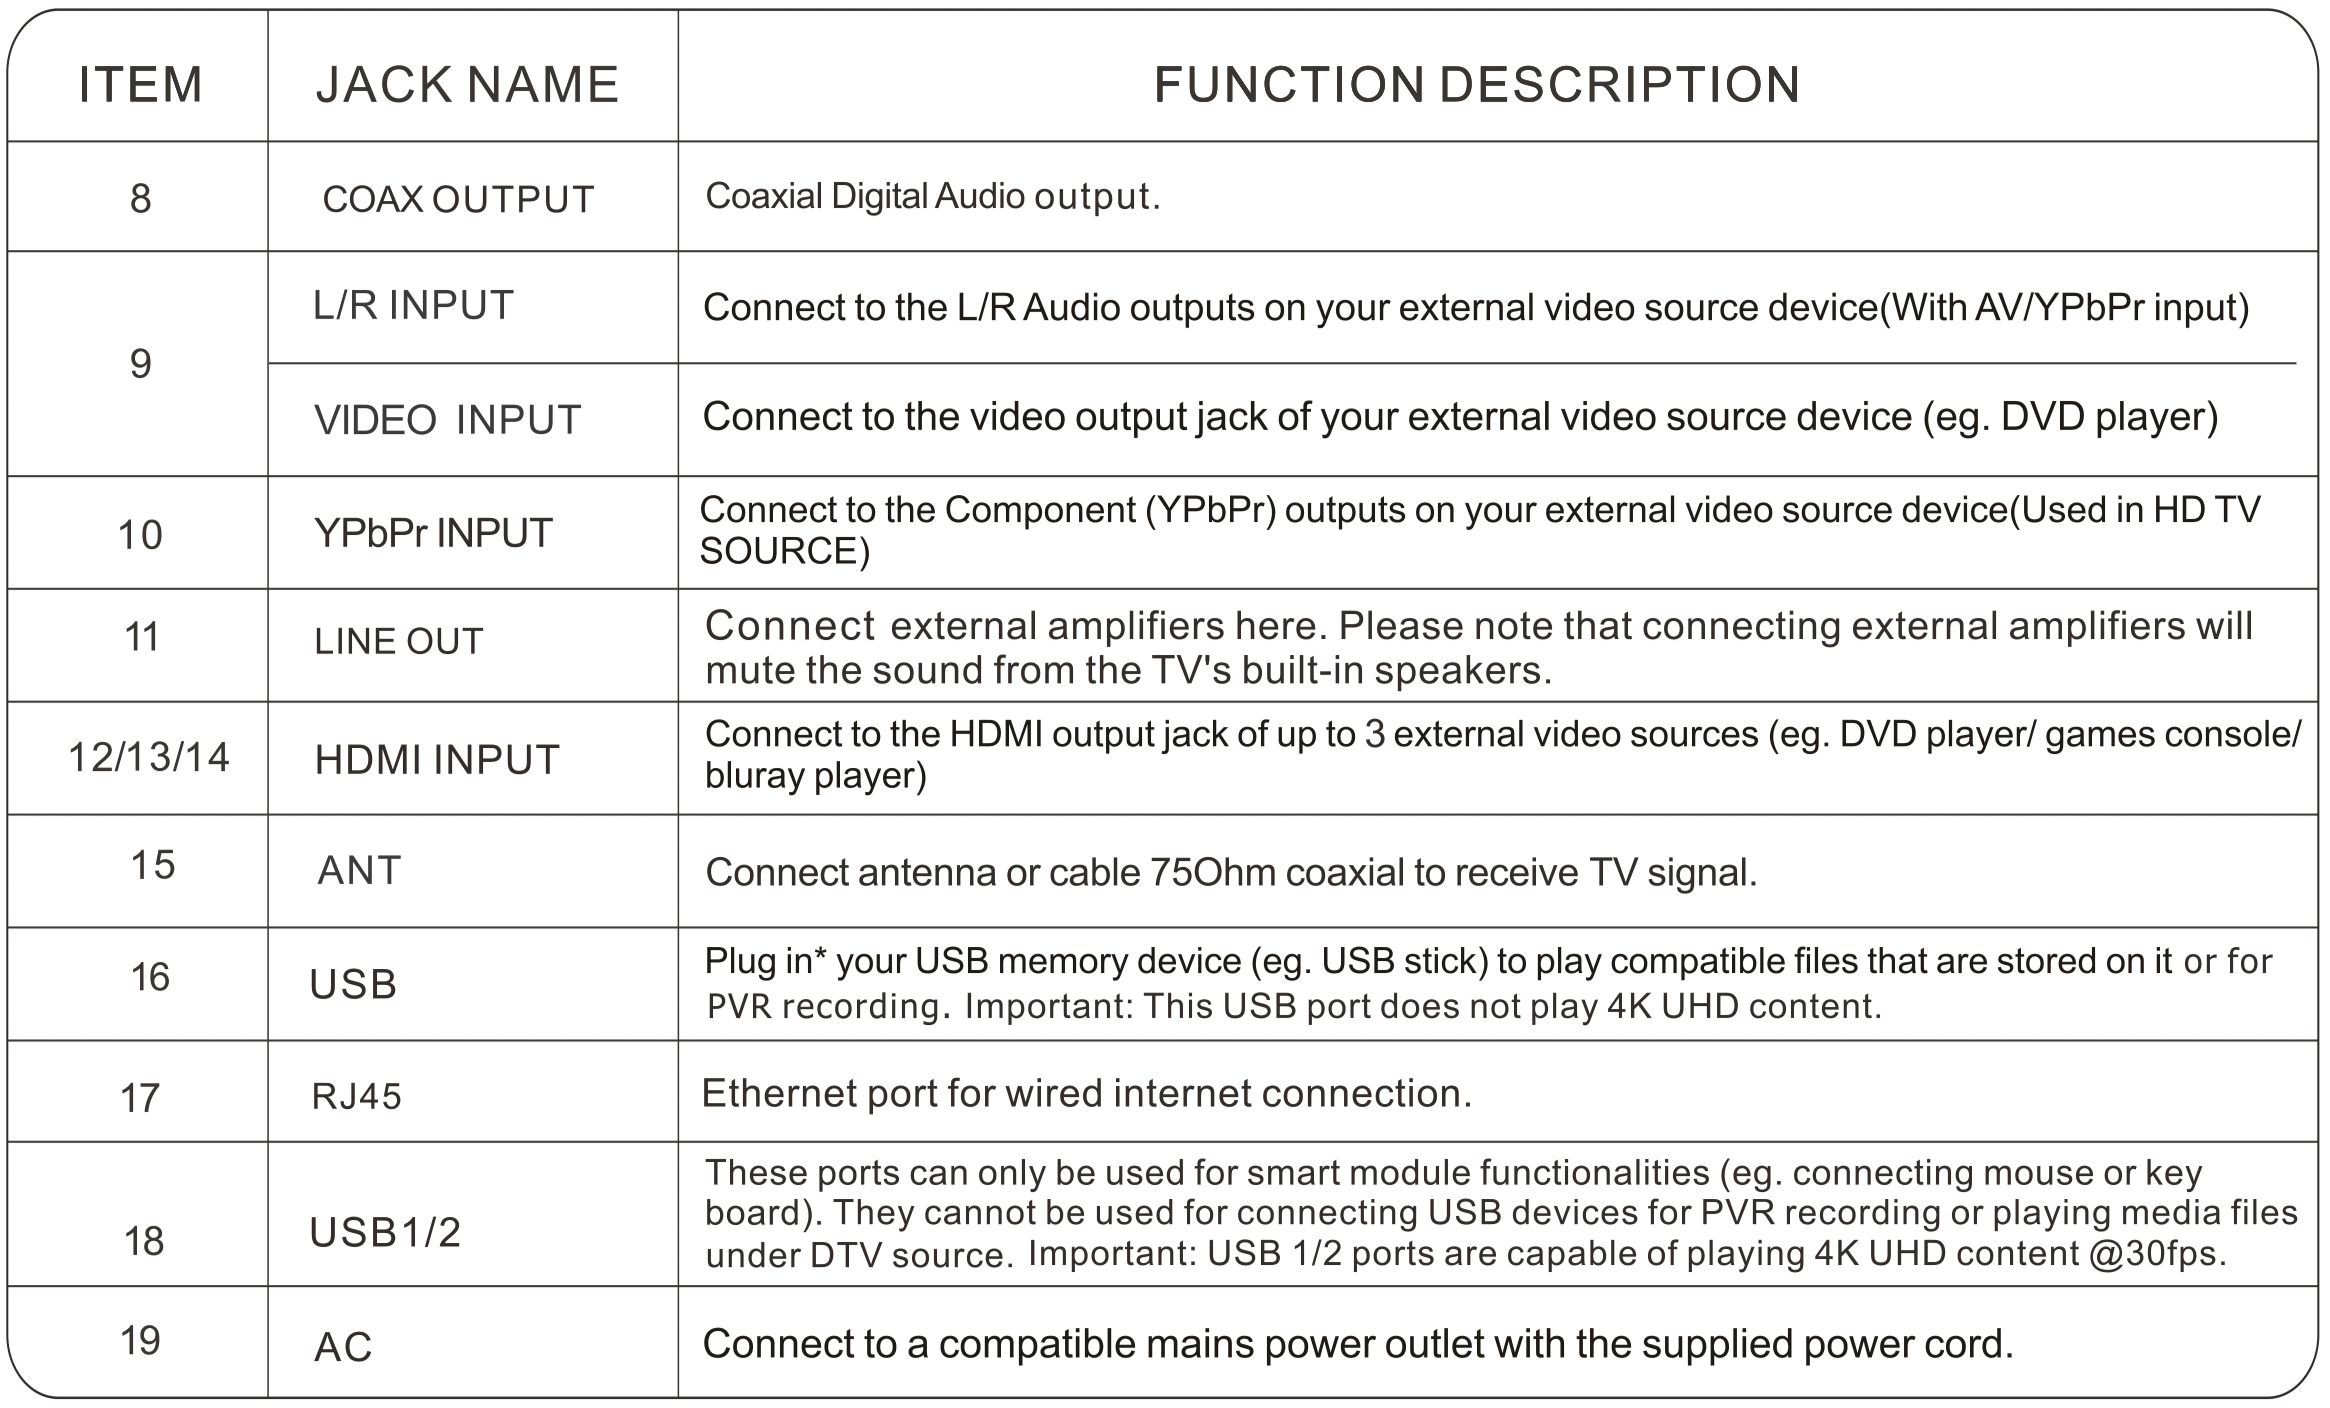
OVERVIEW OF THE TELEVISION
Please Note:
The receiving range for the remote control signal is 6 metres from the front of the remote sensor, with a window of 30 degrees to the left or right, and 20 degrees above or below.
Please Note:
Some USB memory devices, such as external hard drives and some portable hard drives, require their own power supply to operate. See also the Technical Specifications section for compatible file types and storage limits.
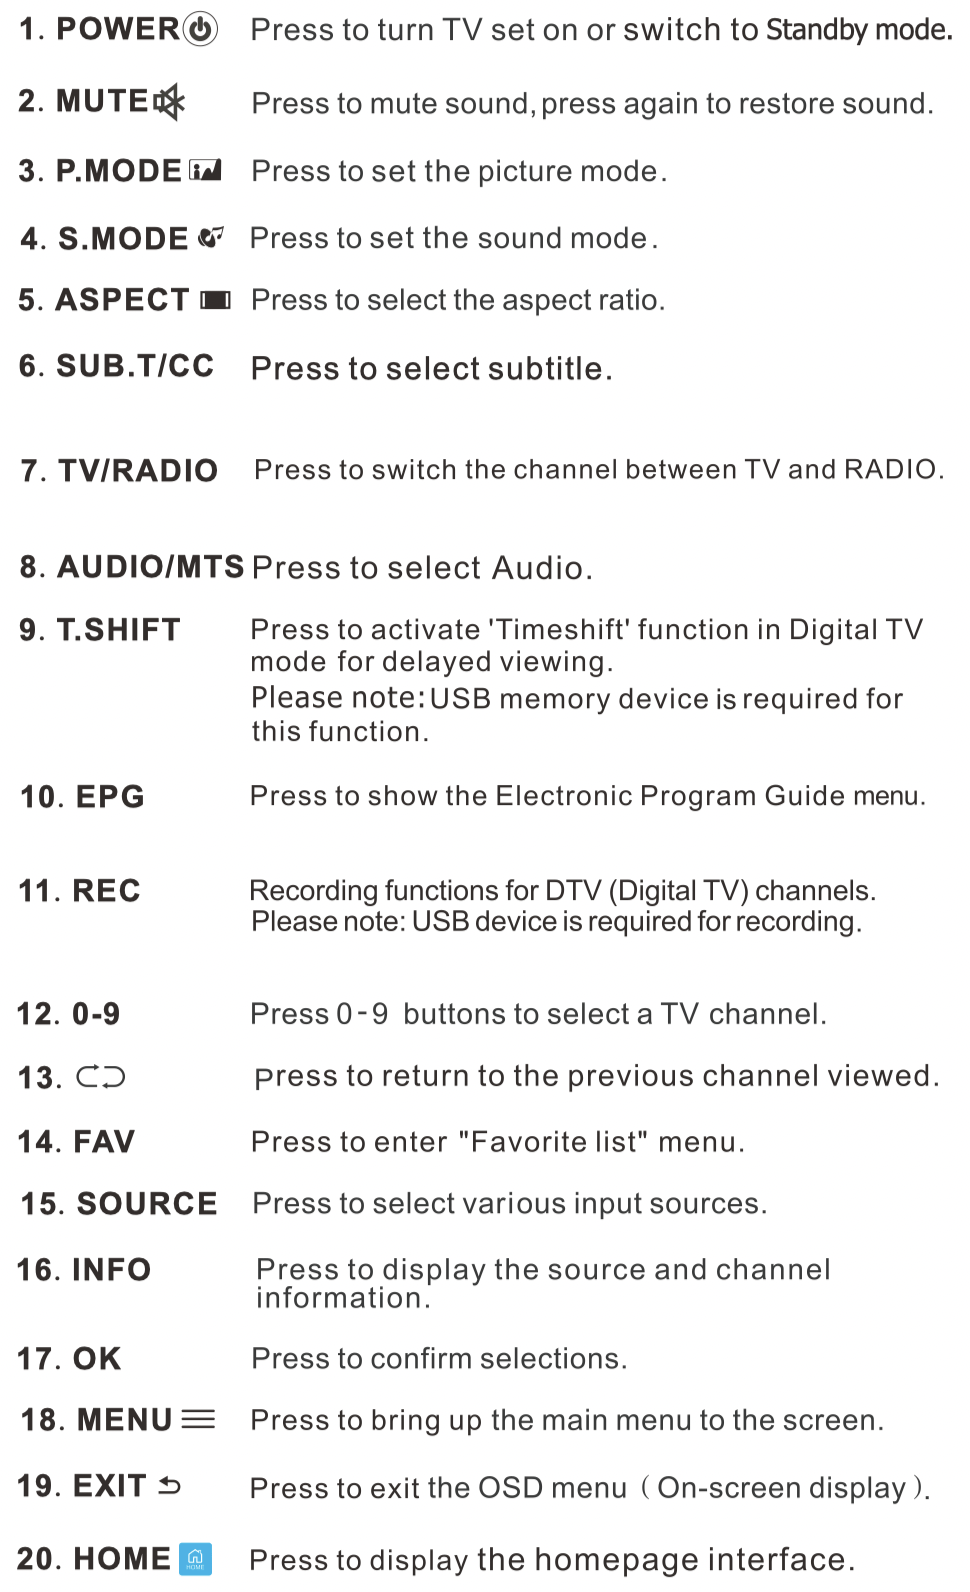
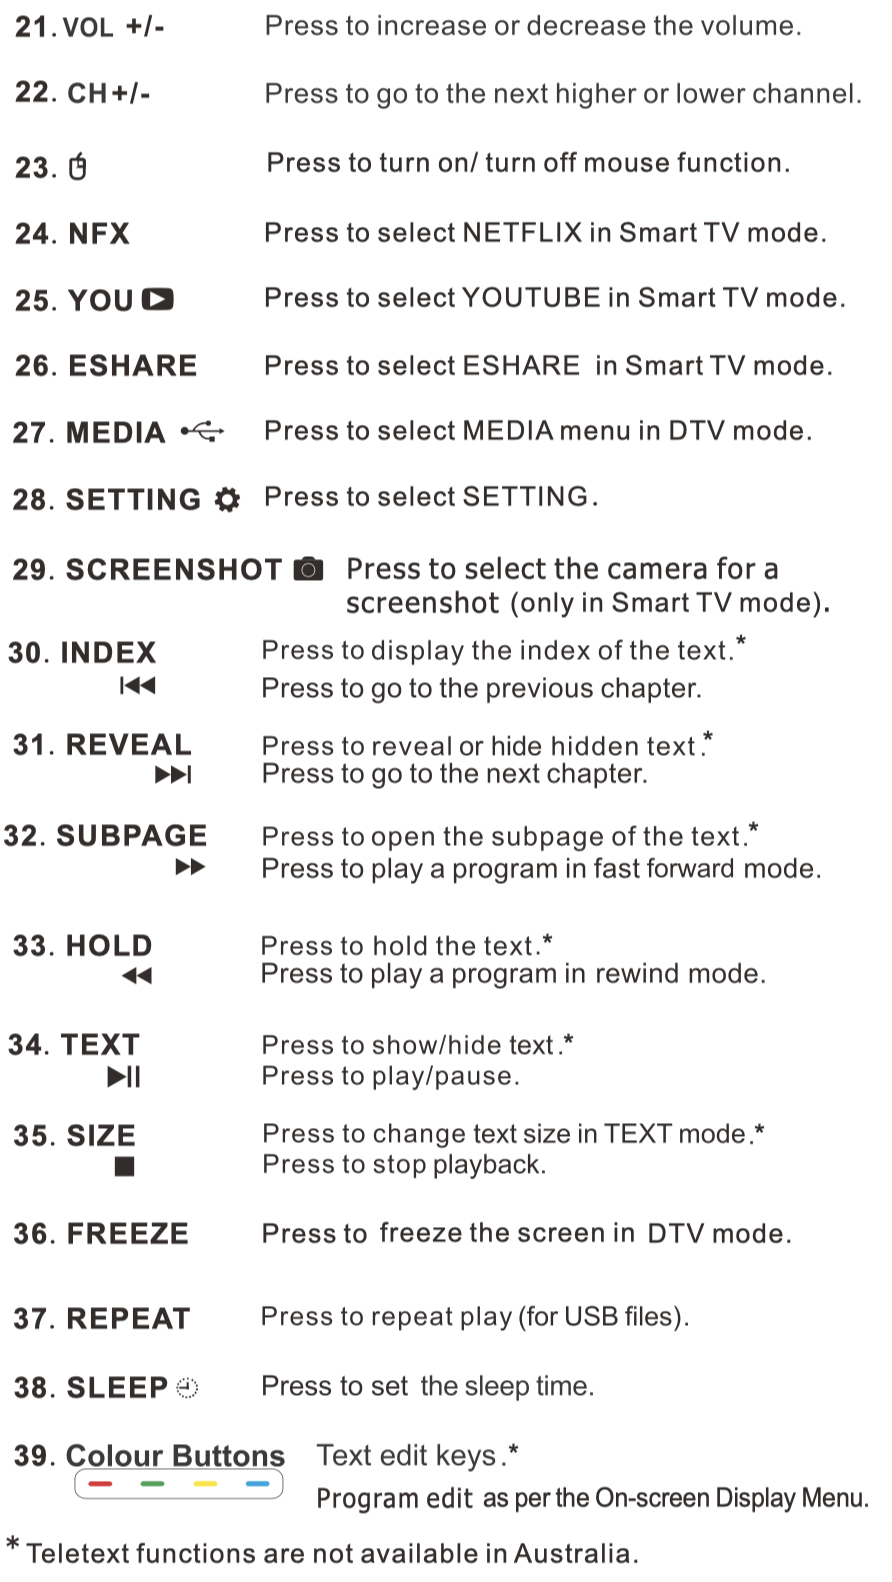
REMOTE CONTROL

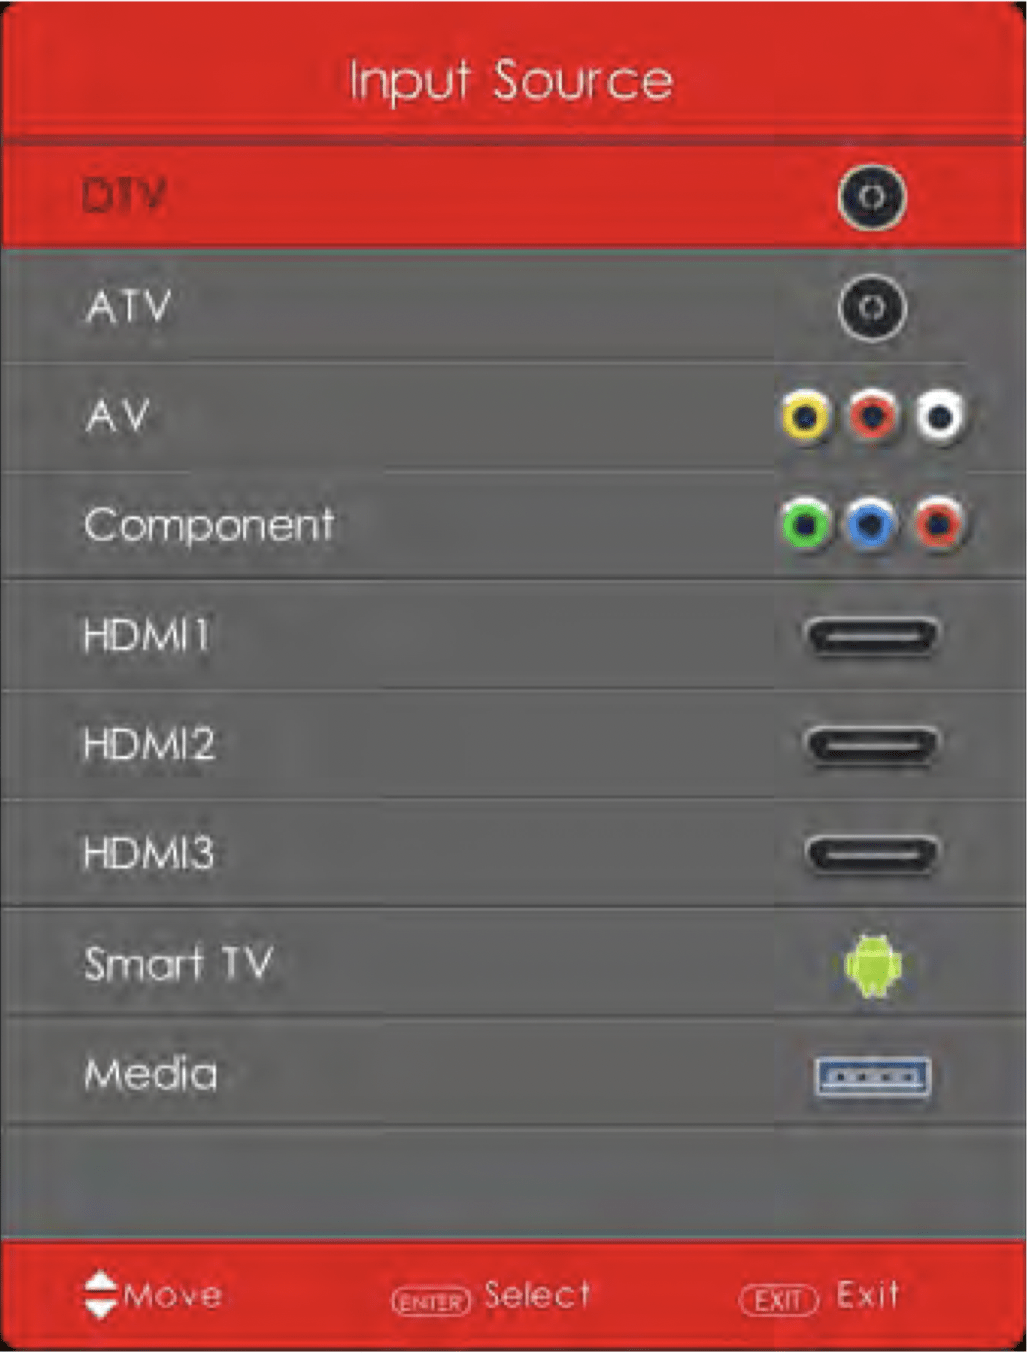
- Press SOURCE button to display the input source list.
- Press
 /
/  button to select an input source:
- DTV: Digital TV
- ATV: Analogue TV
- AV: 'VIDEO' composite input jack
- Component: 'YPbPr' component video jacks
- HDMI1, HDMI2, HDMI3: HDMI inputs
- Smart TV: Smart TV channel
- Media: Media port for file playback from a compatible USB memory device.
- Press ENTER button to enter the input source.
- Press EXIT button to quit.
TV MODE OPERATION
Channel
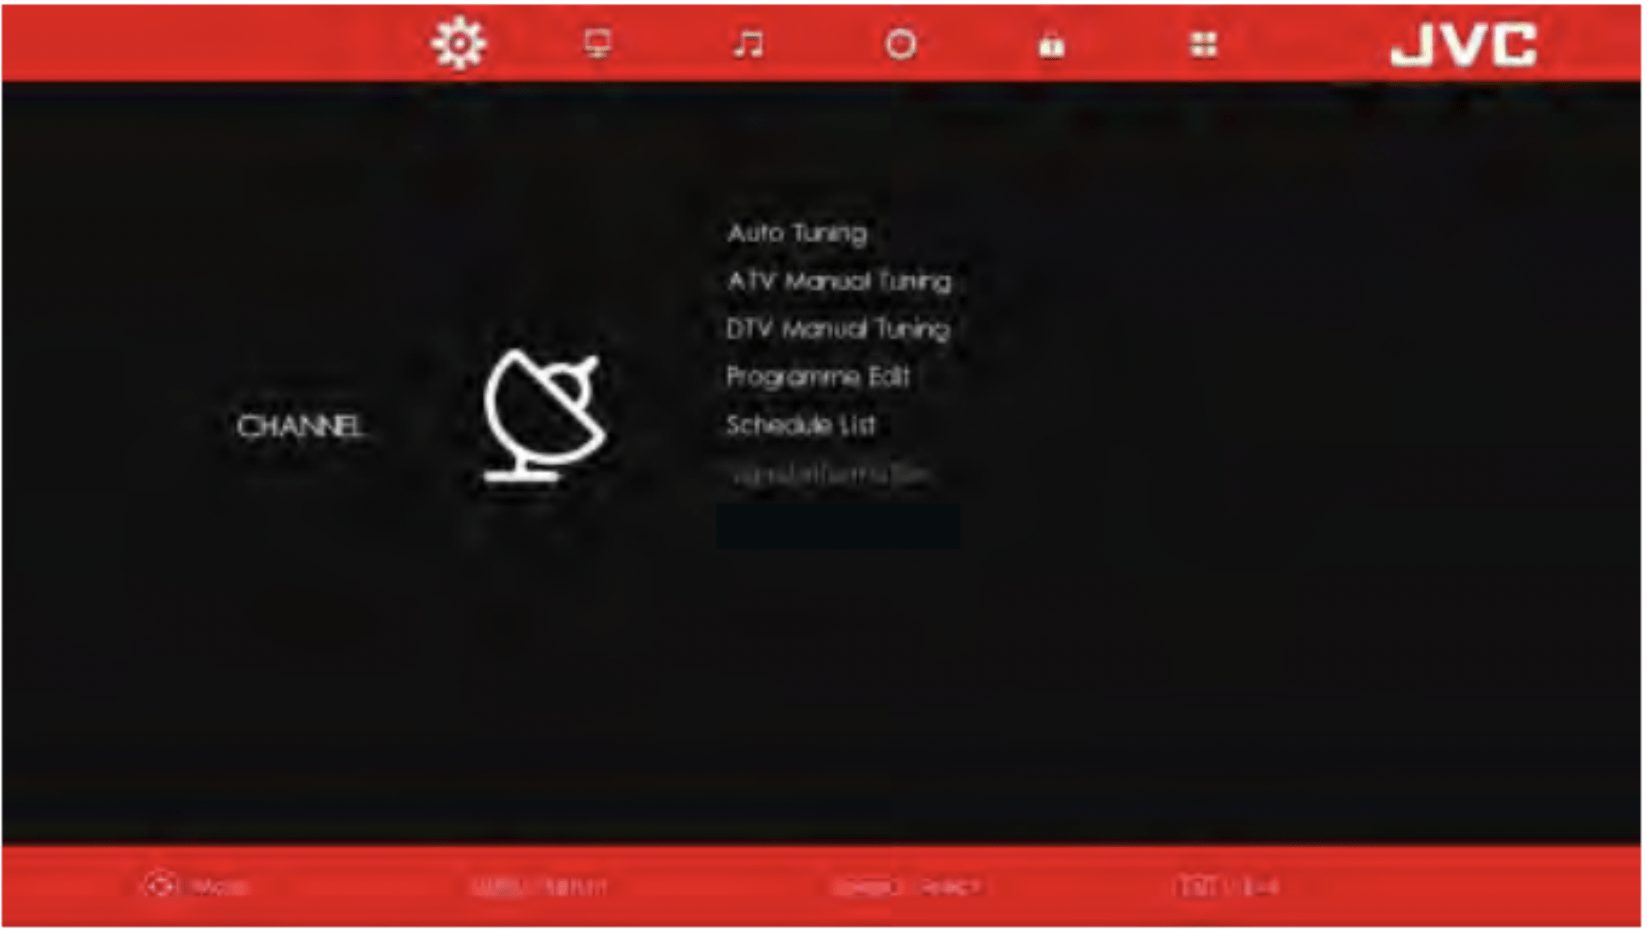
Press MENU button to display the main menu.
Press  /
/  button to select CHANNEL in the main menu.
- Press / button to select the option that you want to adjust in the CHANNEL menu.
- Press OK button to adjust.
- After you have completed the adjustment, press OK button to save and return to the previous menu.
Auto Tuning
Press / button to select Auto Tuning, then press OK/ button to enter.
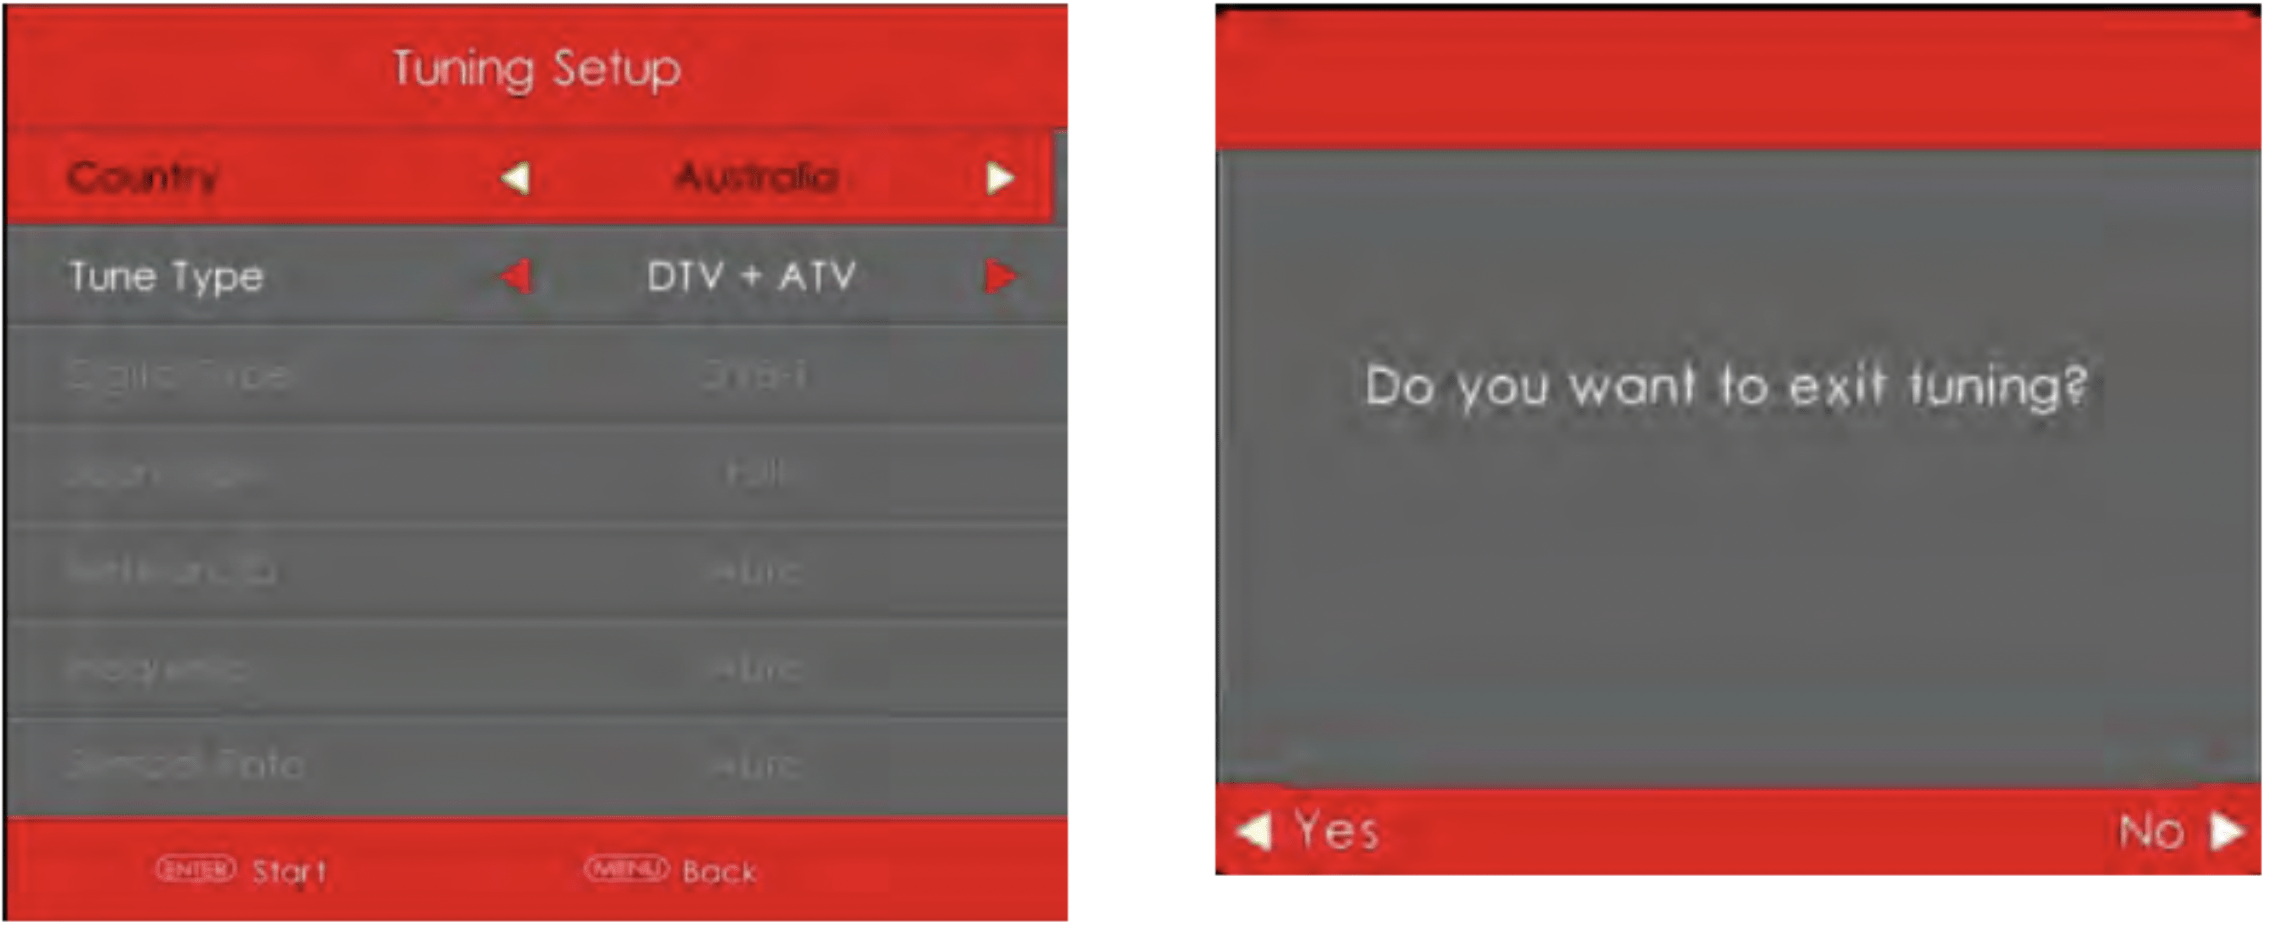
Country
Press / button to select Country, then press OK button to enter.
Tuner Type
Press / button to select Tune Type, then press OK button to enter.
(Available Systems: ATV, DTV, DTV + ATV)
Picture
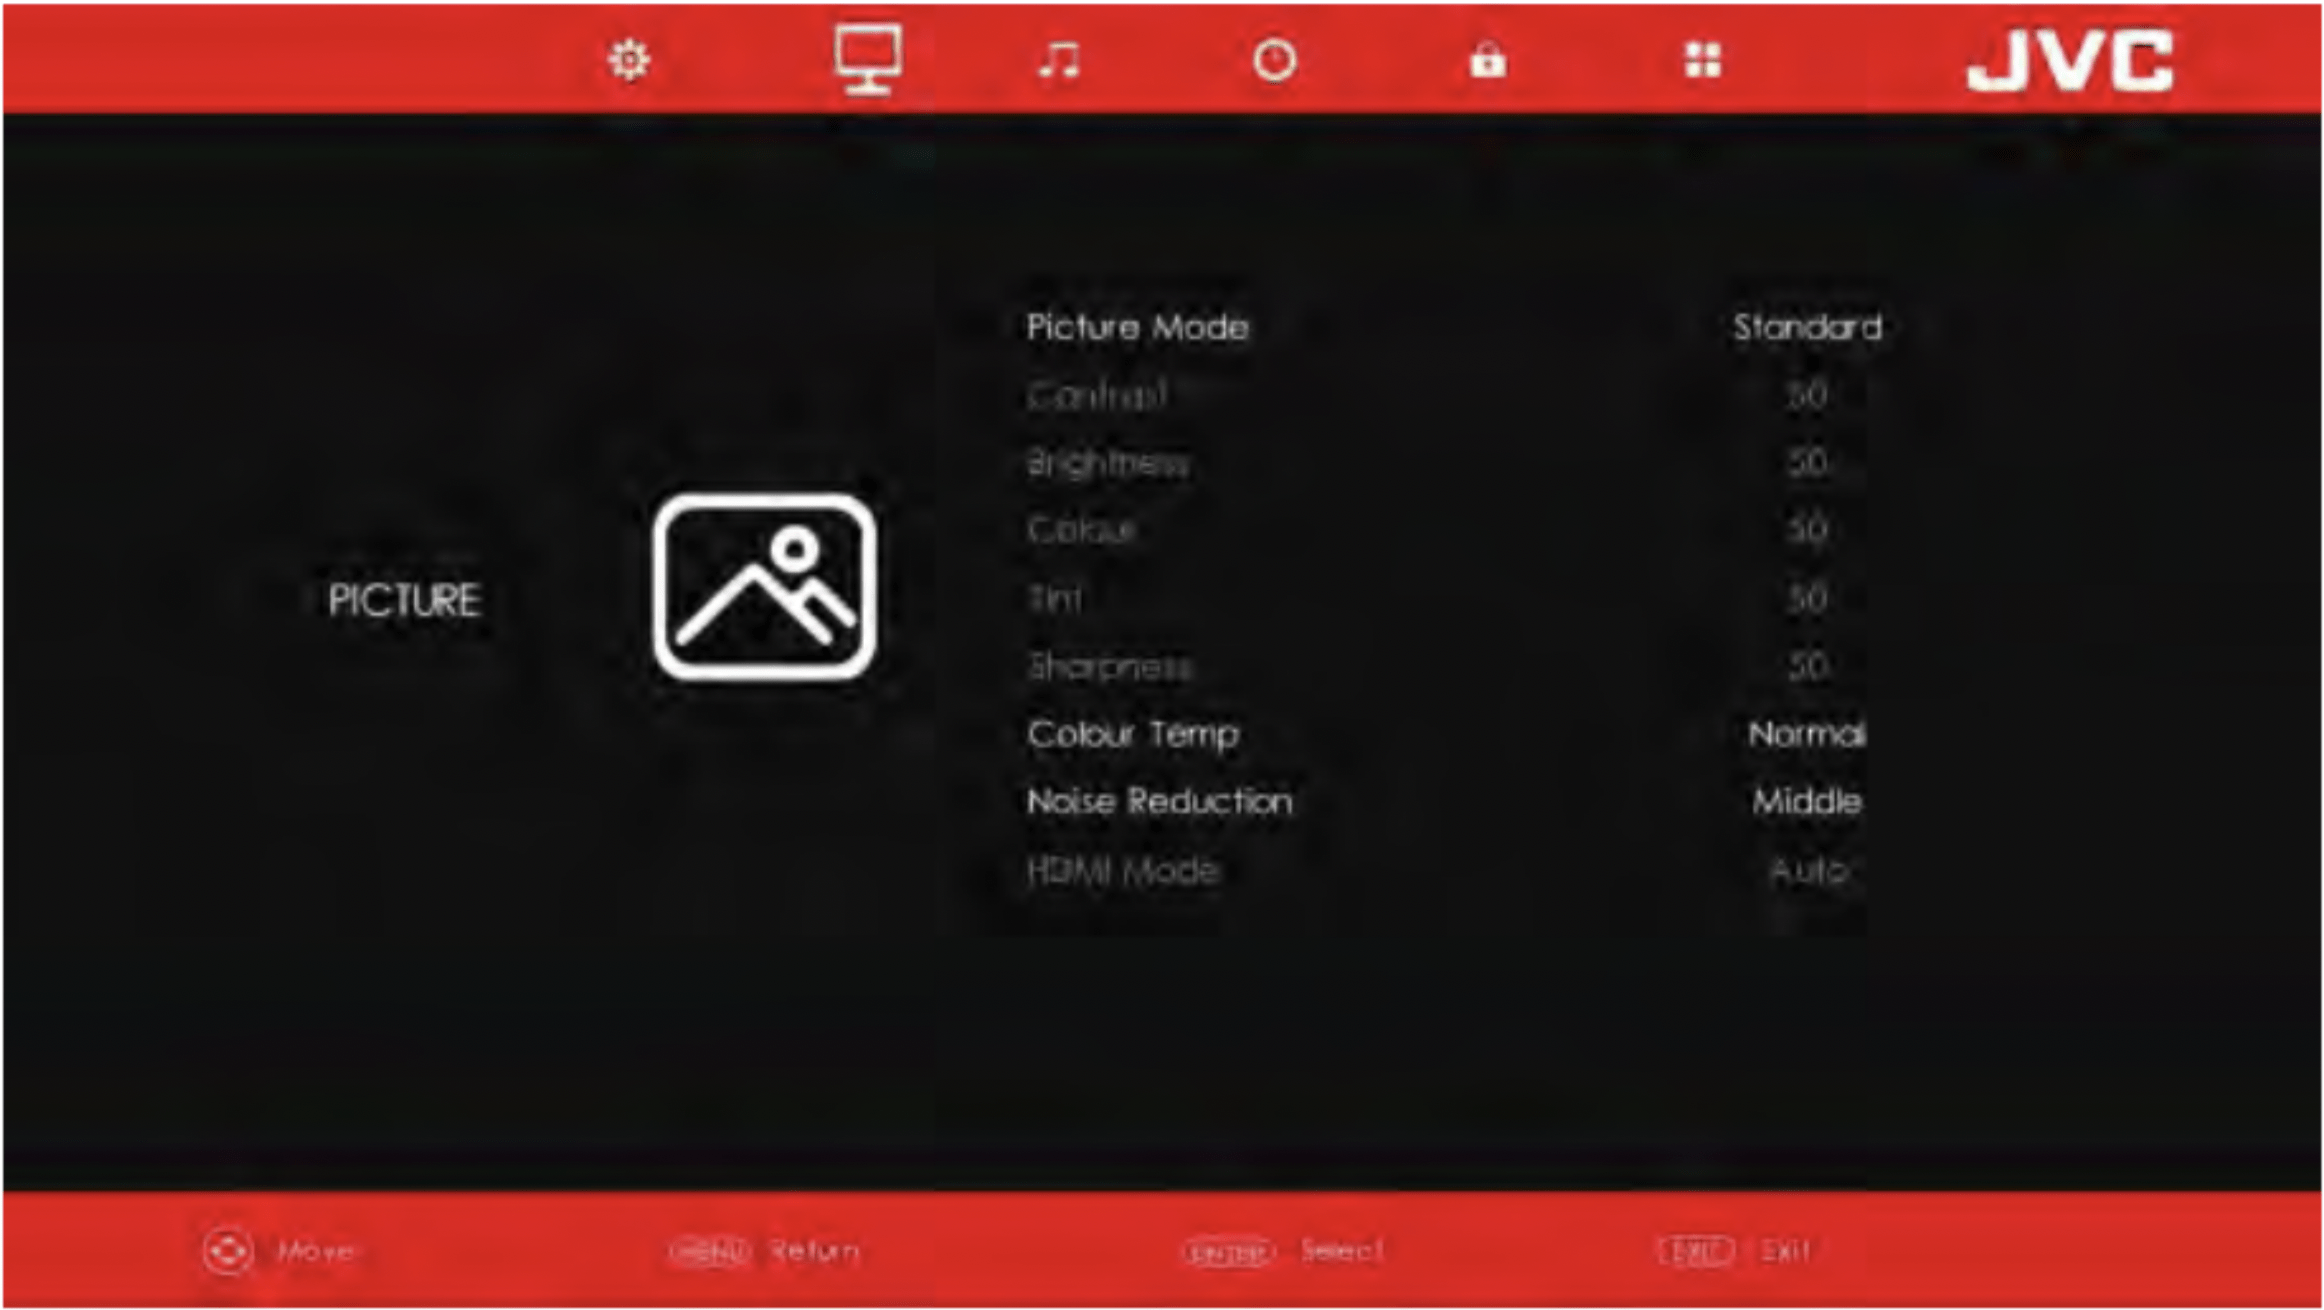
Press MENU button to display the main menu.
Press / button to select PICTURE in the main menu.
- Press / button to select the option that you want to adjust in the PICTURE menu.
- Press OK button to adjust.
- After you have completed the adjustment, press OK button to save and return to the previous menu.
Picture Mode
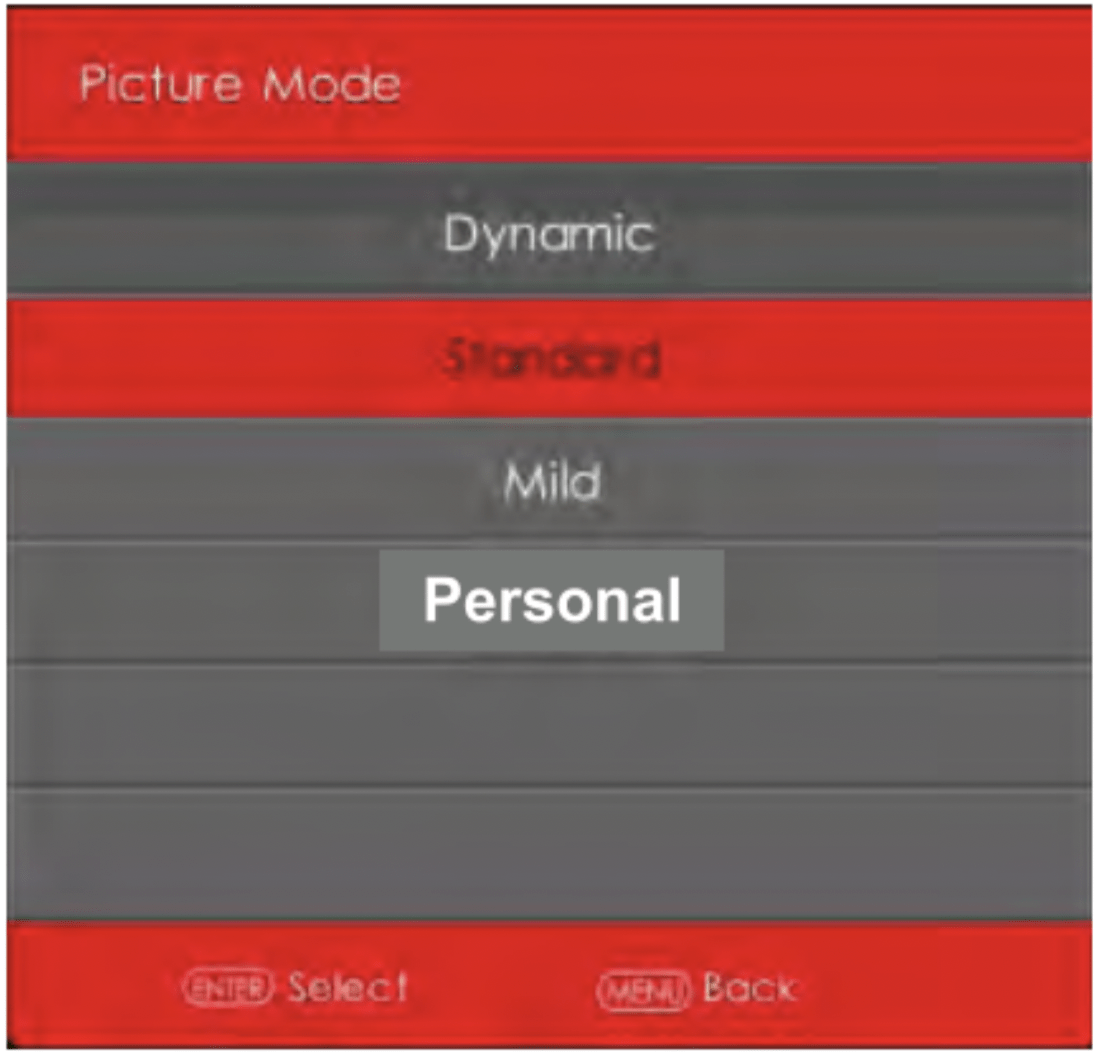
Press / button to select Picture Mode, then press OK button to enter sub-menu.
You can change the value of contrast, brightness, colour, sharpness and tint when the picture is in PERSONAL mode.
Please note: You can press PMODE button on the remote control to change the picture mode directly.
Contrast / Brightness / Colour / Tint / Sharpness
Press / button to select an option, then press / button to adjust.
Contrast: Press to adjust the highlight intensity of the picture.
Brightness: Press to adjust the brightness of the picture.
Colour: Press to adjust the saturation of the colour according to your own preference.
Tint: Press to shift the colour of the picture to compensate for any errors in transmission.
Sharpness: Press to adjust the detail in the picture.
Noise Reduction
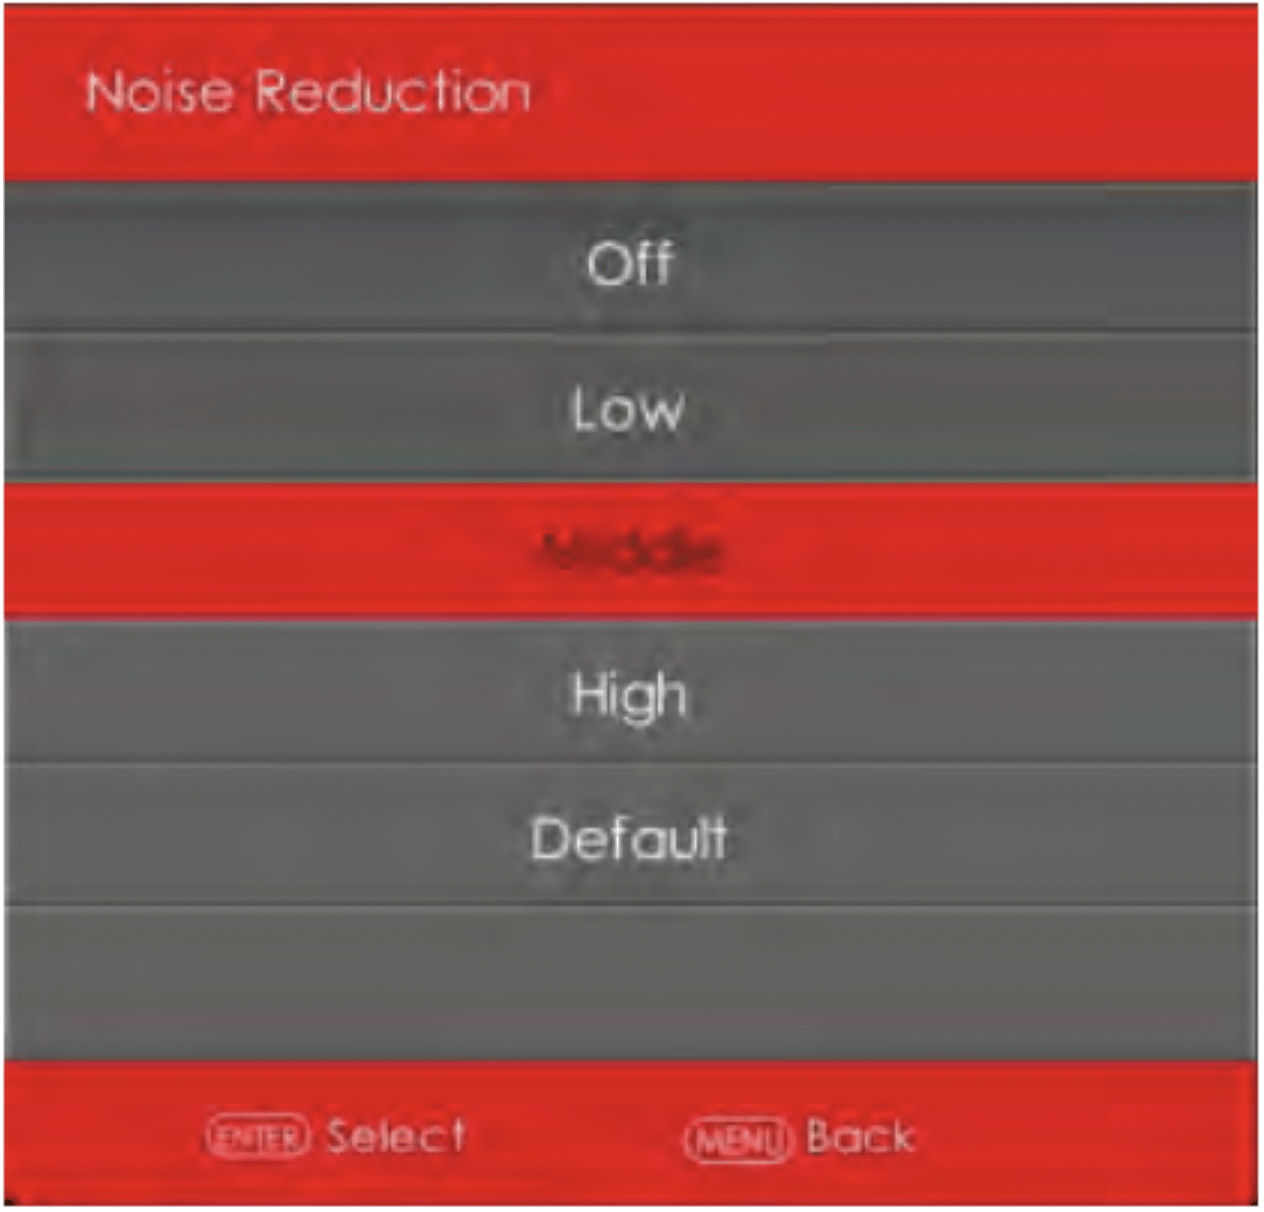
To filter out and reduce the image noise and improve picture quality.
Press / button to select Noise Reduction, then press OK button to enter sub-menu.
- Off: Select to turn off video noise detection.
- Low: Detect and reduce low video noise.
- Middle: Detect and reduce moderate video noise.
- High: Detect and reduce enhanced video noise.
- Default: Set as default.
HDMI Mode
Press / button to select HDMI Mode, then press / button to select Auto, Video or PC.
Sound Menu
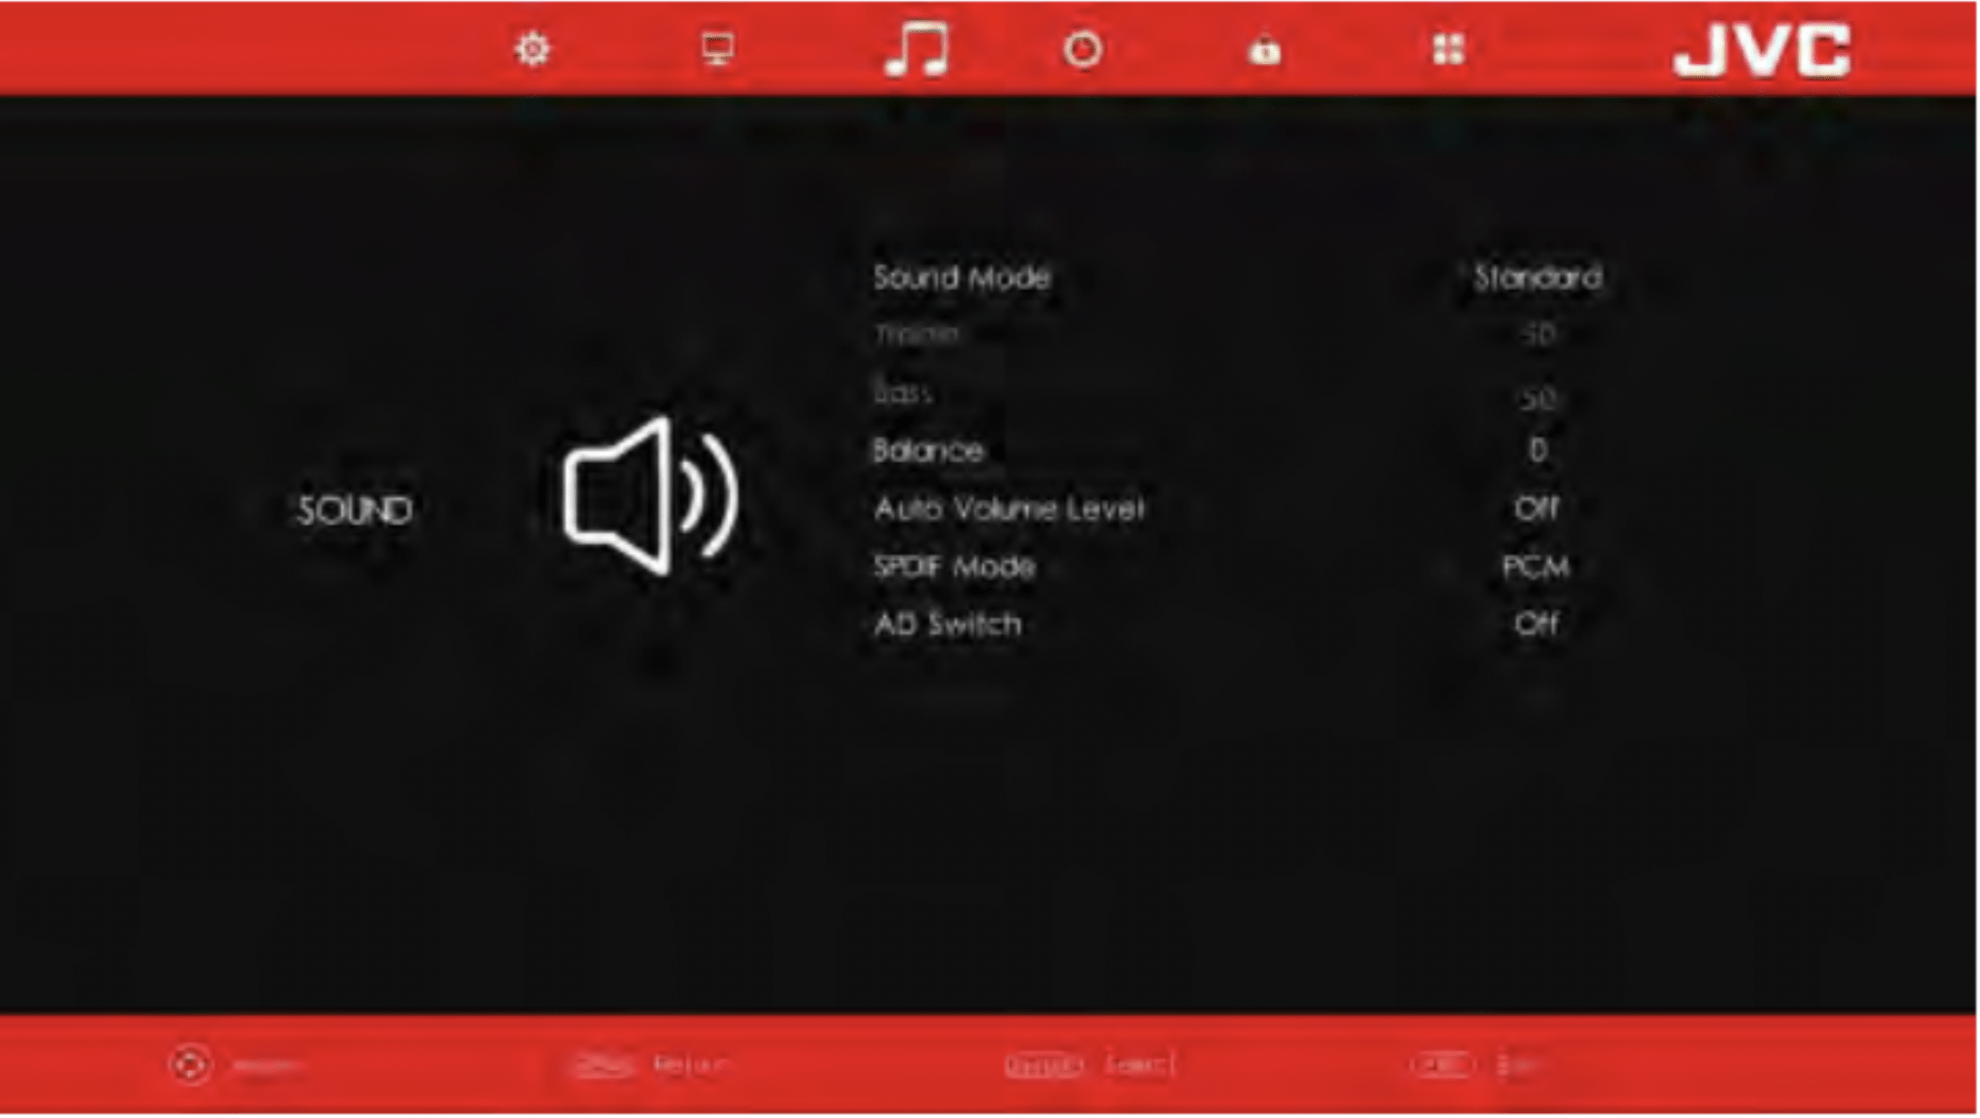
Press MENU button to display the main menu.
Press / button to select SOUND in the main menu.
- Press / button to select the option that you want to adjust in the SOUND menu.
- Press OK button to adjust.
- After you have completed the adjustment, press OK button to save and return to the previous menu.
Sound Mode
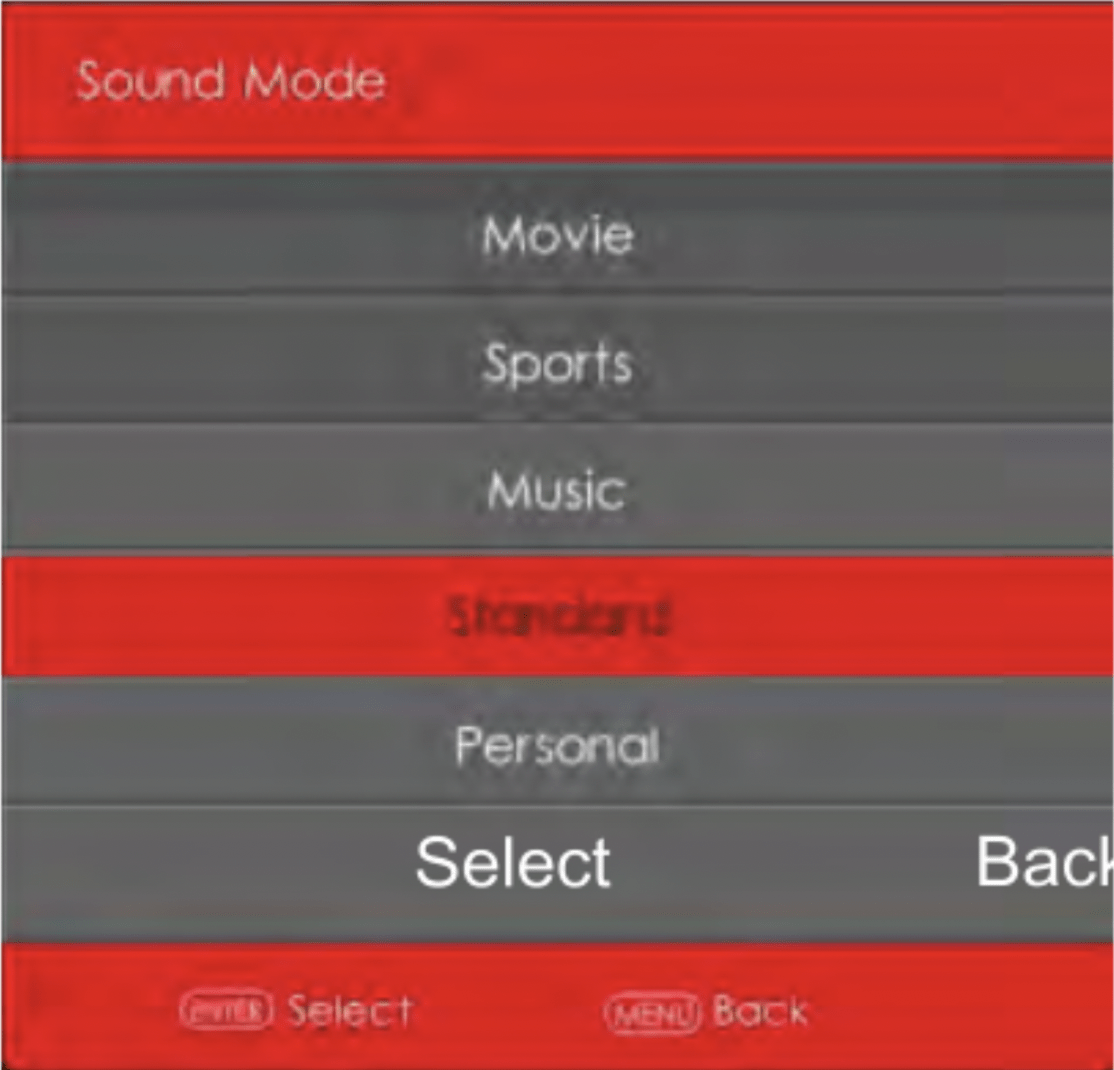
Press / button to select Sound Mode, then press OK button to enter sub-menu
Press / button to select.
You can change the value of Treble and Bass when the sound is in PERSONAL MODE.
Please note: You can press SMODE button on the remote control to change the sound mode directly.
- Movie: Enhances treble and bass for a rich sound experience.
- Sports: Enhances vocals for sports.
- Music: Preserves the original sound. Good for musical programs.
- Standard: Produces a balanced sound in all environments.
- Personal: Select to customise sound settings.
Balance
Press / button to select Balance and press / button to adjust.
Auto Volume Level
Press / button to select Auto Volume, then press / button to select On or Off.
SPDIF Mode
Press / button to select SPDIF Mode, then press / button to select Off / PCM / Auto.
AD Switch
Press / button to select AD Switch, then press / button to select On or Off.
Please note:
Balance: This item adjusts the speaker's output enabling you to hear the sound perfectly well whichever position you are seated.
Auto Volume: This item is used to automatically reduce the difference betweem channel and programme volume.
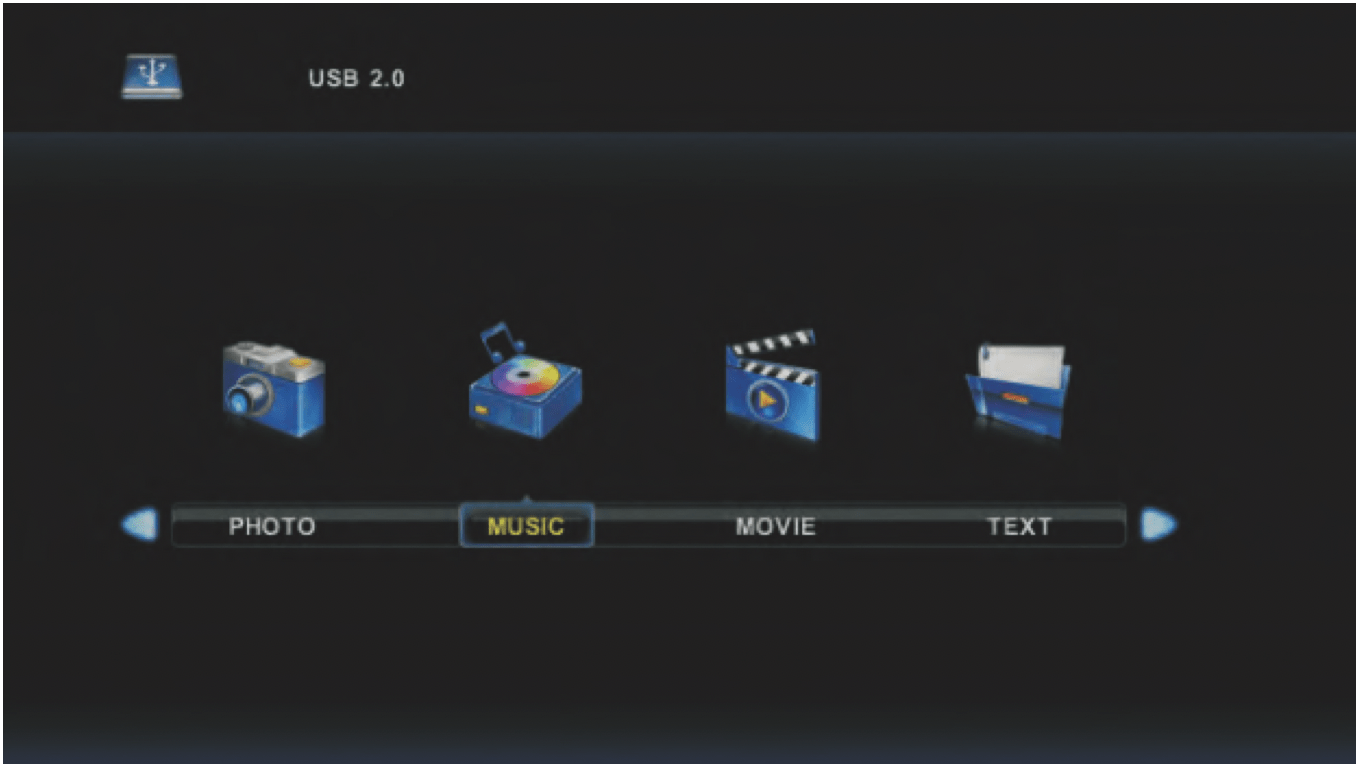
Please note: Before you operate the Media menu, plug in the USB device, then press SOURCE button to set the Input Source to Media.
Press / button to select MEDIA in the source menu, then press OK button to enter.
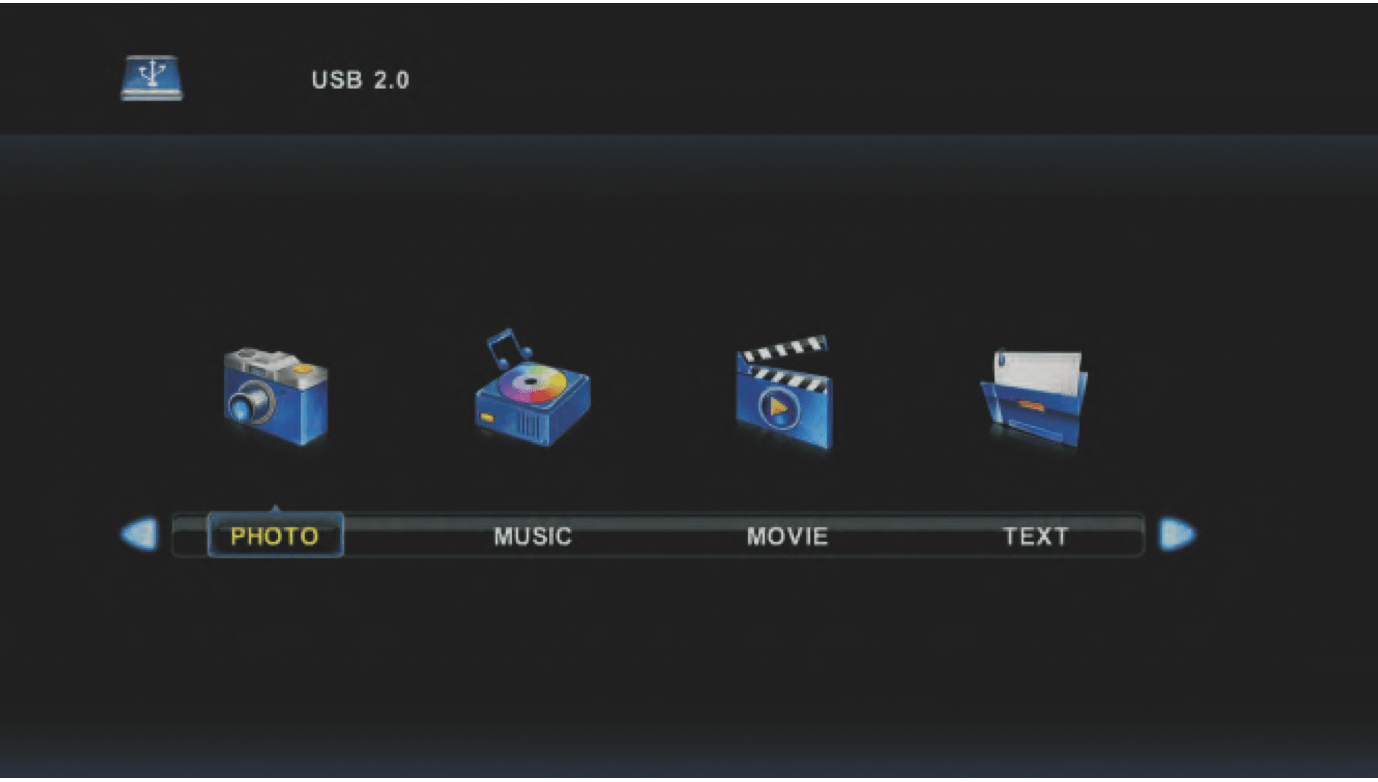
Press / button to select the option you want to adjust in the main Media menu, the press OK button to enter.
Photo Menu
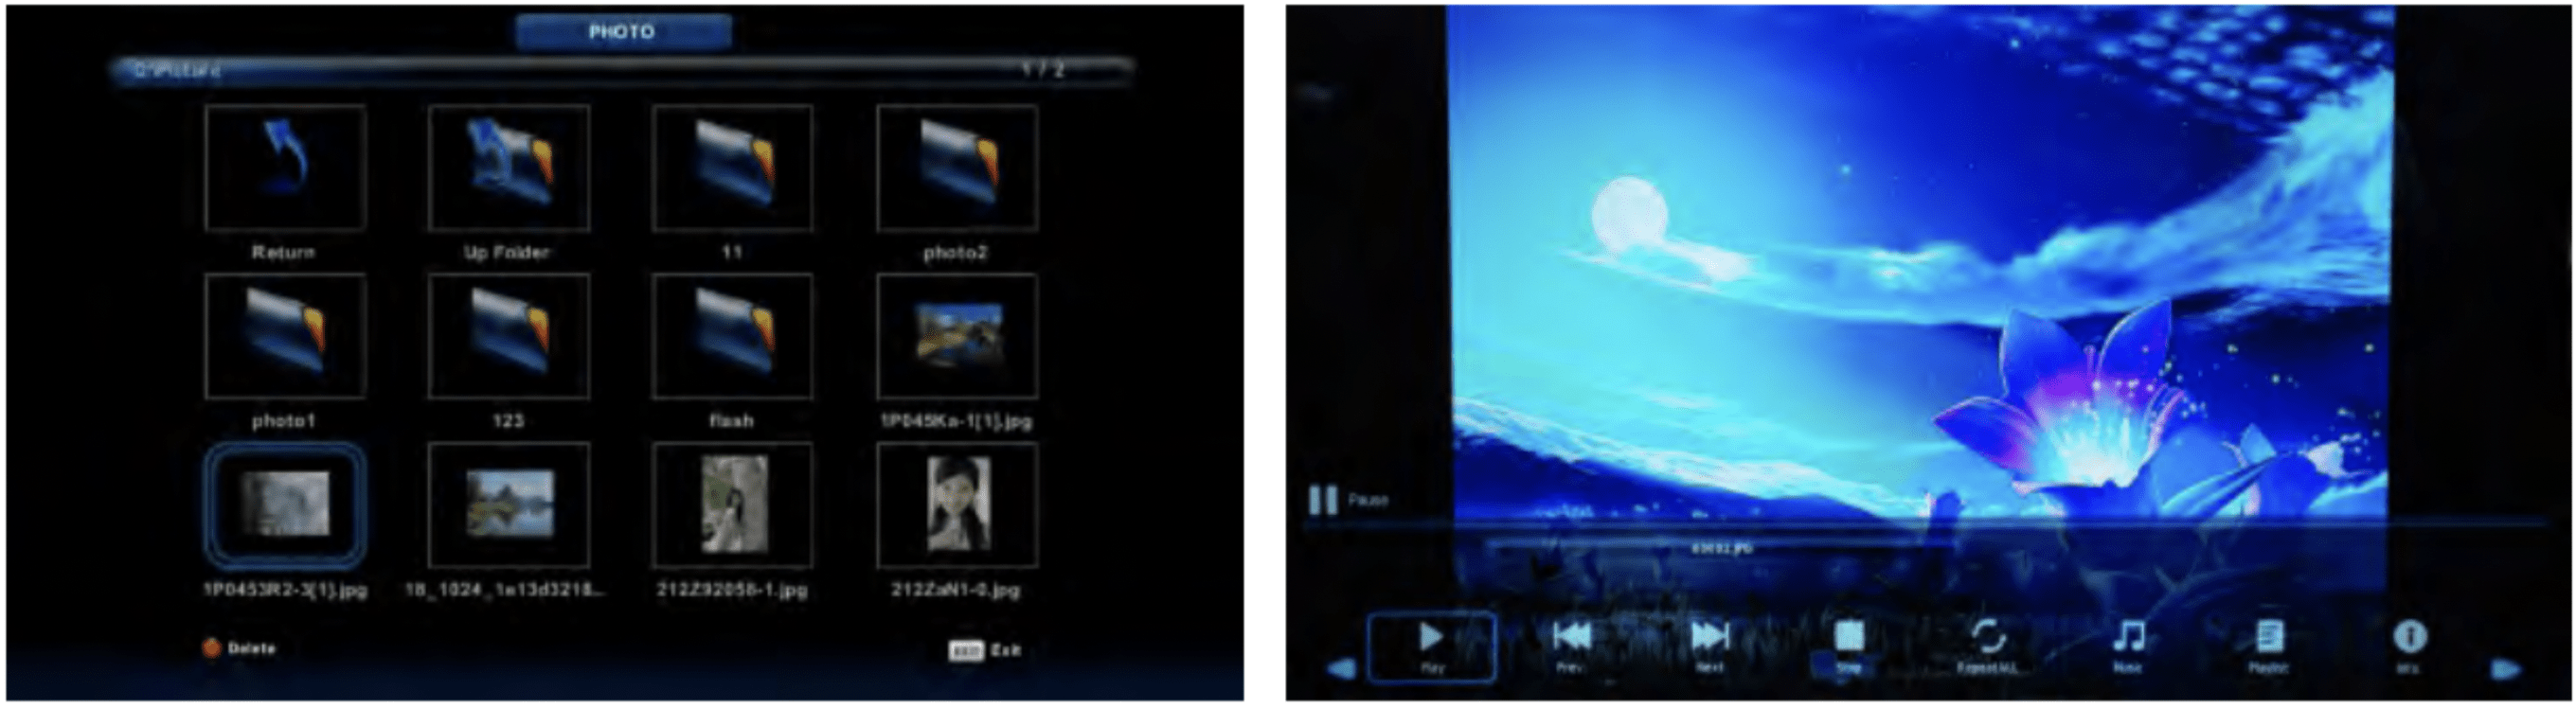
Press / button to select PHOTO in the main menu, then press OK button to enter.
Press Exit button to return to the previous menu and Exit button again to quit.
Press / button to select the file you want to watch in the file selection menu, then press media button to display the picture.
When highlighing the option selected, the file information will appear on the right and the picture will be previewed in the centre.
Music Menu
Press / button to select MUSIC in the main menu, then press OK button to enter.
Press Exit button to return to the previous menu and Exit button again to quit.
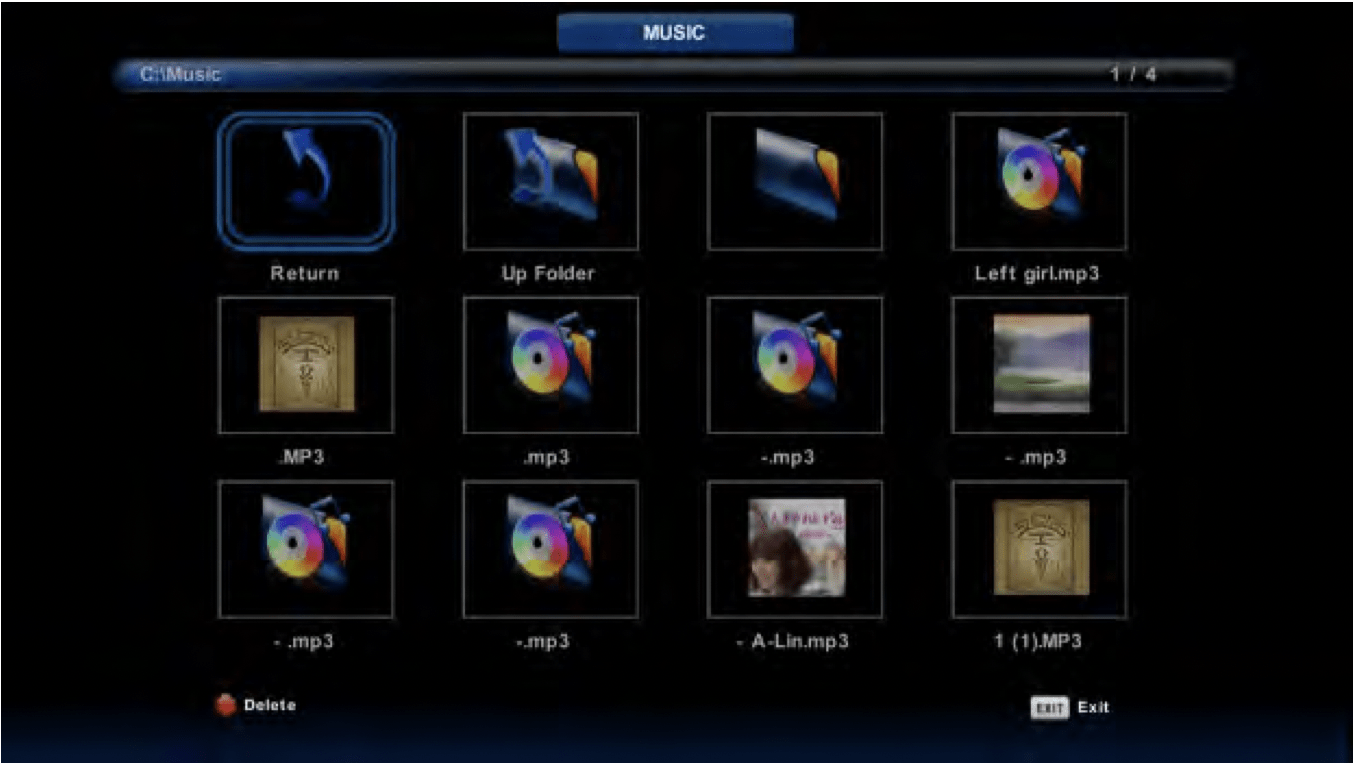
Press / button to select the drive disc you want to listen to, then press OK button to enter.
Press / button to return to the previous menu.
Movie Menu
Press / button to select MOVIE in the main menu, then press OK button to enter.
Press Exit button to return to the previous menu and Exit button again to quit.
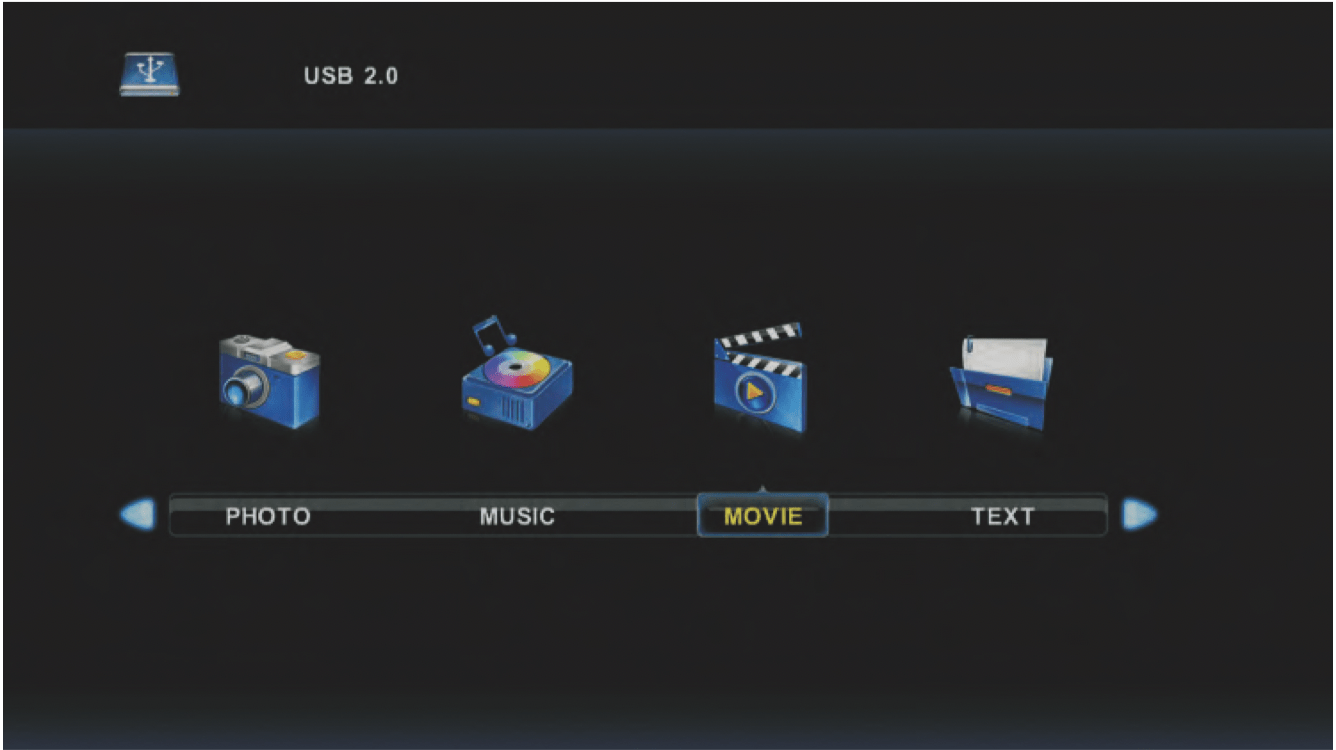
Press / button to select a disc drive to watch, then press OK button to enter.
Press media button to play the selected movie.
Press display button to select the menu at the bottom of the screen, then press OK button to operate.
Press Exit button to go back to the previous menu and Exit button again to quit the entire menu.
Text Menu
Press / button to select TEXT in the main menu, then press OK button to enter.
Press Exit button to return to the previous menu and Exit button again to quit.

Press / button to select a disc drive to watch, then press OK button to enter.
Press / button to select on the next page.
TROUBLESHOOTING
Before consulting service personnel, check the following chart for a possible cause of the trouble you are experiencing and for a solution.
| Problem |
Solution |
| TV will not turn on |
- If your TV has a main power switch (O/I switch), make sure it is set to ON - refer to the Overview diagram for position. Note: The main power switch, if available on your TV, is separate from the standby button.
- Make sure the standby button is also turned on.
- Make sure the power cord is plugged in.
- The batteries in the remote control may be dead. Replace the batteries if necessary.
|
|
I don't receive all the available channels or am having reception problems
|
- Your antenna may not be sensitive enough or positioned properly, especially if you are using an indoor antenna. We recommend connection to a professionally installed external antenna. Some indoor antennas may work depending on your location to the broadcasting tower, however they usually won't tune all available channels and can produce intermittent reception.
|
|
My Foxtek box (or other device) is causing problems with the TV
|
- Try turning your TV on before turning your Foxtel box on.
|
|
No picture, no sound
|
- Check the interface cable between TV and antenna/cable TV.
- Press the power button on the remote.
- Press the SOURCE button on the remote, then press the SOURCE button repeatedly to select the Tv sources.
|
|
Poor picture, sound OK
|
- Check the interface cable between TV and antenna/cable TV.
- Try another channel. The station may have broadcast difficulties.
- Adjust the brightness/contrast options in the Video menu.
|
|
Picture OK, poor sound
|
- Sound may be muted. Press the MUTE button on the remote.
- Press the TV button on the remote, then press the VOL + button to increase the volume.
|
|
I've lost or damaged my remote control
|
- Please call customer service to buy a new one. Please note that universal remote controls will not work with this television.
|
|
Audio noise
|
- Move any infrared equipment away from the TV.
|
| When I connect my computer, the outer edges get cropped out. |
- Using the TV's menu, select "Aspect Ratio" and change the value to either "Underscan" or "Point to Point". Once complete, set your computer's video output to 1080p for best performance.
|
Smart Features Troubleshooting
| Problem |
Possible Causes |
Solutions |
| Cannot access any links on the browser |
- Errors in network parameter configuration.
- Network connection is improper.
- Network service is not activates.
- Wi-Fi not connected properly.
|
- Contact the network administrator to obtain IP address and other parameters.
- Check if network cable is connected properly.
- Contact network service provider.
- Connect to your Wi-Fi network.
|
| Cannot download or install apps |
- Problem with your network connection.
- Trying to install incompatible apps.
|
- Check your network connection (wired or wireless).
- Not all apps are compatible with this TV. Some third-party apps may not work properly or may have limited functionality.
|
|
Text/ images getting cut off at the edges
|
- Screen size adjusted correctly.
|
- Adjust screen size from 'Welcome' option in 'All Apps'. See 'Smart TV Install Wizard' section for instruction.
|