V1
User
manual
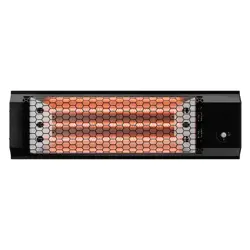
Model: HS-1500-OTR-TRI
1500 W | Indoor-outdoor

2
Table of contents:
Important instructions ����������������������������������������������������������������������������� 3
Included parts �������������������������������������������������������������������������������������������� 6
Installation instructions ��������������������������������������������������������������������������� 7
Operations & controls ������������������������������������������������������������������������������12
Maintenance ����������������������������������������������������������������������������������������������12
Storage �������������������������������������������������������������������������������������������������������13
Return policy ���������������������������������������������������������������������������������������������14
1-year limited warranty ���������������������������������������������������������������������������14
Thank you and congratulations on your Heat Storm Heater!
Please read and keep all safety and use instructions. Should
you have any questions or concerns, please don't hesitate to
reach out to us at 435-752-6611 or cs@heatstorm�com�

3
Important instructions
Please read and understand this entire manual before attempting
to assemble, operate, or install the product� Use this heater only
as described in the manual� Do not operate the heater unless it is
attached to the wall, tripod, or ceiling mount� If the directions are
not followed, an electric shock or re may result causing property
damage, personal injury or death�
SAFETY GUIDELINES & FEATURES
• Adhere to basic precautions to minimize the risk of re, electric
shock, and injury when using electrical appliances�
• The heater becomes hot during operation; avoid direct contact
with hot surfaces to prevent burns�
• Exercise extreme caution in the presence of children, invalids,
or when the appliance is unattended� Children should not play
with the appliance�
• Individuals with reduced capabilities should not operate the
appliance without supervision or proper instruction�
• Unplug the heater when not in use� To disconnect from the power
supply, grip by the plug to poll from the power socket� Never pull
by the cable�
• Overheat protection: If the product malfunctions or is covered,
and the temperature probe detects a temperature above 90°C,
the protection program will activate� The heating element will
turn off, and the power indicator light will ash and remain on.
Additionally, the heater will buzz with intermittent chirps�
Note: To deactivate the overheating protection, you must unplug
or turn off the power and then turn it back on�
• 24-hour automatic shutdown: If the product is in working mode
for more than 24 hours, it will automatically shut down� The
countdown will start from the last action, after which it will enter
standby mode�
• Tip-over protection: If the heater is tilted more than 45 degrees,
the heating element will turn off, and the product will enter
standby mode�"
• Do not operate unless the extending guard (Protection grid, see
item 3 in part list) is in place� Do not use if the extending guard
has been deformed�

4
WARNING
• For any maintenance other than light cleaning, please contact an
authorized service representative�
• Never plug the appliance into the socket with wet hands�
• High temperature, risk of re, keep electrical cords, drapery,
furnishings, and other combustibles at least 3 feet (0�9 m) from
the front of the heater and away from the side and rear� To reduce
the risk of re, do not store or use gasoline or other ammable
vapors and liquids in the vicinity of the heater�
• Heat Storm Infrared Heaters are considered to be an appliance�
Each heater and appliance should be on its own circuit�
• DO NOT operate if the following occurs:
» Heater has a damaged cord or plug�
» After the heater malfunctions�
» Heater has been dropped or damaged in any manner�
Turn off the heater, disconnect the cord, and have heater
inspected/serviced by an electrician before reusing or discard
the heater�
CAUTION
• To prevent electric shock, match the wide blade of the plug to the
wide slot and fully insert�
• To disconnect, turn controls off, wait for the fan to stop, and then
remove the plug�
• Do not insert foreign objects into ventilation or exhaust openings
to prevent electric shock, re, or heater damage.
• Do not block air intakes or exhaust� Do not place heater on soft
surfaces or near a bed, where openings may become blocked or
blankets can be ignited�
• Under no circumstances should this heater be modied.
Modications will void the warranty. Parts removed for servicing
must be replaced prior to operation�
• Do not move the heater while it is operating� Turn off the heater,
wait for the heater to cool, and then relocate�
• Plug the heater directly into a wall outlet; do not use extension
cords, surge protectors, or relocatable power taps� This heater
is designed for standard 120-volt outlets and should only be
connected to a proper 2-prong polarized outlet�
• Ensure the cord is not under carpeting, covered with rugs,
runners, or similar coverings� Avoid routing it under furniture
or appliances and position it away from high-trafc areas to
prevent tripping hazards�

5
• If the supply cord is damaged, it must be replaced by the
manufacture, its service agent, or similarly qualied persons in
order to avoid a hazard�
• Do not use in the following areas: outdoors, closets, or locations with
gasoline, paint, or ammable liquids.
• Do not use gasoline or any other ammable vapors or liquids,
including aerosol cans, near this heater while it's in operation� This
includes but is not limited to hydrogen, acetylene, ammonia, methane,
ethylene, carbon monoxide, or any other gases lighter than air�
• This heater is tted with safety guards. These are intended to stop
large objects from hitting the emitters� On no account should the
heater be operated with the guard removed�
REMOTE CONTROL BATTERY REPLACEMENT
WARNING: This product contains a lithium button/coin cell battery� If a
new or used lithium button/coin cell battery is swallowed or enters the
body, it can cause severe internal burns and can lead to death in a s little
as 2 hours� Always completely secure the batter compartment� If the
battery compartment does not close securely, stop using the product,
remove the batteries, and keep it away from children� If you think
batteries might have been swallowed or placed inside any part of the
body seek immediate medical attention�
WARNING: Improper use may cause battery leakage, rupture, or re,
resulting in injury or damage� Always follow safety guidelines and proper
disposal methods� Keep batteries away from children�
• Only use CR2025 batteries�
• Ensure the battery is installed correctly, observing the correct
polarity (+ and -)�
• Do not attempt to recharge non-rechargeable batteries�
• Avoid mixing different battery types, such as alkaline, carbon-zinc,
lithium, or rechargeable (e�g�, Nickel-Cadmium)�
• Keep batteries out of reach of children and do not ingest� Batteries
are small parts and pose a choking hazard�
• Remove batteries from the device if it will not be used for an
extended period, or if they are depleted�
• Clean battery contacts before installing new batteries�
• Dispose of used batteries promptly and responsibly, following local
regulations and recycling guidelines, which can be found online or in
your local phone directory�
• Do not dispose of batteries in re, as they may explode or leak.
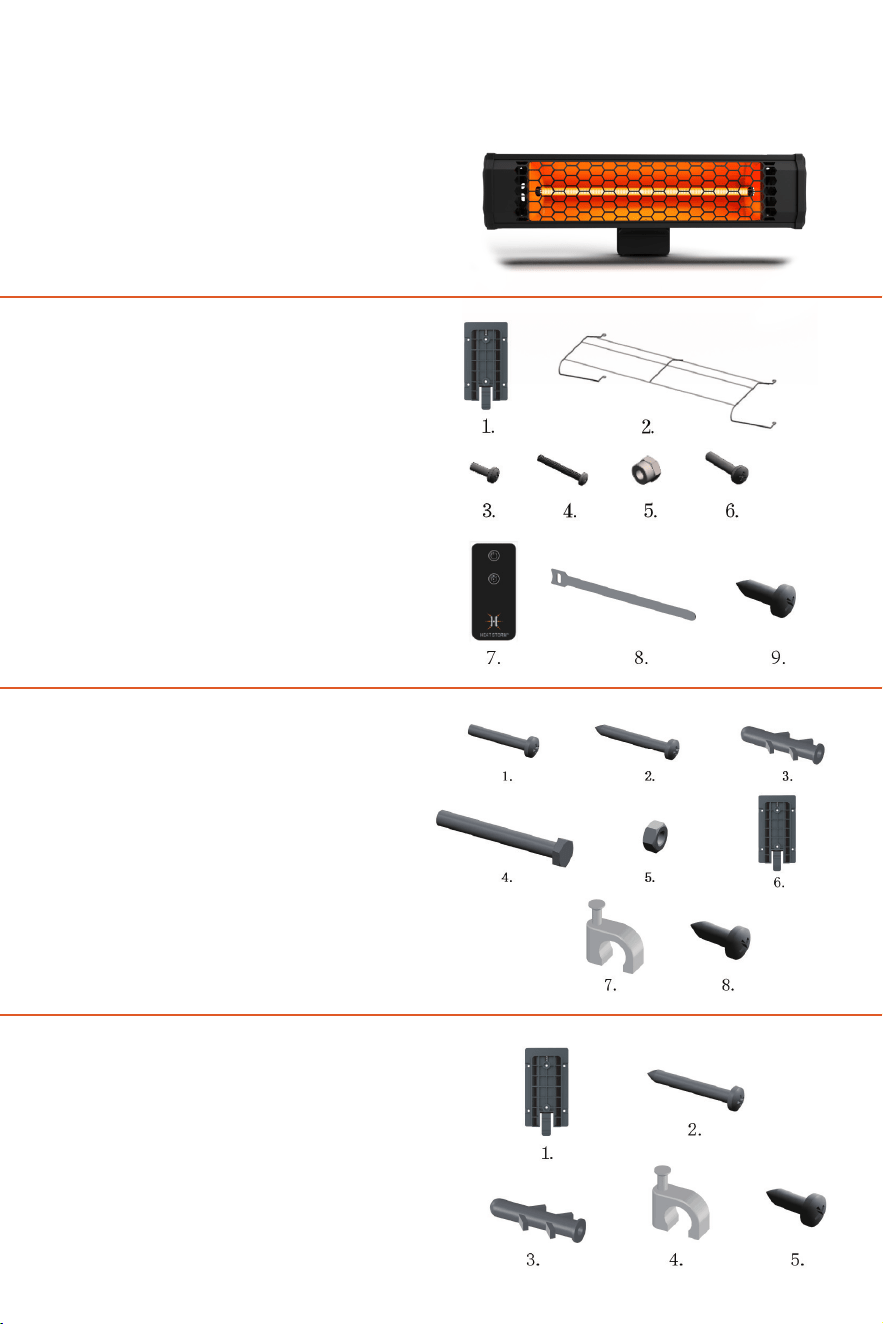
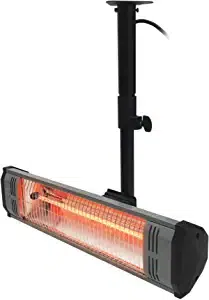
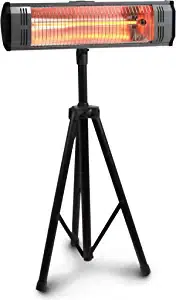
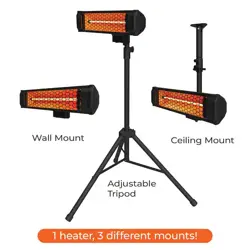
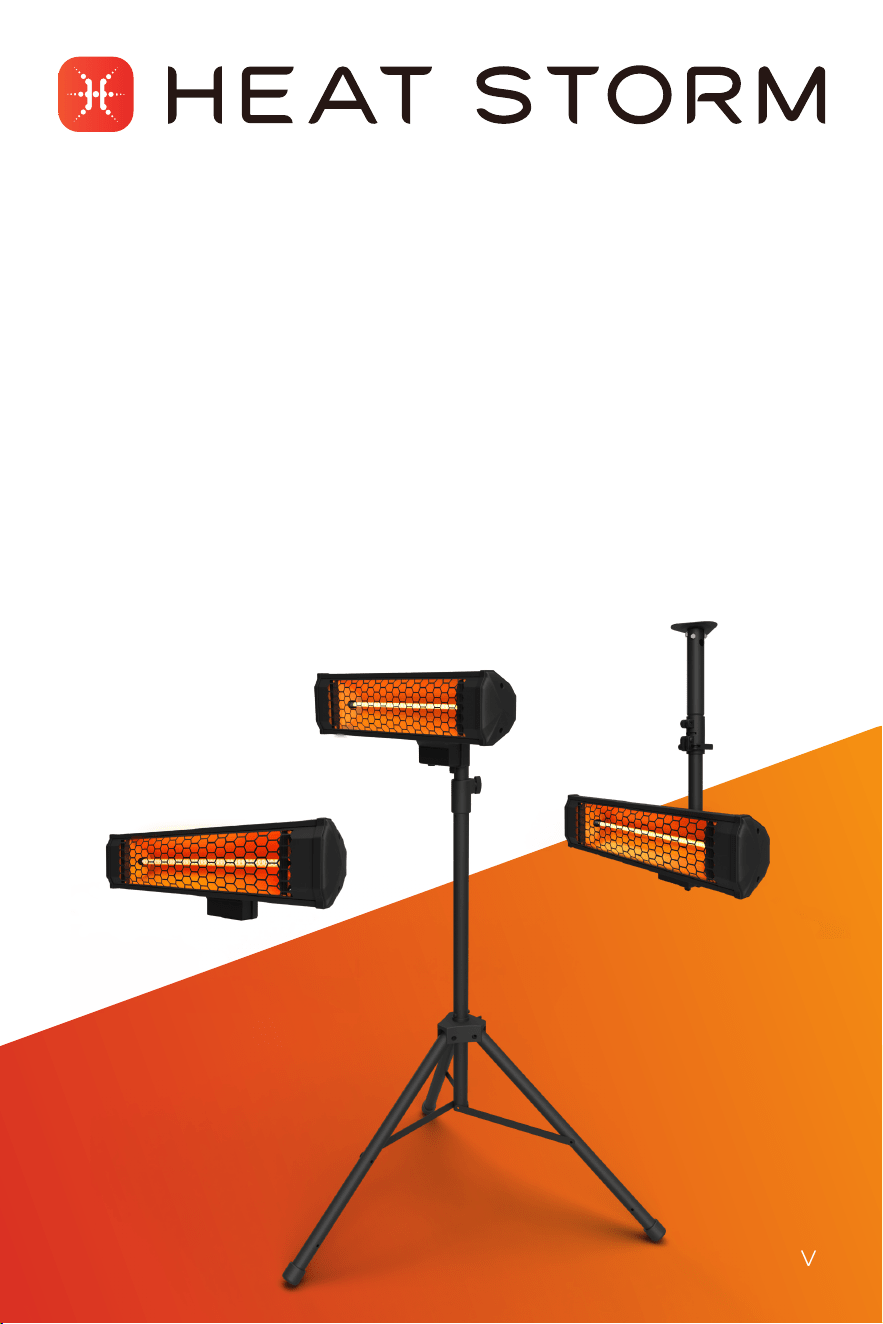
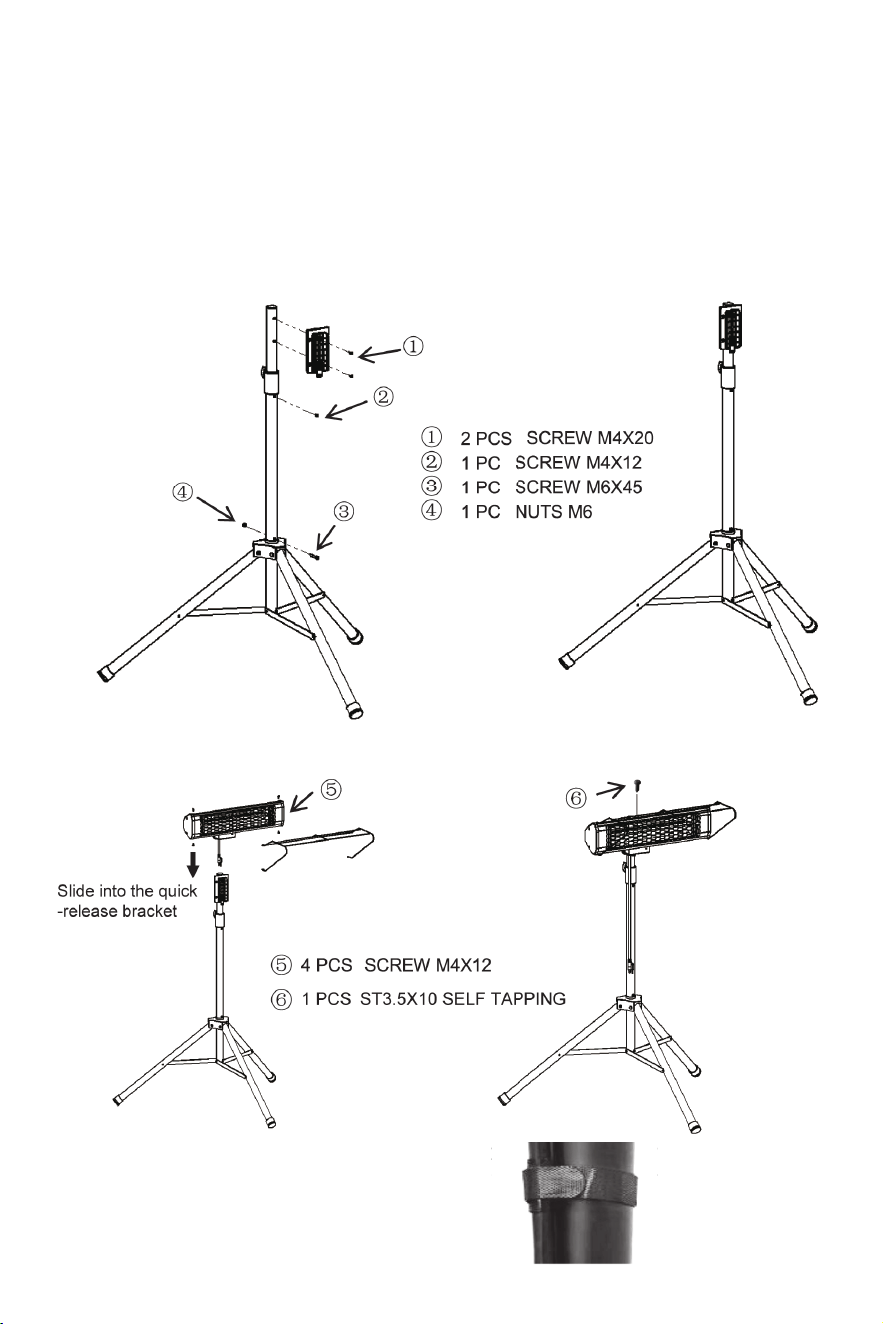
TRIPOD MOUNT
1. Quick-release bracket (x1)
2. Protection grid
3. M4x12 screw (x5)
4. M6x45 screw (x1)
5. M6 nut (X1)
6. M4x20 screw (x2)
7. Remote control
8. Cable tie (x2)
9. ST3�5x10 self tapping (x1)
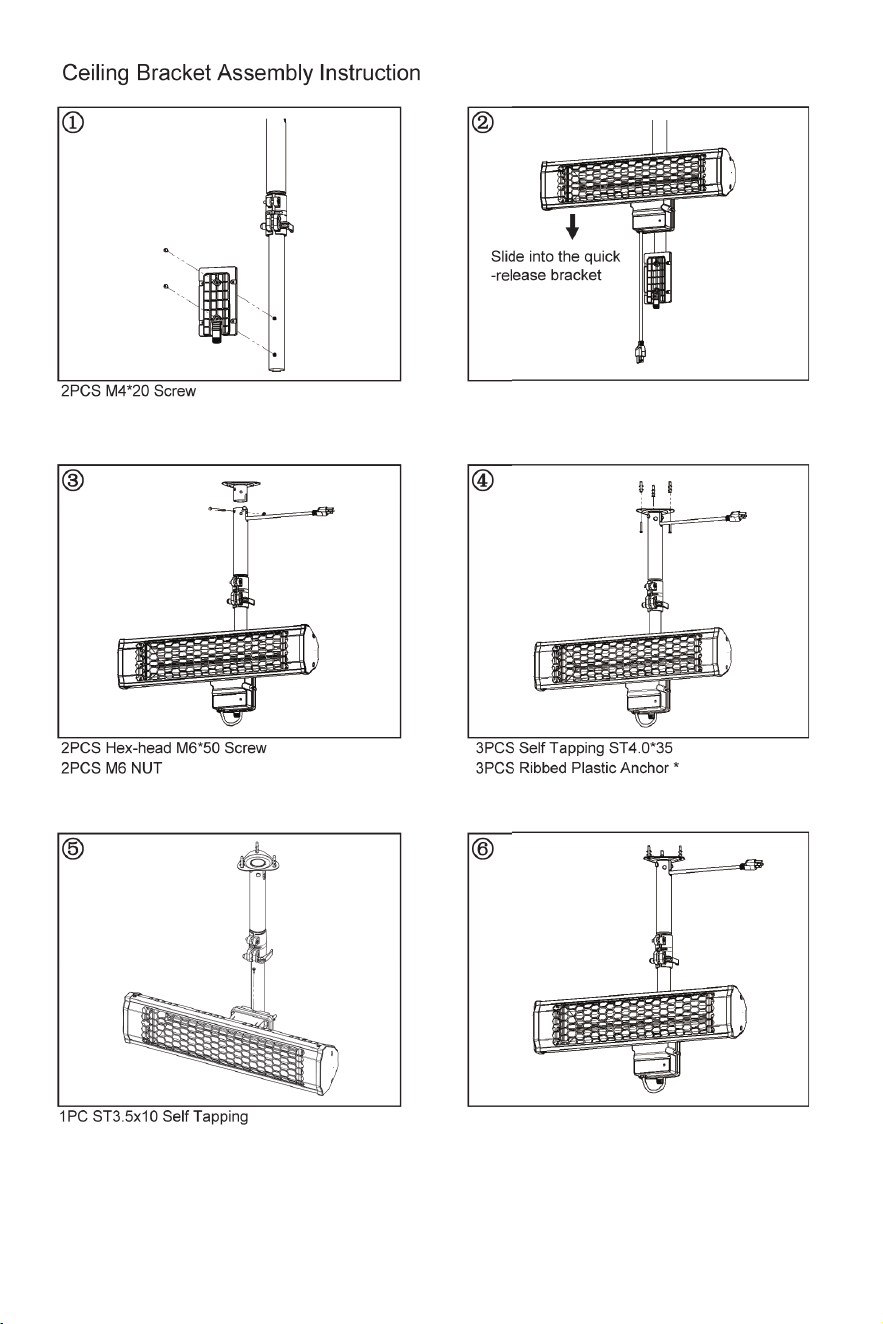
CEILING MOUNT
1. M4x20 screw(x2)
2. ST4�0x35 self tapping (x3)
3. Ribbed plastic anchor (x3)
4. M6x50 hex-head screw (x2)
5. M6 nut (x2)
6. Quick-release bracket (x1)
7. Cable clip-shared by wall mount
8. ST3�5x10 self tapping (x1)
WALL MOUNT
1. Quick-release bracket (x1)
2. ST4�0x35 self tapping (x4)
3. Ribbed plastic anchor (x4)
4. Cable clip-shared by ceiling mount
5. ST3�5x10 self tapping (X1)
HEATER
Included parts
Missing parts?
Email us at cs@heatstorm.com

Installation instructions
• Ensure that the heater is properly installed before use�
• The heater should always be installed horizontally and should
only use the mounting brackets provided�
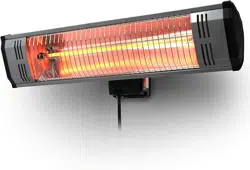
HEATER LOCATION (wall & ceiling mount)
When choosing a location for your new heater, ensure that the
general instructions are followed�
• Your heater must be installed on a provided mount or tripod�
• The heater should not face the ceiling or ammable substances.
• Ensure that there is no possibility of ammable material coming
into contact with the heater or lying near the heater�
• This heater is weather resistant and can be used indoors or
outdoors� If using outdoors, use a waterproof outlet�
Cold climate installation note
Placing the unit under a window or on a poorly insulated wall may
result in the heater reading a colder ambient temperature than the
actual room temperature�
DO NOT USE in the following areas:
• Locations with gasoline, paint, or ammable liquids
• Wet or moist locations
• Closets
• Do not use directly near a bathtub, a shower, a swimming pool
POWER CONNECTION GUIDELINES
Heat Storm Heaters are classied as appliances. Each heater and
appliance should have its own dedicated circuit�
This heater is designed for standard 120-volt, 20-amp outlets and
should only be connected to a properly grounded outlet� Plug the
heater directly into a wall outlet with the cord fully unwound; do not
use extension cords, surge protectors, or relocatable power taps�
Do not use this heater with a timer device that automatically turns it
on while unattended (e�g�, Alexa or Google programmed plug)�
Ensure the cord is not concealed under carpeting, rugs, runners, or
similar coverings� Avoid routing it under furniture or appliances and
position it away from high-trafc areas to prevent tripping hazards.
Missing parts?
Email us at cs@heatstorm.com
CAUTION
High temperature, risk of re, keep electrical cords,
drapery, furnishings, and other combustibles at least
3 feet (0�9 m) from the front of the heater and away
from the side and rear. To reduce the risk of re, do
not store or use gasoline or other ammable vapors
and liquids in the vicinity of the heater�
Regularly inspect your heater cord and plug connections� A loose-
tting outlet can cause the plug to overheat or start a re. Ensure the
plug ts tightly in the outlet. Check frequently during use to ensure
the plug and outlet are not hot� If they are, discontinue using the
heater and have the outlet replaced by a qualied electrician.
Note: Heaters draw more current than small appliances, and overheating of the
outlet may occur even if it has not happened with other appliances.
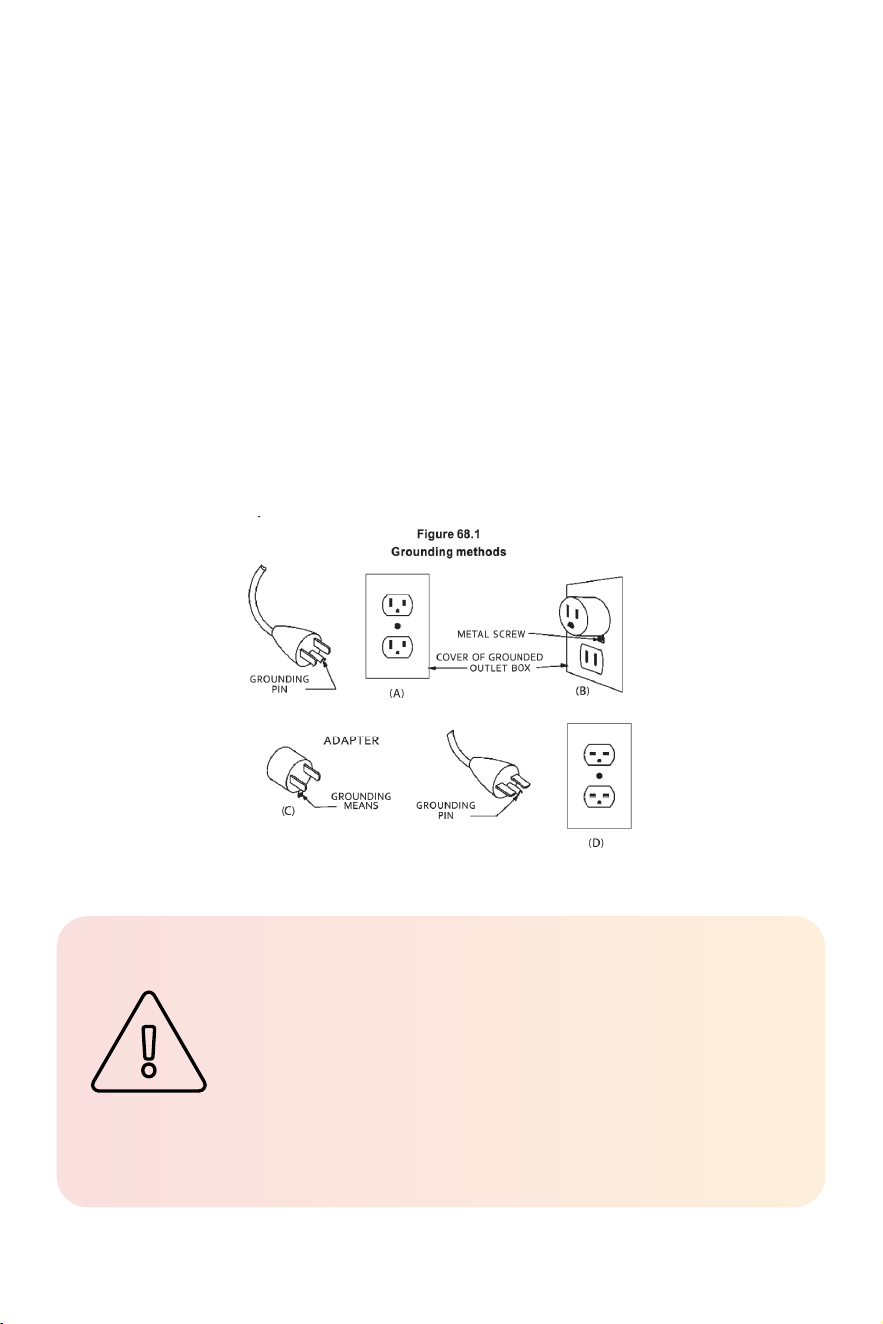
GROUNDING INSTRUCTIONS
This heater operates on 120 volts� The cord features a plug, shown at
A in Figure 68�1� An adapter (shown in C) is available for connecting
three-blade grounding-type plugs to two-slot receptacles� If using
the adapter, ensure the green grounding lug extending from it is
connected to a permanent ground, such as a properly grounded
outlet box� Do not use the adapter if a three-slot grounded receptacle
is available�
9
TOOLS NEEDED FOR INSTALLATION
• 3/16” drill bit
• Philips screwdriver
TRIPOD
Step 1: Fasten the mount plate to the tripod�
Step 2: Mount the heater to the tripod�
Step 3: Fix the power cord around the
tripod with the provided cable tie�
10
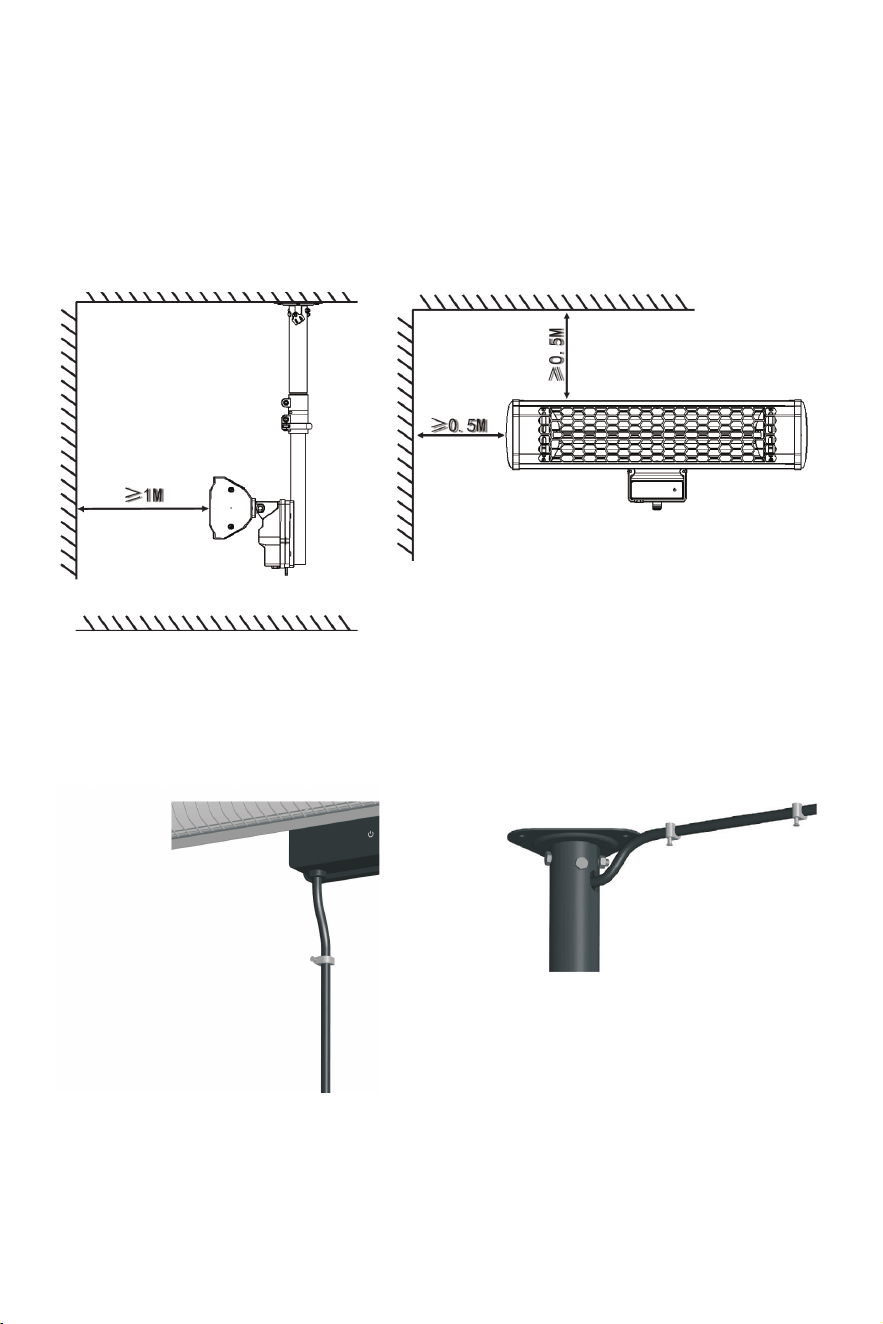
WALL AND CEILING MOUNT
ONLY USE SUPPLIED BRACKETS�
• Ensure the power cable can reach an power outlet� Do not twist or
bend the power cable�
• Do not install closer than 19�7 inches (500 mm) to a vertical,
horizontal (etc) surface�
• Prevent the power cable from touching the heater or entering the
heated area� Secure the cord to the wall or ceiling when using the
mounts to avoid re or damage.
11
*Use ribbed plastic anchors for mounting into drywall ceilings only�
If mounting into wood studs, plastic anchors are not necessary�
12
Maintenance
This heater contains no moving parts and needs very little maintenance�
When the heater builds up heavy dirt, use a soft cloth to wipe it off�
All other servicing should be performed by qualied service personnel.
Operations & controls
Power ON/OFF
Press the power icon on either the remote or the heater to
alternate between on and off�
Timer
Turn the heater on and then tap on the timer button on the
remote to enable edit mode. The display will ash. Continue
pressing the timer button to change the "off" time� The timer
will display in hour increments from 1 to 9 hours� Wait 5
seconds for the timer setting to activate� Press the on/off to
cancel the delay off timer�
13
WARNING
Before cleaning, unplug from the power supply
and wait until the heater cools down�
Storage
You may store your heater indoors, where it is inaccessible to children�
Alternatively, disassemble the heater and store it in its original
packaging box�
Tripod disassembly instructions:
1. Unplug from the outlet and allow it to cool down�
2. Carefully disassemble the extending guard and tripod legs by
removing the screws as shown in the installation gures.
3. Carefully fold the power supply cord and secure it with a cable tie�
4. Place the heater and all assemblies, including screws and nuts, in
the packaging box, and then store it in a dry location, away from
direct sunlight and out of reach of children�
5. When you next use it, assemble it according to the installation
instructions before use�
HEATER MALFUNCTION OR DAMAGE
DO NOT operate if the following occurs:
• Heater has a damaged cord or plug�
• After the heater malfunctions�
• Heater has been dropped or damaged in any manner�
Turn off the heater, disconnect the cord or turn off the circuit at the
breaker, and have heater inspected by an electrician or authorized
service facility before reusing�
Damaged cord or plug
If the supply cord is damaged, it must be replaced by the manufacture, its
service agent, or similarly qualied persons in order to avoid a hazard.

14
Returns & exchanges
30 DAY RETURN POLICY
Heaters purchased directly from EnergyWise Solutions can receive
a refund of the total sales amount if the following conditions are met
within 30 days:
1. Product is in new condition�
2. Product is packed in the original manufacturers box and
packing material�
3. Original manuals and accessories are included in package�
EXCHANGES & WARRANTY
After 30 days from the purchase date, the buyer is responsible for
all freight/shipping charges associated with exchanges, refunds, or
warranty claims for the purchased product�
1-year limited warranty
The manufacturer warrants this product and included accessories
against defects in materials and workmanship under normal use
for a period of ONE (1) YEAR from the date of retail purchase by the
original end-user purchaser�
EXCLUSIONS AND LIMITATIONS
1. Install and operate the electric heater strictly in accordance
with the provided instructions at all times� Unauthorized
repairs, alterations, willful abuse, accidents, or misuse of the
product will void this warranty�
2. This warranty is exclusive to the original owner, valid only if
the purchase was made through an authorized supplier of the
product, and is non-transferable�
3. The warranty is limited to repairing or replacing defective
parts in material or workmanship� This applies only if the said
part(s) have been exposed to normal conditions of use and
service, conrmed by the manufacturer's inspection.
4. The manufacturer may, at its discretion, fulfill warranty
obligations by refunding the wholesale price of the
defective part(s)�
5. Costs related to installation, labor, construction,
transportation, or any other associated expenses arising

15
from defective part(s), repair, replacement, or otherwise, are
not covered by this warranty� The manufacturer disclaims
responsibility for such costs�
6. The owner/user assumes all risks, including any direct,
indirect, or consequential loss or damage resulting from
product use, except as mandated by law�
7. All other warranties, whether expressed or implied,
pertaining to the product, its components, accessories, or any
manufacturer obligations/liabilities, are expressly excluded�
The manufacturer neither assumes nor authorizes any third
party to assume additional liabilities related to the product sale�
8. The manufacturer neither assumes nor authorizes any third
party to assume on its behalf, any other liabilities with respect
to the sale of the product�
9. The warranties as outlined in this document do not apply to
non-accessories used in conjunction with the installation of
this product�
10. Specic legal rights provided; additional rights may vary
by state� Warranty void if prolonged exposure to dampness,
unauthorized alteration, willful abuse, accident, misuse, or
lack of original purchase receipt�
WARRANTY REDEMPTION
Reach out to Heat Storm customer service at 435-752-6611 during
the warranty period� Please have your sales receipt, purchase
location, and product model information ready� Troubleshooting
support will be offered over the phone� If the issue persists, you
may be requested to email proof of purchase and a photo of the
manufacturer sticker to cs@heatstorm�com�
Replacement parts:
In some cases, we may send you a replacement part along with repair
instructions. This is classied as an authorized repair and does not
void your warranty�
Unit repairs:
If the situation warrants, we will have you send the defective product
to us for inspection� Our technicians will repair the product or provide
a new unit if your heater is deemed irreparable� For units beyond the
30-day return policy, shipping costs are the consumers responsibility�
If interested in our discounted shipping rates, kindly inform your
customer service representative�

Need help?
435-752-6611 cs@heatstorm�com heatstorm�com