ILVE Nostalgie Oven Door Removal and
Installation Guide
Are you looking to give your ILVE Nostalgie oven a deep clean or need to x a
damaged part? Removing and reinstalling the oven door may seem like a daunting
task, but with the right steps, it’s a breeze! Whether you’re tackling a cleaning session,
handling repairs, or just need to make space for your oven’s interior, knowing how
to properly remove and reinstall the oven door is essential. In this guide, we’ll walk
through the easy process of removing your Nostalgie oven door and installing it back
in place, so you can get back to enjoying your beautiful, high-performing oven with
minimal hassle. Let’s get started!
The ILVE Nostalgie Series is a premium line of kitchen appliances, specically ovens
and ranges, designed with a classic, retro-inspired aesthetic that combines timeless
style with modern functionality. These appliances are known for their sophisticated
design, high-quality materials, and advanced technology, making them a popular
choice for both professional chefs and home cooking enthusiasts.
The Nostalgie Series typically features a vintage look with elegant nishes like
enamel or stainless steel, along with features like multi-functional ovens, powerful
burners, and precise temperature control. These appliances are craed to provide
a high-end cooking experience, blending the charm of traditional designs with
the convenience of contemporary cooking innovations. Whether in a traditional or
modern kitchen, the Nostalgie Series oers both style and performance.
Removing and installing the oven door on your ILVE Nostalgie oven is a simple
process that can help with cleaning, maintenance, or replacing the door. This guide
will walk you through the exact steps to remove and reinstall the oven door safely and
easily.
Tools and Materials Needed:
• A so cloth or towel (to rest the door on)
• A second person (optional, for extra stability during removal and installation)
• A clean, at surface for resting the door (like a countertop)
How to Remove and Install the ILVE Nostalgie
Oven Door

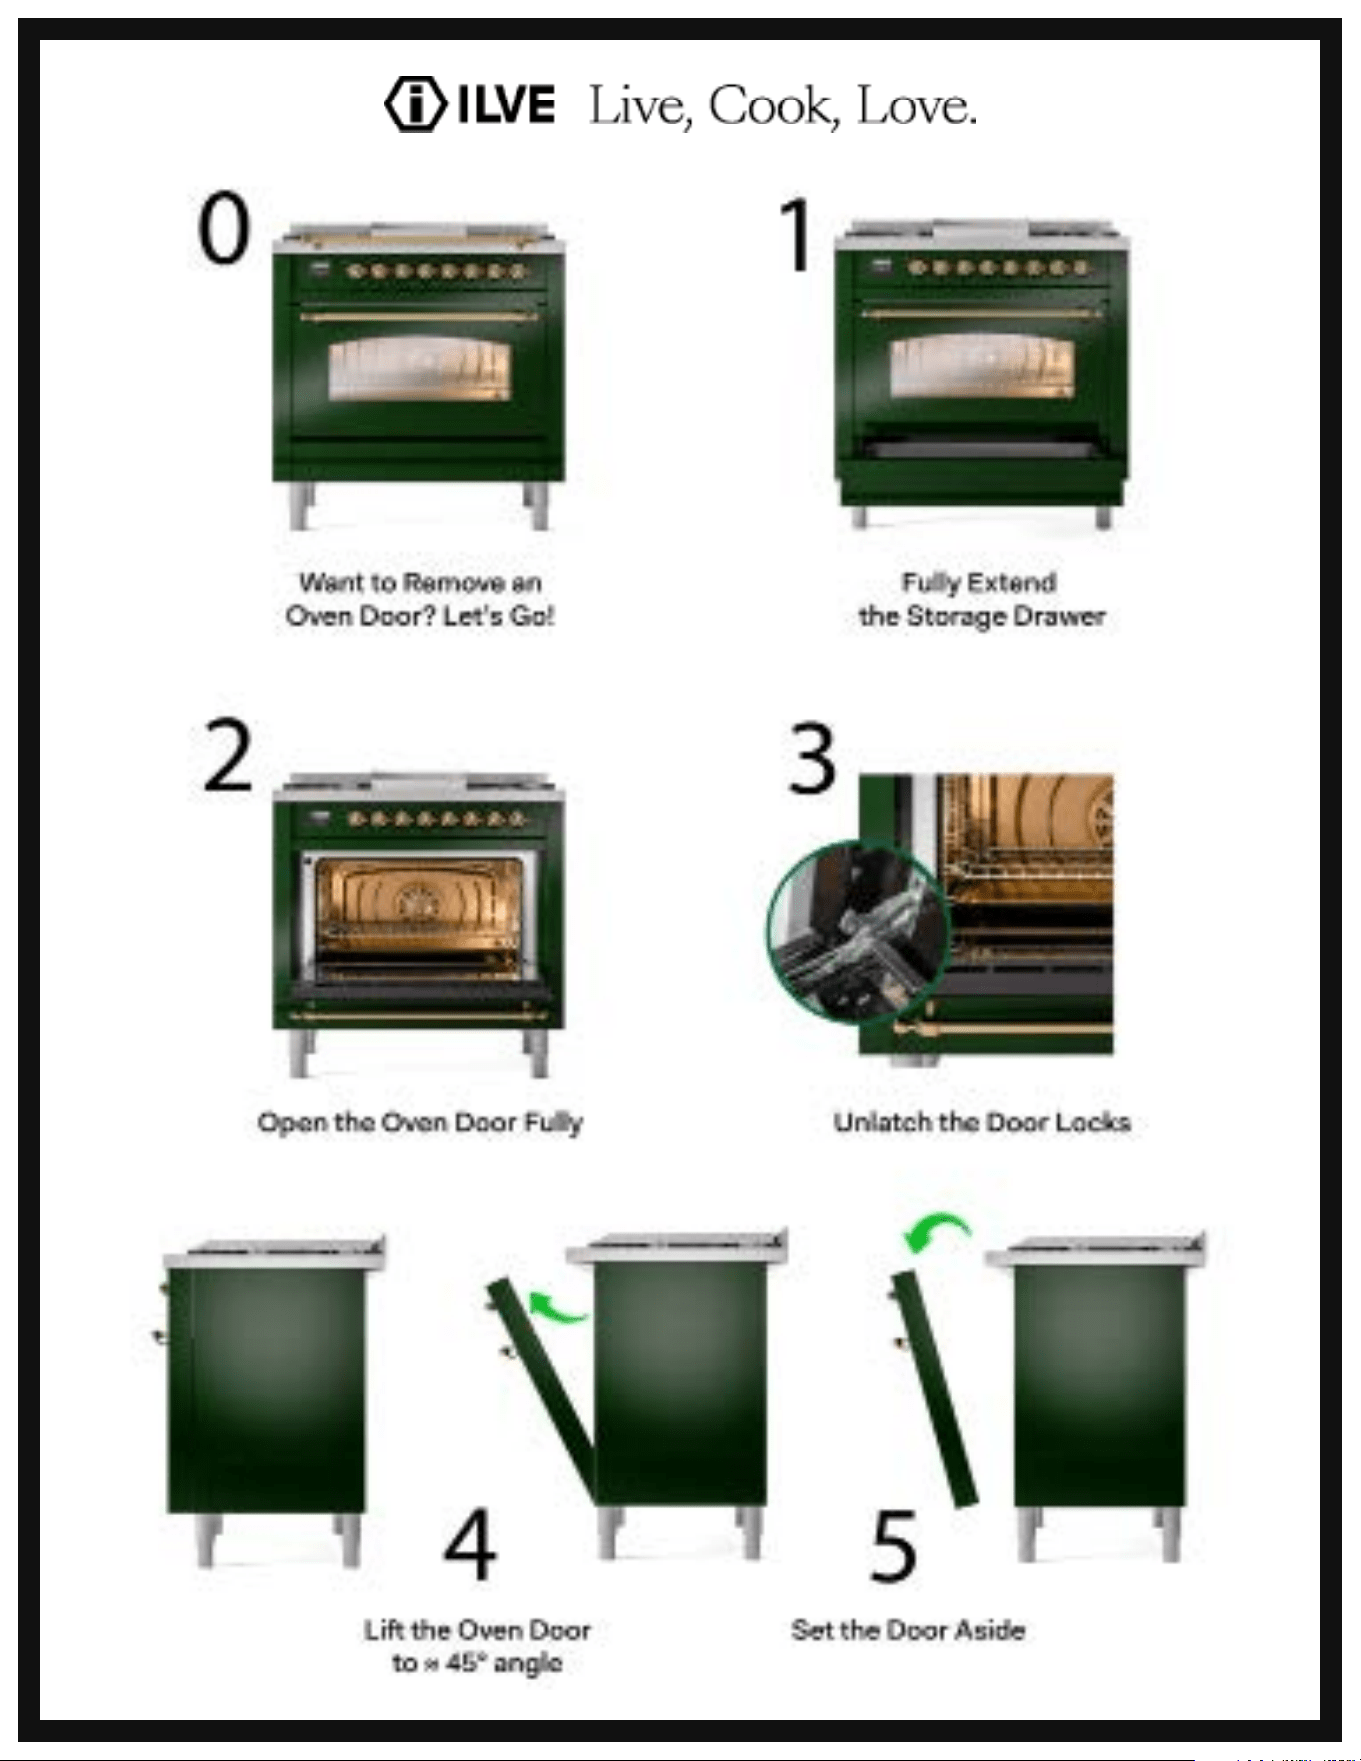
Step 1: Fully Extend the Storage Drawer
Pull the storage drawer of the oven completely out. This will provide you with the
space and leverage needed to remove the oven door properly and safely.
Step 2: Open the Oven Door
Open the oven door fully, so that it is in a horizontal position. This will give you access
to the locking mechanism of the door hinges.
Step 3: Unlatch the Door Locks
Once the oven door is fully open, li the door locks upward toward the range to
release the door hinges. These locks secure the door in place, and disengaging them
will make the removal process much easier.
Step 4: Li the Oven Door
Raise the oven door to an approximately 45-degree angle, making sure that it is still
secure and easy to handle. At this angle, li the door upwards and toward yourself.
The door should come o with little to no resistance. If you experience resistance,
double-check that the locks are fully disengaged before proceeding.
Step 5: Set the Door Aside
Once the door is removed, carefully place the oven door on a so, at surface, such
as a cloth or towel, to avoid scratches or damage.
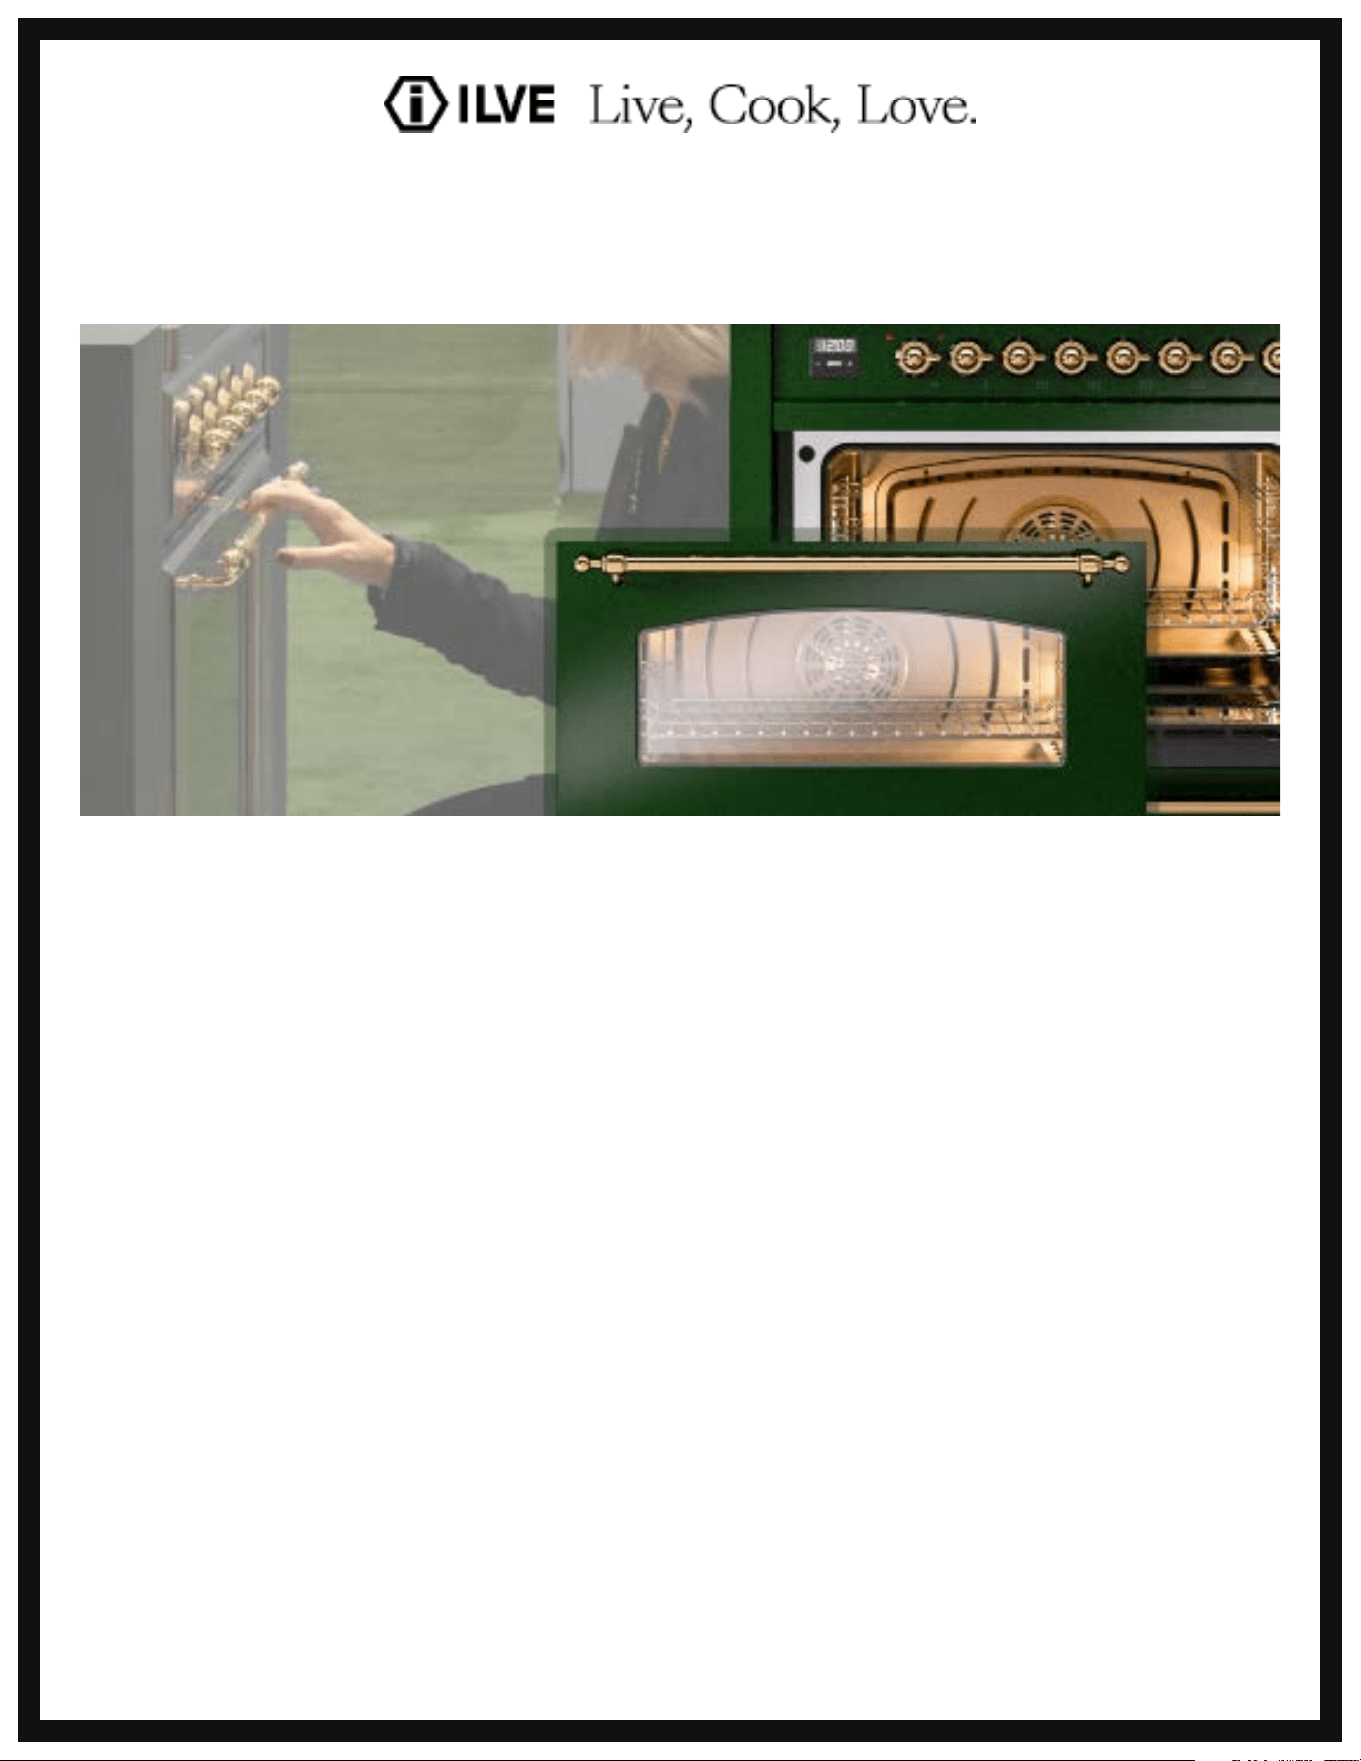
Part 1: Removing the ILVE Nostalgie Oven Door
(See Image Below)

Step 1: Prepare the New Door
If you are replacing the door, make sure the upward hooks on the top of the new oven
door are aligned and ready to be installed.
Step 2: Align the Hooks with the Slots
Position the upward hooks of the new oven door to line up with the designated slots
in the oven’s frame.
Step 3: Insert the Door into the Slots
At the same 45-degree angle, lower the new oven door into its designated slots. The
motion should be similar to when you removed the old door. Gently slide the door
into place, ensuring the hooks are securely aligned with the oven’s slots.
Step 4: Pull the Oven Door Down
With the storage drawer fully extended for better access, slowly pull the oven door
down into a fully closed position. Make sure the door ts snugly and that it is fully
aligned with the oven frame.
Step 5: Secure the Door Locks
Push the door locks back down toward the oven door until they are securely latched.
This will ensure the door is rmly held in place.
Step 6: Test the Door
To conrm the installation was successful, open and close the oven door a few times.
The door should move smoothly, with no resistance or wobbling. If everything is
aligned properly, your new oven door is securely installed and ready to use!
By following these steps, you can easily remove and install the ILVE Nostalgie oven
door. Whether you’re cleaning, replacing, or maintaining your oven, this guide
ensures the process is quick and hassle-free. Always make sure the door is securely
latched and operates smoothly aer installation. Enjoy your newly refreshed oven!
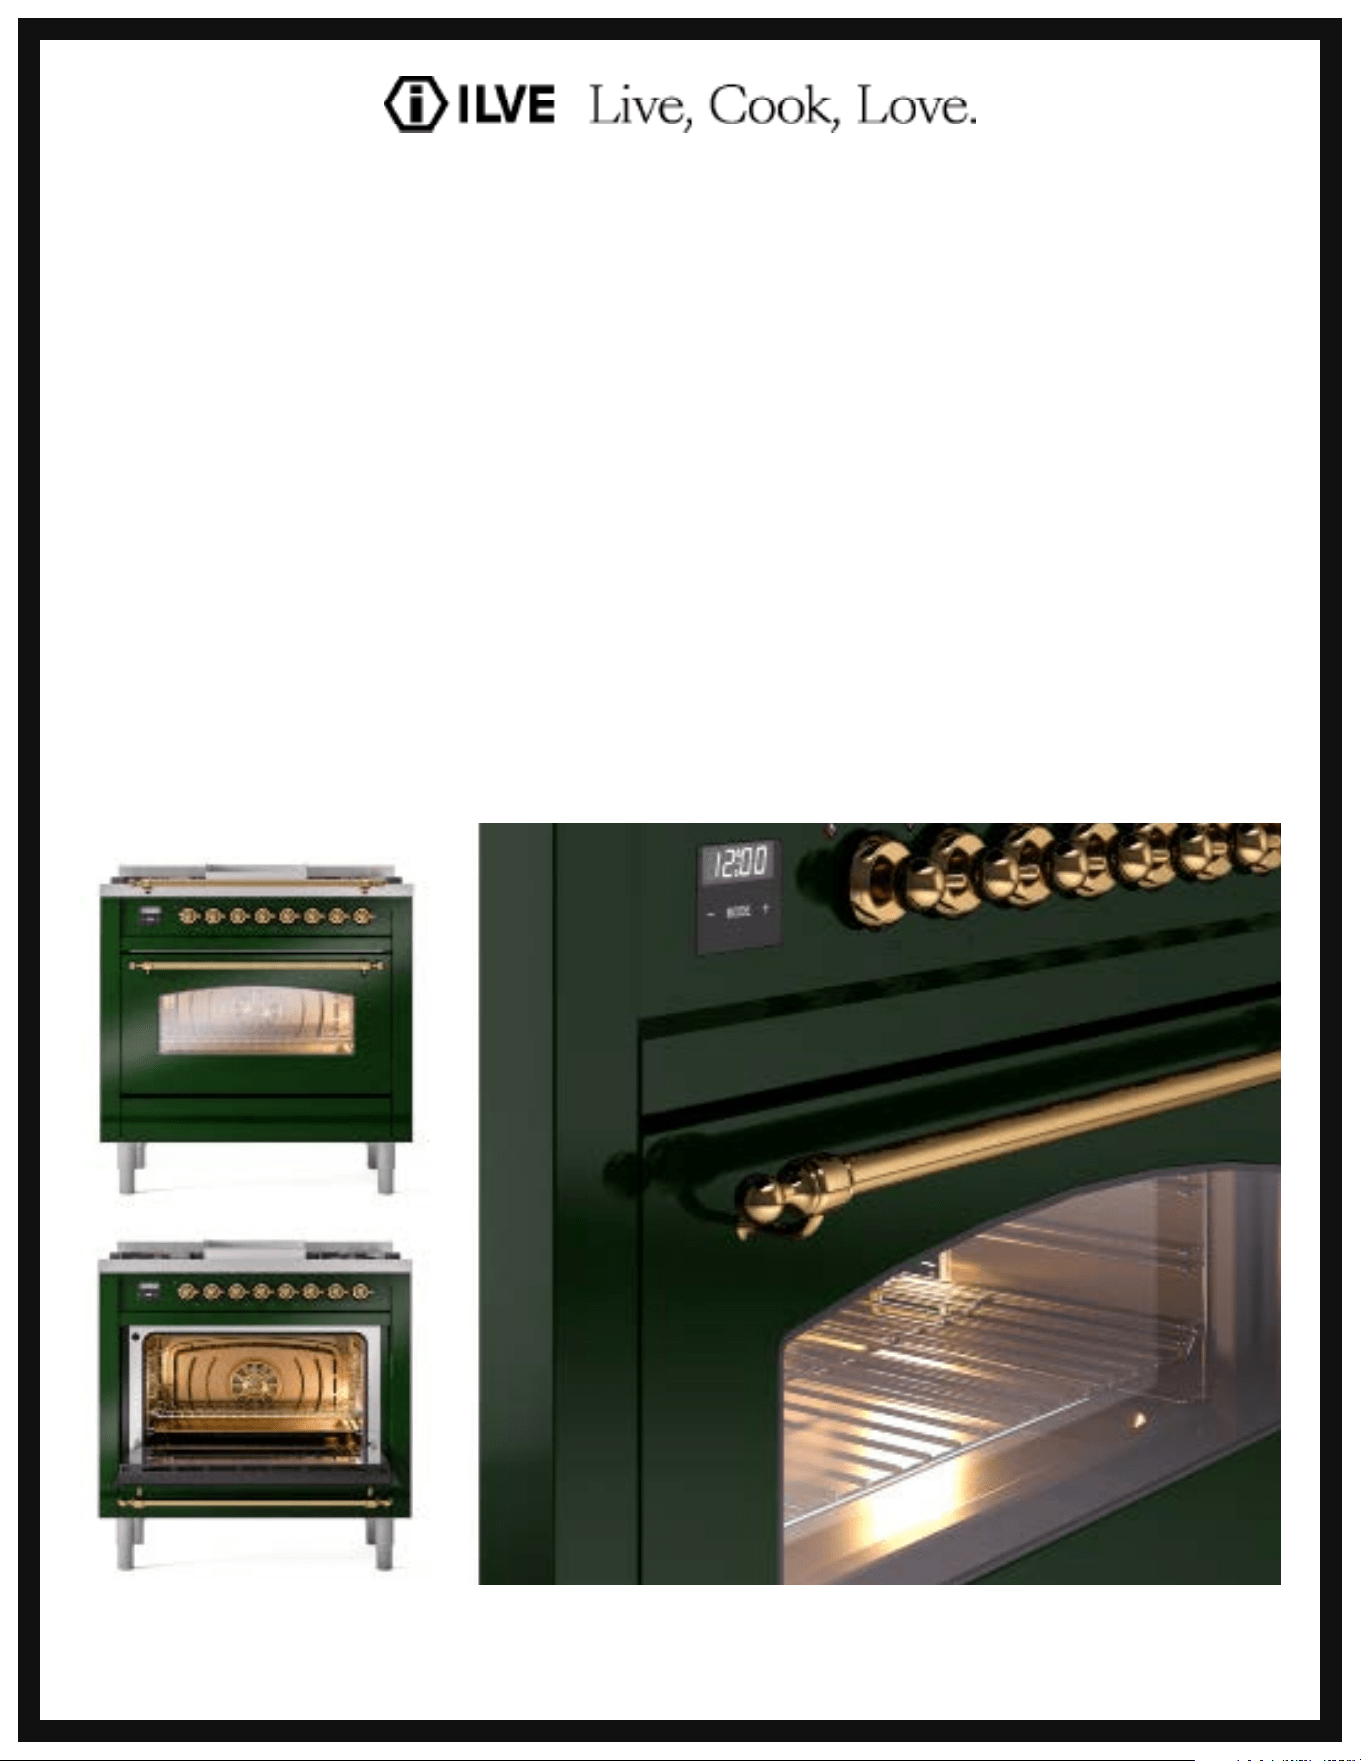
Part 2: Installing the ILVE Nostalgie Oven Door