EAT LIVE
H
OPERATION, MAINTENANCE
AND SAFETY INSTRUCTIONS
I
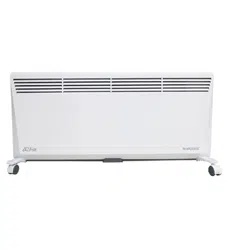
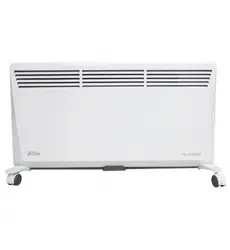
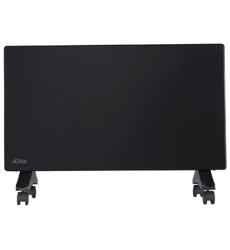
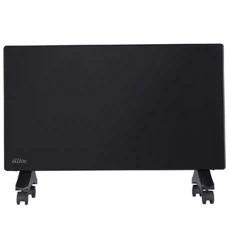
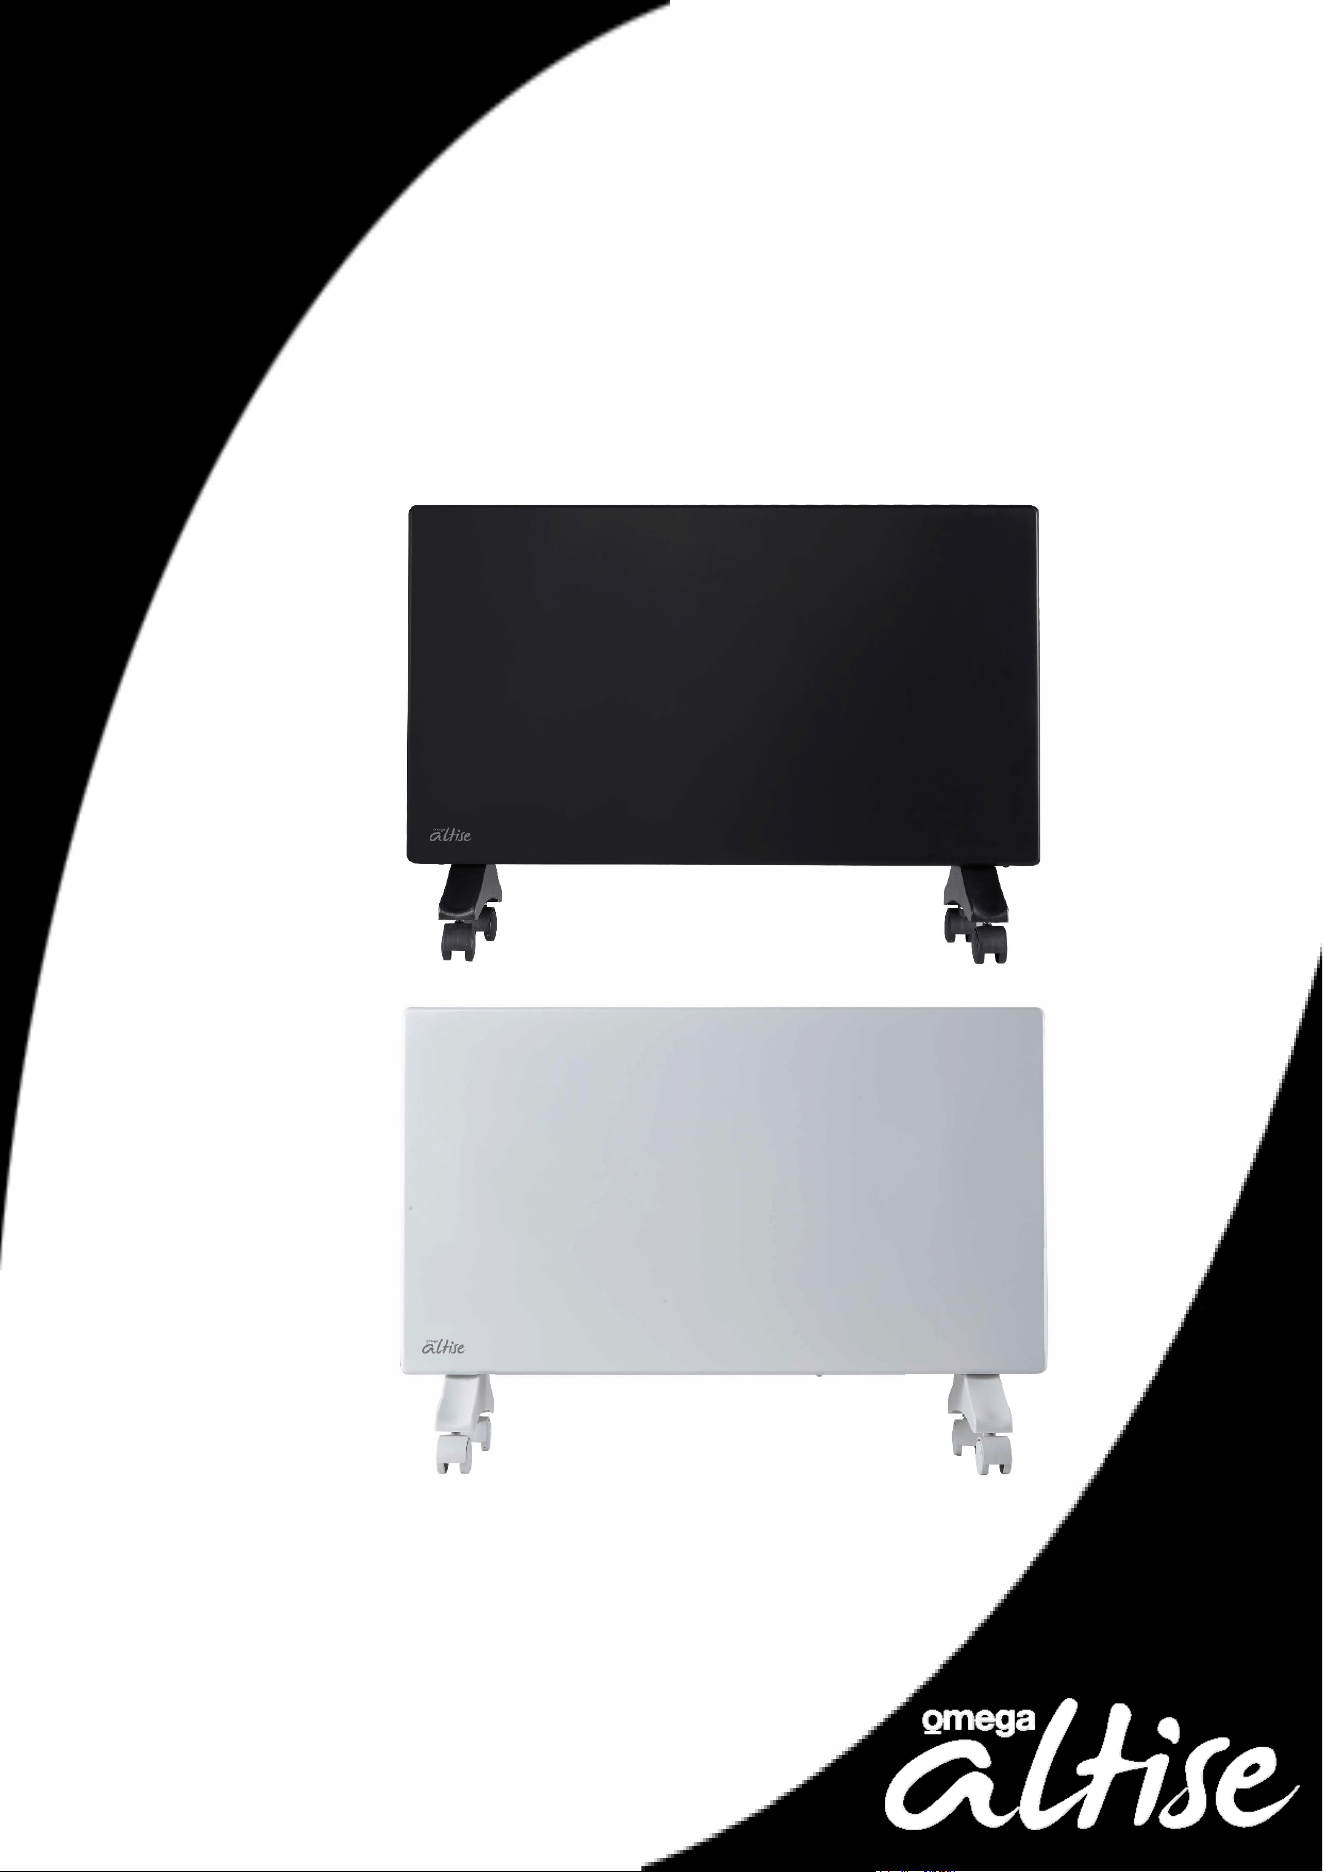
OMEGA ALTISE PANEL HEATERS OAPE2000B & OAPE2000W
&
OAPE2400W OAPE2400G
IMPORTANT SAFETY
IMPORTANT: Read the safety precautions of this booklet carefully before attempting to assemble, install, operate or maintain
the product described. Protect yourself and others by observing all safety information. Failure to comply with
instructions could result in personal injury and/or property damage. If you are unsure about anything regarding
your heater or these instructions, please contact Omega Altise on
1300 795 572 in Australia or (09) 415 600 in New Zealand before operating your appliance.
1. Read all instructions carefully before using the panel convection heater.
2. Use this heater only as described in this manual. Any other use not recommended by the manufacturer may cause fire,
electrical shock, or injury to persons.
3. Remove the package and ensure that the heater is undamaged. In case of doubt do not use the heater and contact Omega
Altise Service. Do not let children play with any parts of the package.
4. Do not use if there are visible signs of damage to the heater. Do not use this heater if it has been dropped.
5. This appliance is not intended for use by persons (including children) with reduced physical, sensory or mental
capabilities, or lack of experience or knowledge, unless they have been given supervision or instruction concerning the
use of the appliance by a person responsible for their safety. Children should be supervised to ensure that they do not
play with the appliance.
6. Before you use the heater, check if the voltage marked on the rating label corresponds to the mains in your home.
7. When first operated, a slight burning smell may be experienced. This is normal.
8. Avoid using extension cords as the extension cord may overheat and cause a risk of fire.
9. This heater is hot when in use. To avoid burns, do not let bare skin touch hot surfaces. Always use the control panel or
castor supports when moving the heater (when not wall mounted). Keep combustible materials such as furniture, pillows,
bedding, papers, clothes and curtains at least 1 meter from the front & top of the heater and keep them at least 0.5 meters
from the sides and rear. Do not cover.
10. WARNING: To reduce the risk of fire, keep textiles, curtains, or any other flammable material a minimum distance of 1
m from the air outlet.
11. Do not pull the power cord to disconnect with the power source. Always grasp the plug to pull it out.
12. Do not insert any objects into the heater as it may cause an electric shock or fire or damage to the heater. Do not block or
tamper with the heater in any manner while it is in operation. To prevent a possible fire, do not block the air inlet or outlet
in any manner. Do not place on soft surfaces, like a bed or long pile carpet, where openings may become blocked.
13. Do not leave the heater unattended. Always unplug the heater when not in use. Always let the heater cool down before
moving or storing away.
14. WARNING: Do not use this heater in small rooms when they are occupied by persons not capable of leaving the
room on their own, unless constant supervision is provided.
15. The heater has hot parts inside. It must NOT be used in potentially dangerous locations such as flammable, explosive,
chemical-laden or wet atmospheres. This heater is intended for general indoor domestic use ONLY.
16. This heater is not intended for use in wet or damp locations, such as a bathroom or any area containing a bath, shower,
wash basin or close to water or damp items. Never locate a heater where it may fall into a bathtub or other water
container. It must be positioned or installed so that the controls cannot be touched by a person in a bath or shower. Do not
immerse the power cord in any liquid (including water).
17. This heater is for use indoors only.
18. This heater includes an overheat protection safeguard that will turn the unit off should it overheat. If this occurs,
remove the plug from the mains socket & allow to cool for 45 minutes, at which point it can be restarted. Check for the
reason for the overheating, such as blocked vents, prior to starting up again.
19. Use this heater on a horizontal and stable surface, or fix it to the wall, as applicable.
20. Never install or use the heater directly below a wall socket.
21. When fixing on a wall, the heater must be level, securely fixed & at the correct height (check with local authorities if
unsure). There must be at least 150mm between it and any barrier/wall to the sides, bottom or top to prevent overheating
or damage.
22. Always use the heater with the castors supplied on level floors or attached to a wall with the supplied brackets.
WARNING:
The Main Power Switch and the On/Off switch should not be used as the sole means of
disconnecting power. Always unplug the power cord before servicing or moving the unit.
WARNING:
To avoid danger of electric shock, unplug from outlet when not in use and before cleaning.
If the supply cord is damaged, it must be replaced by the manufacturer, its service agent or similarly
qualified persons in order to avoid a hazard. In order to avoid overheating, do not cover the heater.
The heater must NOT be located immediately below a socket outlet. Do not use the heater in the
immediate surroundings of a bath, shower or swimming pool.
WARNING: DO NOT COVER
INSTALLATION GUIDE
This heater can either be mounted to a wall or used with the supplied castors and wheels. Please note the
following safety warnings:
•
This heater is hot when in use. To avoid burns, do not let bare skin touch hot surfaces. Always use the
c
ontrol panel or castor supports when moving the heater (when not wall mounted). Keep combustible
materials such as furniture, pillows, bedding, papers, clothes and curtains at least 1 meter from the front &
top of the heater and keep them at least 0.5 meters from the sides and rear. Do not cover.
•
The heater has hot parts inside. It must NOT be used in potentially dangerous locations such as flammable,
explosive, chemical-laden or wet atmospheres. This heater is intended for general indoor domestic use
ONLY.
•
This heater is not intended for use in wet or damp locations, such as a bathroom or any area containing a
bath, shower, wash basin or close to water or damp items. Never locate a heater where it may fall int
o a
bat
htub or other water container. It must be positioned or installed so that the controls cannot be touched by a
person in a bath or shower. Do not immerse the power cord in any liquid (including water).
•
Never install or use the heater directly below a wall socket.
•
When fixing on a wall, the heater must be level, securely fixed & at the correct height (check with local
authorities if unsure). There must be at least 150mm between it and any barrier/wall to the sides, bottom or
top to prevent overheating or damage.
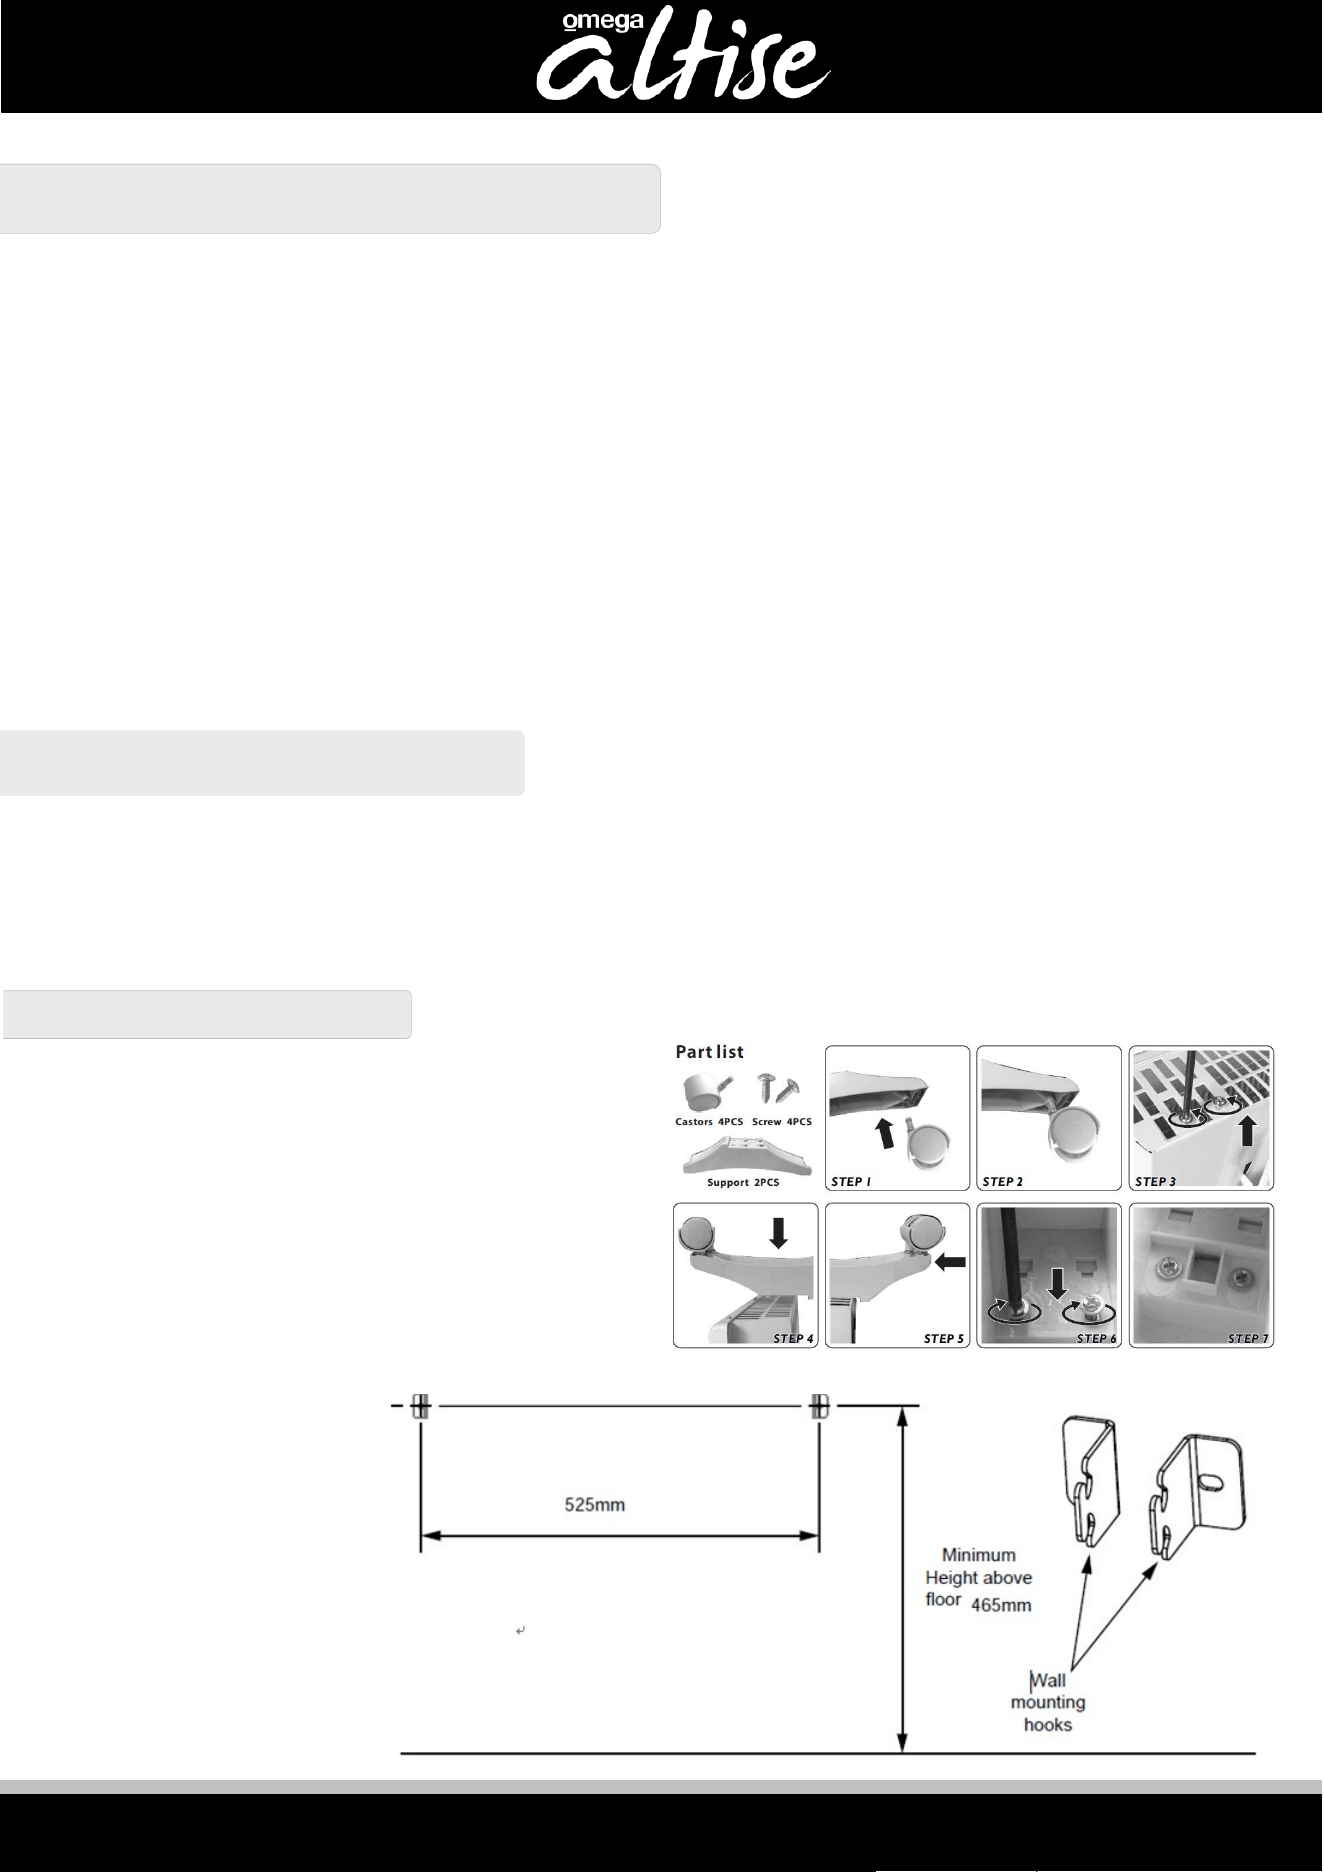
Make sure the heater is unplugged from the mains power. Turn the heater upside down & rest on a
protective surface. Place a castor bracket over the designated slots and slide into position. This will cause
the screw hole to align. Securely fix in place screw provided. (do not over-tighten). Push the castors and
wheels into the slots. Turn the heater right side up & it is ready to connect to mains power. Note: The heater
gets hot when in use, so it is best not to move when in use. If it must be moved, use the castor brackets or control
panel as points of contact.
Do not fit the castors to the base of the heater.
Make sure the heater is unplugged from the mains
power and the wall is suitable for mounting the
panel heater and there are the correct clearances.
Make sure the panel heater is within 1 metre of a
power socket. Mount the supplied wall mounting
hooks using the mountings supplied. Ensure the
screws used are appropriate for the screws used
are appropriate for this application.
Ensure the mountings are
525mm apart and 465mm
above floor level.
FITTING CASTORS and WHEELS
WALL MOUNTING
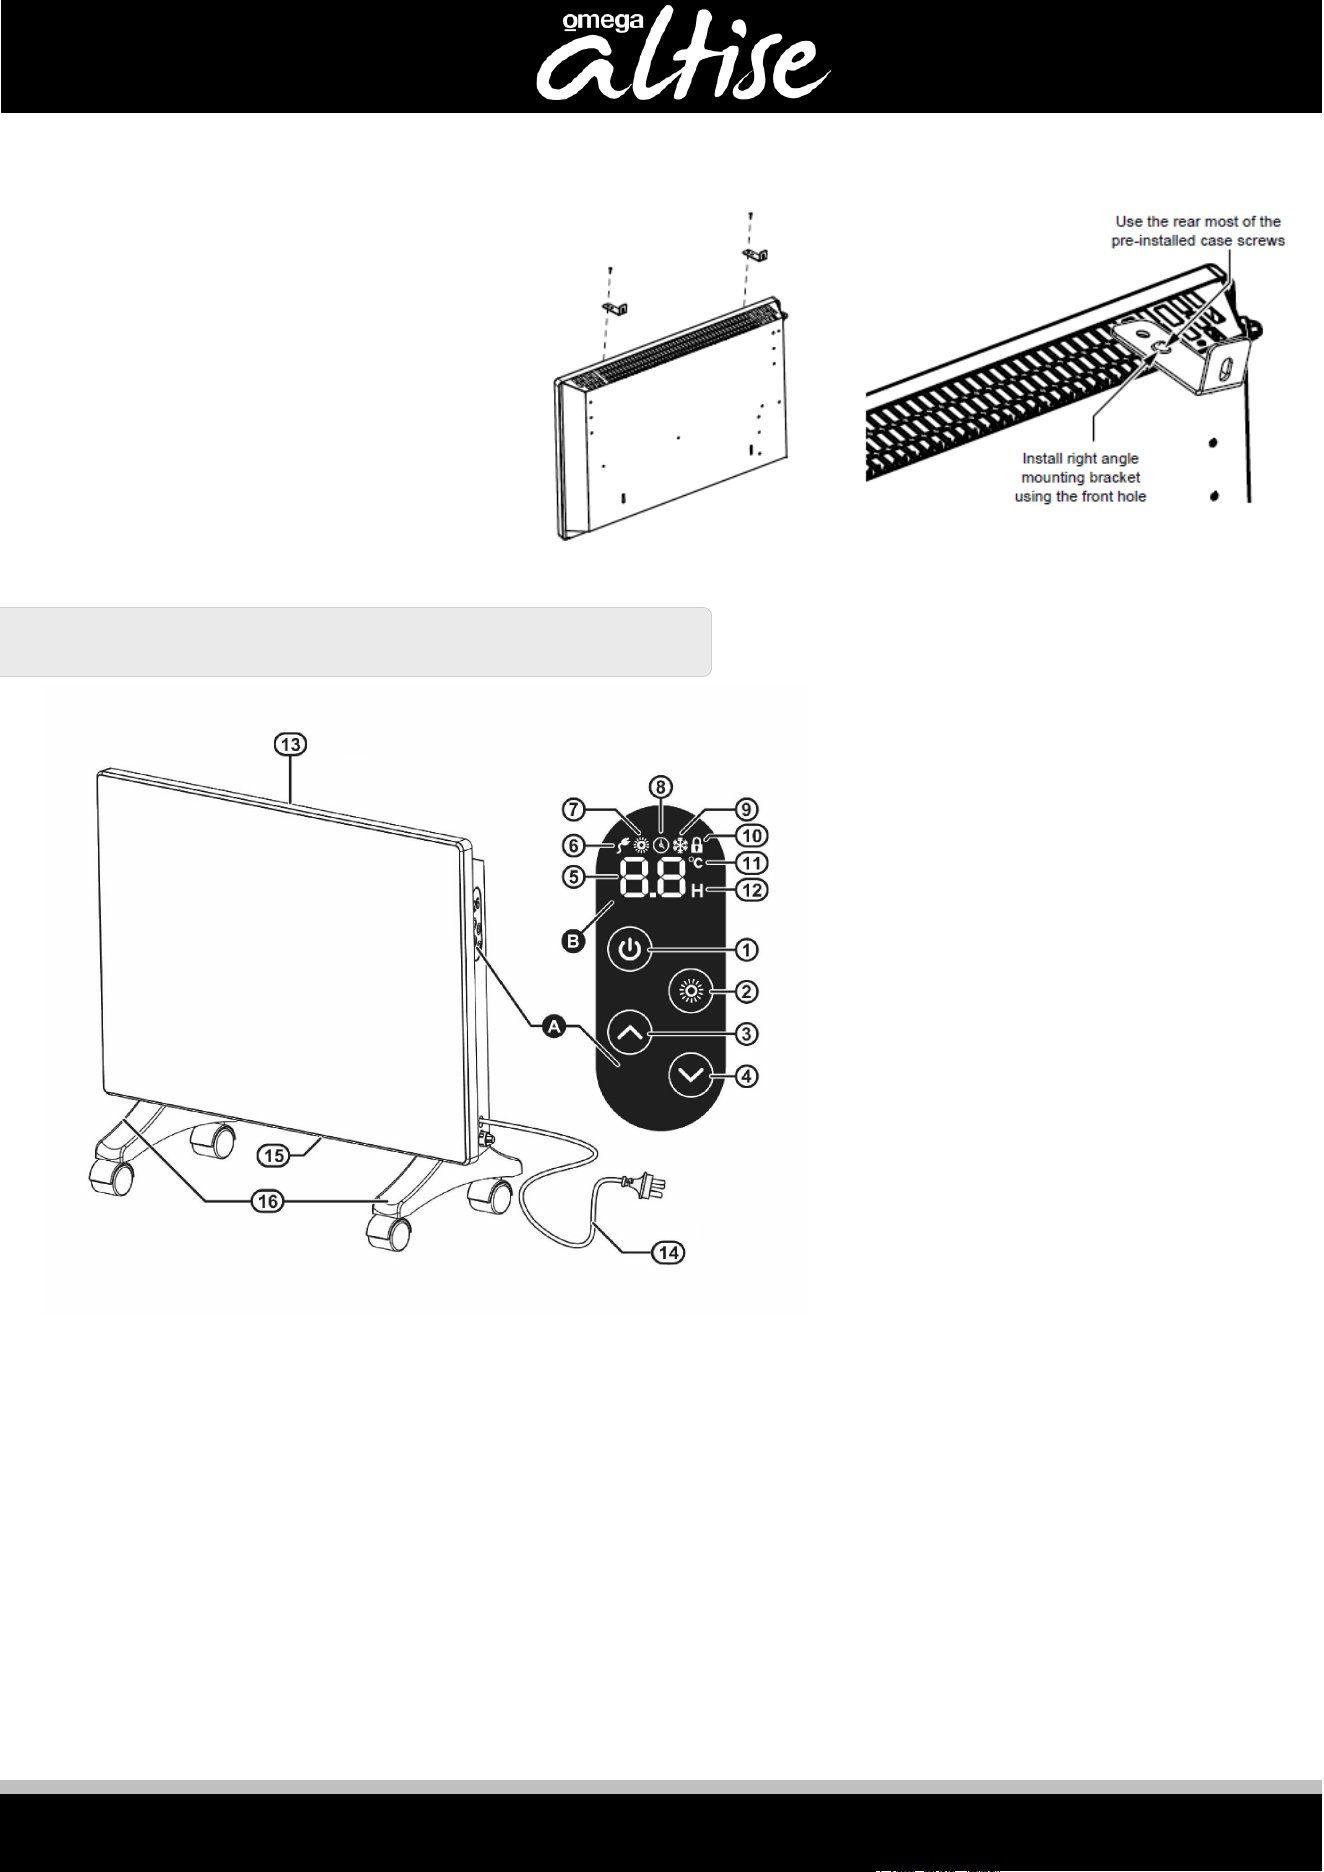
Attach the supplied right angle mounting brackets to the underside of the heater (front hole of bracket)
using the rear most of the pre-installed case screws as shows in the diagram. Check for strength.
Carefully place the heater (slightly tilted
forward) onto the hooks at the bottom of
the bracket & rotate back so the clips fix
back into their original holes. Ensure the
bracket is securely fastened to the wall.
Check that they are fixed correctly. If
possible, have a second
person help to check for alignment as the
heater is attached. The heater is now ready
to connect to the mains power.
1. Power On/Off Button
2. Mode Button - Temperature/
Timer setting
3. Up Button
4. Down Button
5. Temperature/ Timer Display
6. Power Indicator
7. Heater Operation Indicator (Red)
8. Delay Off Timer Set
Indicator (Green)
9. Constant Frost Protection Indicator
10. Lock Indicator
11. Degrees Celsius Indicator
12. Time Indicator
13.
14.
Vent, Warm Air Discharge
15.
240 Volt Power Cord and Plug
16.
Air Inlets
Castors and Wheels
B. Digital LED Display
CONTROL
A . Control Panel Console

GETTING STARTED
1.
Carefully remove the heater from packaging and the carton and unwind the cord to its full length.
2.
Either fit the castors and wheels then place the heater onto a stable, flat and dry surface, or fit the
mounting brackets to a stable wall & hang from the wall in a dry position away from open or runnin
g
w
ater. See installation sections for details.
3.
Plug the cord set into a 230-240V~AC. 50Hz electrical outlet. Turn the power on at the electrical
outlet.
NOTE: Heater must have castors fitted or be attached to a wall before use.
4.
display will light up showing the previous temperature setting (the appliance will start to operate),
or the numeric display decimal point will light up (the appliance in stand-by mode).
Press the power button to start the appliance, depending on the last setting, either the numeric
Press the power button on the control console once to start. The LED display will now show the last
temperature setting. If this temperature is above the room temperature the red operation indicator will
illuminate. To switch the heater off, press the power button. The shutdown of the heater will be
accompanied with a chime sound, to confirm the heater is now off.
To change the temperature setting, press the mode button once. The (C°) temperature indicator on the
display panel will flash. If after 5 seconds no adjustment is made, the display will revert back to the current
operating setting.
Press the up or down buttons to increase or decrease the temperature setting. The temperature will range from
5 to 30C°.
To exit the temperature setting operation either press the mode button twice or wait 5 seconds. The selected
temperature will now be set and displayed.
TURNING ON & OFF
SETTING TEMPERATURES
OPERATING

If the temperature is set to 5C°, then the constant frost protection program will be activated, and the constant frost
protection indicator will be illuminated.
The lock function is designed to prevent accidental operation of the heater. To activate the lock press and hold
the up and down button until the padlock symbol is displayed.
To de-ac
tivate the lock, press and hold the up and down button until the padlock symbol disappears.
ANTI FROST PROTECTION
LOCK FUNCTION
TILT SWITCH
As a safety feature this heater is fitted with a tilt switch that automatically cut the power of the element if the
appliance tilts more than 45°. Once the heater is returned to level, normal operation will commence
automatically.
In addition to temperature-controlled operation the heater can also be operated via the use of a timer. The
first allows the user to operate the heater for a set period of time.
Set the desired temperature, then press the mode button twice. The display panel will now display 0.0 and
the both the delay off set indicator and the time indicator will begin to flash.
Press the up or down buttons to set the required timer operation period. The delay timer can be set in 30
minute (.5) increments up to 9.5 hours and then in 1 hours increments up to 24 hours. To exit the timer mode,
press the mode button twice or wait 5 seconds. The delay time indicator will illuminate to indicate that the
timer is set.
To stop the timer function, press and hold the up button for 5 seconds.
The second allows you to set up a delayed start time. With the power connected, press the Power On/Off
button once, set the temperature and press the Power On/Off button again to put the appliance in standby
mode. Press the Mode button for 3 seconds until the timer is displayed and adjust the timer delay time as
above. The timer will count-down until the delay time has finished and the heater will turn on at the set
temperature.
Note: The two timers will not work together. While the delay start is counting down, pressing the Power On/Off
button twice will turn the heater on and cancel the timer setting. Setting the timer (as above) to “0”, or pressing
the Up button for 5 seconds will also cancel the timer.
Note: The delayed start timer should only ever be set in a controlled, safe environment, where there is no
chance of the heater being accidentally covered or flammable materials getting in contact with the appliance
(curtains moving in the wind, animals or children moving pillows/toys/blankets could all cause a safety
hazard).
TIMERS
With the heater disconnected from the power, clean the exterior body of the heater with a soft damp cloth.
Always make sure that the heater is completely
dry before connecting back to the mains supply. A vacuum
cleaner can be used to clean the inlets & outlets of dust & fluff. To clean behind a wall mounted unit, the
mounting clips can be disconnected & the heater rotated slightly forward (a 2 person job). Please make sure the
unit is properly secured afterwards.
CAUTION: Do not use gasoline, benzene, thinner, harsh cleaners, etc. as they will damage the heater.
NEVER USE ALCOHOL OR SOLVENTS.
STORAGE: Store the heater with these instructions in the original packaging, in a cool, dry place.
SPECIFICATIONS
CLEANING & MAINTENANCE
WARNING
ALWAYS UNPLUG THE CORD BEFORE MOVING OR SERVICING, DO
NOT IMMERSE HEATER IN WATER!
DISP
OSAL WARNING
This product should not be disposed of with household waste. Please recycle where facilities exist and
check with your local authority for recycling advice.
MODEL
POWER
DIMENSIONS (NO
CASTORS)
WEIGHT, N.W
G.W
OAPE2000B/W
775x440x85mm (WxHxD)
6.1Kg, 7.3Kg
1035x440x85mm (WxHxD)
230-240Vac 50Hz
INPUT POWER
230-240Vac 50Hz
1850-2000W
RATED
2200-2400W
1.
A thermal overload protector is built in to prevent overheating. When an overheat temperature is reached,
the heater will automatically shut off. It can only resume operation when the user resets the unit (see reset
instructions below).
To reset your heater:
Unplug the heater and wait for 45 minutes for the unit to cool down. Then, turn on the unit again and operate
normally.
2.
The appliance has a tilt switch built into it so that if the appliance falls over, the element will stop working.
Note that the numerical display does not change even though the elements are no longer running.
To reset your heater:
Turn the appliance off at the main power switch. Right the appliance back onto its castors NOTE: Take care as the
appliance may be hot. Turn the power switch on.
SAFETY FEATURES
7.6Kg,9.5Kg
OAPE2400W/G

HINTS & TIPS
Where possible, your electric panel convection heater should be connected to a power outlet that uses a
separate 10 amp power circuit than other items. This will avoid overloading your household fuse.
In t
he event that your household fuse is overloaded and trips, please note this is normally caused by the use of
excessive power outlets at the same time your heater is operating (for example, a steam iron, kettle, toaster
etc.). Please ensure to check the use of the power circuit and adjust when heater is in use (i.e. turn off the
heater when boiling a kettle).
If your heater does not work:
•
Check that power is available to the heater & it is plugged in & turned on.
•
Check that the heater temperatures are set correctly for the ambient temperature.
•
Check that the thermal cut-out has not activated (see safety features).
•
Do not try to repair the heater.
Should you still experience difficulty contact Omega Altise Service for assistance.
It is important that you retain these instructions, proof of purchase as well as
other important documents about this product for future reference.
Due to continual product development, Omega Altise reserves the right to
alter specifications or appearances without notice.
Dispose of packaging responsibly – recycle where facilities are available.
This manual is also available on the Omega Altise website:
http://www.omegaaltise.com.au/
A division of Shriro Australia Pty Limited
2-34 Davidson Street, Greenacre
NSW 2190
In New Zealand: (09) 415 6000
www.omegaaltise.com.au
IM Ref:OAPE2000B/W_2400W/G - 2021.10.2
In Australia: 1300 795 572
5