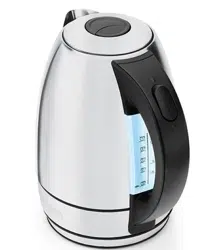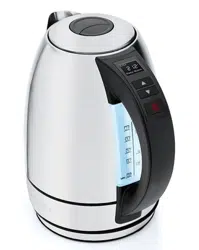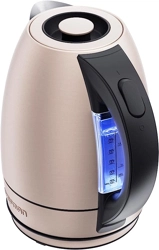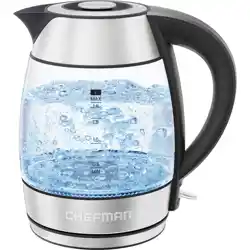
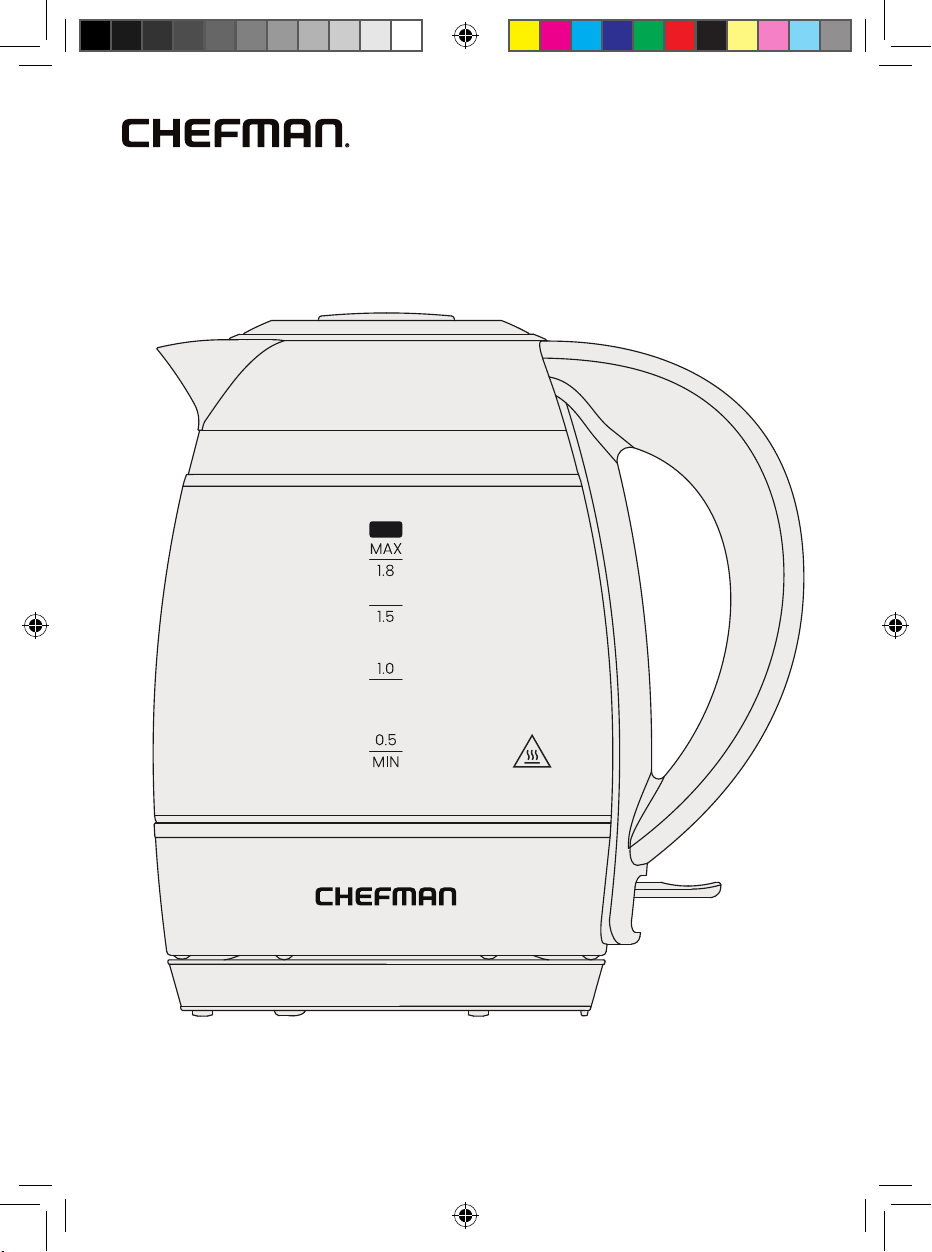
Fast-Boil™
1.8L Electric Kettle
RJ11-18-AM
COVER DRAWING - RJ11-118-PL kettle
L
RJ11-18-AM_UG_LIVE_121625.indd 1RJ11-18-AM_UG_LIVE_121625.indd 1 12/16/25 6:10 PM12/16/25 6:10 PM
2
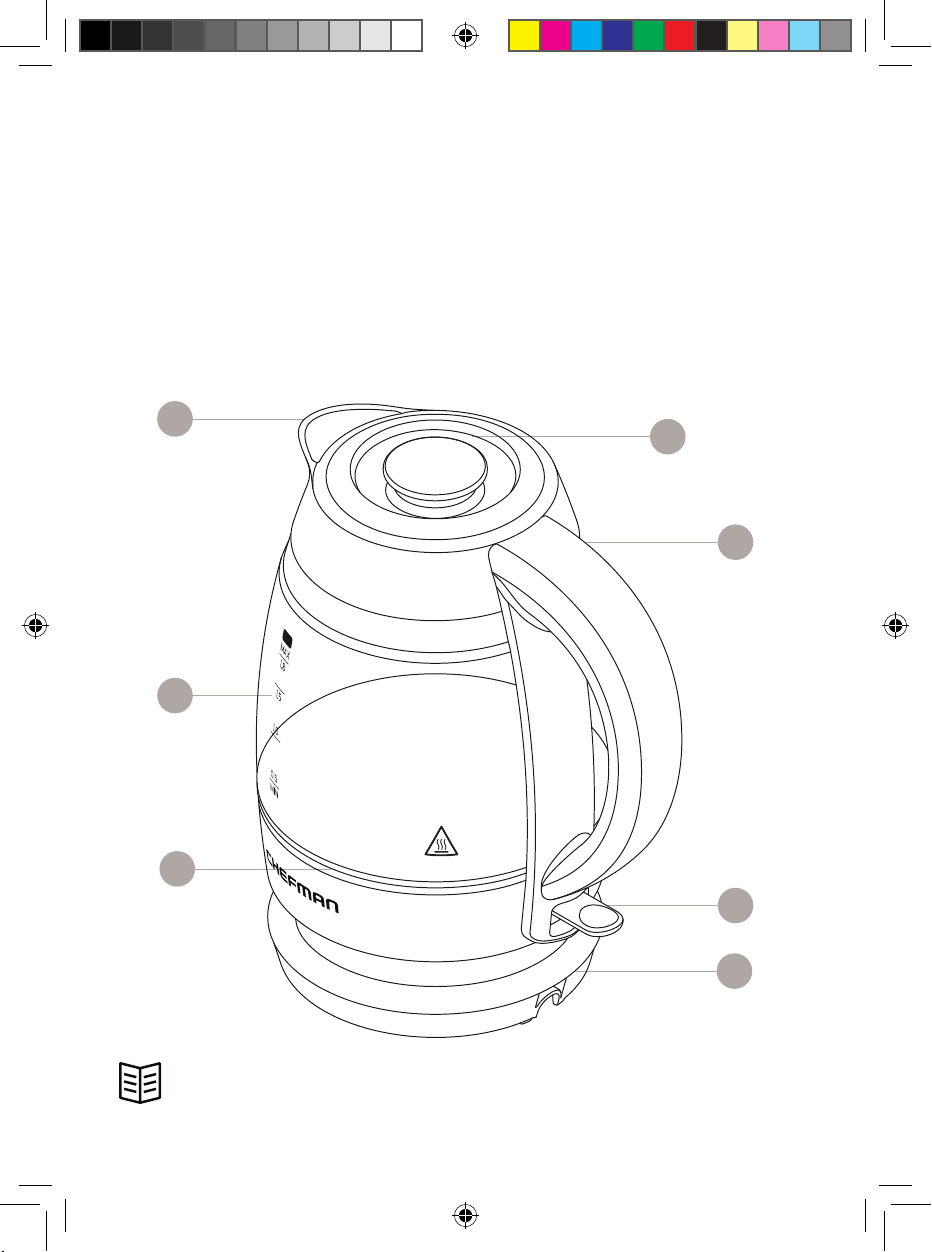
Get to Know Your Kettle
1. Drip-free spout (with filter)
2. Removable lid
3. Stay-cool handle
4. Power switch
5. 360˚ swivel power base with cord notch
6. Blue LED indicator lights
7. Borosilicate glass kettle with MIN | MAX lines
READ ALL INSTRUCTIONS BEFORE USE
For your safety and continued enjoyment of this product,
always read the instruction manual before using.
2
4
5
1
7
6
3
FEATURES DRAWING
RJ11-18-AM_UG_LIVE_121625.indd 2RJ11-18-AM_UG_LIVE_121625.indd 2 12/16/25 6:10 PM12/16/25 6:10 PM
3
SAFETY INSTRUCTIONS &
IMPORTANT SAFEGUARDS
When using electrical appliances, basic safety precautions should always be
followed, including:
1. Read all instructions.
2. Do NOT touch hot surfaces. Use handles or knobs.
3. To protect against fire, electrical shock, and injury to persons, do not
immerse the cord, plug, charging base, or unit in water or other liquids.
4. Close supervision is necessary when any appliance is used by or
near children.
5. Unplug from the outlet when not in use and before cleaning. Allow to cool
before putting on or taking off parts, and before cleaning the appliance.
6. Do NOT operate any appliance with a damaged cord or plug, or after
the appliance malfunctions or has been damaged in any manner. If this
should occur, contact Chefman Customer Support for examination, repair,
or adjustment.
7. The use of accessory attachments not recommended by Chefman may
result in fire, electrical shock, or injury to persons.
8. Do NOT use outdoors.
9. Do NOT let the cord hang over the edge of a table or counter or touch
hot surfaces.
10. Do NOT place the unit near or on any type of heat source, such as a gas
or electric burner, stove, or oven, even if not on. Do not use near an open
flame or flammable materials.
11. To disconnect, turn any control to OFF, then remove the plug from the
wall outlet.
12. Do not use the appliance for other than its intended use.
13. Scalding may occur if the lid is opened during the heating cycle.
14. Ensure the lid is securely closed before serving any beverages.
15. Do NOT use a container having a loose or weakened handle.
16. Do NOT clean the container with cleansers, steel wool pads, or other
abrasive materials.
RJ11-18-AM_UG_LIVE_121625.indd 3RJ11-18-AM_UG_LIVE_121625.indd 3 12/16/25 6:10 PM12/16/25 6:10 PM
4
SAFETY INSTRUCTIONS &
IMPORTANT SAFEGUARDS
SAVE THESE INSTRUCTIONS
FOR HOUSEHOLD USE ONLY
WARNING: This appliance has a polarized plug (one blade is wider than the
other). This plug is intended to fit into a polarized outlet only one way. If the plug
does not fit fully into the outlet, reverse the plug. If it still does not fit, contact a
qualified electrician. Do not attempt to modify the plug in any way or force it into
the outlet. This could result in injury or electrical shock.
Short Cord Instructions
A short power-supply cord is provided to reduce the hazards of entanglement
or tripping over a longer cord. Longer detachable power-supply cords or
extension cords are available and may be used if care is exercised in their use.
If a longer detachable power-supply extension cord is used:
1. The marked electrical rating of the extension cord should be at least as
great as the electrical rating of the appliance.
2. The longer cord should be arranged so that it will not drape over the
countertop or tabletop where it can be pulled on by children or
tripped over.
RJ11-18-AM_UG_LIVE_121625.indd 4RJ11-18-AM_UG_LIVE_121625.indd 4 12/16/25 6:10 PM12/16/25 6:10 PM
5
SAFETY INSTRUCTIONS &
IMPORTANT SAFEGUARDS
Power Cord Safety Tips
1. Never pull or yank on the cord or the appliance.
2. To insert the plug, grasp it firmly and guide it into the outlet.
3. To disconnect the appliance, grasp the plug and remove it from the outlet.
4. Never use the product if the power cord shows signs of abrasion or
excessive wear. Contact Chefman Customer Support for additional
guidance and support.
5. Never wrap the cord tightly around the appliance, as this could place
undue stress on the cord where it enters the appliance and cause it to
fray and break.
DO NOT OPERATE THE APPLIANCE IF THE POWER CORD SHOWS ANY DAMAGE
OR IF THE APPLIANCE WORKS INTERMITTENTLY OR STOPS WORKING ENTIRELY.
California Proposition 65:
(Applicable for California Residents only)
WARNING: Cancer and Reproductive Harm
www.P65Warnings.ca.gov
Do not place the appliance on a
stovetop or any other heatable surface,
even if stovetop is not on.
Doing so is a fire hazard.
RJ11-18-AM_UG_LIVE_121625.indd 5RJ11-18-AM_UG_LIVE_121625.indd 5 12/16/25 6:10 PM12/16/25 6:10 PM
66
Before First Use
To rinse the pot of any packing debris, bring a pot of water to a full boil following
the directions below.
1. Remove all packing materials. Be sure that all parts are included before
discarding any packaging.
2. Pull out the power cord from the compartment under the base, and place
the base on a flat surface. (Make sure the power cord comes out of the
opening in the base so the unit can sit level.)
3. Lift off the lid and fill the kettle with water to the MAX line.
4. Put the lid back on the kettle. Place the kettle on the base unit, and plug
it into a power outlet.
5. Turn the kettle on by pressing down on the power switch. The blue LED
lights inside the kettle will illuminate to indicate the water is heating.
6. Once the kettle boils, discard the water, then rinse it with fresh water.
RJ11-18-AM_UG_LIVE_121625.indd 6RJ11-18-AM_UG_LIVE_121625.indd 6 12/16/25 6:10 PM12/16/25 6:10 PM
7
Quick Start: How to Use the Kettle
1. Place the base on a flat surface.
2. Remove the kettle’s lid. Fill the kettle to at least the MIN line (0.5 liters) and
not above the MAX line (1.8 liters) with cold, fresh water (preferably filtered
or bottled). Return the lid to the kettle.
3. Set the kettle on its base and plug in the unit.
4. Turn the kettle on by pressing down the power switch. The blue LED lights
around the base of the kettle will illuminate to indicate the water is
heating. NOTE: You can cancel heating at any time by switching off the
power switch.
5. Once the water has boiled, the the blue LED lights will turn off and the kettle
will automatically power off.
6. To serve, lift the kettle off its base and pour.
Boil-dry protection
The kettle comes equipped with boil-dry protection. While you should never
heat the kettle without water at least to the MIN line (0.5 liters), should the unit
go dry or start without water, it will automatically shut off completely to avoid
damaging the heating element. It will not come back on, even if you replace it
on the base, until it has cooled down.
7
RJ11-18-AM_UG_LIVE_121625.indd 7RJ11-18-AM_UG_LIVE_121625.indd 7 12/16/25 6:10 PM12/16/25 6:10 PM
8
Tea-Brewing Tips
• Use good-tasting water, preferably filtered, for best results.
• If using loose tea, use about 2 teaspoons of leaves per cup.
• If your loose tea comes with brewing instructions, defer to those initially for
optimum amounts and steeping time.
• Add more or less tea leaves than suggested depending on how strong you
like your “cuppa.”
• Tea should steep for 3 to 7 minutes on average, depending on the tea.
Avoid steeping for too long, which can make tea taste bitter.
• If making iced tea, double the amount of tea leaves and steep a little
longer so when chilled the flavor does not get weaker.
• Though black teas generally give up all their flavor during the first brew,
some teas, like green tea and oolong, may be resteeped within a few
hours; let them steep a little longer during the second steep for best flavor.
RJ11-18-AM_UG_LIVE_121625.indd 8RJ11-18-AM_UG_LIVE_121625.indd 8 12/16/25 6:10 PM12/16/25 6:10 PM
9
Keep It Clean
1. Unplug the kettle and allow it to cool completely before cleaning.
2. Clean the interior of the kettle as needed by carefully washing the inside
with soapy water. Rinse the inside of the kettle thoroughly. Wipe the outside
of the kettle and power base with a damp cloth. WARNING: Never immerse
the kettle or power base in water or wash in the dishwasher; doing so will
damage the unit.
3. To clean the spout filter, rinse it under hot water while gently rubbing it with
a clean cloth or brush. Do not remove the filter from the spout.
Descaling
Due to minerals in water, deposits may form on the base of the kettle and
cause discoloration. To get the best performance from your kettle, descale
it from time to time. Frequency will depend on the hardness of your water
and how often you use the kettle. You can either use a commercial descaler
(following the package directions) or use vinegar and water, and follow the
directions below:
1. Fill the kettle with enough white vinegar to cover the bottom by about
½ inch. Heat the vinegar to a boil.
2. Repeat this process with fresh vinegar until all deposits are removed.
3. When the descaling process is complete, empty the kettle and rinse it
out several times with clean water.
RJ11-18-AM_UG_LIVE_121625.indd 9RJ11-18-AM_UG_LIVE_121625.indd 9 12/16/25 6:10 PM12/16/25 6:10 PM

10
RJ11-18-AM_UG_LIVE_121625.indd 10RJ11-18-AM_UG_LIVE_121625.indd 10 12/16/25 6:10 PM12/16/25 6:10 PM
11
Notes
RJ11-18-AM_UG_LIVE_121625.indd 11RJ11-18-AM_UG_LIVE_121625.indd 11 12/16/25 6:10 PM12/16/25 6:10 PM
12
Terms & Conditions
Limited Warranty
RJ Brands, LLC d/b/a Chefman® offers a limited 1-year Warranty (the
“Warranty”) available on sales through authorized distributors and retailers
only. Please note that this Warranty becomes valid from the date of initial retail
purchase and that the Warranty is nontransferable and applies only to the
original purchaser.
This Warranty is void without proof of purchase within the United States and
Canada. Please be aware that this Warranty supersedes all other warranties
and constitutes the entire agreement between the consumer and Chefman®.
Any changes to the Terms and Conditions of this Warranty must be in writing,
signed by a representative of Chefman®. No other party has the right or ability
to alter or change the Terms and Conditions of this Warranty.
We may ask you to please submit, via email, photos and/or video of the issue
you are experiencing. This is to help us better assess the matter and possibly
offer a quick fix. Photos and/or video may also be required to determine
Warranty eligibility.
We encourage you to register your product. Registering can make the Warranty
process easier and can keep you informed of any updates or recalls on your
product. To register, follow the directions on the Chefman® Warranty Registration
page in the Chefman® User Guide. Please retain your proof of purchase even
after registering. In the event that you do not have proof of your purchase date,
we may declare your Warranty void or we may, at our sole discretion, apply the
date of manufacture as the purchase date for purposes of this Warranty.
RJ11-18-AM_UG_LIVE_121625.indd 12RJ11-18-AM_UG_LIVE_121625.indd 12 12/16/25 6:10 PM12/16/25 6:10 PM
13
Terms & Conditions
What the Warranty Covers
• Manufacturer Defects
Chefman® products are warranted against defects in material and
workmanship, under normal household use, for a period of 1 year from the
date of purchase when used in accordance with the directions listed in the
Chefman® User Guide. If your product does not work as it should, please
contact Customer Support at support@chefman.com so that we may
assist you.
This Warranty Does Not Cover
• Misuse
Damage that occurs from neglectful or improper use of products, including,
but not limited to, damage that occurs as a result of usage with incompatible
voltage, regardless of whether the product was used with a converter or
adapter. See Safety Instructions in the Chefman® User Guide for information
on proper use of product;
• Poor Maintenance
General lack of proper care. We encourage you to take care of your
Chefman® products so that you may continue to enjoy them. Please see
Keep It Clean directions in this Chefman® User Guide for information on
proper maintenance;
• Commercial Use
Damage that occurs from commercial use;
• Normal Wear and Tear
Damage or degradation expected to occur due to normal use over time;
• Altered Products
Damage that occurs from alterations or modifications by any entity other
than Chefman® such as the removal of the rating label affixed to the product;
• Catastrophic Events
Damage that occurs from fire, floods, or natural disasters; or
• Loss of Interest
Claims of loss of interest or enjoyment.
RJ11-18-AM_UG_LIVE_121625.indd 13RJ11-18-AM_UG_LIVE_121625.indd 13 12/16/25 6:10 PM12/16/25 6:10 PM
14
Terms & Conditions
For product information, please visit us at Chefman.com.
EXCEPT WHERE SUCH LIABILITY IS REQUIRED BY LAW, THIS WARRANTY DOES NOT
COVER, AND CHEFMAN® SHALL NOT BE LIABLE FOR, INCIDENTAL, INDIRECT, SPECIAL,
OR CONSEQUENTIAL DAMAGES, INCLUDING WITHOUT LIMITATION, DAMAGE TO, OR
LOSS OF USE OF THE PRODUCT, OR LOST SALES OR PROFITS OR DELAY OR FAILURE TO
PERFORM THIS WARRANTY OBLIGATION. THE REMEDIES PROVIDED HEREIN ARE THE
EXCLUSIVE REMEDIES UNDER THIS WARRANTY, WHETHER BASED ON CONTRACT, TORT
OR OTHERWISE.
RJ11-18-AM_UG_LIVE_121625.indd 14RJ11-18-AM_UG_LIVE_121625.indd 14 12/16/25 6:10 PM12/16/25 6:10 PM
15
How do I register my product?
All you need to do is fill out a simple Chefman® registration form.
You can easily access the form in one of the two ways listed below:
• Visit Chefman.com/register.
• Scan the QR code to the right to access site.
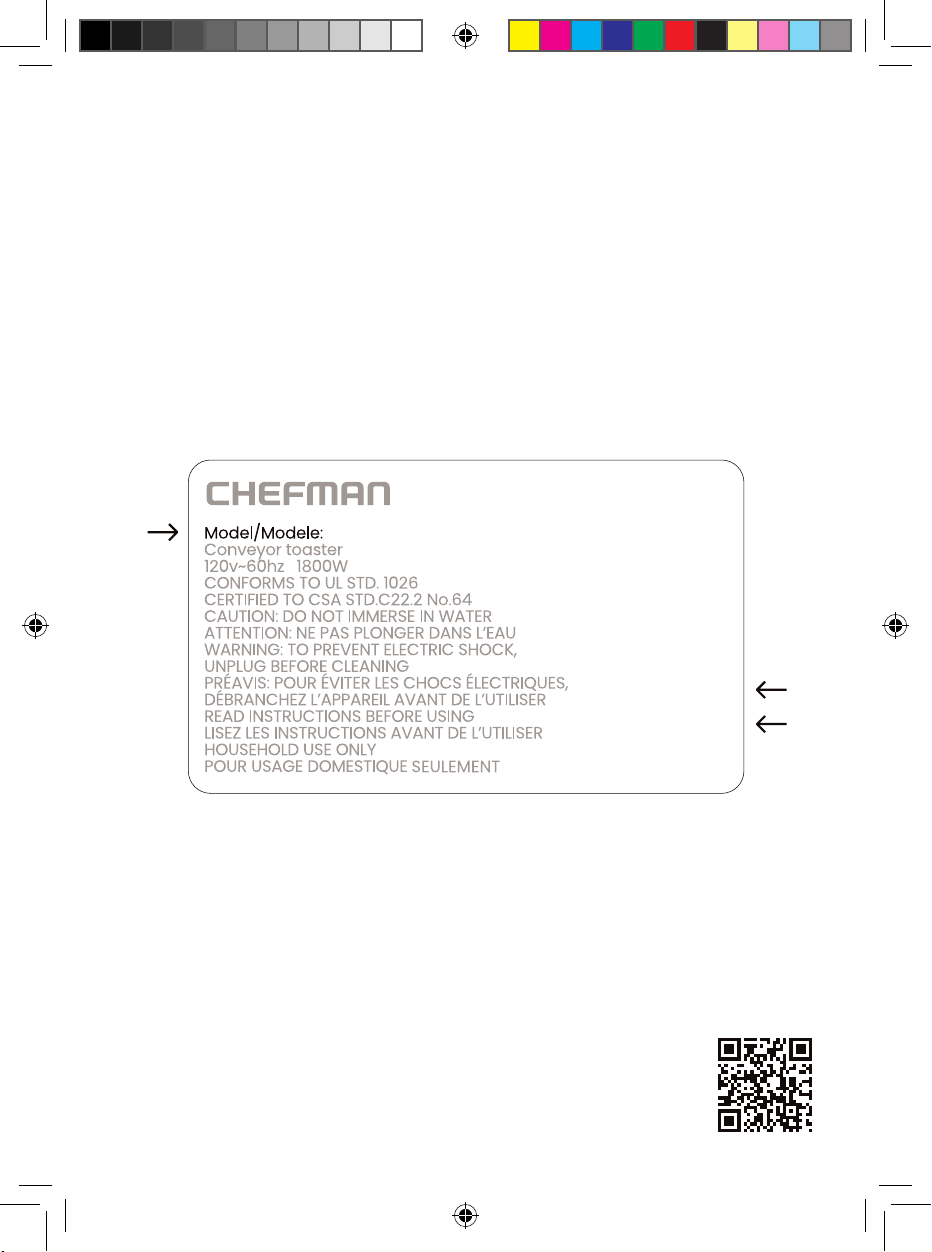
NOTE: Label depicted here is an example.
Please see label on your product for actual model/date code/access code.
Warranty Registration
What do I need to register my product?
• Contact Information
• Model Number (see example below)
• Proof of Purchase (online confirmation, receipt, gift receipt)
• Date Code (see example below)
• Access Code (see example below)
Date Code:
0000
Access Code:
Xxxxxxxx
XXXXX
RJ11-18-AM_UG_LIVE_121625.indd 15RJ11-18-AM_UG_LIVE_121625.indd 15 12/16/25 6:10 PM12/16/25 6:10 PM
RJ1118AMUG121625
Fast-Boil ™
1.8L Electric Kettle
Fast-Boil
TM
is a trademark of RJ Brands, LLC.
Chefman® is a registered trademark of RJ Brands, LLC.
RJ11-18-AM_UG_LIVE_121625.indd 16RJ11-18-AM_UG_LIVE_121625.indd 16 12/16/25 6:10 PM12/16/25 6:10 PM