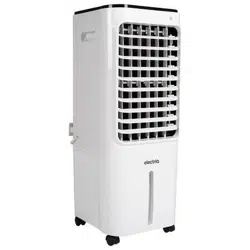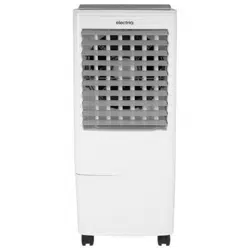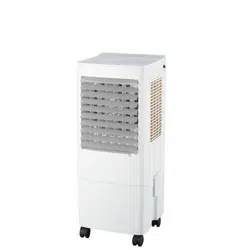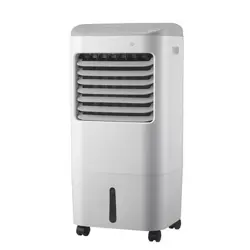
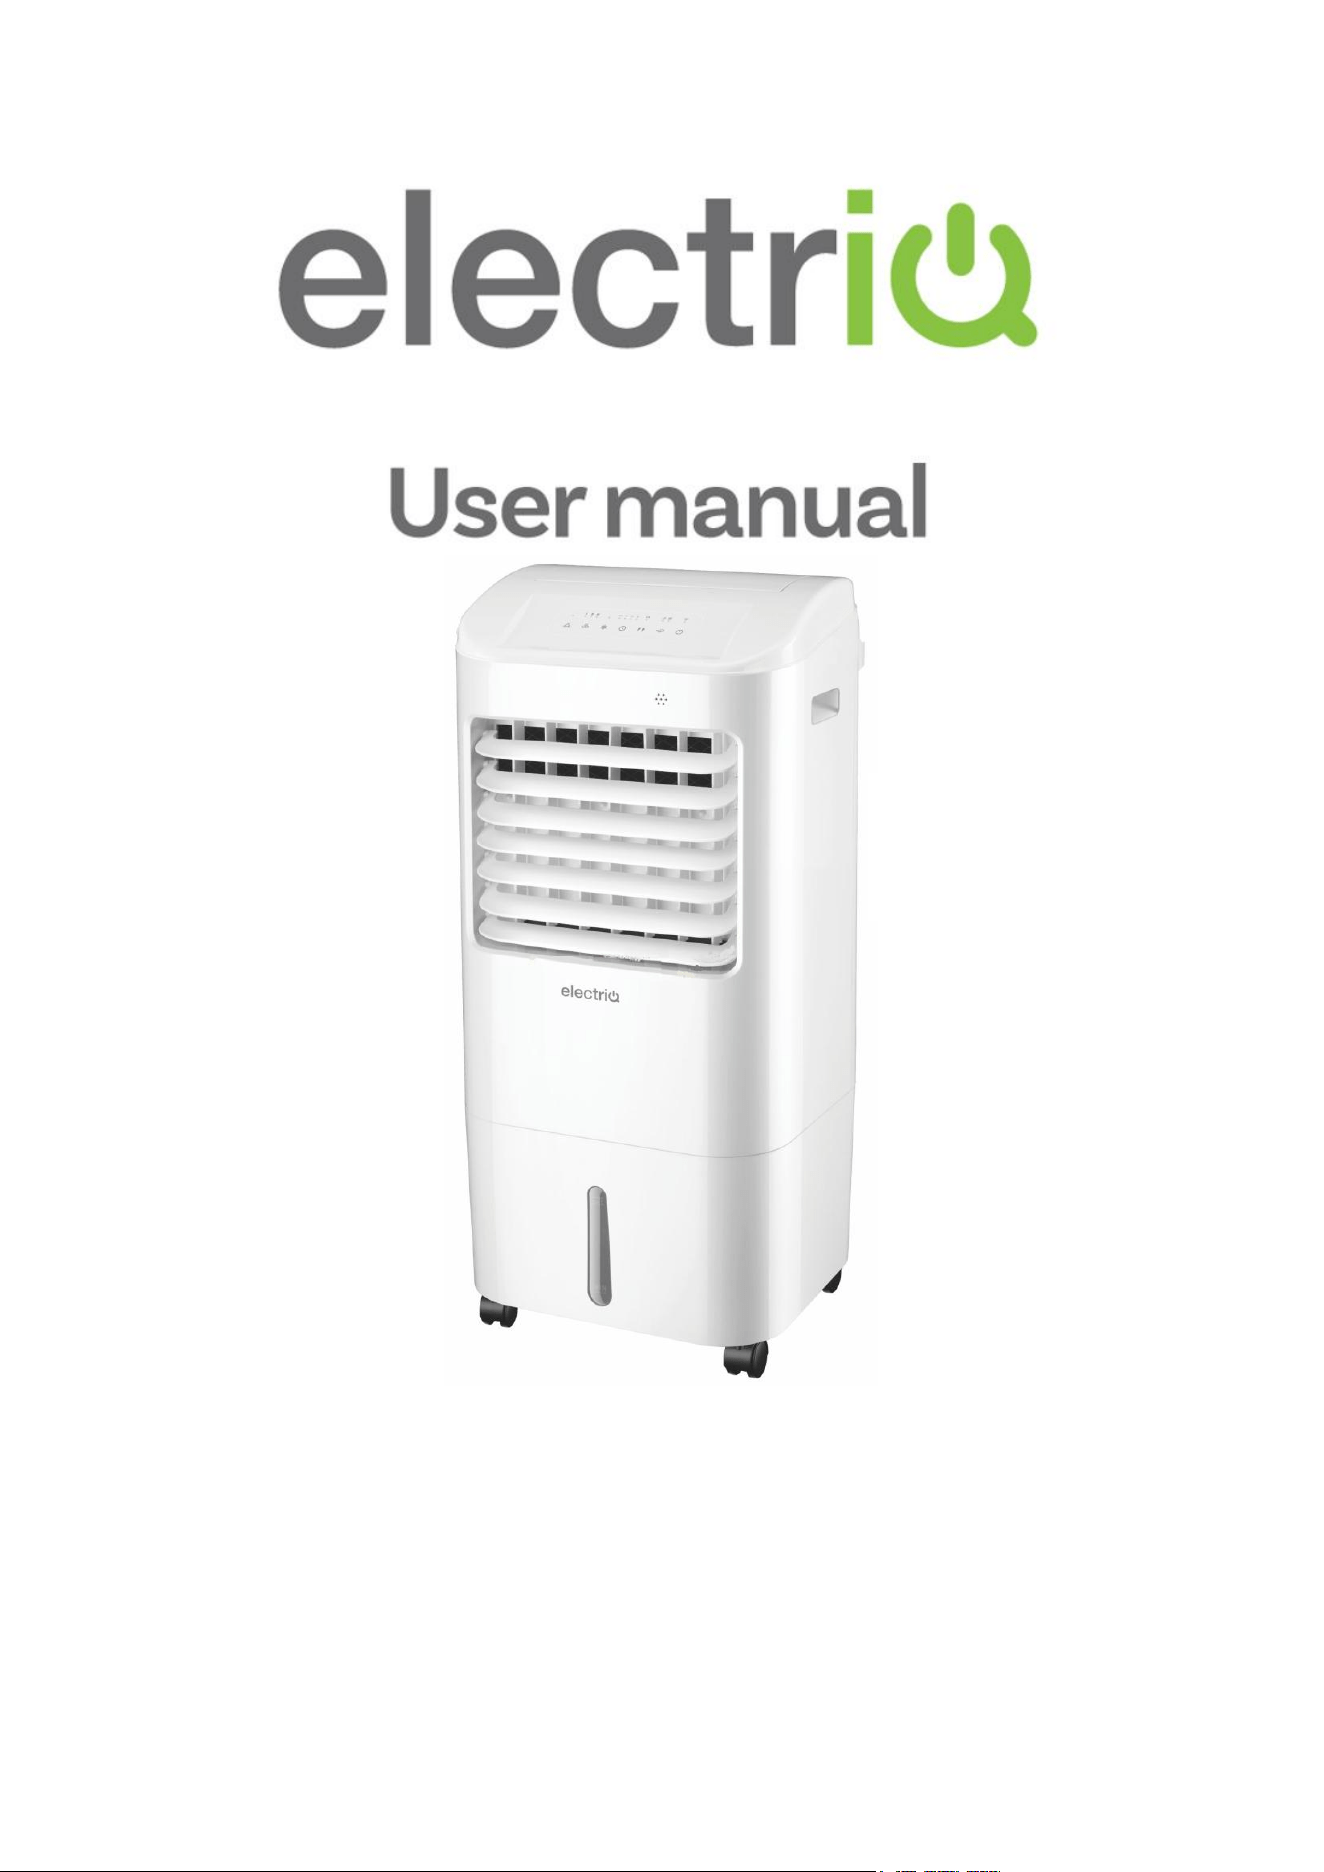
ECOCOOL15I
EVAPORATIVE AIR COOLER
Thank you for choosing electriQ
Please read this user manual before using this innovative Air Cooler and keep it safe
for future reference.
Visit our page www.electriQ.co.uk for our entire range of Intelligent Electricals

Page 2 of 14

Page 3 of 14
CONTENTS
SAFETY INSTRUCTIONS
4
ENERGY SAVING TIPS AND ITEM FEATURES
5
HOW EVAPORATIVE AIR COOLERS WORK
7
PRODUCT OVERVIEW
7
SETTING UP THE AIR COOLER
8
FITTING THE CASTORS
8
FILLING THE WATER TANK
8
USING THE REUSABLE ICE PACKS
9
DRAINING THE TANK
9
CONTROL PANEL
10
REMOTE CONTROL
11
CLEANING AND MAINTENANCE
12
TECHNICAL SPECIFICATION
13 9
TROUBLESHOOTING
12
14
SUPPORT
15

Page 4 of 14
SAFETY INSTRUCTIONS
IMPORTANT! Carefully read the instructions before operating the unit.
• This appliance is for indoor use only. Any outdoor use must be supervised,
and the unit must not be exposed to wet conditions such as rain.
• Rating: This unit must be only connected to a 220-240V, 50-60Hz earthed
outlet.
• Installation must be in accordance with the regulations of the country where
the unit is used.
• If you are in any doubt about the suitability of your electrical supply have it
checked and, if necessary, modified by a qualified electrician.
• This air cooler has been tested and is safe to use. However, as with any
electrical appliance - use it with care.
• Disconnect the power from the appliance before changing filters, dismantling,
assembling or cleaning.
• Avoid touching any moving parts within the appliance.
• Never insert fingers, pencils or any other objects through the guard.
• This appliance is not intended for use by persons (including children) with
reduced physical, sensory or mental capabilities. It is also not intended for
use by those with a lack of experience and knowledge unless they have been
given supervision or instruction concerning the use of the appliance by a
person responsible for their safety.
• Do not leave children unsupervised with this appliance.
• Do not clean the unit by spraying it or immersing it in water.
• Never connect the unit to an electrical outlet using an extension cord. If an
outlet is not available, one should be installed by a qualified electrician.
• Never operate this appliance if the cord or plug is damaged. Ensure the
power cord is not stretched or exposed to sharp objects/edges.
• A damaged supply cord should be replaced by the manufacturer or a
qualified electrician in order to avoid a hazard.
• This appliance is designed for personal comfort and so should not be left
unattended for extended periods.
• Any service other than regular cleaning or filter replacement should be
performed by an authorised service representative. Failure to comply could
result in a voided warranty.
• Do not use the appliance for any purpose other than its intended use.
• Never use the plug as a switch to start and turn off the appliance. Use the
provided ON/OFF switch located on the control panel.
• Always place the unit on a dry and stable surface. Do not move or tilt the unit
while the water tank is full.
• The appliance should not be installed in the laundry or wet rooms.
• Do not use this unit in environments with flammable and explosive gases.
• Avoid keeping the unit in direct sunlight for a long period of time.

Page 5 of 14
ENERGY SAVING AND UNIT SAFETY PROTECTION TIPS
• Do not cover or restrict the airflow from the outlet or inlet grills.
• For maximum performance, the minimum distance from a wall or object should be
50cm.
• Please ensure that the water in the water tank does not exceed the MAX level and does
not fall below MIN while in operation.
• Keep the filters clean. Under normal conditions, filters should only need cleaning once
every three weeks (approximately). Since the filters remove airborne particles, more
frequent cleaning may be necessary, depending on the air quality.
• In order to achieve maximum efficiency, please place the unit near an open door or
window. Evaporative Air Coolers work with an evaporative cooling mechanism, which
requires cross-ventilation
• This unit will lose efficiency if the relative humidity in the room exceeds 60%
• The ambient operating temperature range is from 18°C to 45°C.
If used in low temperatures (as a humidifier), the water tank should be filled with warm
(but not hot) water (<45°C).
• Never leave water in the reservoir when the appliance is not in use.
• Empty and clean the air cooler before storage. Clean the air cooler before the next use.
FEATURES
• Air Cooler, humidifier and air cleaner great for well-ventilated rooms
• Powerful air throw, perfect for spot cooling
• Alternative spot cooling solution for rooms and spaces which cannot be sealed or
traditionally air-conditioned
• 3 fan speeds and oscillation settings for improved airflow.
• Honeycomb Filters for improved cooling and air cleaning
• Easy to use digital controls with remote control.
• Handle and castors for great mobility
• Powerful air throw with a directional swing for faster cooling
Page 6 of 14
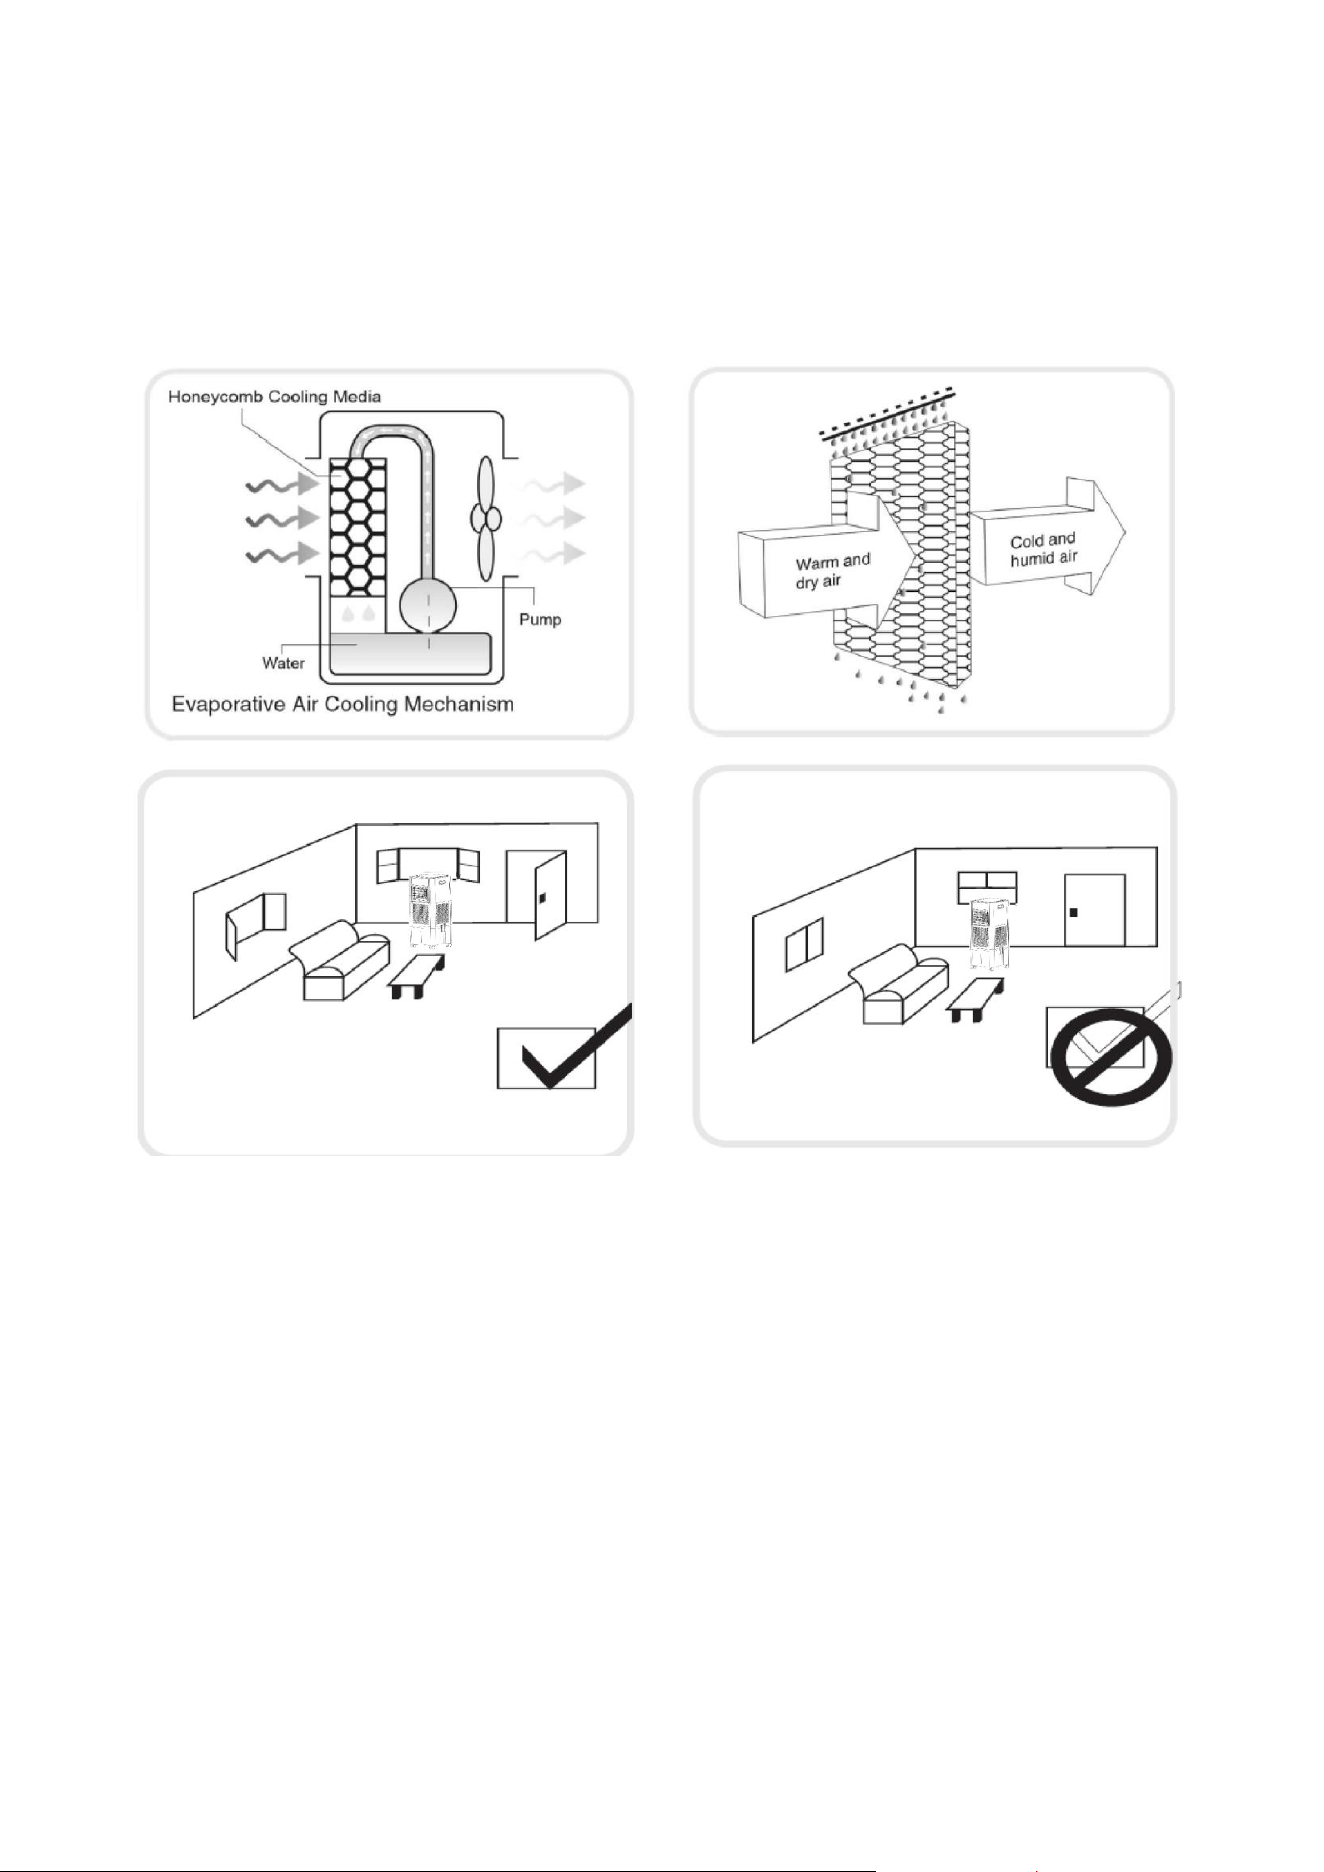
HOW EVAPORATIVE COOLERS WORK
This air cooler uses the natural process of water evaporation to reduce air temperature
and provide efficient spot cooling. Inside the unit, water is pumped over a honeycomb
cooling pad, saturating it. When warm air is drawn through the moist pad, the water
absorbs the heat and evaporates, resulting in a cooler airflow. This cooled air is then
circulated into the room.
• The recommended relative humidity for optimum operation is 60% or lower. A drier
climate makes for more noticeable cooling.
• The evaporative air cooler should not be used in enclosed or sealed spaces. It must be
kept level, and there must always be water in the water tank. Doors and windows
should be open to allow free airflow. The evaporative air cooler works best when placed
near an open window or air current.
• When the product is used for the first time, the Honeycomb cooling filter will have an
odour; this should dissipate within a week of use.
• Be aware that high humidity levels may encourage the growth of biological organisms in
the environment.
Page 7 of 14
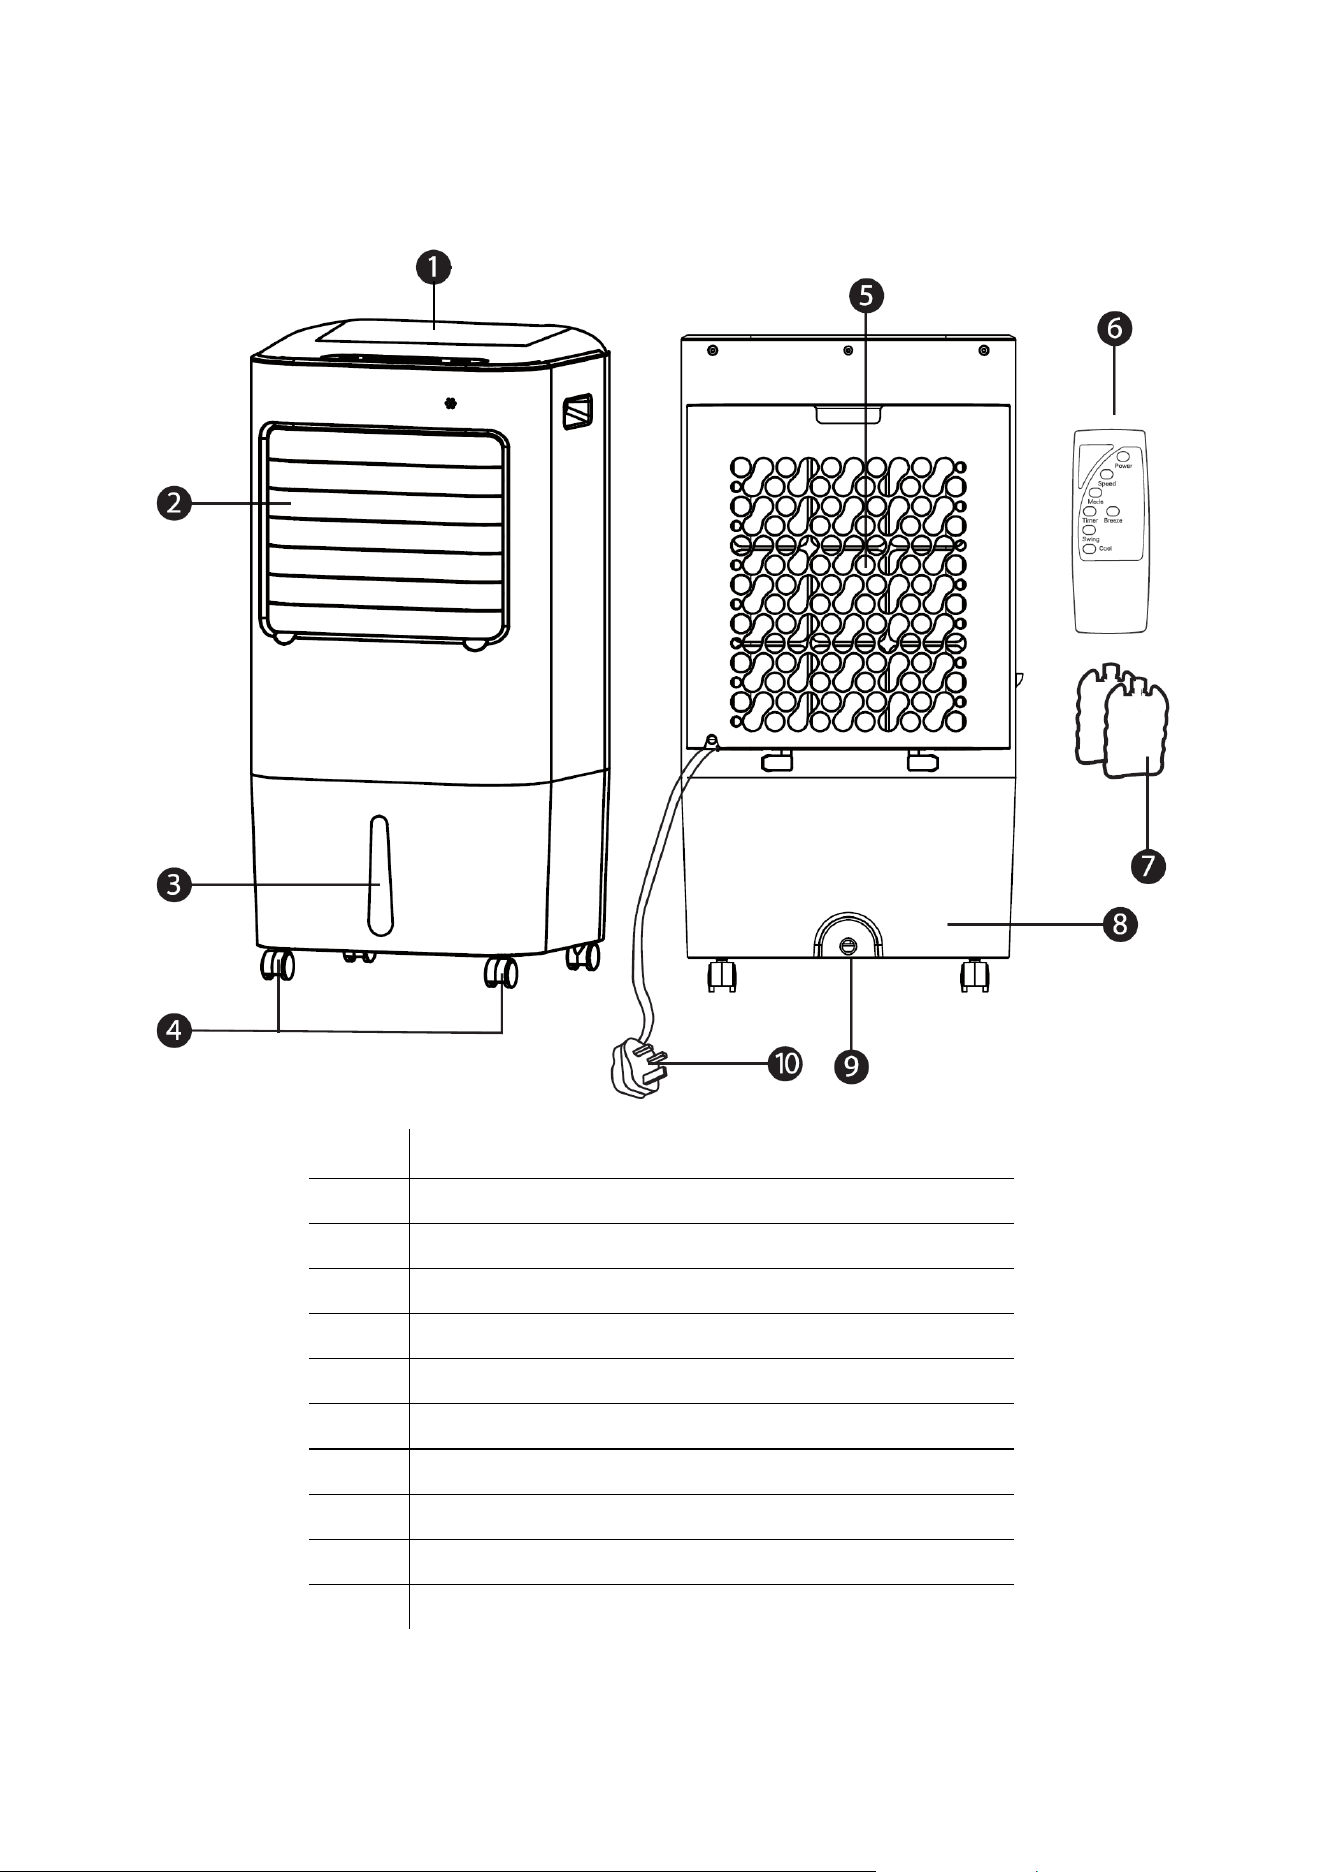
PRODUCT OVERVIEW
No
Description
1
Control Panel
2
Louvres
3
Water Level Indicator
4
Castors
5
Filter Assembly
6
Remote Control
7
Ice Packs (x2)
8
Water Tank
9
Drainage Outlet
10
Plug
Page 8 of 14
SETTING UP THE AIR COOLER
• Remove all packaging - Ensure the air cooler is kept in a vertical position.
• Make sure all parts are present and the unit is assembled correctly.
• Make sure that the honeycomb filter is properly inserted into the filter assembly, and
the filter assembly is in position on the rear of the appliance.
• Fill the appliance with clean fresh water.
• Connect the power plug to a working socket, then press the power button.
This unit can easily be moved from one room to another. While moving the unit, please note
that it must always be kept upright and placed on an even surface.
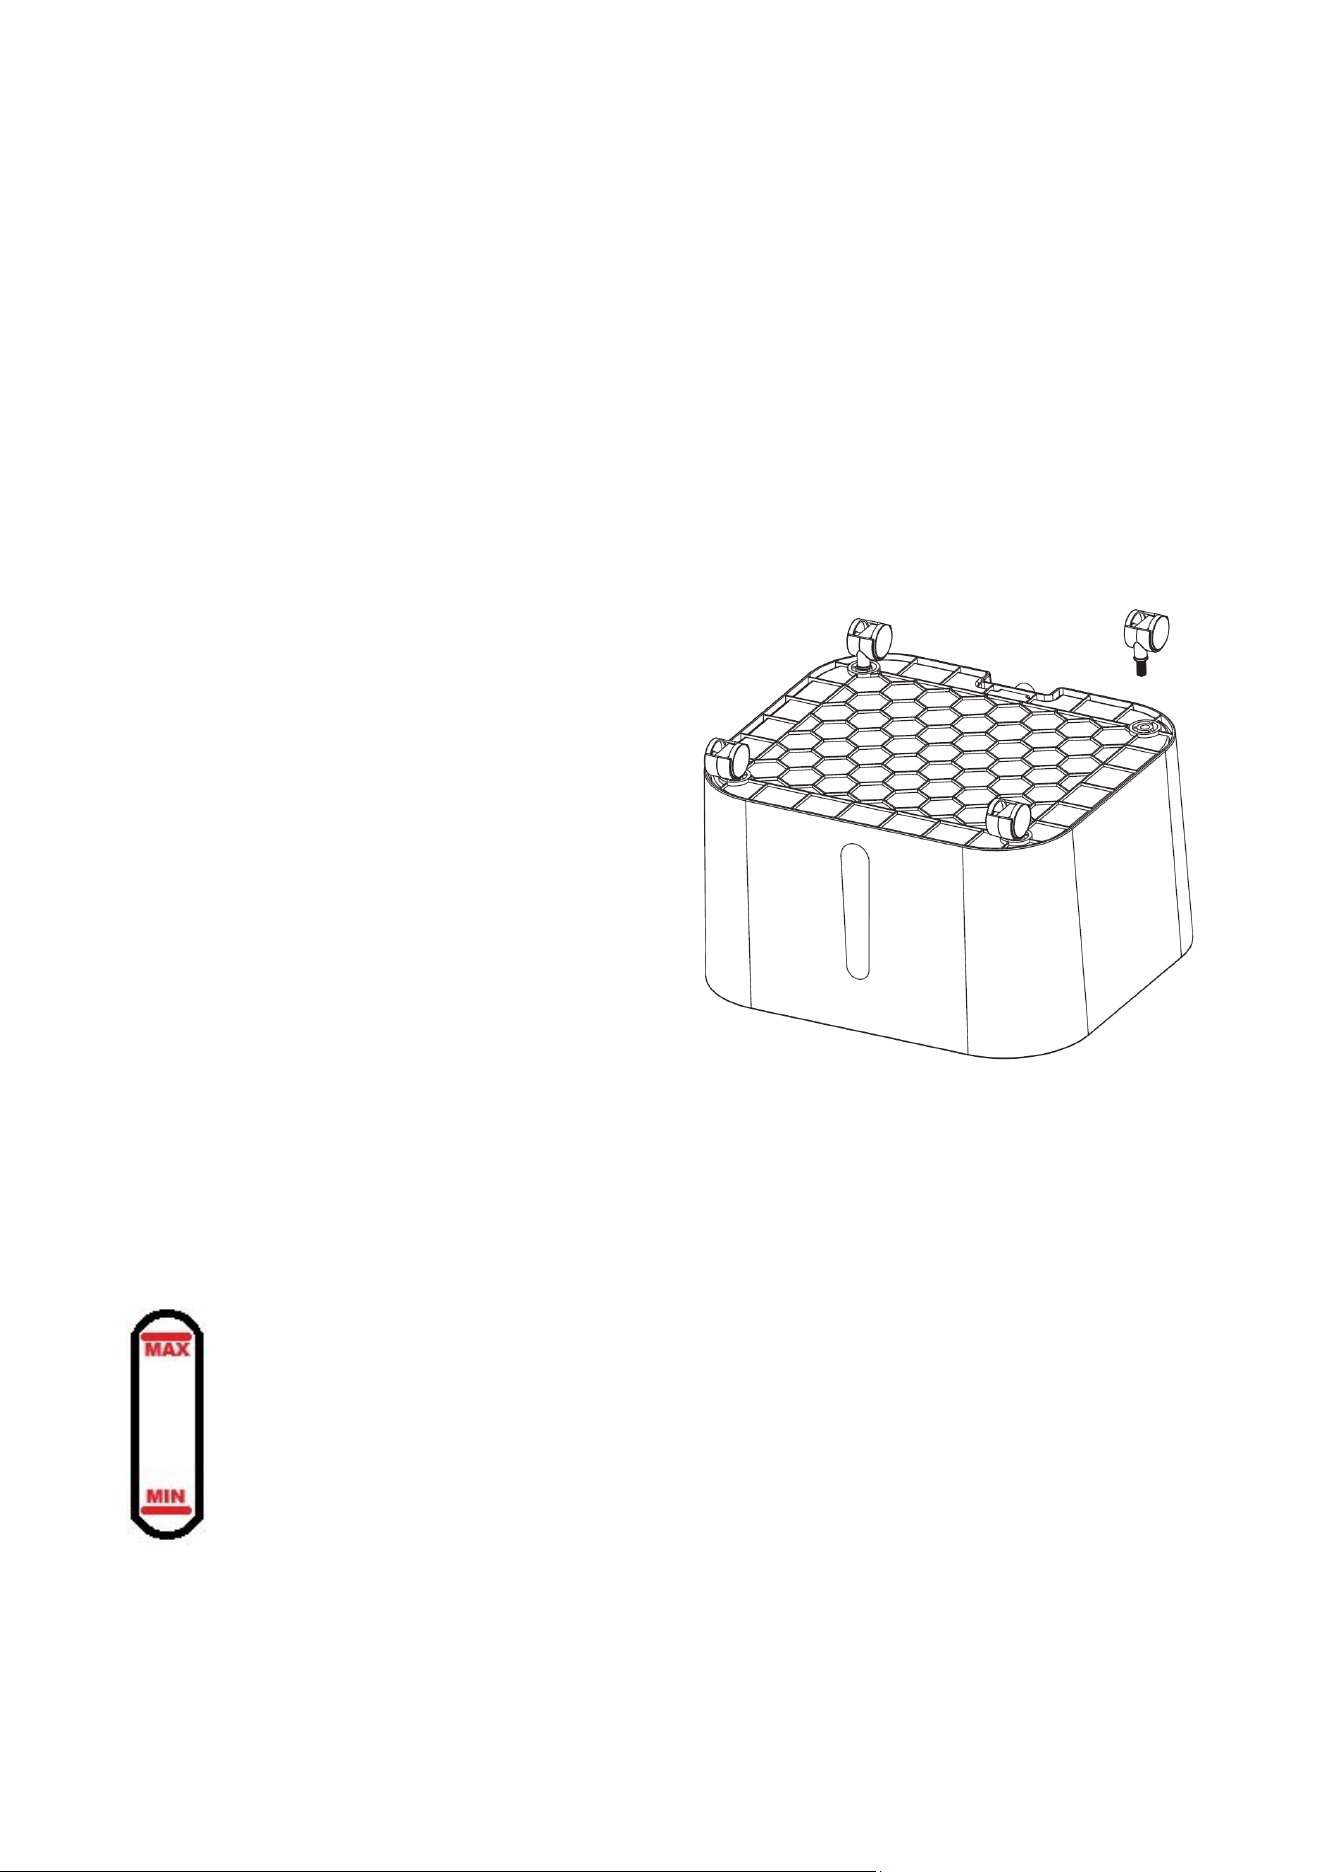
FITTING THE CASTORS
• Turn the unit upside down on a
soft surface to avoid damage.
• Align the metal stem of each
castor with the mounting hole at
the air cooler's base.
• Firmly push each castor into place
until it clicks or feels securely
inserted.
FILLING THE WATER TANK
ATTENTION: Please turn off the appliance and disconnect from the mains before
filling the water tank.
Before turning on the cooling function, please add water to the tank. The appliance can be
used without water if the cooling mode is not activated,
Before filling with water, open the flap on the side of the appliance and fill the tank
slowly before closing the flap.
Only use clean tap water, and do not fill the water beyond the maximum water
level shown at the lower front of the air cooler.
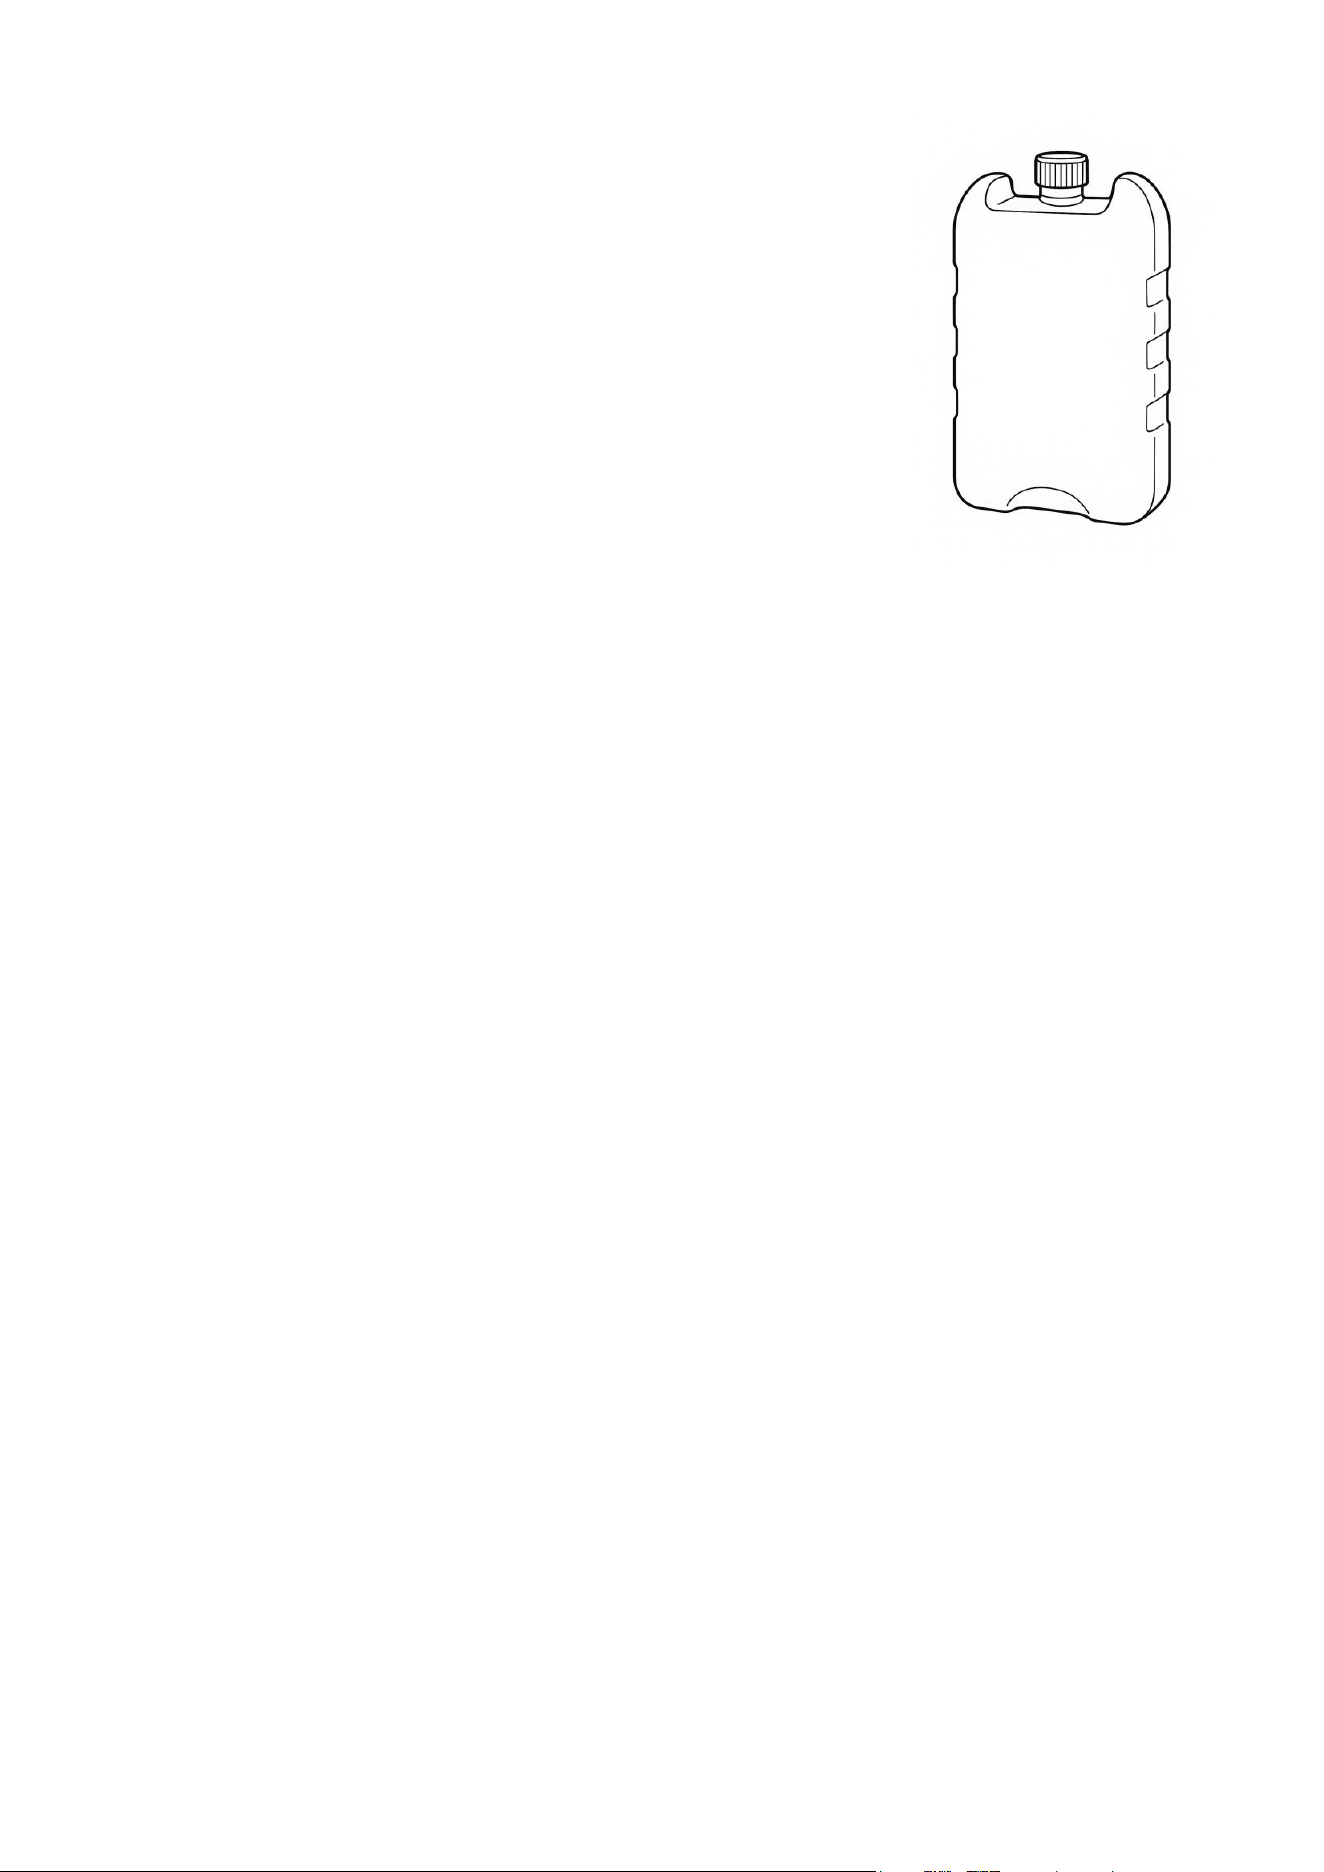
Ice packs can also be inserted into the tank to cool the water, giving a boost to the
cooling performance. These should be inserted by removing the filter cover on the
rear of the appliance and lowering them into the main water tank.
NOTE: It is completely normal and in no way dangerous if the device has a slight odour or
the water tank has slight discolouration when used for the first time.
Page 9 of 14
USING THE REUSABLE ICE PACKS
1. Unscrew the cap and fill the ice pack with water to the
indicated fill line.
2. Securely tighten the cap.
3. Let the ice pack sit for 30–40 minutes to allow the ice crystals
to fully absorb the water.
4. Place the ice pack in the freezer for at least 2 hours.
5. Once frozen, insert the ice pack into the water tank to cool the
water.
6. The gel inside may become soft or jelly-like after prolonged
use. Simply refreeze the ice pack before the next use.
7. The ice pack is reusable and can be cycled multiple times.
DRAINING THE TANK
To ensure optimal cooling performance and maintain hygiene, replace the water in the tank
at least once a week to prevent bacterial growth, odours, and mineral buildup. If the unit will
not be used for an extended period, drain and thoroughly clean the water tank before
storage. Regular water replacement and cleaning are essential for both the long-term
efficiency of the unit and safe operation.
1. Switch off and unplug the air cooler from the mains.
2. Move the unit to where the water can be safely drained (e.g. near a floor drain or
outside).
3. Locate the drainage outlet at the lower rear of the unit.
4. Remove the rubber bung to allow water to drain.
5. Tilt the unit slightly backwards or to the side to ensure all water is fully emptied from the
tank.
6. Once drained, leave the drain outlet open for a few minutes to allow residual moisture to
evaporate.
7. Wipe down the interior of the tank with a soft cloth if needed.
8. Securely replace the rubber bung before using or storing the unit.
IMPORTANT:
• Always empty the tank before storing the cooler for long periods.
• Regular draining helps prevent bacterial build-up and unpleasant odours.
LOW WATER ALARM
When the cool mode is activated, if the water level falls below the minimum level the alarm
will start to bleep, and the cooling function will be turned off.
To restart the cooling function unplug the appliance, refill the water tank above the minimum
level, before plugging back in and pressing the power button.
Page 10 of 14
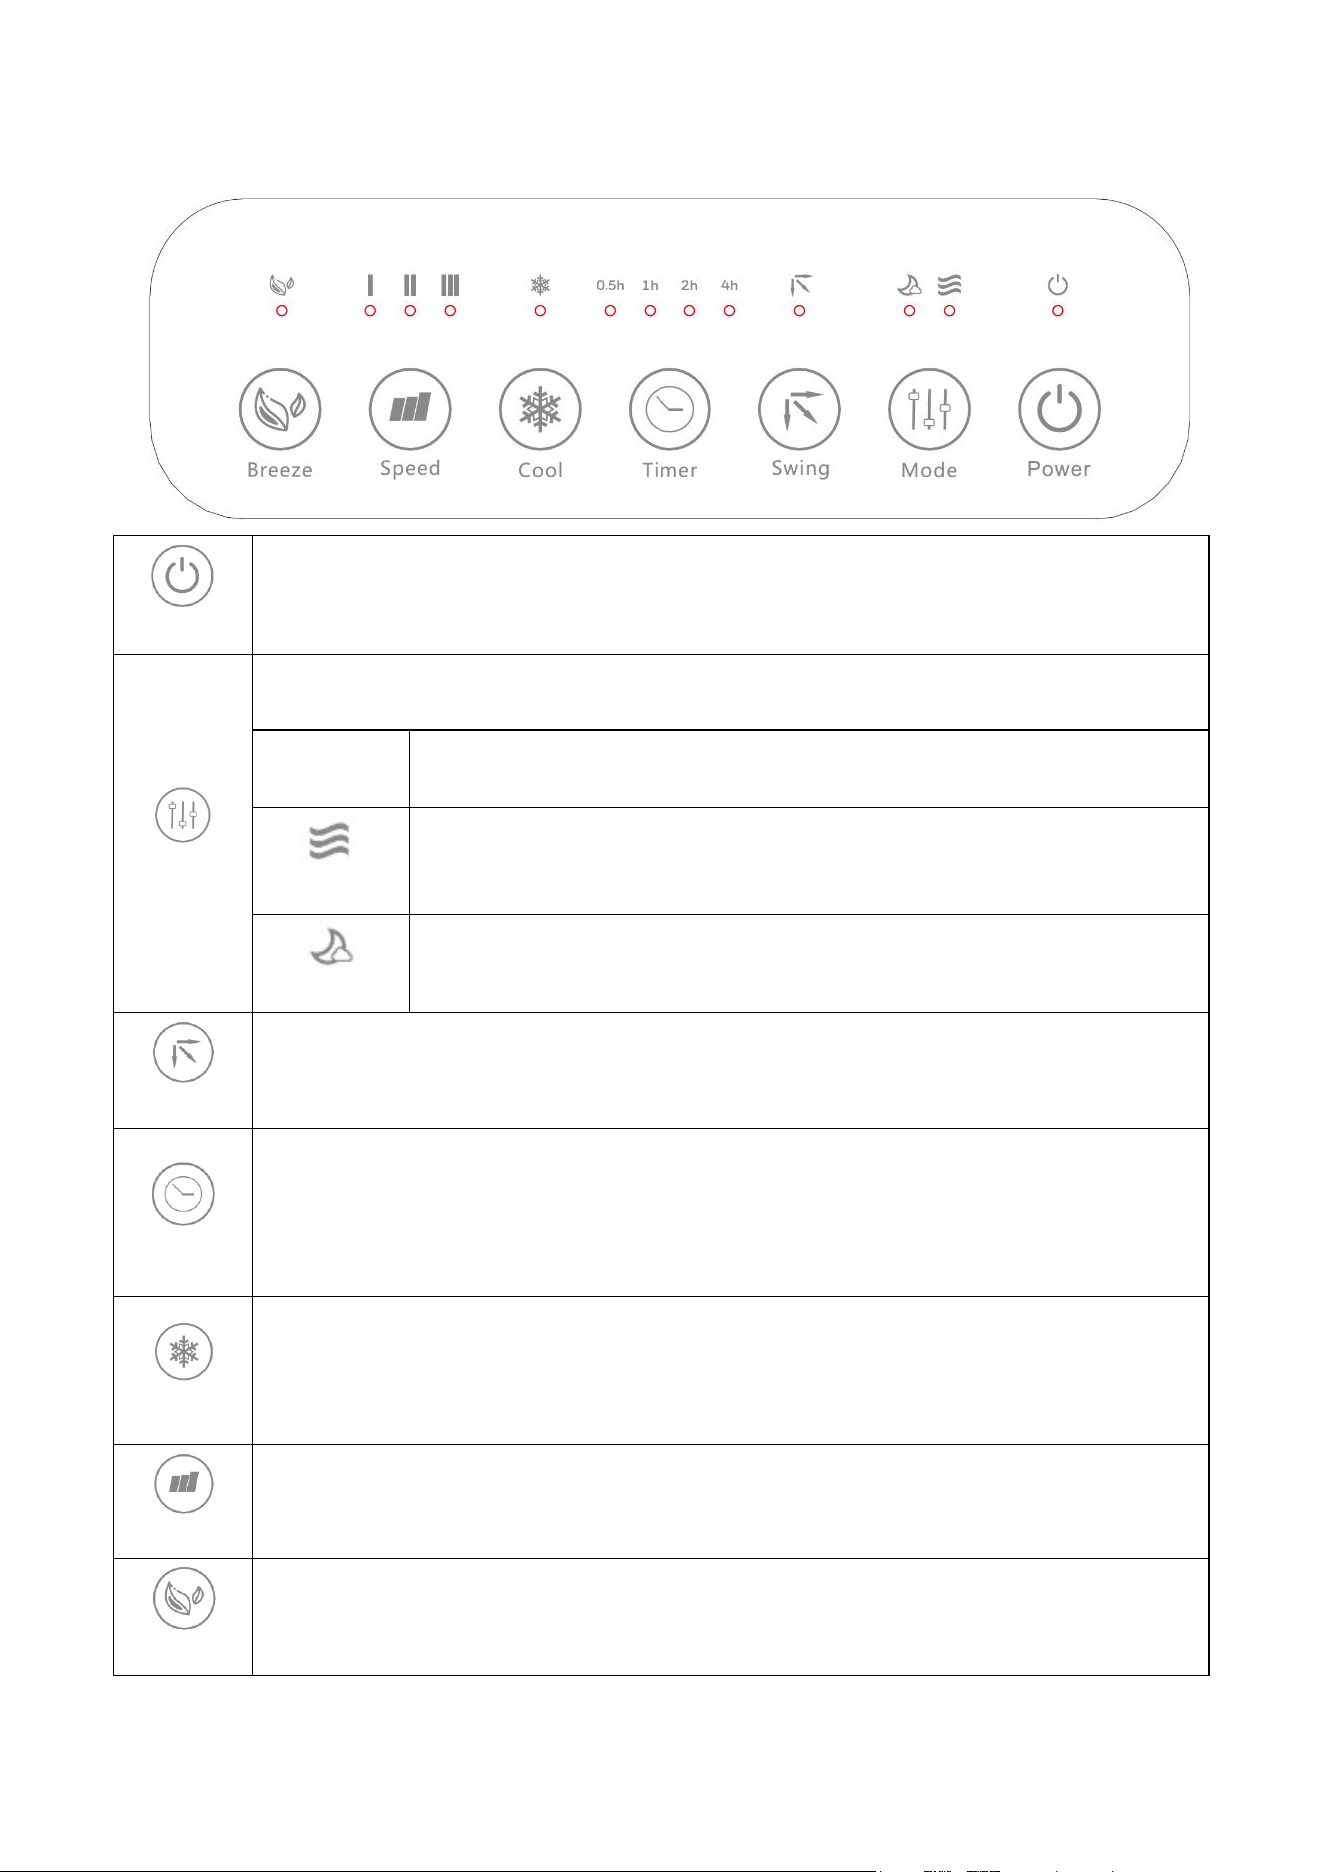
CONTROL PANEL
Power
Press to turn the air cooler on and off.
Mode
Press to change between Normal, Natural and Sleep modes. The indicators
above the button will indicate which mode the appliance is operating in:
Normal
(No indicator)
The fan operates at a constant level.
Natural
The fan speed fluctuates to imitate a natural breeze.
Sleep
The fan will operate at minimum speed.
Swing
Press to activate the swing mode. The louvres will gently swing from left to
right. The vertical direction of the airflow can be adjusted manually. The Swing
symbol will be illuminated when the function is active. Press again to turn it off.
Timer
WHILE THE UNIT IS RUNNING: Repeatedly press the timer button to activate
the countdown timer. This can be set from 0-7.5 hours, and the total duration is
shown by adding the lights illuminated above. e.g. if 3h, and 0.5h are
illuminated the timer duration would be 3.5 hours. The unit will automatically
turn off when the countdown has ended.
Cool
Press to activate the evaporative cooling. Ensure that the water level is
sufficient for operation. The unit will operate as a fan/air purifier when this
function is not turned on.
NOTE: Do not activate this function when the water tank is empty.
Speed
Press to change the fan speed between low, medium and high. The currently
selected fan speed will be illuminated.
Breeze
Press and the airflow will simulate the natural feeling of an outdoor breeze.
Press speed button to deactivate.
Page 11 of 14
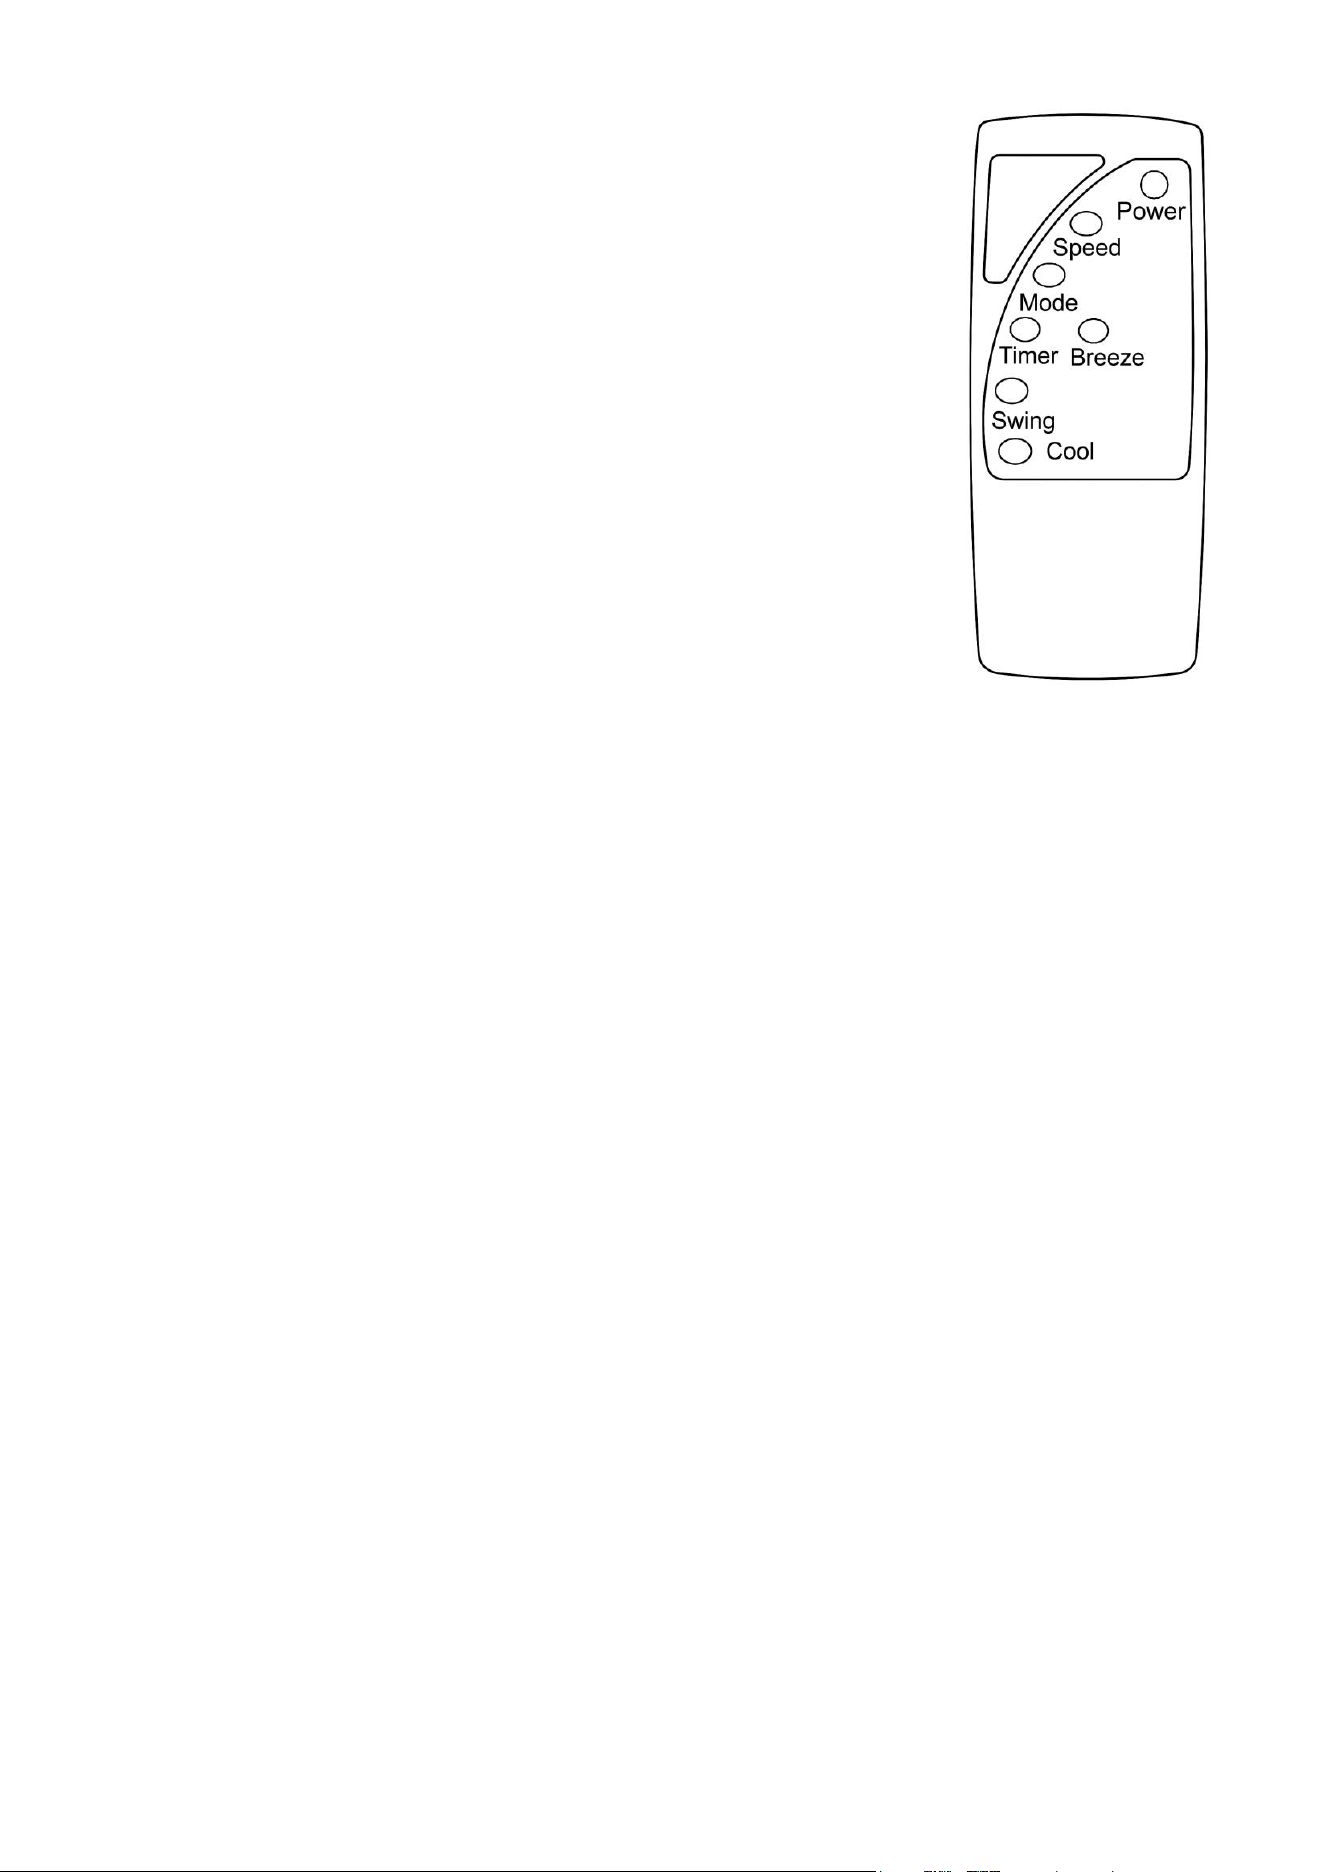
REMOTE CONTROL
The remote control enables you to control all the same functions
as the control panel from up to 5 metres. It should be pointed
towards the receiver in front of the air cooler.
ATTENTION:
• If not in use for a prolonged period, the batteries should be
removed.
• Insert the battery with the correct polarity.
• Dispose of used batteries responsibly.
Please note the design of the remote may vary.
This remote takes 2 x AAA batteries.
CLEANING AND MAINTENANCE
ATTENTION: Please turn off the appliance and disconnect from the mains before
cleaning or performing any maintenance.
CLEANING THE SURFACE
• Clean the plastic housing with a duster or a soft wet cloth.
• Do not use chemical solvents (such as benzene, alcohol or gasoline) as they may cause
irreversible damage.
• Make sure no water enters the control panel.
• Do not permit the area around the air cooler to become damp or wet. If dampness occurs,
turn the output of the air cooler down. If the air cooler output volume cannot be turned down,
use the air cooler intermittently. Do not allow absorbent materials, such as carpeting,
curtains, drapes, or tablecloths, to be damp.
CLEANING THE WATER TANK
• Unplug the appliance.
• Lift the rear honeycomb filter away from the unit.
• Drain the tank by removing the bung from the drain outlet
• With a cloth (dipped in a mild detergent), wipe the water tank and rinse it with water.
• Cleaning the water tank at least once a week will help reduce any mineral deposits and
keep the filters clean.
• Do not run the unit in cooling mode with stale water in the tank.
• We recommend emptying the tank and refilling it with fresh water if water has been
standing in the tank for an extended period of time.
IMPORTANT: Failure to periodically clean may result in the growth of mould or
bacteria, which can then be released into the air during operation.
Page 12 of 14
MAINTAINING AND CHANGING THE HONEYCOMB FILTER PAD
The appliance is supplied with a honeycomb cooling/filter pad. The cleaning frequency for the
honeycomb filter depends on local air and water conditions. In areas where the mineral
content of the water is high (hard water), mineral deposits may build up on the honeycomb
filter and restrict airflow. If mineral deposits remain on the honeycomb pads, the filter should be
removed and washed under fresh water. We recommend cleaning the honeycomb filter at
least every two months, depending on your needs.
For best results, allow the honeycomb filter to dry after each use by turning off the cooling
function for 15 minutes (with an empty water tank) before turning the unit off.
Unplug the power cord, then remove the filter frame from the rear of the appliance before
removing the honeycomb filter from the frame. Scrub the honeycomb filter with a mild
detergent and a soft brush, clean with water, and dry. Do not dip in water.
Replacement filters can be purchased for this unit under model:
ECOCOOL15I-honeycomb
END-OF-SEASON MAINTENANCE
1. Empty the tank and wipe it with warm soapy water.
2. Dry the tank and clean the Honeycomb pads
3. Store any Icepack you may use in the water tank
4. Cover the unit and keep it in a dry place.
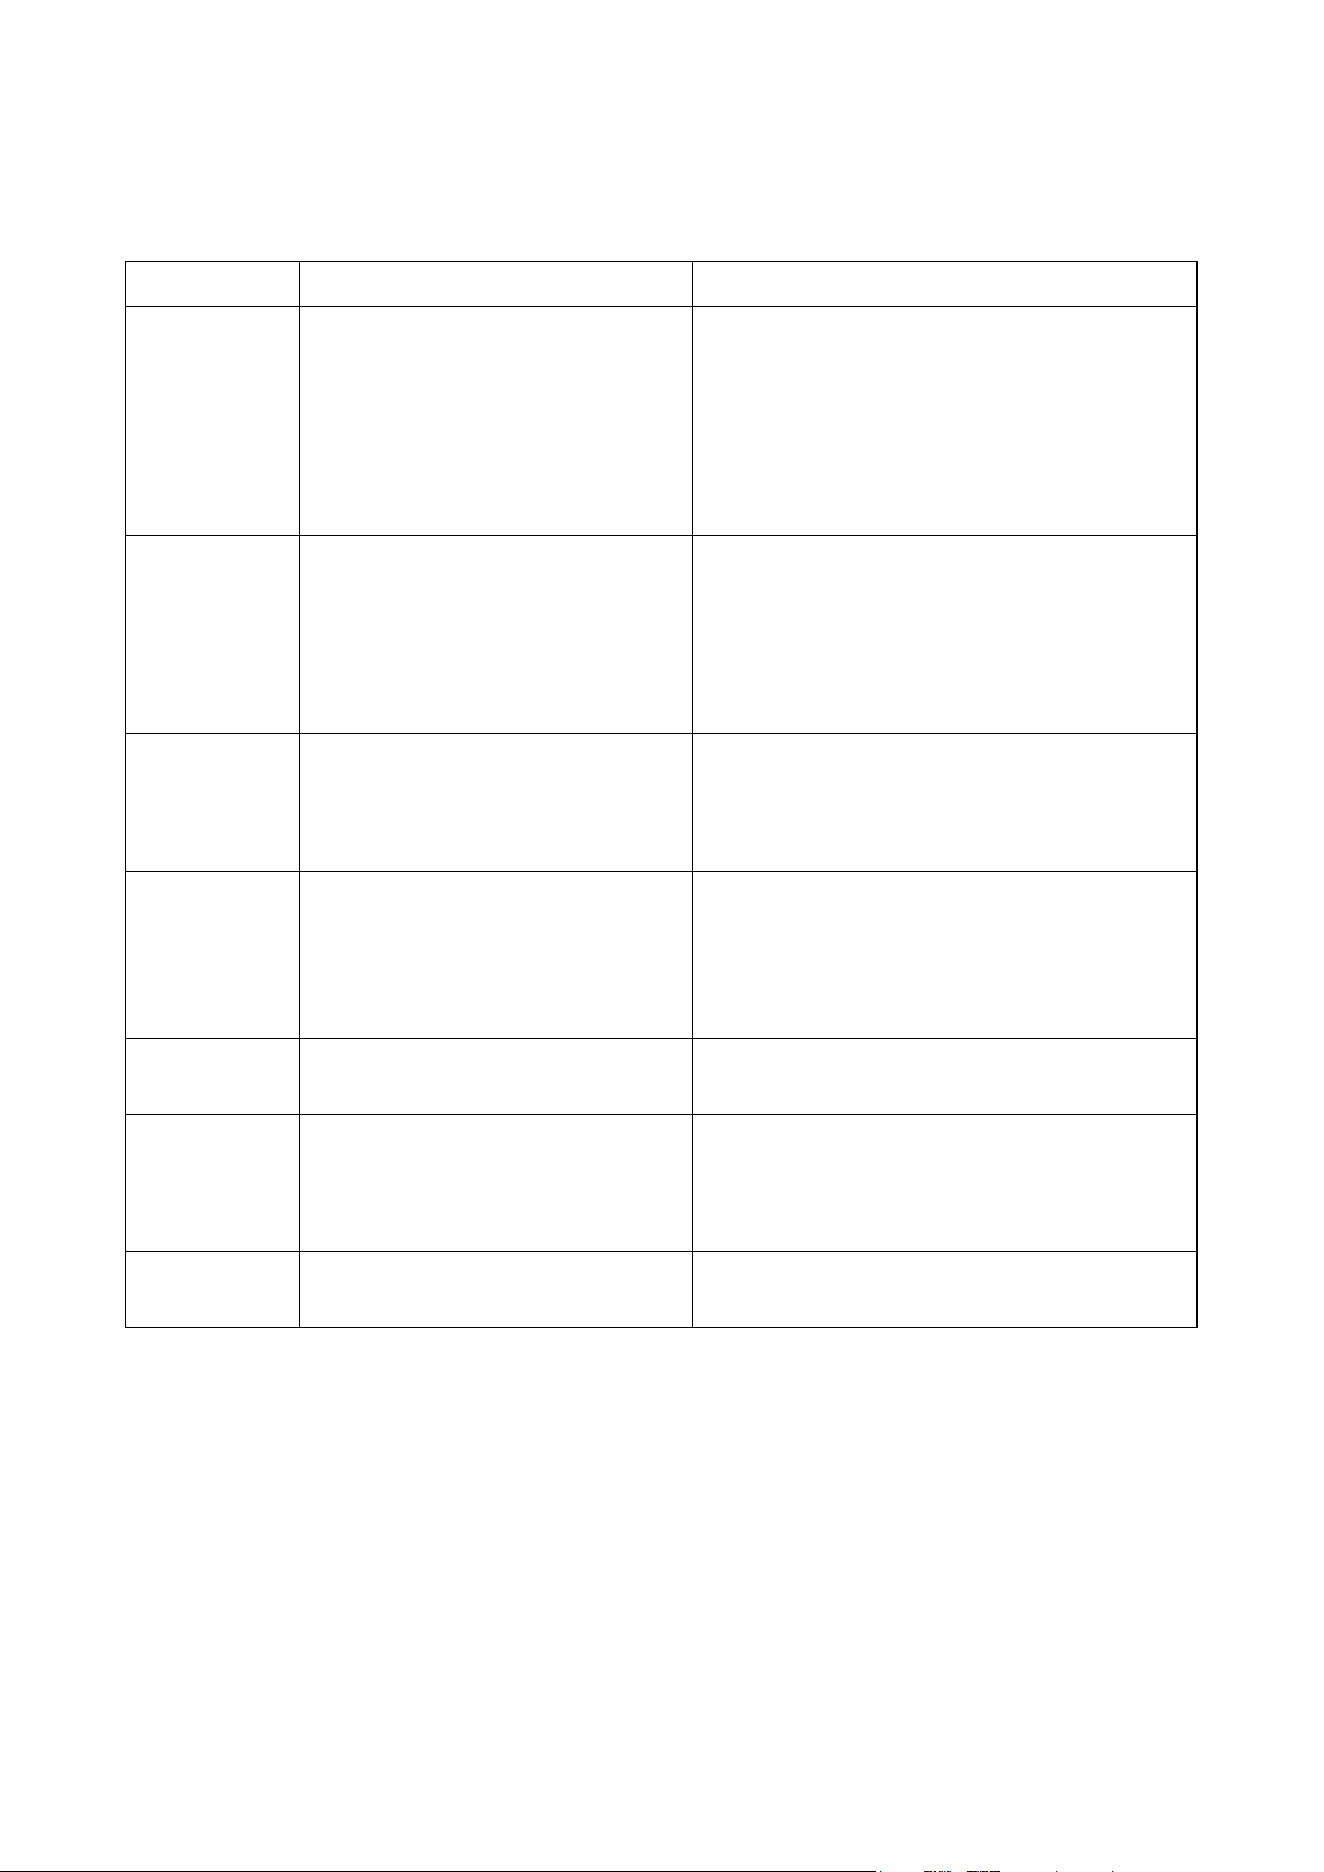
TECHNICAL SPECIFICATION
MODEL
ECOCOOL15I
DIMENSIONS
365 x 315 x 780mm
WEIGHT
7kg
RATED VOLTAGE
220 - 240V
RATED FREQUENCY
50-60Hz
RATED POWER
65W
FUSE SIZE
3A
TANK CAPACITY
15L
Page 13 of 14
TROUBLESHOOTING
Do not repair or disassemble the unit yourself. Unauthorised repair attempts will invalidate
the warranty and may cause bodily harm.
ISSUE
POSSIBLE CAUSE
SUGGESTED SOLUTION
No power or
display is off
• Power cord not plugged in or
poor contact
• No power from socket
• Honeycomb filter support not
installed correctly
• Power button not pressed
• Circuit board fault
• Ensure the power cord is securely
connected
• Test the socket with another appliance
• Reinstall the honeycomb filter correctly
• Press the power button
• Contact customer support
No air
output or
weak airflow
• Fan blades stuck
• Filter is blocked
• Fan blade loose or not fixed
• Control panel error
• Inspect and clear obstructions from fan
blades
• Clean or replace the filter
• Reinstall or replace the fan blade
• Contact the service to inspect the
control panel
Motor not
responding
or is out of
control
• Faulty control panel button
• Loose wiring between motor
and control board
• Replace the control panel
• Check and reconnect wiring securely
The water
pump is not
working
• Blocked water pipe
• Prolonged use without water
damaged the pump
• Scale buildup on the pump
shaft
• Clean the water pipe with a small brush
• Replace damaged water pump
• Disassemble the shaft, clean debris,
lubricate, and reassemble
No dust
removal
• Honeycomb filter is clogged
• Air inlet is blocked
• Remove and clean the filter
• Clear any obstructions from the air inlet
Odour from
unit
• Normal with new units
• Mould or bacterial growth on
the filter
• No action needed – odour fades within
a week
• Clean filter with mild antibacterial
solution and dry thoroughly
Drain
leaking
• Rubber bung is missing or
dislodged
• Refit or replace the rubber bung
If the above solutions do not resolve the problem, please contact customer support.
Page 14 of 14
electriQ UK SUPPORT
www.electriQ.co.uk/support
Please, for your own convenience, make these simple checks before calling the service
line.
If the unit still fails to operate, call: or complete the online form
1. Is the unit plugged into the mains?
2. Is the fuse OK?
3. Switch the unit off and wait three minutes to see if the issue is resolved. Restart the
unit.
0330 390 3061
Office hours: 9 AM - 5 PM, Monday to Friday
www.electriQ.co.uk
Unit 2A, Trident Business Park,
Neptune Way, Leeds Road,
Huddersfield, HD2 1UA
Disposal: Do not dispose of this product as unsorted waste. Collection of such waste must
be handled separately as special treatment is necessary.
Recycling facilities are now available for all customers at which you can
deposit your old electrical products. Customers will be able to take any old
electrical equipment to participating civic amenity sites run by their local
councils. Please remember that this equipment will be further handled during
the recycling process, so please be considerate when depositing your
equipment. Please contact the local council for details of your local household
waste recycling centres.
V20260224RLJ