CHECK FOR CONCEALED DAMAGE
FILE CLAIM WITH DELIVERING FREIGHT CARRIER
Sinks manufactured by ADVANCE TABCO
®
are designed and constructed for the use of
liquid containment. Suggested applications include Food Preparation, Manufacturing, Cooking, Laboratory
and Service and the like. ADVANCE TABCO
®
does not recommend product use for activities employing
harsh and active chemicals. Please consult factory regarding unusual applications.
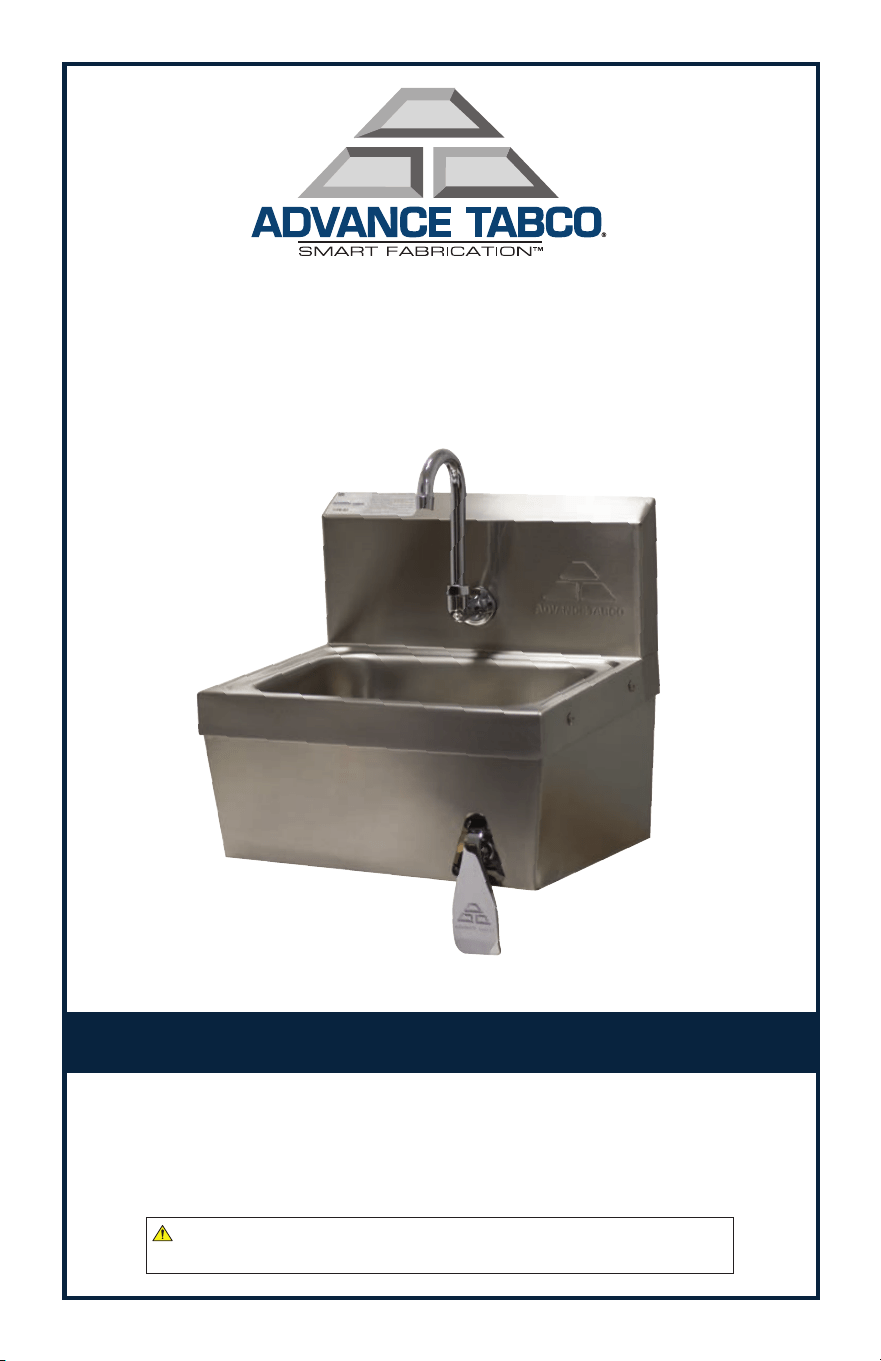
Installation Instructions for
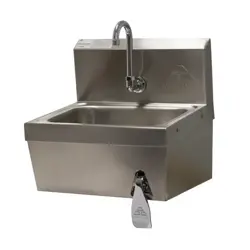
7-PS-62 HAND WASHING SINK
WARNING: Equipment that includes a faucet may expose you to chemicals, including lead, that are known to the State of California to cause cancer or birth defects or other reproductive harm. For more Info.,visit www.p65warnings.ca.gov.
WARNING: Equipment that includes a faucet may expose you to chemicals, including lead, that are known to the
State of California to cause cancer or birth defects or other reproductive harm. For more Info.,visit www.p65warnings.ca.gov.
WARNING: Faucets on this page may expose you to chemicals, including lead, that are known to the State of California to cause cancer or birth defects or other reproductive harm. For more Info.,visit www.p65warnings.ca.gov.

• (1) Hand Sink
• (1) Apron
• (1) Knee Valve
• (1) K-121 Gooseneck Faucet
• (1) K-6 Basket Drain
• (4) 1/4”x 20” x 3/4” Nuts & Hex Head Bolts
• (1) Wall Clip
• Tape Measure
• Screw Driver
• 7/16” Open End Wrench
• Adjustable Wrench
• Drill Motor & Bits
• Level
• Safety Glasses
CONTENTS INCLUDE:
TOOLS REQUIRED:
Step 1:
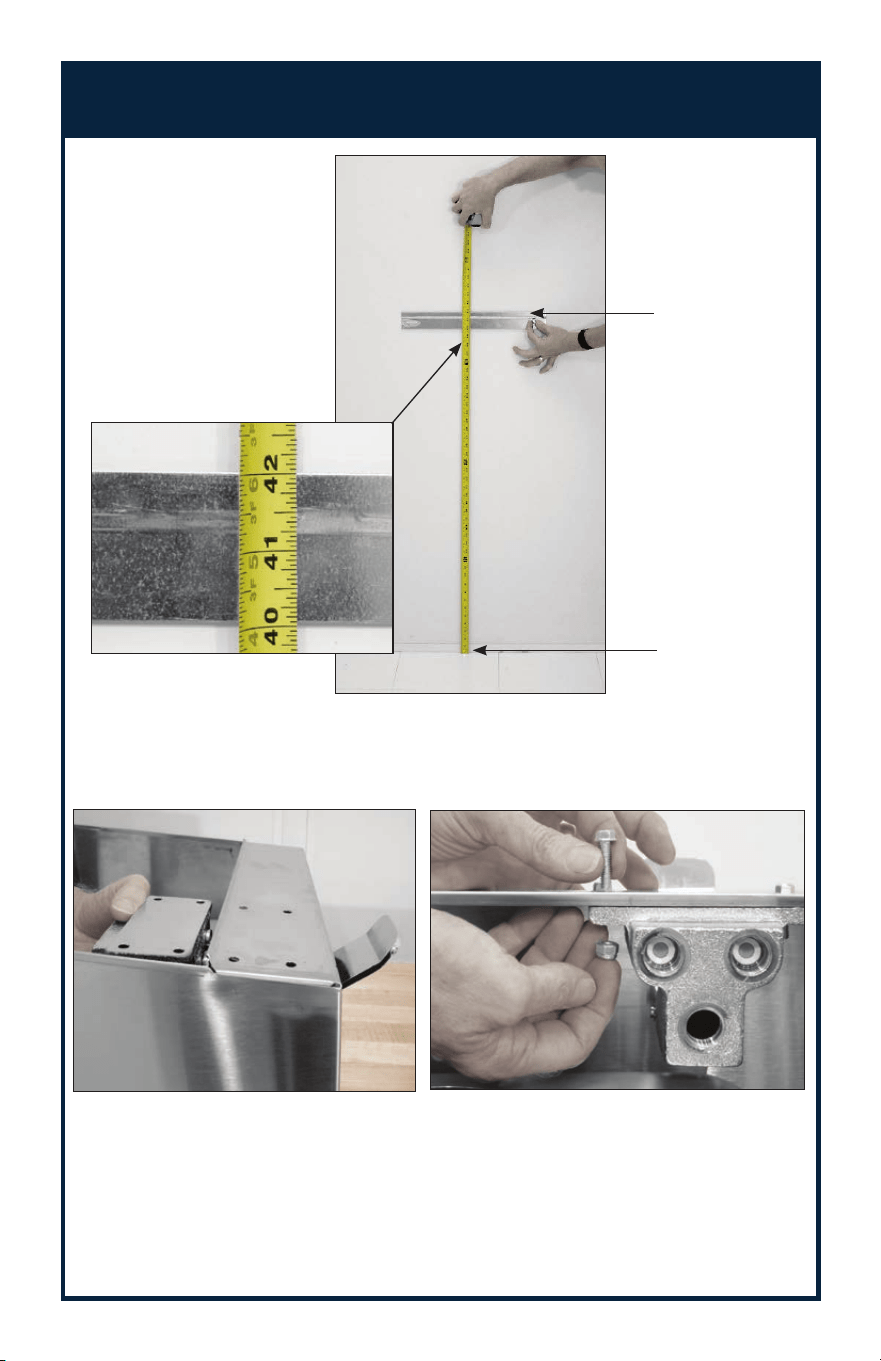
Position wall clip at 42”
A.F.F. (Above Finished
Floor). Ensure Wall Clip
is level.See Photo Figures
# 1 & 1A.
(Note: Hardware not provided.)
Step 3:
Pre-plumb hot and cold water supply to Knee Valve (at base of valve)
according to local plumbing code.
42” Above
Finished Floor
Finished Floor
Figure 1
Step 2:
Install Knee Valve to Apron using - 1/4 x 20” x 3/4” hardware
provided. See Photo Figures # 2 & 2A.
Figure 2
Figure 2A
Continued >>
INSTALLATION INSTRUCTIONS
Figure 1A
Edgewood, New York 11717-8380
SEPTEMBER 2018
Step 11:
Check all water and drain connections for leaks.
Step 4:
Install faucet and drain to sink body.
Step 5:
Plumb connection (top outlet port) from Knee Valve to faucet.
Step 6:
Install sink body onto wall clip. Secure rear Apron flange to wall at
keyhole locations. (Hardware not provided).
Step 7:
Connect Hot and Cold water supply to Knee Valve.
Step 8:
Connect drain to waste line.
Step 9:
Remove aerator and flush water system.
Step 10:
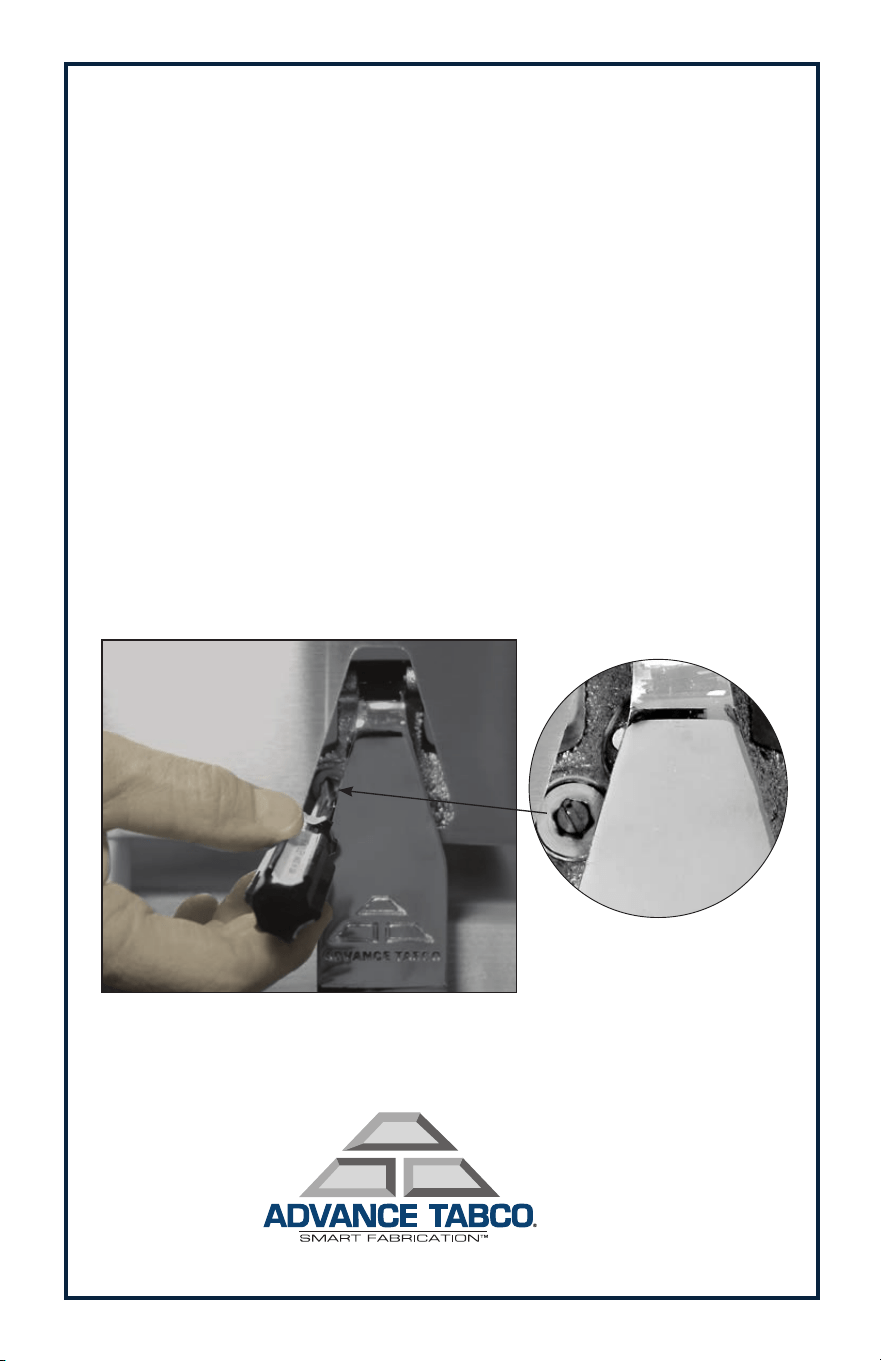
Adjust Hot Water at front of valve. See Photo Figure #3.
Figure 3
Hot Water
Adjustment Screw

