4LR-C 05/2025
4
-
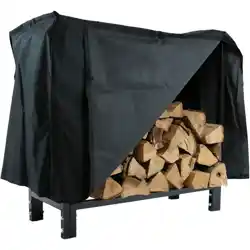
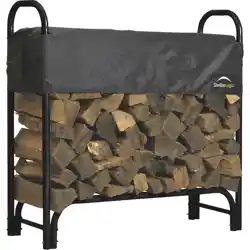
FOOT LOG RACK WITH COVER
QX-4LR-4LRC
Review all assembly and care information before using this product. Save this manual for future reference.
Assemble components on a soft, clean surface to avoid damaging the nish.
Page 1 / 2
Purchase Date: / / Order/Customer Reference Number:
CHOKING HAZARD — This item contains small
parts that can be swallowed. Keep children and pets
away during assembly.
WARNING
WARNING: Manufacturer and seller expressly disclaim any and all liability from personal injury,
property damage or loss, whether direct or indirect, or incidental, resulting from the incorrect attachment,
improper use, inadequate maintenance, or neglect of this product.
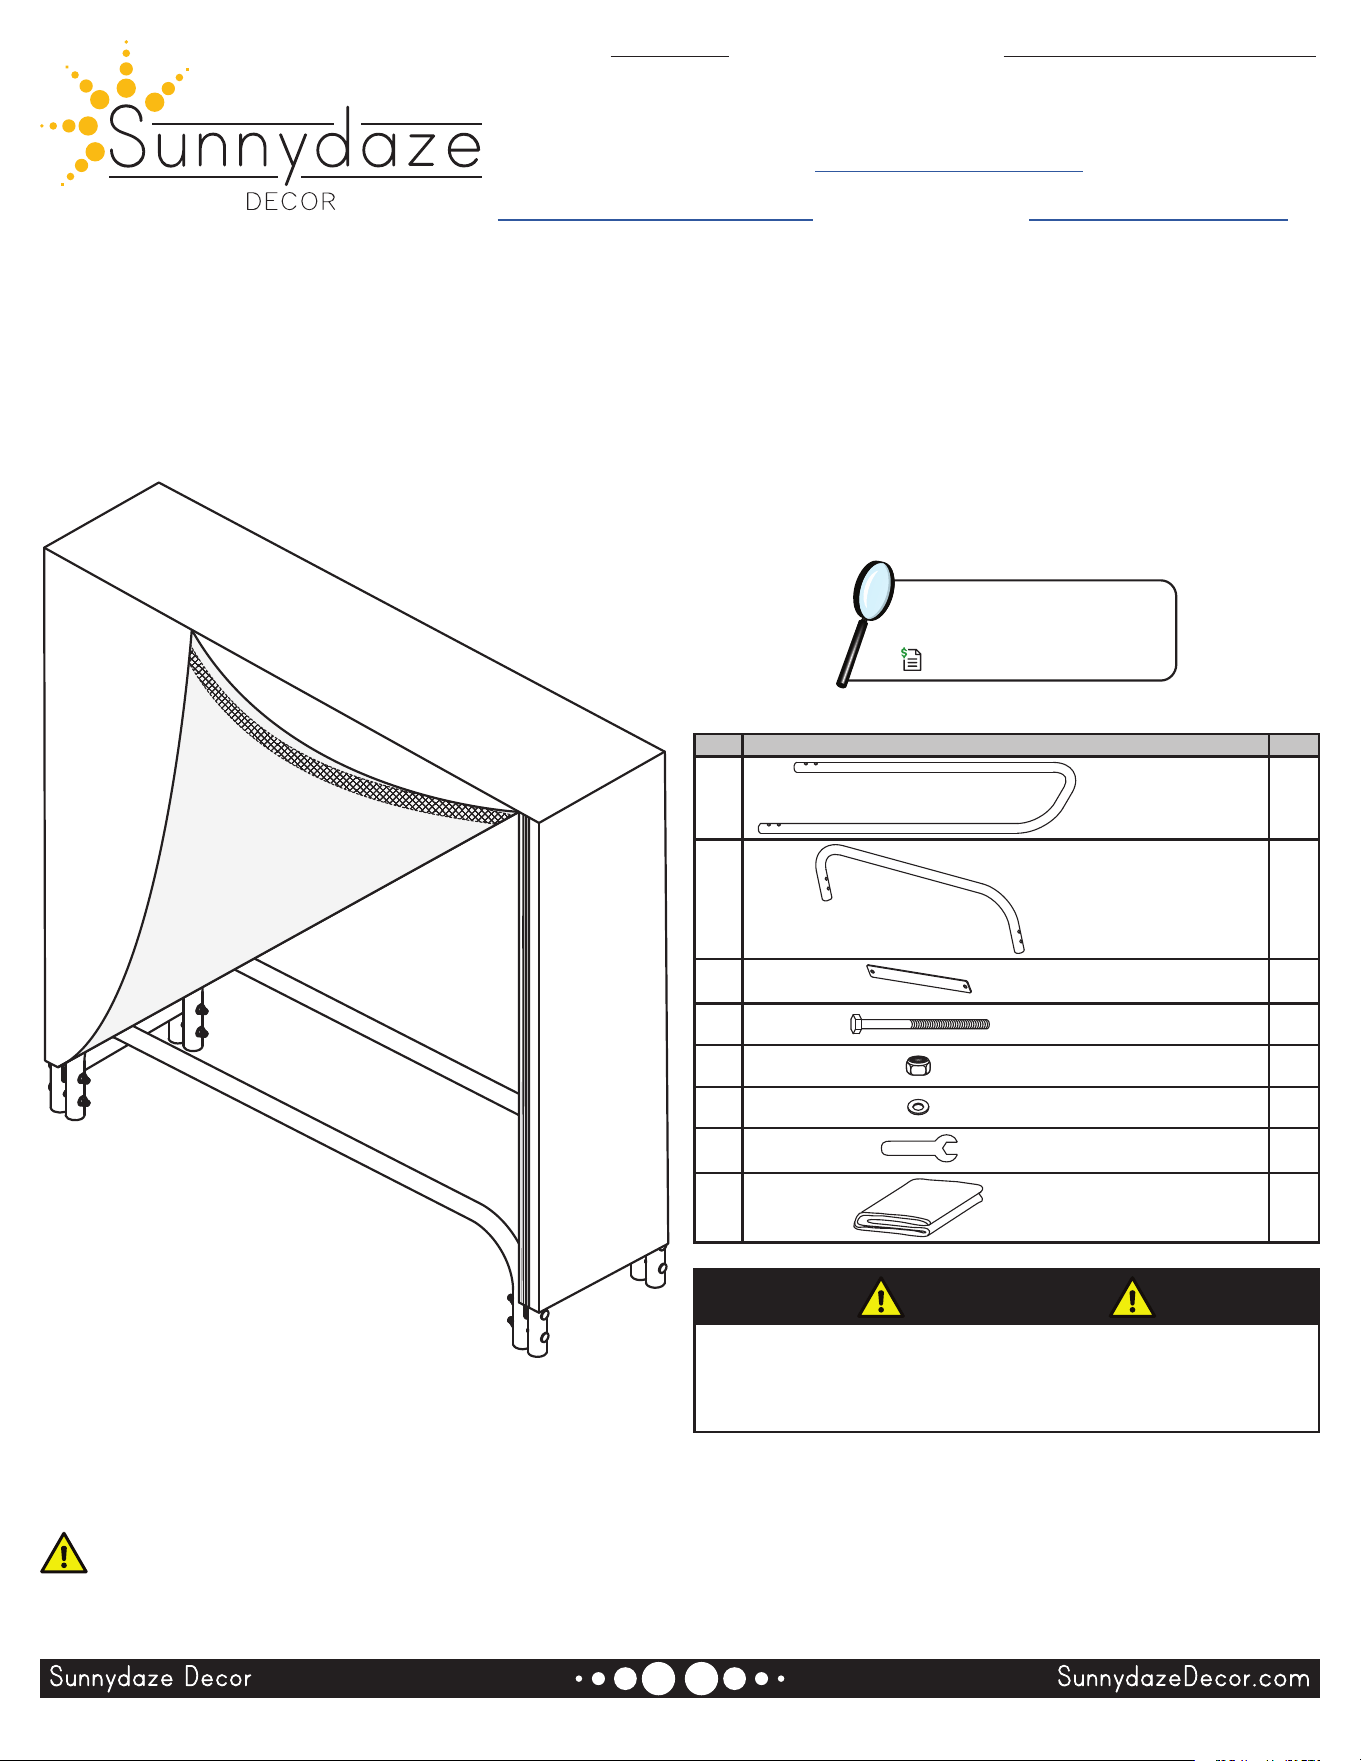
No. Parts Qty.
A
End Panel 2
B
Rail 2
C
Brace 2
D
M8x75mm Bolt 8
E
Lock Nut 8
F
Washer 12
G
Spanner 2
H
Cover 1
Inspect packaging to ensure all
parts are accounted for before
disposing of packing materials.
Save the packing slip.
Thank you for choosing Sunnydaze Decor. We stand behind our brand and the quality of the items we sell. Replacement
parts or products can be requested within the 1-year warranty period. Proof of purchase must be provided. This
includes the date of the purchase as well as photos of the product defect. Photos are used to determine the cause of
the defect and to provide future quality control. The request will be reviewed, and replacement pieces will be sent at
our discretion. For warranty information, visit https://tiny.cc/SunnydazeWarranty
If you have any questions, comments or concerns, feel free to contact us by phone at 833-982-1977, by email:
customerservice@sunnydazedecor.com, or via our contact us page at https://tiny.cc/SunnydazeContact
4LR-C 05/2025 Page 2 / 2
ASSEMBLY
Review all information and understand assembly before beginning.
• Place log rack on a hard, dry surface.
• Do not overload the log rack — holds approximately 1/2 face-cord of firewood.
• Ensure fittings are tight before use. Periodically check and tighten hardware as necessary.
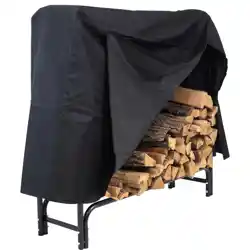
• Protect the unit from outdoor elements with the included cover.
• Do not allow children to play with or around the log rack.
SAFETY STATEMENTS & WARNINGS
Any modication to the product or failure to follow recommended care will void the product warranty.
WARNING!
Manufacturer and seller expressly disclaim any and all liability from personal injury, property damage
or loss, whether direct or indirect, or incidental, resulting from the incorrect attachment, improper use,
inadequate maintenance, or neglect of this product.
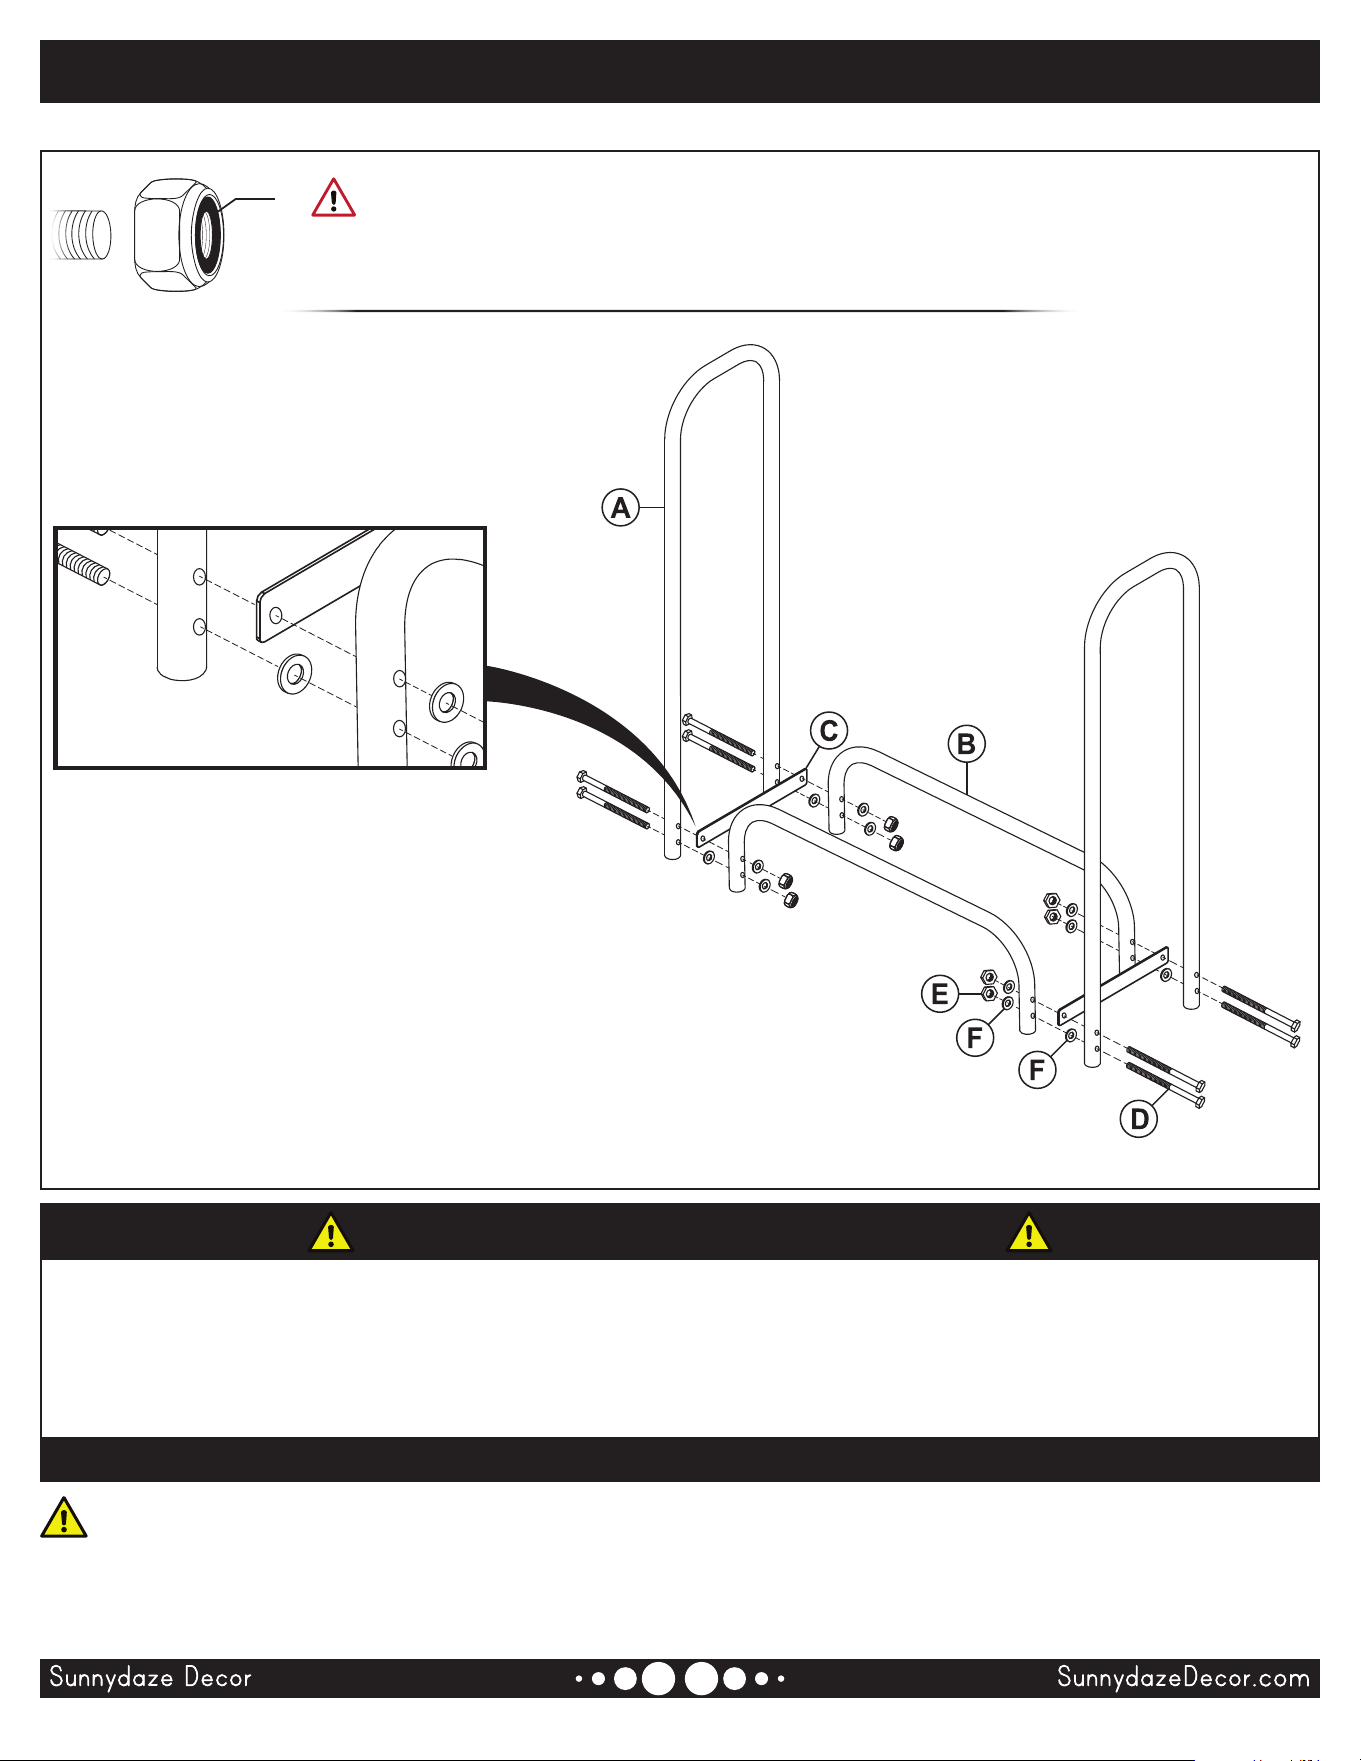
1. Place two M8x75mm Bolts (D) through the
mounting holes on one side of Side Panel (A).
Then, slide one Washer (F) onto the bottom bolt,
and Brace (C) onto the top bolt.
2. Align Rail (B) with the bolts. Place one washer onto each
bolt. Hand-tighten one Lock Nut (E) onto each bolt.
3. Repeat this process until all components have been loosely attached.
4. Tighten all hardware using included Spanners (G).
TIP: To tighten the hardware more quickly, turn the spanner on the bolt head
clockwise while simultaneously turning the spanner on the lock nut counterclockwise.
Nylon
Insert
IMPORTANT: Lock nuts must be installed with the nylon insert on the outside.
Tools are required to fully tighten lock nuts, failure to properly tighten the lock nuts may
result in product malfunction or personal injury.