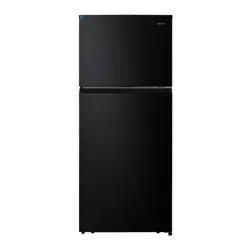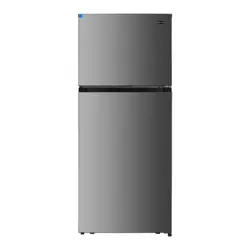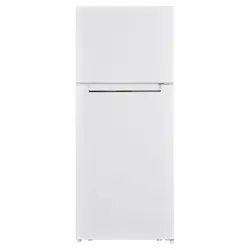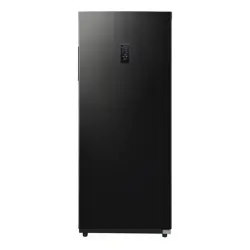
BEFORE USE, PLEASE READ AND FOLLOW ALL SAFETY RULES AND OPERATING
INSTRUCTIONS.
Models / Modelos
REFRIGERATOR / FREEZER
REFRIGERADOR / CONGELADOR
INSTRUCTION MANUAL
MANUAL DE INSTRUCCIONES
(Actual design / color may vary)
VEFCF3320WH
VEFCF3320BK
SAFETY REQUIREMENTS
DANGER: Risk of fi re or explosion. Flammable
refrigerant used. Do not puncture refrigerant tubing.
• Do not use mechanical devices to defrost
refrigerator.
• Ensure that servicing is done by factory
authorized service personnel, to minimize
product damage or safety issues.
WARNING: Keep ventilation openings, in the
appliance enclosure or in the built-in structure, clear
of obstruction.
WARNING: Do not use mechanical devices or other
means to accelerate the defrosting process, other
than those recommended by the manufacturer.
WARNING: Do not damage the refrigerant circuit.
WARNING: Do not use electrical appliances inside
the food storage compartments of the appliance,
unless they are of the type recommended by the
manufacturer.
CAUTION: Risk of fi re or explosion. Flammable
refrigerant used.
• Consult repair manual or owner’s guide before
attempting to service this product. All safety
precautions must be followed.
• Dispose of properly in accordance with federal
or local regulations.
• Follow handling instructions carefully.
CAUTION: Children should be supervised to ensure
that they do not play with the appliance.
DANGER: Risk of child entrapment. Before throwing
away an old appliance:
• Remove the door or lid.
• Leave shelves in place so that children may not
easily climb inside.
SAFETY REQUIREMENTS
This appliance is not intended for use by persons
(including children) whose physical, sensory or
mental capabilities may be different or reduced,
or who lack experience or knowledge, unless such
persons receive supervision or training to operate
the appliance by a person responsible for their
safety.
GROUNDING INSTRUCTIONS
This appliance must be grounded. Grounding
reduces the risk of electrical shock by providing an
escape wire for the electrical current.
This appliance has a cord that has a grounding
wire with a 3-prong plug. The power cord must be
plugged into an outlet that is properly grounded.
If the outlet is a 2-prong wall outlet, it must be
replaced with a properly grounded 3-prong wall
outlet. The serial rating plate indicates the voltage
and frequency the appliance is designed for.
WARNING - Improper use of the grounding
plug can result in a risk of electric shock.
Consult a qualifi ed electrician or service agent
if the grounding instructions are not completely
understood, or if doubt exists as to whether the
appliance is properly grounded.
Do not connect your appliance to extension
cords or together with another appliance in the
same wall outlet. Do not splice the power cord.
Do not under any circumstances cut or remove the
third ground prong from the power cord. Do not
use extension cords or ungrounded (two prongs)
adapters.
If the power supply cord is damaged, it must be
replaced by the manufacturer, its service agent or
similar qualifi ed person in order to avoid hazard.
SAVE THESE INSTRUCTIONS!
Important Safety Information
READ AND FOLLOW ALL SAFETY INSTRUCTIONS
Do not store explosive substances such as aerosol
This appliance is intended to be used in household
and similar applications such as
•
working environments;
• farm houses and by clients in hotels, motels and
other residential type environments;
• bed and breakfast type environments;
• catering and similar non-retail applications.
NOTE If the manufacturer wants to limit the use of the
appliance to less than the above, this has to be clearly
stated in the instructions.
• Make sure that you leave the minimum amount
of space between the appliance and all
surrounding walls and vents.Do not cover any
of the ventilation openings with any material
as the appliance needs adequate space to
breathe.
• Allow 5 inches (12.7 cm) of space between the
back, sides and top of the appliance and all
adjacent walls.
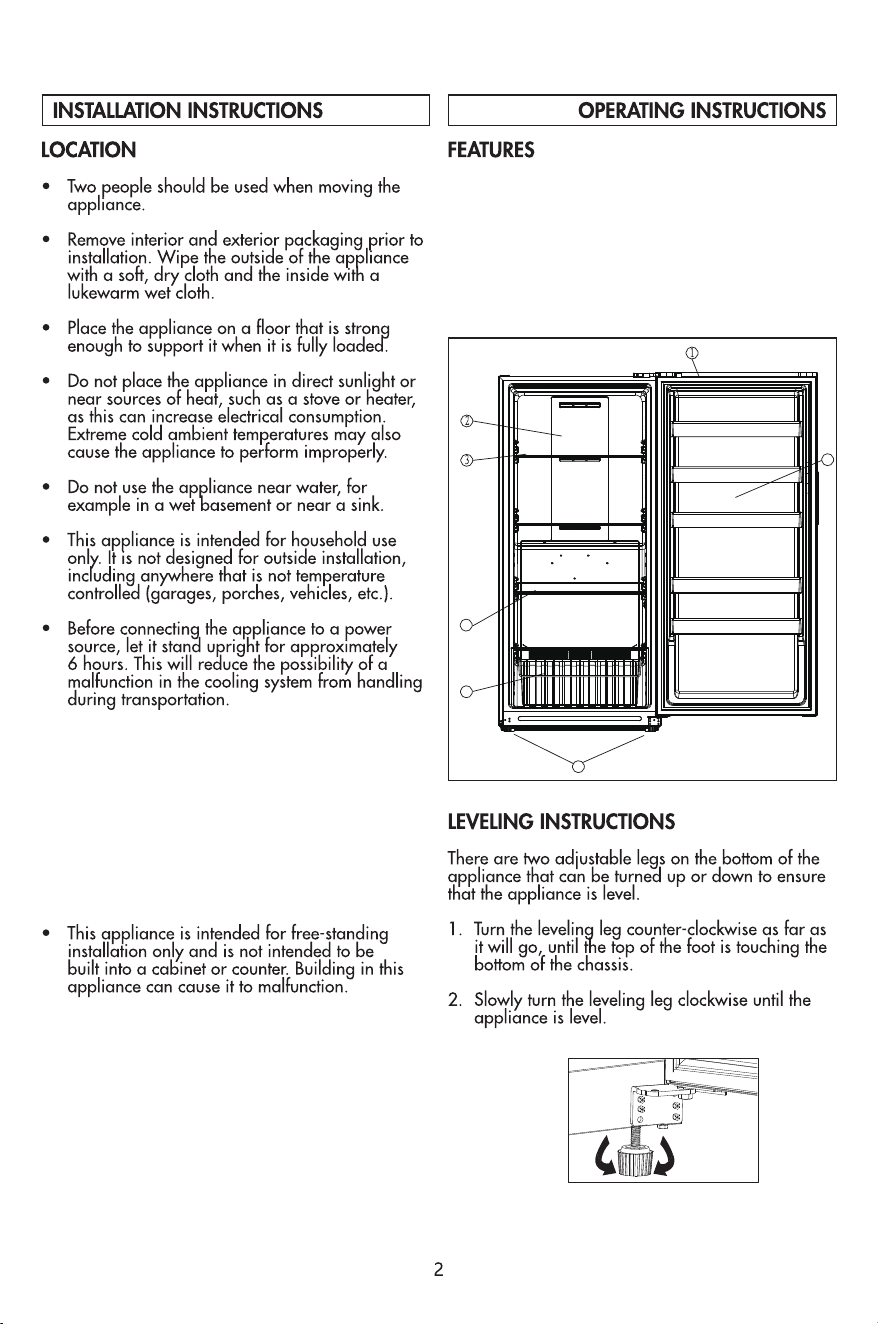
1. Display panel (FRONT)
2. Air Vents
3. Glass shelf1
4. Glass shelf2
5. Basket
6. Adjustable Feet
7. Door shelf
4
5
6
7
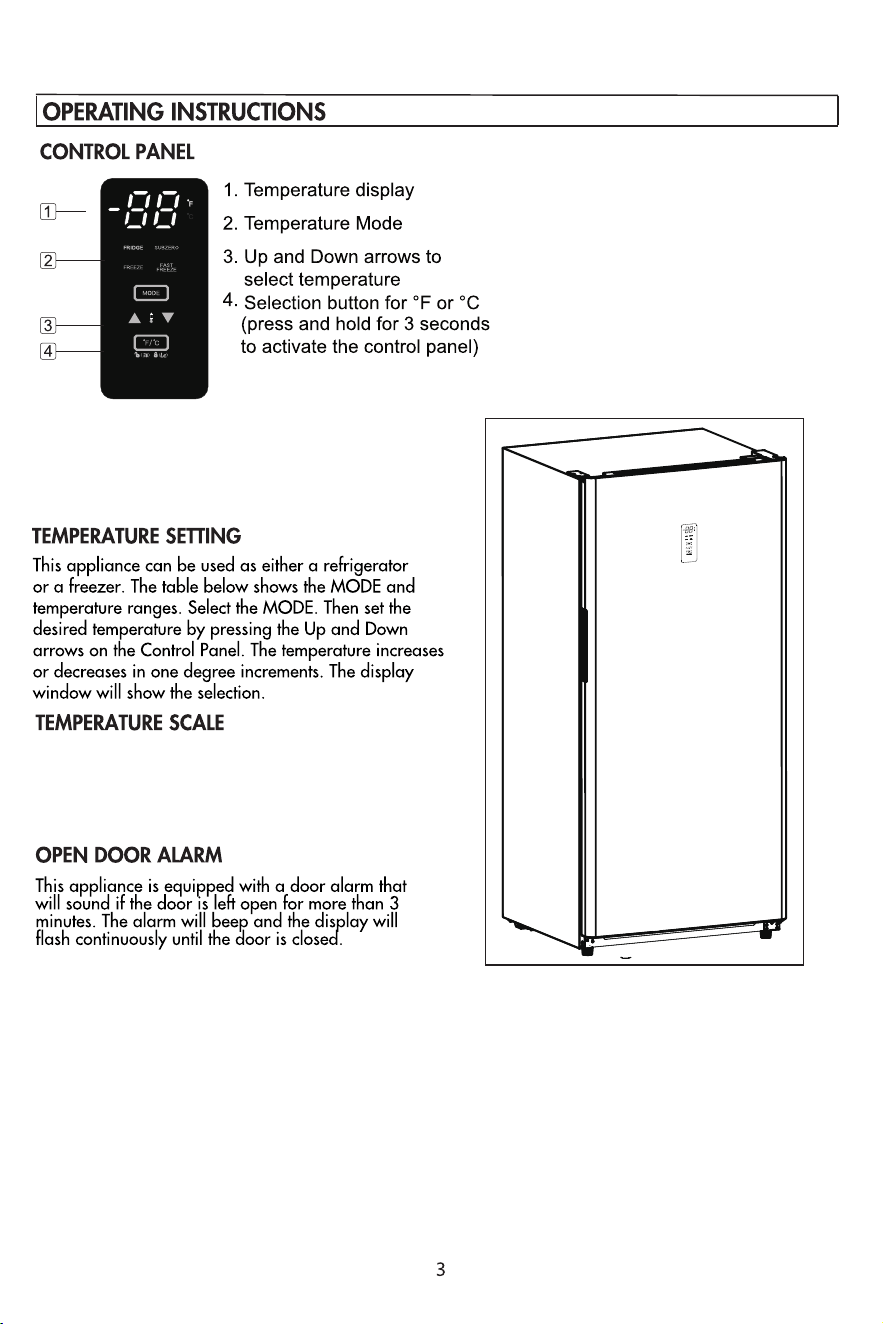
The control panel default mode is unlocked. Press
and hold the °F/ °C button for 3 seconds to lock
or unlock the control panel manually.
LOCK ICON
Sabbath Mode
To activate Sabbath Mode, press and hold the “MODE” button for 5 seconds, “SA” will be displayed
and kept displayed in low brightness.
When the appliance is in Sabbath Mode, the appliance will continue to cool according to the mode and
temperature previously set by user, the interior light will turn off and stay off, the buttons do not function,
all error codes and alarm signals will not appear.
To deactivate Sabbath Mode, press and hold the “MODE” button again for 5 seconds.
"FRIDGE": 32°F ~ 46°F (0°C ~ 8°C)
"SUBZERO": 18°F ~ 25°F (-8°C ~ 4°C)
"FREEZE": -11°F ~ 7°F (-24°C ~-14°C)
"FAST FREEZE": -18°F (-28°C)
NOTE
Once it is activated manually, the Sabbath Mode will be deactivated automatically after 80 hours.
If the appliance powers off and restarts (for example, if there is a power failure), the Sabbath Mode
remains active.
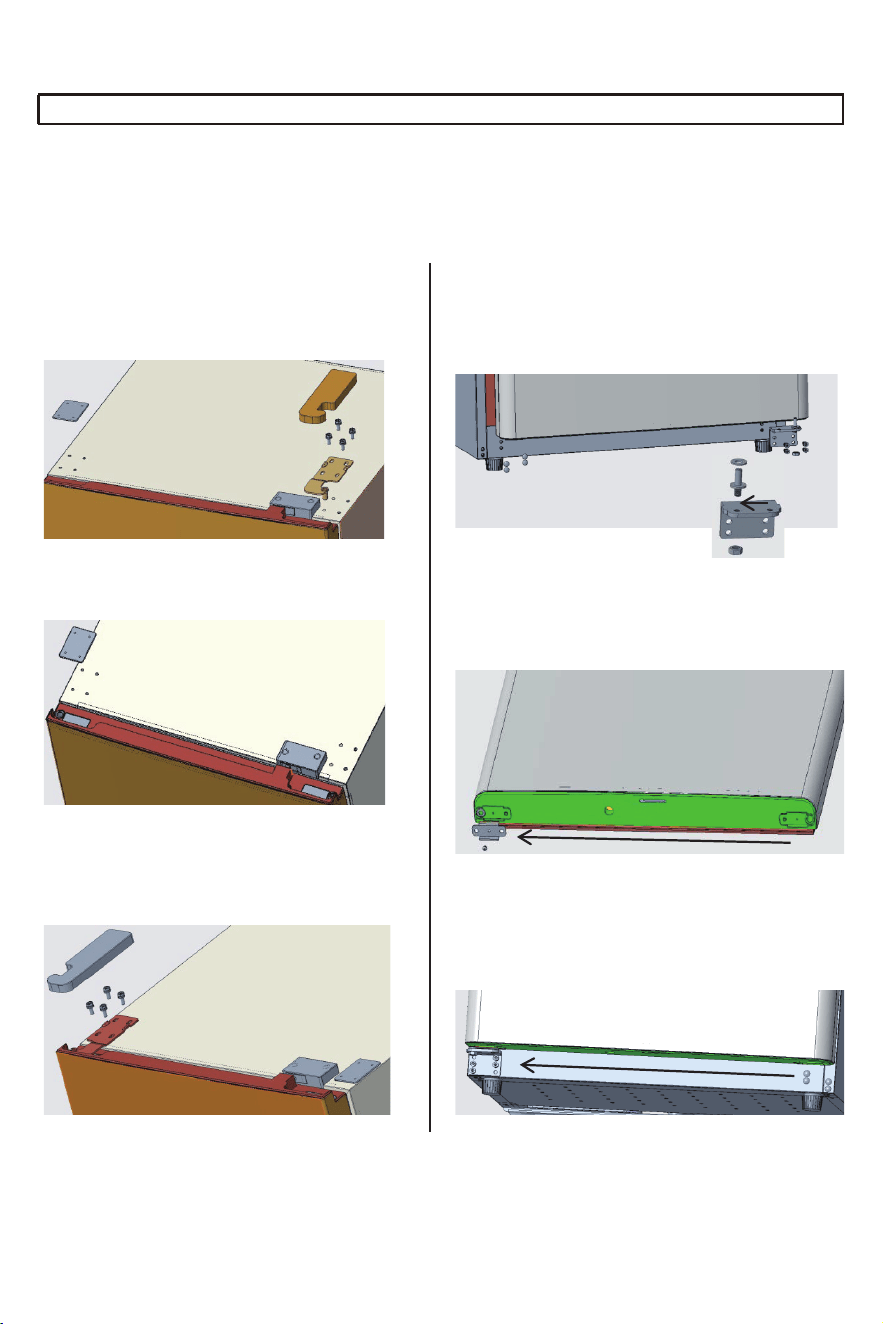
STEP1 Replace upper door hinge
1.Remove the top right hinge cover, unscrew the 4
bolts and the upper right hinge, and also remove
the cover at the top left side of the unit.
2. Cover the holes on the top right side of the unit
with the protective cover removed from the left side.
3. Remove the upper left hinge cover and upper left
hinge from the accessory bag, affix the hinge to the
top left side of the refrigerator and then attach the
hinge cover.
STEP2 Replace bottom door hinge
1. Remove four bolts and bottom hinge. Unscrew the door
shaft nut, move the door shaft to the hinge left and tighten,
and remove 4 cap nails of the other end.
2. Remove the door limit block on the right of the door and
then install it to the left end of the door and fix it.
3. Install the lower hinge where the hinge shaft has
been replaced on the left of cabinet with four scre
ws
and tighten it. Plug the four holes at the right with cap
nails.
If the appliance is placed on its back or side for any length of time during this process, it must be allowed to remain
upright for 6 hours before plugging it in to avoid damage to the internal components.
WARNING: Before door reversal, make sure to unplug the unit and place the door face up. To avoid personal and
property damage, replace the door with two persons. It is suggested to replace the door by authorize
d service
personnel. Please keep the removed parts for the door reversal and close the door tightly.
Finally, check whether the two sides of the door are in line with the cabinet. If necessary, adjust the adjusting foot in
the front of the unit so that the product is completely horizontal. After replacing the door, place the unit vertically
and let it stand for four hours before power on.
DOOR REVERSAL INSTRUCTIONS
4

CLEANING
Ensure the appliance is unplugged before cleaning.
• To clean the inside of the appliance, use a soft
cloth and a solution of a tablespoon of baking
soda to one quart of water or a mild soap
solution or some mild detergent.
• Wash removable shelves in a mild detergent
solution, then dry and wipe with a soft cloth.
• Clean the outside with a soft, damp cloth and
some mild detergent.
• It is important to keep the area clean where the
door seals against the cabinet. Clean this area
with a soapy cloth. Rinse with a damp cloth and
let dry.
Note: Do not use cleaners containing ammonia or
alcohol on the appliance. Ammonia or alcohol can
damage the appearance of the appliance. Never
use any commercial or abrasive cleaners or sharp
objects on any part of the appliance.
POWER FAILURE
Most power failures are corrected within a few
hours and should not affect the temperature of your
appliance if you minimize the number of times the
door is opened. If the power is going to be off for
a longer period of time, take the proper steps to
protect your contents.
Note: Wait 3 to 5 minutes before attempting
to restart the refrigerator if operation has been
interrupted.
DEFROST
This unit is equipped with an automatic defrost
function and does not require manual defrosting.
Defrost water from the appliance is channeled into
a drip tray located above the compressor. Heat
transfer from the compressor causes the defrost
water to evaporate.
ERROR CODES
CARE & MAINTENANCE
VACATION
• Short vacations: Leave the appliance operating
during vacations of less than three weeks.
• Long vacations: If the appliance will not be used
for several months, remove all items and turn
off the appliance. Clean and dry the interior
thoroughly. To prevent odor and mold growth,
leave the door open slightly, blocking it open if
necessary.
ENERGY SAVING TIP
The appliance should be located in the coolest area
of the room, away from heat producing appliances,
and out of direct sunlight. Do not overload the unit
or block any ventilation openings.
MOVING
• Remove all items.
• Tape the door shut.
• Be sure the appliance stays secure in the upright
position during transportation. Also protect the
outside of the appliance with a blanket or similar
item.
• If the appliance is placed on its back or side
during transportation, upon reaching the
destination, allow it to remain in its operating
position for 6 hours to avoid damage to internal
components.
DISPOSAL
This appliance may not be treated as regular
household waste, it should be taken to the
appropriate waste collection point for recycling
of electrical components. For information on local
waste collection points, contact your local waste
removal agency or government offi ce.
• E1: The freezer sensor failure
• E2: Freezer defrosting sensor failure
• E3: The freezer sensor failure and freezer
defrosting sensor failure
• C0: Communication failure
• dr: Door opening alarm
• H1: The freezer heater failure
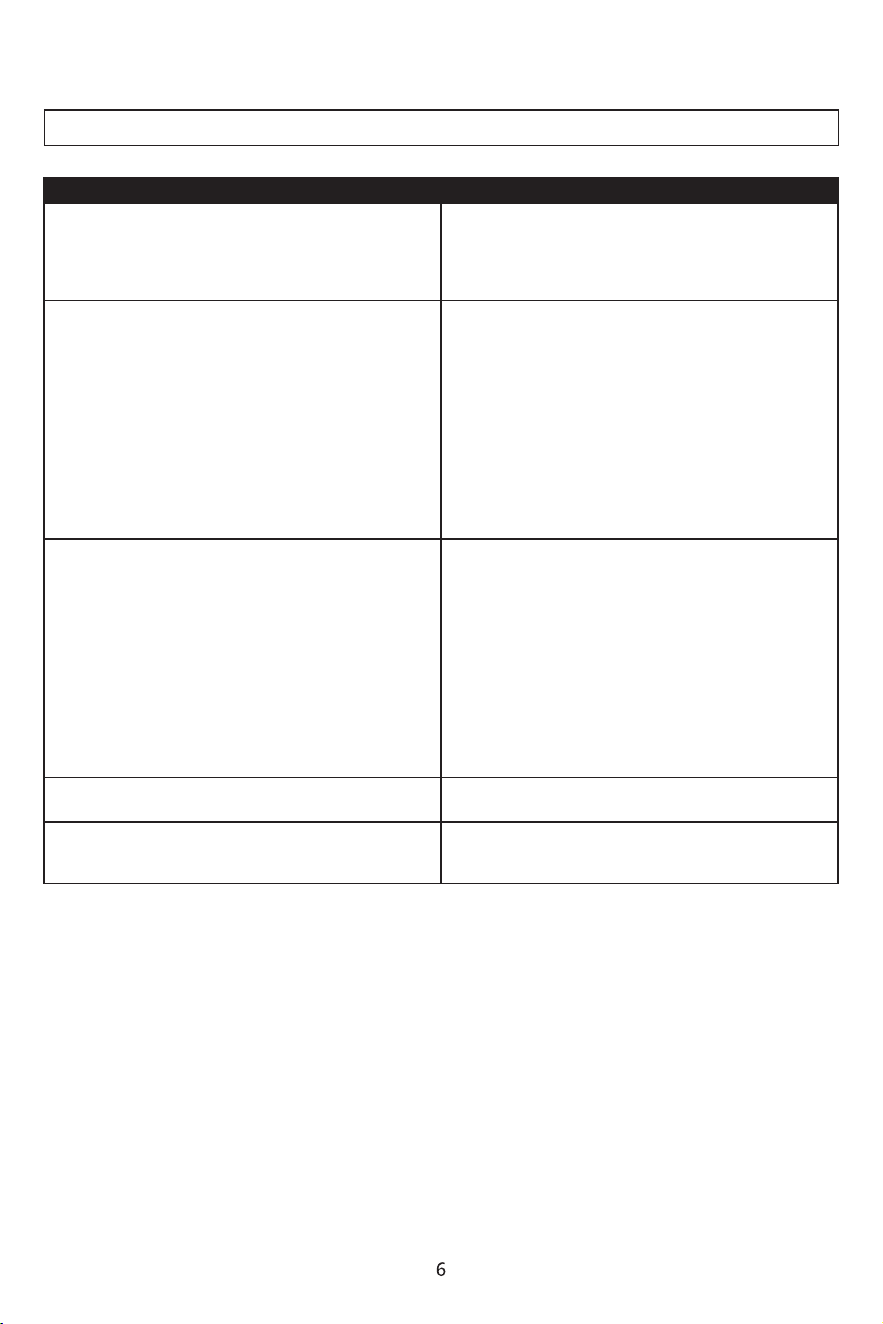
E S U A C E L B I S S O PM E L B O R P
No power • A fuse may be blown or the circuit breaker
tripped
• Plug not fully inserted into the wall outlet
Internal temperature not cold enough • Temperature setting is too warm
• Door is not shut properly or opened excessively
• Exhaust vent is obstructed
• Recently added a large quantity of warm food
to the cabinet
• Close proximity to heat source or direct sunlight
• Ambient temperature or humidity is very high
Appliance runs continuously • Temperature setting is too cold
• Door not shut properly or opened excessively
• Exhaust vent is obstructed
• Recently added a large quantity of warm food
to the cabinet
• Close proximity to heat source or direct sunlight
• Ambient temperature or humidity is very high
Internal temperature is too cold • Temperature setting is too cold
Noises • Parts are expanding and/or the refrigerant is
circulating; this is normal
TROUBLESHOOTING
pg. 1
TWO Year Limited Warranty
Thank you for choosing a Verona appliance for your home.
EuroChef warrants to the original purchaser (“Purchaser”) of this product (the “Product”,) for a period of two (2) years
(except for certain components identied below) from the date of original purchase, that the Product is free from
defects in workmanship and materials. This warranty covers all parts and labor required to repair or replace any part
of the Product that proves to be defective under normal residential use. To be eligible for this warranty, the Product
must be: (i) sold to Purchaser as new product to the original owner by an authorized distributor, retailer, dealer, or
service center of Verona Appliances and (ii) installed in the United States. The warranties provided in this statement
are not transferable and are valid from the date of purchase.
This limited warranty is valid only provided that written notication of a defect, as well as a copy of the original receipt
for the defective Product, is received by EuroChef from Purchaser within thirty (30) days of identication of the defect.
EuroChef (who may appoint 3
rd
party agents to act on its behalf in connection with any Product inspection or provision
of warranty services hereunder) reserves the right to inspect the Product and its installation. The purchaser is
responsible for providing EuroChef authorized service providers and/or representatives with access to the premises
at which the Product is installed, and such other information and materials as EuroChef may request, shall be a
condition to any claim hereunder. If EuroChef determines that a defect in the Product is covered by this limited
warranty, it will, at its expense and as its sole and exclusive obligation for breach of this limited warranty, and
Purchaser’s sole and exclusive remedy, repair or replace the defective Product. If EuroChef determines that an
alleged defect in the Product is not covered by this limited warranty, it shall not have any obligation to repair or
replace the Product.
EuroChef will initially attempt to repair any defect in its Products. Only if a Product cannot be repaired after 3 attempts
for the same issue by a EuroChef authorized service provider may the Product be replaced with a new Product from
EuroChef. In the event EuroChef determines that a defective Product must be replaced, the original retailer on the
bill of sale will be contacted to process a replacement order. In the event that EuroChef determines a Product is
irreparable, replacement approval may take up to 30 days.
For instances where a Product is installed in a remote area outside of EuroChef’s authorized network of service
providers, Purchaser is responsible for the travel expenses and associated out-of-pocket costs of EuroChef’s
authorized service provider. In the event that a product installed in a remote location is deemed to need replacement,
the Purchaser is responsible for all delivery costs and risk of loss associated with transportation of the Product to the
Purchaser’s location.
The Purchaser is responsible for establishing that the appliance has been installed in accordance with all directions
and installation instructions included with the Product’s accompanying materials at time of purchase. EuroChef shall
have no obligation to render any services to correct issues caused by an Installer’s failure to follow all directions and
instructions. Any expense of repair deemed to be caused by faulty installation shall be payable by Purchaser at
EuroChef’s then current rates.
pg. 2
A Products’ exterior paint and/or lacquer must be cared for according to the instructional materials provided with the
Product at time of purchase. If those instructional materials are not followed or harsh chemicals are used, any
damages and subsequent repairs to a Product’s paint and/or lacquer are not covered by this warranty.
Component Warranty Periods:
Any components of eligible products showing cosmetic defects, whether in material or workmanship, are covered by
this warranty for a period of thirty (30) days from the product’s delivery date. Coverage* is provided for:
· Scratches
· Stains
· Surface Imperfections (ONLY stainless steel)
· Paint & Porcelain Imperfections
* Excludes slight dierences in color due to materials and painting/enameling technologies.
Photo/video proof required to be submitted to service@veronaappliances.com in order to be reviewed.
Gaskets are covered by this warranty for a period of ninety (90) days from the product’s installation date.
Replacement of glass components and light bulbs are covered by this warranty for a period of thirty (30) days after
delivery.
Exclusions to Warranty Coverage: This Limited Warranty will not apply
to any of the following:
· Any service, including repair service to correct damage caused by services performed on the Product by anyone
other than an authorized EuroChef service provider, or the use of parts not authorized by EuroChef.
· Defects or damage caused by improper storage, cleaning and maintenance of the Product, including any failure to
comply with Manufacturer’s written instructions and documentation regarding same.
· Service calls to connect, convert, or otherwise repair the electrical wiring and/or gas line to properly use the Product.
· Replacement of components prone to wear and tear.
· Defects and damage arising from transportation of the Product to the home of the owner, by the dealer/retailer or
a hired delivery/logistics provider.
· Defects and damage arising from external forces beyond the control of EuroChef such as re, ood, earthquakes,
and other acts of God
· Accidental or intentional damage.
· Use of improper pans, containers, or accessories that cause damage to the Product.
pg. 3
Warranty Void: This Limited Warranty will be void in any of the following
circumstances:
· The Product is used on a commercial, rental, or leased basis
· The serial plate for the Product is defaced
· The Product is altered by anyone other than an authorized EuroChef service provider
· The Product is not used according to Manufacturer’s written instructions and documentation regarding same.
THE REMEDIES DESCRIBED ABOVE FOR EACH WARRANTY ARE THE ONLY ONES THAT EUROCHEF WILL PROVIDE,
EITHER UNDER THIS WARRANTY OR UNDER ANY WARRANTY ARISING BY OPERATION OF LAW. EUROCHEF WILL
NOT BE RESPONSIBLE FOR ANY CONSEQUENTIAL OR INCIDENTAL DAMAGES ARISING FROM THE BREACH OF
THIS WARRANTY OR ANY OTHER WARRANTY, WHETHER EXPRESS, IMPLIED OR STATUTORY
This warranty gives you specic legal rights and you may have others which vary from state to state.
For questions, concerns or to start a warranty claim, please contact us at:
PHONE: 631.254.3434
WEB: www.veronaappliances.com/service-verona
MAILING ADDRESS:
EuroChef
41 Mercedes Way, Suite 25
Edgewood, NY 11717