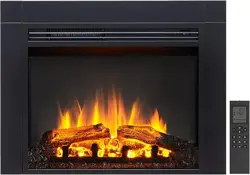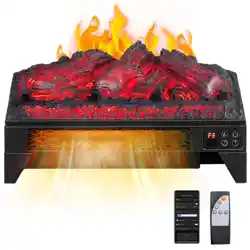
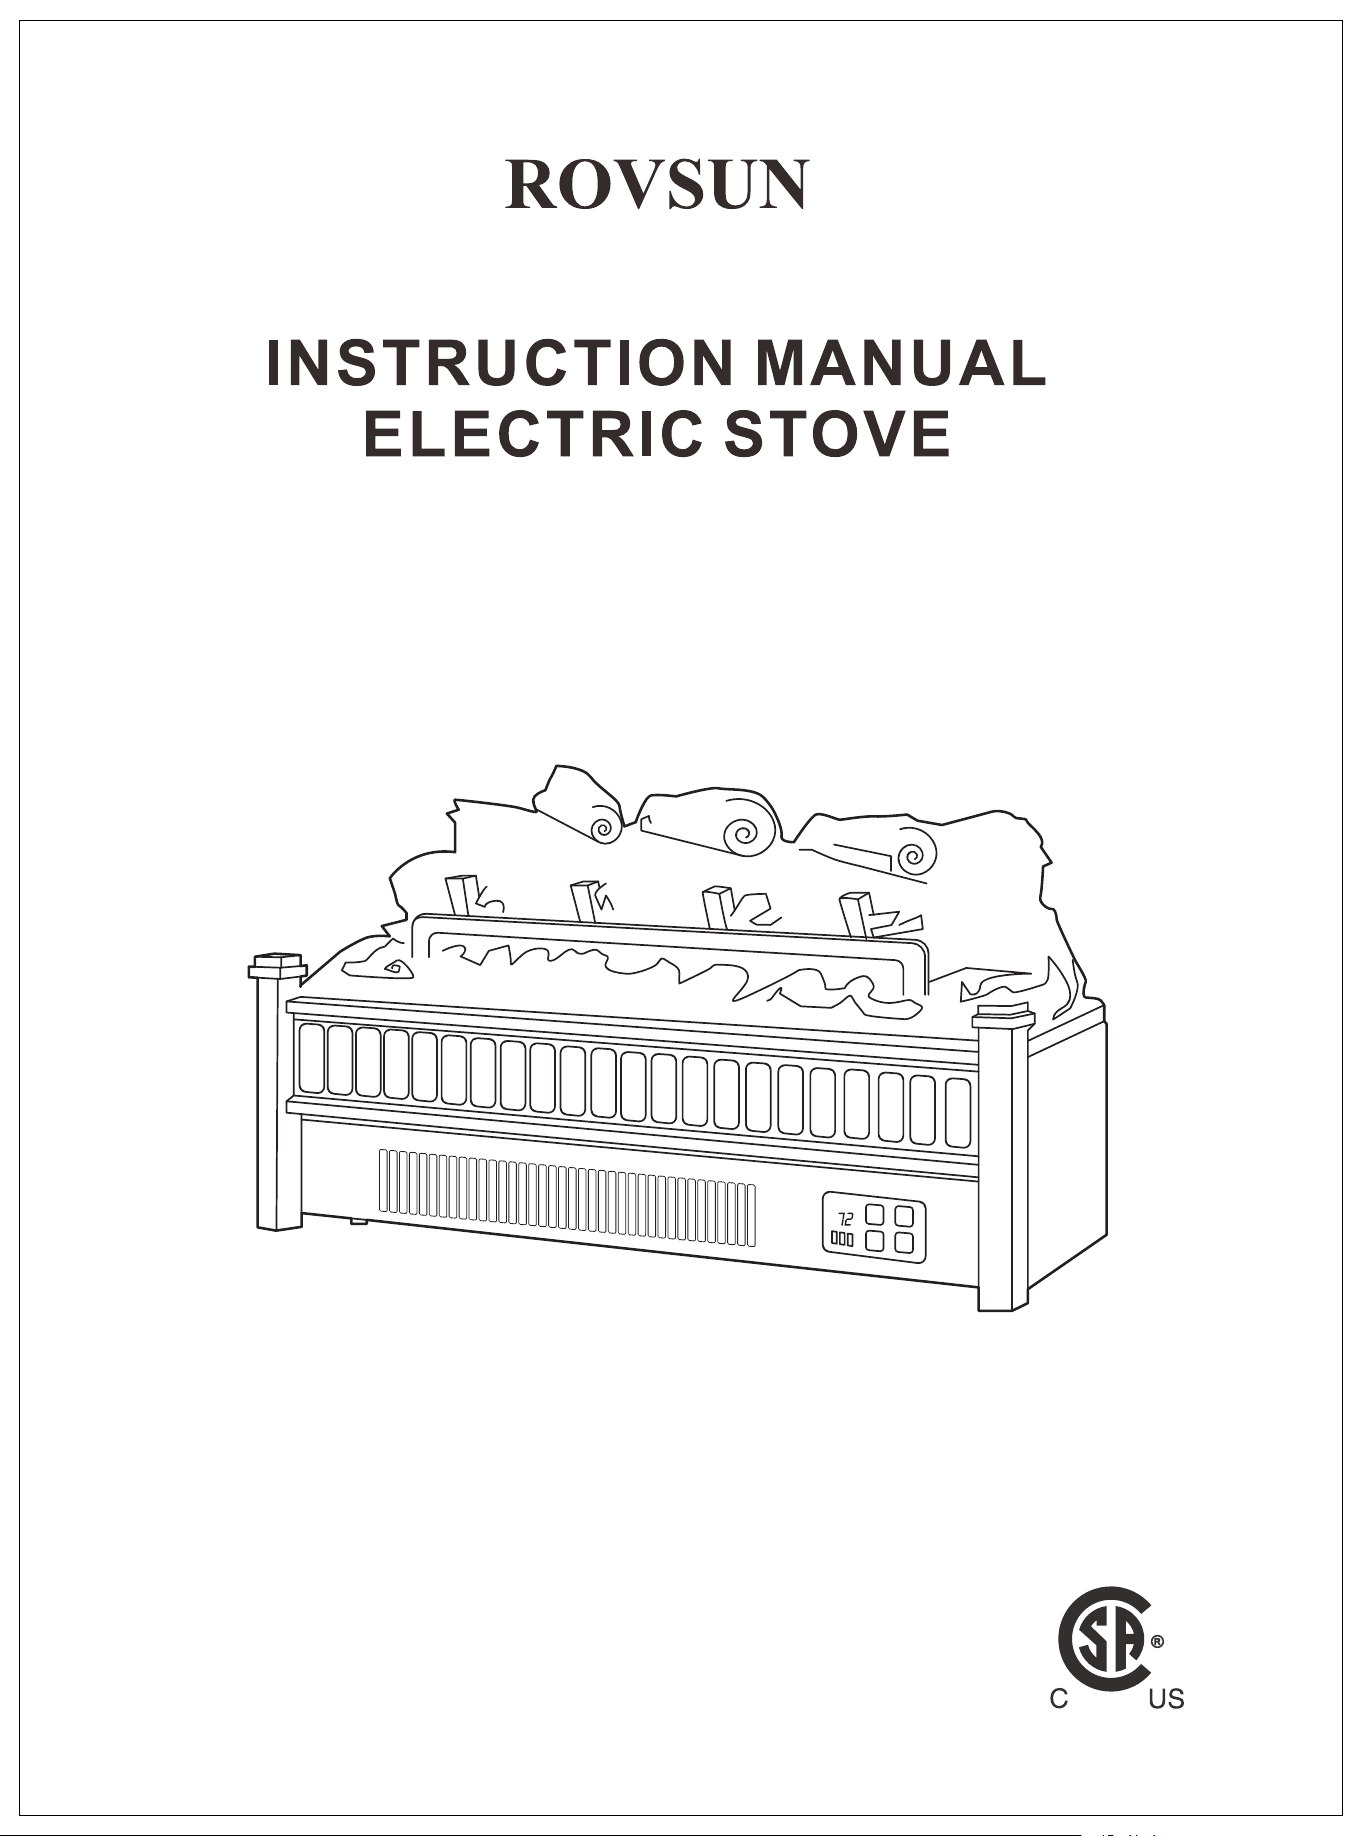
SF413-23A
MADE IN CHINA

2
TableofContents
Safety Information..................................................................................3
Pre-installation.......................................................................................6
Operation.........................................................................................7
Using the Remote Control....................................................................10
Care and Maintenance..........................................................................11
Troubleshooting....................................................................................12

3
SafetyInformation
IMPORTANTSAFETYINFORMATION
PLEASEREADALLOFTHEINFORMATIONINTHISOPERATINGMANUAL,INCLUDING
ALLSAFETY,OPERATING,ANDMAINTENANCEINFORMATION.TOAVOIDTHE
POTENTIALRISKOFFIRE,ELECTRICSHOCK,ORINJURYTOPERSONS,
USERSSHOULDFOLLOWTHEDIRECTIONSANDWARNINGSINTHISMANUAL
1.Readallinstructionsbeforeusingthisheater.
2.Donotusethisheateroutdoors.
3.Thisheaterisnotintendedforuseinbathrooms,laundryareasandsimilarindoorlocations.Neverlocatethe
heaterwhereitmayfallintoabathtuborotherwatercontainer.
4.Donotrunthepowercordundercarpeting.Donotcoverthepowercordwiththrowrugs,runners,orthelike.
Arrangethepowercordawayfromtrafcareasandwhereitwillnotbetrippedover.
5.Todisconnecttheheater,turncontrolstooff,thenremovetheplugfromtheoutlet.
6.Connecttoproperlygroundedoutletsonly.Alwaysplugheatersdirectlyintoawalloutlet/receptacle.Never
usewithanextensioncordorrelocatablepowertap(outlet/powerstrip).
7.Topreventapossiblere,donotblockreboxairintakesortheexhaustinanymanner.Donotoperatethe
reboxonsoftsurfaces,likeabed,whereopeningsmaybecomeblocked.
8.Thereisathermostatlimiterinsidetheheater.Whentheinnertemperatureoverheatsorabnormalheating
occurs,thethermostatprotectivedevicecutsoffthepowersupplytoavoidreplacedamagedorriskofre.
9.Usethisheateronlyasdescribedinthismanual.Anyotherusenotrecommendedbythemanufacturermay
causere,electricalshock,orinjurytopersons.
4
SAVETHESEINSTRUCTIONS
WARNING
!
Therearenouserserviceablepartsinsidethereplace/heater,
Iftheunitappearstomalfunction,
turmtheunitoffandunplugtheunitfromthewallimmediately,andcontactCustomer.
WARNING
!
Thisheaterishotwheninuse.Toavoidburns,donotletbareskintouchhotsurfaces.
Ifprovided,usehandleswhenmovingthisheater,Keepcombustiblematerial,
suchasfurniture,pillows,bedding,papers,clothesandcurtains
atleast3f.t(0.9meters)fromthefrontoftheheaterandkeepthemawayfrom
thesidesandrear.
WARNING
!
Extremecautionisnecessarywhenanyheaterisusedbyornearchildrenorinvalids
andwhenevertheheaterisleftoperatingandunattended.
WARNING
!
Alwaysunplugtheheaterwhennotinuse.
WARNING
!
Donotoperateanyheaterwithadamagedcordorplugor
aftertheheatermalfunctions,hasbeendroppedordamagedinanymanner.
Returntheheatertoanauthorizedservicefacilityforexamination,
electricalormechanicaladjustment,orrepair.
WARNING
!
Donotinsertorallowforeignobjectstoenteranyventilationorexhaustopenings
asthismaycauseanelectricshockorre,ordamagetheheater.
WARNING
!
Aheaterhashotandarchingorsparkingpartsinside.
Donotuseinareaswheregasoline,paint,orammableliquidsareusedorstored.
CAUTION
!
Whiletheheaterisinuse,thetopcenterofthereplacecangethottothetouch,
andmaycauseseriousinjuryorburns.
Alwayssupervisesmallchildrenaroundthereplace/heater.
Donotplaceanyclothordecorationsovertheheateroutletofthereplace,
orotherwiseobstructtheheateroutletofthereplace,
asthismaycauseareandseriousinjurymayresult,
5
SafetyInformation(continued)
GROUNDINGINSTRUCTIONS
Thisproductmustbegrounded.Ifitshouldmalfunctionorbreakdown,groundingprovidesapathofleast
resistanceforelectriccurrenttoreducetheriskofelectricshock,Thisproductisequippedwithacordhaving
anequipment-groundingconductorandagroundingplug.Theplugmustbepluggedintoanappropriateoutlet
thatisproperlyinstalledandgroundedinaccordancewithalllocalcodesandordinances.
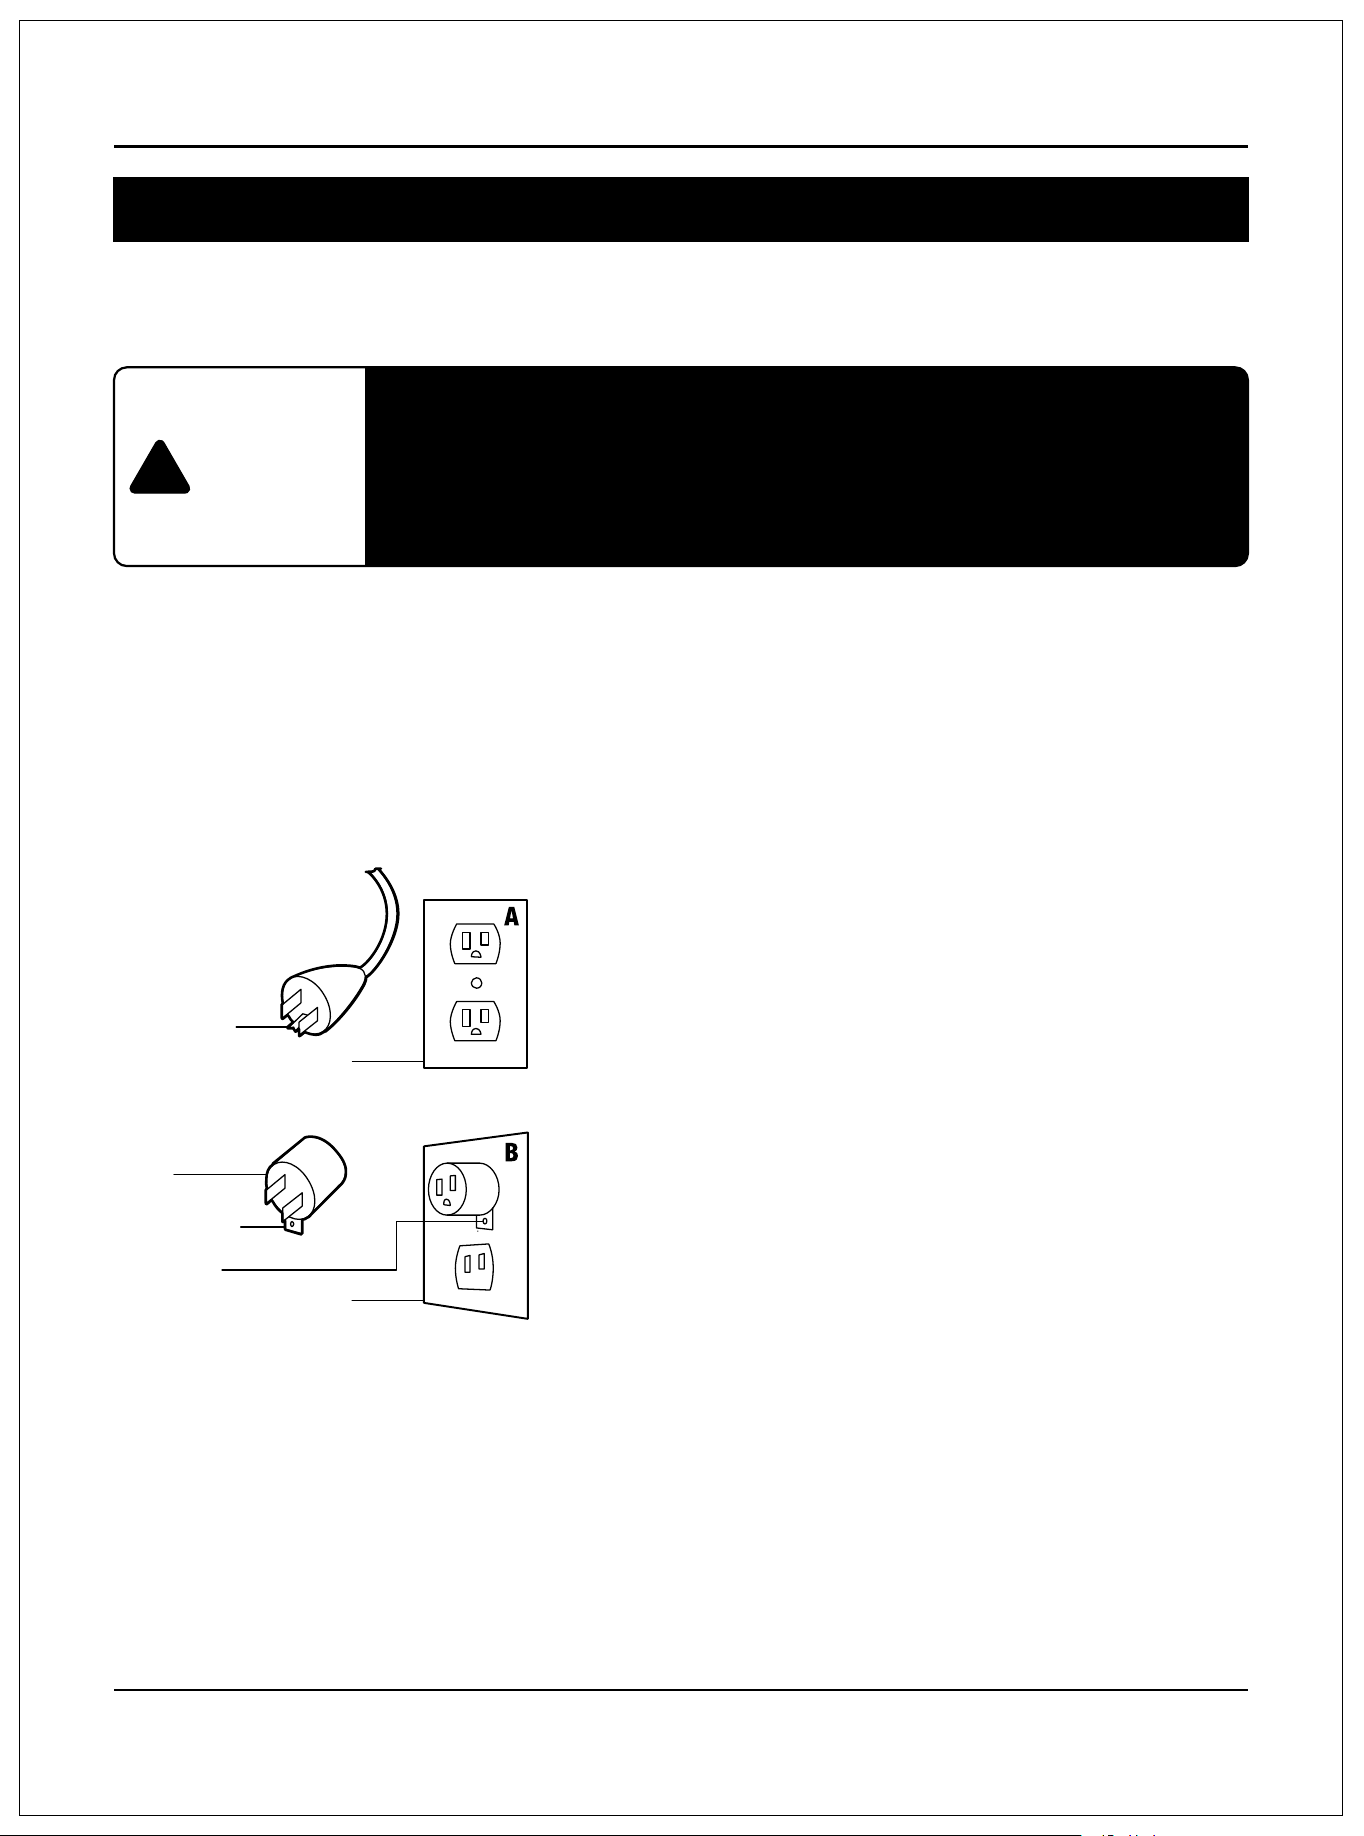
Thisheaterisforuseon120-voltcircuitsandhasagroundedplug.Anadapterisavailablefromyourlocal
electronicsstoreoronlinesupplierforconnectingthree-bladegrounding-typeplugstotwo-slotreceptacles.
Thegreengroundinglugextendingfromtheadaptermustbeconnectedtoapermanentground
suchasaproperlygroundedoutletbox.Theadaptershouldnotbeusedifathree-slotgroundedreceptacle
isavailable.
DANGER
!
Improperconnectionoftheequipment-groundingconductorcanresult
inariskofelectricshock.Checkwithaqualiedelectrician
orservicemanifyouareindoubtastowhethertheproductisproperlygrounded.
Donotmodifytheplugprovidedwiththeproduct.
Ifitwillnotttheoutlet,haveaproperoutletinstalledbyaqualiedelectrician.
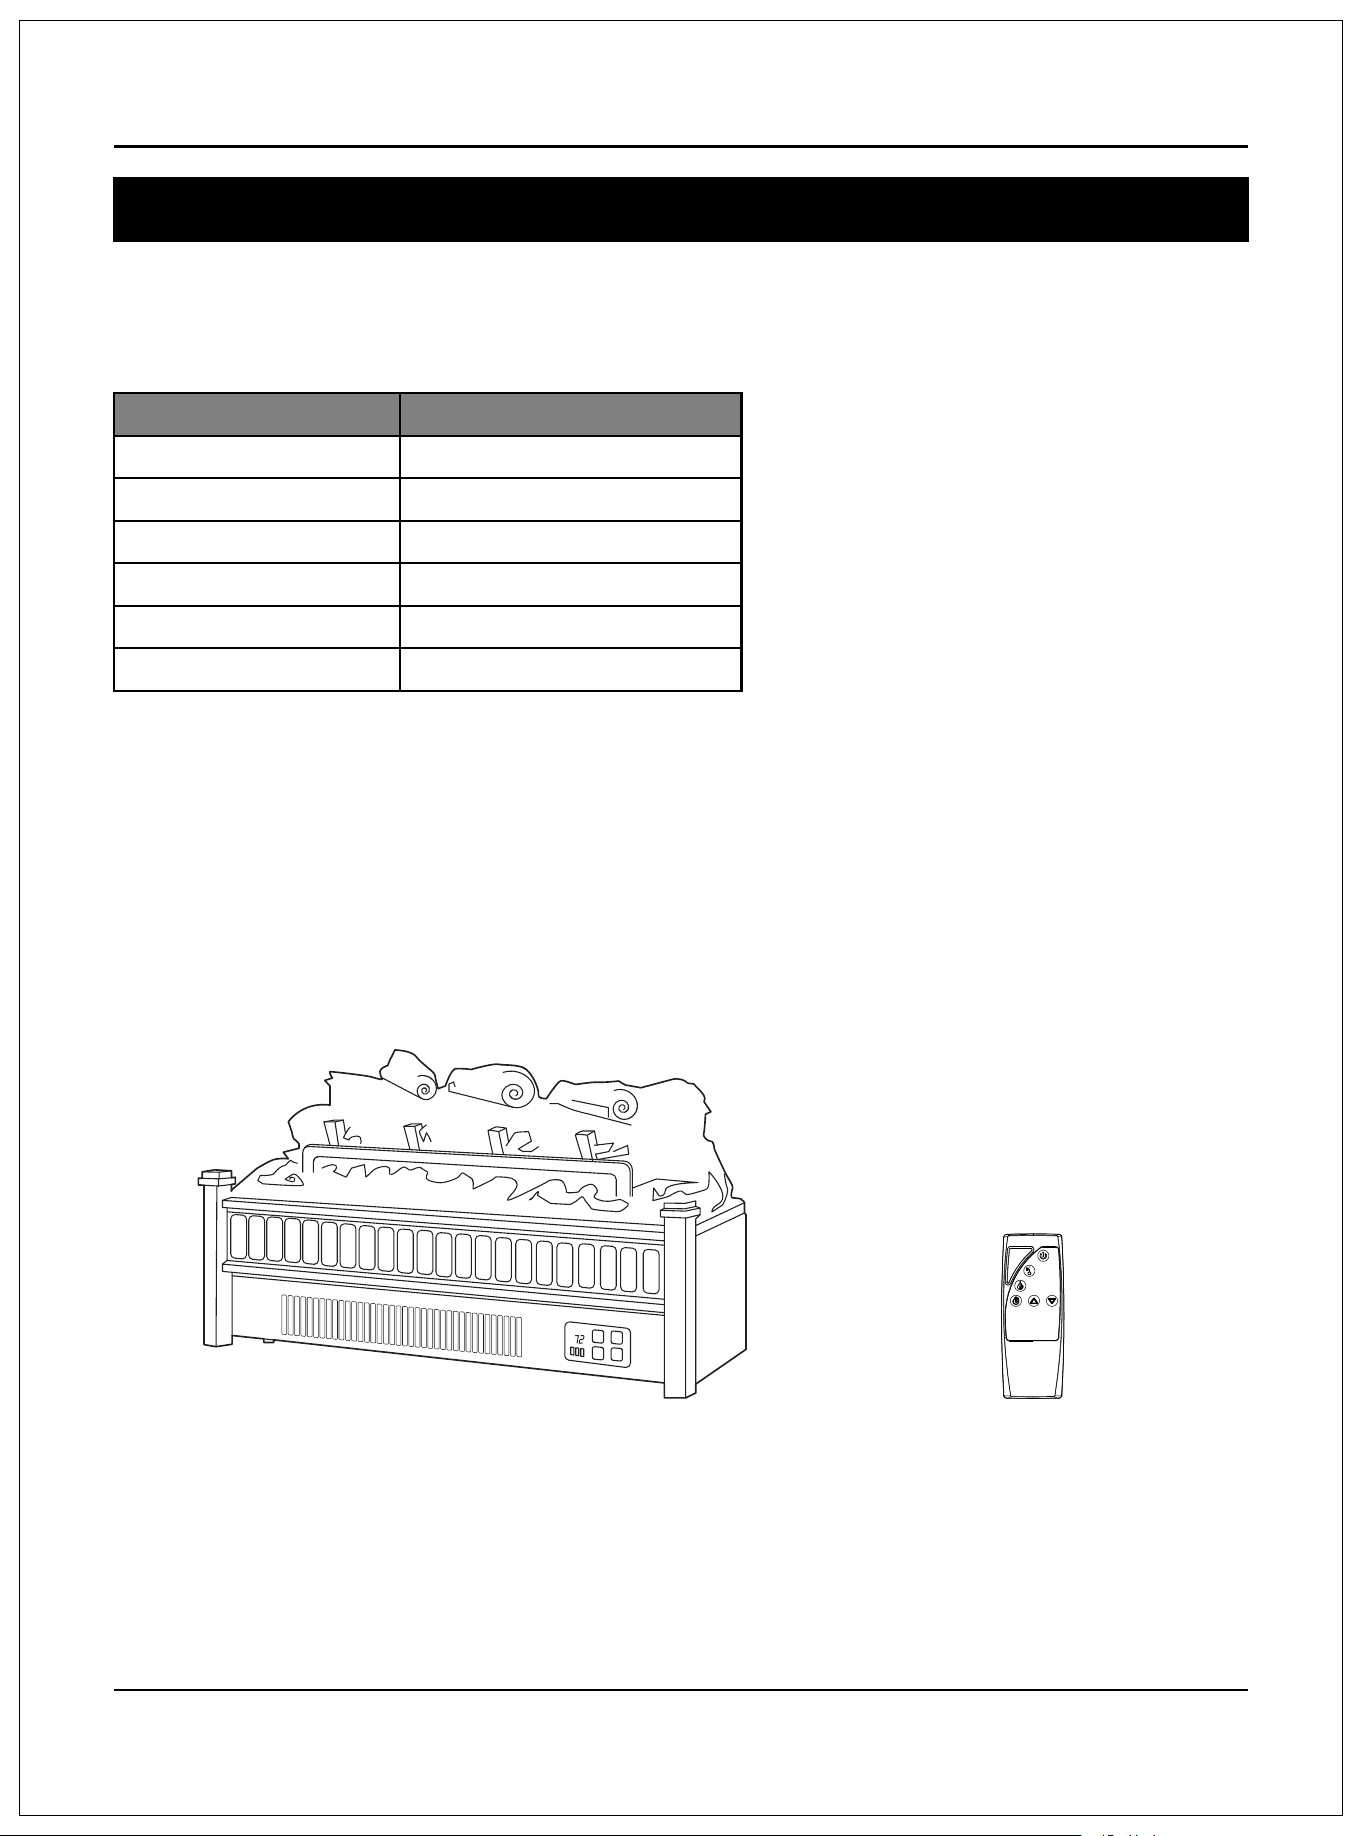
Cover of Grounded Outlet Box
Grounding Pin
Adapter
Grounding Lug
Metal Screw
Cover of Grounded Outlet Box
6
Pre-installation
TECHNICAL SPECIFICATION
Model Number Description
23”x8.66”x12.6”
Dimensions(WxDxH)
Net Weight
Gross Weight
Power Rating
Voltage
Frequency
9.7 Ib
14.3 Ib
1400W
120V
60Hz
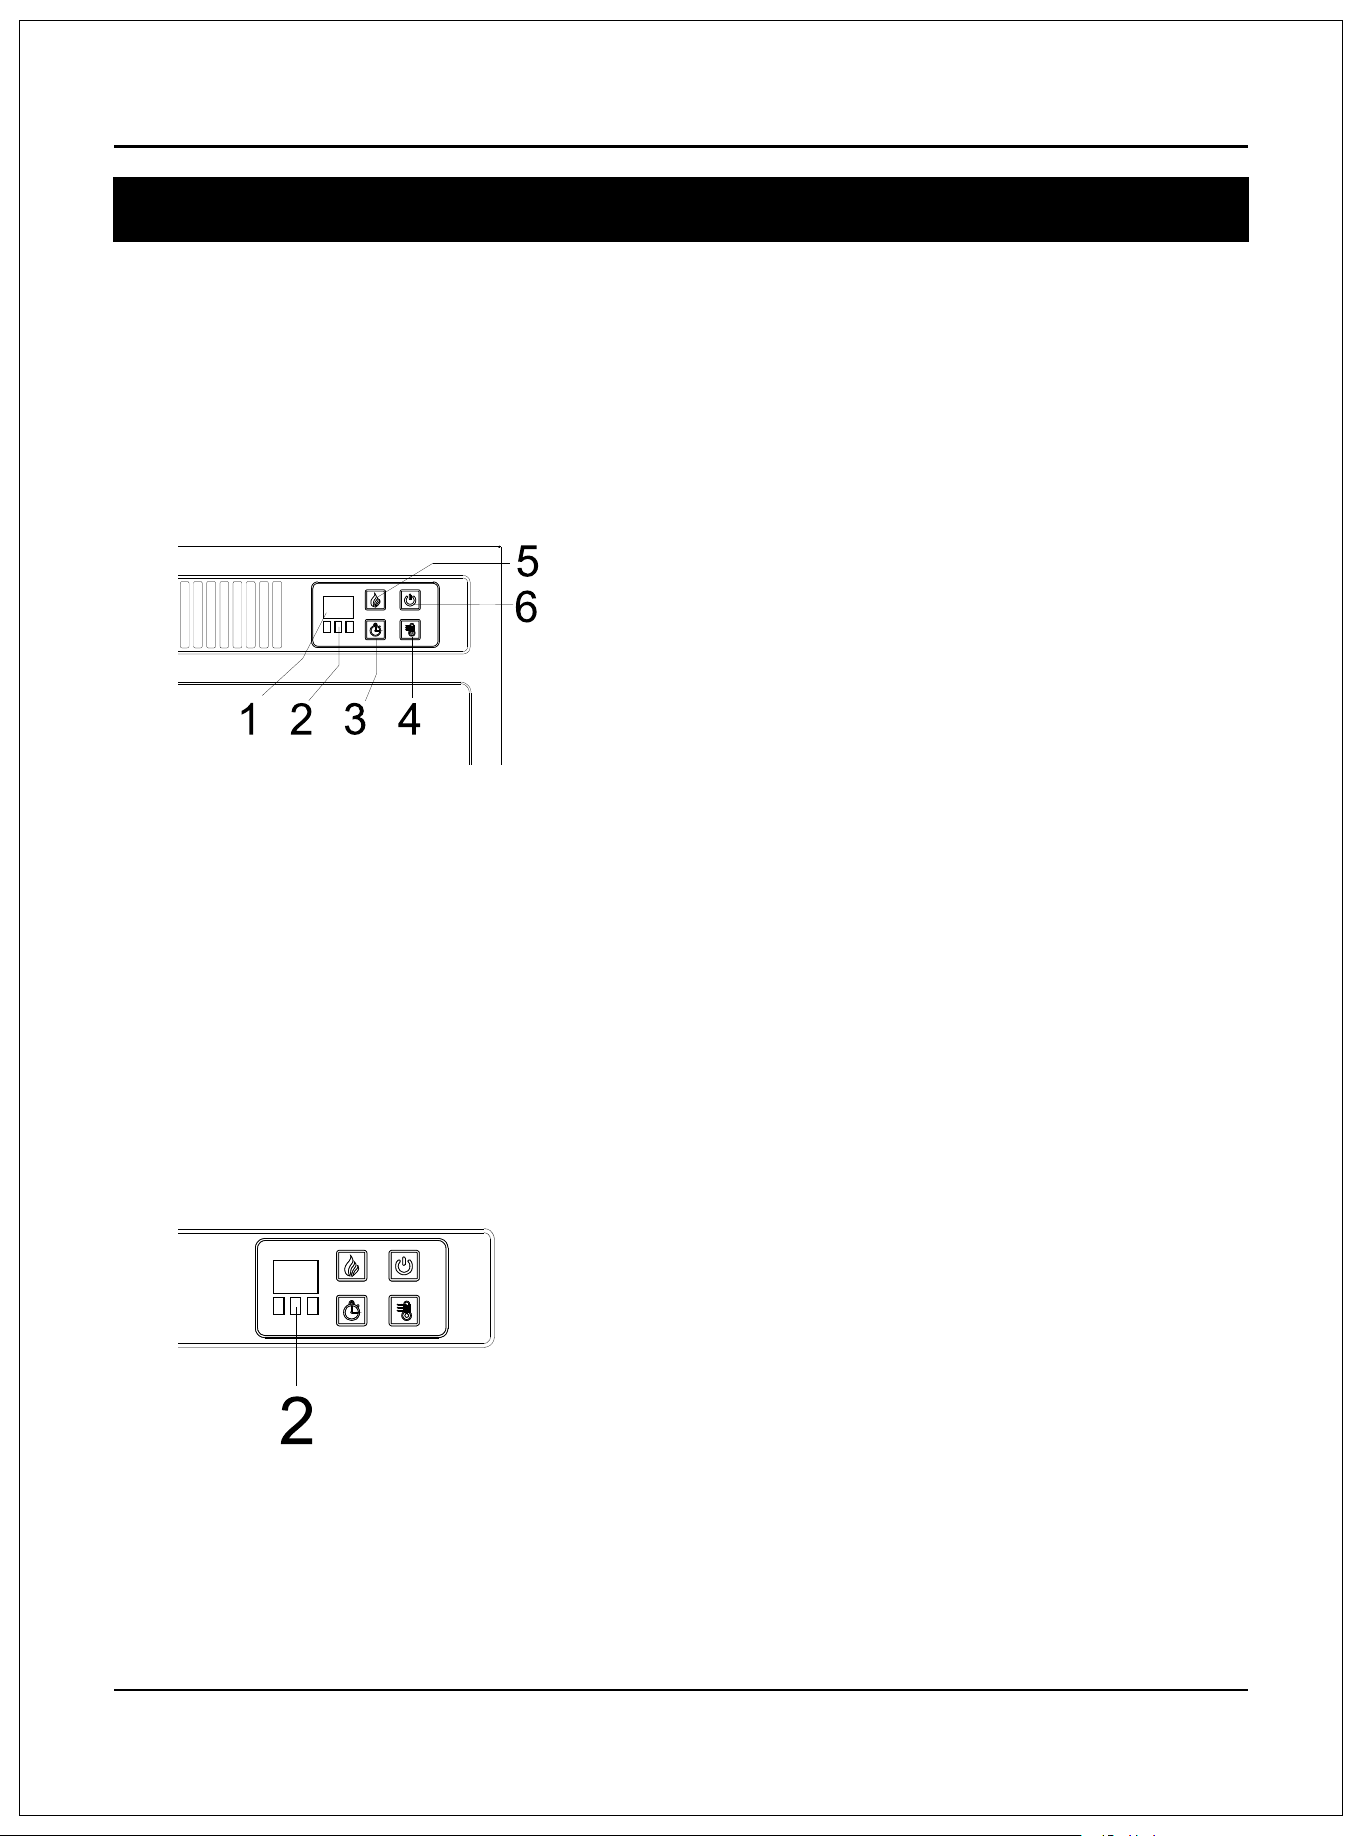
PACKAGE CONTENT
Fireplace unit
Remote Control
7
Operation
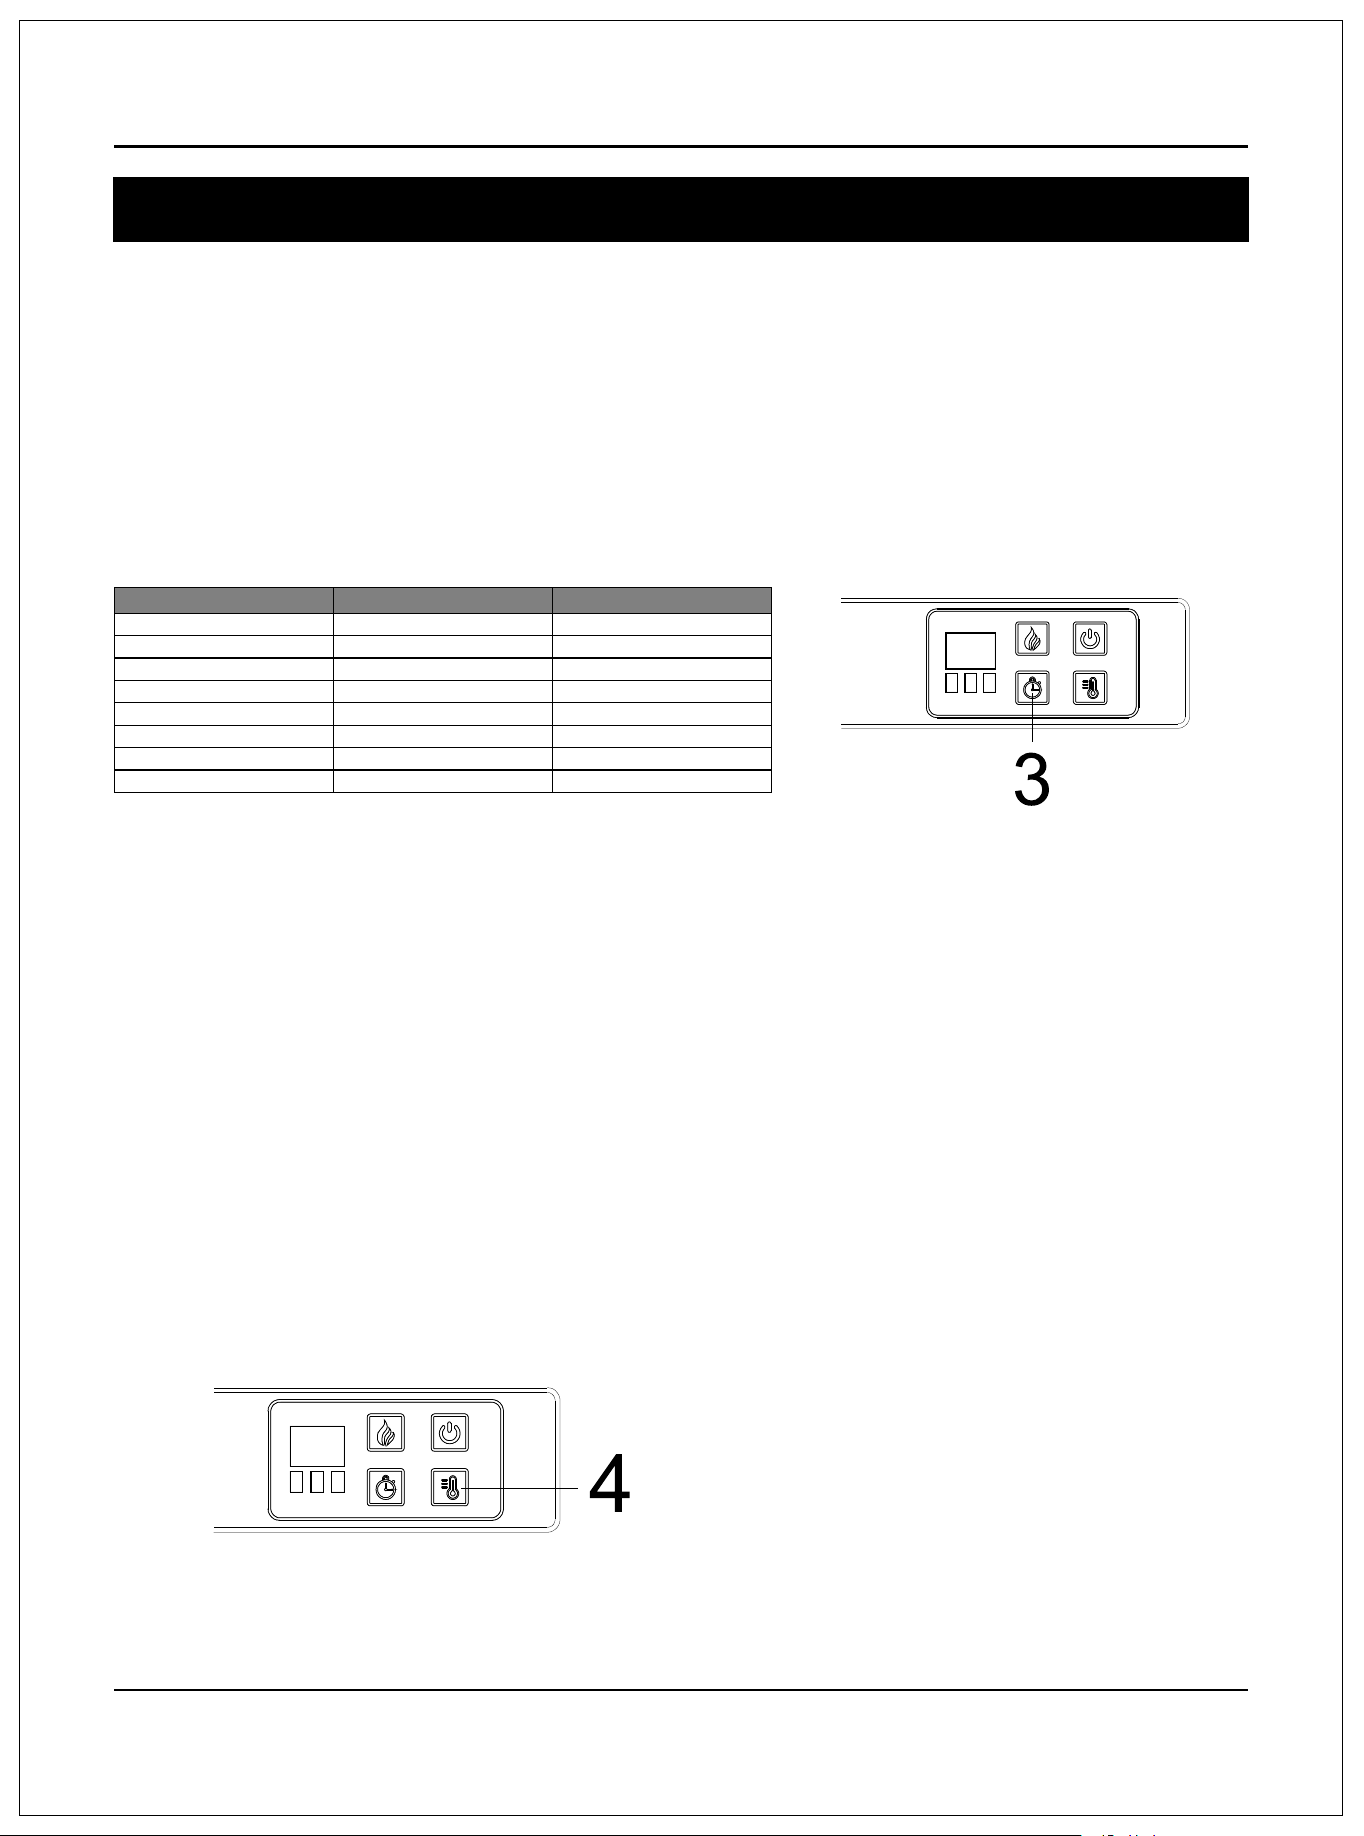
●Identifyingthecontrolpanel
•Thecontrolpanelislocatedonthetoprightcornerofthereplace/heaterunit.
•Thecontrolpanelcontainsthedisplayunit(1),functionindicator(2),timerfunction(3),heatercontrol(4),
amescontrol(5),andmainpower(6).
•Thedisplayunit(1)displaysinformationabouttheamelevel,timer,andcurrenttemperature.
●Understandingthefunctionindicator
•Thefunctionindicator(2)hasthreesquareLEDS-red,green,andblue.TheredLEDindicatesthattheFahrenheit
temperatureheatingfunctionisrunning,thegreenLEDindicatesthattheCelsiustemperatureheatingfunction
isrunning,andtheblueLEDindicatesthatthetimerfunctionisengaged.
•TothebottomofthethreeLEDS,istheinfraredreceivermodulewhichcommunicateswiththeremotecontrol
tocontroltheheater.
8
Operation
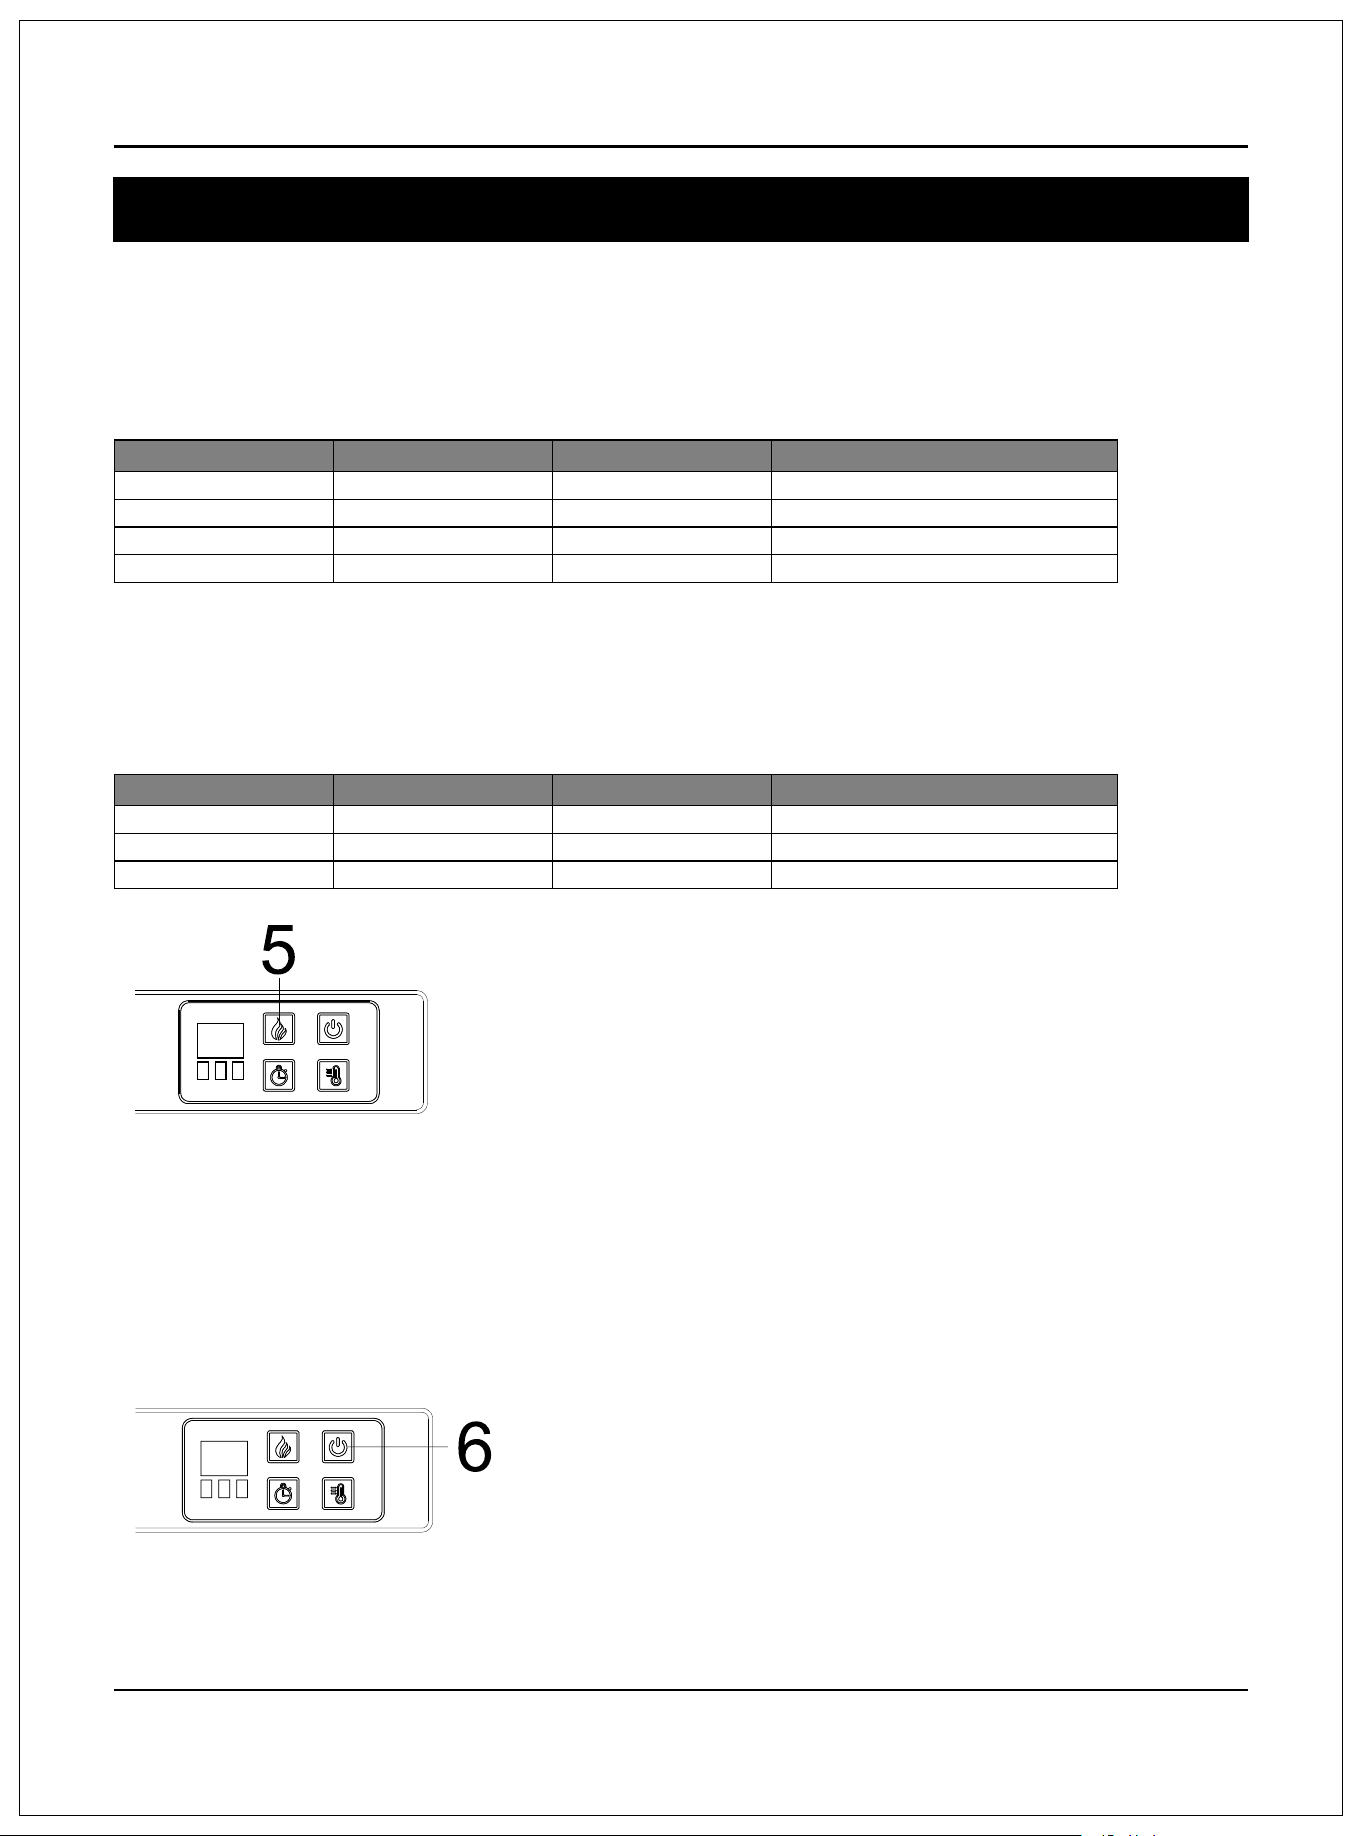
●Usingthetimerfunction
Thetimerbutton(3)allowsyoutosettheamountoftimeyouwantthereplace/heatertorun.Thetimerbutton(3)
operatesboththeamesandtheheaterfunction.iftheheaterisoperatingwhenthetimerisset,thentheheater
isonthetimer.iftheamesareoperating,thenthetimerwillcontroltheames.ifboththeheaterandamesare
operatingwiththetimerset,thenthetimercontrolsboththeamesandtheheater.Pressingthebuttoninsequence
willsetthetimerforasetinterval.Thisintervalperiodisshowninthedisplay(1),inblue.Thesetintervals
aredisplayedinthistable.Thetimerintervalissetfromthetimetheintervalisselected.Thereisnoclockfunction
forturningtheheateroramesonoroffataspecictime.
●Usingtheheatercontrol
•Theheaterbutton(4)turnstheheateronoroff.Thereisnospeedsettingfortheheaterblower.lfyouputthe
heaterinastandbymode(turnoffbythemainpowerbutton6),theunitwillholdthesettingsinthememory.
Whenthepoweristurnedbackon,theheaterwillturnonatthesamesettings.
•Whentheheatingfunctionturnson,pressandholdtheheaterbutton(4)forvesecondstoentertemperature
adjustmentmode.TheLEDindicatorisred.Inadjustmentmode,thedisplayunit(1)ashes(intervalis0.5second).
Thereare22levelstochangeFahrenheittemperature72°F—73°F...82°F—ON—62F—63F...71F.
Afterthisisset,thedisplay(1)willashvetimesandexitfromsettingstatus.
Ifidle,thedisplayturnsoffafter10seconds.
•Withtheheateron,gentlypressandholdthemainpowerbuttonforvesecondstoentertemperature
convertingmode.TheLEDindicatorashesvetimesinredcolorthenchangestogreen.Inthisconvertingmode,
thedisplay(1)ashes(intervalis0.5second).Pressandholdtheheaterbutton(4)forvesecondstoenter
temperatureadjustmentmode.Thereare12levelstochangeCelsiustemperature
22C—23°c...27·C—ON—17C—18..21C.Afteriisset,thedisplay(1)ashesvetimes.Ifidle,thedisplayturnsoff
after10seconds.RepeatthesameprocesstoconvertCelsiustemperatureintoFahrenheittemperature.
ButtonPress
1stpress
2ndpress
3rdpress
4th press
5th press
6th press
7th press
8th press
TimerInterval Display
30Minutes
30
1Hour
2Hours
3Hours
4Hours
5Hours
6Hours
OFF
1h
2h
3h
4h
5h
6h
None
9
Operation
●Usingtheamecontrol
•Presstheamebutton(5)tosettheamesfordifferentlevelsofameheight.Theseamelevelsareshowninthe
display(1).Theamesettingsareasfollows:
ButtonPress
1stpress
2ndpress
3rdpress
4th press
FlameLevel Displayvalue
High
L3
Medium
Low
AllOff
L2
L1
None
FireplaceAppearance
FlamesHighest,LogsGlowHighest
FlamesMedium,LogsGlowMedium
FlamesLow,LogsGlowLow
FlamesOff,Logsoff
•Regardlessofthepreviousamesetting,whenpoweredoffbythemainpowerbutton(6),
theameswillcomeoninL3mode(High)whenyouturntheheateron.
•Whentheheaterfunctionturnson,theamelevelwillcyclethroughthe3differentlevelsettingscontinuously.
ButtonPress
1stpress
2ndpress
3rdpress
FlameLevel Displayvalue
High
L3
Medium
Low
L2
L1
FireplaceAppearance
FlamesHighest,LogsGlowHighest
FlamesMedium,LogsGlowMedium
FlamesLow,LogsGlowLow
●Usingthemainpowerbutton
•Pressthepowerbutton(6)toturnthereplace/heaterunitonandoft.
Pressthepowerbutton(6)oncetoturntheuniton.Pressagaintoturntheunitoff.
10
UsingtheRemoteControl
1.Non-rechargeablebatteriesarenottoberecharged.
2.Batteriesaretobeinsertedwiththecorrectpolarity.
3.Exhaustedbatteriesaretoberemovedfromtheproduct.
4.Alwayspurchasethecorrectsizeandgradeofbatterymostsuitable
fortheintendeduse.
5.Replaceallbatteriesofasetatthesametime..
6.Cleanthebatterycontactsandalsothoseofthedevicepriortobatteryinstallation.
7.Removebatteriesfromequipmentwhennotusedforanextendedperiodoftime.
WARNING
!
Donotingestbatteries.
NOTE:
Batterydisposal
Pleasealwaysdispose
ofbatteries atasuitable
recyclingpoint.
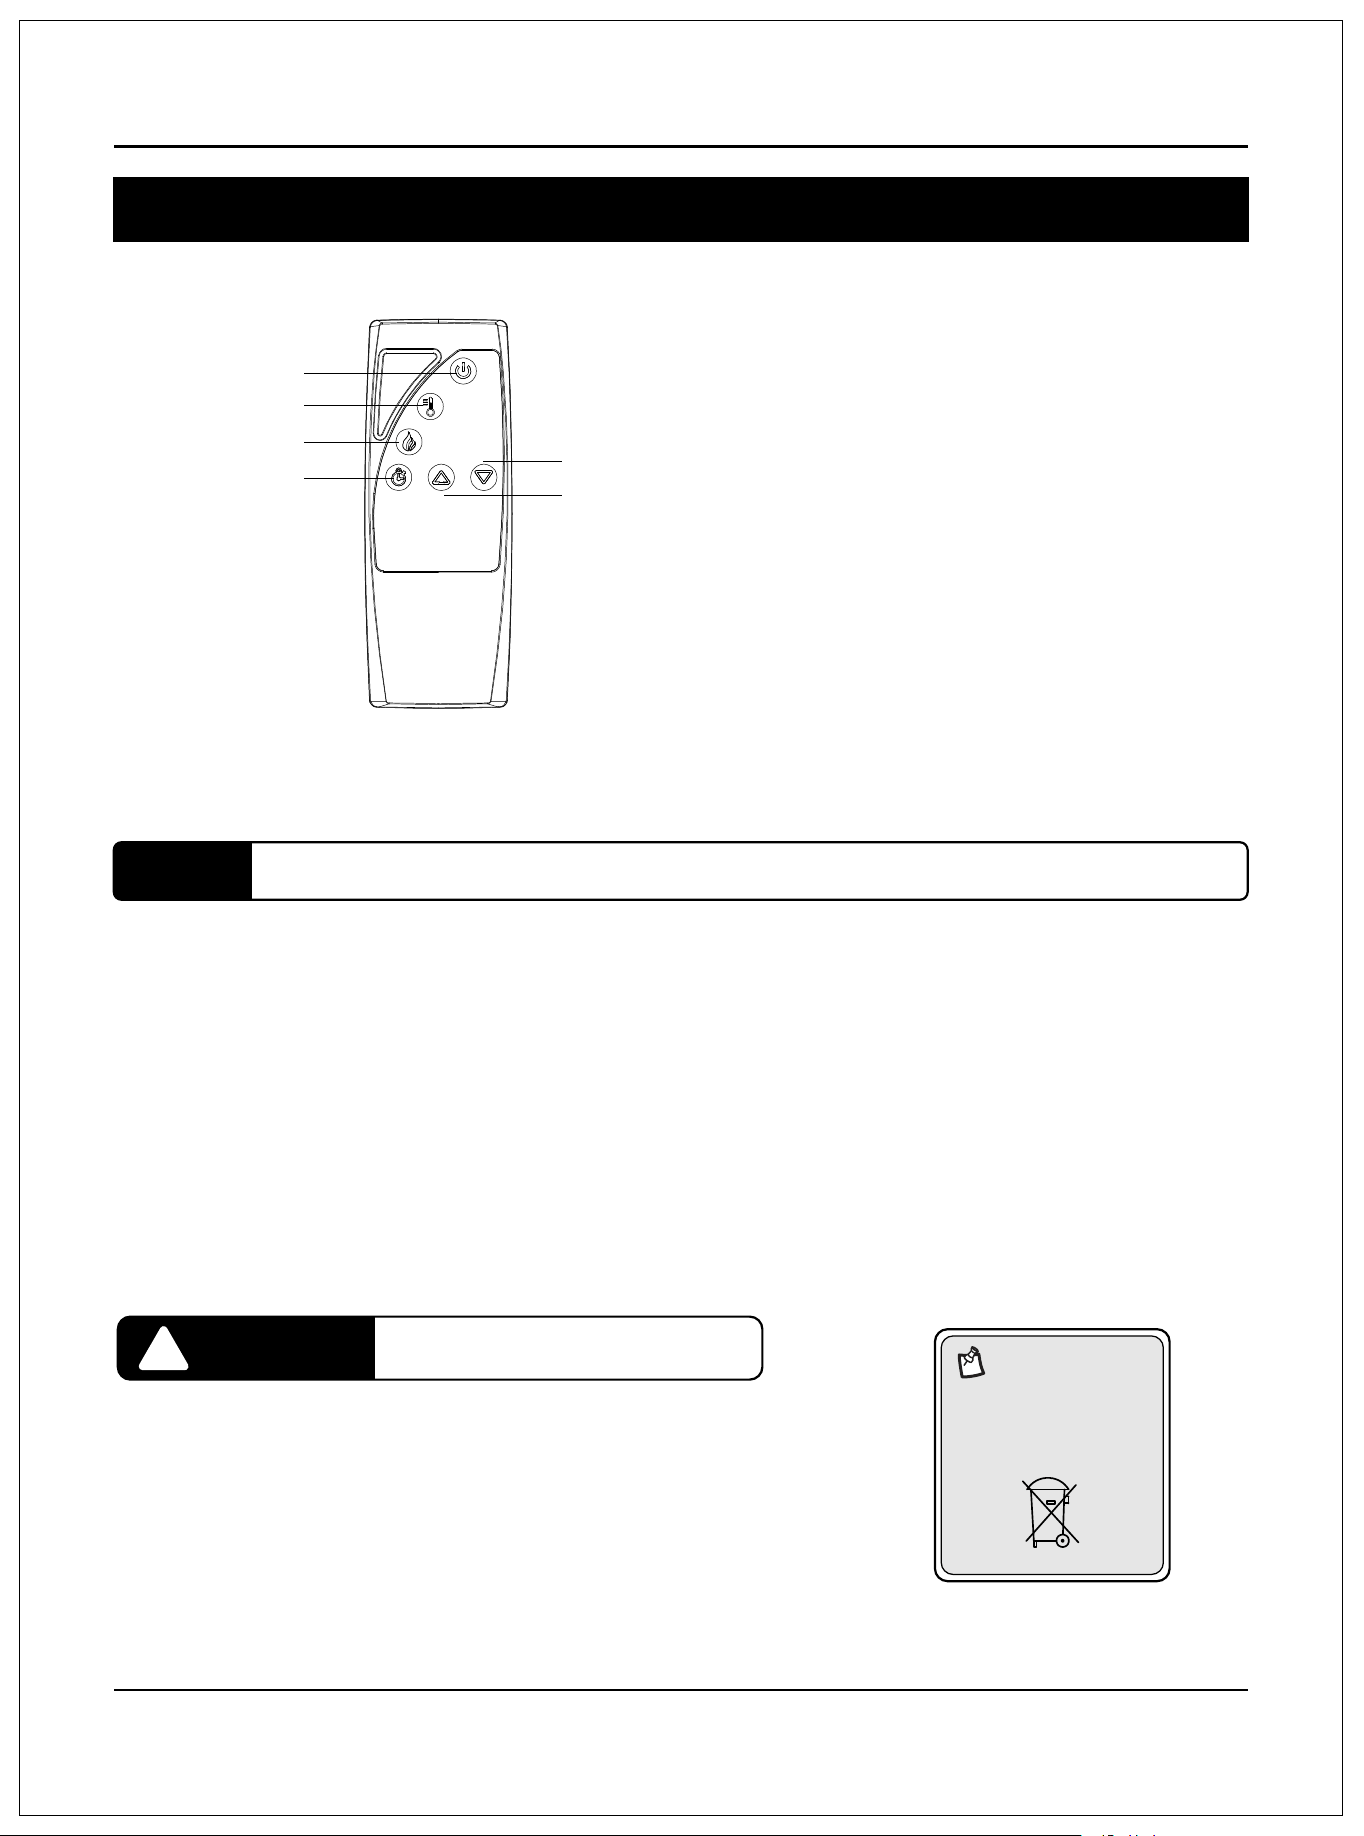
Flame Control
Heater Control
●Using the Remote control
The operation of the remote control buttons work the same as button on the control panel.
●Install the battery
For replacement batteries, use AAA batteries.
Press down and slide back cover off the battery compartment.
Insert two provided AAA batteries into the battery compartment making sure that the ends of the batteries
with the negative(-) symbols are against the springs in the battery compartment.
Replace the battery compartment cover, making sure it snaps into position.
NOTE:
The remote control cannot be used to switch between degree Fahrenheit and degree Celsius.
Main Power
Time Control
Heater Down
Heater Up
11
Care and Maintenance
WARNING
!
Alwaysdisconnectfromthepowersupplybeforecleaningtheheater.
Firstturnoffthemain power.
Thenremovetheelectricalplugfromthewall outlet.
WARNING
!
Donotusethisreplaceinsertifanypartof ithasbeenunderwater.
Immediatelycallaqualied servicetechniciantoinspectthereboxand
replace anypartoftheelectricalsystemwhichhasbeenunderwater.
Theblowermotorandamemotorarepre-lubricatedforadurableusingtimeandneednofurtherlubrication
ormaintenance.Toremoveanyaccumulationofdustordebris,thesoftbrushattachmentofavacuumcleaner
shouldoccasionallybeusedtocleantheoutletgrilleofthefanheater.
● Useasoft,cleancloththatwillnotscratchthesurfacewhendusting.
● Useacleansoftclothdampenedwithwarmwatertocleanthereplacesurface.
D0NOTusehouseholdorabrasive cleaners,astheseproductsmaydamagethesurface.
● Whencleaningtheglassviewingscreenuseanon-abrasivedampclothwithliquidcleanerorsoftsoap
ifnecessary;Don NOTusecleaningpowdersoranyothersubstancewithabrasives
sincethesesubstanceswillscratchglass.
● Undernocircumstancesshouldthisproductbeoperatedwithabrokenorchippedglasspanel.
● Donotstrikeorslamtheglass.
● Intheeventthatyourapplianceisstainedorotherwisedamagedduringuse,werecommendthatyoucall
aprofessionaltoit.
● Whennotinusepleaseunplugthecordfromtheoutlettopreventanydamageoraccidents.
12
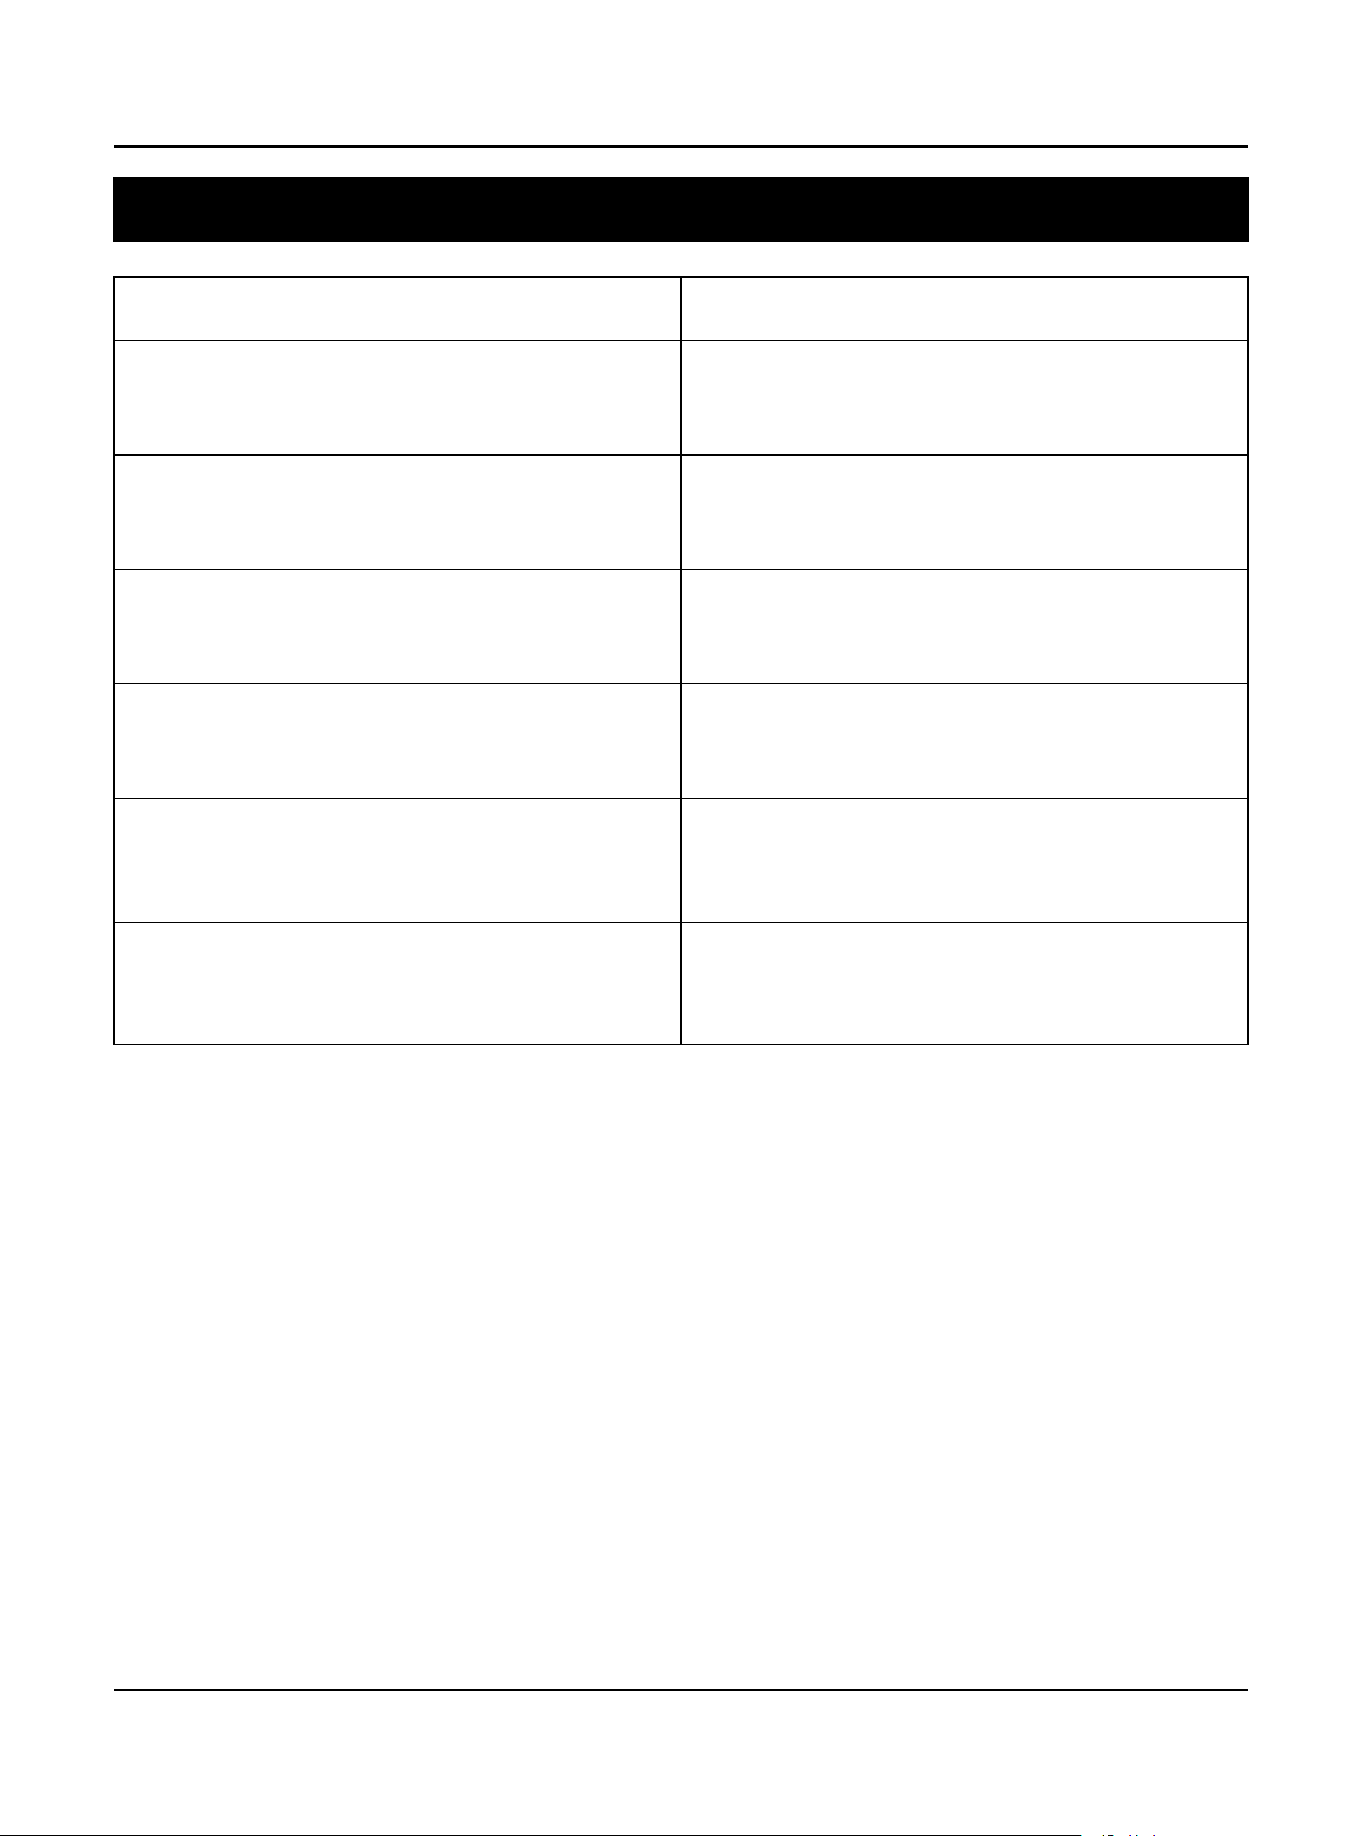
Troubleshooting
Problem
Solution
Make sure the unit is plugged into a standard 120V
grounded power source. Press the power button on
the control panel.
Theunitdoesnotturnon.
Flame effect is on, but there is no ame effec
Open the top and back panel to check if the ame
spindle has fallen off from the spindle motor.
The heater does not blow warm air Make sure the set temperature is higher than the
room temperature.
Error Code E3 shown on the indicator
Reset the unit by unplugging the unit from power
source for 5 minutes and then plug it back.
Use it closer to the unit/change battery/remove
insulating plastic sheet.
Remote control does not work
The heater does not work
Turn all switches to OFF and unplug the unit for 5
minutes. Plug the unit back to power and operate
as normal.