VENT HOOD
USER MANUAL


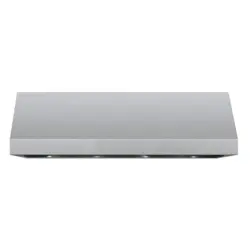
AMD DIRECT VENT HOOD
INSTALLATION INSTRUCTIONS & OWNERS MANUAL
36” VENT HOOD WITH SINGLE MOTOR
42” VENT HOOD WITH DUAL MOTOR
48” VENT HOOD WITH DUAL MOTOR
60” VENT HOOD WITH DUAL MOTOR
NAME:
VH36-2
VH42-2
VH48-2
VH60-2
PART #:
THANK YOU
INSTALLER
Please leave this manual for the owner
Serial Number:
Model:
Date of Purchase:
Place of Purchase:
Thank you for your purchase. We’d like to welcome you to the AMD Direct family of luxury outdoor kitchen
products and look forward to being a part of your home for years to come. As a family business with over
20 years of industry experience, we aim to deliver exceptional quality and personal service. Welcome to the
AMD Direct family and we hope you love your new vent hood!
To view on your phone, scan the QR code on your camera app.
(For Android devices, use Google Lens)
For warranty information and to register your refrigerator visit,
amddirect.com/register
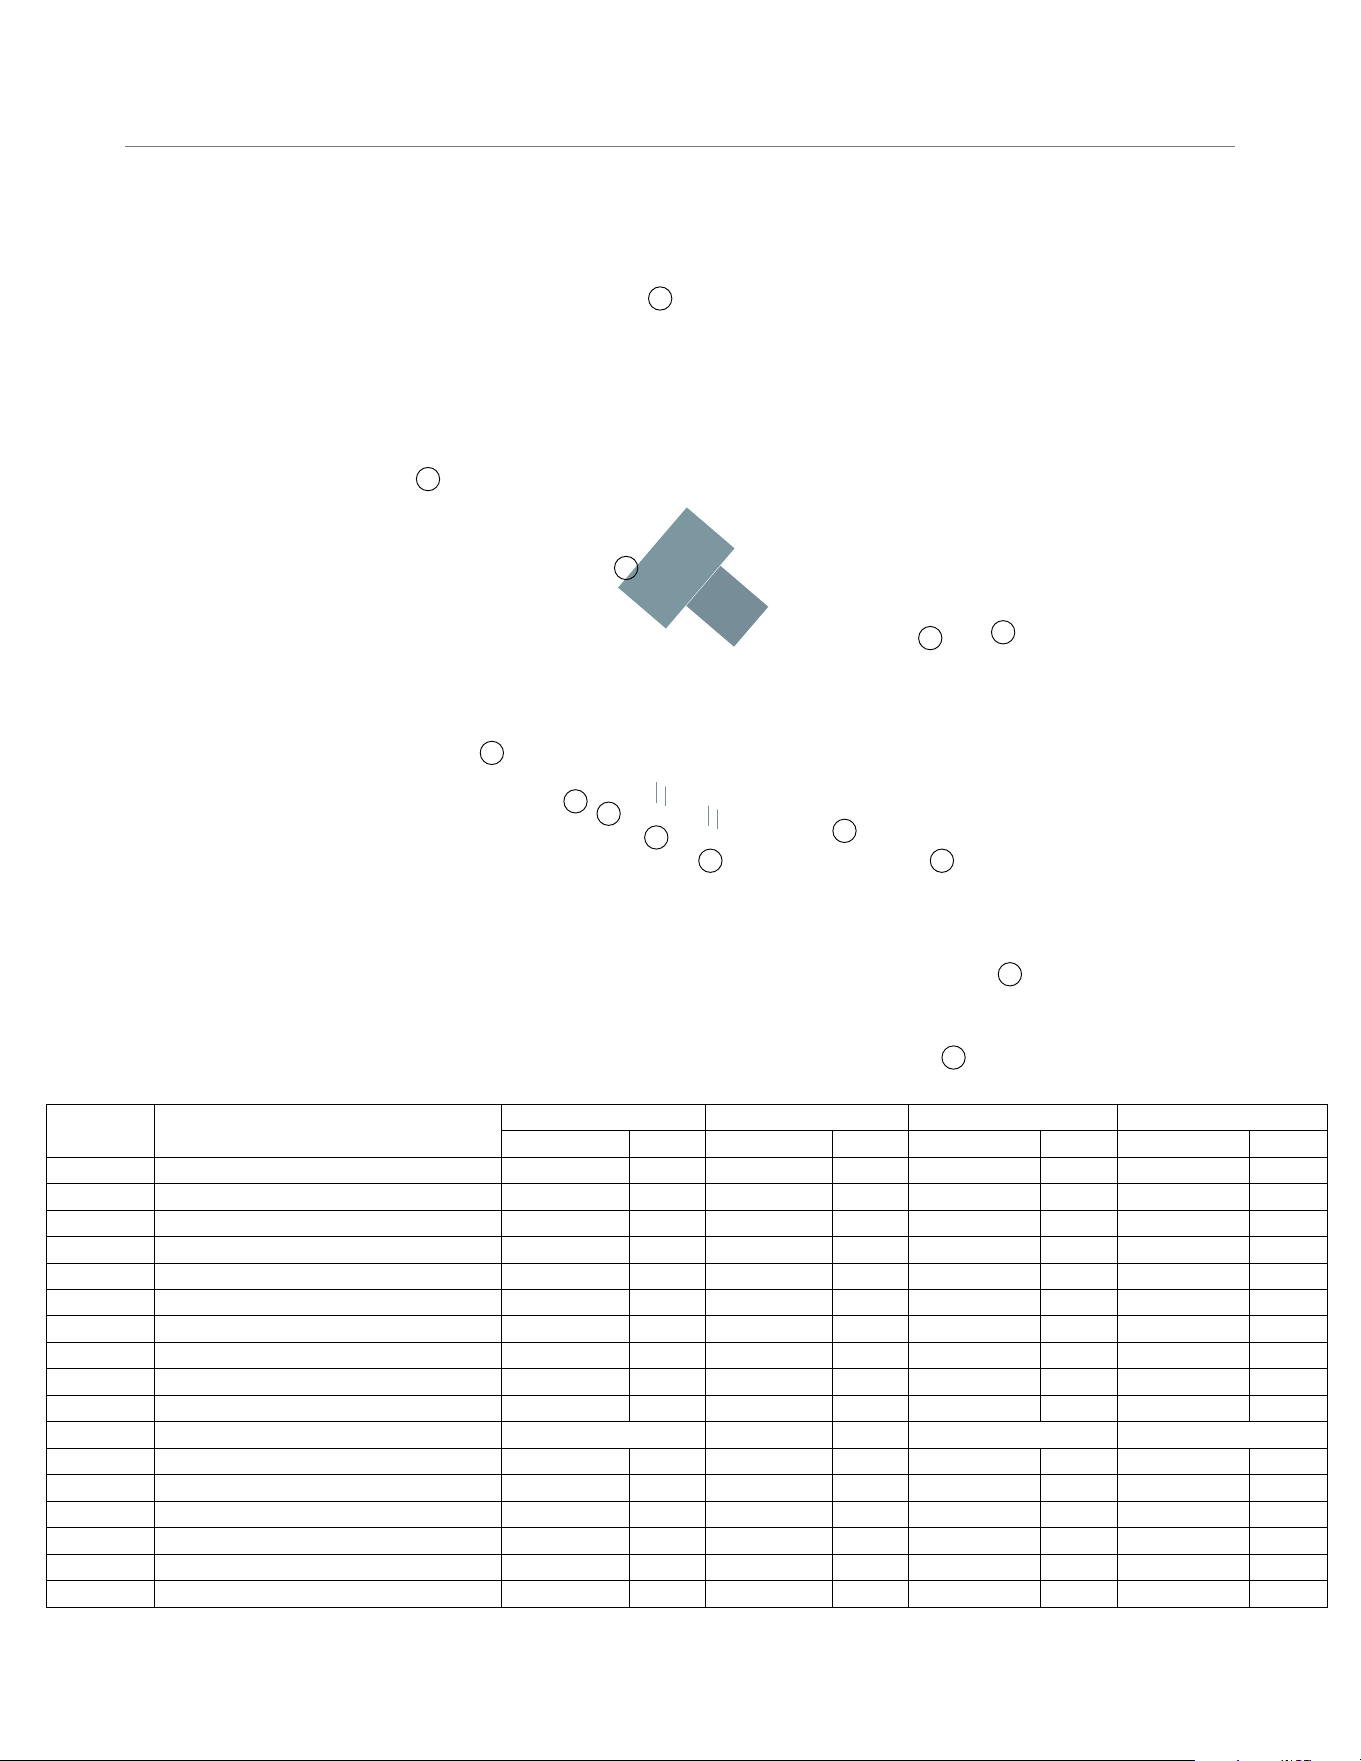
EXPLODED VIEW & REPLACEMENT PARTS LIST
3
4
2
1
13
11
10
7
5
8
6
9
12
7
ITEM # DESCRIPTION
VH36-2 VH42-2 VH48-2 VH60-2
VH36 QTY VH42-2 QTY VH48-2 QTY VH60-2 QTY
1 1/2” MOUNTING TEMPLATE 11367 1 11368
1 11369 1 11370 1
2 4’’ VENT HOOD SPACER (optional) 11371 1 11372
1 11373 1 11374 1
**2a 8’’ VENT HOOD SPACER (optional) 11375 1 11376
1 11377 1 11378 1
3 DUCT COVER (optional) 11379 1
11380 1 11381 1 11382 1
4 VENT HOOD ASSEMBLY 11383 1
11384 1 11385 1 11386 1
5 KNOB 11344 2
11344 3 11344 3 11344 3
6 LIGHT CONTROLLER 11387 1
11387 1 11387 1 11387 1
7 FAN CONTROLLER 11343 1
11343 2 11343 2 11343 2
8 LED LIGHT 11388 2
11388 4 11388 4 11388 4
9 BAFFLE FILTER - 12” 11389 3
11389 3
11389 4 11389 5
**9a BAFFLE FILTER - 6” -
11399 1 - -
10 BLOWER PLATE 11398 1
11398 2 11398 2 11398 2
11 1000 CFM BLOWER 11290 1
11290 2 11290 2 11290 2
12 GREASE TUBE 11393 1
11394 1 11395 1 11396 1
13 TRANSITION COLLAR FOR 8” VENT 11397 1
11397 2 11397 2 11397 2
**14 CAPACITOR 11342 1
11342 1 11342 1 11342 1
**15 LED LIGHT TRANSFORMER 11034 1 11034 1 11034 1 11034 1
** NOT SHOWN
3
VENT HOOD USER MANUAL
IMPORTANT SAFETY INSTRUCTIONS
1. Never leave surface units unattended at high settings.
2. Oil-overs can cause smoking and may ignite. Heat oils
slowly on low heat.
3. Always turn hood ON five minutes prior to cooking to
begin airflow.
4. Clean ventilation filters frequently. DO NOT ALLOW
GREASE TO ACCUMULATE ON FAN OR FILTER.
5. Use proper pan size. Always use cookware appropriate
for the size of the burner or element.
TO REDUCE THE RISK OF RANGE TOP GREASE
FIRE, PLEASE OBSERVE THE FOLLOWING:
• AMD Vent Hoods are for residential use only!
• For general ventilation use only. Do not use to exhaust
hazardous or explosive materials or vapors
• Use this unit only in the manner intended by the
manufacturer.
• Before servicing or cleaning this unit, switch power o
at service panel and lock the panel to prevent power
from being switched on by accident. If the service panel
cannot be locked, securely fasten a prominent warning
device, such as a tag, to the service panel.
• Remove all rings, watches, belt buckles, jewelry and any
clothing with metal buttons or snaps to prevent damage
to hood.
• DO NOT REMOVE HOOD FROM ITS ORIGINAL CARTON
UNTIL YOU ARE READY TO INSTALL IT.
• When you are ready to begin the installation process,
remove the hood from its carton and place it on a clean
soft blanket.
• Inspect the hood carefully for any damage or
imperfections before you begin to install the hood. If any
damage or imperfections exist, re-carton the hood and
call your dealer IMMEDIATELY. Do not install a damaged
hood.
• It is highly recommended that rubber gloves be used to
prevent scratches on the hood and to provide you with a
firm grip.
• When removing the hood from the carton, locate the
filters. The filters are not pre -installed in the hood. The
filters are in a box marked filters inside the hood carton.
• AMD model hood series can be ducted to the top or the
rear. Check product guide for additional transitions, wall
caps and roof caps.
• All AMD ventilation hoods have a variable speed control
blower switch.
• To avoid damage that will not be covered under
warranty make sure blowers are free from
obstructions (packing and debris) prior to running
the blowers. Test run blowers before finalizing
installation. Check with manufacturer before
attempting to use blower systems other than AMD
blower systems.
WARNING
HANDLING PRECAUTIONS
NOTE TO THE INSTALLER
WARNING
WARNING
USE AN EXTINGUISHER ONLY IF:
• You know you have a class ABC extinguisher and you
already know how to operate it.
• The fire is small and contained in the area where it
started.
• The fire department is being called.
IN THE EVENT OF RANGE TOP GREASE FIRE,
OBSERVE THE FOLLOWING:
1. Smother the flames with a close-fitting lid, cooking
sheet or other metal tray, and then turn o the burner.
BE CAREFUL TO PREVENT BURNS. If the flames do
not go out immediately, EVACUATE AND CALL THE
FIRE DEPARTMENT.
2. NEVER PICK UP A FLAMING PAN.
3. MAKE SURE YOUR VENTILATION SYSTEM IS
COMPLETELY TURNED OFF. DO NOT TURN HOOD
ON TO TRY AND EVACUATE SMOKE.
4. DO NOT USE WATER, including wet dishcloths or
towels - a violent steam explosion may result.
4

CLEANING AND MAINTENANCE
Your hood will not function properly if not cleaned
regularly and maintained properly. Clean the filters
regularly (at least twice a month or every 24 hours of
use) by soaking them in soapy water and rinsing them
in the dishwasher at the normal cycle. When the filters
are removed, the accessible interior of the canopy can
be cleaned of grease, again using only soap and water.
Burned out LED light bulbs are exchanged in the same
way as normal light bulbs. Make sure to only replace
them with the same type and wattage.
INSPECT ALL MOLDED PACKAGING AND BOXES
FOR PARTS BEFORE DISCARDING. ANY DAMAGE
MUST BE REPORTED BEFORE INSTALLING THE
HOOD. ONCE THE HOOD HAS BEEN INSTALLED,
NO RETURN WILL BE ACCEPTED.
Select the proper height to mount the hood. Take into
consideration the stature of the person or persons who will
be cooking. If mounted at a height greater than 32” and up
to a maximum of 36” above the cooking surface, the hood
should be at least 6” wider than the cooking appliance to
provide a proper capture of heat and grease. (Refer to the
range manufacturer’s guidelines) Once the proper height is
established, draw a level line where the bottom of the hood
will rest. If practical, mount a board equal to the width of the
hood along the line so you may rest the hood on it while
installing. Mark a centerline on the wall equal to the entire
height of the hood to assist with the proper duct alignment
and hood placement. Determine stud location and mark
it clearly. If only one stud can be located, toggle bolts or
additional fastening must be installed to firmly secure the
hood to the wall.
WARNING
Make it a habit to turn on the hood on low speed even
when you are only boiling water. The cleaning of the
outside of the hood depends on the material used as
a decorative exterior. For stainless steel and powder
coated metals, clean with soap and water only. Do
not use abrasive or aggressive chemicals! Check the
outside end of the duct at least once a year. If you
have an insect screen installed in the duct termination,
make sure that it is not broken or dislocated. Filters
are dishwasher safe or you may hand wash them with
warm soapy water.
PLANNING THE LOCATION FOR YOUR VENT
HOOD
5
VENT HOOD USER MANUAL

VENTING REQUIREMENTS & SPECIFICATIONS
VENTING REQUIREMENTS IMPORTANT:
SPECIFICATIONS:FOR THE MOST EFFICIENT & QUIET OPERATION:
• Do not terminate the vent system in an attic or other enclosed
area.
• Do not use 4” (10.2 cm) laundry-type wall caps.
• Use metal/aluminum vent only. Rigid metal/aluminum vent is
recommended.
• Do not use plastic vent.
• Always keep the vent clean to ensure proper airflow.
• Calculate the following figures before installation:
o Distance from the floor to the ceiling
o Distance from grill’s cooking surface to
vent hood
o Height of hood and vent cover
• A minimum distance of 32” and a maximum distance of 36” is
recommended* between the grill’s cooking surface and bottom
of vent hood.
• It is recommended that the vent hood be vented vertically
through the roof
• Venting size should be uniform.
• Do not use plastic vent.
• Use no more than three 90° elbows.
• Make sure there is a minimum of 24” of straight vent between
the elbows if more than one elbow is used.
• Do not install two elbows together.
• The length of vent system and number of elbows should be kept
to a minimum to provide ecient performance.
• Use aluminum foil tape to seal all joints in the vent system.
• Use caulking to seal exterior wall or roof opening around the
cap. USE 8” ROOF OR WALL VENT CAP MINIMUM.
• A minimum 8-inch round vent (standard for this vent hood) must
be used to maintain maximum airflow eciency.
• Always use rigid type metal/aluminum vents if available to
maximize airflow.
• It is important to install the hood at the proper mounting height.
Hoods mounted too low could result in heat damage and fire
hazard; while hoods mounted too high will be hard to reach and
will lose its performance and eciency.
• Refer to the grill manufacturer’s height clearance requirements
and recommended vent hood mounting height.
Voltage: 120v / 60 hz
Power: 36” Model: 246 W
42”/48”/60” Models: 489 W
Amperage: 36” Model: 2A
42”/48”/60” Models: 4A
Motor Rotational Speed: 980 rpm (top speed)
Maximum Air Flow: 1000 cfm (per blower)
Fan Type: Centrifugal
Noise Level: 58dB (single motor) / 62dB (dual motor)
LED: 3 W
Venting: Top Vent or Rear Vent
Vent Size: 8 in. diameter
# of Vents: 1 (for 36” model)
2 (for 42”/48”/60”)
6

INSTALLATION
7
VENT HOOD USER MANUAL
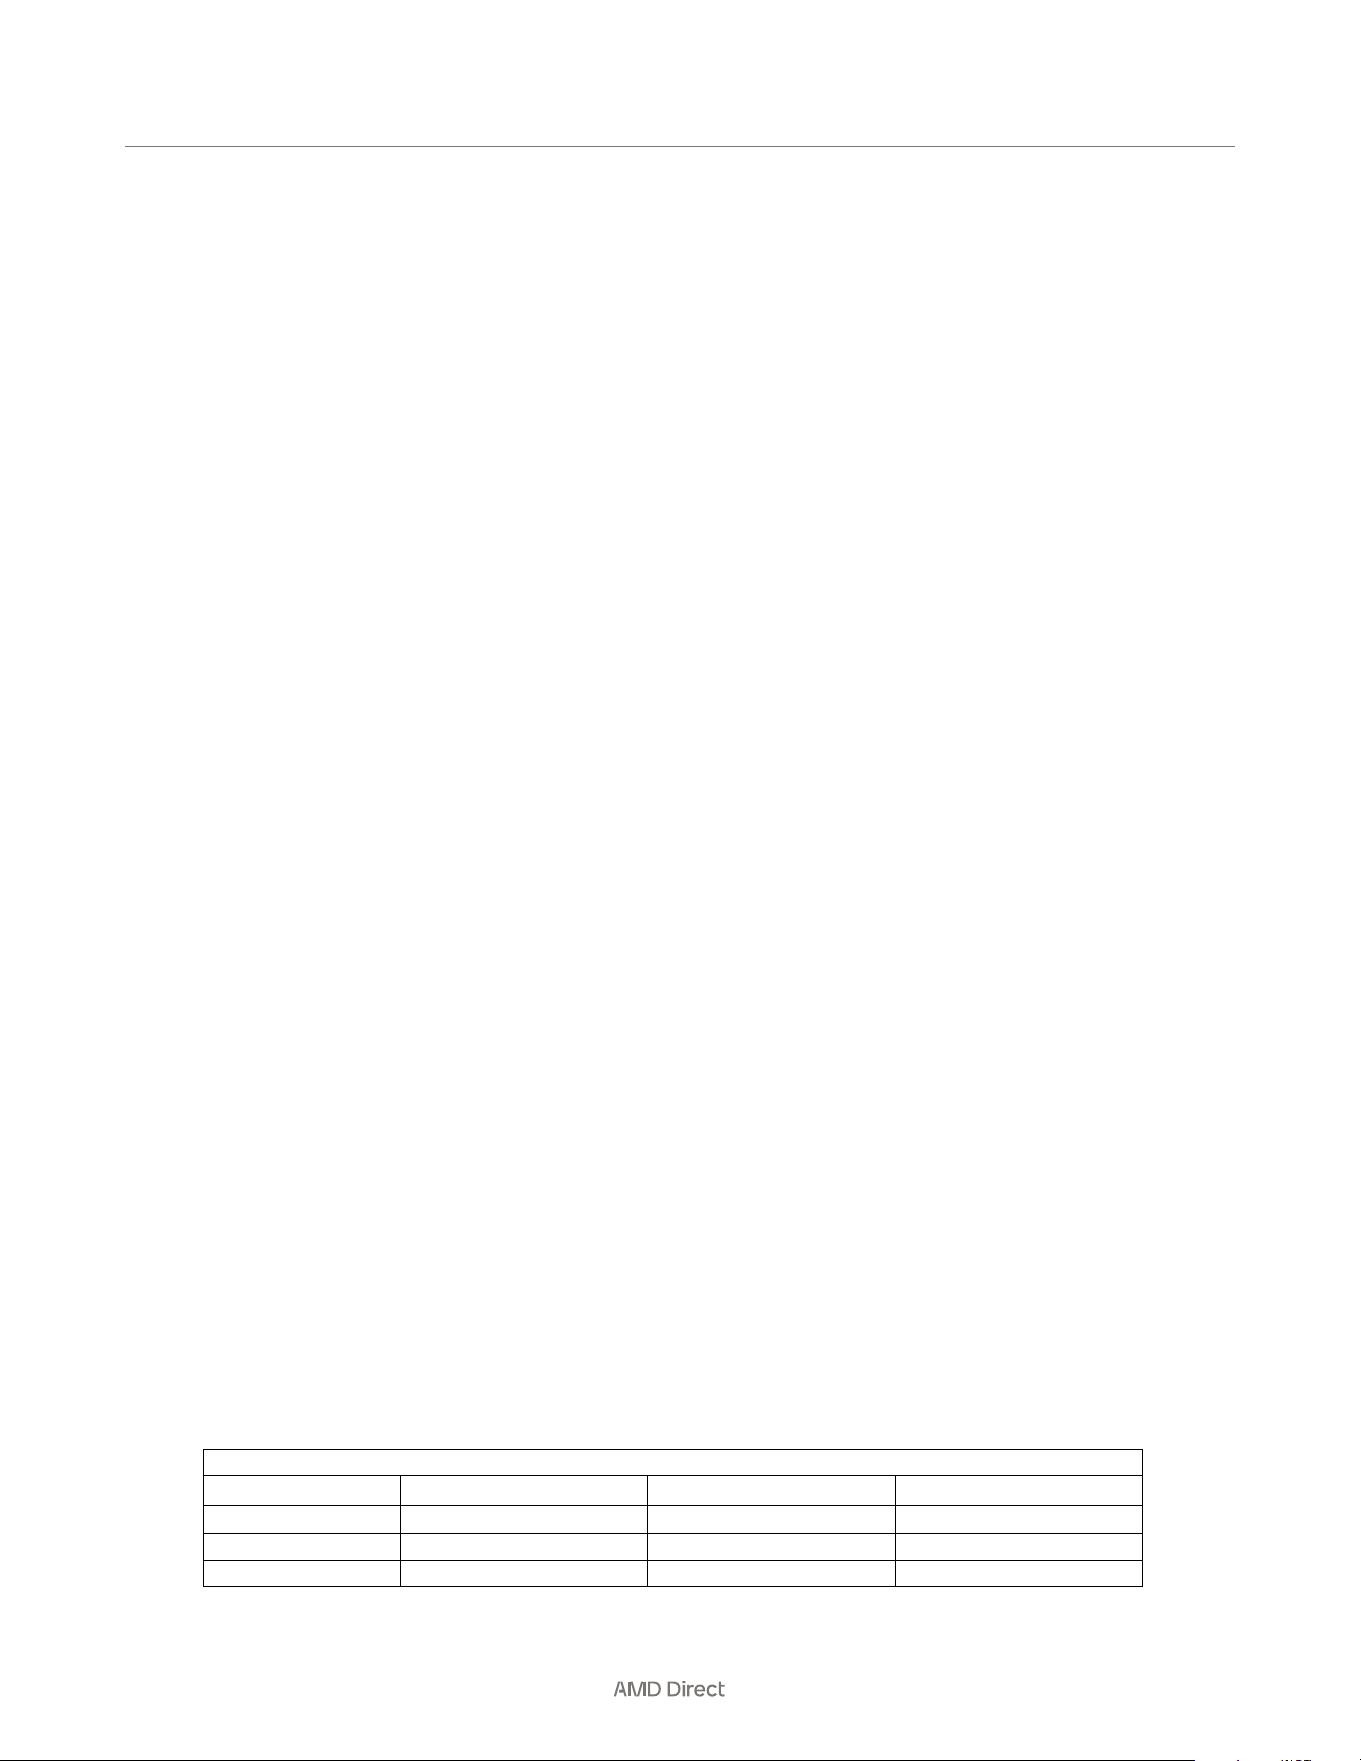
VENT HOOD DIMENSIONS
MODEL #
A
B C
VH42-2 42” 20
3/8
” 10
3/16
”
VH48-2 48” 24
1/2
” 11
3/4
”
VH60-2 60” 30
1/4
” 14
7/8
”
DIMENSIONS
8
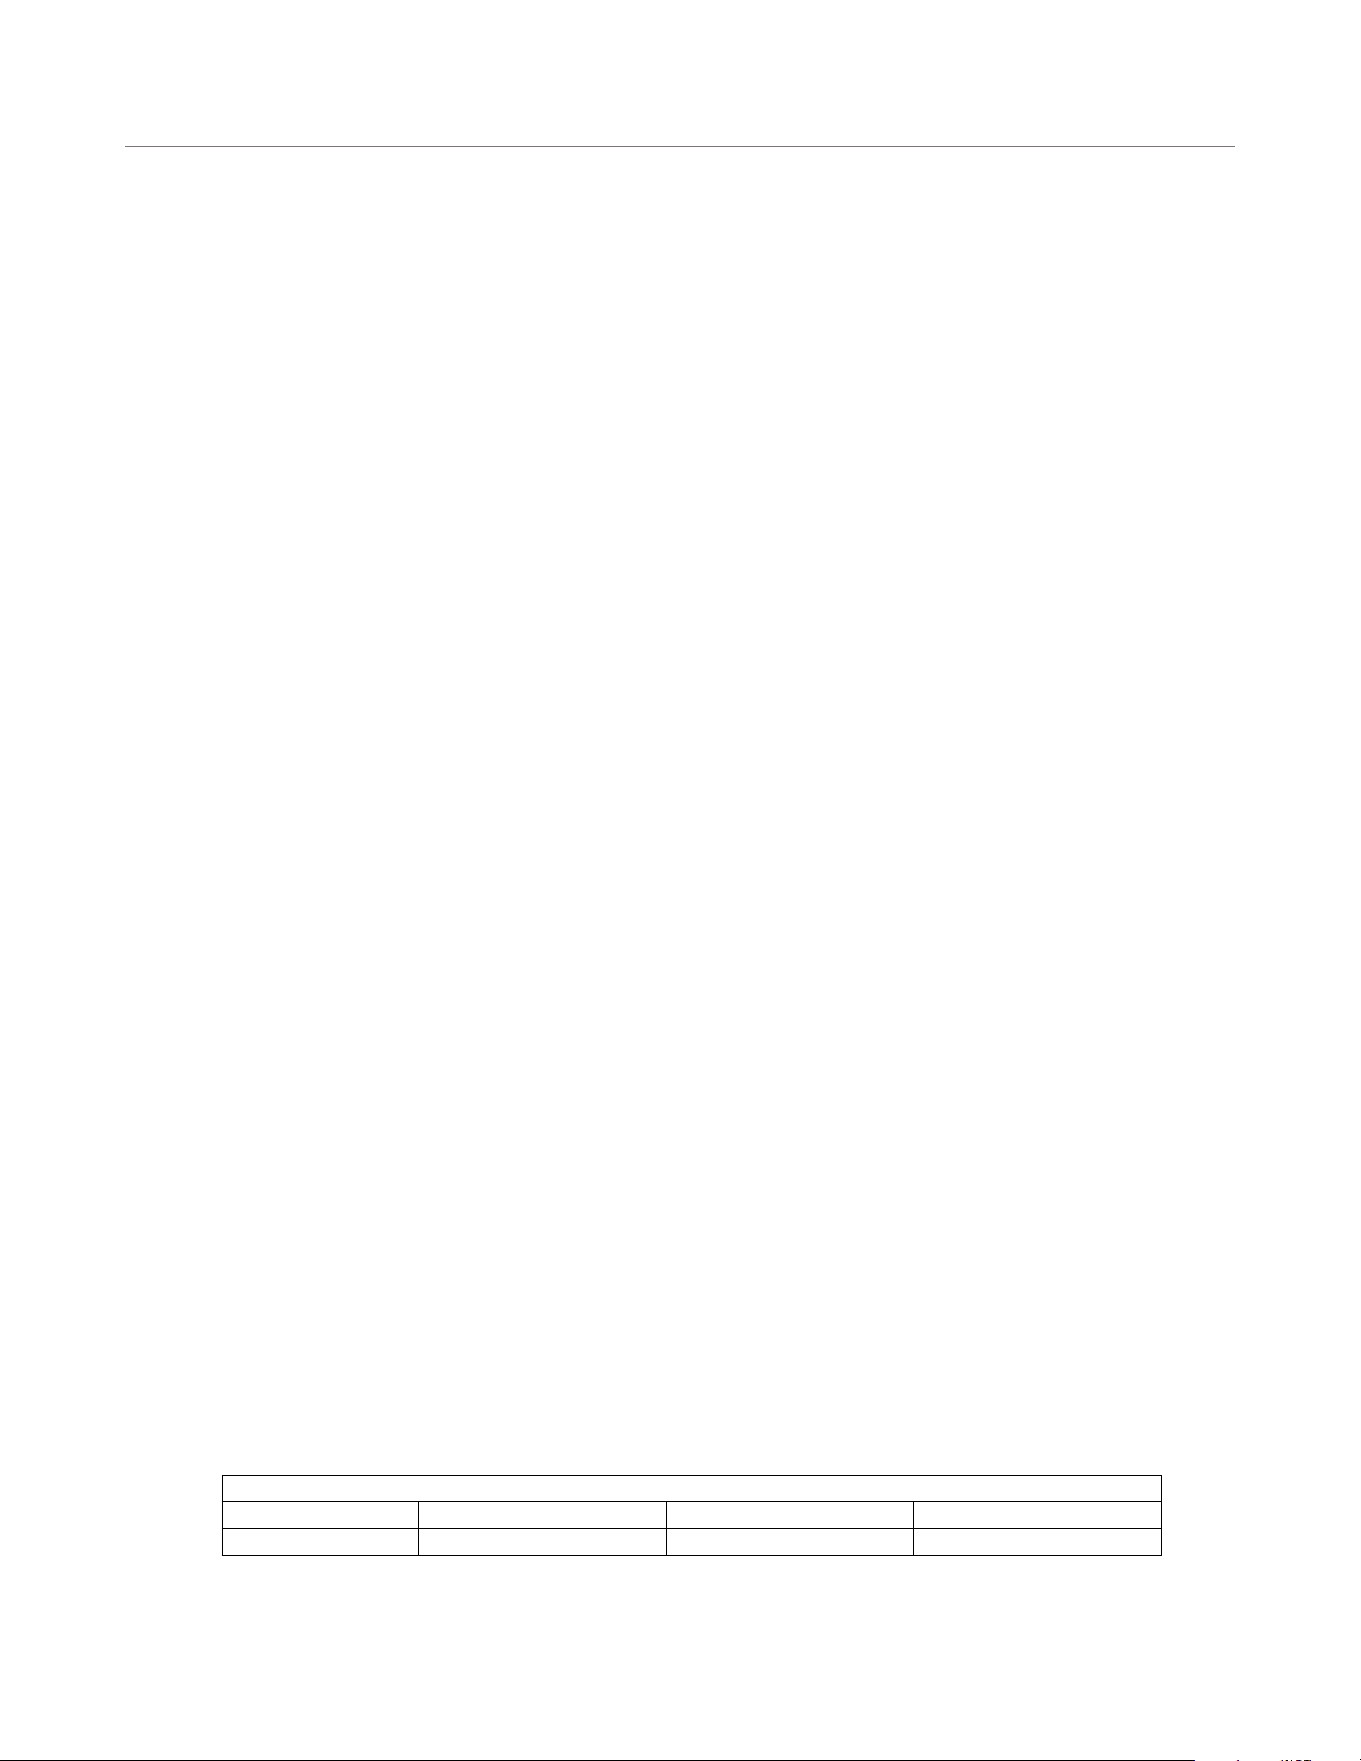
DIMENSIONS
VENT HOOD DIMENSIONS
MODEL #
WIDTH
DEPTH HEIGHT
VH36-2 36” 30” 18”
9
VENT HOOD USER MANUAL

WIRING DIAGRAM
10

11
VENT HOOD USER MANUAL

12
VER.021925
CONTACT US
14520 Delta Ln,
Suite 105
Huntington Beach, CA 92647
AMDDirect.com
(800) 966-8126
M–F 8:30 am – 5:00 pm (PST)