| |—
@
I
OWNER'S MANUAL & INSTALLION MANUAL
I
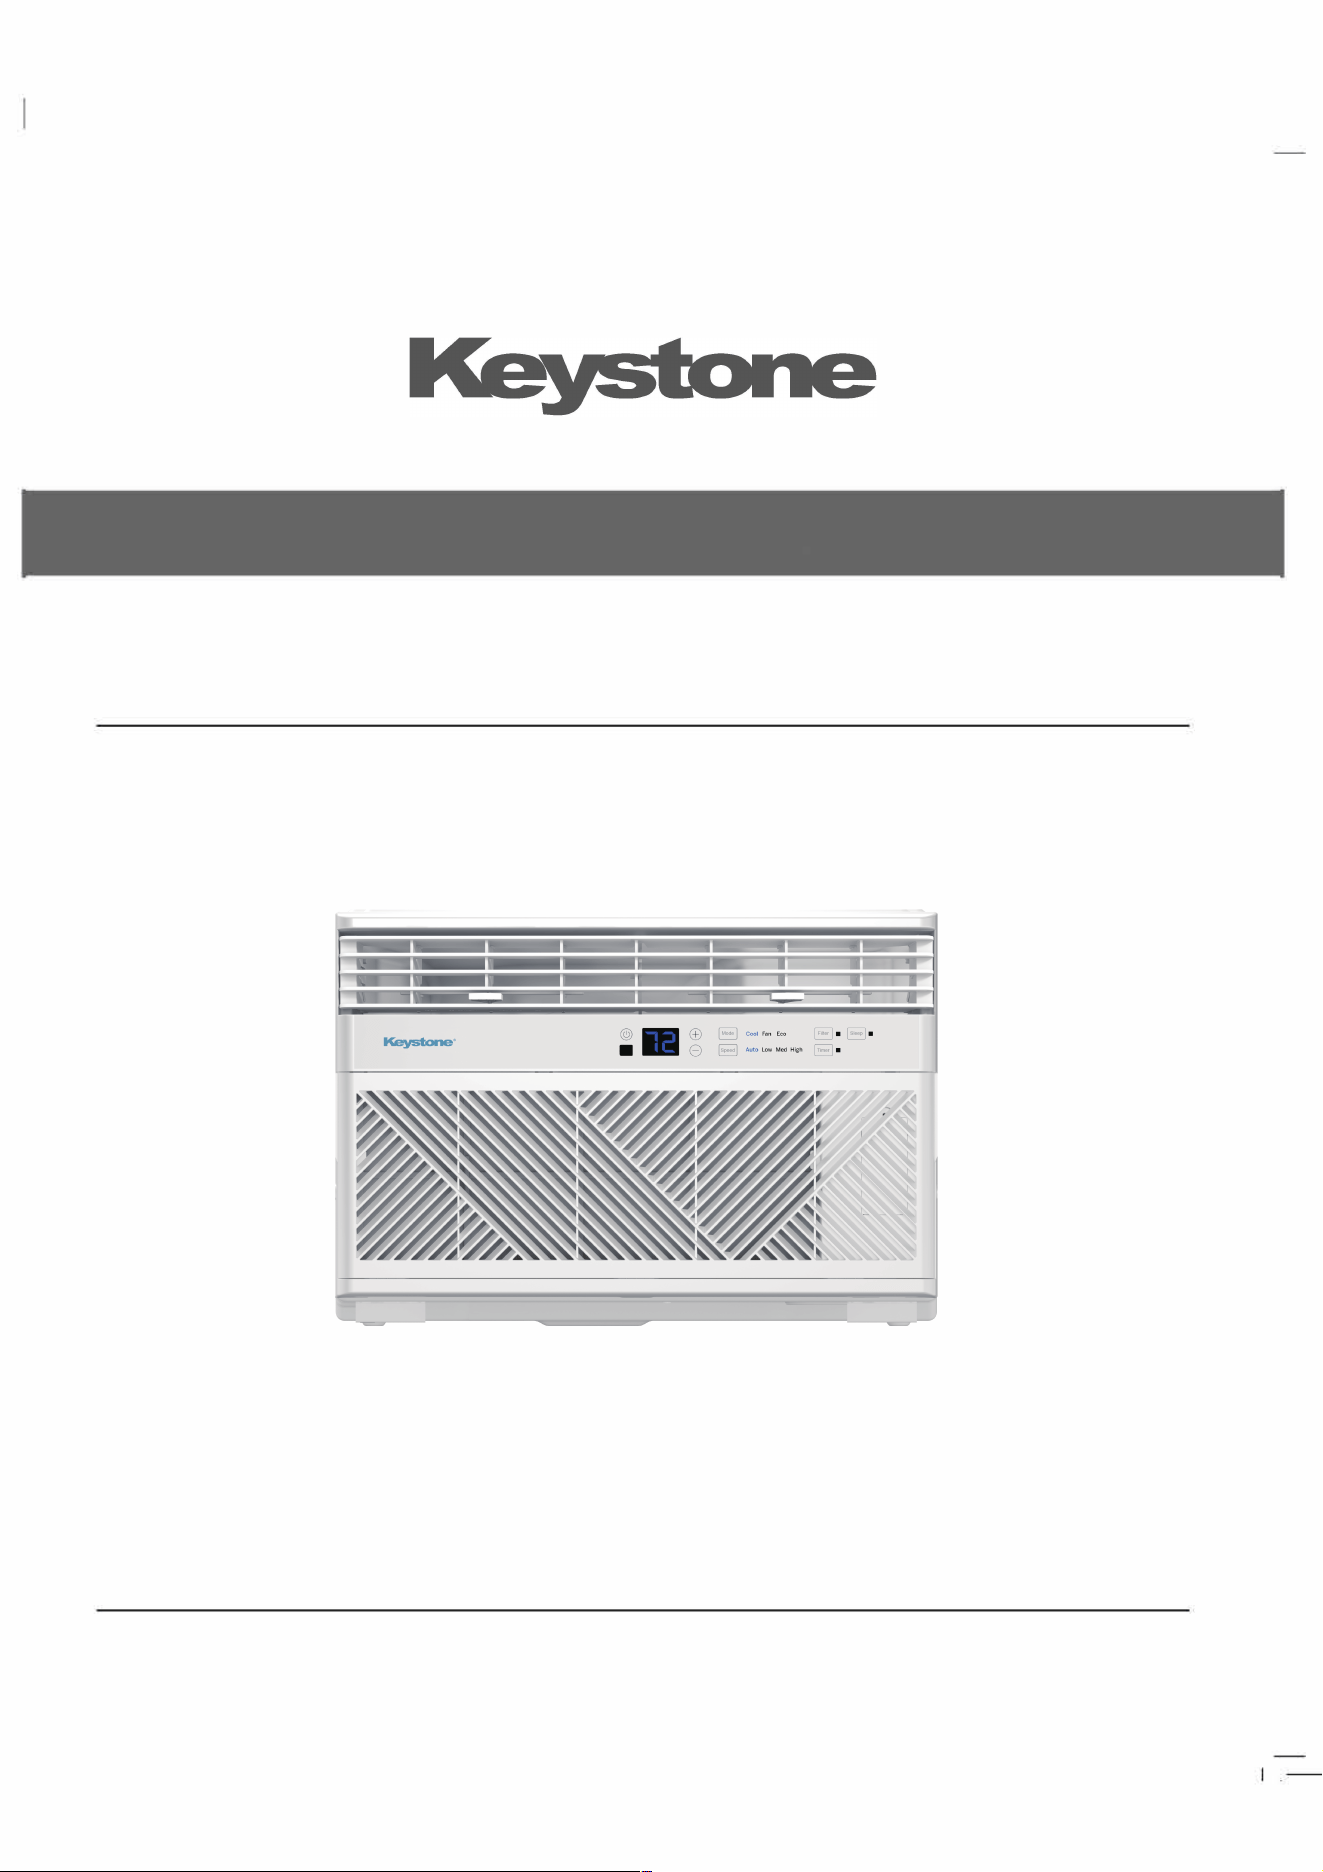
ROOM AIR CONDITIONER
MODELS ST081AD/ST101AD/ST121 AD
0011526970


7
11
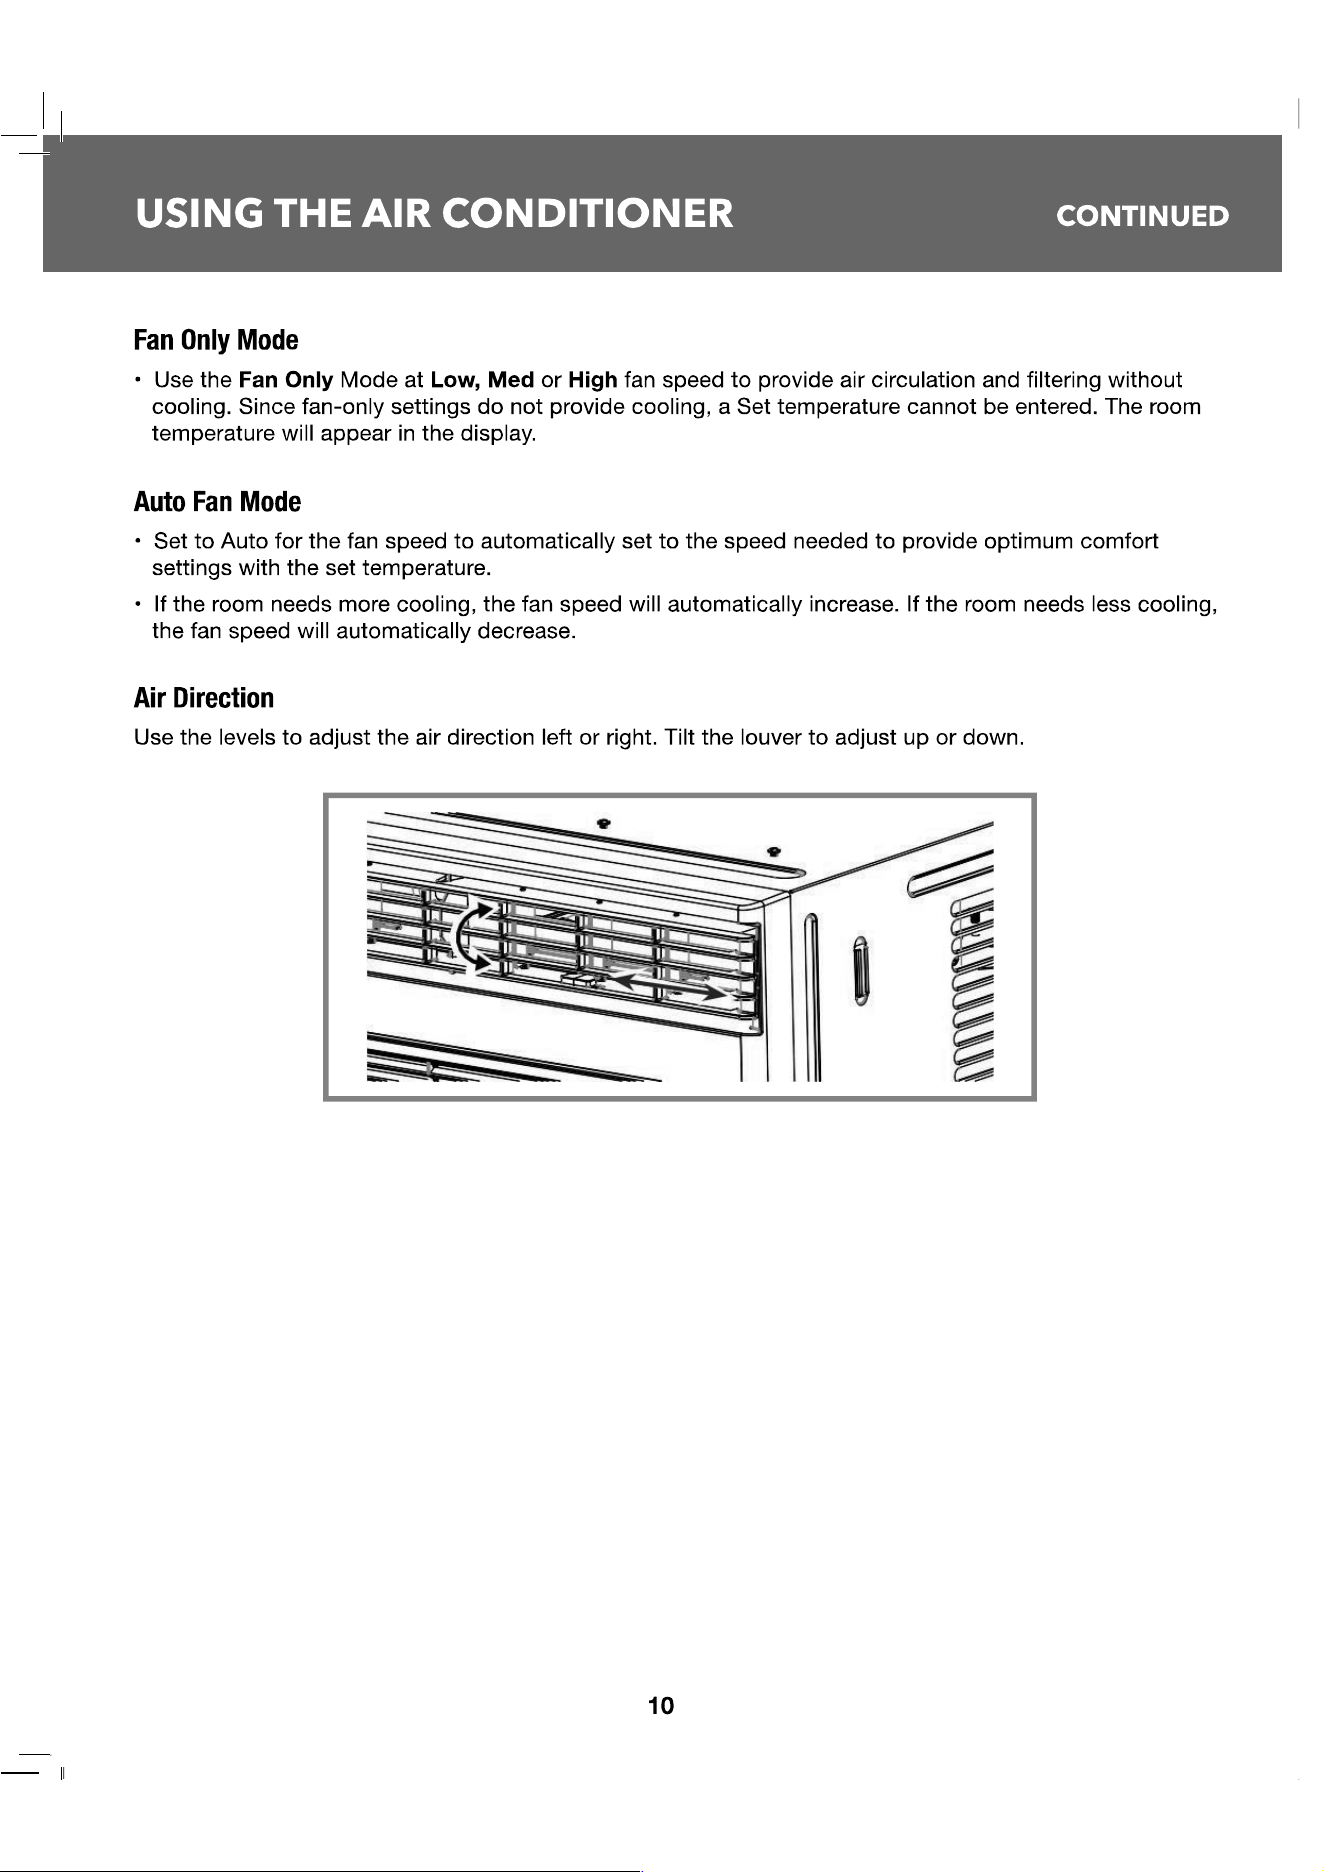
USING THE AIR CONDITIONER
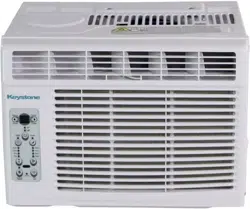
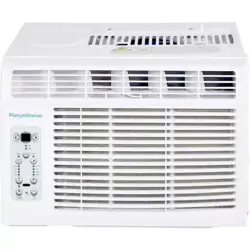
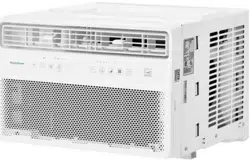
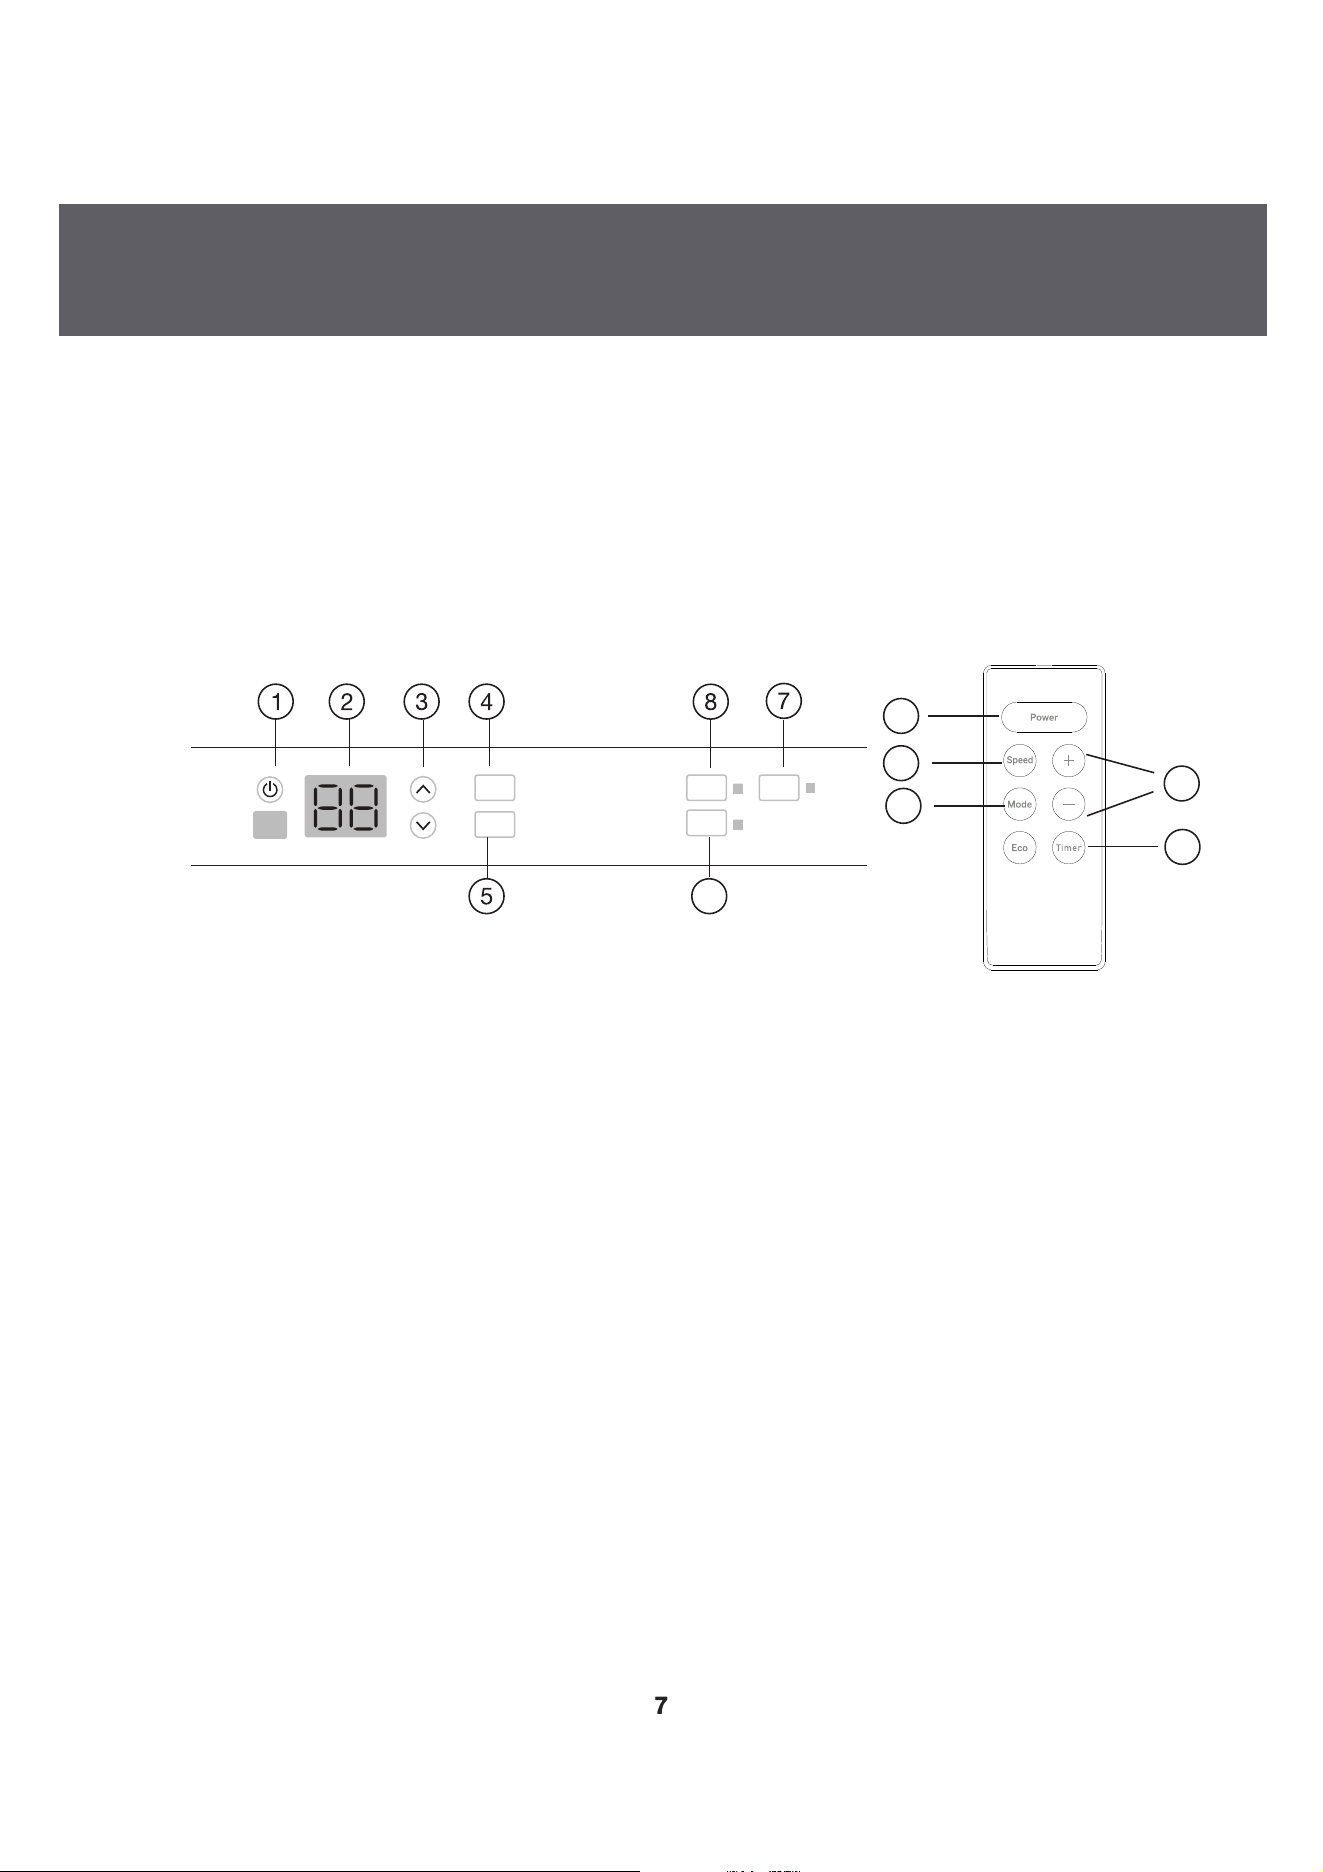
Air Conditioner Controls
Remote Control
1. Power
Turns air conditioner on and off. When turned on, the display will show the set temperature.
2. Display
Shows the room temperature or time remaining on the Delay timer. Shows Set temperature while setting
the temperature in Cool or Eco modes.
3. Temp and Timer Increase/Decrease
Used to set temperature or delay time. Temperature can be set in Cool and Eco mode all
in 1 °F increments.
4. Mode
Used to set the air conditioner to Fan Only, Cool, or Eco mode.
5. Fan Speed
In Cool or Eco mode: Fan speed may be set to Auto, High, Med or Low.
In Fan Only mode, the fan can only be set to High, Med, or Low.
Controls
(Features and appearance may vary)
• Lights beside the touch pads on the control panel indicate selected setting.
See Appliance Communication Section in this manual.
12 34
8
7
1
6
Timer
Filter Sleep
Auto Low
Cool
Speed
Mode
Med High
Fan Eco
4
5
6
3
Air Conditioner Controls
Remote Control
6.
Timer (set b
y
remote control onl
y
)
Timer ON-When the air conditioner is off, it can be set to automatically come on between 1 - 24 hours
at its previous mode and fan setting.
Timer OFF-When the air conditioner is on, it can be set to automatically turn off between 1 - 24 hours.
How to Set:
Press Timer on the remote control. Each press will Increase A (+) / Decrease V
(-
) by 1-hou
r
increments. To review the remaining time on the timer, press the Timer pad on the remote control. Use
the Increase A (+) / Decrease V (-)
pads on the remote control to set a new time if desired. To
Cancel the Timer,
ess Decrease V (-) pad on the remote control until the set time is zero.
7. Sleep (set from air conditioner panel onl
y
}
SLEEP mode will gradually change settings over an 8-hour period to allow energy efficiency during
sleeping hours. The SLEEP mode is available only in COOL and FAN ONLY settings.
Press the SLEEP mode and the light will illuminate. The fan indicator will stay at the same setting, but
the air conditioner will automatically change FAN speed to low in either COOL or FAN ONLY mode. In
FAN ONLY mode, the fan will stay in the LOW speed se廿ing for 8 hours. After 8 hours, the air
conditioner will turn off.
In COOL mode, the fan will stay in the LOW speed setting for 8 hours from the time the SLEEP mode
pad was pressed. The air conditioner will also raise the set point 2
°
F in 30 minutes and 2
°
F more in
another 30 minutes where it will remain for the next 7 hours. After 8 hours, the air conditioner will turn
o.
While the unit is in SLEEP mode, pressing any pad will return it to the settings that were in place before
the SLEEP mode pad was pressed.
8.
Filter Reset
The filter indicator light will come on aer 250 hours of run time (refer to page 6) for filter maintenance.
Press the Filter Reset button, the light will turn OFF.
8
—
l

Maintenance
Do Not Operate in Freezing Outdoor Conditions
This cool-only air conditioner was not designed for freezing outdoor conditions. Operating temp range:
32
°
F
<
Outdoor temp
<
110
°
F. It must not be used when the outdoor temperature is below freezing (32
°
F).
Grille and Case
Turn the air conditioner o and remove the plug from the wall outlet before cleaning.
Clean filter by using warm water and a mild detergent. Do not use bleach or abrasives.
Air Filte『
The air filter should be checked and cleaned at least every 30 days or more often if necessary.
To Access:
• Open the grille by pulling downward on the tabs at the top corners. Remove the filter.
• Clean filter with warm, soapy water.
• Rinse and let the filter air dry before placing back into unit.
• DO NOT wash filter in a dishwasher.
丛 CAUTION
DO NOT operate the air conditioner without a filter as this will cause dirt and lint to build up and will reduce
the performance of the unit.
Outdoo『 Coils
The coils on the outdoor side of the air conditioner should be checked regularly. If they are clogged with
dirt or soot, they should be cleaned. Coils may be cleaned with water or special dissolvent for copper coils.
How to Replace Baery
1.
Remove the screw on the back of the battery cover.
2.
Pinch the slide lock and pull the battery tray out at the same time.
3.
Insert battery, assure that the(+) and (-) of battery are installed correctly.
4.
Reinsert the battery tray and screw.
Note
• This remote model uses 2AAA battery.
• Remove the battery from the remote control, if unit will not be used for a long period of time.
11
II
15
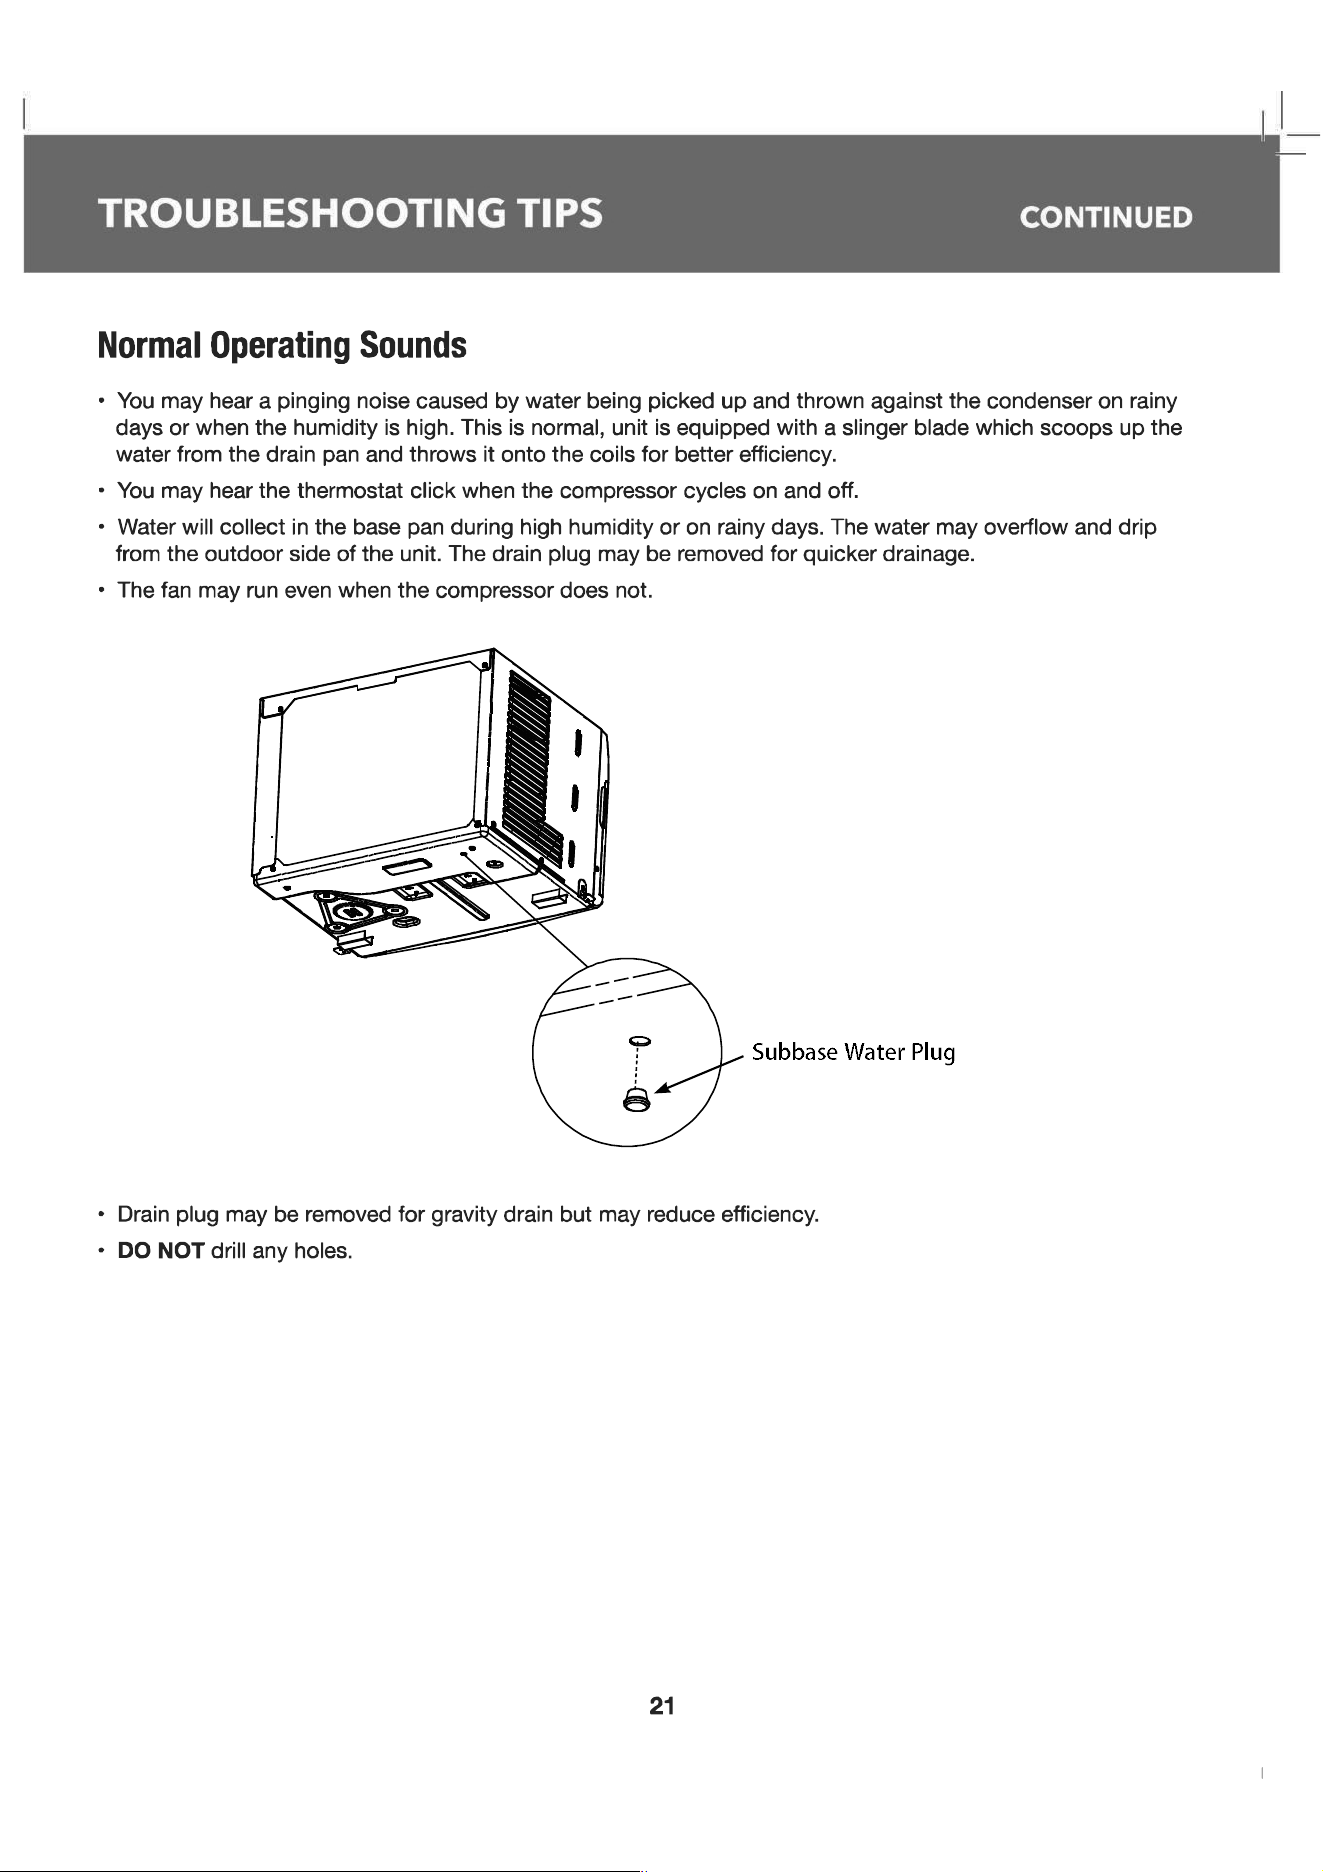
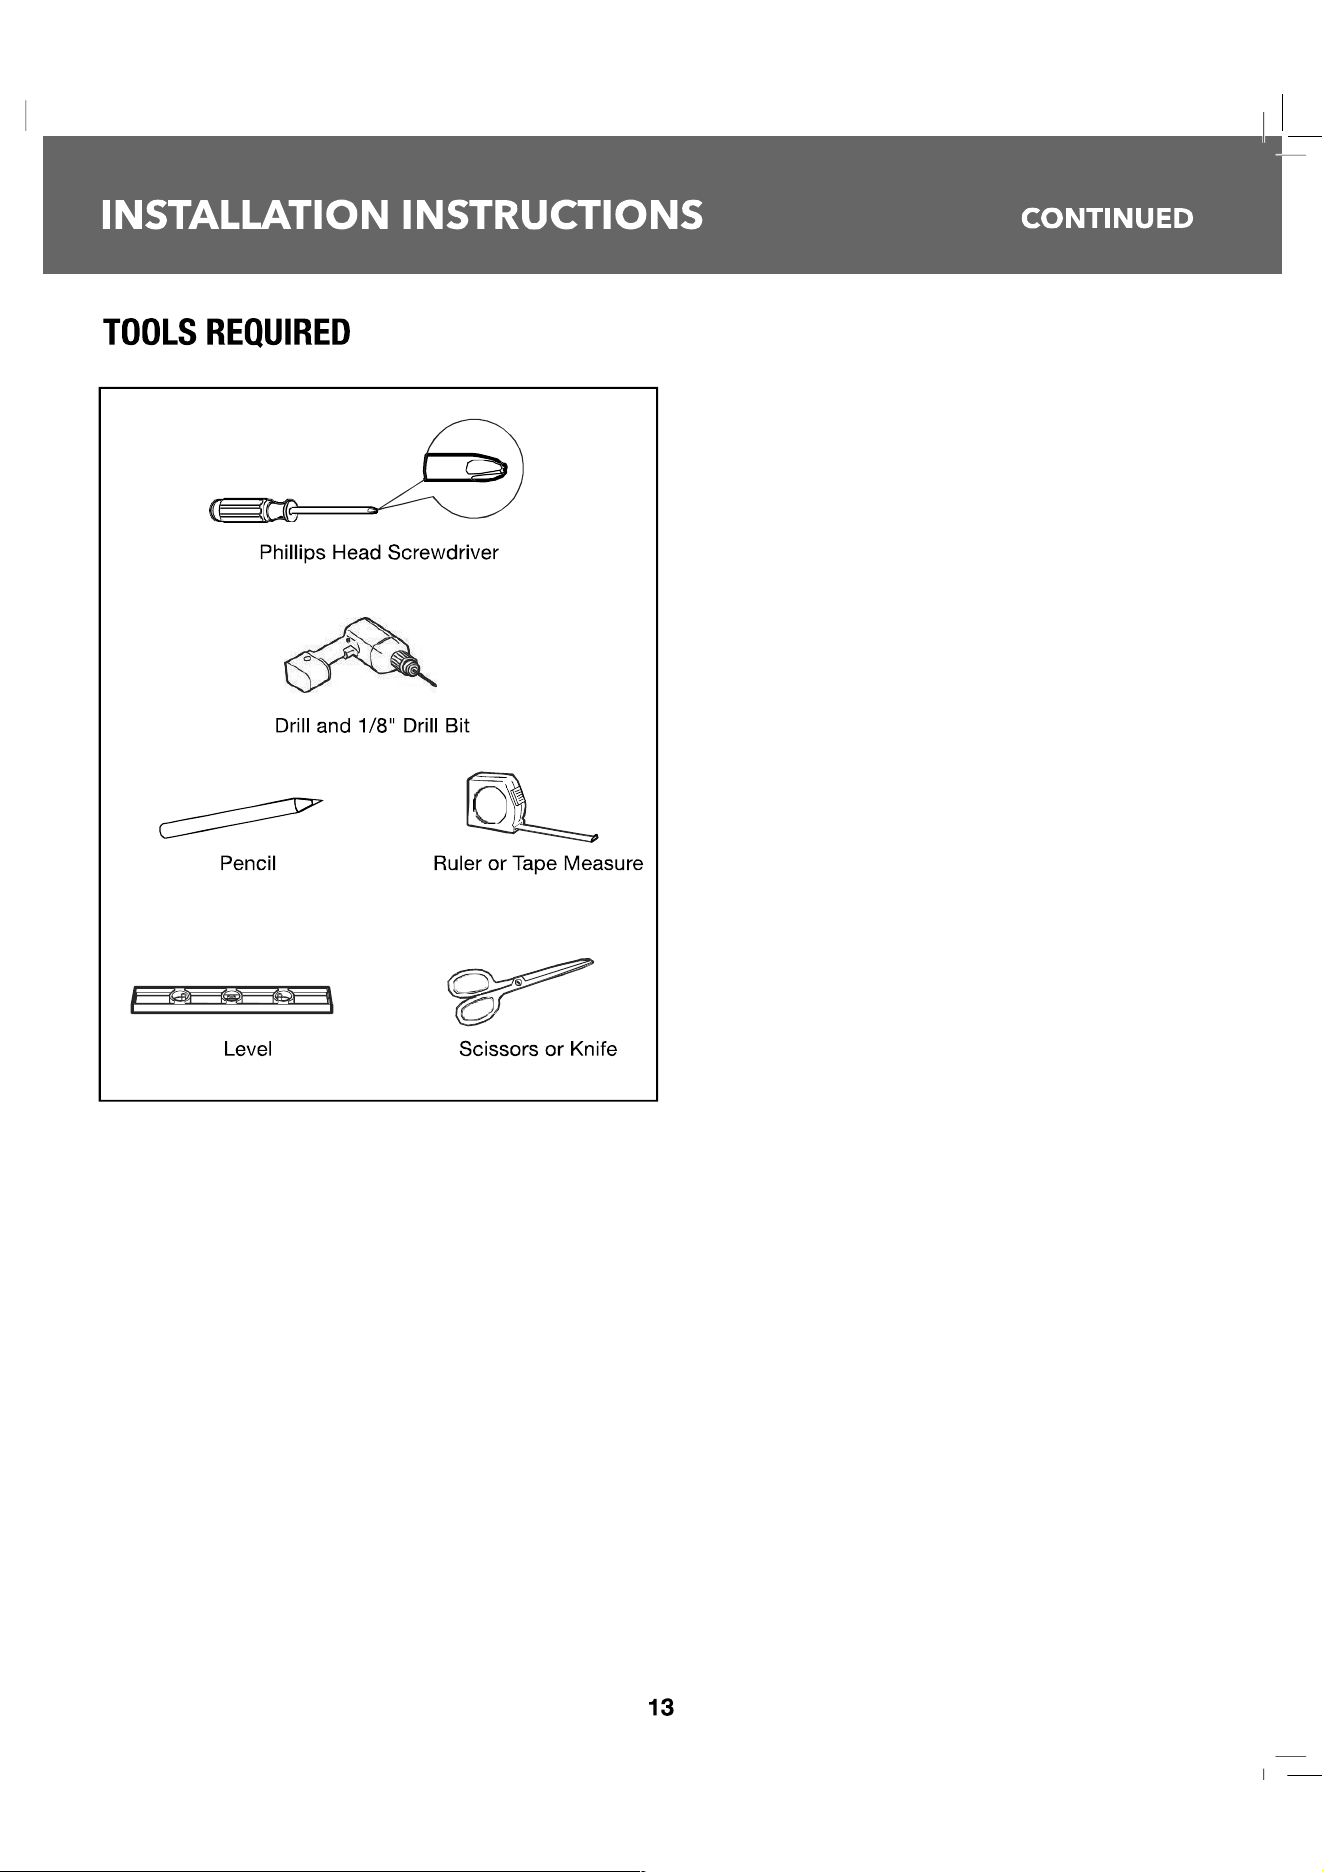
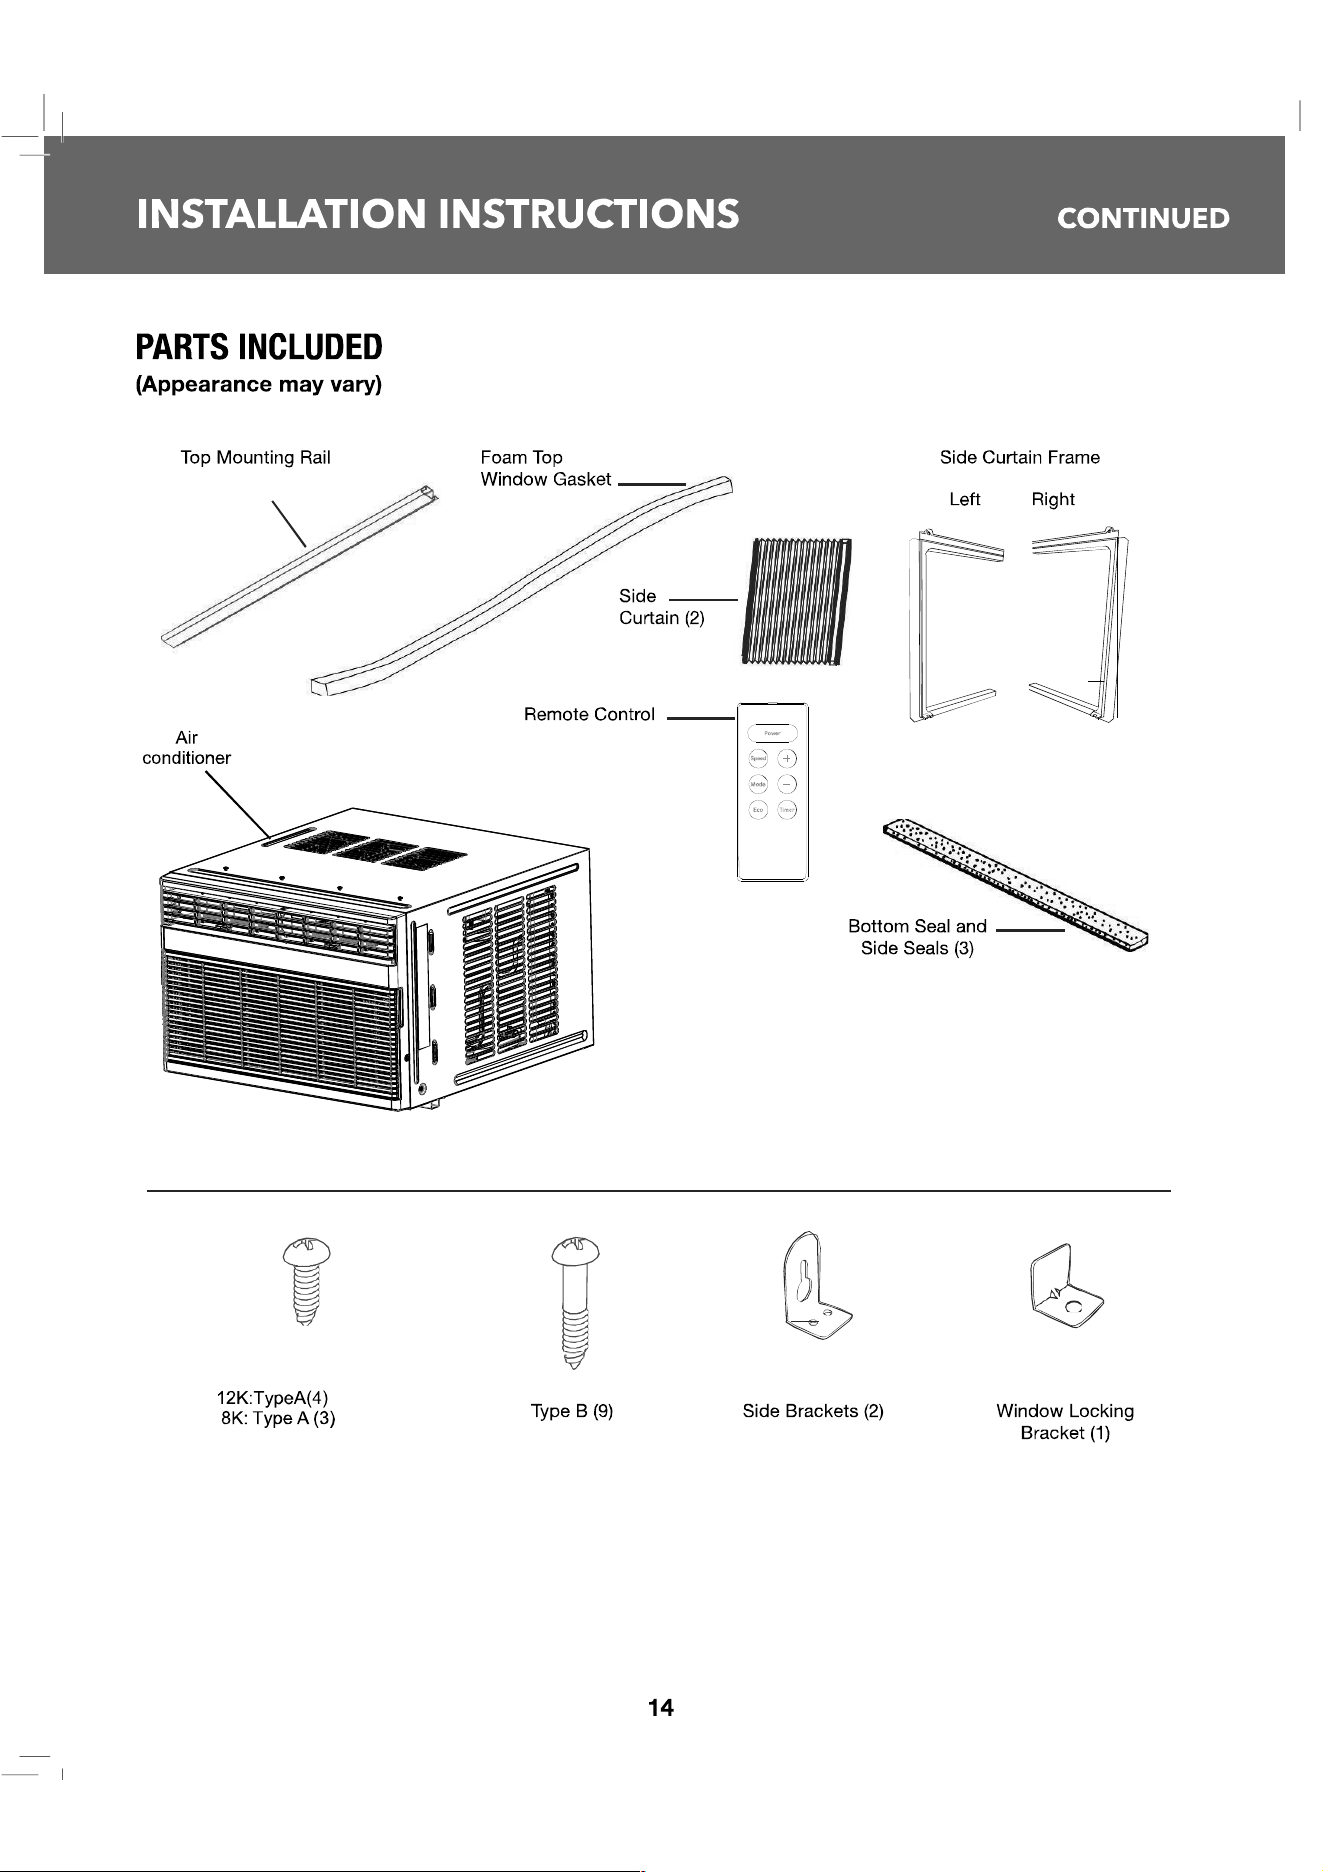
INSTALLATION INSTRUCTIONS
CONTINUED
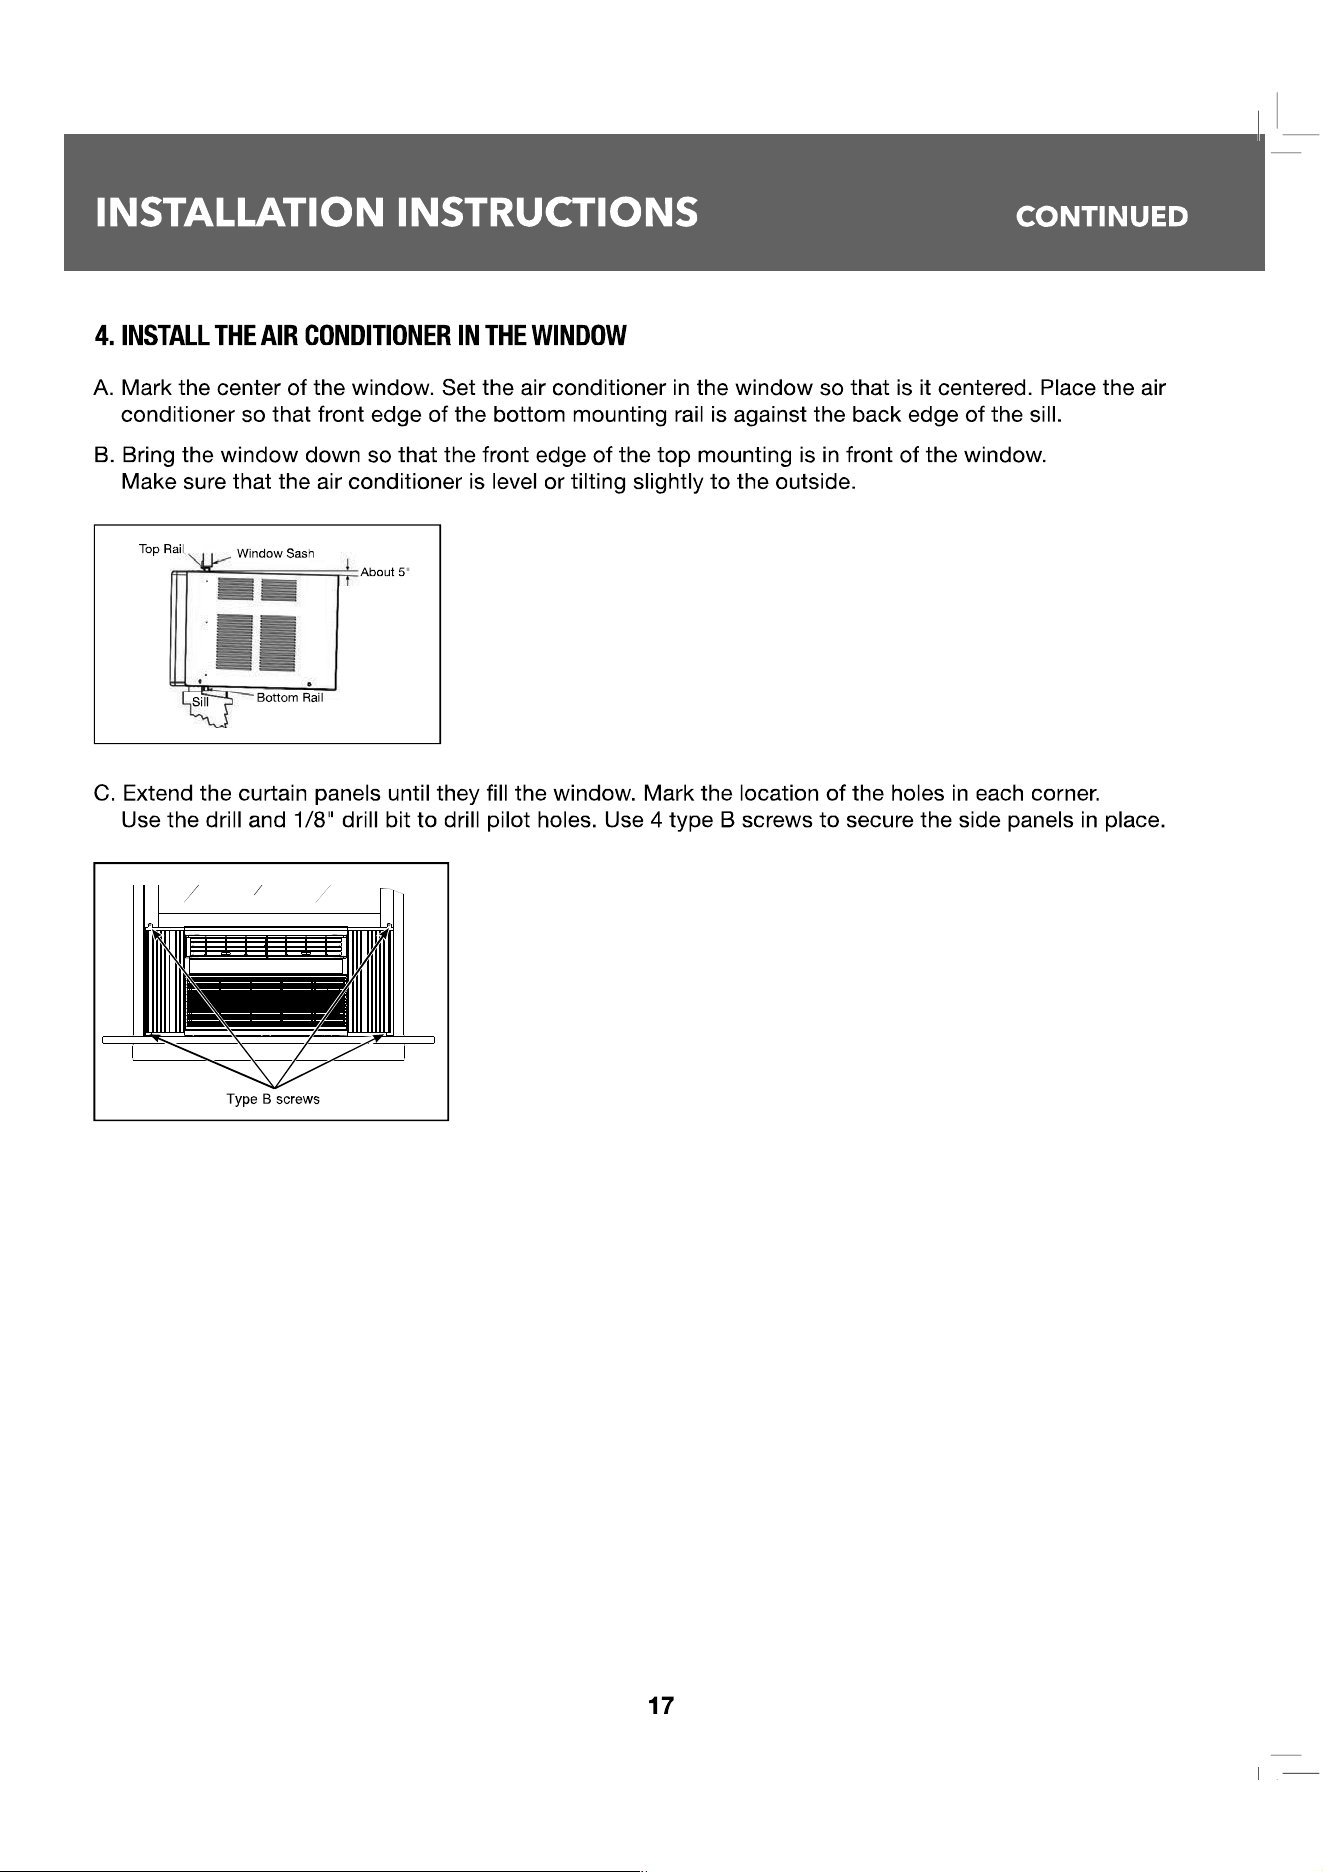
• These instructions are for a standard double-hung window. You will need to modify them for other types
of windows.
• The air conditioner can be installed without the side curtain panels if needed to t in a narrow window.
See the window opening dimensions.
• All supporting parts must be secured to rm wood, masonry or metal.
• The electrical outlet must be within reach of the power cord.
• Follow the dimensions in the table and illustration for your model.
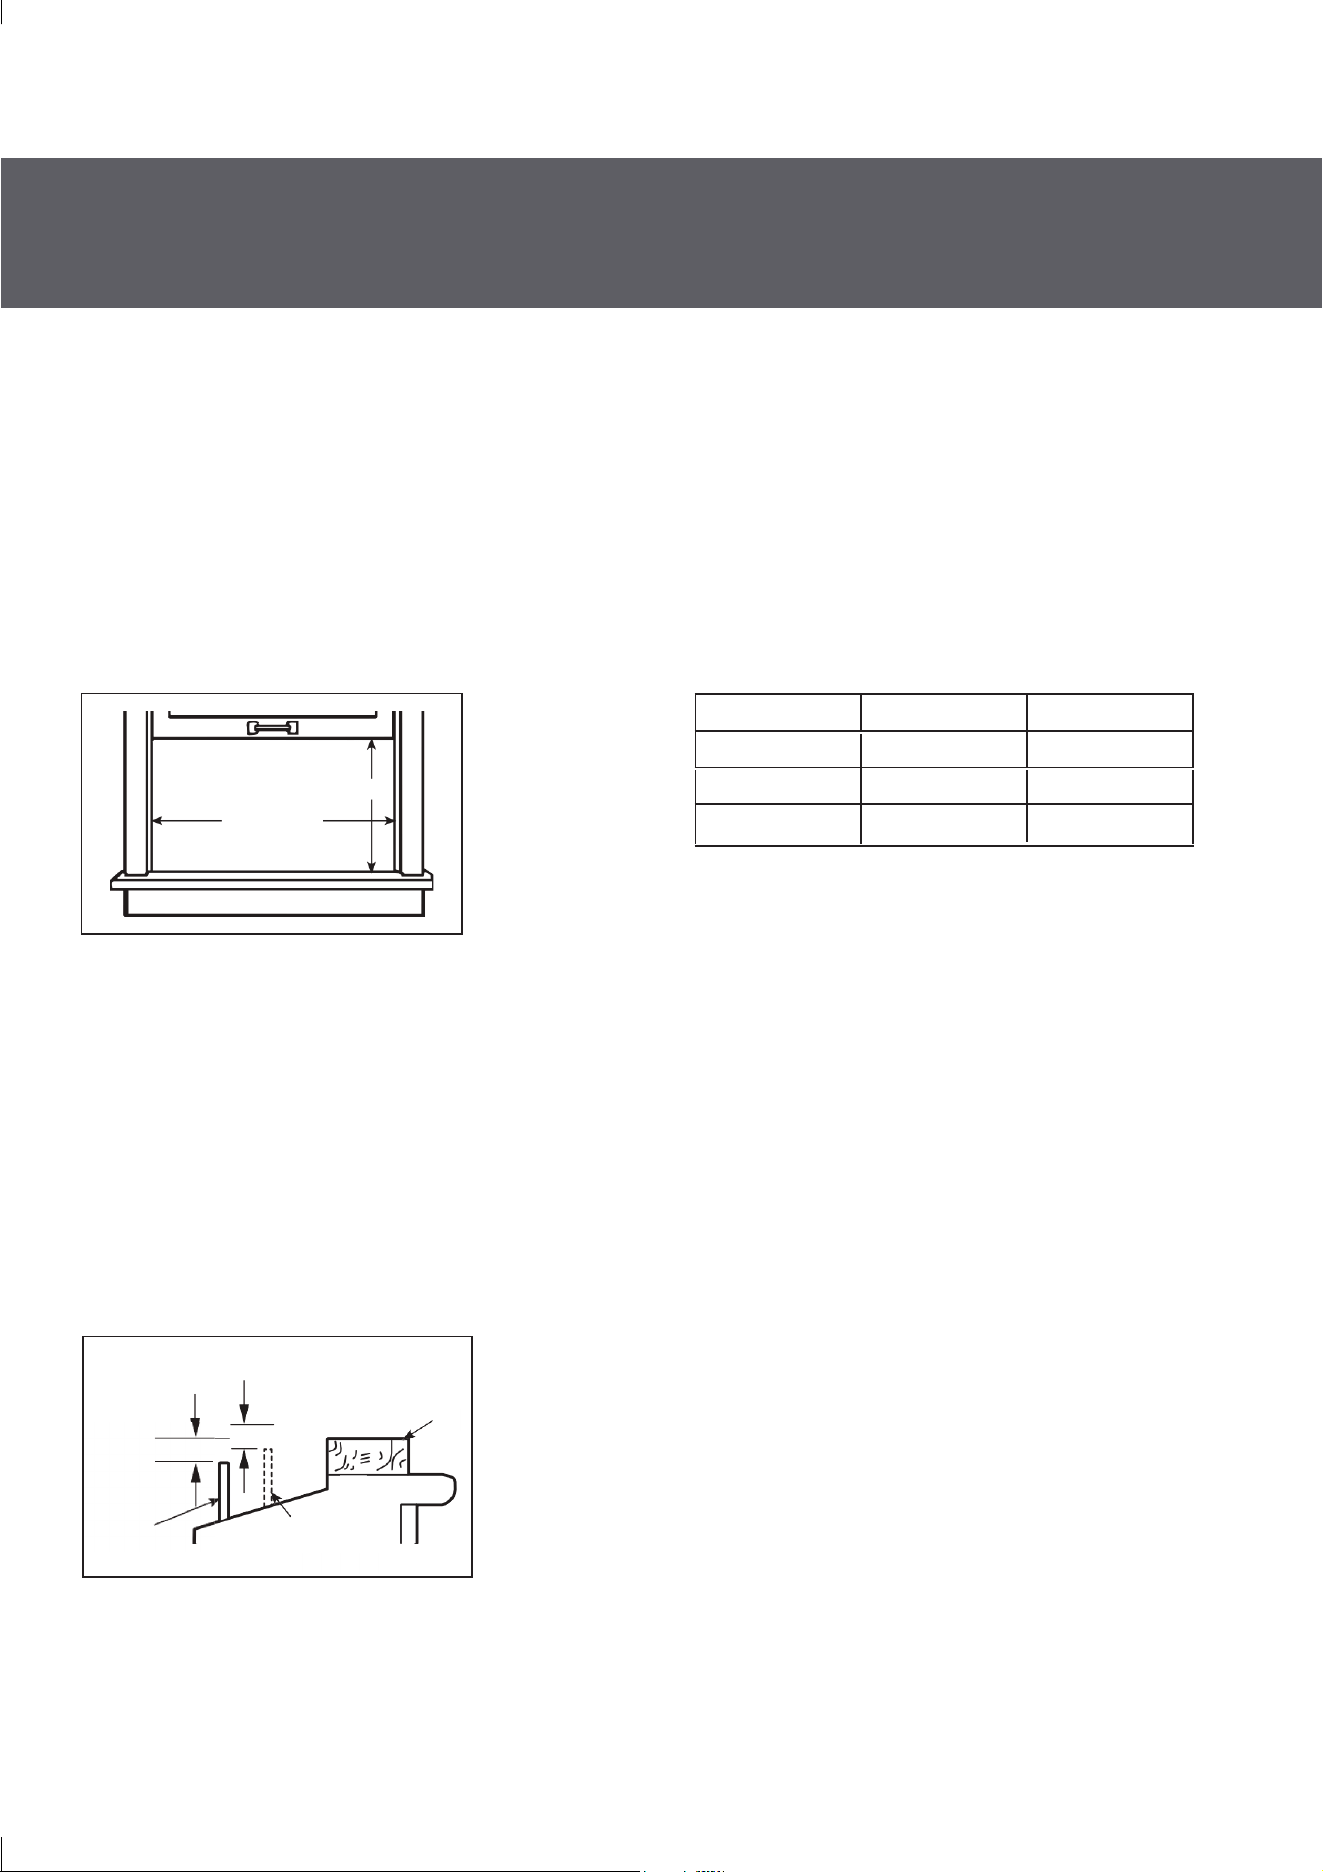
1. WINDOW REQUIREMENTS
B
(With side curtain panels)
A
Models A B
8000 13 3/8" min 24 ½" – 36"
10000
14 9/16" min 25" – 36 5/8"
• A storm window frame will not allow the air conditioner to tilt toward the outside and will keep it from
draining properly. To adjust for this, attach a piece of wood to the sill.
• WOOD PIECES WIDTH: 2″
• LENGTH: Long enough to t inside the window frame.
• THICKNESS: To determine the thickness, place a piece of wood on the sill to make it 1/2″ higher than
the top of the storm window frame or the vinyl frame.
• Attach securely with nails or screws provided by the installer.
2. STORM WINDOW REQUIREMENTS
1/2″ higher
than storm
window frame
1/2″ higher than
vinyl frame
(on some windows)
Wood
Vinyl frame
Storm
window frame
Sill
12000 14 9/16" min 25" – 36 5/8"
|
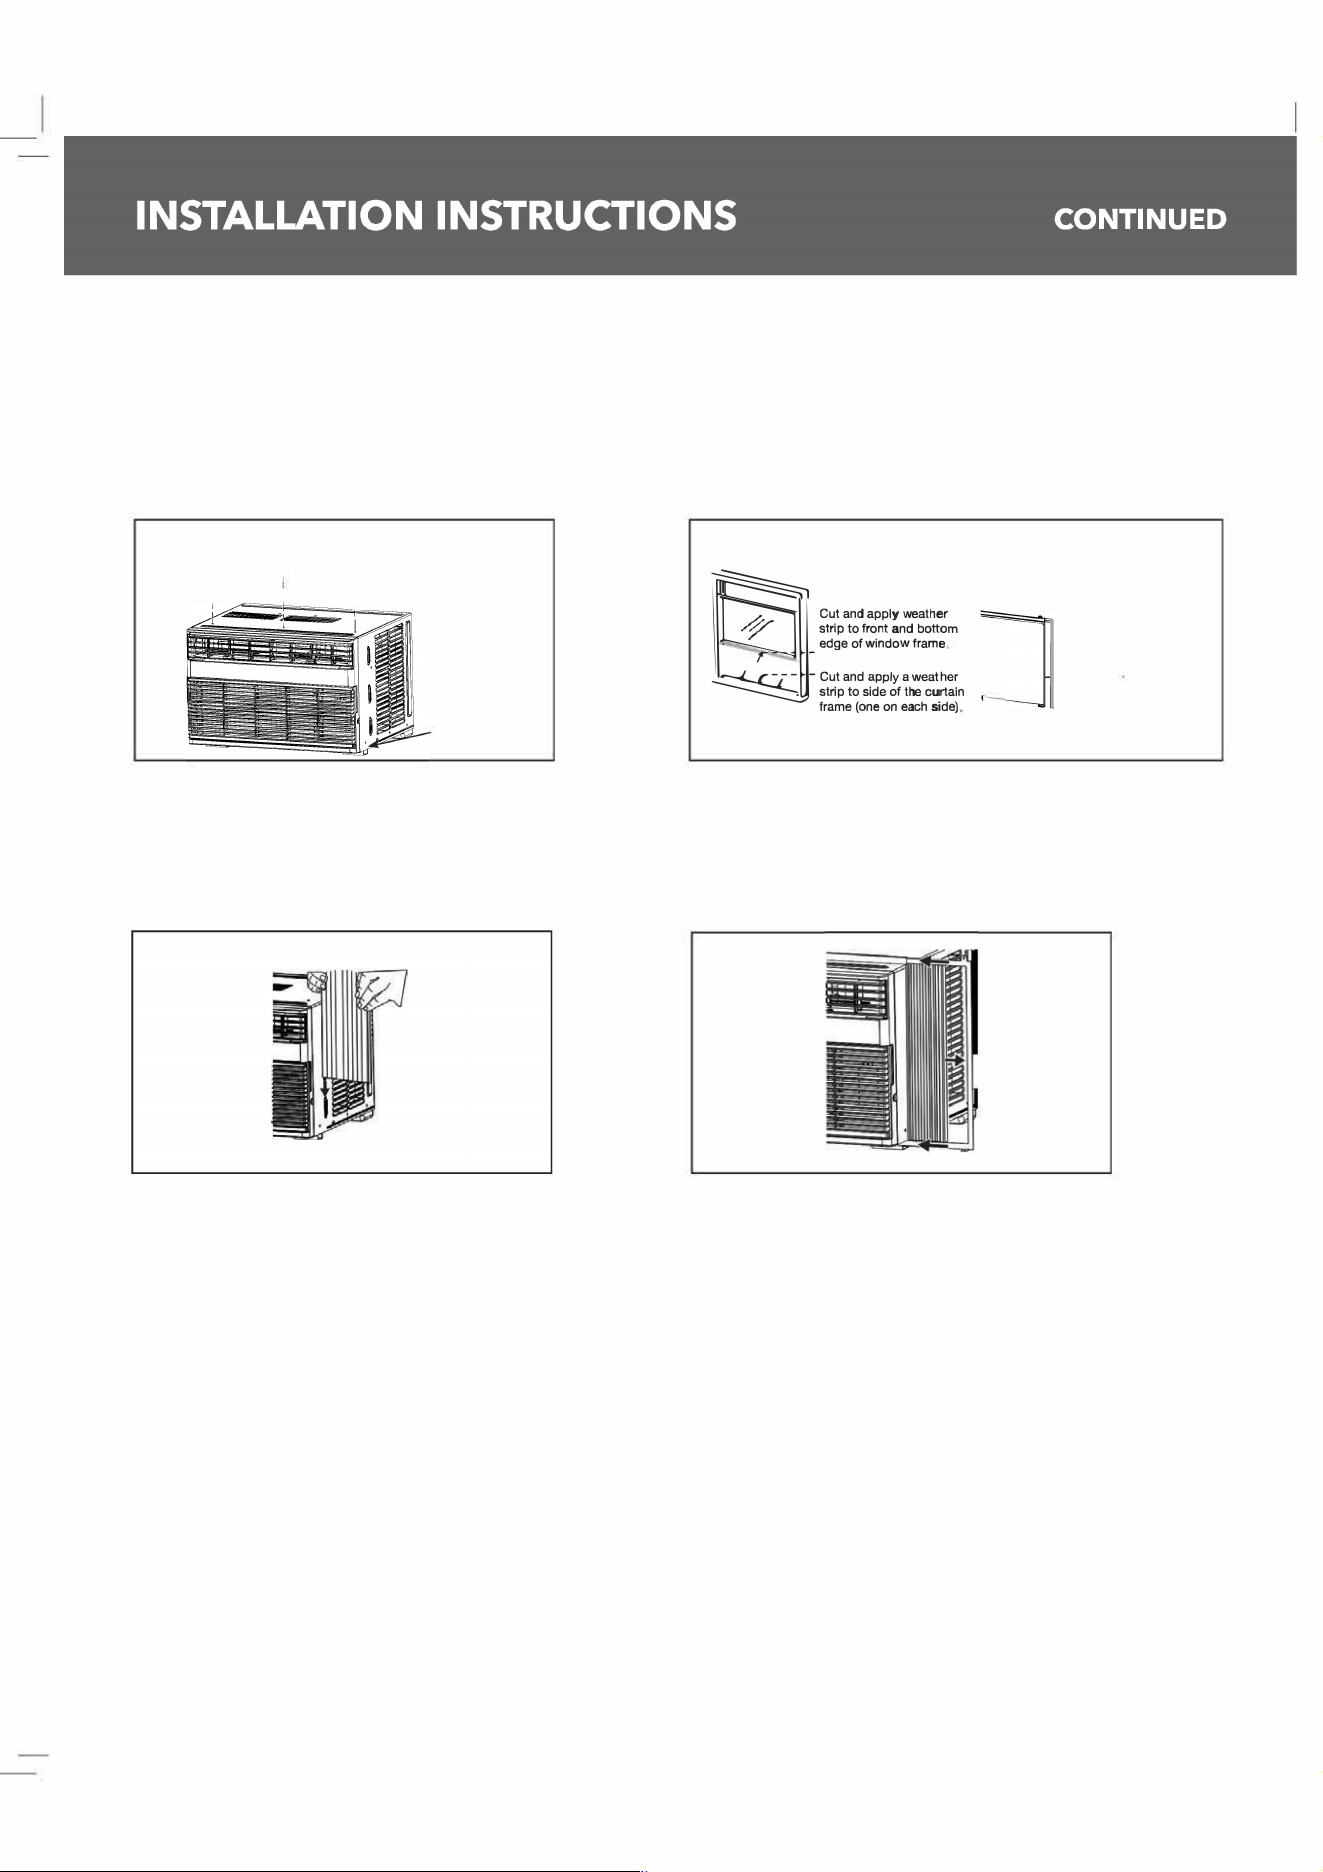
3. PREPARE THE AIR CONDITIONER
A. Screw the top mounting rail with 4 Type A screws
( 10
K
12
K
)
o
r 3 pe A screws
(8
K
) from the
outside of the case.
B. Apply the weather seals provided at the bottom,
top, and sides of the window to seal the perimeter
of the air conditioner.
Top Mounting rail
上
I,
I
Bottom
mounting
rail
,
m
.
h
us
0e
了
a
三
w
畛
b
三
e
igg』
--
曰
Cut and apply weather
strip to back edge of the
�windowsill
C. Slide the side curtains snap into side panel rails. D. Slide left and right-side curtain frames into top
and bottom rails. Make sure that side cuains
snap into side of the frames.
Snap curtain
into frame
16
I