HOIFEN
AN0988 SERIES | USER GUIDE
8-PAGE QUICK GUIDE
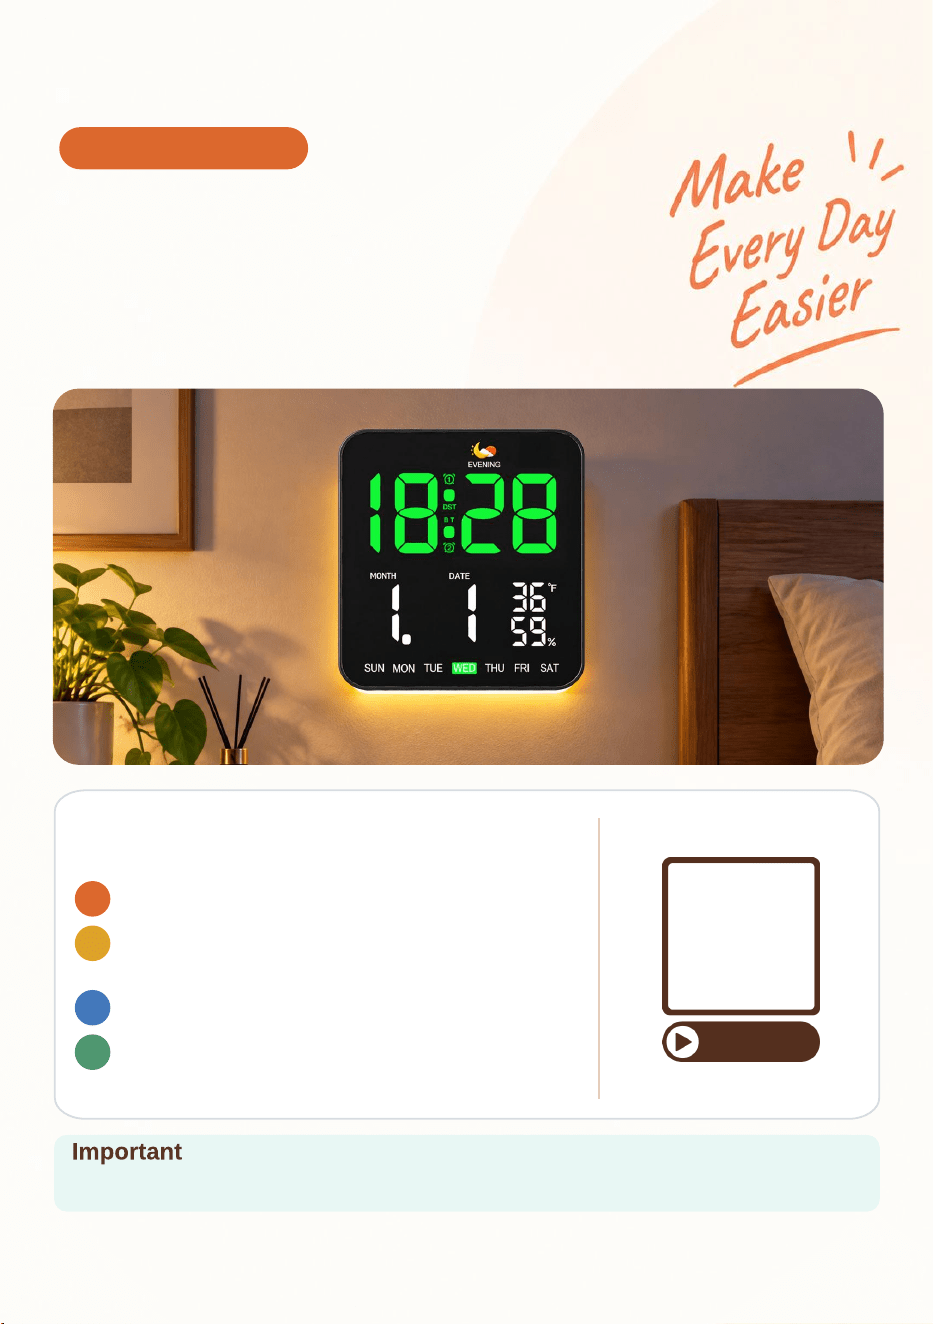
SMART DAILY
CLOCK
See time, date, temperature and humidity at a glance.
Bluetooth auto-sync keepsthe clock aligned.
START HERE
Set up once. Use every day.
1
Connect the DC power supply.
2
Connect your phone to the device via Bluetooth to
automatically synchronize the time, date, and day
of the week.
3
Manually set your desired alarm.
4
Mount the unit on the wall or use the remote
control as a stand to place it on a tabletop and
begin using it.
WATCH THE SETUP
Keep this guide near the clock for quick reference.
SCAN TO WATCH
The clock runs on the DC adapter. The button battery batteries preserve settings during a powerfailure;
they do not power the clock.
HOIFEN
Smart Daily Clock | Quick Guide
01
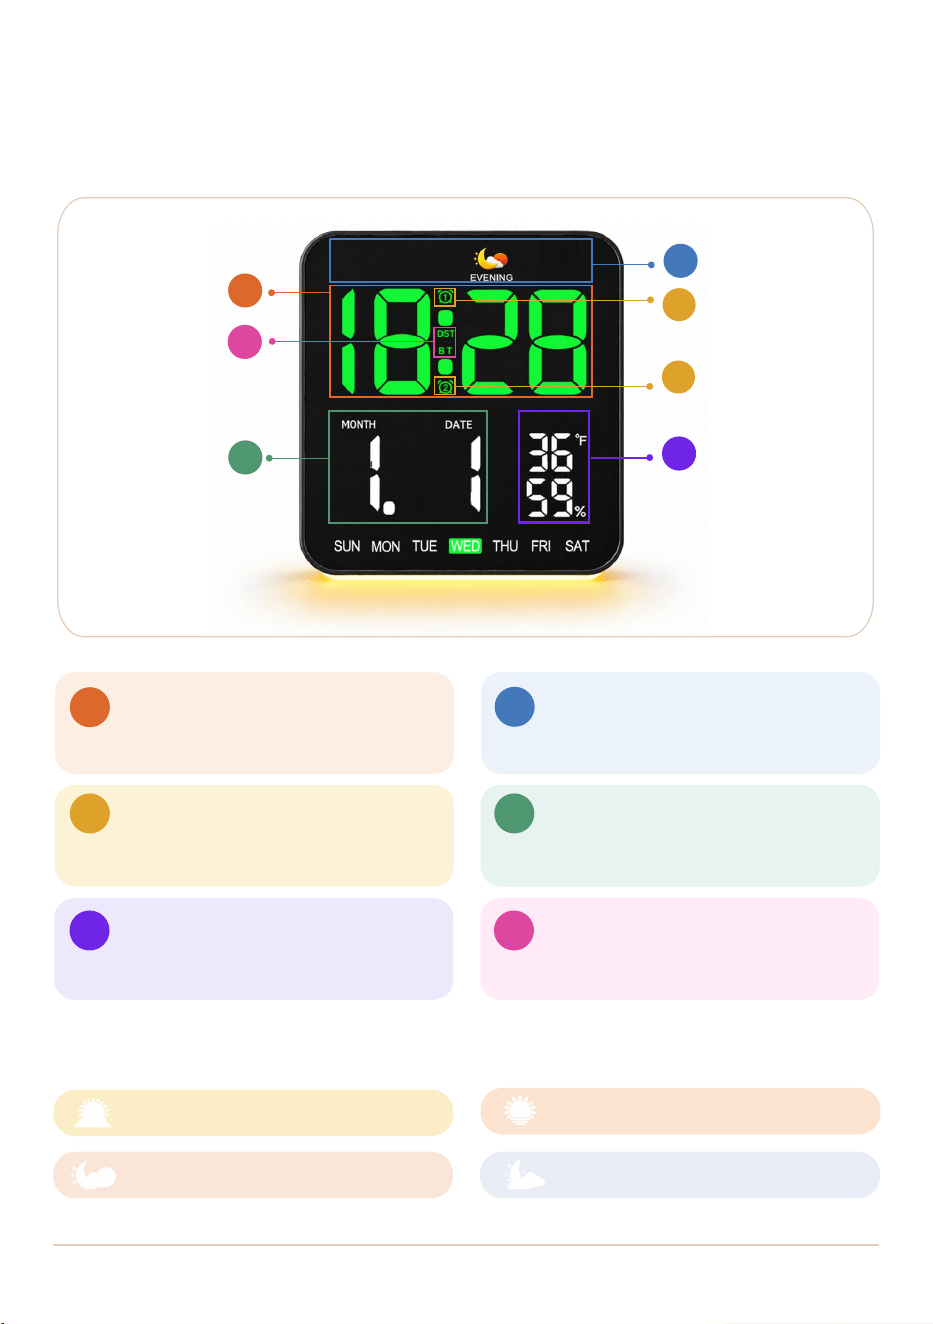
01 | DISPLAY OVERVIEW
Everything you need in one glance
The screen combines time, calendar, environment readings and alarm status in
one view.
A
Time + AM/PM
Large time digits and 12/24-hour period.
B
Time period
Morning, afternoon, evening or night.
C
C
Alarm status
AL1 and AL2 indicators show enabled
alarms.
D
Calendar
Month, date and weekday.
E
C
Environment
Indoor temperature and humidity.
F
BT / DST
Bluetooth sync and daylight-saving
status.
4 time periods
MORNING 06:00 - 11:59
AFTERNOON
12:00 - 16:59
EVENING
17:00 - 19:59
NIGHT
20:00 - 05:59
A
F
D
B
E
C
C
Smart Daily Clock | Quick Guide 02
02 | QUICK SETUP
Use the remote with confidence
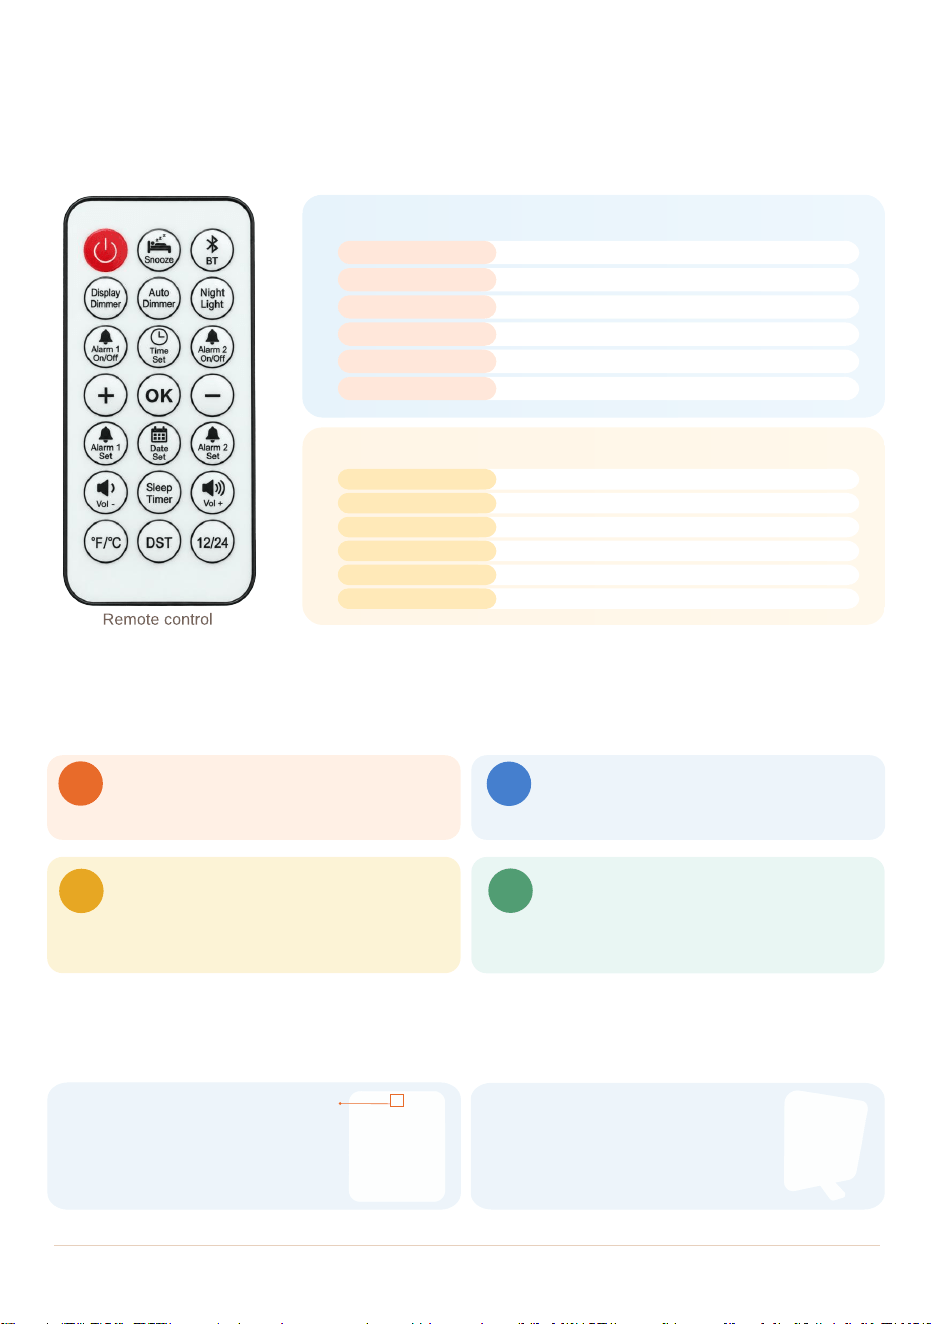
Use the remote to control the clock’s main functions.
HOIFEN
SIX KEYS YOU WILL USE MOST
Turn the display on or off without clearing memory.
Start or stop Bluetooth syncing.
Enter time or date setup.
Move forward; save and exit at the last step.
Open or control the two alarm entries.
Delay a ringing alarm by 9 minutes.
Control families
Display Dimmer / Auto Dimmer
Night Light / Sleep Timer
Alarm 1/2 On/Off / Set
Vol -/Vol +
°F/°C / 12/24
Time Set / Date Set / DST
POWER
BT
TIME SET/DATE SET
OK
ALARM 1/ALARM 2
SNOOZE
DISPLAY
LIGHT
ALARMS
AUDIO
FORMAT
TIME
Power first. Then set the clock.
Wall-Mount or Tabletop Use
Follow these four steps before creating alarms or changing comfort settings.
Choose the setup that best fits your space.
3
Set the time and date
Use Bluetooth time sync, or press Time Set
and Date Set on the remote to set the time
and date manually.
4
Set your alarms
After setting the time, press Alarm 1 Set or
Alarm 2 Set to choose the alarm time and
repeat days. Press OK to save, then use the
corresponding Alarm On/Off button to
enable the alarm.
2
Connect power
Connect the DC cable and power adapter to
power the clock.
1
Remove the battery insulation tabs
Pull out the insulation tabs on the back of the
clock and the remote control. The button-cell
batteries are already installed.
Wall-Mount
Tabletop
Use the rear mounting holes with the
included wall nails to hang the clock
securely on a wall.
Use the remote control as the rear
support, then place the clock upright
on a flat, stable surface.
Wall-Mount Hole
Set the time and date
Pair once with XSHX-003. The clock can then update its time automatically when
a paired phone is available.
Allow the requested permissions shown by your phone to complete pairing. The exact
prompts depend on the phone and operating system
Use the remote for the fastest setup. The clock buttons provide a second path when
the remote is not nearby.
Smart Daily Clock | Quick Guide 03
03 | TIME & BLUETOOTH
HOIFEN
01
PREPARE
02
FIND
03
RESPOND
04
CONFIRM
When BT stops flashing
and the time updates,
pairing is complete.
Turn on Bluetooth.
Keep the phone within 7 m,
facing the clock.
Search for XSHX-003
and tap the device name.
When a pairing request
appears, respond within 10
seconds and tap Pair.
BT flashes for about 3 minutes. If no update occurs, repeat the steps. You can press BT or remove and
reconnect DC power to start the process again.
At the last setting, press OK or the active setup
key once. The clock returns to the time screen.
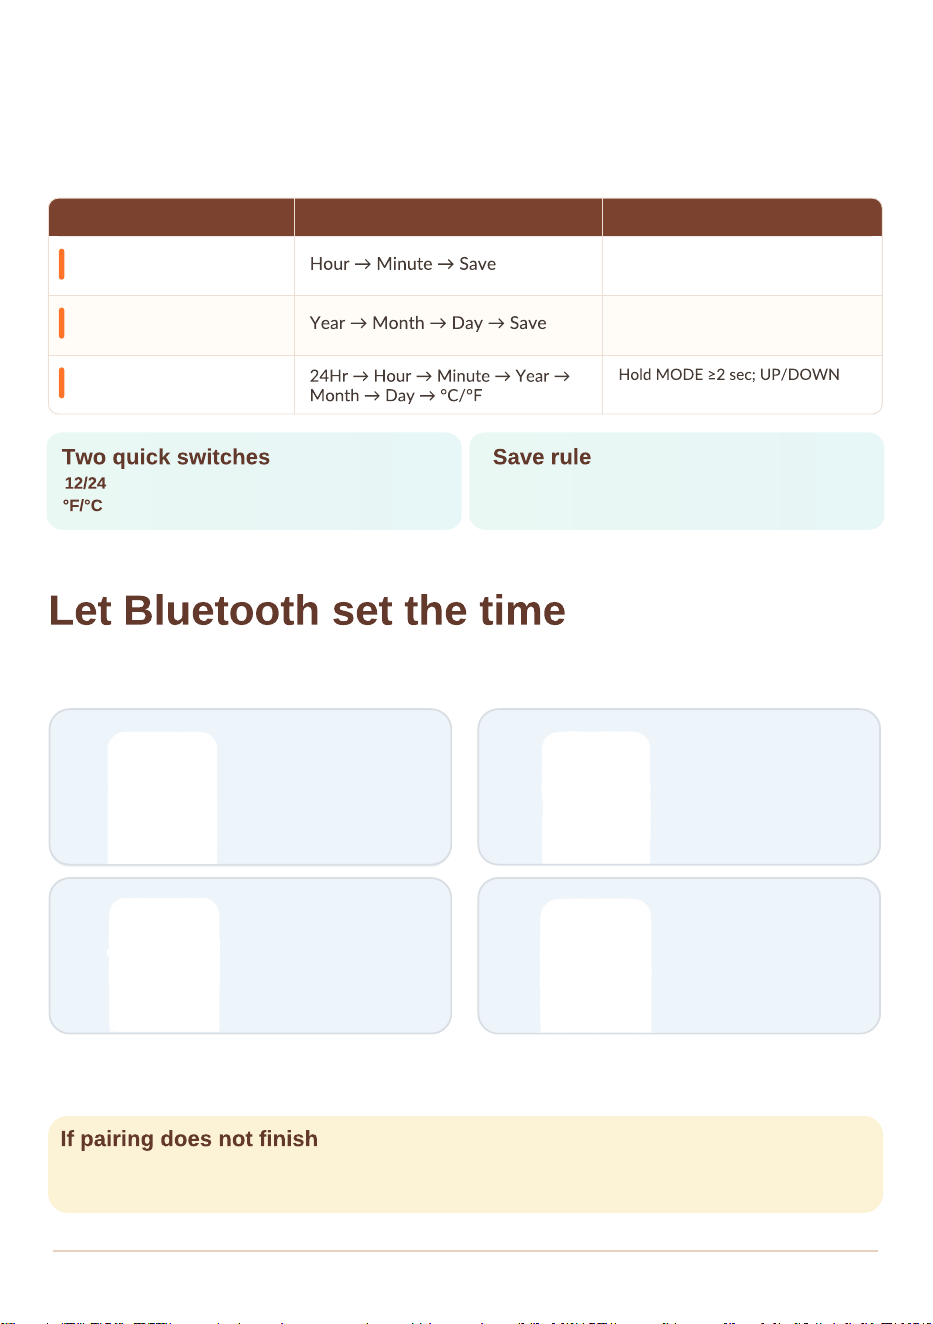
Press 12/24 to change the time format.
Press °F/°C to change the temperature unit.
ENTRY SCREEN PATH HOW TO MOVE
Remote Time Set
Remote Date Set
Clock MODE
+ / - changes value;
Time Set or OK advances.
+ / - changes value;
Date Set or OK advances.
changes value; MODE advances.
03
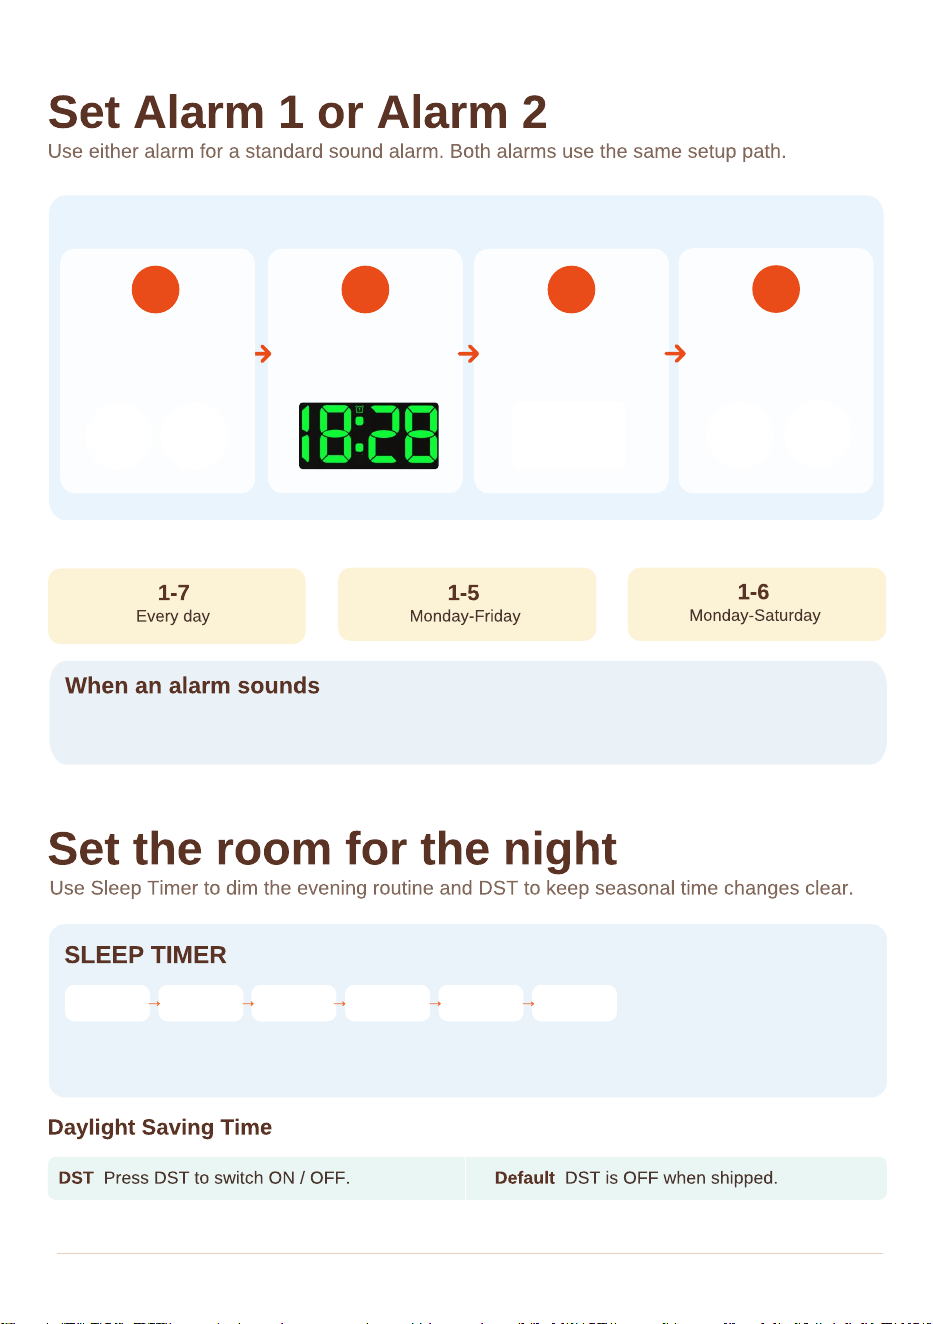
Choose Repeat Days
Choose 1-7, 1-5 or 1-6,
then save.
02
Set The Time
Set hour, then
minutes with + / -.
04
Turn It On
Search for XSHX-003
and tap the device name.
HOIFEN
Smart Daily Clock | Quick Guide 04
04 | ALARMS & TIMER
HOIFEN
Repeat modes
The alarm rings for 2 minutes. Press Snooze for 9 more minutes. Press OK or any other key to stop the
current alarm; it will not ring again that day.
Press Sleep Timer to choose a duration. When the timer ends, the display and night light turn off.
Press Power to light the clock again.
Alarm setup
01
Open An Alarm
Press Alarm1Set
or Alarm2Set.
OFF 15
30
60 90 120
minutes
Press these two buttons
to turn Alarm 1 / Alarm 2
on or off.
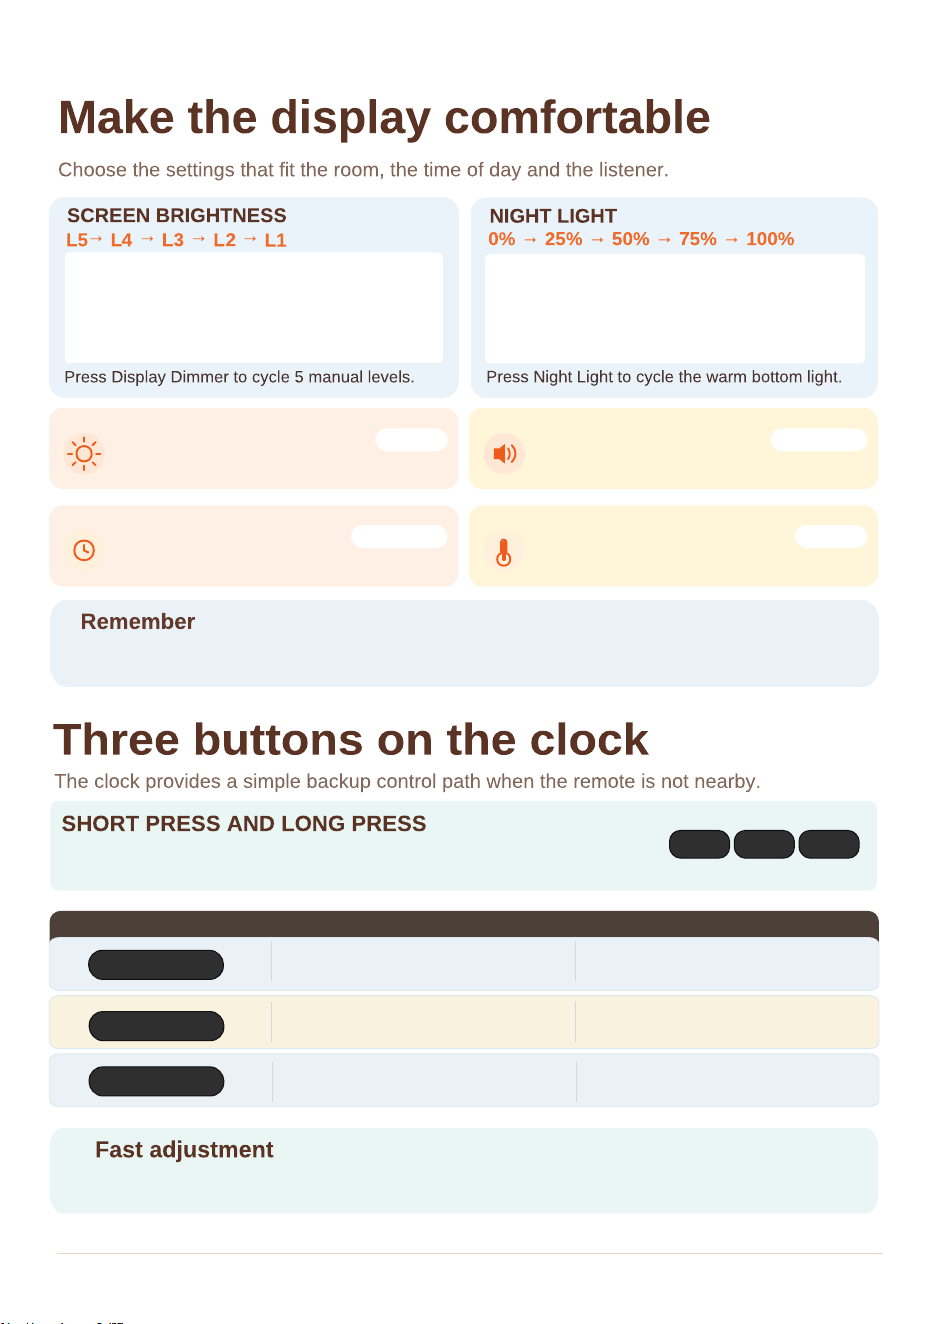
Short press changes the current page or level. Hold MODE for at least 2 seconds to enter setup.
In setup, UP/DOWN change a value and MODE moves forward.
HOIFEN
Smart Daily Clock | Quick Guide 05
05 | SETTINGS & CONTROLS
HOIFEN
VOLUME OFF-L10
Press Vol- or Vol+.Level 1 is the quietest.
TEMPERATURE °F/°C
Press “°F/°C” to switch the displayed unit.
AUTO DIMMER AUTO
Press Auto Dimmer to turn automatic
day/night dimming on or off.
TIME FORMAT 12H / 24H
Press 12/24 to switch the clock format.
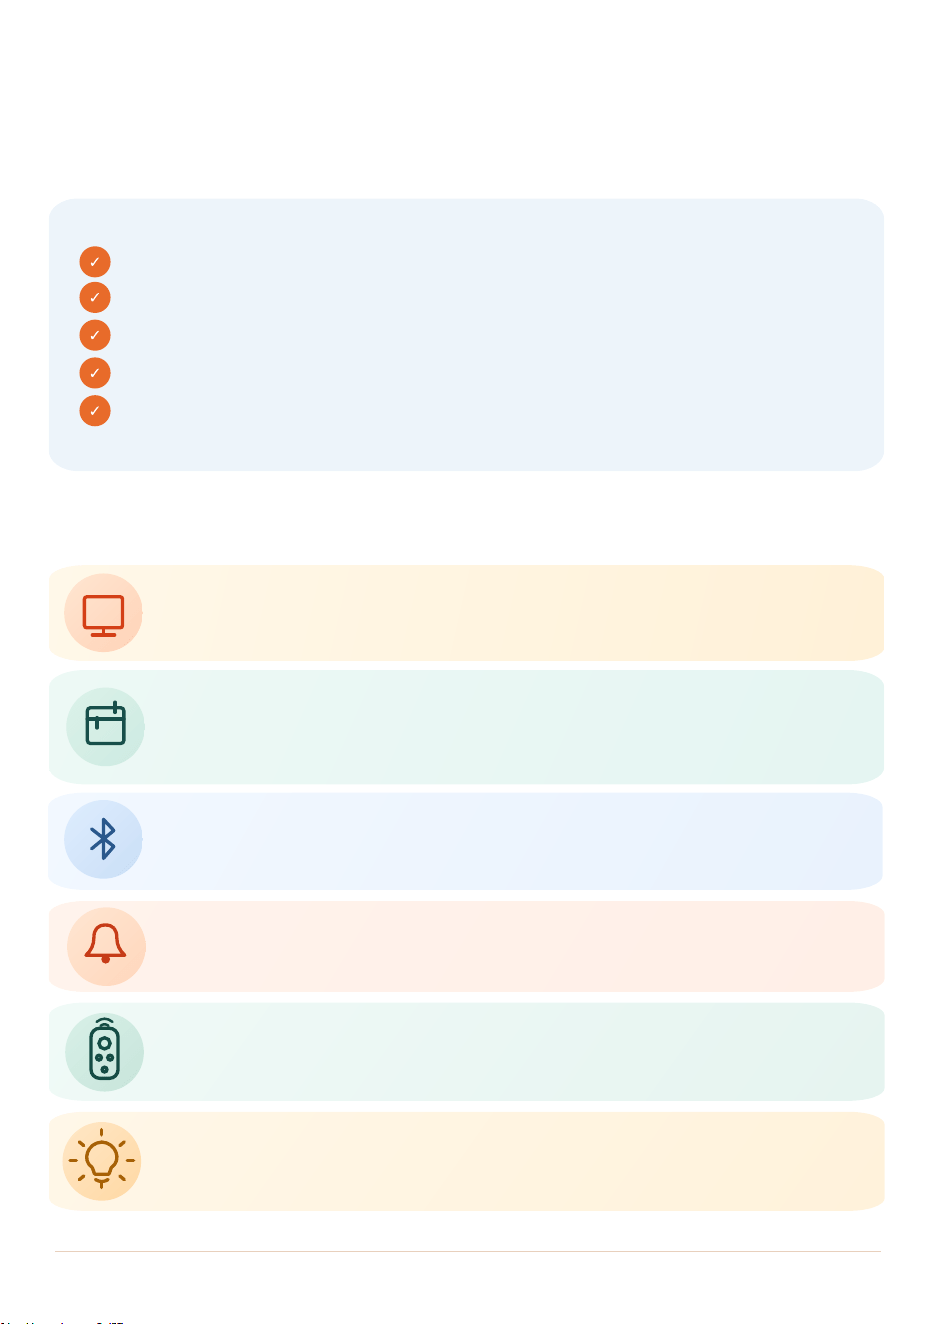
Screen brightness and Night Light use separate settings.
MODE UP DOWN
MODE
SHORT PRESS
BUTTON
MODE
→
AL1→ AL2→ MODE
SETUP / LONG PRESS
Hold≥2 sec to enter setup.
Press MODE to advance.
UP
L05
Adjust display dimmer
→ L04→ L03→ L02 →
L01→ AUTO
In setup: +1.
Hold for fast increase.
DOWN
0% → 25% → 50% → 75%→ 100%
In setup: -1.
Hold for fast decrease.
When UP or DOWN is held for at least 2 seconds, the value changes rapidly at about 4 steps
per second.
Adjust display dimmer
Smart Daily Clock | Quick Guide 06
06 | HELP & TROUBLESHOOTING
Keep this page nearby
A short checklist for everyday use and the most common setup questions.
The five-step routine
Power connected
Time and date correct
Brightness comfortable
Regular alarms set
Bluetooth time sync complete
Set it once with the remote. Then let the clock guide the day.
Quick troubleshooting
HOIFEN
NO DISPLAY
Check the adapter, DC cable,outlet and Power key.
BLUETOOTH NOT WORKING
Keep the phone within 7 m and respond to prompts in seconds.
NO ALARM SOUND
Confirm the alarm is ON and volume is not muted.
REMOTE NOT WORKING
Replace the remote batteries and point the remote at the clock.
NIGHT LIGHT OFF
Check that Night Light is not set to 0% and Sleep Timer has not turn on.
TIME OR DATE RESET
Reset the time and date manually, then press OK to save, or turn on Bluetooth and
pair the clock with your phone again to sync automatically.
HOIFEN
Smart Daily Clock | Quick Guide 07
07 | QUICK REFERENCE
HOIFEN
Set it once.
Let the clock guide the day.
Save this page for the settings you may check again later.
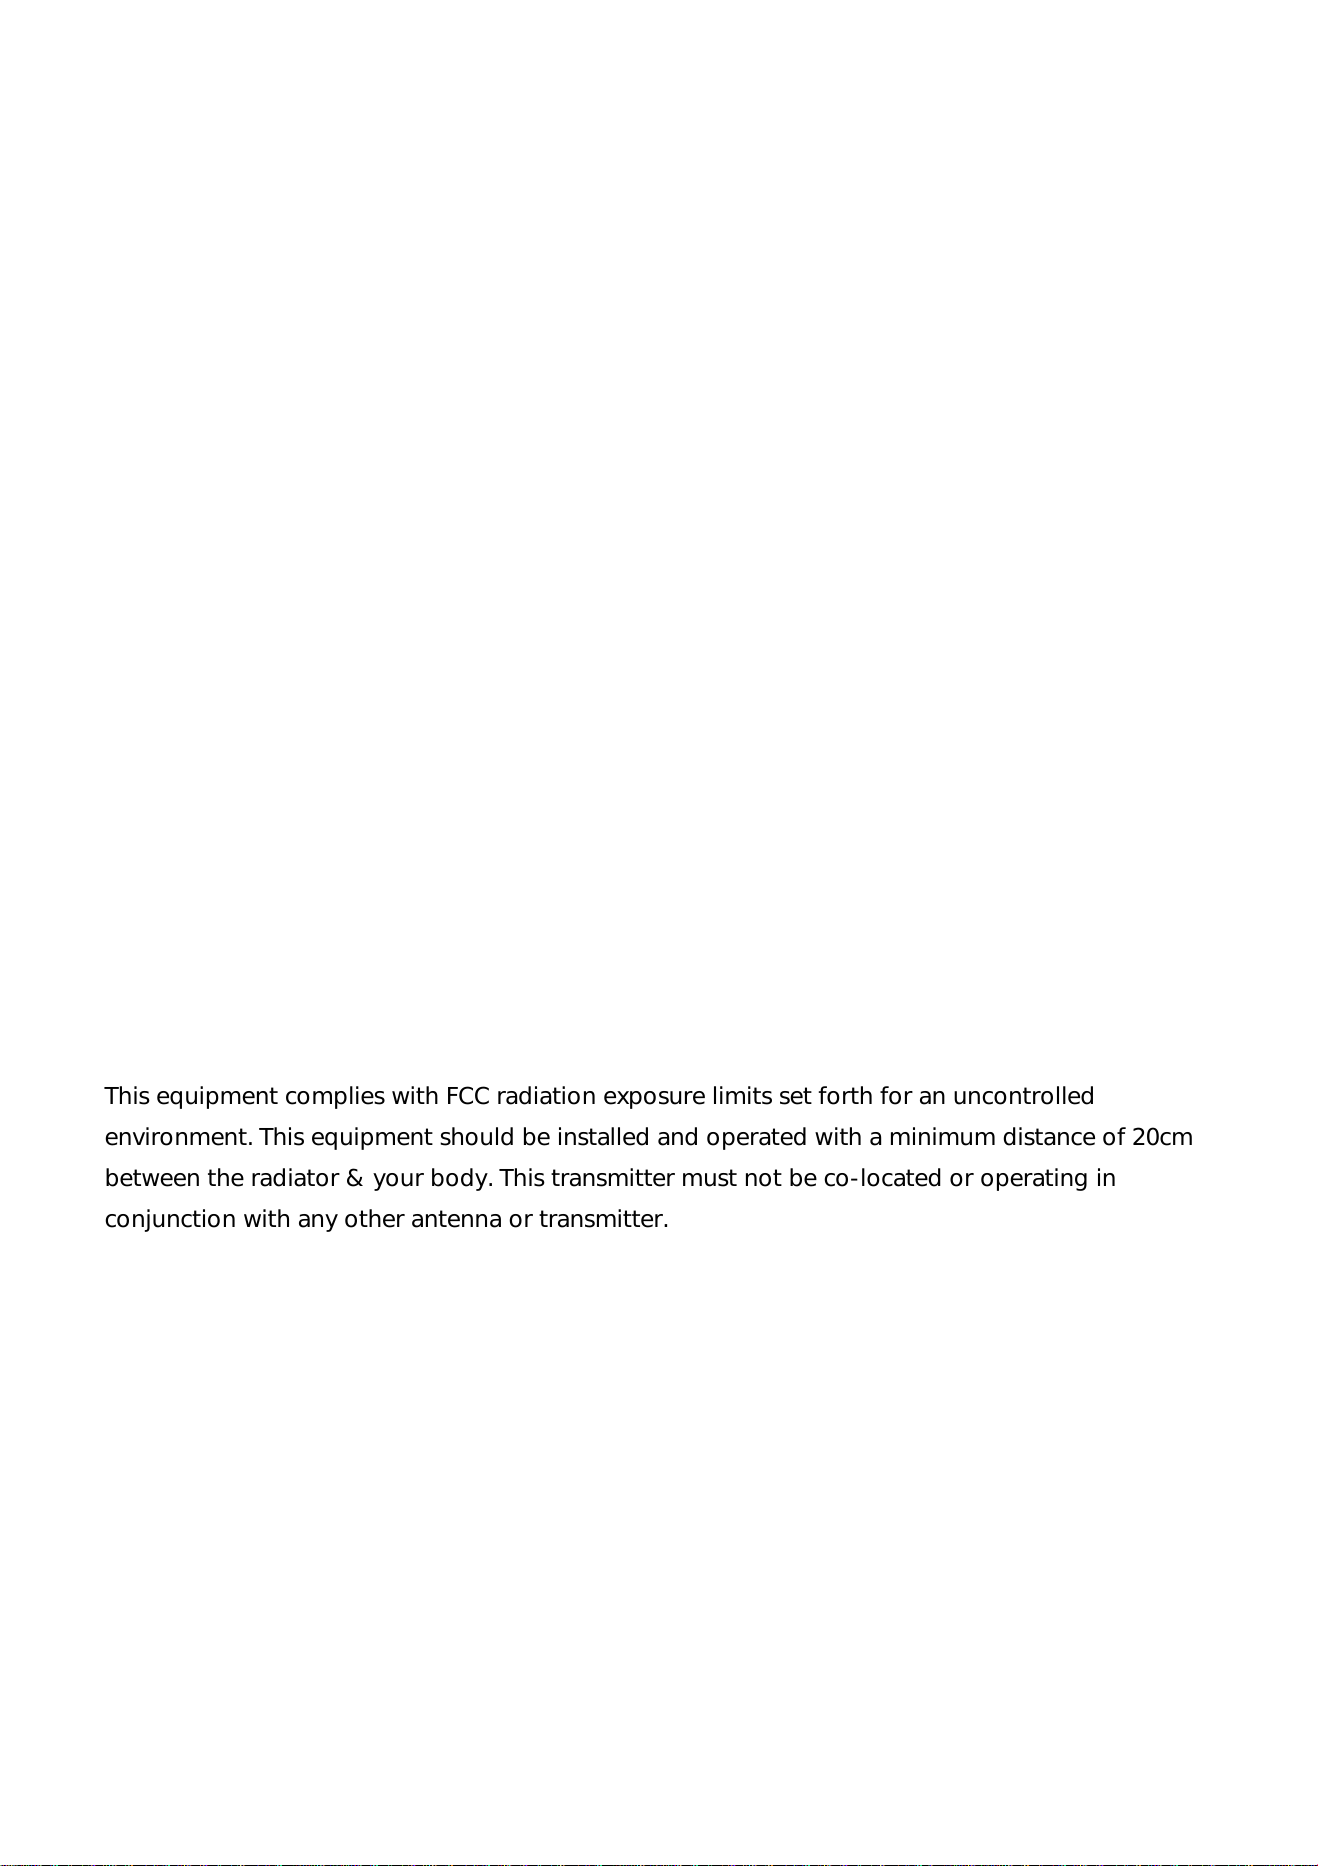
Bluetooth
XSHX-003
First pairing
Within 7 m | about 3 min
Default values
Time and date
2025-01-01 00:00
Display brightness
Night light
0% / 25% / 50% / 75% / 100%
°F default; °C available
Temperature
DST
DST
OFF default
Alarm 1 / Alarm 2
07:00 OFF / 08:00 OFF
Alarm repeat
1-7 every day default
Package contents
Clock
(AN0988)
Remote control
User Manual
QR
Need more help?
Scan this video QR code to watch a detailed product usage tutorial.
Keep the video matched to model AN0988 series
.
Package includes: clock, adapter, remote, user manual,hanging nails and DC
power cable.
If you have any questions about the product,
please contact us at: [email protected]
DC adapter
FCC Requirement
Any changes or modifications not expressly approved by the party responsible for compliance could
void the user
’
s authority to operate the equipment.
This device complies with Part 15 of the FCC Rules. Operation is subject to the following two
conditions:
(1) this device may not cause harmful interference, and
(2) this device must accept any interference received, including interference that may cause
undesired operation.
Note: This equipment has been tested and found to comply with the limits for a Class B digital device,
pursuant to Part 15 of the FCC Rules. These limits are designed to provide reasonable protection
against harmful interference in a residential installation. This equipment generates, uses, and can
radiate radio frequency energy, and if not installed and used in accordance with the instructions,
may cause harmful interference to radio communications. However, there is no guarantee that
interference will not occur in a particular installation. If this equipment does cause harmful
interference to radio or television reception, which can be determined by turning the equipment off
and on, the user is encouraged to try to correct the interference by one or more of the following
measures:
– Reorient or relocate the receiving antenna.
– Increase the separation between the equipment and receiver.
– Connect the equipment into an outlet on a circuit different from that to which the receiver is
connected.
– Consult the dealer or an experienced radio/TV technician for help.
This equipment complies with FCC radiation exposure limits set forth for an uncontrolled
environment. This equipment should be installed and operated with a minimum distance of 20cm
between the radiator & your body. This transmitter must not be co-located or operating in
conjunction with any other antenna or transmitter.