10/2016
- 1 -
Copyright © 2016, Fast ČR, a.s.
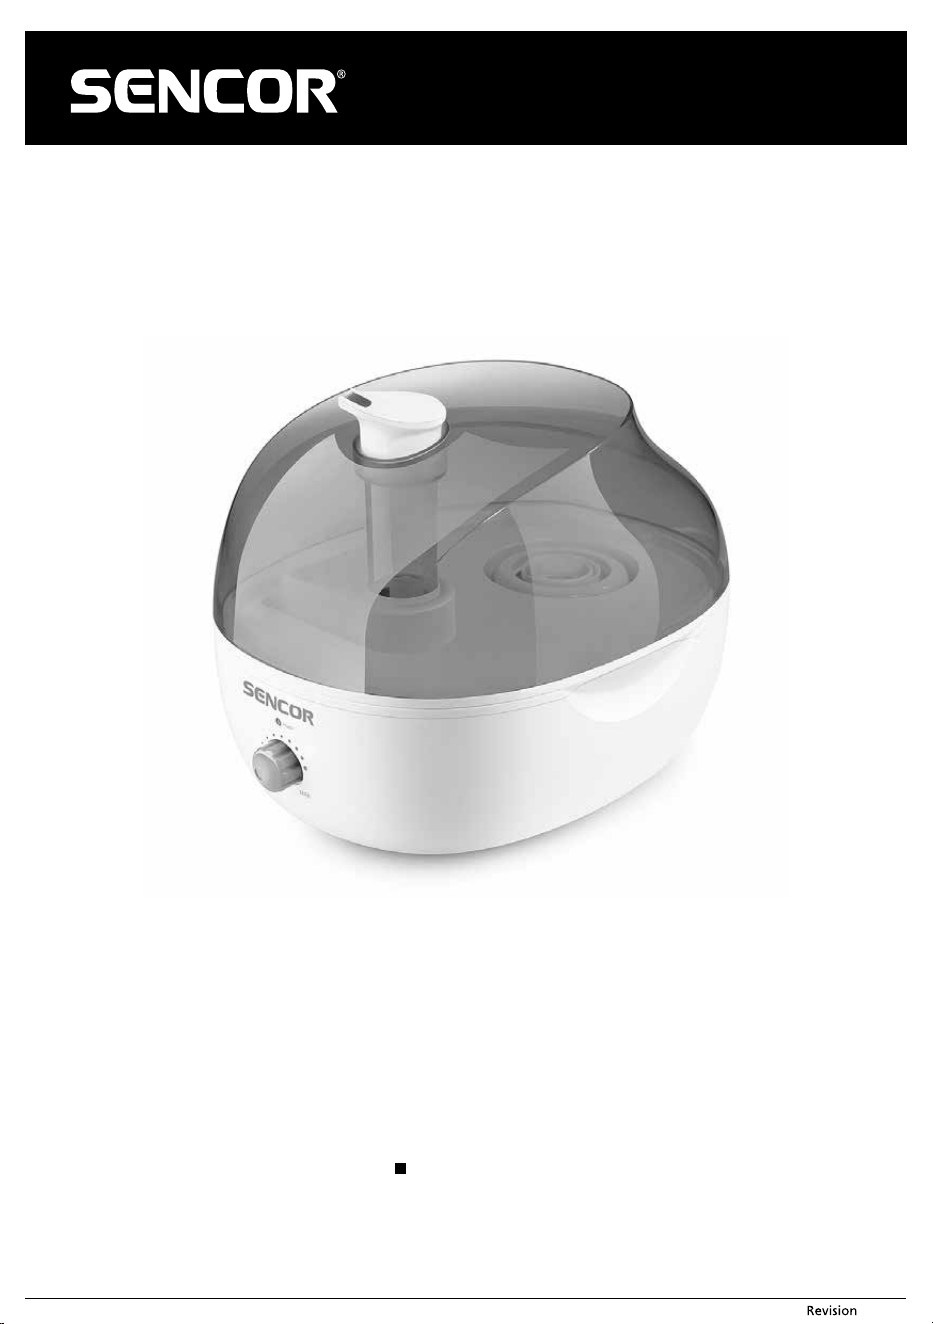
EN Humidier
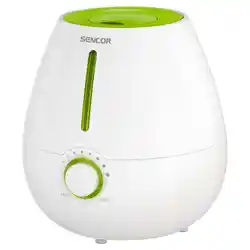
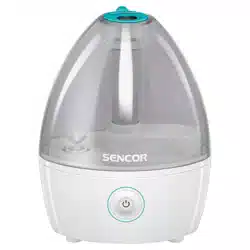
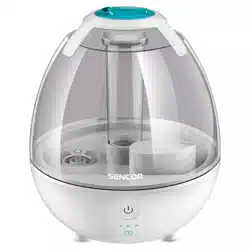
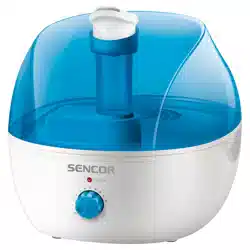
SHF 2050BL
SHF 2051GR

10/2016
- 2 -
Copyright © 2016, Fast ČR, a.s.
EN
Humidier
Important safety instructions
READ CAREFULLY AND STORE FOR FUTURE USE.
■ This appliance may be used by children 8 years of age and older and by persons
with physical or mental impairments or by inexperienced persons, if they are
properly supervised or have been informed about how to use the product in asafe
manner and understand the potential dangers. Children must not play with the
appliance. Cleaning and maintenance of the appliance that may be performed by
the user must not be performed by unsupervised children.
■ The appliance is designed for use in households, oces and similar types of areas.
Always install it on adry, even, hard and stable surface. Do not install it on asoft
surface such as for example a bed or sofa. Otherwise the appliance might be
tipped over.
■ Do not place the appliance in the vicinity of devices that are sources of heat and
do not expose it to direct sunlight.
■ Before connecting the appliance to apower socket, check that the nominal voltage
on its rating label matches the electrical voltage in the power socket.
■ Do not use the appliance in rooms where there is a risk of ammable gases or
chemical vapours leaking or in rooms that are very dusty. When the appliance is
running, it must be located at asucient distance from curtains or drapes and
at least 2 metres from electrical or electronic devices or materials sensitive to
moisture in order not to damage them by the eect of increased humidity.
■ Do not replace any part of this appliance with parts or accessories from another
manufacturer.
■ Only ll the water tank with clean cold water without any additions. Do not pour
water into the water tank through the steam outlet.
■ Only aromatherapy essential oils are to be put into the essential oil holder. Always
choose high quality 100% natural essential oils intended for dispersion into the
air. Use essential oils sparingly and carefully. Heed the instructions and warnings
of the manufacturer.
■ Before putting the appliance into operation, check that it is properly assembled
and that the water tank is lled.
■ Do not cover the appliance when it is running. Do not insert any objects into the
steam outlet or the ventilation openings. Make sure that none of these openings
are blocked by foreign objects.
■ As aresult of increased humidity in the room, water may condensate on window
panes or interior furnishings. If this situation arises, turn the appliance o.
■ Always turn o the appliance and disconnect it from the power socket, before
lling up the water tank, installing, removing, moving or cleaning it.

10/2016
- 3 -
Copyright © 2016, Fast ČR, a.s.
■ Do not submerge the base unit of the appliance in water or any other liquid.
■ Do not touch the nebulizer with sharp objects in order not to damage it.
■ Disconnect the appliance from the power socket by gently pulling the plug of
the power cord, and not the power cord itself. Otherwise, this could damage the
power cord or the socket.
■ If the power cord is damaged, have it replaced at aprofessional service centre. It is
forbidden to use the appliance if it has adamaged power cord.
■ Do not use the appliance if it is not working correctly, if it has been damaged or
has been submerged in water. To avoid the danger of injury by electrical shock, do
not repair the appliance yourself or make any adjustments to it. Have all repairs
or adjustments of the appliance performed at an authorised service centre. By
tampering with the appliance, you risk voiding your legal rights arising from
unsatisfactory performance or quality warranty.
10/2016
- 4 -
Copyright © 2016, Fast ČR, a.s.
1
2
4
12
5
6
7
8
9
10
11
3
A
B
1 2
10/2016
- 5 -
Copyright © 2016, Fast ČR, a.s.
EN
Humidier
User'smanual
Prior to using this appliance, please read the user'smanual thoroughly, even in cases,
when one has already familiarised themselves with previous use of similar types of
appliances. Only use the appliance in the manner described in this user'smanual. Keep
this user'smanual in asafe place where it can be easily retrieved for future reference.
We recommend saving the original cardboard box, packaging material, purchase
receipt and responsibility statement of the vendor or warranty card for at least the
duration of the legal liability for unsatisfactory performance or quality. In the event of
transportation, we recommend that you pack the appliance in the original box from
the manufacturer.
HOW THE HUMIDIFIER WORKS AND ITS FEATURES
■ A humidier eectively increases indoor air humidity and thereby improves air
quality and has apositive eect on human health. It acts preventively against drying
out of the mucous membrane in the respiratory tract and prevents respiratory
illnesses. Its use is recommended primarily during the heating season, when, as
arule, indoor air is predominantly dry.
■ The SHF 2050BL / SHF 2051GR Humidier works on the principle of ahigh frequency
ultrasound oscillator. Thanks to this technology, it produces cold steam and does
not aect the temperature in the room. The humidifying performance is adjustable
and essential oils can be used to create a pleasant indoor atmosphere. With
a humidifying performance of 250 ml/h, it is suitable for rooms up to an area of
30 m
2
. Its large 4-litre water tank guarantees an operating time of up to 16 hours per
single rell. When there is an insucient amount of water in the tank, asignal is lit
and, at the same time, aprotective function is activated, which automatically shuts
o the humidier to prevent its damage. The automatic shut o is also activated,
when the water tank is removed during operation.
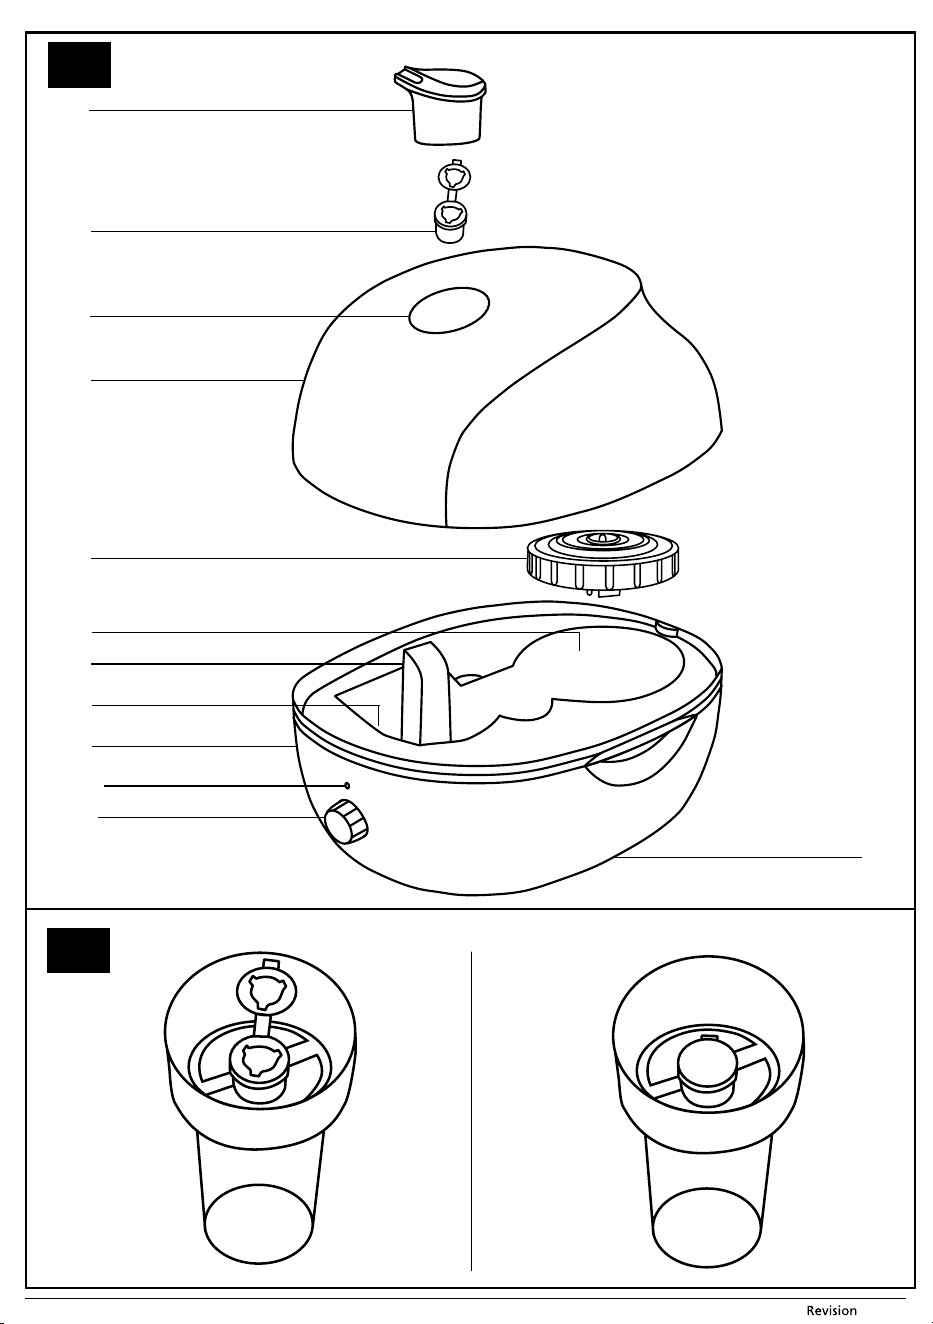
DESCRIPTION OF THE HUMIDIFIER
A1 Steam exhaust nozzle, 360° pivot
A2 Essential oil holder
A3 Steam outlet
A4 4-litre water tank
A5 Plug of the water tank lling
opening with awater release switch
A6 Water holder
Water is pumped into the water
holder from the water tank.
A7 Air exhaust opening
A8 Nebulizer
asurface where water is converted
into cold steam (mist).
A9 Base unit
A10 Light indicator of operation and low
water level in water holder
A11 Humidifying performance control
serves to turn o the appliance
and to set the output.
A12 Ventilation openings
OPERATING LOCATION OF THE HUMIDIFIER, ITS ASSEMBLY
AND FILLING THE WATER TANK
1. Always place the humidier on an even, dry and stable surface at a minimum
distance of:
– 60 cm from the oor;
– 30 cm from walls or sides of furniture;
– 200 cm from electrical and electronic devices or materials sensitive to moisture
to prevent their damage by the eects of increased humidity.
2. Make sure that the humidier is turned o and disconnected from the power socket.
Remove the nozzle A1 and lift the water tank A4 o the base unit A9. Turn it upside
down and turn anticlockwise to unscrew the plug of the lling opening A5 and
remove it.
3. Fill the water tank A4 with clean cold tap water. After lling up the water tank A4,
properly secure the plug A5 by turning it clockwise all the way. Turn the water tank
A4 upside down with the plug A5 facing downwards and place it back on to the
base unit A9 so that both parts t into each other properly. When the water tank A4
is placed on the base unit A9, water will start to be pumped into the water holder A6.
Attention:
The water tank A4 is lled with water up to 40 °C.
If you need to move the humidier, be especially careful not to spill the
water contained in the water holder A6.
4. After opening it, you may add afew drops of essential oil into the essential oil holder
A2 as shown in gure B1. Before using any essential oils, please ask the vendor or
an expert about its eects and correct dosage. Do not add anything other than
essential oils to the essential oil holder A2. After adding essential oil, close the
essential oil holder A2, see gure B2.
5. Place the nozzle A1 into the steam outlet A3.
USING THE HUMIDIFIER
1. Check that the humidier is correctly assembled. Connect the power cord to
apower socket. Turn the control dial A11 clockwise to turn on the humidier. The
indicator A10 will be lit green. The humidier will start producing cold steam within
a few moments. Ensure that during operation that the steam is not directed at
furniture or items sensitive to moisture. The steam exhaust direction can be set by
turning the nozzle A1 to the required angle.
2. Use the control dial A11 to increase or decrease steam output intensity during
operation. Turn the control dial A11 clockwise to increase steam output, turn it in
the opposite direction to reduce steam output. If you ll the water tank A4 up to the
edge, the expected operating time is up to 16 hours with the steam output set to
maximum intensity.
Attention:
If the humidier was transported at a temperature below the freezing
point, rst put it into room temperature and wait approx. 30 minutes before
turning it on.
Use the humidier at an ambient temperature of 5 to 40 °C and at arelative
humidity of up to 60 %. In the event that the ambient temperature falls
below 0 °C, turn the humidier o and remove the water inside the water
tank A4 and the water holder A6, to prevent it from being damaged.
Do not lift the water tank A4 out of the base unit A9 or touch the nebulizer
A8 while the humidier is running. For the event that the water tank A4 is
removed during operation, the humidier is equipped with a protective
automatic shut o function.
3. If the water level in the water holder A6 runs low, the indicator A10 will be lit red and
the humidier will automatically stop producing steam. This is asafety function to
prevent the nebulizer A8 from being damaged.
If necessary, ll up the water according to the instructions in point 2 and 3 in chapter
Operating location of the humidier, its assembly and lling the water tank. Then
you can start the humidier again.
4. To turn o the humidier, turn the control dial A11 anticlockwise all the way. The
indicator A10 will turn o. Disconnect the humidier from the power socket and
clean it out according to the instructions contained in the chapter Cleaning and
maintenance.
CLEANING AND MAINTENANCE
■ Before cleaning the humidier, turn it o and disconnect it from the power socket.
■ Please adhere to the following instructions relating to the cleaning and maintenance
of the humidier. Otherwise its performance may be negatively aected and
undesirable microorganisms may multiply inside the humidier.
Clean after every use
■ Remove the nozzle A1 from the steam outlet A3. Then take out the essential oil
holder A2 and clean out any remaining essential oil, and then put it back in its place.
Take the water tank A4 o the base unit A9, carry it to akitchen sink, turn it upside
down and open the lock A5. Remove any remaining water from it via the lling
opening, rinse it out with clean water and dry the surface using ane wiping cloth.
Finally, attach the lock A5 to the water tank A4, and insert the nozzle A1 into the
outlet A3.
■ Remove the water from the water holder A6 and wipe it dry using ane clean cloth.
Thorough cleaning (once per week)
■ Pour approximately 100 ml of vinegar into the water holder A6 and allow it to act for
15 minutes. Using abrush with gentle bristles, remove the limescale deposits in the
water holder A6 and the nebulizer A8. Then clean out all the remaining limescale
and vinegar using acloth dampened in clean water and wipe dry.
■ Thoroughly clean out the essential oil holder A2 under running water or using
adampened cloth and then put it back in its place.
Attention:
Do not leave water in the water tank A4 or in the water holder A6 for longer
than aweek.
Do not touch the nebulizer A8 with sharp objects in order not to damage it.
■ Clean the outer surface of the humidier as required using ane clean cloth lightly
dampened in lukewarm water.
■ Do not submerge the base unit A9 in water or rinse it under running water. For
cleaning, do not use abrasive cleaning products, solvents, etc. Otherwise, this could
damage the surface of the appliance.
TROUBLESHOOTING
Problem Possible cause Solution
The indicator light
A10 is not lit and
the humidier is not
producing steam.
The humidier is
connected to afaulty
power socket or is not
connected to apower
socket at all.
Connect the humidier to
aworking power socket and use
the control dial A11 to set the
required steam output intensity.
The indicator light
A10 is lit red.
There is not enough
water in the water
holder A6.
Turn o the humidier and
disconnect it from the power
socket. Fill up the water tank A4
with cold clean water. Assemble the
humidier, connect it to apower
socket and start it again.
An odour can be
sensed in the steam.
The odour may be
sensed when the
humidier is used for
the rst time.
Open the water tank plug A5 and
allow the water tank A4 to ventilate
for at least 12 hours.
There is dirty water in
the water tank A4 /
water holder A6.
Turn o the humidier and
disconnect it from the power
socket. Remove the water from
the water tank A4 and the water
holder A6. Clean everything. Fill up
the water tank A4 with cold clean
water. Connect the humidier to
apower socket and start it again.
10/2016
- 6 -
Copyright © 2016, Fast ČR, a.s.
The humidier
is producing an
insucient amount
of steam or is not
producing any steam
at all.
There is not enough
water in the water
holder A6 or there is
no water at all.
Turn o the humidier and
disconnect it from the power socket.
Fill up the water tank A4 with cold
clean water. Connect the humidier
to apower socket and start it again.
The control dial A11
is set to alow steam
output intensity.
To increase the steam output
intensity, turn the control dial A11
clockwise.
The nebulizer A7 is
soiled with mineral
deposits.
Turn o the humidier and
disconnect it from the power
socket. Clean out the nebulizer A8
according to the instructions in
chapter Cleaning and maintenance.
The water tank A4 is
not correctly seated
in the base unit A9.
Place the water tank A4 on to the
base unit A9 so that both parts t
together properly.
The nebulizer A8 is
not working.
Contact an authorised service
centre.
The humidier or
windows in the room
are fogging up.
The room in which
the humidier is
located is either too
small or too humid.
Lower the steam output intensity
to minimum by turning the control
dial A11 anticlockwise or turn the
humidier o completely.
Mineral deposits
quickly accumulate
on the nebulizer A8.
You are using water
that is too hard.
Use softer water.
TECHNICAL SPECIFICATIONS
Rated voltage .........................................................................................................................220−240 V
Rated frequency........................................................................................................................50/60 Hz
Rated power input ...........................................................................................................................25 W
Electrical shock protection class ........................................................................................................ II
Water tank capacity ..............................................................................................................................4 l
Humidier output ....................................................................................................................250 ml/h
Operating time when water tank is lled to max. .................................................................16 h
Noise level ...................................................................................................................................35 dB(A)
The declared noise emission level of the appliance is 35 dB(A), which represents alevel
Aof acoustic power with respect to areference acoustic power of 1 pW.
Explanation of technical terminology
Safety class for electrical shock protection:
Class II – Electrical shock protection is provided by double or heavy-duty insulation.
We reserve the right to change text and technical specications.
INSTRUCTIONS AND INFORMATION REGARDING THE
DISPOSAL OF USED PACKAGING MATERIALS
Dispose of used packaging material at asite designated for waste in your municipality.
DISPOSAL OF USED ELECTRICAL AND ELECTRONIC
EQUIPMENT
This symbol on products or original documents means that used
electric or electronic products must not be added to ordinary
municipal waste. For proper disposal, renewal and recycling hand over
these appliances to determined collection points. Alternatively, in
some European Union states or other European countries you may
return your appliances to the local retailer when buying an equivalent
new appliance.
Correct disposal of this product helps save valuable natural resources
and prevents potential negative eects on the environment and
human health, which could result from improper waste disposal. Ask your local
authorities or collection facility for more details.
In accordance with national regulations penalties may be imposed for the incorrect
disposal of this type of waste.
For business entities in European Union states
If you want to dispose of electric or electronic appliances, ask your retailer or supplier
for the necessary information.
Disposal in other countries outside the European Union.
This symbol is valid in the European Union. If you wish to dispose of this product,
request the necessary information about the correct disposal method from the local
council or from your retailer.
This product meets all the basic requirements of EU directives related
to it.