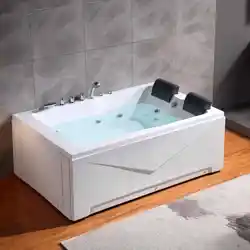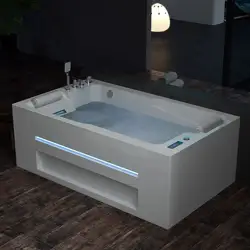
MASSAGE BATHTUB
Filter
screen
MODEL:
EMPV-71JT802L
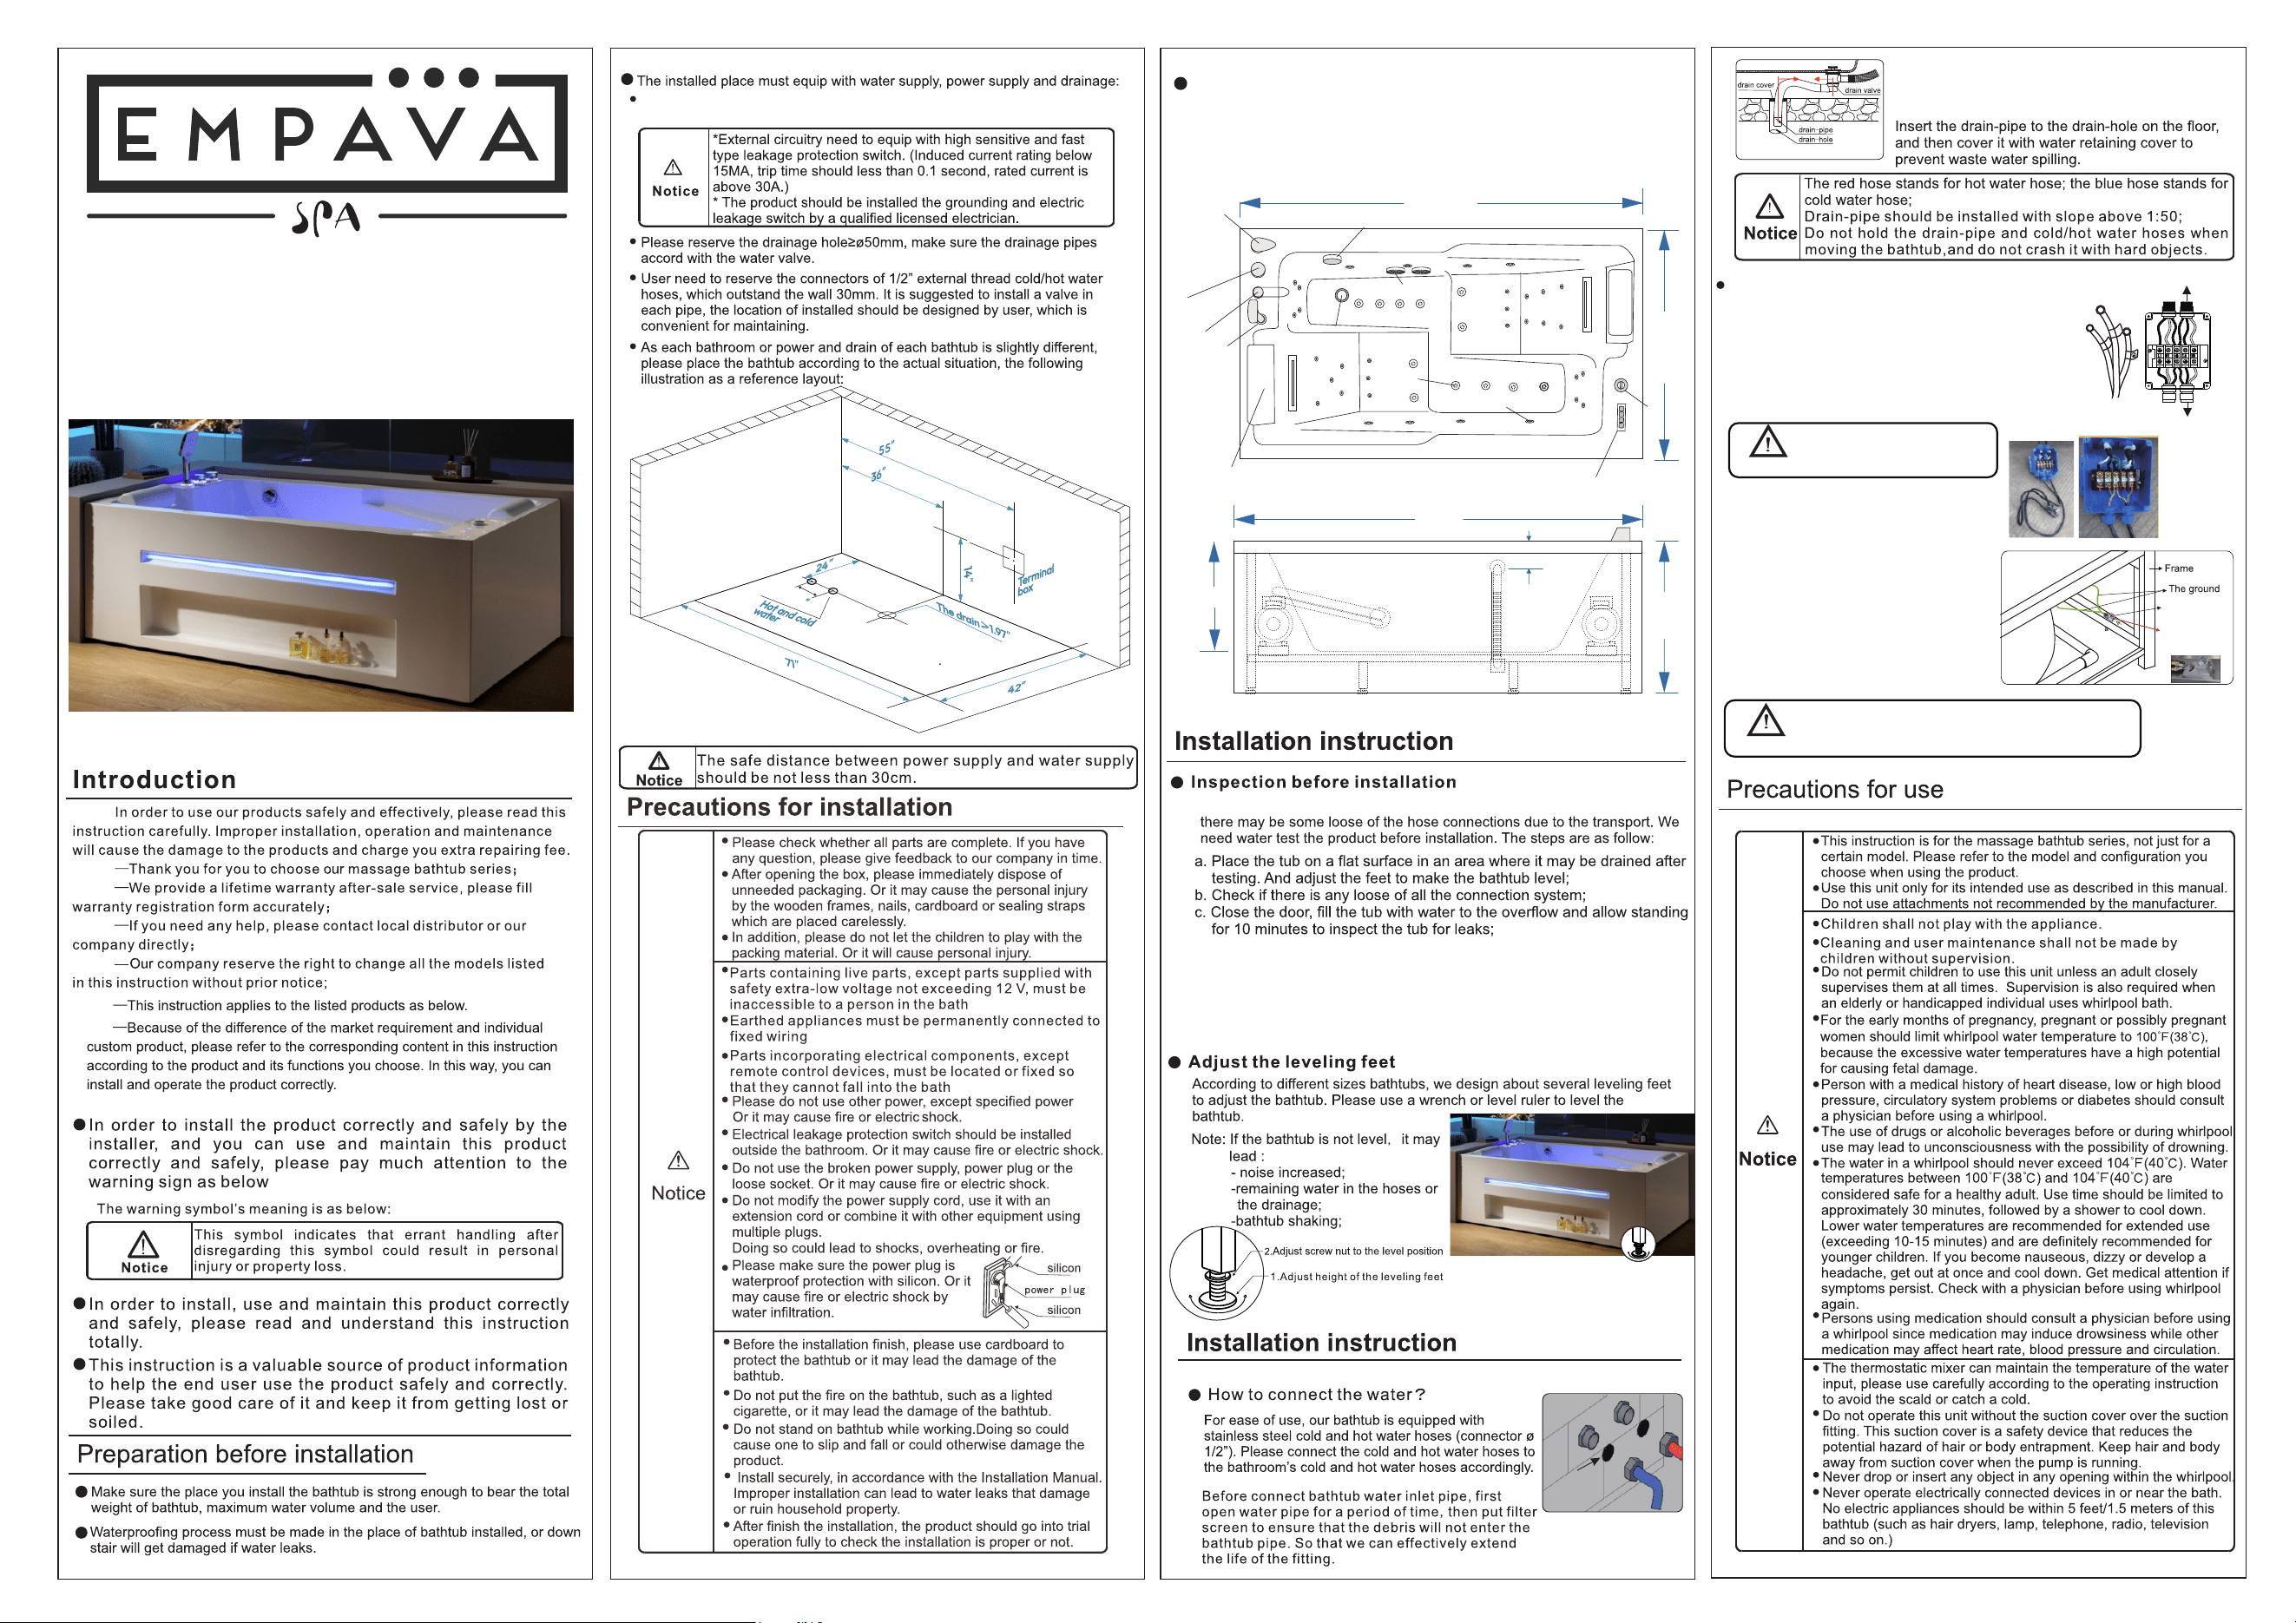
Although all our massage bathtub are water tested before they leave our factory,
d. Insert the plug, start all the function for few minutes (which includes the
functions of massage ), inspect the tub
completely any defect must be reported to your dealer/distributor prior to
installation in order to have it covered under
warranty.
This p
roduct uses universal home power.
The drain pipe is 31.5" long and the ground drain
should be 12" – 20" away from the bathtub drain so
that the drainpipe can form an S-bend for
odor isolation
12″
User needs to purchase two separate 110/120V 15amp plugs and
install the proper dedicated plug with a ground electrode to
the power line. Then insert the plug frmly.
Note: This product uses universal home power.
External circuitry is equipped with high sensitive and fast type
leakage protection switch. (Induced current rating below 15MA; trip
time should be less than 0.1 second; rated current is above 30A.)
Make sure the ground is connected. One side of
the ground should be connected to the ground
terminal of the motor and the stainless steel
frame; the other side should be connected to
the ground wires of the plug.
How to connect the ele ctricity?
Ground terminal
The ground wire
from the switch
goes into this screw
N
L
Tomaincontrolbox
From electrical source
110-120V
The product should be installed
alongside ground and electric leakage
switches by a licensed electrician.
Notice
The bathtub must be connected to the ground.
The power outlet must be sealed well.
Notice
Make sure the surface of each wire is intact.
Size chart
71"
2
5
"
3
.1"
1
8
.
9
"
drainer
pillow rest
bubble nozzles
massage jets
Co
mp
u
t
e
r
-c
on
t
rol
l
ed
Backwater
t
r
a
n
s
f
e
r
a
b
l
e
s
w
i
t
c
h
s
h
o
w
e
r
h
e
a
d
h
o
t
w
a
t
e
r
/
c
o
l
d
w
a
t
e
r
71"
42"
w
a
t
e
r
i
n
l
e
t
h
y
d
r
o
d
y
n
a
m
i
c
a
d
j
u
s
t
overflow
5.9
Press this switch to adjust the shower jet mode.
SHOWER HEAD
RUBBER GASKET
HOSE CONNECTOR
SHOWER HOLDER
BATHTUB
Regular bathtub maintenance will keep it clean and working at its best. Pump and
pipe circulation systems should be fushed before frst use and on a monthly basis
Care and Maintenance
when product is under normal use. Below is the recommended cleaning procedure:
1.Do not run the jet massage system dry.
2.Fill the tub with hot water (abou t ( 40°C )) 2-3 cm (0.9-1.2 inch) above the jets. Add 2-3
teaspoons of low foaming detergent, such as dishwashing machine detergent.
3.Turn on all the functions and run for 10 minutes.
4.Drain tub completely.
5.Fill tub with cold water above jets.
6.Turn on all the functions and run for 15 minutes.
7.Drain tub completely.
8.Clean the “suction cover” by removing any hair or lint.
Whirlpool Suction Cover/Strainer
Maintain regular cleaning of the suction cover/strainer
1. Rotate the suction cover to the left to detach it.
2. Remove any hair, lint, or debris present on the cover and
housing.
3. Remember to reattach the cover in place.
Keep hair a minimum of 6 inches (152 mm) away from the suction ftting at all times
when the whirlpool system is operating. Individuals with shoulder-length hair
should secure it close to their heads or wear a bathing cap.
Do not operate the Whirlpool system with the suction cover/strainer removed! It is
a safety device and must always be in place on the suction ftting to minimize the
a.
b.
WARNING! Please orient the cover/strainer with the small
notch at the bottom. The gasket must be inserted into the
groove of the cover/strainer before mounting it onto the
suction ftting.
DANGER: RISK OF SEVERE INJURY OR DROWNING!
potential hazard of hair and body entrapment.
Always implement countermeasures that help prevent freezing. You
must empty the bathtub and the water in the pipe during winter
use. If the pipes freeze, the pipes could rupture or equipment could
become damaged.
Use no water other than standard tap water. The use of well water
could cause corrosion, which could lead to leaks.
The bathtub should not be exposed to ultraviolet or bright light,
otherwise aging could be accelerated, causing damage.
Keep the bathtub away from cigarette butts, hair dryers, and other
heat sources, otherwise the product may be damaged due to high
temperature deformation.
When not in use, please keep the bathtub well-ventilated and dry;
avoid contact with corrosive substances; cut off electricity and cut off
water supply.
To avoid other damage, please do not drop or strike the bathtub with
hard objects. Doing so could crack or scratch the bathtub or cause
leaks that damage or ruin household property.
When the product is at work, you cannot cut off any connection lines
and split the bus master and control panel. Any part of the control
panel and the bus master CAN NOT be split by the user. Doing so
may cause product leakage, electric shock, or other accidents.
The ground fault circuit interrupter (GFCI) should be tested regularly.
It is ideal to test before each use.
Use water or mild detergent to clean the product. Do not use acids,
alkalis, chemical organic solvents, or acidic/alkaline cleaning agents.
Otherwise, the bathtub will experience surface damage. When water
or a neutral detergent cannot remove stains, use a clean cloth with a
little alcohol to remove stains.
Plating parts maintenance: use cotton fabric to scrub.
Light scratches and dulled areas may be restored to original luster by
coarse grinding using NO. 1200 waterproof sandpaper dipped in water.
Then fne grind by using NO. 2000 waterproof sandpaper dipped in
water. Finally, polish with a soft cloth and a polishing agent.
When not in use, please keep the bathtub well-ventilated and dry;
avoid contact with corrosive substances; cut off electricity and cut off
water supply.
SHOWER HEAD INSTALLATION
Tmaking sure it lies flat.o install the shower head, follow the steps shown in
Figure A.
First, remove the hose connector from the shower holder.
Then, insert the rubber gasket into the hose connector,
Finally, tighten the shower head and the hose connector securely.
SHOWER INSTALLATION
Open
Close
hot
cold
waterfall
sprinkler
A
B
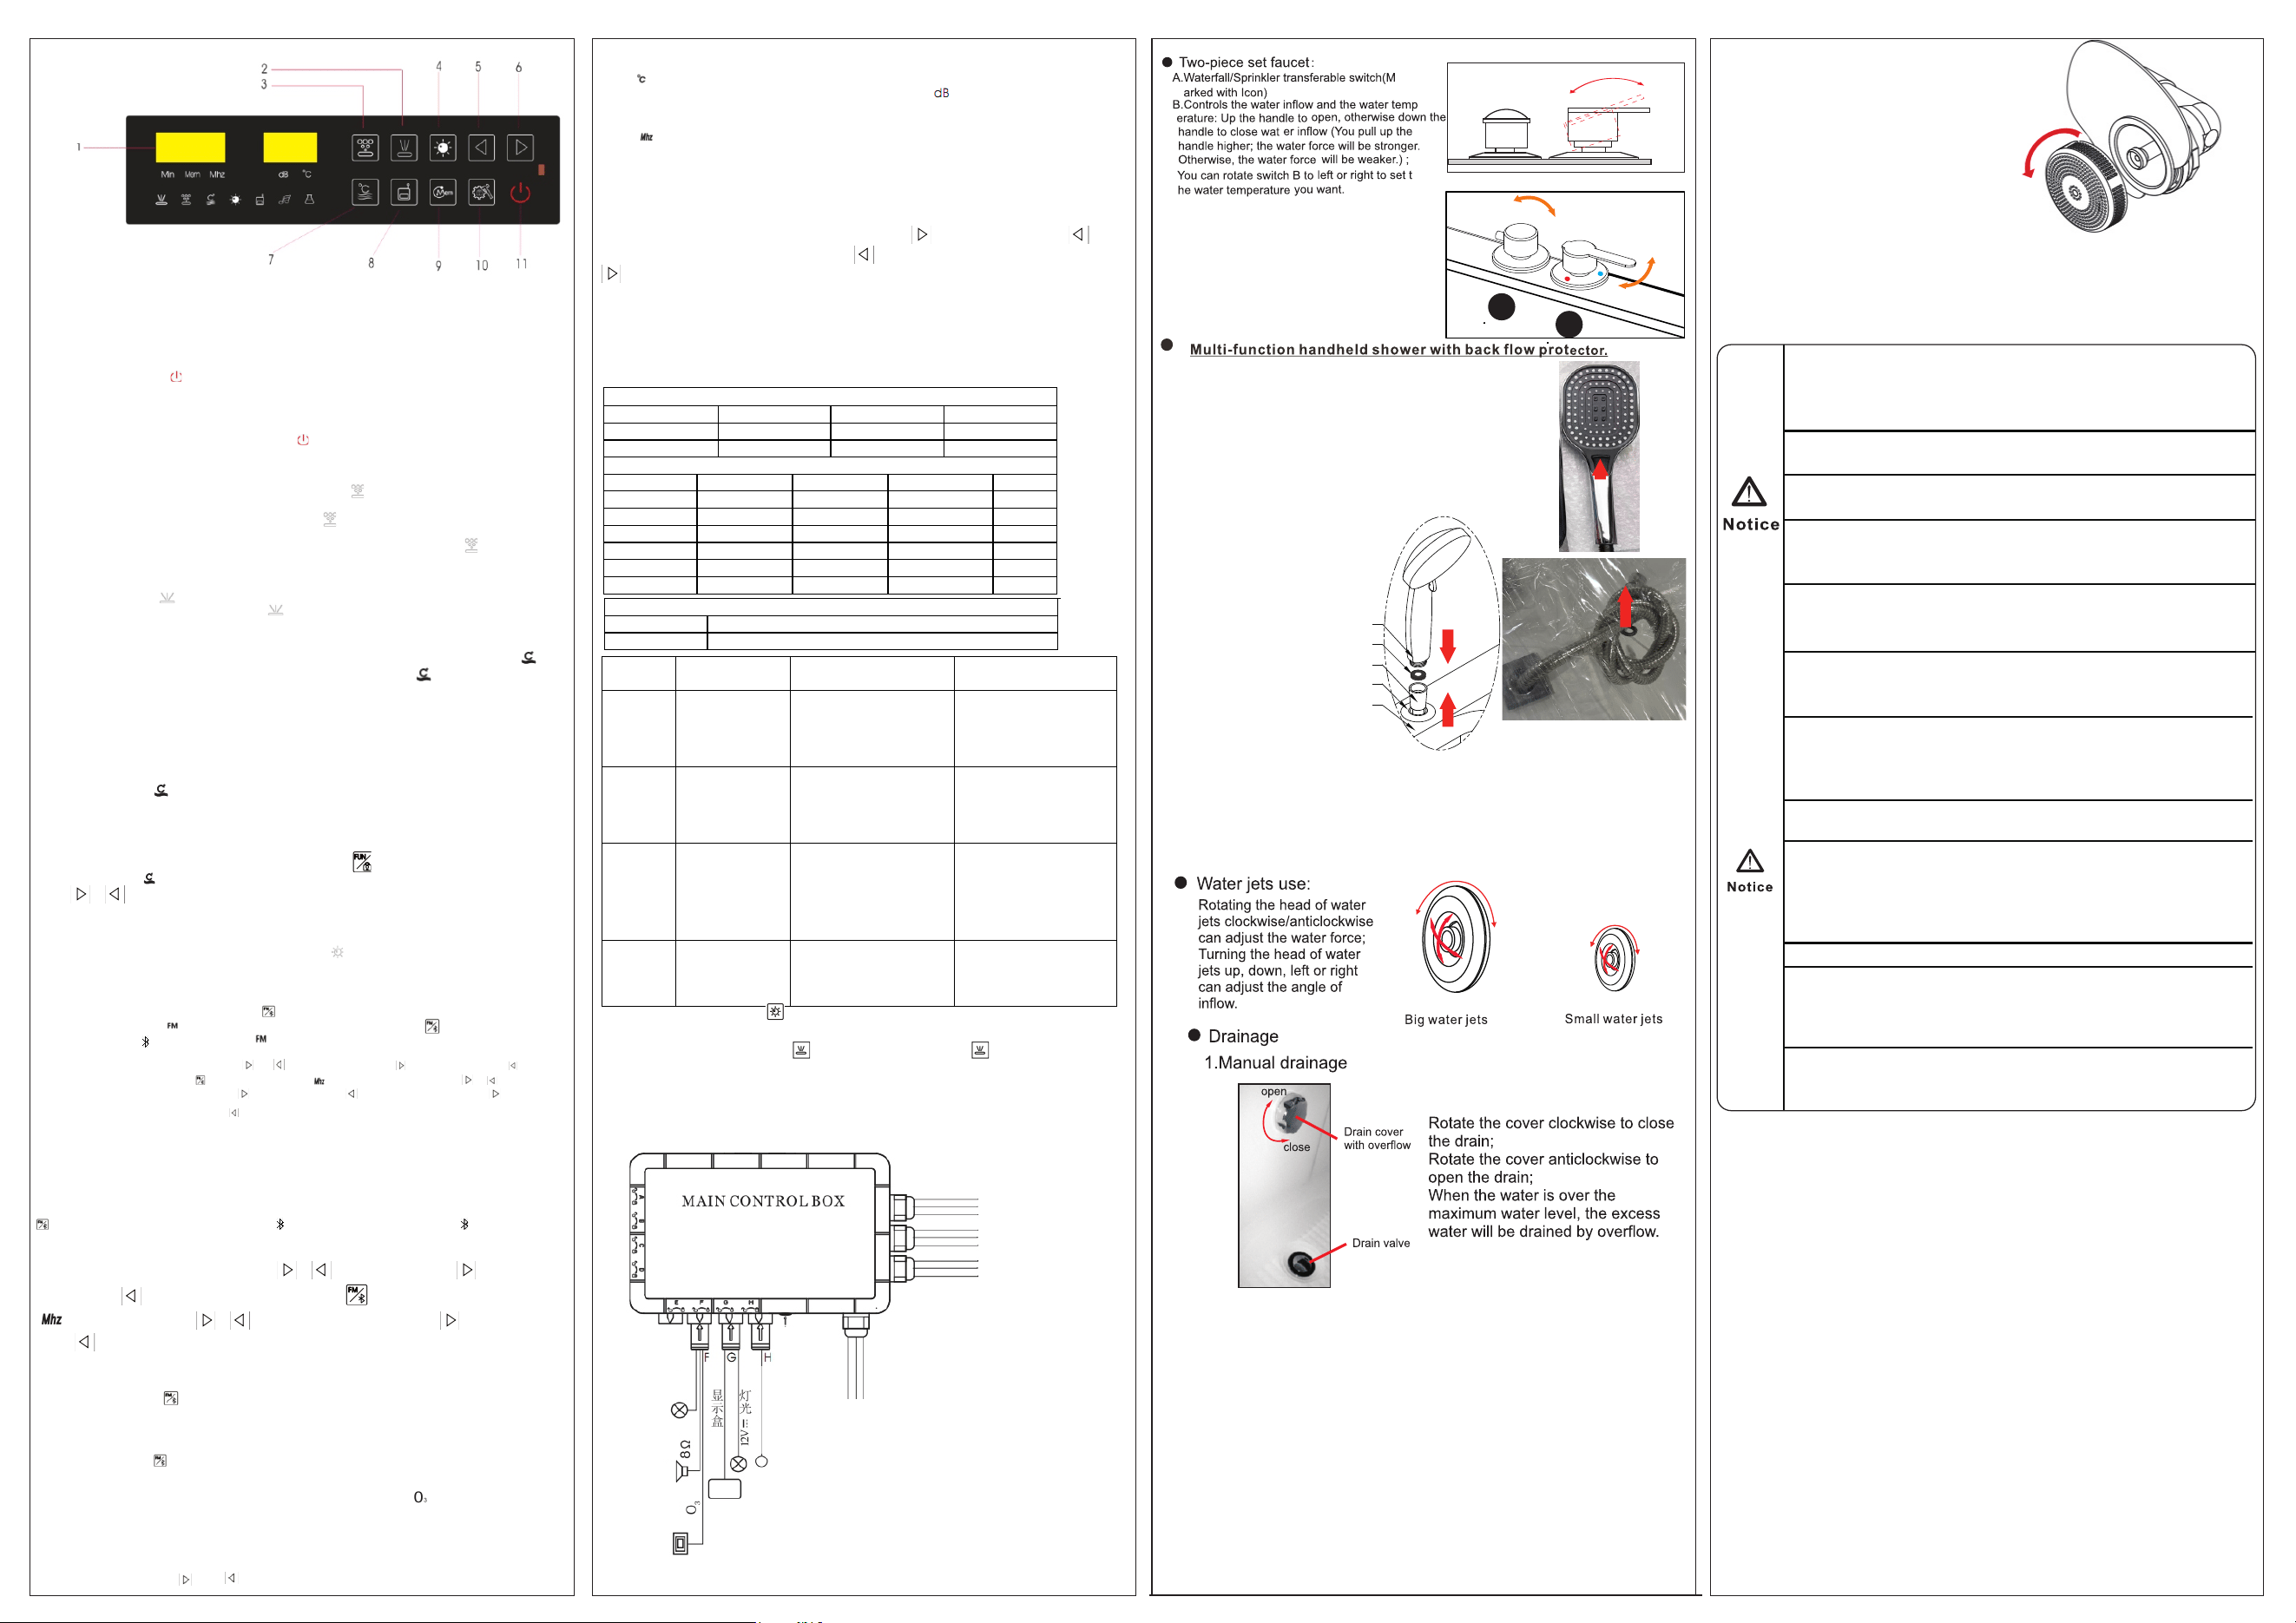
Display Area
Water Pump
Air Pump
Lighting
Add Key
Minus key
OFF/ON
Setting Key
FM Channel Save
FM/Bluetooth
Thermostat
Function
1Air Pump 2.Water Pump 3.Thermostat 4.Lighting 5.FM/Bluetooth music player
6.O₃function
Operation guide
On/Off
1. start the system
Shortly press the button to start the system, the display area will shows the current
temperature.
2. turn off
When the system is on, it will auto turn off in one hour.If have the operation,it will reset time for 1
hour.
When the system is on, shortly press the button to turn off the system.
If there is no operation after the system is on, it will auto turn off in two minute. When power is on,
the buzzer will short beeps.
Air Pump
When the bathtub is full of water, shortly press the button to turn on the air pump. The icon of
the button will be lit .The air pump will start with the maximum wind and will change to the default
setting level in 2 seconds. Shortly press the button again can turn off the air pump.
When the air pump is on, if the bathtub change to less of water, the air pump will be auto off.
When the bathtub works in lack of water condition, the back-light of the button will be lit,The air
pump will turn off after starting with maximum wind in 10 grade for 5 minutes. It will turn off the air
pump when detects with water again in 5 minutes.
Water Pump
hortly press the button to turn on or turn off the water pump function. When the water pump is
on, if the bathtub is full of water, the button will be lit and the water pump works. If the bathtub
lacks of water, the water pump will stop and the back-light of the button will flashes. If the bathtub
is full water again, the water pump works again.
Thermostat
When the bathtub is full of water and water pump function is on, shortly press the button to
open the thermostat function. After thermostat function is on,the icon is lit.Shortly press the
button again can turn off the thermostat heating.
When the thermostat function is on,if the water temperature is 1 degree C lower than the setting
temperature, the thermostat heater will be auto heating until the water temperature is higher
than or equal to the setting temperature. At this time the heater will stop heating. When close the
water pump, the thermostat function will auto off.
After open the thermostat function, the screen shows the setting thermostat temperature and the
icon
is flashing ,after two seconds showed the setting temperature,it will showed the current
temperature,the icon
will be always lit.
If the bathtub lacks of water and the thermostat function is on, the heater will stop heating
and the icon
will be flashing. If the system detects full water again and water pump is on, the heater will be auto
heating again.
When the thermostat function is on.T he first time shortly press to enter the setting of the thermostat
temperature,the icon is flashing and show the temperature on the display area.At this time press the
button
or
to adjust the thermostat temperature.
The range is
from 25 to 45 degree C.
Lighting
When the system detects full water, shortly press the button to open the lighting function and the
icon will be lit. Press again can close the the light and the icon will be off. When the light is on and the
bathtub is less of water, the icon will be flashing. After the bathtub is full of water again, the light will
auto open again.
The first time shortly press the audio switch key to turn on the radio and the display area will shows the
current radio channel. Icon is bright. The second time shortly press the button
and enter the
Bluetooth station .Icon
is bright and the is dark. The third time shortly press the audio switch
key to close the Bluetooth function.
When FM
is on, at this time press the button or
to adjust the volume.
is for louder volume,
is
for lower volume .Press the icon
until to the flashing appear,
press the button
or
to
adjust the radio channel.Shortly press icon for next channel,or
for last channel.Long press
for
1.5 second to search the next channel,or to search the last channel.
The range is :87.5MHz-108.0MHz.
When the radio function is on,press key MEM for 1.5 second to save the channel,Shortly press MEM
to exchange the channel,range 1
-
10.
Bluetooth Music Player
When system is on for 5 seconds, use the B luetooth function on your smart device to search the
B luetooth of the bathtub.And it will auto disconnect for off-system in 10 seconds.Shortly press
to switch to Bluetooth music player and the icon is bright.If it doesn’t connect,the icon
is
flashing.It will appear bt.F character.If it connect successfully,the icon is bright steady,and show
bt character.
When Bluetooth is playing,
shortly press the button or
to adjust the volume.Icon
is
for louder volume,
is for lower volume.Shortly press the icon until to the flashing
appear,
press the button
or to adjust the music. Shortly press icon for next
song,or
for last song.
Bluetooth music player instructions :
A.Connect the smart device to Bluetooth after the system is on for 5 seconds ;
B. After successful connecting,open the music player on mobile phone,play the song;
C. Shortly press the icon to switch to the Bluetooth music function.
D.If it shows bt.F character on display area when the Bluetooth is on,it means it fail to connect and please re -
Panel Lock and Unlock
If there is no operation in 30 seconds or press the SET/Lock Key 1.5 seconds,the panel is locked and all key
is invalid.Shortly press to unlock.
function
It will auto start the Ofunction after turning off the system for 30 seconds,Icon is bright.After 10 minutes,it
auto turn off,and the icon will be off.
If start the system while O function is on,and it will stop Ofunction.
Parameters Setting
Setting Mode Choice:
When the audio is on,both and are used to adjust the volume,range:0 -15dB;
Touching the setting on the panel,choose the parameters mode.The operation is as below:
The first time to press the setting key to control thermostat temperature,the screen shows the setting degree
C.Icon is flashing.(please skip this step if thermostat temperature function is off.)
T he second time to press the setting key to control the volume, Icon is flashing
(Please skip this step if the FM/Bluetooth function is off.)
The third time to press the setting key to adjust the radio channel,searching channel or Bluetooth switch
songs. is flashing.(Please skip this step if the FM/Bluetooth function is off.)
The fourth time to press the setting key to adjust the wind speed.The screen show the wind speed,such as
L5.(Please skip this step if the wind pump is off.)
Parameters Setting:
1.Adjust channel:Enter to the frequency adjust station,press the “add or reduce “key to control the
frequency;Long press “the add and reduce “key to the searching channel station.
2.Volume:The range of volume is 1 -10 grades.
3.Adjust/ search channel:When adjust the channel,shortly press to add 0.1MHz,shortly press to
minus 0.1MHz.When search the channel,long press 1.5 seconds to search upward channel,long press
1.5 seconds to search downward channel,it will stop until searching the valid channel.
4.Wind speed adjust: Enter to adjust the speed of wind pump,touching the “add or reduce “key to control the
speed up or down.The range is 1 -10 grade.
5.5.Thermostat Temperature adjust:Enter to adjust thermostat temperature station,touching the “add or
reduce “key to increase or reduce the thermostat temperature.T he range is 25 -45 degree C.
Technical parameters:
Rated Working condition and characteristic
Rated voltage
AC220
Frequency
50Hz
Rated current
15.7A
Rated power
3450W
Insulation resistance
>20MΩ
Waterproof
IPX5
Load parameters
Loads Rated voltage
Frequency
Rated power
Other
Thermostat
AC220V
50Hz 2KW -
Water Pump
AC220V
50Hz 1KW -
Air Pump
AC220V
50Hz 400W -
Light
A C12V
50Hz- 10W -
Ozone
DC12V
50Hz 6W -
Speaker
- -
8/ 10w
-
Control panel Size
Control panel
Length * Width =120*75 (mm)
Control box
Length * Width * Height =275*218*92 (mm)
Fault Code Fault Name Fault Reason Trouble shooting
E16
Temperature probe
failure
A.No connecting the
temperature probe
B.Temperature probe is open
circuit.
A.Check if it is connected to
the temperature probe or not;
B.Check the connected wire
of probe,if doesnt connect
please exchange the new
temperature probe
E17
Temperature probe
short circuit
Temperature Probe is short
circuit
A.Change the temperature
probe;
B.Check if temperature probe
connection of the motor
panel is short circuit or not.
Display E2
Or
Control box
light is
bright
Communication
breakdown
A.The wire connect the
motor box and the screen is
short circuit or open circuit.
B.It s not match between
display box and motor.
C.The motor doesnt work or
the mortor communication
connector broken
A.Check if right connect the
computer wire;
B.Check if the motor work
nomal or not;
C.Check the motor process,if
it mach with the display box?
The light of
control box
is not bright
Control Motor
Problem
The control motor stop
working or the motor power
have problem
Change to the new control
motor.
Ozone quickly check:Long press
turning off the function.
Enter to the aging mode:Shortly press third times,and then long press 1.5 seconds to open the
aging mode.Turning on all function,water pump,air pump,constant temperature and lighting is not
controlled by the water level.It will be on for 6 hours.It shows LH
be out of aging mode.
Installation wiring diagram
Air pump power
C onstant temperature
Power
AC 220V input
Water Pump power
Working
Indicator
Temperature
Probe
Display box
speaker
Water level
H2208 Control panel operation

EMPAVA APPLIANCES INC.
15253 DON JULIAN RD CITY OF INDUSTRY,CA 91745
TEL:888-682-8882
WWW.EMPAVA.COM
Empava® APPLIANCES
Please have the following information available when you call/
email the Empava Customer Center:
Proof of purchase (PO# or screenshot of order confrmation)
Model number and serial number
A clear and comprehensive description of the issue
•
•
PROOF OF PURCHASE IS REQUIRED TO OBTAIN
•
WARRANTY SERVICE.
IF YOU NEED SERVICE: Empava Customer Center
Email: [email protected]
Address: 15253 Don Julian Rd, City of Industry, CA 91745
Website: https://empava.com
Call: 888-682-8882 Monday - Friday from 9am - 5pm PST
Empava® APPLIANCES WARRANTY
WHAT IS NOT COVEREDWHAT IS COVERED
HEREIN. EMPAVA SHALL NOT BE LIABLE FOR INCIDENTAL OR CONSEQUENTIAL DAMAGES. Some states and provinces do not allow
the exclusion or limitation of incidental or consequential damages, so these limitations and exclusions may not apply to you. This
warranty gives you specifc legal rights, and you also may have other rights that vary from state to state or province to province.
The effective date of the warranty commences from the
date of original consumer purchase. If the appliance is
installed, operated, and maintained in accordance with the
user manual, Empava will provide parts at no cost to rectify
any defects in materials and workmanship that were present
at the time of purchase. Alternatively, at its sole discretion,
Empava may replace the product. In the event of product
replacement, the warranty for the replacement product shall
be valid for the remaining term of the original warranty
period.
Empava offers a two-year warranty on parts for the following
categories: induction cooktop, gas cooktop, electrical oven,
pizza oven, fre glass, juicer, range hood, wine cooler, beverage
refrigerator and toilet seat
TWO YEARS WARRANTY (PARTS)
Empava offers a two-year warranty on both parts and labor for
the following categories: gas oven and gas range.
TWO YEARS WARRANTY (PARTS & LABOR)
Empava provides a three-year warranty on both parts and labor
for the following categories: freestanding tub, massage tub, and
walk-in tub.
This limited warranty is valid for products that are either
purchased brand new from an authorized Empava dealer or
directly from Empava.
THREE YEARS WARRANTY (PARTS & LABOR)
LIMITATION OF REMEDIES; EXCLUSION OF INCIDENTAL AND CONSEQUENTIAL DAMAGES·
If you want a longer or more comprehensive warranty than the limited warranty that comes with this major appliance, you should ask
Empava or your retailer about buying an extended warranty.
DISCLAIMER OF REPRESENTATIONS OUTSIDE OF WARRANTY
IMPLIED WARRANTIES, INCLUDING ANY IMPLIED WARRANTY OF MERCHANTABILITY OR IMPLIED WARRANTY OF FITNESS FOR A
PARTICULAR PURPOSE, ARE LIMITED TO ONE YEAR OR THE SHORTEST PERIOD ALLOWED BY LAW. Some states and provinces do not
allow limitations on the duration of implied warranties of merchantability or ftness, so this limitation may not apply to you. This warranty
gives you specifc legal rights, and you also may have other rights that vary from state to state or province to province.
Commercial, non-residential or multiple-family use, or use
inconsistent with published user, operator or installation
instructions.
In-home Instruction on how to use your product.
Service to correct improper product maintenance or
installation, installation not in accordance with electrical or
plumbing codes or correction of household electrical or
plumbing (i.e., house wiring, fuses or water inlet hoses).
Defects or damage caused by the use of non-genuine
Empava parts or accessories.
Conversion of your product from natural gas or L.P. gas.
Damage from accident, misuse, abuse, fre, foods, acts of
God or use with products not approved by Empava.
Repairs to parts or systems to correct product damage or
defects caused by unauthorized service, alteration or
modifcation of the appliance.
Cosmetic damage including scratches, dents, chips, and
other damage to appliance fnishes unless such damage
results from defects in materials and workmanship and is
reported to Empava within 30 days.
Discoloration, rust or oxidation of surfaces resulting from
caustic or corrosive environments including but not limited
to high salt concentrations, high moisture or humidity or
exposure to chemicals.
Food loss due to product failure.
Removal or reinstallation of inaccessible appliances or
built-in fxtures (i.e., trim, decorative panels, fooring,
cabinetry, islands, countertops, drywall, etc.) that interfere
with servicing, removal or replacement of the product.
1.
2.
3.
4.
5.
6.
7.
8.
9.
10.
11.
DISCLAIMER OF IMPLIED WARRANTIES
WARNING!
CALIFORNIA RESIDENTS
Cancer and Reproductive Harm
¡ADVERTENCIA!
RESIDENTES DE CALIFORNIA
Cáncer y Daño Reproductivo
AVERTISSEMENT!
RÉSIDENTS DE CALIFORNIE
Cancer et Dommages à la Reproduction
w w w .P 65W arnings.ca.gov