INSTALLATION
INSTRUCTIONS
REV.072025.RHDC36TU24/ RHDC48TU24
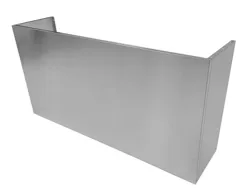
TUCH 24 INCH HEIGHT DUCT COVER
RHDC36TU24 / RHDC48TU24

LIST OF MATERIALS
4
5
6
7
SPECIFICATION
INSTALLATION PROCEDURES
MAINTENANCE
. . . . . . . . . . . . . . . . . . . . . . . . . . . . . . . . . . . . . . . . . . . . . . . . . . . . . . . . . . .
. . . . . . . . . . . . . . . . . . . . . . . . . . . . . . . . . . . . . . . . . . . . . . . . . . . . . . . . . . . . . . .
. . . . . . . . . . . . . . . . . . . . . . . . . . . . . . . . . . . . . . . . . . . . . . . . . . .
. . . . . . . . . . . . . . . . . . . . . . . . . . . . . . . . . . . . . . . . . . . . . . . . . . . . . . . . . . . . . . . .
3
TABLE OF CONTENTS

4
LIST OF MATERIALS
MODELS: RHDC36TU24, RHDC48TU24
PARTS SUPPLIED QUANTITY
Center panel 1
Side panels 2
Philips head metal screws 14
COMPATIBILITY
5
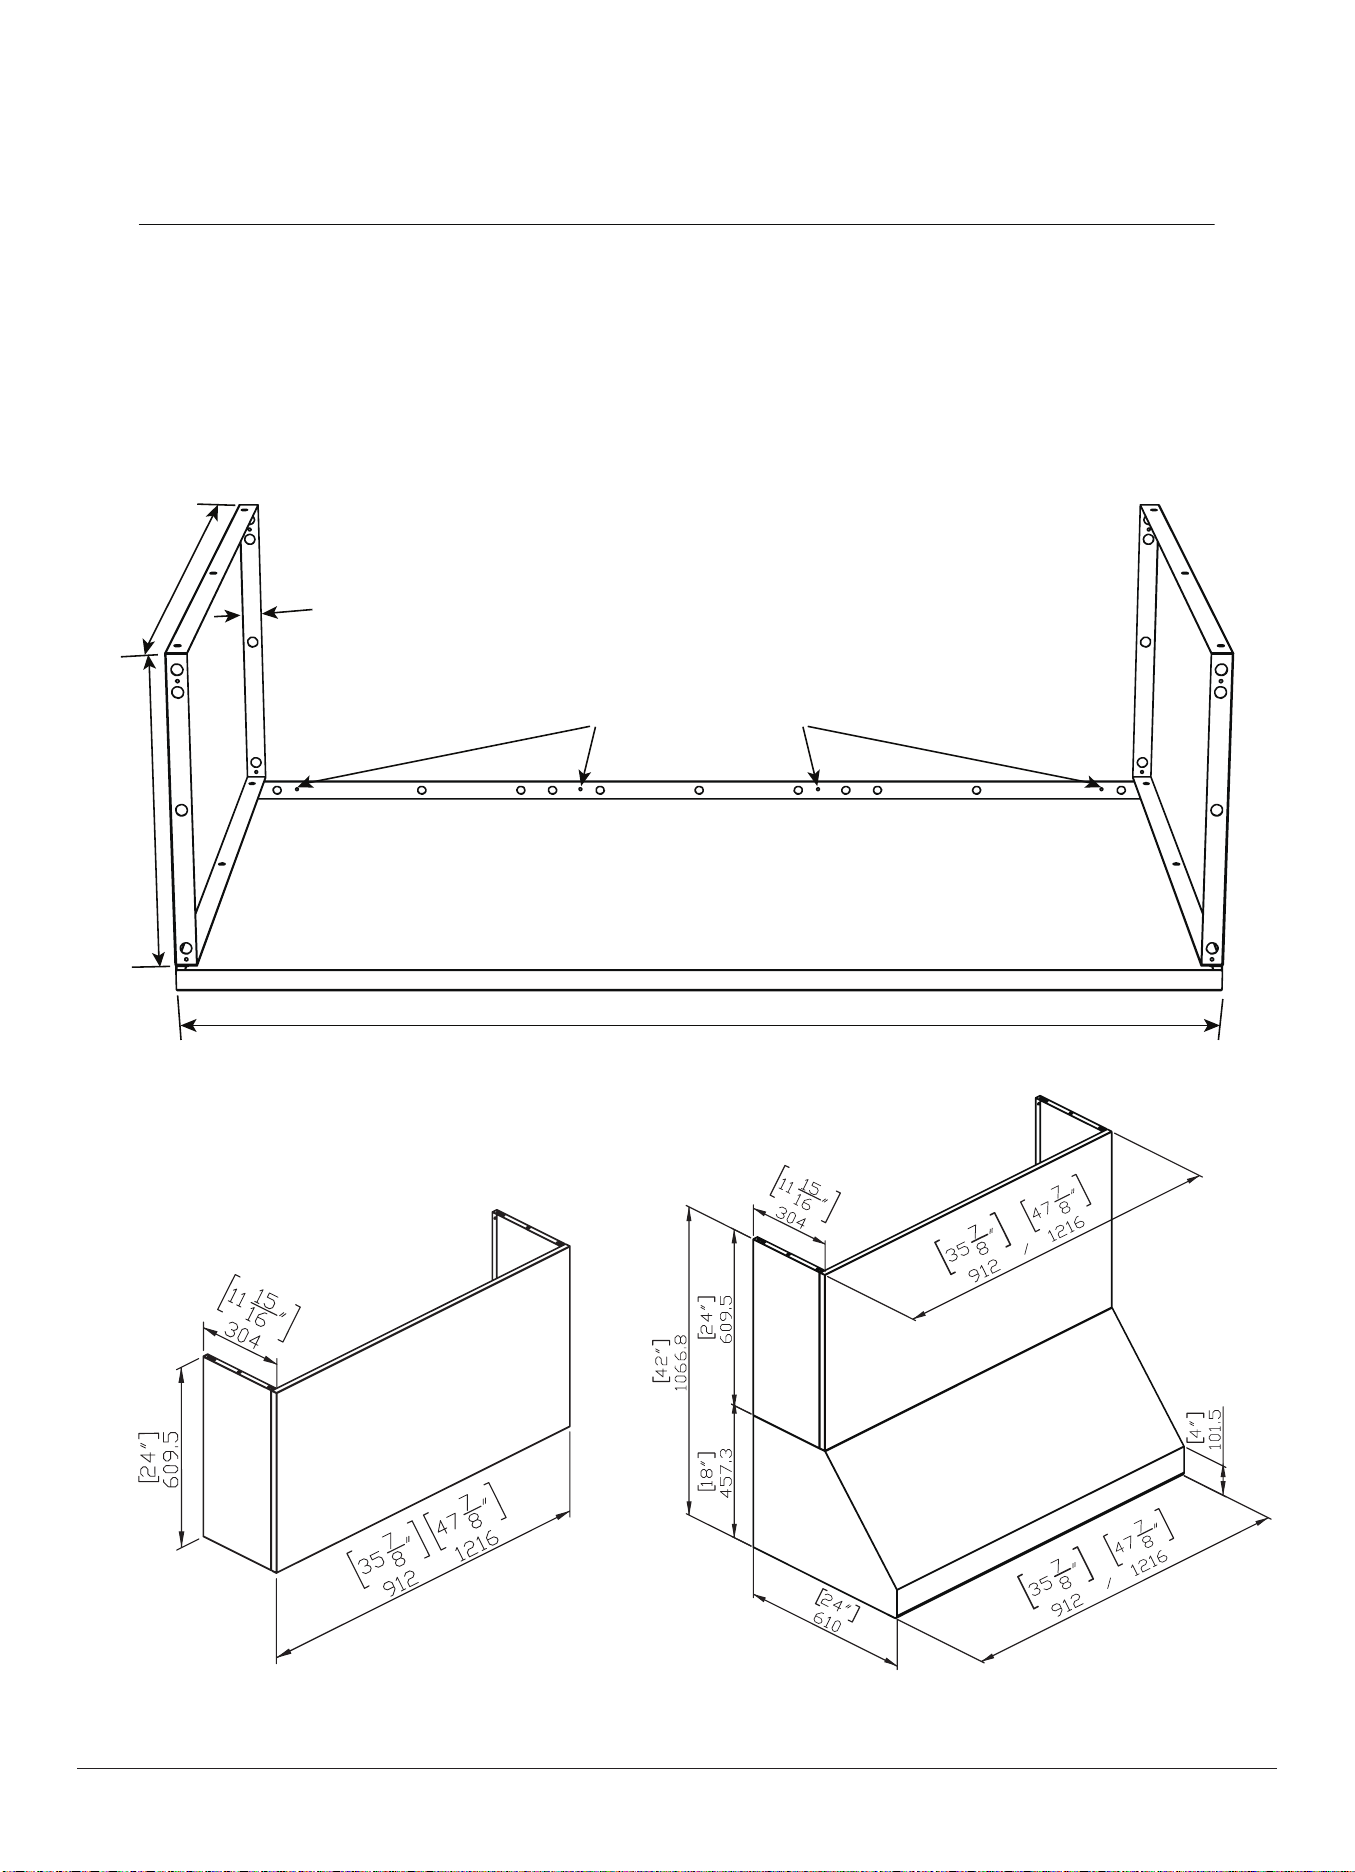
SPECIFICATION
TUCH3618, TUCH4818
Dimension
36”, 48”
Make sure bottom screw holes are face down on top of range hood.
24”
11”
1”
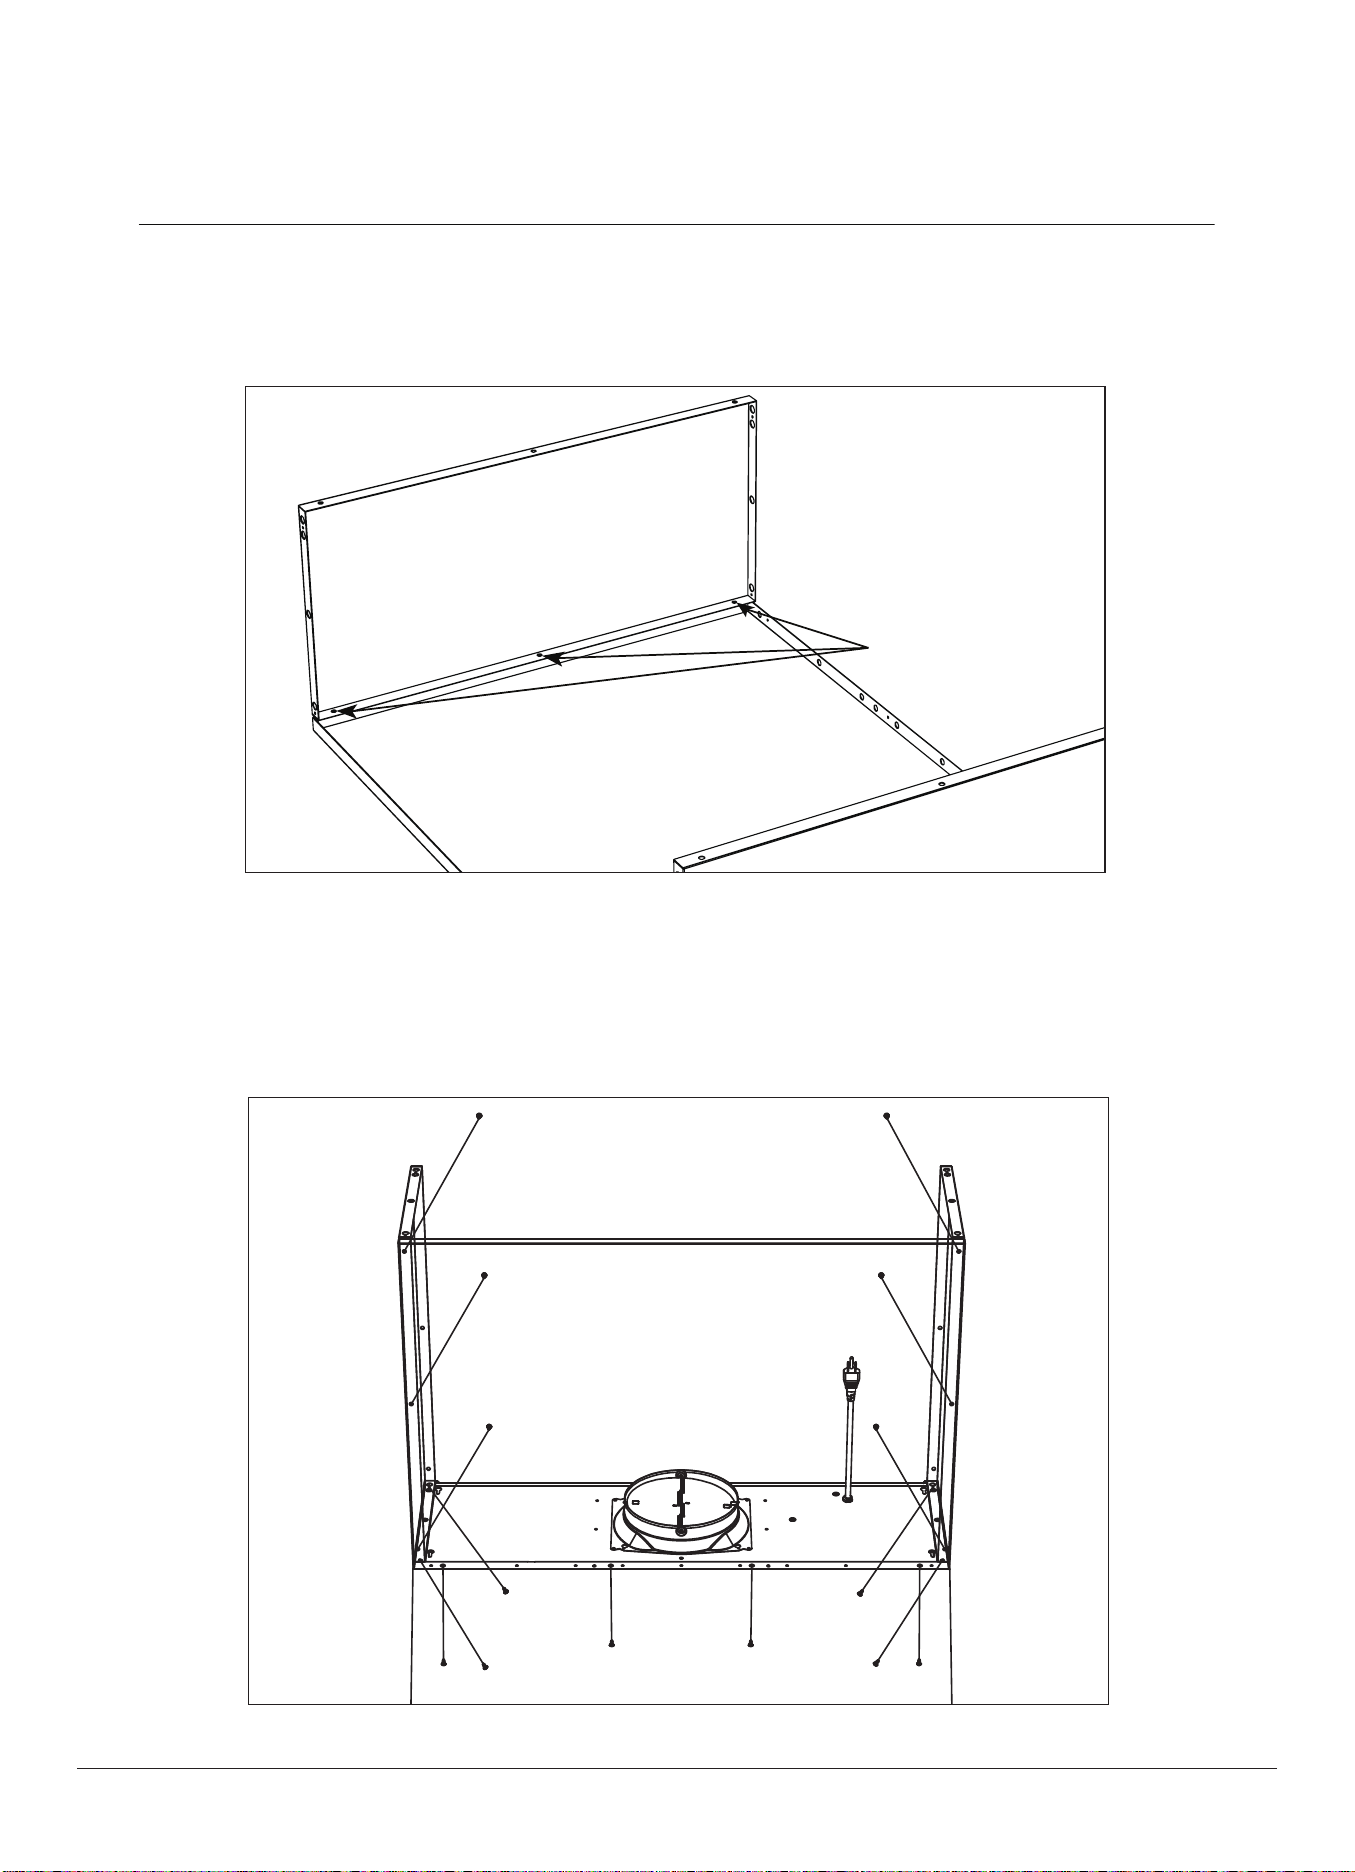
1. Align the screw holes and attach the left and right side panels to the center using the provided
screws (FIG. A).
2. Place the assembled duct cover on top of the hood, ensuring screw holes of the center panel are
facing down and aligned with the holes on top of the hood.
3. Secure the duct cover to the top by fastening the remaining screws to it from within the inside of
the hood (FIG. B).
FIG. B
FIG. A
Line up screw holes
6
INSTALLATION PROCEDURES

●
●
●
To preserve the appearance and durability of the stainless steel, it is essential to clean the duct
cover regularly. Cleaning should typically be performed once or twice a month, depending on your
cooking habits.
When cleaning, always use a non-abrasive cleaner suitable for stainless steel. Avoid using citrus
-based cleaners (often labeled as "orange cleaners"), as they can damage the surface and cause
discoloration. Additionally, do not use abrasive or ammonia-based cleaners, as they may scratch
or discolor the stainless steel. Use a soft cloth or microfiber towel to wipe the surface, and ensure
it is thoroughly dried to prevent water spots.
You may also use stainless steel polish to restore the shine and enhance the appearance of the
duct cover. When polishing, ensure that you follow the natural grain of the stainless steel to
prevent streaks and achieve a smooth, even finish. Take care not to use excessive polish, as over-
application can leave residue or cause discoloration. Always test the polish on a small,
inconspicuous area first to ensure compatibility with the surface.
7
MAINTENANCE

Warranty Registration
Made Easy.
We Stand Behind
the Quality of Our
Appliances.
Reliability and customer satisfaction are our top priorities. We offer a
solid two-year warranty on both parts and labor. Enjoy professional-grade
performance with the condence that we’ve got you covered.
01
02
03
Scan the QR Code or visit thorkitchen.
com/register-your-product.
Input your purchase and product
information and select register.
That’s it. You’re all set.
Enjoy!
WARRANTY
PARTS
Questions: [email protected]