①
②
③
④
⑤
⑥
⑦
⑧
⑨ ⑩ ⑪
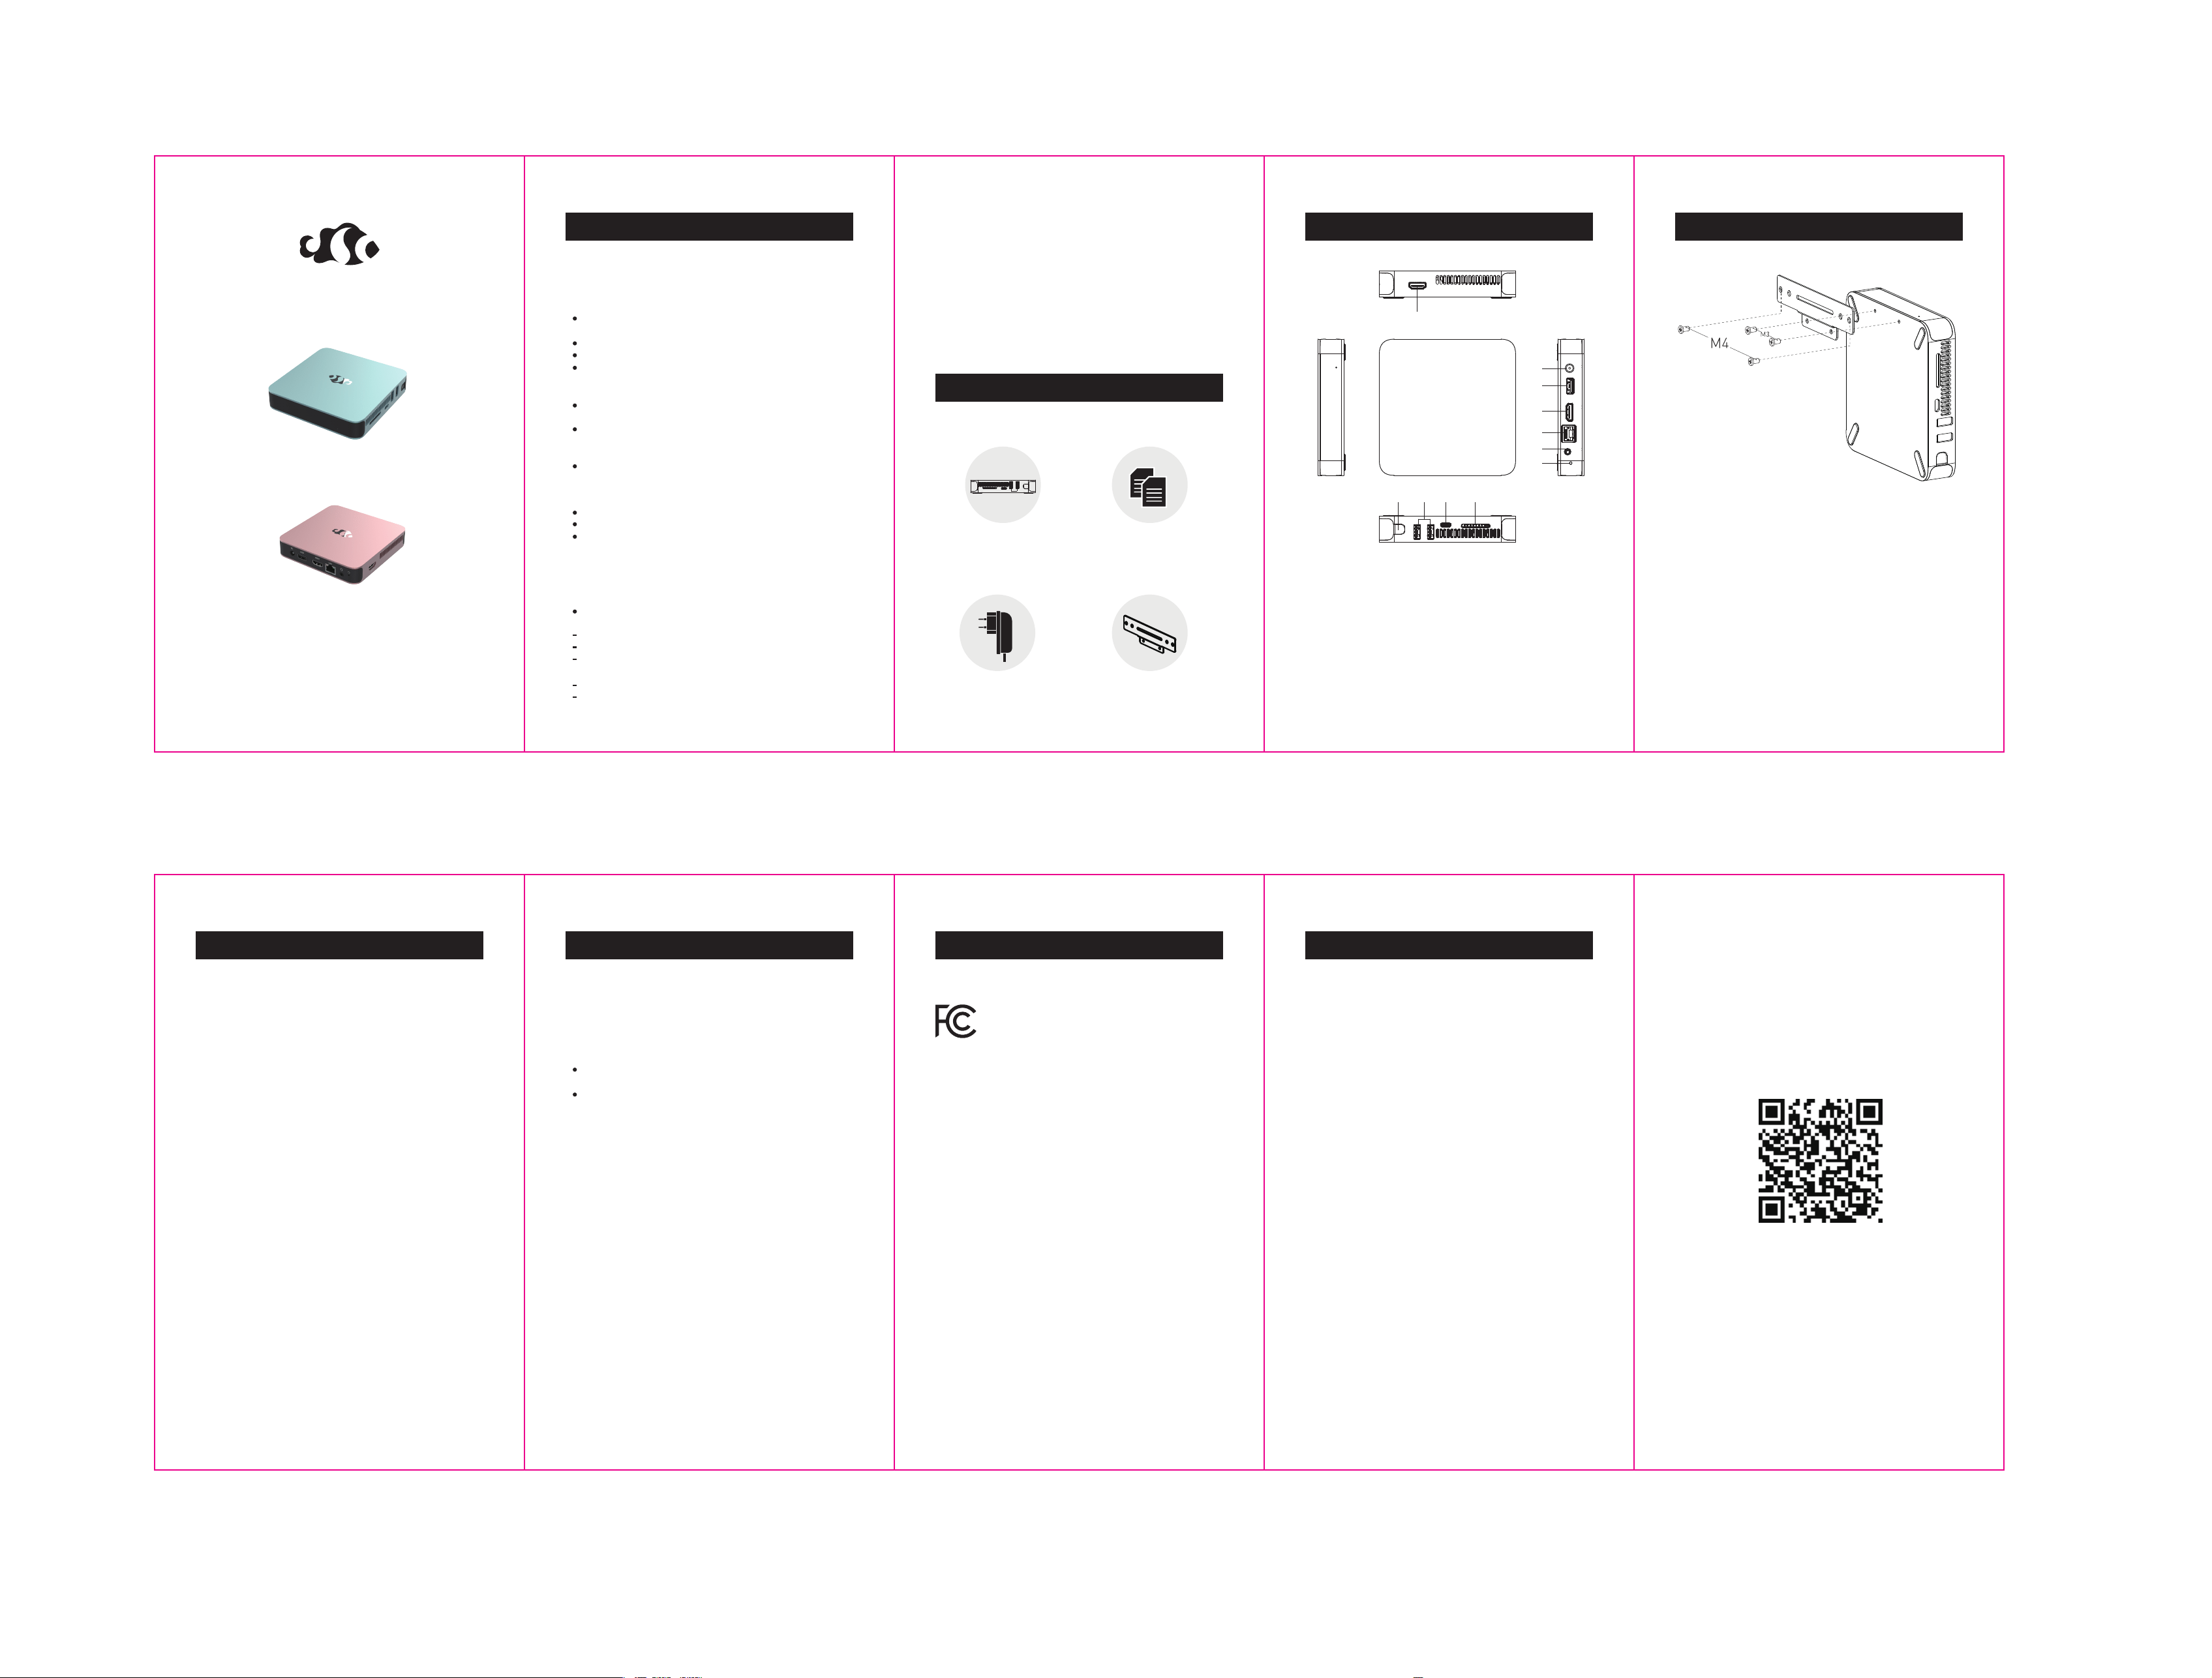
1. HDMI Port
2. DC in Port
3. USB3.0 Port
4. HDMI Port
5. RJ-45 LAN Port
6. Audio Jack Port
7. Reset Hole
8. Power Button
9. USB3.0 Port
10. Full-function Type-C
11. Micro SD Card Port
90mm 157g铜版纸 风琴折
145mm
CAUTION
Getting Started Enter the Bios Setup FCC Conformity Statement Warranty Information
Know Your Mini PC Know Your Mini PC
Package Contents
NIMO Support
MINI PC
USER MANUAL
Mini Computer User Manual
Adapter VESA
Your Mini PC is designed and tested to meet the latest standards of safety
for information technology equipment. However, to ensure your safety, it is
important for you to read the following safety instructions.
The
MME1B and MME1R are covered for two years from the initial retail
purchase date, as confirmed by the provided proof of purchase from the
first retailer Nimo or a Nimo-authorized service center will repair. Repairs
or replacements will be conducted in a commercially reasonable time, at
the discretion of Nimo. If Nimo replaces the product, the replacement will
be subject to the terms outlined in this warranty for the remaining duration
of the original product's warranty period. The replacement product may be
refurbished. The Warranty becomes invalid if the product has been disassembled,
modified or repaired without Nimo’s authorization. Additionally, damage
resulting from neglect, whether intentional or accidental, is not covered under
warranty. Examples not covered by warranty include but are not limited to
use outside operating specifications, a cracked or broken screen, damaged
housing or cover, missing or damaged buttons, impaired ports or connectors,
damage from power surge or incorrect power supply usage and water damage
( as Indicated by inspection of the internal liquid contact indicator).
For warranty support or repair, please contact Customer Care:
Phone Number:(302) 501-7208
Email: [email protected]
Website: www.nimopc.com
RTC Battery Warning
CAUTION: Danger of explosion if the battery is incorrectly replaced. Replace
only with the same or equivalent type recommended by the manufacturer.
Dispose of used batteries according to the manufacturer’s instructions.
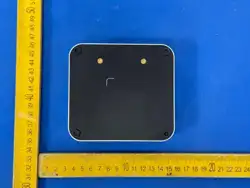
1.Locate the VESA mount screw holes on the back of the Mini PC. They
are located near the middle of the device.
2.Align the VESA mount bracket with the screw holes on the back of the
Mini PC as the image instructions. Make sure the mount is level and centered.
3.Insert the screws (M3) through the holes on the mount and into the screw
holes on the Mini PC. Use a screwdriver to tighten the screws but be careful
not to over- tighten them.
4.Double-check that the Mini PC is securely attached to the VESA mount.
5.Attach the VESA mount to the back of your monitor. Align the VESA mount
bracket with the screw holes on the back of your monitor.
6.Insert the screws (M4) through the holes on the mount and into the screw
holes on the back of your monitor. Use a screwdriver to tighten the screws
but be careful not to over-tighten them
7.Double-check that everything is securely in place and enjoy your newly
mounted Mini PC and display.
Read and follow all instructions in the documentation before you operate
your system.
Do not use this product near water or heat sources.
Set up the system on a stable surface.
Openings on the chassis are for ventilation. Do not block or cover these
openings. Make sure to leave plenty of space around the system for
ventilation. Never insert objects of any kind into the ventilation openings.
Use this product in environments with ambient temperatures between
0℃ and 35℃.
If you use an extension cord, make sure that the total ampere rating
of the devices plugged into the extension cord does not exceed its
ampere rating.
This equipment should be installed and operated with a minimum distance
of 20cm between the radiator and your body.
An error message appears on the screen during the system boot-up and
requests you to run the BIOS Setup.
You have installed a new system component that requires further BIOS
settings or updates.
Do not walk on the power cord or allow anything to rest on it.
Do not spill water or any other liquids on your system.
When the system is turned off, a small amount of electrical current still
flows.
or A small amount of electrical current continues to flow when the system
is turned off.
Always unplug the power cord from the power outlets before cleaning
the system.
If you encounter the following technical problems with the product, unplug
the power cord and contact a qualified service technician or your retailer.
The power cord or plug is damaged.
Liquid has been spilled into the system.
The system does not function properly even if you follow the operating
instructions.
The system was dropped or the chassis was damaged.
The system performance changes.
FCC Caution:
This device complies with Part 15 of the FCC Rules. Operation
is subject to the following two conditions:
(1)This device may not cause harmful interference
(2)This device must accept any interference received,
including interference that may cause undesired operation.
Care during use
Setting up your system
1.Connect the DC power connector to your Mini PC’s power (DC)
2.Plug the AC power adapter into a 100V~240V power source.
Connect the wall-plug adapter to your Mini PC:
NOTE:
The power adapter may vary in appearance, depending on the model and
your region.
Connect a display monitor to your Mini PC:
Connect one end of an HDMI cable to an external display, and the other end
of the cable to your Mini PC’S HDMI port.
Connect a keyboard and mouse to your Mini PC:
You can connect most of the USB keyboard and mouse to your Mini PC.
You can also connect a USB dongle for a wireless keyboard and mouse set.
Turn on your Mini PC
Press the power button to turn on your Mini PC.
Turning off your Mini PC
If your Mini PC is unresponsive, press and hold the power button for at least
four seconds until your Mini PC turns off.
WARNING!
Bios (Basic input and output system) stores system hardware settings that
are needed for system startup in the Mini PC.
In normal circumstances, the default BIOS settings apply to most conditions
to ensure optimal performance.
Do not change the default BIOS setting except in the following circumstances:
WARNING!
This equipment is not suitable for use in locations where children are likely
to be present.
The warranty does not apply to the products that have been disassembled
by users.
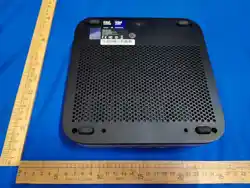
Each Mini PC has its unique SN code on its bottom.
Please provide us the SN code for quick and accurate service when contacting
our customer service.
Improper BIOS settings may result in instability or boot failure. We strongly
recommend that you change the BIOS settings only with the help of
trained service technician.
Load default BIOS settings
Enter the BIOS by pressing <F2> on the POST screen
Enter Fast Boot by pressing <F12> on the POST screen

FCC Warnning:
This equipment has been tested and found to comply with the limits for a Class B digital device,
pursuant to part 15 of the FCC Rules. These limits are designed to provide
reasonable
protection againstharmful interference in a residential installation. This equipment generates,
uses and can radiateradio
frequency
energy
and,
if
not
installed
and
used
in
accordance
with
the
instructions,
maycause
harmful
interference
to
radio
communications.
However,
there
is
no
guarantee
thatinterference
will
not
occur
in
a
particular
installation.
If
this
equipment
does
cause
harmfulinterference to radio or television reception, which can be
determined by turning the equipmentoff
and
on,
the
user
is
encouraged
to
try
to
correct
the
interference
by
one
or
more
of
thefollowing measures:
•
Reorient or relocate the receiving antenna.
•
Increase the separation between the equipment and receiver.
•
Connect the equipment into an outlet on a circuit different from that to which the receiver is
connected.
• Consult the dealer or an experienced radio/TV technician for help.
Caution:
Any
changes
or
modifications
to
this
device
not
explicitly
approved
by
manufacturer
could void your authority to operate this equipment.
This
device
complies
with
part
15
of
the
FCC
Rules.
Operation
is
subject
to
the
following
two
conditions:
(1)This
device
may
not
cause
harmful
interference,
and
(2)
this
device
must
accept
any
interference received, including interference that may cause undesired operation.
This
equipment
complies
with
FCC
radiation
exposure
limits
set
forth
for
an
uncontrolled
environment.
This
equipment
should
be
installed
and
operated
with
minimum
distance
20cm
between the radiator and your body.