• You will need a ladder, a #2 Phillips head screwdriver, a 3/32 drill bit, and drill.
• A light will ash, and a beep will sound as indication that the door is about to
move when commanded by the Aladdin Connect or compatible app(s).
• These instructions will show the physical installation of the retrot kit pieces
only. All other instructions are dened in the app.
KNOW BEFORE YOU BEGIN
DOWNLOAD THE APP & CREATE AN ACCOUNT
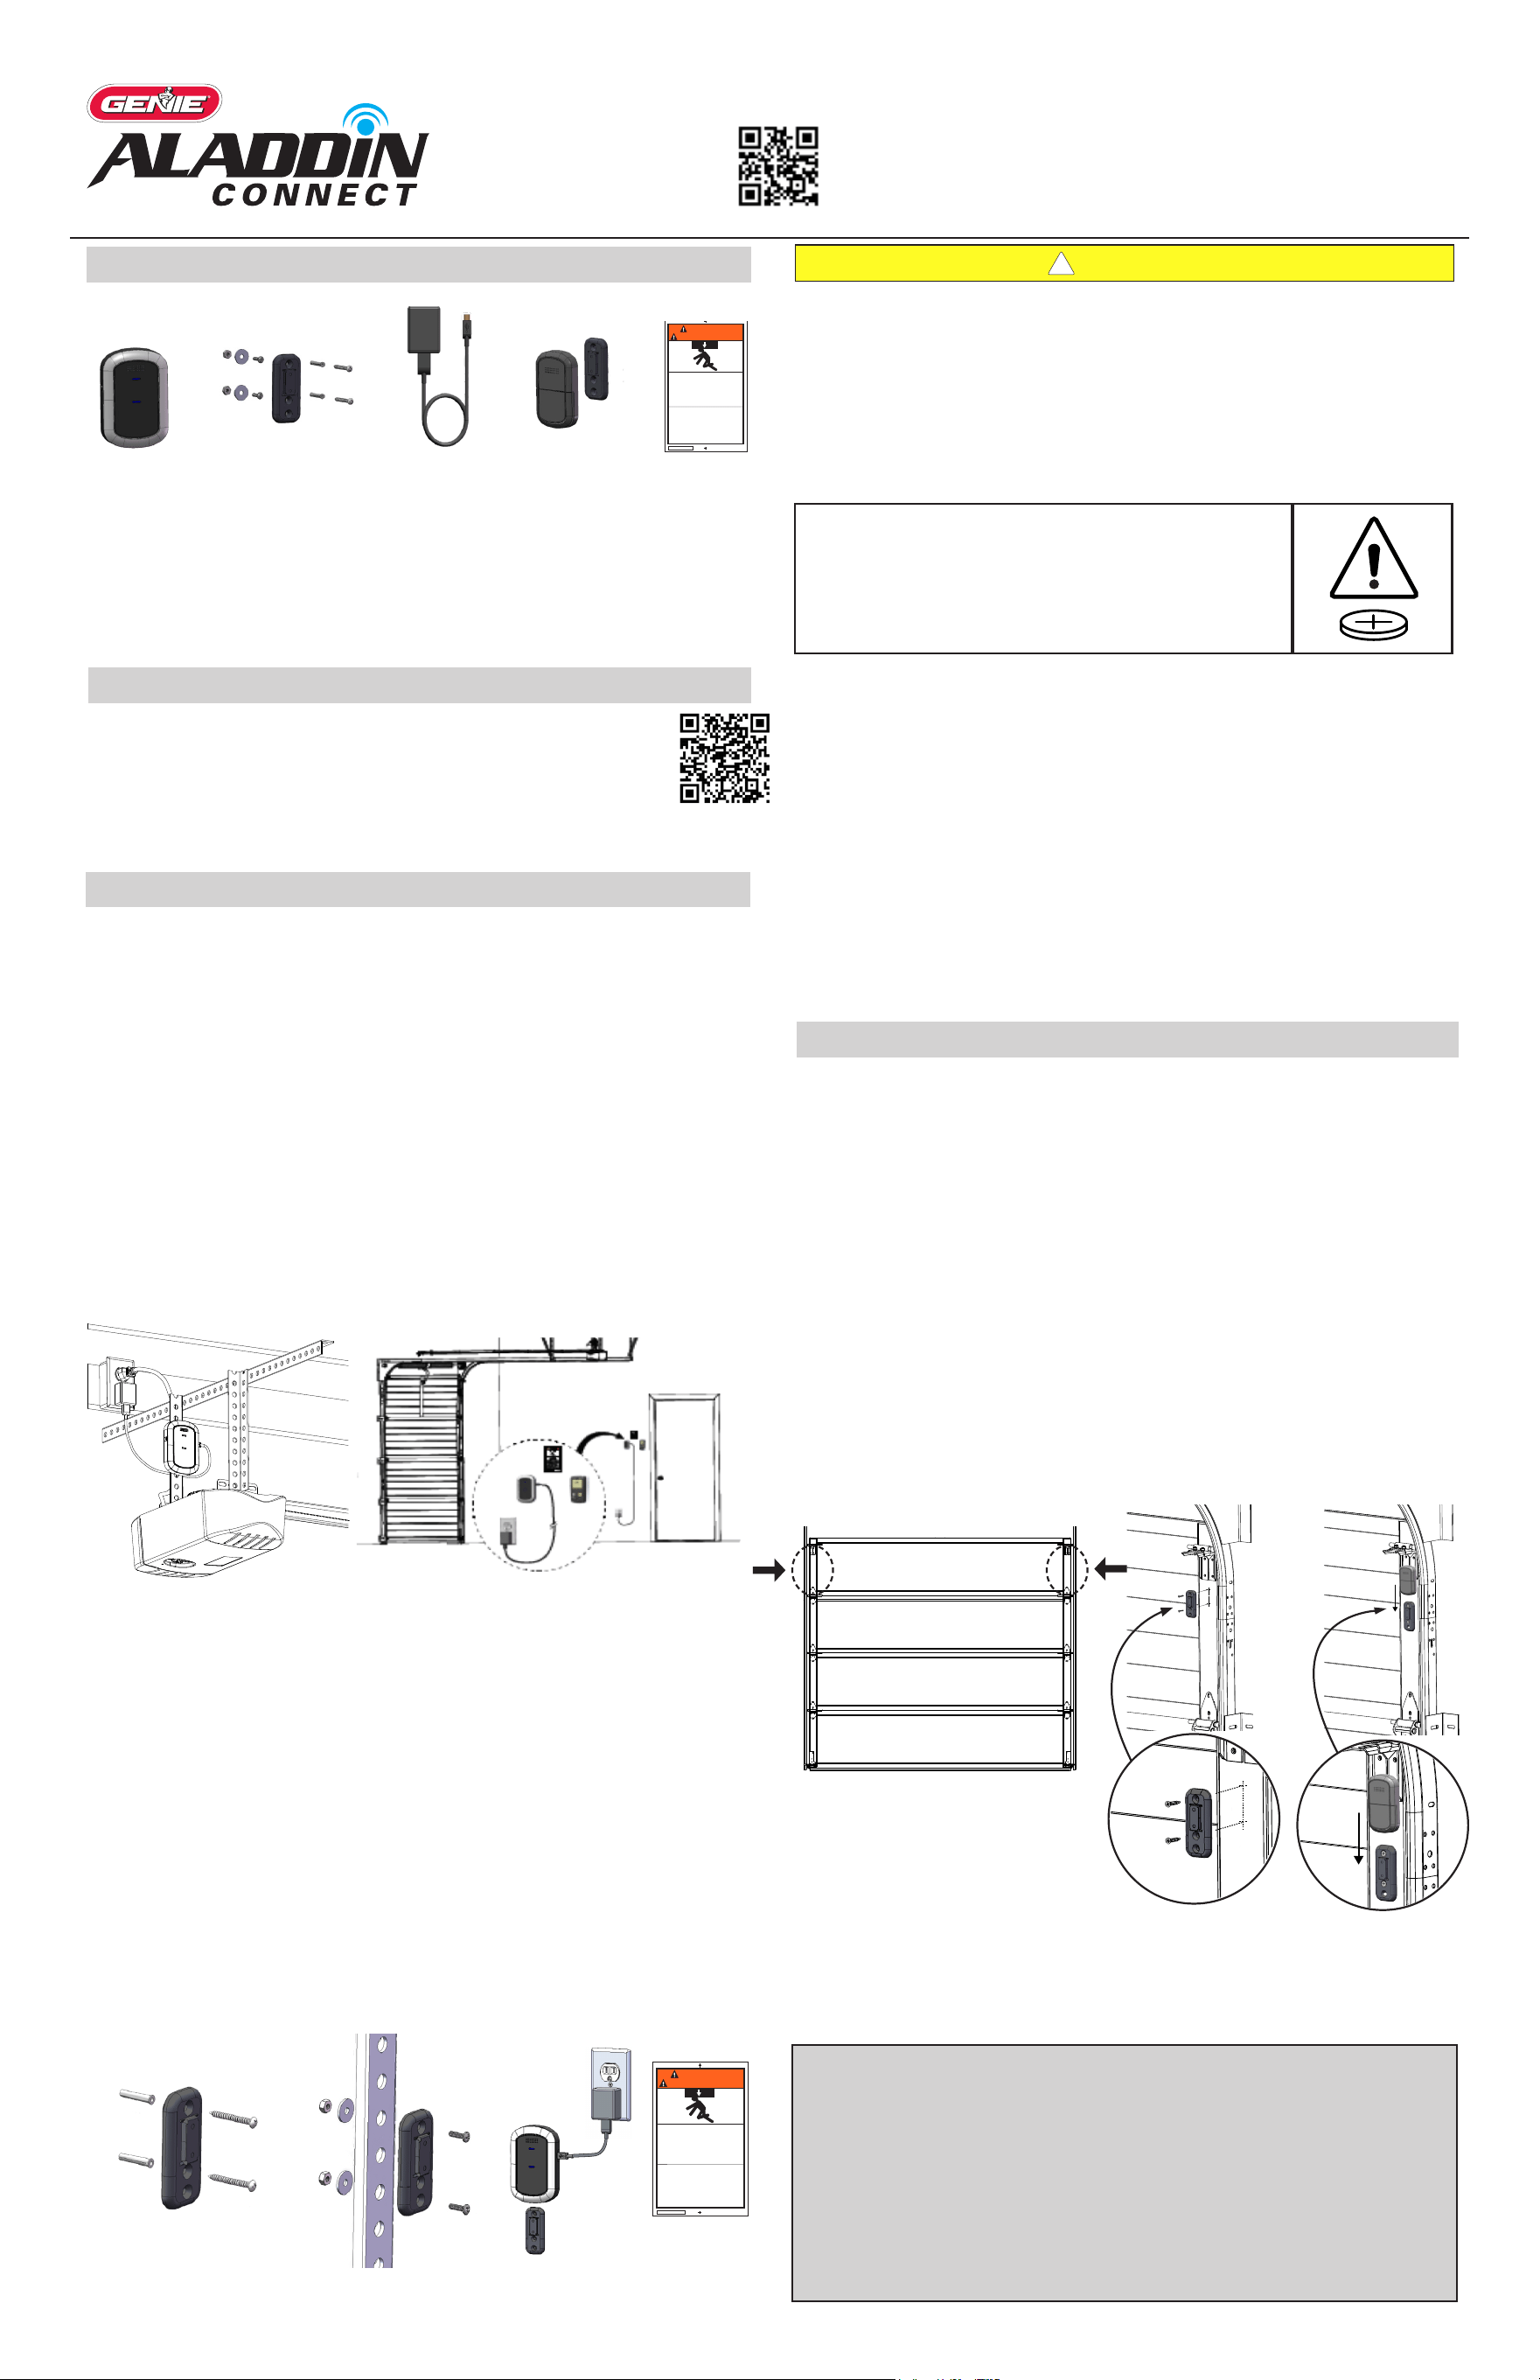
MOUNT & POWER DOOR CONTROL HUB
Placement examples
2. Install the Door Control Hub:
• If mounting to drywall, use the mounting bracket as a template to mark
and drill 2-3/32” pilot holes. Use provided anchors as needed (FIG A).
• If mounting to perforated angle at opener location, use nuts, washers and
screws provided (FIG B).
3. Slide the Door Control Hub onto its mounting bracket so it snaps into place
(FIG C).
4. Plug in the USB-C to the Hub and power cord to the outlet. The Wi-Fi LED on
the Hub should light up when powered on (FIG C).
5. Ax the unattended warning placard next to wall control in plain sight to
signify that the door can operate remotely. Tacks or staples (not supplied)
should be used if the placard does not adhere to the mounting surface (FIG C).
Wall Mount Anchors
(as needed)
MOUNT & POWER DOOR POSITION SENSOR
Locate the Door Position Sensor with its mounting bracket and hardware.
You will need a ladder to access the top section of your garage door. DO NOT
remove the battery pull tab until directed by the app.
1. Standing inside the garage looking out, nd the end stile on the far left or
right of the TOP PANEL OF THE GARAGE DOOR (FIG G), directly under the top
hinge.
NOTE: DO NOT mount to unreinforced door panel.
2. Vertically and horizontally center the mounting bracket between the top
roller bracket and rst hinge.
3. Use the mounting bracket as a template to mark and pre-drill (2) 3/32 holes
and use the included self-tapping screws to mount the bracket to top door
panel end stile (FIG H).
NOTE: DO NOT drill all the way through door.
4. Slide Door Position Sensor down onto mounting bracket until it snaps into
place (FIG I).
5. Use the app to continue Wi-Fi setup and complete installation.
42863.03010 1/26
©2026 The Genie Company
One Door Drive, Mt. Hope, OH 44660, USA
1-year warranty, visit www.geniecompany.com for details.
Pat. www.geniecompany.com/patents
®
For help, contact our Aladdin Connect
®
team at 866-599-4995
or visit us at
www.geniecompany.com
READ AND FOLLOW ALL INSTALLATION INSTRUCTIONS
To reduce the risk of severe injury or death to persons:
• DO NOT install this product on garage door openers made prior to 1993
without safety sensors.
• DO NOT install this product on one piece doors.
• Install hub in a location where it can be seen and heard while standing in
the door opening with the door in the open position.
• This operating system is designed for unattended operation. The door could
move unexpectedly.
!
WARNING
Contents
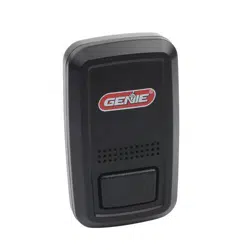
Door Control Hub
Door Control Hub
Plug & Adapter
Door Control Hub Mounting
Bracket & Hardware
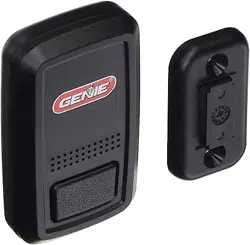
Door Position Sensor,
Mounting Bracket &
Hardware
Warning Placard
112612.0001
WARNING
AVERTISSEMENT
MOVING DOOR can cause serious
injury or death.
MOUVEMENT PORTE peut causer des
blessures graves ou la mort.
STAND CLEAR!
Door could close automatically.
Do Not stop or stand in doorway
SE TENIR À L'ÉCART DE LA PORTE!
La porte pourrait se refermer automatiquement.
Ne pas arrêter ou debout dans la porte.
1. Scan the QR code to download the Aladdin Connect app and
create an account.
2. Press the plus sign on the home screen, then select door.
Follow the installation and setup instructions in the app.
1. Locate the Door Control Hub with its mounting bracket and hardware.
Select an installation location that meets the following listed criteria:
• Can be seen and heard from anywhere inside the garage.
• Should be less than 30ft from the garage door opener.
• Should be within 5ft of standard 110v AC power outlet.
• Should have at least two bars of Wi-Fi signal when a smartphone is
placed in the proposed position. If there are not at least two bars in the
desired location, try these steps to improve Wi-Fi signal strength:
- Make sure that the Wi-Fi router is out in the open (not concealed).
- Move the Wi-Fi router closer to the garage.
- Purchase a Wi-Fi extender, available at most electronics stores.
Locations could be above the opener secured to drywall, fastened to the
perforated angle that holds the opener, near the wall console or any other
location that meets the above criteria.
Perforated Angel Mount
112612.0001
WARNING
AVERTISSEMENT
MOVING DOOR can cause serious
injury or death.
MOUVEMENT PORTE peut causer des
blessures graves ou la mort.
STAND CLEAR!
Door could close automatically.
Do Not stop or stand in doorway
SE TENIR À L'ÉCART DE LA PORTE!
La porte pourrait se refermer automatiquement.
Ne pas arrêter ou debout dans la porte.
FIG A FIG B FIG C
Standing inside the garage, looking out, locate the
end stiles of the TOP PANEL of the garage door.
FIG G
FIG H
FIG I
• Remove and immediately recycle or dispose of used batteries according to local
regulations and keep away from children.
Do NOT dispose of batteries in household trash or incinerate.
• Even used batteries may cause severe injury or death.
• Call a local poison control center for treatment information.
• Replace only with Type CR2450 3V batteries.
• Non-rechargeable batteries are not to be recharged.
• Do not force discharge, recharge, disassemble, heat above (manufacturer’s specied
temperature rating) or incinerate. Doing so may result in injury due to venting, leakage
or explosion resulting in chemical burns.
• Ensure the batteries are installed correctly according to polarity (+ and -).
• Do not mix old and new batteries, dierent brands or types of batteries, such as
alkaline, carbon-zinc, or rechargeable batteries.
• Remove and immediately recycle or dispose of batteries from equipment not used for
an extended period of time according to local regulations.
• Always completely secure the battery compartment. If the battery compartment does
not close securely, stop using the product, remove the batteries, and keep them away
from children.
• INGESTION HAZARD: this product contains a button cell or coin battery.
• DEATH or serious injury can occur if ingested.
• A swallowed button cell or coin battery can cause Internal Chemical Burns
in as little as 2 hours.
• KEEP new and used batteries OUT OF REACH OF CHILDREN
• Seek immediate medical attention if a battery is suspected to be
swallowed or inserted inside any part of the body.
FCC/IC Statement:
This equipment contains licence-exempt transmitter(s)/receiver(s) that comply with Part 15 of the FCC Rules, ICES-003 Class B specications, and ISED Canada’s
licence-exempt RSS(s). Operation is subject to the following two conditions: (1) this device may not cause harmful interference, and (2) this device must accept
any interference received, including interference that may cause undesired operation. Changes or modications not expressly approved by the party responsible
for compliance could void the user’s authority to operate the equipment. This equipment also complies with FCC and ISED RSS-102 RF exposure limits for an uncon-
trolled environment. It must not be co-located or operated in conjunction with any other antenna or transmitter. To ensure compliance, a minimum separation
distance of 20 cm (7.9 inches) must be maintained between the antenna and the user’s body during normal operation. Users must follow the specic operating
instructions to maintain RF exposure compliance.
Cet équipement contient des émetteurs/récepteurs exempts de licence conformes à la partie 15 des règlements de la FCC, aux spécications NMB-003 classe B,
et aux normes CNR exemptes de licence d’ISED Canada. Son fonctionnement est soumis aux deux conditions suivantes : (1) cet appareil ne doit pas provoquer
d’interférences nuisibles, et (2) il doit accepter toute interférence reçue, y compris celles pouvant provoquer un fonctionnement indésirable. Les modications non
expressément approuvées par la partie responsable de la conformité peuvent annuler le droit de l’utilisateur à utiliser cet équipement. Cet équipement est égale-
ment conforme aux limites d’exposition aux radiofréquences dénies par la FCC et ISED dans la norme CNR-102 pour un environnement non contrôlé. Il ne doit pas
être installé ou utilisé conjointement avec une autre antenne ou un autre transmetteur. Pour garantir la conformité, une distance minimale de 20 cm (7,9 pouces)
doit être maintenue entre l’antenne et le corps de l’utilisateur pendant le fonctionnement normal. Les utilisateurs doivent suivre les instructions spéciques de
fonctionnement pour assurer la conformité à l’exposition RF.