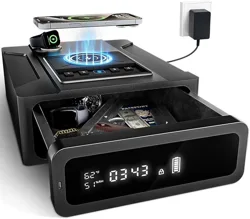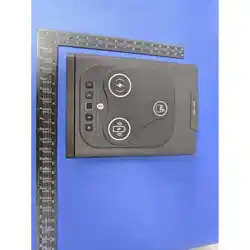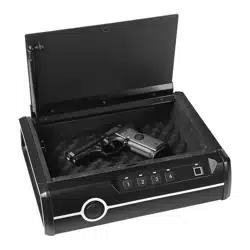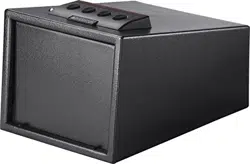
User Instruction Manual [S12FB]
keep your safe
Please contact us at the first time if you have any
problems with it.Promise me to be each gather's angels!
ver 2.08.15070125

01
Table of Contents
XDeer Product Series 001
Get to Know Your XDeer® Safe 002
Programming specification 003-1
Programming operation 004
Customer Support Service 005
Warranty and return requirements 006-1
Spare key description and lost back 006-2
Wall Safe Product Series 007-1
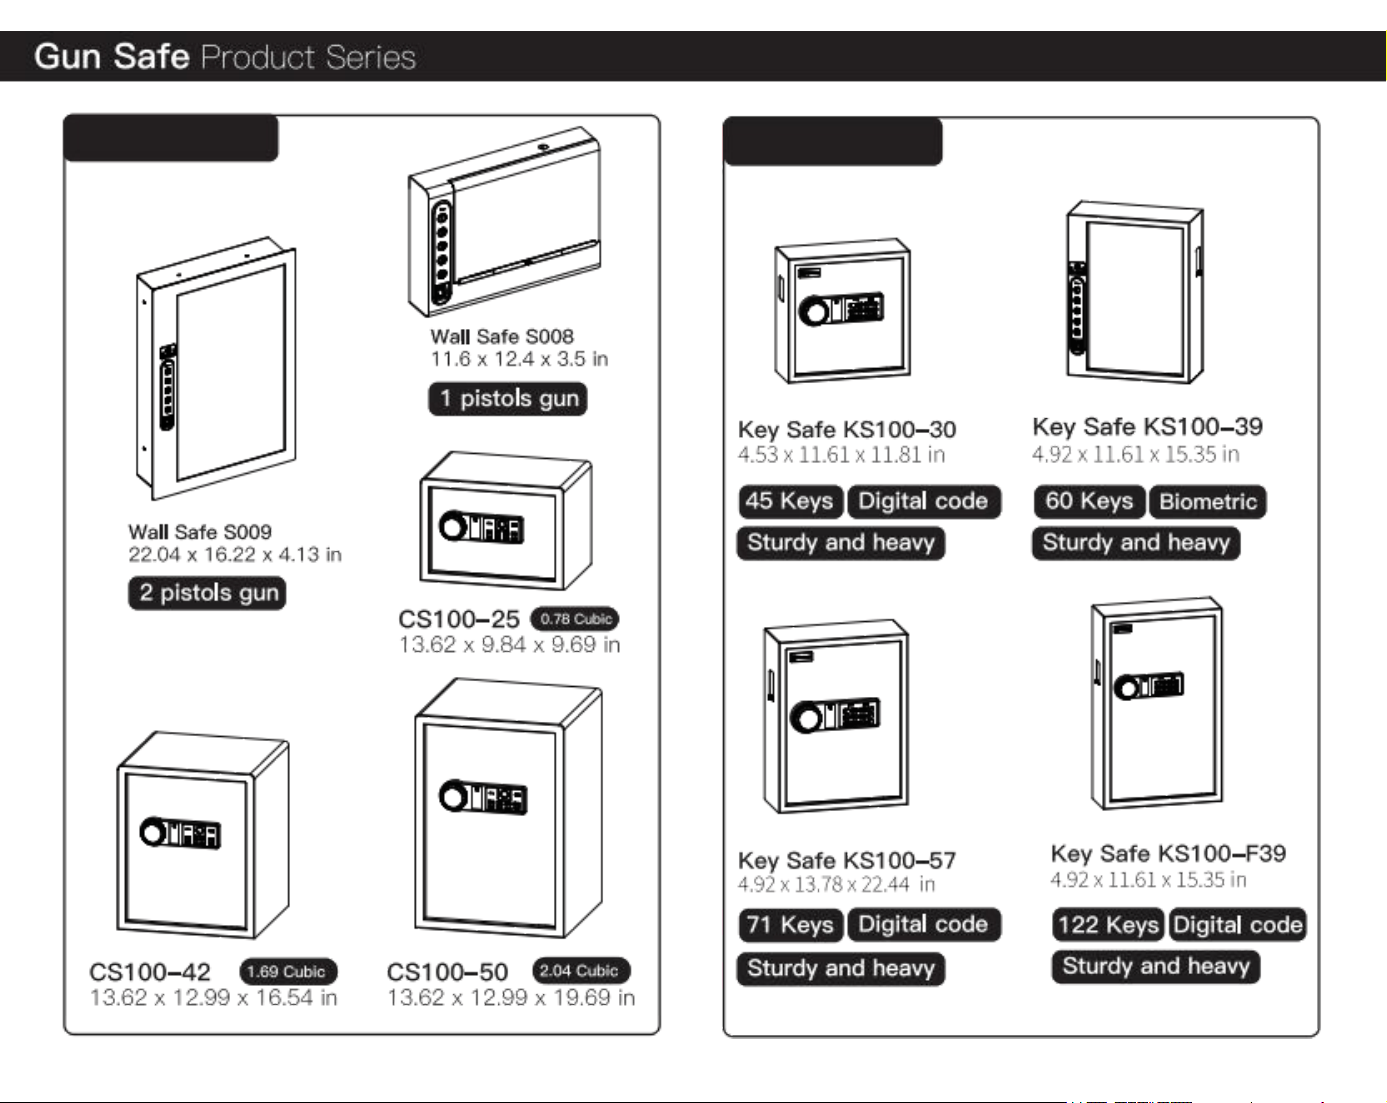
Key Safe Product Series 007-2
Home Safe Product Series 008-1
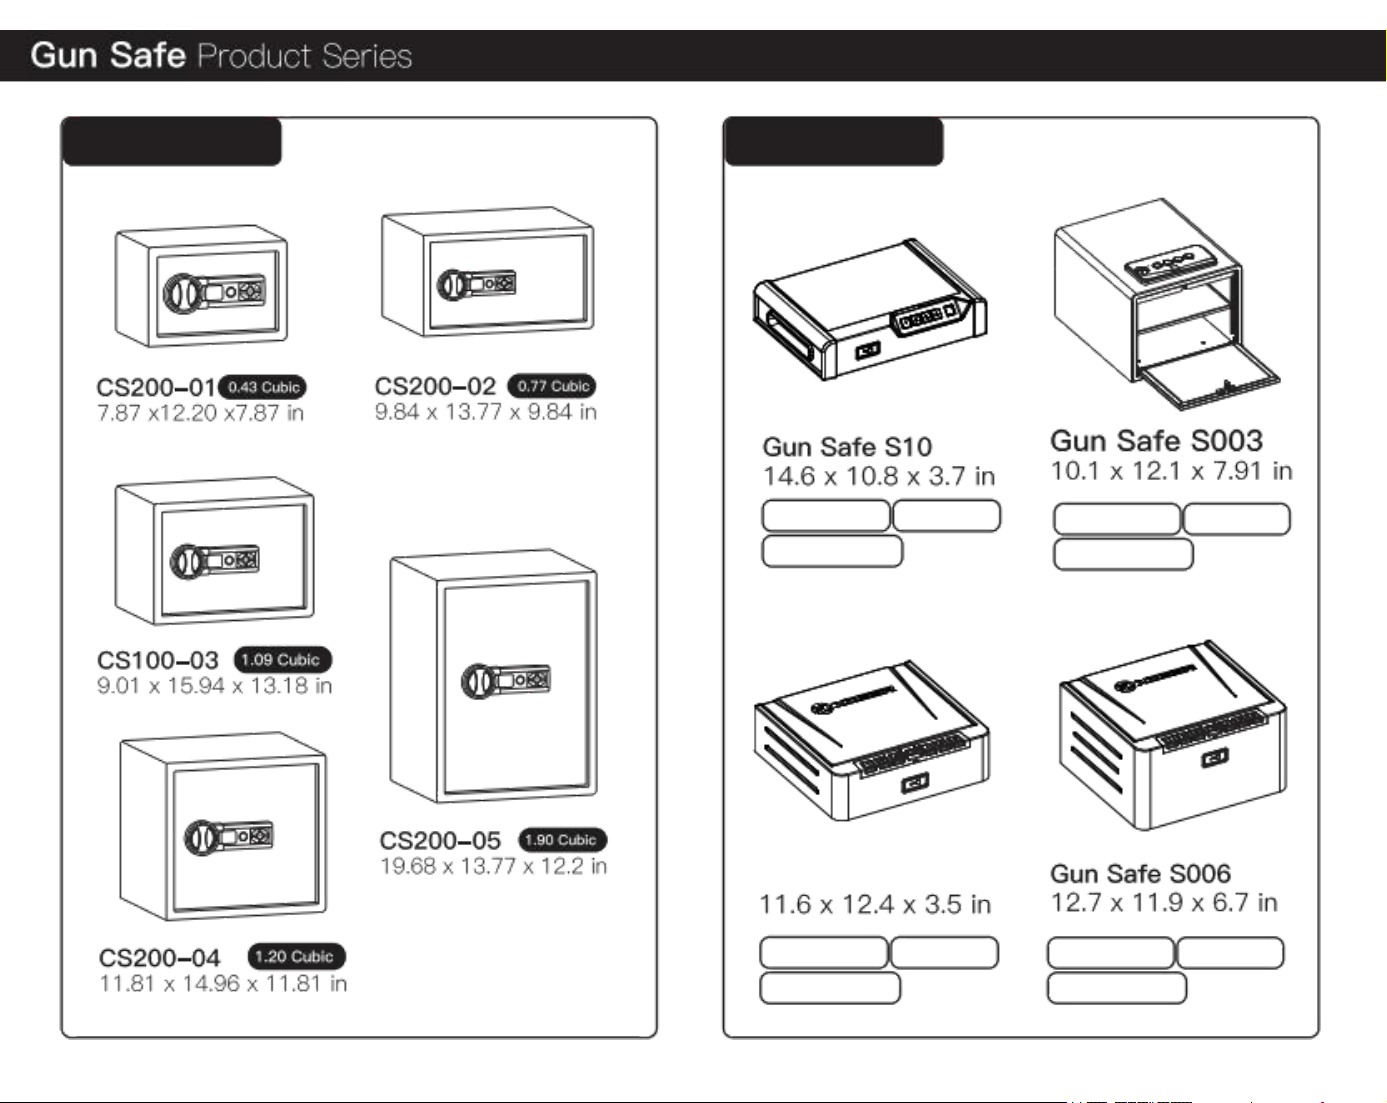
Gun Safe Product Series 008-2
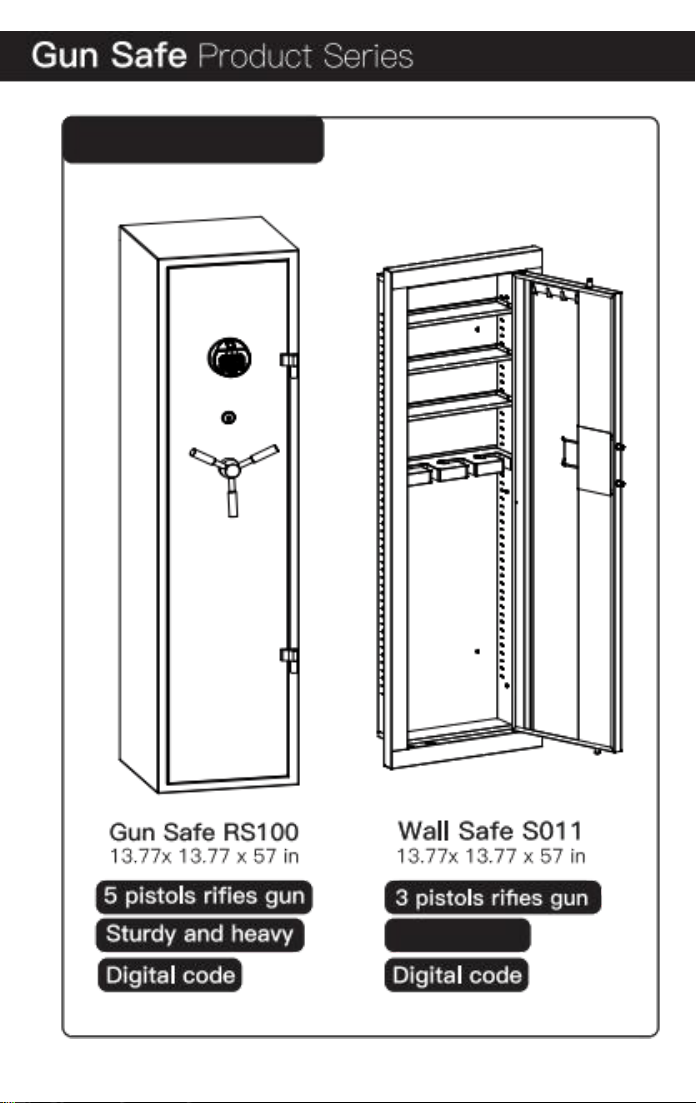
Rifle Gun Safe Product Series 010
DISCLAIMERS
NEITHER SELLER NOR MANUFACTURER SHALL BE
LIABLE FOR UNAUTHORIZED ACCESS, ANY INJURY,
LOSS OR DAMAGE TO PERSONAL PROPERTY DIRECT
OR CONSEQUENTIAL, ARISING OUT OF THE USE OF,
OR THE INABILITY TO USE THE
PRE-USE Instructions
Important safety Instructions
1. DO NOT use rechargeable batteries or any
other type of non-alkaline battery.
2. DO NOT mix old and new batteries.
DO NOT mix alkaline and standard batteries.
3. DO NOT lock the safe’s key and the USB
cable inside safe.
4. Connected USB port CAN NOT charge the battery.
5. DO NOT leave the safe in extreme weather
conditions. Battery power may be affected.
6. DO NOT store loaded firearms in this unit.
Firearms are serious in nature and must be treated
with respect and stored responsibly.
XDEER® SAFE.
THE USER SHALL DETERMINE THE SUITABILITY OF
THE XDEER® SAFE BEFORE THE INTENDED USE
AND USER ASSUMES
RISK AND LIABILITY WHATSOEVER IN CONNECTION
THEREWITH, XDEER® SAFE ARE NOT INTENDED TO
PROTECT AGAINST
ENVIRONMENTAL HAZARDS INCLUDING FIRE AND
WATER.
02
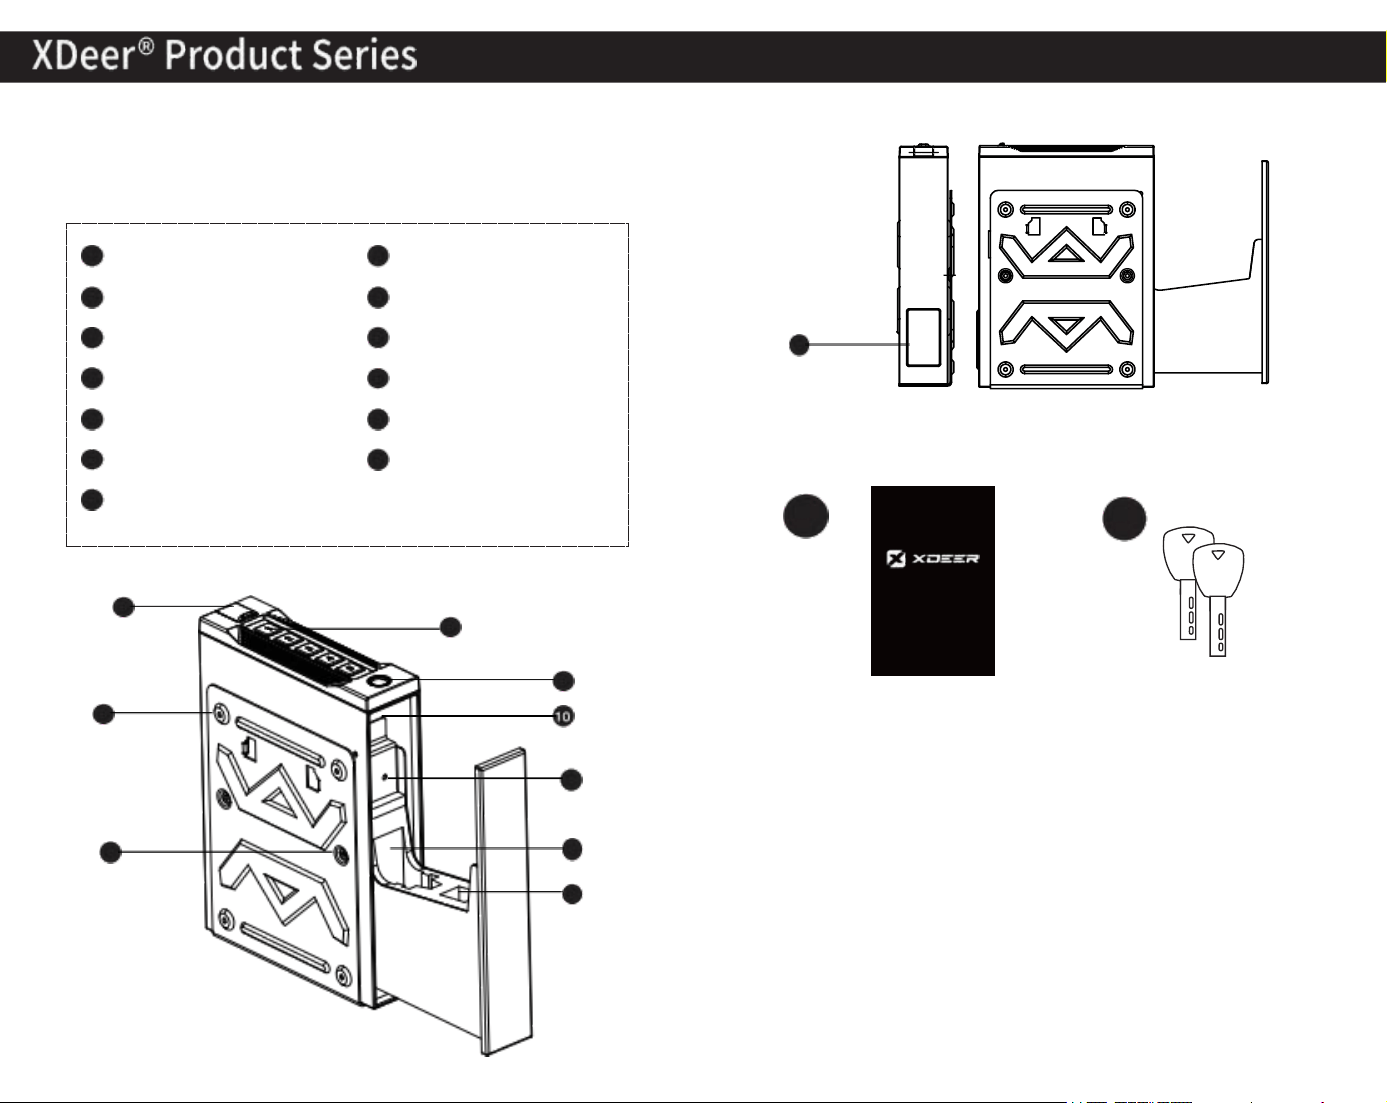
The XDeer® Safe is a tough and rugged quick
access safe. Its solid structure and penetration
resistant design makes it deal for storing keys.
1 PIN Keypad
2 Emergency Lock
3
Fingerprint Scaner
4
Indicator Light
5
Firearm storage
6
Pistol magazine storage
7
Fixing bolt
8 Set screw hole
9 Battery Compartment
10 Reset Button
11
Owner’s Manual
12
Backup Keys
13
Expansion Screws
2
1
3
8
5
6
9
7
12
11
4
Programming Specification
03
Password setting
In standby mode, press and hold the setting key for 2
seconds until the buzzer beeps twice and the blue light
flickers twice the password key light is on in the
meantime, then enter a new password of 3-6digits.After
entering the password, press the setting key again and a
beep is heard twice, meaning the operation is successful.
If three beeps are heard, the password setting is failed. To
reset the password after the failure, you need to start from
the first step.
Note: After the setting key is pressed, you have10 seconds to
set a new password. if the password is not successfully set
within the period, the setting will fail. You need to press the
setting key again to start set your password.
Fingerprint setting
30 fingerprints can be set
In standby mode, press and hold the setting key for 2
seconds until the buzzer beeps twice and the blue light
flicker twice,the scanner area light is on in the meantime,
then release the setting key, put your finger onto the
fingerprint zone, and press it for 4 times, each time you
input the fingerprints, the buzzer beeps once and the
blue light flicker once,and after repeating 3it four times,
the
buzzer beeps twice, meaning the fingerprint setting
is successful.
Note: if the buzzer beeps three times, it means the setting
is failed. You need to press the setting key to reset the
fingerprint.
Fingerprint setting
1.Setting key description: Press the setting key for 2 seconds,
the buzzer beeps twice, the blue light is on, and you can set
the fingerprint or password.
2.Factory setting: Initial password: “1234".
Initial fingerprint: The gun safe cannot be opened if no
fingerprint information is set. Sound: on.
3.The digital password you set has 3-6 digits (46656
combinations at most). i f the password has less than 3
digits or more than 6 digits, the setting will fail. Note: A new
password will overwrite the old one;
number of fingerprints: 30.
4.If the password is set while no fingerprint is set, the new
password can be used to open the gun safe, but any
fingerprints will not be valid at this point. On the contrary,
if the fingerprint is set but no password is set, the original
factory password "1234" will be invalid. (if the password set
by the user is 1234, the door will be opened normally.)
5.For ease use, you are advised to set a new password and
fingerprint.
6.To improve your success rate, register several
fingerprints for a single finger at different locations in
the scanner " left, right, up, and down. Do not scan any
finger that has moisture, lotion, or dirt.
SCAN IT
QULCK STARTED
or visit www.xdeersafe.com
Programming Operation
04
Open the Door
with Fingerprints
Put your finger on the fingerprint scanner, If the
fi ngerprint matches the information recorded by the
system the door will open rapidly.
NOTE:If the fingerprint doesn't match the
information recorded by the system, the buzzer beeps
three times and the red light is on.
Error Alarm
The panel will be locked for one minute and the buzzer will
alarm for 30seconds consecutively if the wrong password is
entered for three times or the incorrect fingerprint is input
for f i ve times.
All passwords/fingerprints will be invalid during the
alarm period. After the alarm ends, you can try it again.
NOTE:if wrong information is entered again, the alarm
time will be longer. You are advised to remove the
batteries and reinstall them.
Restoring
Factory Settings
Press and hold the setting key for more than 6s (the blue
light flash and the buzzer beeps twice at 2nd second) until
the buzzer beeps for 2s.
The initialization is successful-the fingerprints are
cleared & password set to "1234".
Sound ON/OFF
Sound ON: Hold the“1" button for 5 seconds until you
hear one beep and the keypad light will flash once
together, the sound is ON.
Sound OFF: Repeat the previous step, the sound is OFF.
Low Voltage Alarm
In order to save the loss of battery power in the safe,
the internal LED will only light up when using the
master code and fingerprint to unlock, and the USB
line interface connected to the power supply can not
make the LED light always on.
Internal LED
If the battery power is lower than 4.8V, press any number of
the password input panel or input any fingerprint, the alarm
sounds 5 times to remind the user of the low voltage for
replacement in order to open the door normally next time.
Programming Operation
05
Use the Bluetooth app to
control the safe
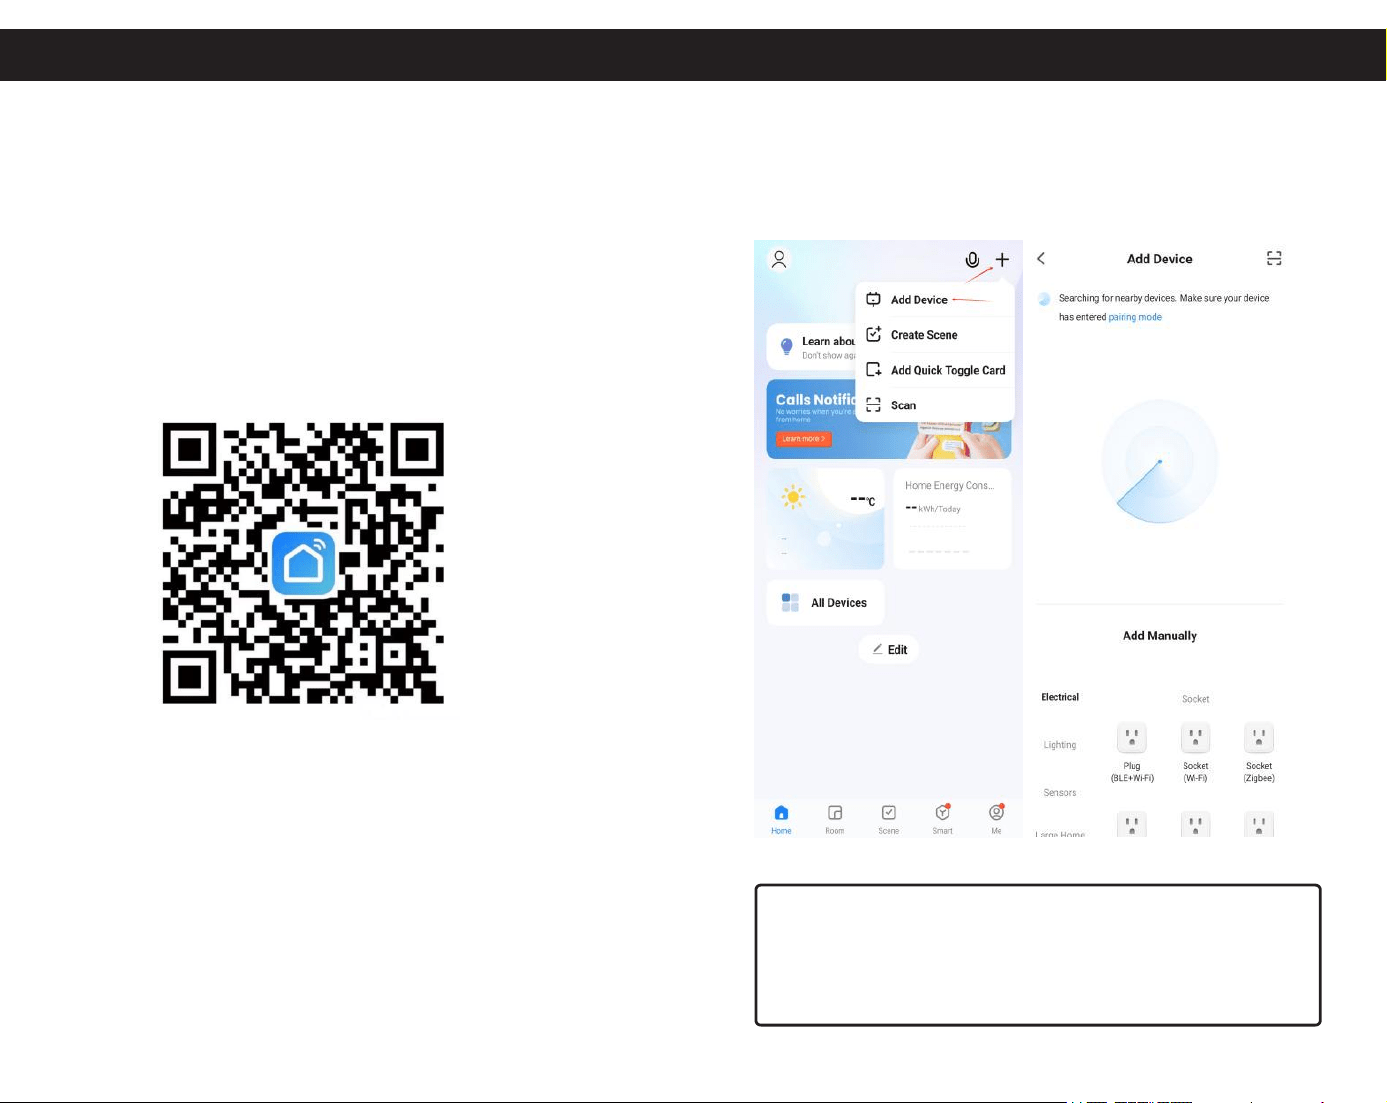
1.Downloading the control app.
( 1 ) Direct search: Go to the app store, or go to the Google
App Store to download "smart life".
( 2 )Scan the QR code to download "smart life"
2.Adding Devices
(Enable the Bluetooth function)
①When connecting to the Bluetooth function of the safe, need to enable
the Bluetooth function of the mobile phone.
②Press the number 1 on the safe panel twice and press the“Setting Key”
once, the blue light will blink, then open the smart life APP page , in the
upper right corner of the “+”, click on add device, it will automatically
pop up the current addable devices, please select your safe
.
Refer to the following picture for the smart life APP
operation page to adding devices.
NOTE
:Please keep your safe open when connecting
Bluetooth function, and don't be too far away from the
safe or in the different WiFi environment.
Programming Operation
06
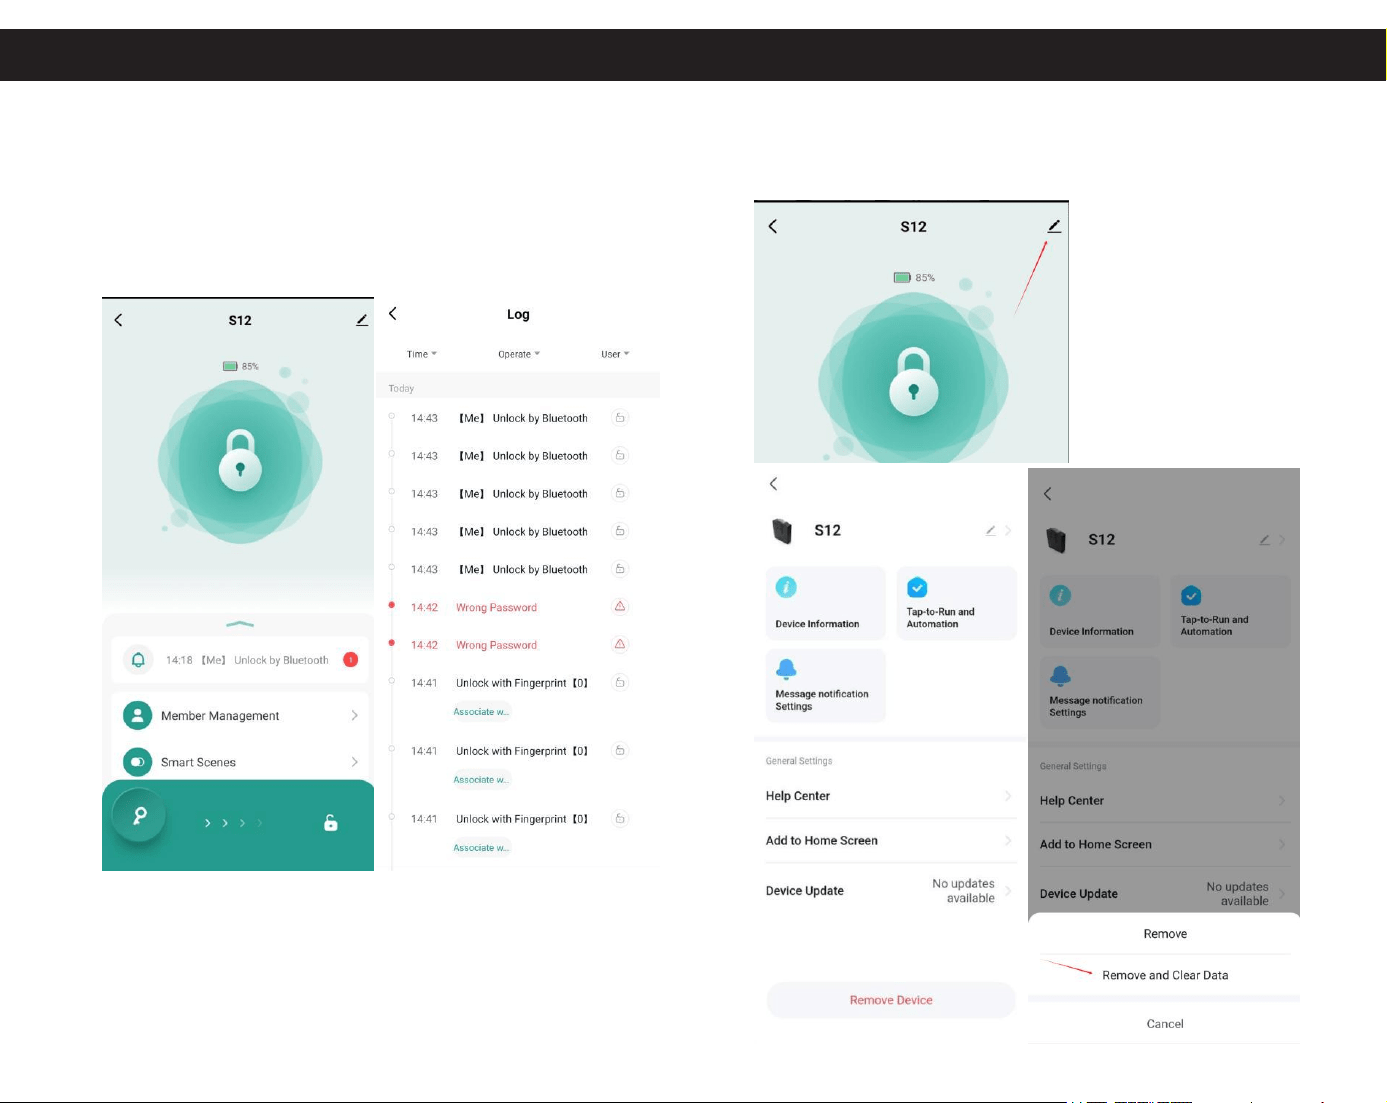
3.Functions of smart life APP
After pairing, the lock can be unlocked with one click, and the lock can
be unlocked by sliding through the app.You can view the door
opening record, electricity, error alarm and other information.
When you need to re-pair the account, perform the app
to remove the device.
07
Customer Support
Service
If you have a problem with your XDeer® safe that is not
answered in the this manual,
we encourage you to Email us:
xdeersafe@hotmail.com
Your Orders Buy again
Q Search all orders Filter>
Your Account
Type XDeer in the
search field to find
your order
Your List
Buy Again
1. Go to your account
and find your order.
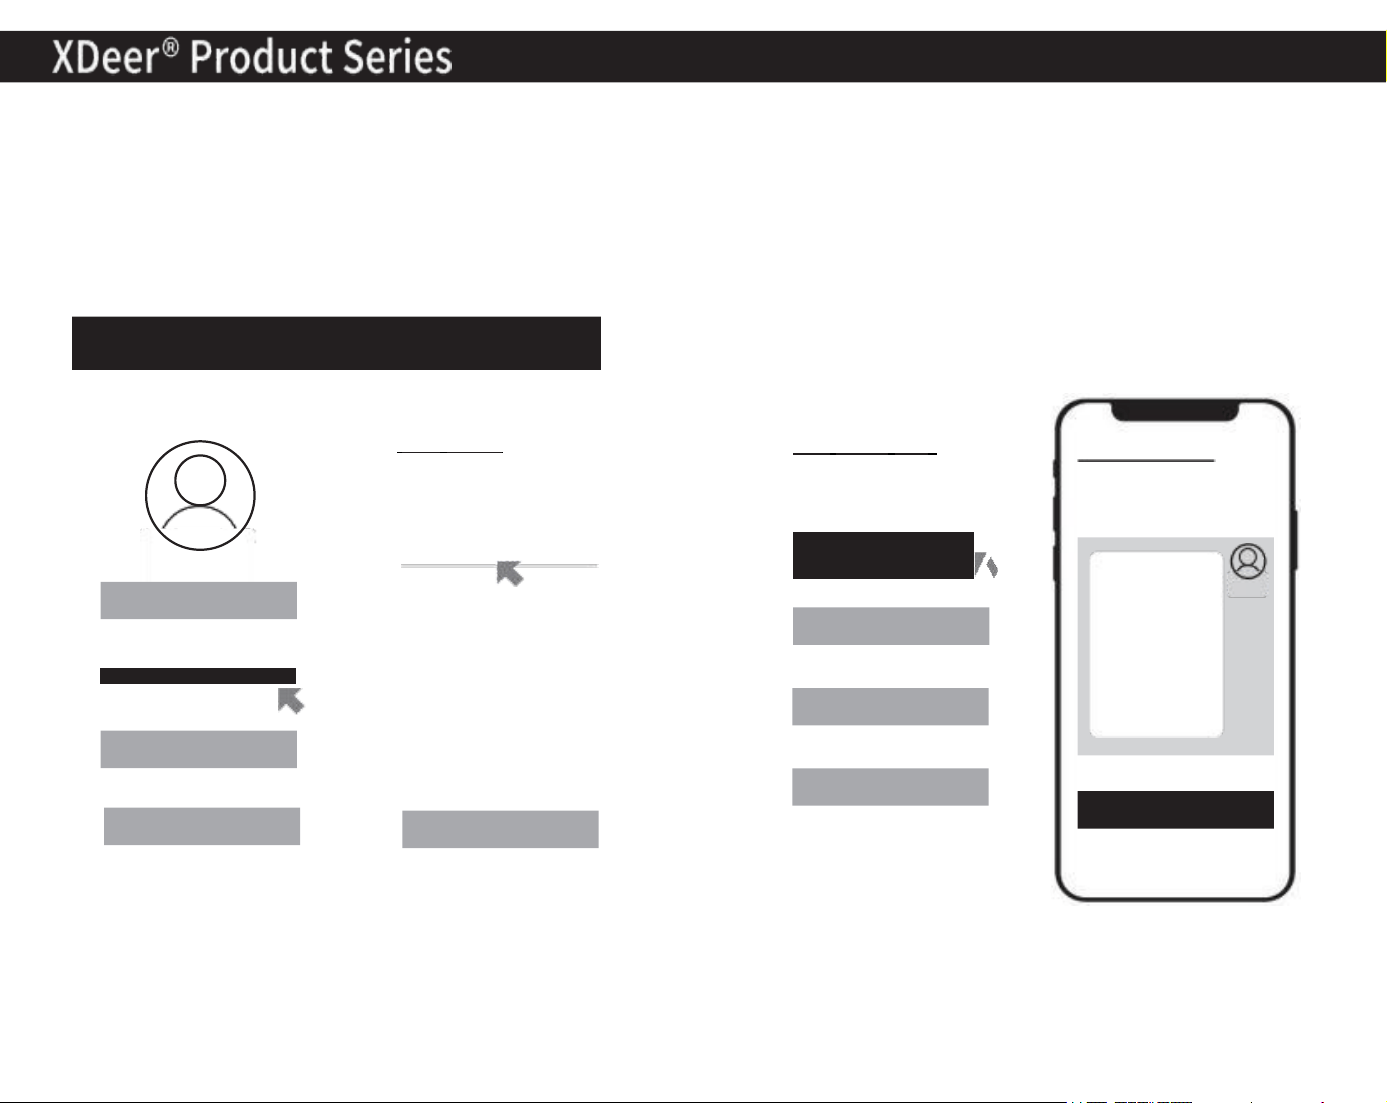
How shall i talk to them?
You can e-mail the seller by doing the following to get
product support.
Give the seller 24-hour to replied.
Your Orders Item
xxxxx
xxxx
xxxxxx
xxxx
…
Send it
4. Describe the problems
you need to solve.
3. Select your order
and click support.
2. Type XDeer to
search your order.
Get Product Support
Apply
Track Shipment
Write a Product Reviewer
Buy it Again
Your Order
Product Support
08
If you have any other questions, you can get more after-sales support
by scanning the following QR code through other channels that you
find more convenient.
Facebook
Linkedin
WhatsApp
Xdeer Official Website
Youtube
09
Return and Exchange
Requirements
If you are returning/exchanging the product, please be sure
not to put the key inside the safe and change the XDeer®
safe's code back to the default code. Then apply for a
return or exchange on the corresponding platform where
you purchased it.
Linked Warranty
Terms and Conditions
XDeer® is committed to building high quality products and
will make every effort to ensure our products are free from
any defects. We warrant to the purchaser that. The XDeer®
safe will be free from defects in materials or workmanship
for a period one year from the date of purchase.
This warranty does not cover abuse, misuse, use in any
manner for which is not designed, neglect, modification,
damage inadvertently caused by the owner, accidents,
and/or tampering. Any damage to the XDeer® safe as a
result of misuse, tampering, abuse, neglect, accident,
improper installation, m o dification, unauthorized service,
destruction, or the alteration of the serial number, or use
violate of the instructions furnished by the Company will
void this warranty.
These warranties are not assignable or transferable to any
other person.
The sole responsibility of the Company shall be limited to
the repair or replacement (in its sole discretion) of any
component of the XDeer® safe which fails to conform to
this warranty at no cost to the purchaser for the period of
the warranty.If you safe is determined to be defective and
we are responsible for the cause we will have it repaired at
our expense, or we will send a new replacement at no cost
to you. You will be required to return your existing unit as
well as all included accessories to XDeer® prior to
replacement of the defective unit along with your order
of purchase.
TIP: If it is determined your safe needs to be returned,
please contact our customer support team, and them will
provide you with a return detail.
Backup Keys Access
Backup Keys: Access the Safe
The keyhole is located on the top of the safe. Two backup
keys are provided. In the event these are needed to open
the XDeer® Safe, simply insert one of the backup keys, and
turn the key to open the safe.
TIP: If the backup keys are lost or an extra one is
required,please contact the XDeersafe.com customer
support team and provide them with the code on the
keyhole.
Digital code Biometric
KEY/TEPY-C
xdeer S005
Digital code Biometric
KEY/TEPY-C
Digital code Biometric
KEY/TEPY-C
Digital code Biometric
KEY/TEPY-C
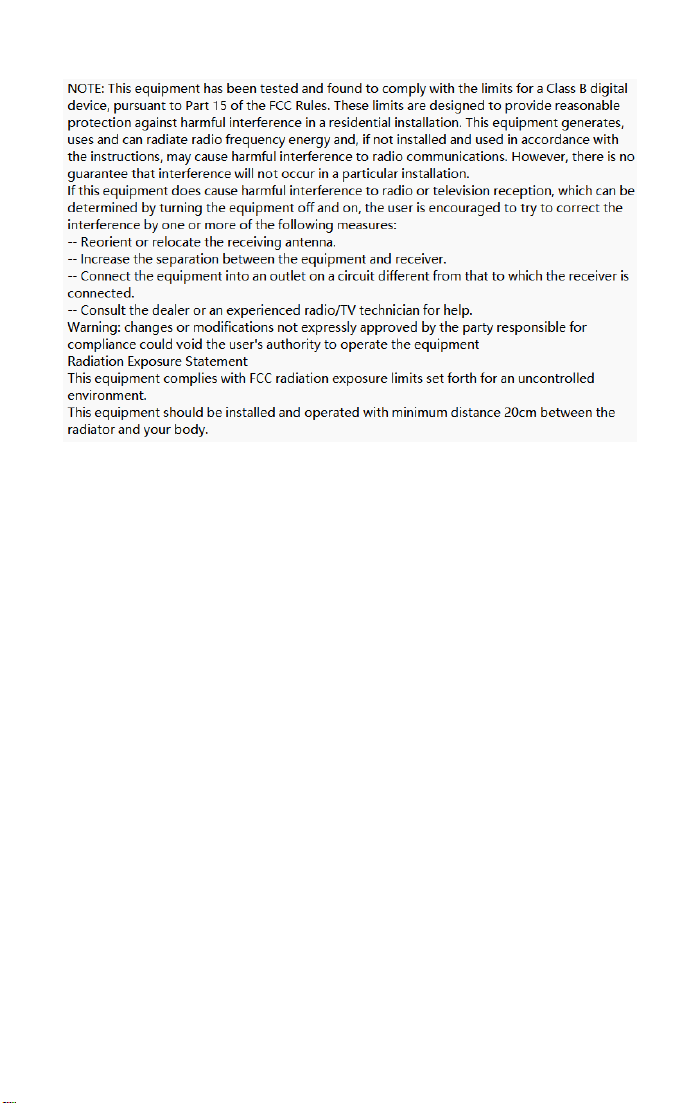
This device complies with Part 15 of the FCC Rules. Operation is subject to the
following two conditions:
(1) This device may not cause harmful
interference, and
(2) this device must accept any interference
received, including interference that may cause undesired operation.