SSI 0890BZ
EN
VACUUM GARMENT STEAMER
Translation of the original manual
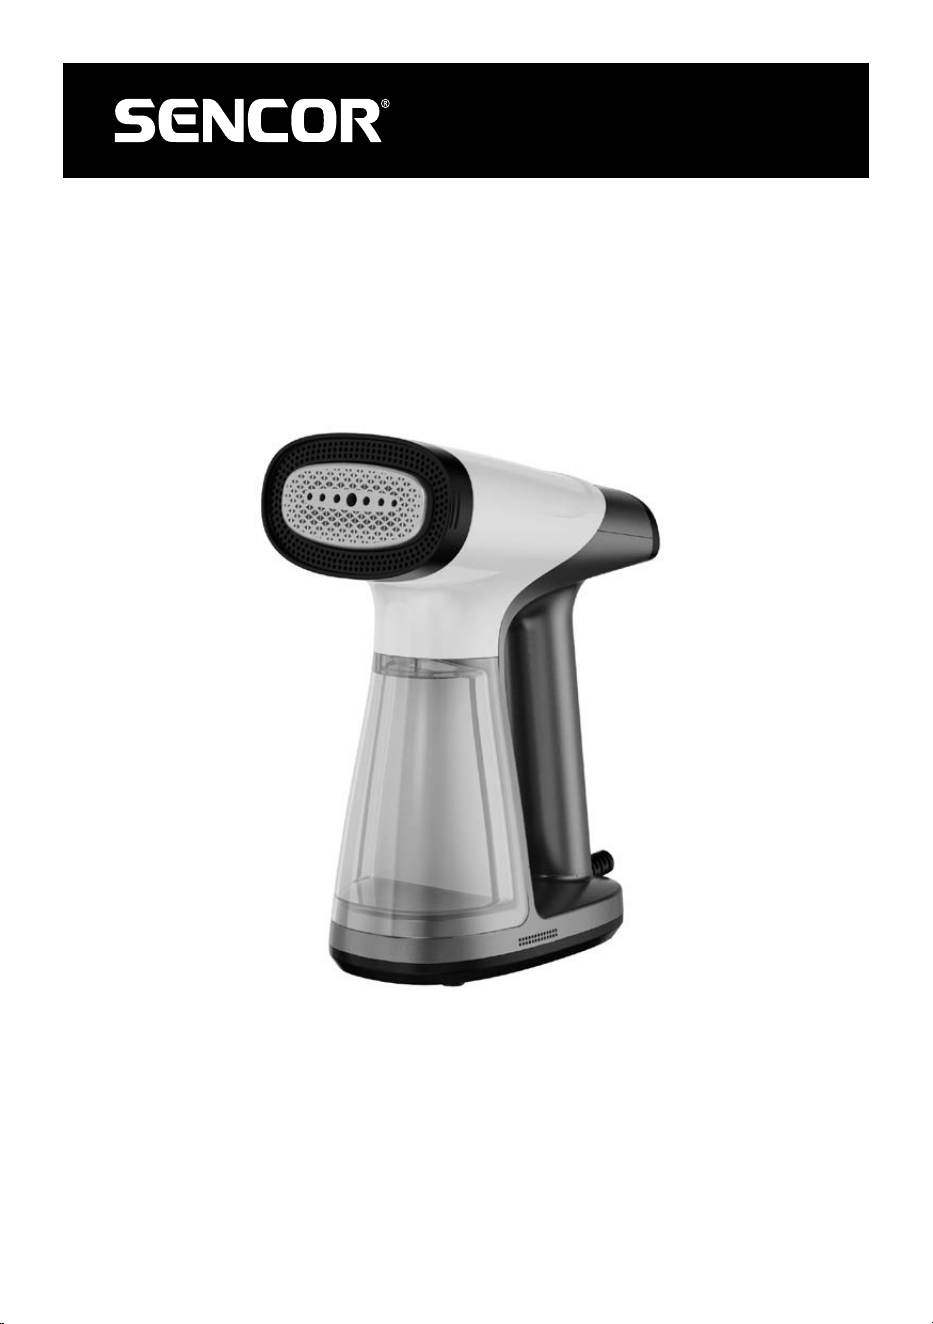
SSI 0890BZ
A
1
2
3
4
5
6
7
8
B
5
1
6
1 2 3
C1 C2
C3

- 1 -
01/2026
2026, .
EN
Vacuum Garment Steamer
User Manual
IMPORTANT SAFETY INSTRUCTIONS
READ CAREFULLY AND STORE FOR FUTURE USE.
• This appliance may be only used by children aged
8years and older and by persons with physical, sensory
or mental impairments or lack of experience and
knowledge, if they are supervised or have been instructed
on the safe use of the appliance and understand the
potential hazards.
• Children must not play with the appliance. Cleaning and
maintenance must not be performed by children without
supervision.
• If the mains cable is damaged, have it replaced in
aprofessional service centre in order to prevent
adangerous situation. Never use the appliance if the
power cable is damaged.
• The appliance must not be left unattended when
connected to apower socket.
• The plug must be pulled out of the socket before filling the
water tank or cleaning.
• The water tank must not be removed from the body of the
appliance during use.
• The appliance must be used and placed on aflat and
stable surface.
• When placing the appliance on the stand, ensure that the
surface on which the stand is located is stable.
- 2 -
01/2026
2026, .
• The appliance must not be used if it has been dropped, if
there are visible signs of damage, or if it leaks. Do not leave
the appliance and its power supply within reach of children
under 8 years of age when powered or cooling down.
Caution: Hot Surface
Surfaces may become hot during use.
. . . . . . . . . . . . . . . . . . . . . . . . . . . . . . . . . . . . . . . . . . . . . . . . . . . . . . . . . . . . . . . . . . . . . . . . . . . . . . . . . . . . . . . . . . . . . . . . . . . . . . . . . . . . . . . . . . . . . . . . . . . . . . . . . . . . . . . . . . . .
Additional Important Safety Instructions forUse of the Appliance
• Pay extra attention to the appliance as it produces steam.
• Before connecting the appliance to the mains socket, ensure that the voltage stated on its rating plate matches the voltage in the socket.
• Connect the appliance only to aproperly earthed socket. Do not use an extension cord.
• Do not touch the appliance with wet or moist hands when connected to the power socket.
• To prevent the risk of electric shock, do not rinse the appliance under running water, spray it with water, or immerse it in water or any other liquid.
• Ensure that the power cable does not come into contact with water, moisture or aheated surface.
• Do not place heavy objects on the power cord. Ensure that the power cord does not hang over the edge of the table or touch hot surfaces or sharp
objects.
• Disconnect the appliance from the mains socket by pulling the plug of the power cable, not the cable itself. Otherwise, you may damage the mains
cable or the socket.
• Do not pull or carry the appliance by the power cable.
• To avoid the risk of electric shock, do not repair and/or make any adjustments to the appliance by yourselves. All repairs should be carried out by an
authorised service centre. By interfering with the product, you risk losing the legal right to defective performance or warranty for quality.
• The appliance is intended for domestic and indoor use only. Do not use it in industrial surroundings or outdoors.
• The appliance is designed for steaming and ironing laundry and fabrics that are suitable for ironing. Do not use the appliance for purposes other than
those for which it was designed. Do not modify the appliance for any other use.
• Do not place the appliance on or near an electric or gas stove or other sources of heat.
• Do not use the appliance in damp or dusty environments. Do not expose the appliance to direct sunlight.
• Never iron clothes while wearing them.
• Do not touch the hot soleplate. Otherwise, burns may occur.
• Ironed clothes may be hot immediately after removing the steamer. Take extra care to avoid burns.
• Never fill the water tank directly under the tap. Always use asuitable container for filling the tank. Do not add vinegar, descalers, or other additives to
the tank.
• Before cleaning or any other handling of the appliance that you have disconnected from the power socket, allow the soleplate to cool down.
• This appliance is not intended for operation through an external timer switch or aremote control.
• When cleaning, follow the instructions inthis manual.
• Do not repair the appliance by yourselves. It does not contain user serviceable parts. All repairs should be carried out only by an authorised service
centre.
. . . . . . . . . . . . . . . . . . . . . . . . . . . . . . . . . . . . . . . . . . . . . . . . . . . . . . . . . . . . . . . . . . . . . . . . . . . . . . . . . . . . . . . . . . . . . . . . . . . . . . . . . . . . . . . . . . . . . . . . . . . . . . . . . . . . . . . . . . . .
EXPLANATION OF SYMBOLS PLACED ON THE PRODUCT OR INTHE ACCOMPANYING
DOCUMENTATION
The product meets all the basic requirements of the applicable EU directives.
This symbol on products or accompanying documents means that used electric or electronic products must not be added to ordinary
municipal waste.
. . . . . . . . . . . . . . . . . . . . . . . . . . . . . . . . . . . . . . . . . . . . . . . . . . . . . . . . . . . . . . . . . . . . . . . . . . . . . . . . . . . . . . . . . . . . . . . . . . . . . . . . . . . . . . . . . . . . . . . . . . . . . . . . . . . . . . . . . . . .
- 3 -
01/2026
2026, .
• Thank you for purchasing our SENCOR product; we hope it will serve
to your satisfaction.
• Prior to using this appliance, please read the user manual thoroughly,
even in cases when you are already familiar with the use of similar
types of appliances. Use the appliance only as described in this
user manual. Keep the manual for future reference. If you pass the
appliance on to another person, ensure that this user manual is
included.
• Carefully unpack the appliance and make sure not to discard any part
of the packaging material until you have removed all its components.
It is recommended that you keep the original packaging, packing
material, receipt and confirmation of the extent of the seller'sliability
or warranty certificate at least for the duration of the legal right to
file adefect claim or the quality warranty. When transporting the
appliance, we recommend repackaging it in the original box provided
by the manufacturer.
. . . . . . . . . . . . . . . . . . . . . . . . . . . . . . . . . . . . . . . . . . . . . . . . . . . . . . . . . . . . . . . . . . . .
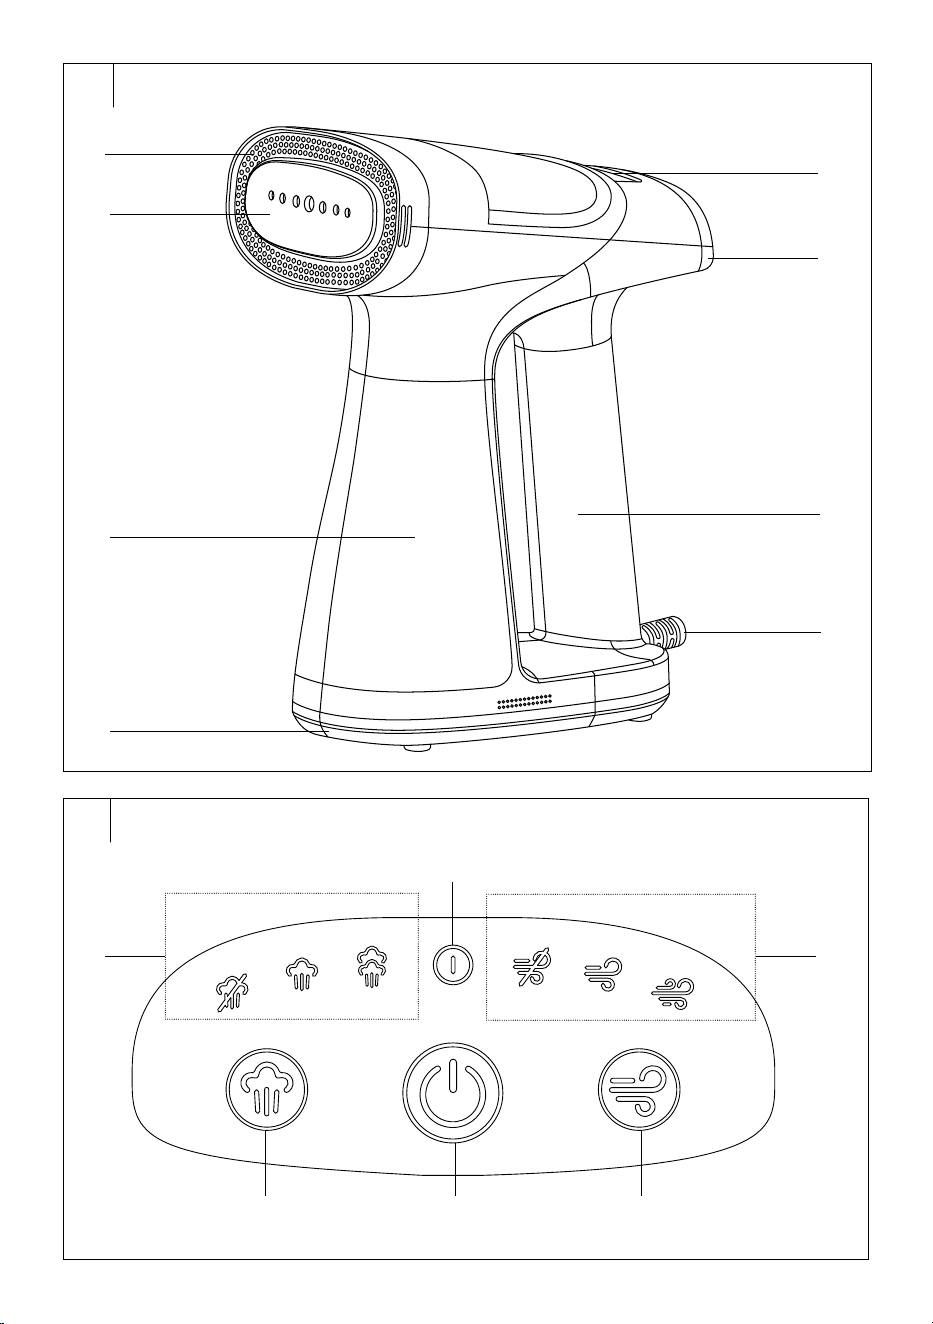
DESCRIPTION OF THE STEAMER
A1 Air inlet dust chamber
A2 Steam surface
A3 Water tank
A4 Steamer base
A5 Output opening
A6 Control panel
A7 Handle
A8 Power cord end
. . . . . . . . . . . . . . . . . . . . . . . . . . . . . . . . . . . . . . . . . . . . . . . . . . . . . . . . . . . . . . . . . . . .
DESCRIPTION OF THE CONTROL CABLE
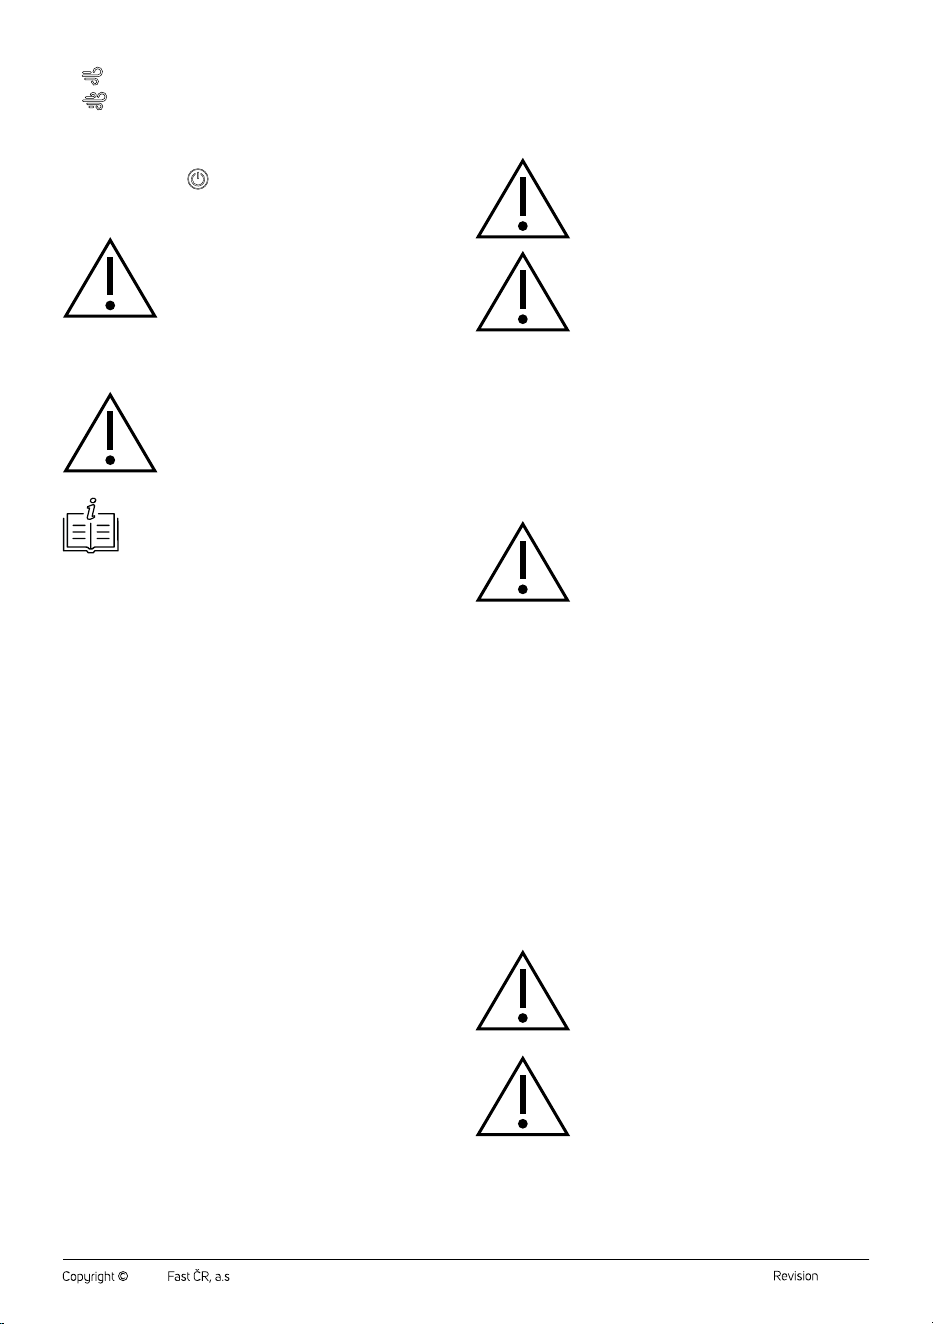
B1 button to adjust steam
intensity
B2
button to switch the
steamer on/off
B3
button to adjust suction
speed
B4 Steam intensity icons
– without steam
– low steam release
intensity
– high steam release
intensity
B5 Warm-up indicator
B6 Suction intensity icons
– no suction
– low suction intensity
– high suction intensity
. . . . . . . . . . . . . . . . . . . . . . . . . . . . . . . . . . . . . . . . . . . . . . . . . . . . . . . . . . . . . . . . . . . .
INTENDED USE
• The garment steamer is intended for vertical ironing of clothes
(hanging on ahanger), fabrics, or materials specifically designed for
ironing. Refer to the information label.
• It can also be used for horizontal ironing.
. . . . . . . . . . . . . . . . . . . . . . . . . . . . . . . . . . . . . . . . . . . . . . . . . . . . . . . . . . . . . . . . . . . .
BEFORE FIRST USE
• Before first use, remove the appliance and its accessories from the
packaging and discard all promotional labels and tags. Check that
neither the appliance nor any of its components is damaged.
• Wipe the soleplate with alightly damp cloth and then dry it. Also, wipe
the outer parts of the steamer with adry or lightly damp cloth and dry
them thoroughly.
• Fill the tank with clean water and then empty it. This removes any dirt
in thetank.
. . . . . . . . . . . . . . . . . . . . . . . . . . . . . . . . . . . . . . . . . . . . . . . . . . . . . . . . . . . . . . . . . . . .
PREPARATION FOR USE
Filling the water tank
Warning:
Always ensure that the steamer is turned off and the
power cable is disconnected from the power socket
before filling the tank. We recommend using only
distilled or demineralised water.
1. Grasp the steamer by the handle with one hand, the water tank with
the other, andpull away from the steamer body.
2. Open the water tank lid andpour water into it up to the MAX mark on
the tank.
3. Close the tank lid.
4. Insert the tank back into the steamer body. Push gently so that the
tank is properly inserted.
Warning:
Never fill the tank with hot or boiling water, service
water or any other liquid. Do not add water softener,
vinegar, starch, descaling agent, perfume mixes, or
other additives.
First Use of the Steamer
• Before the first use of the steamer, we recommend setting ahigh
steam and suction intensity andironing asmall damp cloth or kitchen
towel to remove any possible residues on the steam plate.
• You may notice astrange smell during the first use. This is normal. It
disappears with use.
• During the first use of the steamer, small particles or impurities
may come out of the holes on the soleplate. Do not be surprised or
disturbed by this. This does not affect the proper functioning of the
steamer.
Note:
During the heating process of the soleplate, asmall amount
of water may flow from the holes on the soleplate. This is
normal.
. . . . . . . . . . . . . . . . . . . . . . . . . . . . . . . . . . . . . . . . . . . . . . . . . . . . . . . . . . . . . . . . . . . .
USING THE STEAMER
1. Place the steamer in avertical position on the base.
2. Make sure that the tank is filled with water up to MAX line, especially if
you will be using the steam function.
3. Unwind the power cord completely andplug the power cord plug into
aproperly grounded power socket.
4. The control panel lights up briefly and then goes out. The steamer has
switched to standby mode.
5. Press the
button to switch the steamer on. The warm-up indicator
light will flash.
6. When the indicator light stops flashing andlights up, the steamer is
ready for use. The default mode is steam-free andsuction-free ironing.
7. Press the
button repeatedly to adjust the steam release intensity:
– without steam
– low steam release intensity
– high steam release intensity
8. Press the
button repeatedly to set the suction intensity:
– no suction
EN
Vacuum Garment Steamer
User Manual
- 4 -
01/2026
2026, .
– low suction intensity
– high suction intensity
9. Bring the steamer closer to thehanging garment or fabric andmove it
from top to bottom to steam it. We recommend holding the garment or
fabric in the bottom part to straighten the garment or fabric.
10. After use, press the
button to switch off the steamer. The steamer
switches to standby mode. Unplug the power cord from the mains
socket and allow the steamer to cool completely before cleaning it.
Warning:
HOT SURFACE AND HOT STEAM!
T
ake extra care when using and handling the steamer.
The soleplate is very hot and the steam temperature
is high. Serious injury and burns can occur with
improper handling.
Never touch the soleplate with your hands!
Do not steam clothes directly on yourself or on others!
Warning:
Never fill the tank with hot or boiling water, service
water or any other liquid. Do not add water softener,
vinegar, starch, descaling agent, perfume mixes, or
other additives.
Note:
We recommend using the suction function for vertical
ironing.
Setting the Steamer Aside During Use
• Always place the steamer in avertical position on the base, on the
heat-insulated pad of the ironing board, or in asafe place.
• To avoid tipping over, do not place the steamer on an uneven surface.
Automatic Shut-off
• This steamer is equipped with an automatic power-off function: Lightly
touching any button will reset it.
1. In dry mode, the steamer will power off after 8 minutes (when neither
steam nor suction).
2. When using the suction function alone, the steamer will power off after
8 minutes.
3. When using steam alone, the steamer will wait until the water tank
is emptied. Once the pump starts running dry, the pump will stop
working and the unit will enter dry-burn mode, followed by an
automatic power-off after 8 minutes.
4. When using steam and the suction together, the steamer will wait until
the water tank is emptied. Once the pump runs dry, both the pump
and the suction will stop working, and the unit will enter dry mode,
followed by an automatic power-off after 8 minutes.
• After the steamer enters the automatic power-off mode, if no button
is pressed within 20 minutes to reset it, the steamer will fully shut
down and the power indicator will turn off. The power button must be
pressed again to restart it.
. . . . . . . . . . . . . . . . . . . . . . . . . . . . . . . . . . . . . . . . . . . . . . . . . . . . . . . . . . . . . . . . . . . .
IRONING TIPS AND TRICKS
• Follow the care instructions foreach garment. Iron only solid-coloured
andheat-resistant fabrics. We recommend ironing theprinted clothes
inside out.
• Never iron over areas with sweat stains or other stains. High heat will
set the stain making it difficult to remove.
• To prevent silk, wool, and synthetic fabrics from becoming shiny after
ironing, iron them inside out.
• Some materials are easier to iron when lightly damp.
• For fine fabrics, sprinkle water before ironing.
• Iron heavily wrinkled garments withahigh steam intensity andahigh
suction intensity.
• Avoid ironing zips, studs or other decorative parts of clothing. This
could damage the soleplate.
. . . . . . . . . . . . . . . . . . . . . . . . . . . . . . . . . . . . . . . . . . . . . . . . . . . . . . . . . . . . . . . . . . . .
CLEANING AND MAINTENANCE
• Before cleaning the steamer, unplug the power cord from the mains
socket and allow the appliance to cool completely.
Caution:
Do not use abrasive cleaning agents, solvents, etc.
to clean any parts of the appliance, as these could
damage the surface.
Warning:
To prevent the risk of electric shock, do not immerse
the appliance, power cable, or plug into water or any
other liquid.
Cleaning the Steamer
• Wipe the steaming surface and the outer surface of the appliance with
aslightly damp cloth and dry it.
Cleaning the water tank
• Empty the water tank after each use. Do not leave water init.
1. Grasp the steamer by the handle with one hand, the water tank with
the other, andpull away from the steamer body.
2. Open the water tank lid andpour out the water.
3. Leave the lid open to allow the tank to dry.
Caution:
Do not allow the tank to dry in direct sunlight or place
it on or near aheat source (e.g. heating).
Removing Lime Scale Deposits
• Toremove water scale deposits, it is recommended to use asolution of
white vinegar andwater in aratio of 1 : 3.
• Pour the solution into the tank andallow it to act for awhile. Then pour
the solution out andpour clean water into the tank.
• Repeat the procedure if needed.
• After descaling, turn the steamer back on and heat it briefly to
evaporate any remaining water inside the steam chamber.
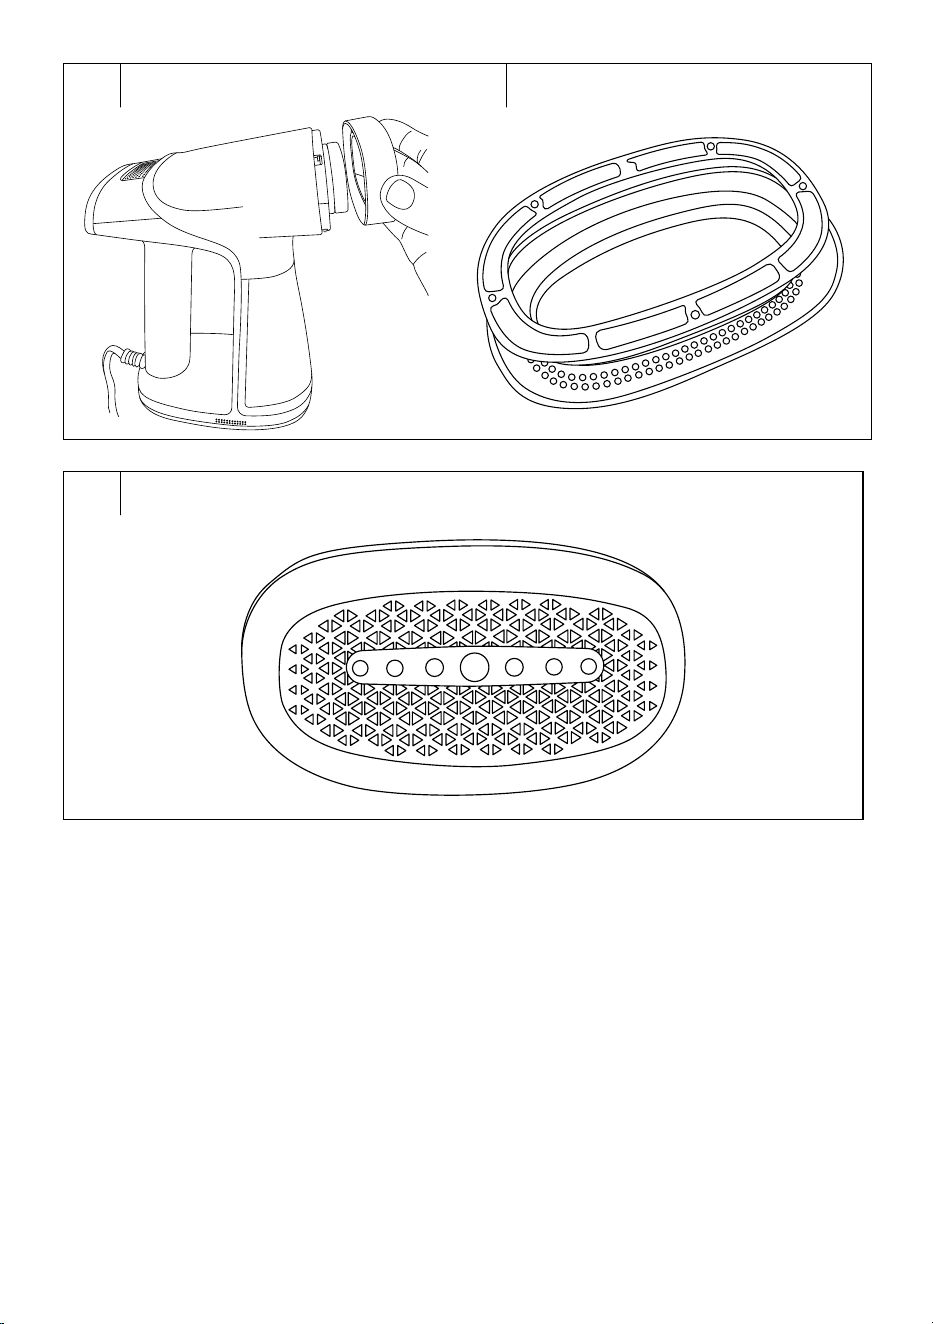
Cleaning the Dust Chamber (Fig. C)
• We recommend cleaning the dust chamber after each use.
• Before cleaning the dust chamber regularly, always unplug the
appliance and make sure it has cooled down completely to avoid
burns. After cleaning, plug the appliance back in to use it again.
1. Switch off the steamer and let it cool down.
2. Grab the chamber with your hand andremove it from thesteamer.
3. Remove dust anddirt from thefine filter on the inside of the dust
compartment and sponge filter using adry cloth.
4. Put the box back on the steamer.
Caution:
Do not wash the dust chamber in water.
Caution:
Before using the steamer, check that the dust
chamber is in place. Do not use the steamer without
aproperly installed dust chamber.
Storage
• If you do not use the steamer, turn it off, unplug it from the mains
socket, and let it cool down completely. Empty the water tank.
• Store the steamer in adry, clean, and well-ventilated place away from
extreme temperatures and out of the reach of children or pets.
- 5 -
01/2026
2026, .
. . . . . . . . . . . . . . . . . . . . . . . . . . . . . . . . . . . . . . . . . . . . . . . . . . . . . . . . . . . . . . . . . . . .
TECHNICAL SPECIFICATIONS
Rated voltage range ..............................................................................220–240 V~
Rated frequency ...........................................................................................50/60 Hz
Rated power input ...............................................................................1300–1550 W
Water tank capacity ...........................................................................................180 ml
Continuous steam output (low steam intensity)............................15–25 g/min
. . . . . . . . . . . . . . . . . . . . . . . . . . . . . . . . . . . . . . . . . . . . . . . . . . . . . . . . . . . . . . . . . . . .
INSTRUCTIONS AND INFORMATION ON
DISPOSAL OF USED PACKAGING MATERIAL
Dispose of used packaging material at the designated municipal waste
disposal site.
. . . . . . . . . . . . . . . . . . . . . . . . . . . . . . . . . . . . . . . . . . . . . . . . . . . . . . . . . . . . . . . . . . . .
DISPOSAL OF USED ELECTRICAL AND
ELECTRONIC EQUIPMENT
Used electrical andelectronic products must not be disposed of in
ordinary municipal waste. To enable the proper disposal, renewal and
recycling of these products, deliver them to the designated collection
points. Alternatively, in some European Union states or other European
countries the products can be returned to the local retailer when buying
an equivalent new product. By disposing of this product correctly, you
help to conserve valuable natural resources and prevent any potential
adverse impact on the environment and human health that could result
from improper waste disposal. For more details, contact your local
authority or nearest collection point. Fines may be imposed for the
improper disposal of this type of waste as per national regulations.
For business entities in European Union States
If you wish to dispose of electrical and electronic equipment, please
request the necessary information from your retailer or supplier.
Disposal in other countries outside the European Union
To dispose of this product elsewhere, request the necessary information
on the correct disposal method from local authorities or your retailer.
. . . . . . . . . . . . . . . . . . . . . . . . . . . . . . . . . . . . . . . . . . . . . . . . . . . . . . . . . . . . . . . . . . . .
Changes to text and technical parameters are reserved.
- 6 -
01/2026
2026, .