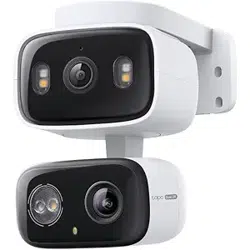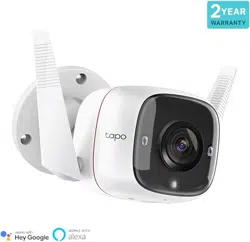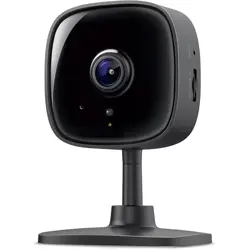
Appearance
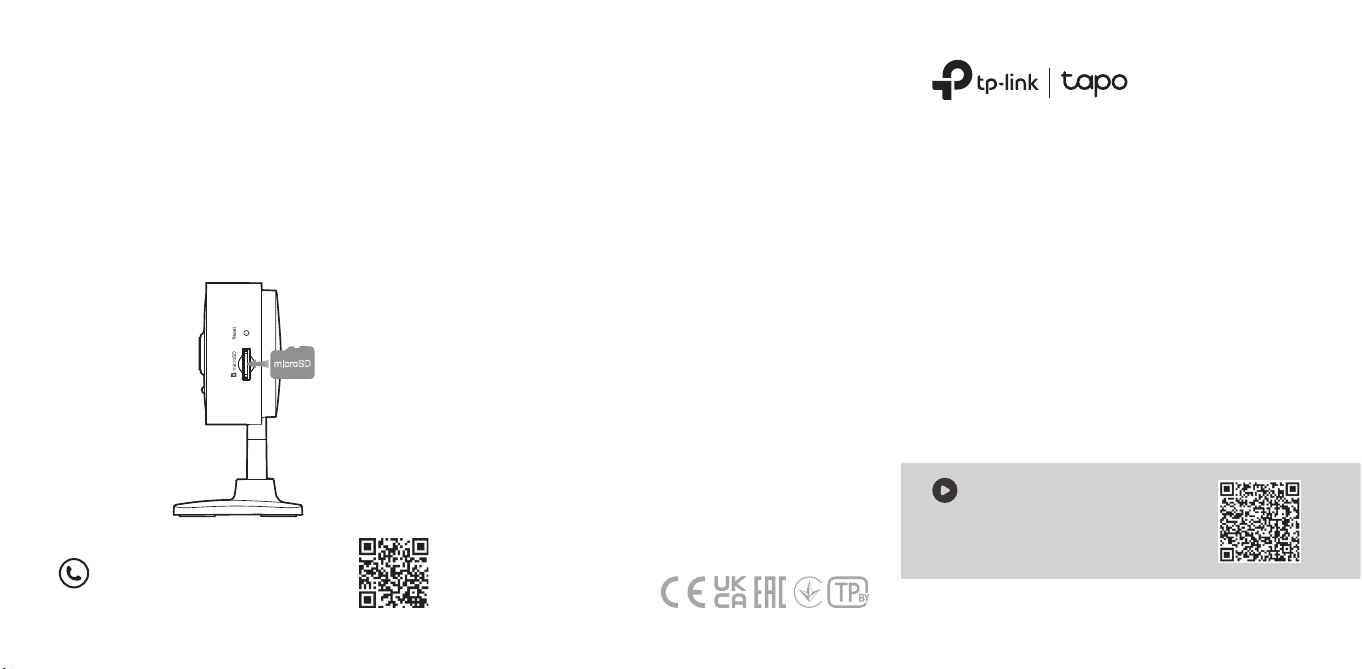
Reset Button
While the camera is powered on, press and hold the
Reset button for at least 5 seconds until the LED
blinks red. The camera will reset and reboot.
microSD Card Slot
Insert a microSD card* and initialize it on the Tapo
app for local recording.
For technical support, user guides,
FAQs, warranty, and more, please visit
https://www.tapo.com/support/
*microSD card not included.
• Keep the device away from water, re, humidity or hot environments.
• Do not use damaged charger or USB cable to charge the device.
• Do not use any other chargers than those recommended.
• Do not use the device where wireless devices are not allowed.
• Adapter shall be installed near the equipment and shall be easily accessible.
• Use only power supplies which are provided by manufacturer and in the original packing of
this product. If you have any questions, please don't hesitate to contact us.
• For indoor use only. Do not disassemble, repair or modify the product.
• Do not use the product if the casing has been broken. Danger of electric shock.
• Never touch the product with wet hands. Do not expose to heavy rain or any type of moisture.
• Do not place near automatically controlled devices such as re alarms. Radio waves emitted
from this product may cause such devices to malfunction resulting in an accident.
• Observe restrictions on using wireless products in fuel depots, chemical plants or when
blasting operations are in progress.
• Do not use liquid to clean the product. Only use a dry cloth.
• Never put metal objects inside the product. If a metal object enters the product turn o the
circuit breaker and contact an authorised electrician.
• This product is not intended to be used when providing medical care. Consult the
manufacturer of any personal medical devices, such as pacemakers or hearing aids to
determine if they are adequality shielded from external RF (radio frequency) energy.
• Do not use this product in health care facilities. Hospitals or health care facilities may be using
equipment that could be sensitive to external RF energy.
• Do not use this product near water for example near a bath tub, wash bowl, kitchen sink or
laundry tub, in a wet basement or near a swimming pool.
• The product should be kept free from excessive smoke, dust or high temperature and vibration.
• This product should not be exposed to direct sunlight
• Do not place heavy objects on top of the product.
• When you leave the product unused for a long time unplug the product from the power outlet.
• This product may interfere with other electronic products such as TV, radios, personal
computers, phones or other wireless devices.
• Use only power supplies listed in the user instructions. Refer to the User Manual on the
product support page.
• Operating Temperature: 0 °C ~ 40 °C (32 °F ~ 104 °F)
Please read and follow the above safety information when operating the device. We cannot
guarantee that no accidents or damage will occur due to improper use of the device. Please
use this product with care and operate at your own risk.
©2025 TP-Link
TP-Link hereby declares that the Home Security Wi-Fi Camera is in compliance with the
essential requirements and other relevant provisions of directives 2014/53/EU, 2009/125/EC,
2011/65/EU and (EU) 2015/863. The original EU declaration of conformity may be found at
https://www.tapo.com/en/support/ce/
TP-Link hereby declares that the Home Security Wi-Fi Camera is in compliance with the
essential requirements and other relevant provisions of the Radio Equipment Regulations 2017.
The original UK declaration of conformity may be
found at https://www.tapo.com/support/ukca/
Home Security
Wi-Fi Camera
Quick Start Guide
7100001733 REV3.0.0 *Images may dier from actual products.
Setup Video
Scan QR code or visit
https://www.tp-link.com/support/
setup-video/#cloud-cameras
microSD
Scan to download
DOWNLOAD APP
Get the Tapo app from the
App Store or Google Play,
and log in.
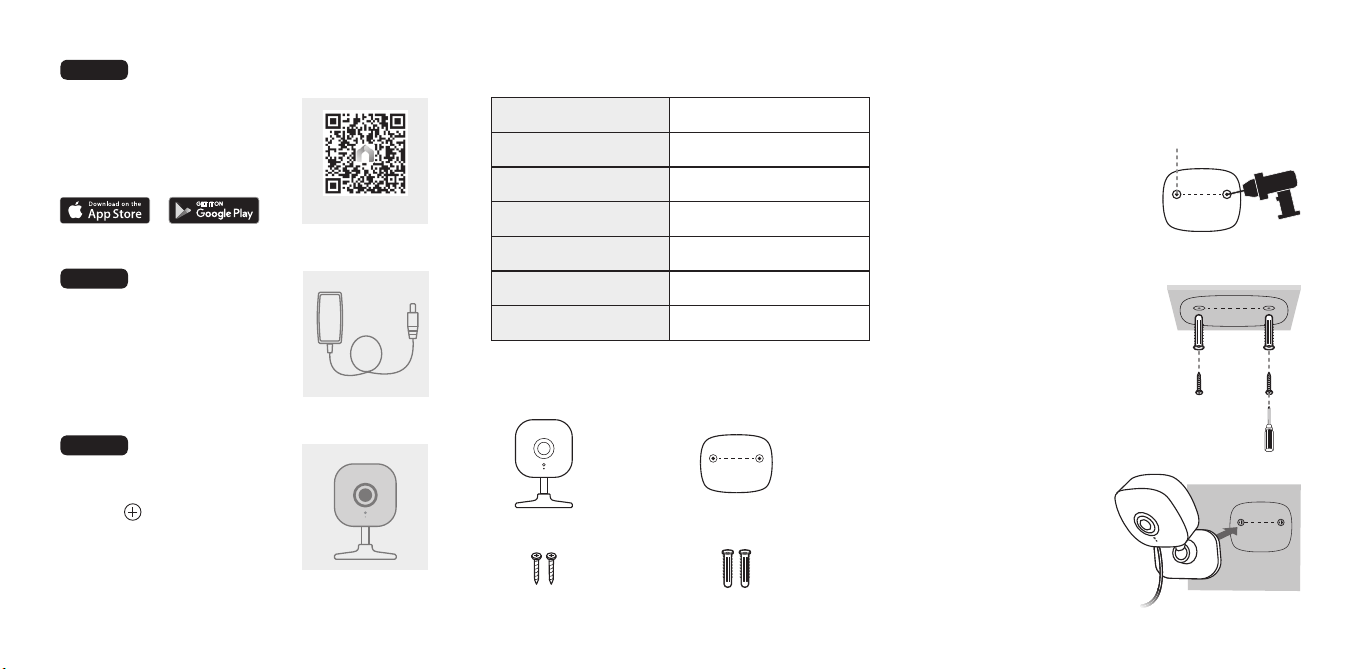
STEP 1
Plug in your camera and
wait until the LED blinks
red and green.
POWER UP
STEP 2
Tap the button, select Add
Device in the app, and choose
your model. Follow the app
instructions to complete the
setup.
SET UP
STEP 3
LED Indication
Blinking red and green
Blinking red slowly
Solid amber
Blinking red quickly
Solid red
Solid green
Blinking green quickly
Starting up
Connected to the cloud
Ready for setup
Connecting to Wi-Fi
Connected to Wi-Fi
Camera resetting
Camera updating
Mounting Kit
Mounting Screws Mounting Anchors
Mounting Template StickerCamera
Mounting Instructions
Place the mounting template
sticker where you want the
camera.
For wall mounting, drill two
holes through two circles.
1. Mark Position
Hang the camera securely
on the two screws.
Ensure the camera is rmly
attached.
3. Secure Camera
2. Ax Screws
Insert two mounting anchors
into the holes, then screw the
screws into the anchors.
Φ=6 mm (15/64 in.)