Can’t connect?
Need help?
WE
CAN
HELP
DO NOT
RETURN THIS
PRODUCT TO
THE STORE
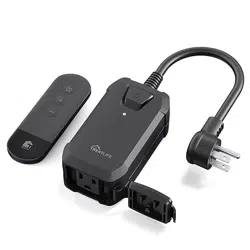
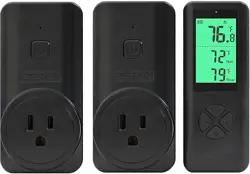
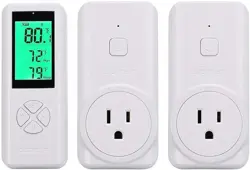
Wireless Plug-In
Remote Control
Adaptor
Scan code for the
latest manual online
DR-S1969N, MI-WW138-199W
User Manual
What’s in the Box
START
GUIDE
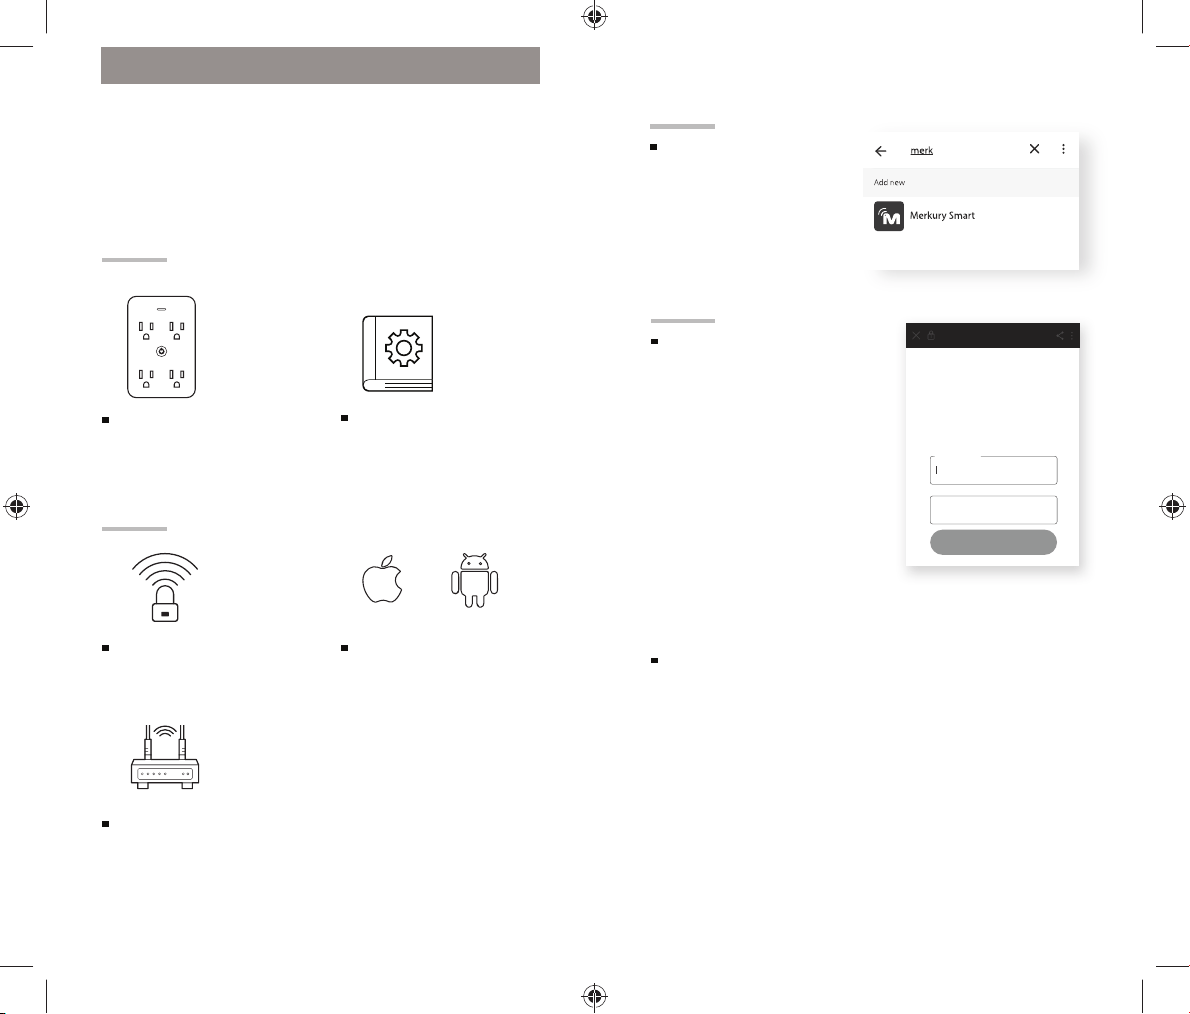
Get Ready
Know your Wi-Fi
network and password
Make sure you’re
connected to a 2.4GHz
Wi-Fi network (Outlet
can’t connect to 5GHz
networks)
Make sure your device
is running the latest
version or previous two
versions of iOS and
Android
2.4GHz
iOS
Android
Wireless Plug-In Remote
Control Adaptor
9
04
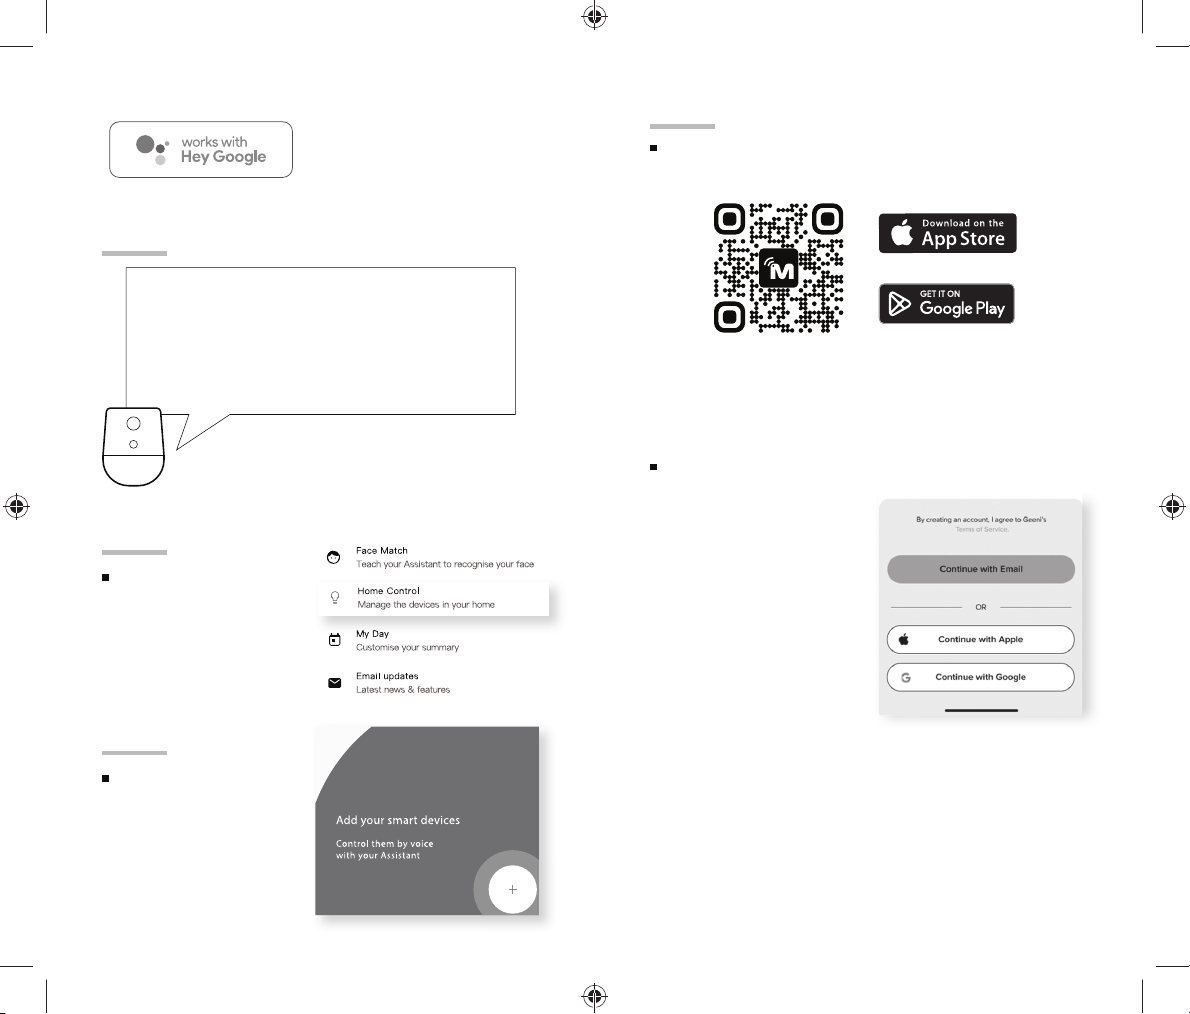
Authorize your
account with
Google Assistant
using the
username and
password from
your app.
03
Choose from
t
he list of Home
Control partners.
Now your Google Home app and
Merkury devices are linked!
You’re now able to say “Hey Google“
and control your Merkury devices.
At any time, go into the “Home Control“ section of the Google Home app to
set nicknames and rooms for your devices. You can rename your devices
in the app, and Google Assistant will refer to them by the same name.
So if you rename a smart plug to “Living Room“ or a nickname like
“Blossom,“ then Google Assistant will use that same name later on. You
can always give it a nickname using the Google Home app as well. You can
also assign plugs to a specific room, like “Bedroom“ or “Kitchen.“
Google Assistant will be able to control devices by room.
Google Assistant
/account.mymerkurysmart.com/
Email Address*
Password*
Sign In
By signing in, you are authorizing Google
to access your devices
8
T
o control your bulbs, plugs or
surge protectors, just say “OK
Google,“ or “Hey Google,“ and
ask. Make sure your devices are
already set up using the app.
“Hey Google, turn on all the lights in my bedroom.“
“Hey Google, turn off fan.“
“Hey Google, set the bedroom light to orange.“
“Hey Google, turn off the coffee machine.“
“Hey Google, set the living room to 50%.“
“Hey Google, dim porch light.“
Things you can say*:
*Some commands require compatible devices.
01
02
Open the Google
Home app and go
to Home Control
in the menu.
Tap the “+“ button.
1
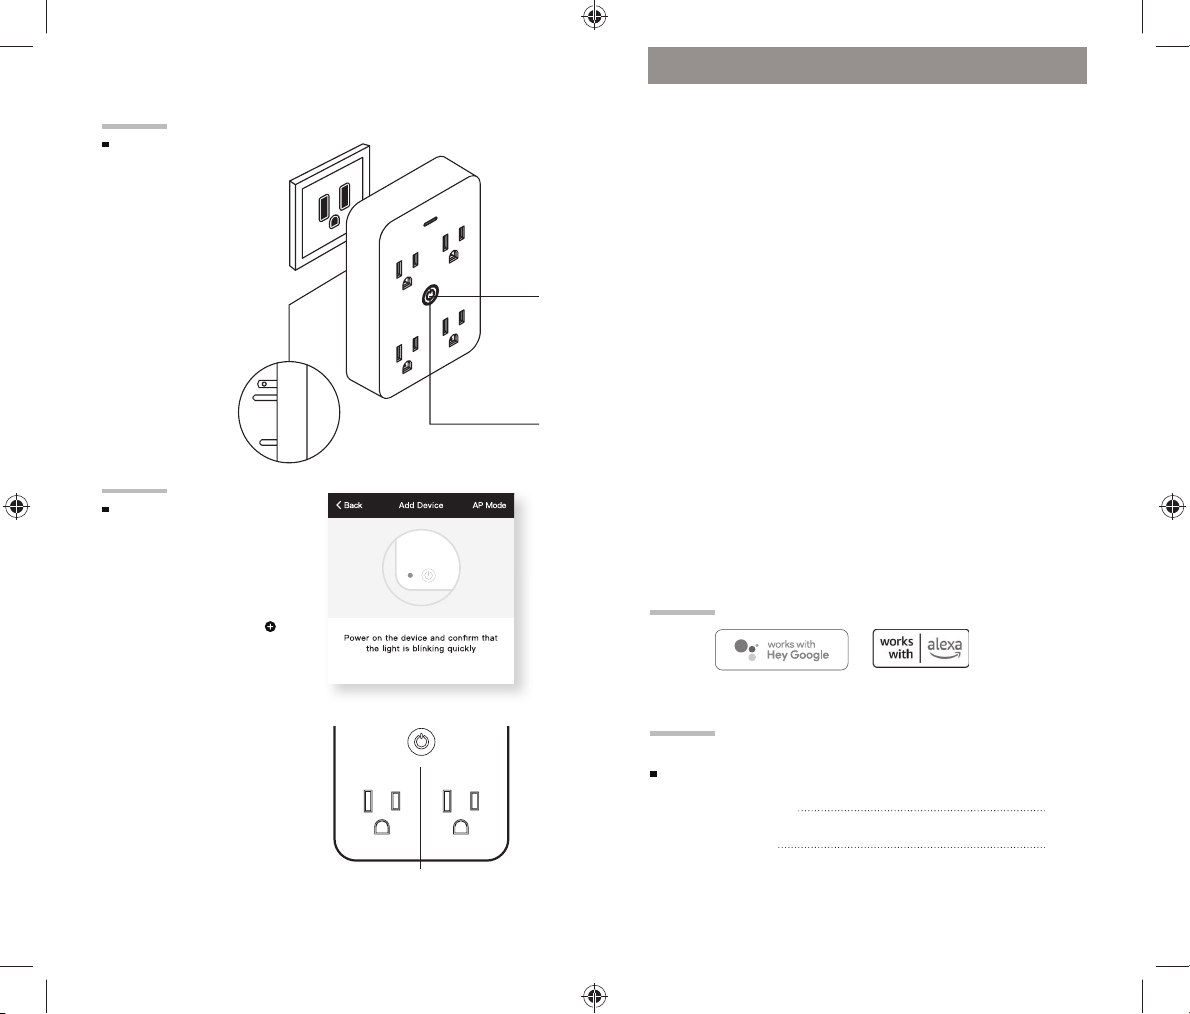
STEP 1
Download the A
pp from App Store or Google
Play.
Download & Register
Register an account
on your App.
01.
Enter your email
address.
02.
Enter the verification
code and create a
password.
03.
Log in to the App.
2
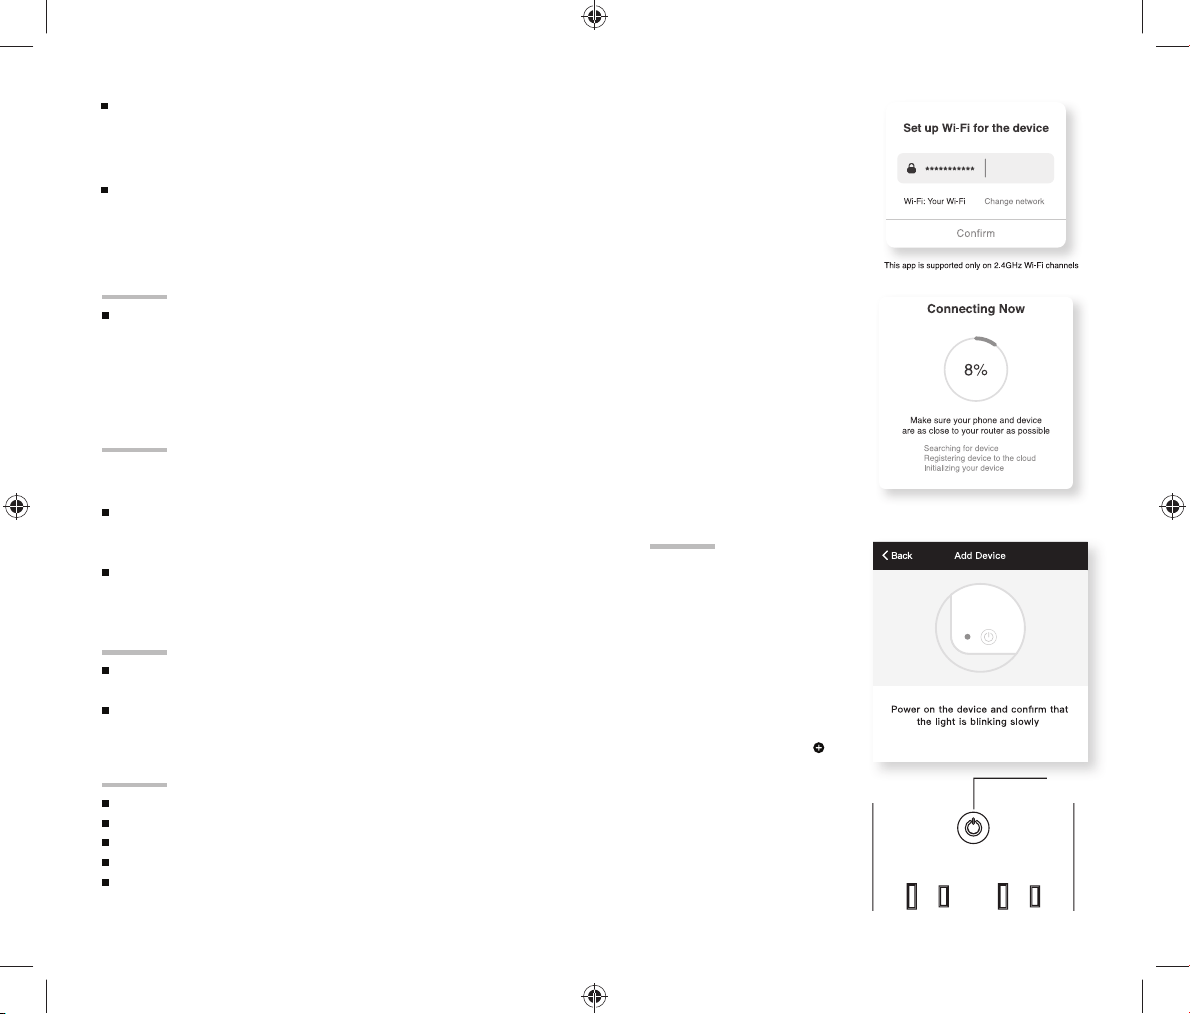
Plug the device into
the wall. Make sure
the reset button on
the device is flashing
rapidly blue, indicating
the device is ready to
connect.
*see reset instructions
on p. 4
Plug In
STEP 2
01.
In the app, on the top
corner of the Devices
screen, click Choose
“Smart Power”.
02.
Make sure the reset button
on the device is flashing
rapidly blue, indicating the
device is ready to connect
using Easy Mode. If not,
press and hold the button
for 10 seconds until the
reset button is flashing
rapidly, then press “Next
Step”.
STEP 3
Add device:
Easy Mode
Plug In
Flashing
quickly
Flashing
quickly
Hold down to reset
Name and Control Each Device by Voice
VOICE
CONTROL
GUIDE
Thank you for purchasing your home product. Make
sure your devices are already set up using the app,
then follow these steps.
C
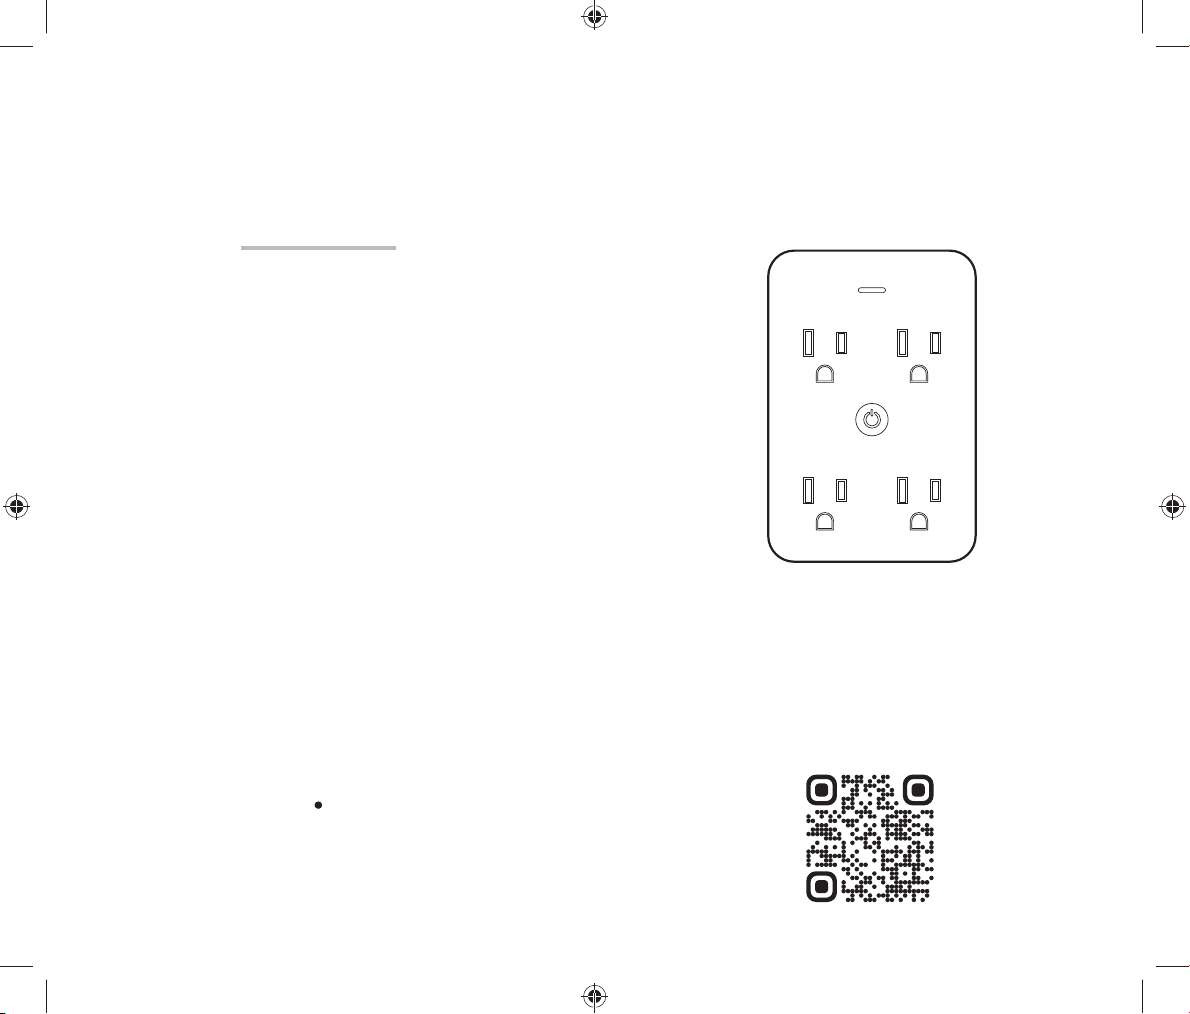
ontrol each outlet of your Smart Wi-Fi Outlet
Extender using the app and your voice assistant will
recognize and follow instructions to control that Smart
Wi-Fi Outlet Extender.
Contents
08
10
Google Assistant
Amazon Alexa
Voice Control Guide
6
Troubleshooting
Reset the device
Cannot connect to your Wi-Fi network.
Make sure you entered the correct Wi-Fi password during the
Wi-Fi setup. Check whether there are any Internet connection
problems. If the Wi-Fi signal is too weak, reset your Wi-Fi
router and try again.
To Reset plugs, press and hold the power button for 3
seconds.
Reset one time (press and hold) to reach Easy mode
(Fast blinking blue)
Reset two times (press and hold) to reach AP Mode
(Slow blinking blue)
System Requirements
A mobile device running the latest version of iOS® or
Android™, or its two previous versions.
2.4 GHz Wi-Fi network (Note: You may need to activate this
frequency through your Wi-Fi account settings.)
Technical Specifications
Input voltage: 125V
Input frequency: 60Hz
Wi-Fi: IEEE 802.11n, 2.4 GHz
(not compatible with 5GHz Wi-Fi
networks)
What’s the Wireless Range?
The range of your home Wi-Fi is heavily dependent on your
home router and the conditions of the room. Check with your
router specifications for exact range data.
If my Wi-Fi/Internet goes down, will my device still work?
Merkury products need to be connected to Wi-Fi in order to
use them remotely.
3
04.
The app
will try to connect your
device.
NOTE: can’t connect to
5GHz networks.
*If the connection fails, try to
connect using AP Mode.
03.
Enter your Wi-Fi
network and password.
Add dedvice:
Backup AP Mode
01.
Make sure the device is in
AP Mode, blinking slowly
*see reset instructions
on p. 4
02.
In the app, on the top
corner of the Devices
screen, click Choose
“Smart Power” Choose
“AP Mode” in the top
corner.
03.
Click Next and enter your
Wi-Fi details.
Connect (Easy & AP Mode)
Flashing
slowly
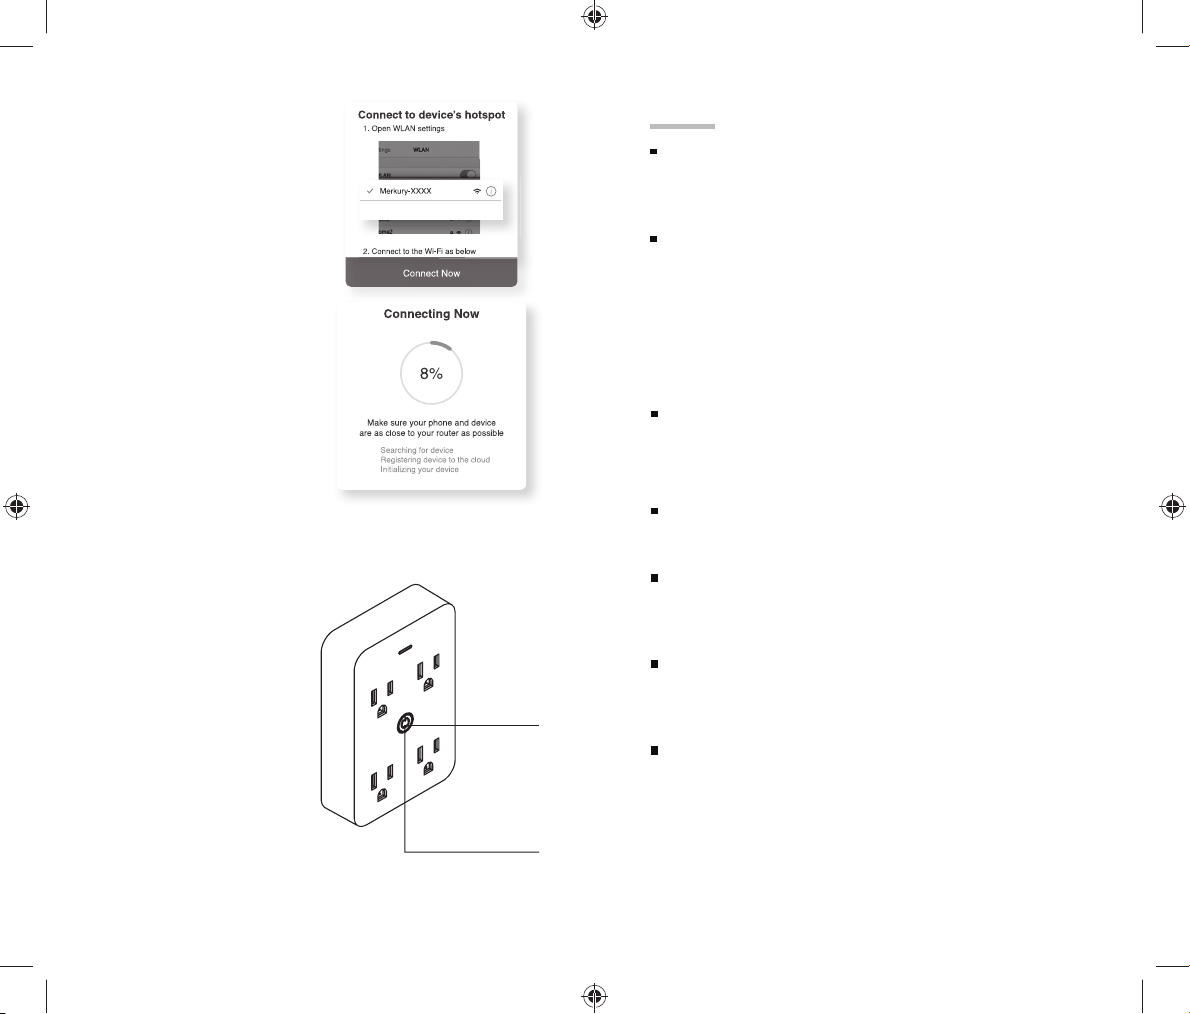
4
04.
Follow the instructions
to choose the device
from your Wi-Fi list.
05.
The device will connect.
NOTE:
can’t connect to 5GHz
networks.
*How do I reset the device
and what does the blinking
light mean?
Reset the plug by pressing
and holding the button for 10
seconds until the indicator
light is flashing rapidly.
• Reset one time (press and
hold) to reach Easy mode
(Fast blinking, 2x per second)
• Reset again (press and
hold) to reach AP Mode (Slow
blinking, every 3 seconds)
Fast blinking:
Easy Mode
Slow blinking:
AP Mode
Press and hold
for 10 seconds
5
Frequently Asked Questions
Can I control each outlet individually?
Yes, each outlet can be named and controled individually. On
the app, each will have a on/off button, with a little pencil icon
next to it. Press the on/off button to toggle the outlet power,
and press the pencil icon to rename the outlet.
Can I group multiple Merkury devices together?
Yes, you can group multiple devices of the same type
together, by room, location, or however else you want. The
same devices can be in multiple groups. (For example, create
a group for “Bedroom” and another group for “Entire House”,
and your Bedroom lights can be included in both groups).
From your main device list, click on one of the devices you
want to group. Press the “•••” button on the top right for
advanced settings, and click Create Group. You’ll then be able
to choose which devices you’d like to group together and will
be able to rename them.
My Merkury device has a funny name. How do I rename it?
From your main device list, click on one of the devices you
want to rename, press the “•••” button on the top right for
advanced settings, and click Modify Device Name (or Modify
Group Name, if applicable). You’ll then be able to choose a
more familiar name.
Questions. Troubleshooting. Notices
How do I customize my dashboard?
Select the “Edit” option on the top of “Home” page. Create
additional pages on your dashboard by dragging tiles to the
right and organize devices to fit how you use them.
How Many Devices Can I Control?
app can control an unlimited amount of devices in an
unlimited amount of locations. Your router may have a limit
of how many devices can be connected to one router.
How do I rename my device?
From your main device list, click on the device you want to
rename, then click “Device Settings”, then click on “Device
Name”. Rename your device to a more familiar name like
“Bedroom” or “Living Room” and then click Save.
The device appears offline or unreachable, what should I do?
Make sure your Wi-Fi router is online and in range.
Make sure you have the latest functionality by clicking
“Check for firmware update” in your device settings.

FCC Statement
Any Changes or modifications not expressly approved by the party responsible for compliance could void the user’s authority to operate the equipment.
This device complies with part 15 of the FCC Rules. Operation is subject to the following two conditions:
(1) This device may not cause harmful interference, and
(2) This device must accept any interference received, including interference that may cause undesired operation.
FCC Radiation Exposure Statement:
This equipment complies with FCC radiation exposure limits set forth for an uncontrolled environment .This equipment should be installed and operated with minimum distance 20cm between the
radiator& your body.
Note : This equipment has been tested and found to comply with the limits for a Class B digital device, pursuant to part 15 of the FCC Rules. These limits are designed to provide reasonable protection
against harmful interference in a residential installation. This equipment generates,uses and can radiate radio frequency energy and, if not installed and used in accordance with the instructions, may
cause harmful interference to radio communications. However, there is no guarantee that interference will not occur in a particular installation. If this equipment does cause harmful interference to radio
or television reception, which can be determined by turning the equipment off and on, the user is encouraged to try to correct the interference by one or more of the following measures:
—Reorient or relocate the receiving antenna.
—Increase the separation between the equipment and receiver.
—Connect the equipment into an outlet on a circuit different from that to which the receiver is connected.
—Consult the dealer or an experienced radio/TV technician for help.
2.4G Wi-Fi:
2412~2462 MHz(802.11b/g/n20)
802.11b: 21.32 dBm
802.11g: 18.25 dBm
802.11n20: 18.28 dBm
Company: Deer Electric Appliance Co.,LTD
Add: 119 Moo 5 Soi 12, Highway 36, Makhamkoo, Nikompattana Rayong, 21180, Thailand CHINA