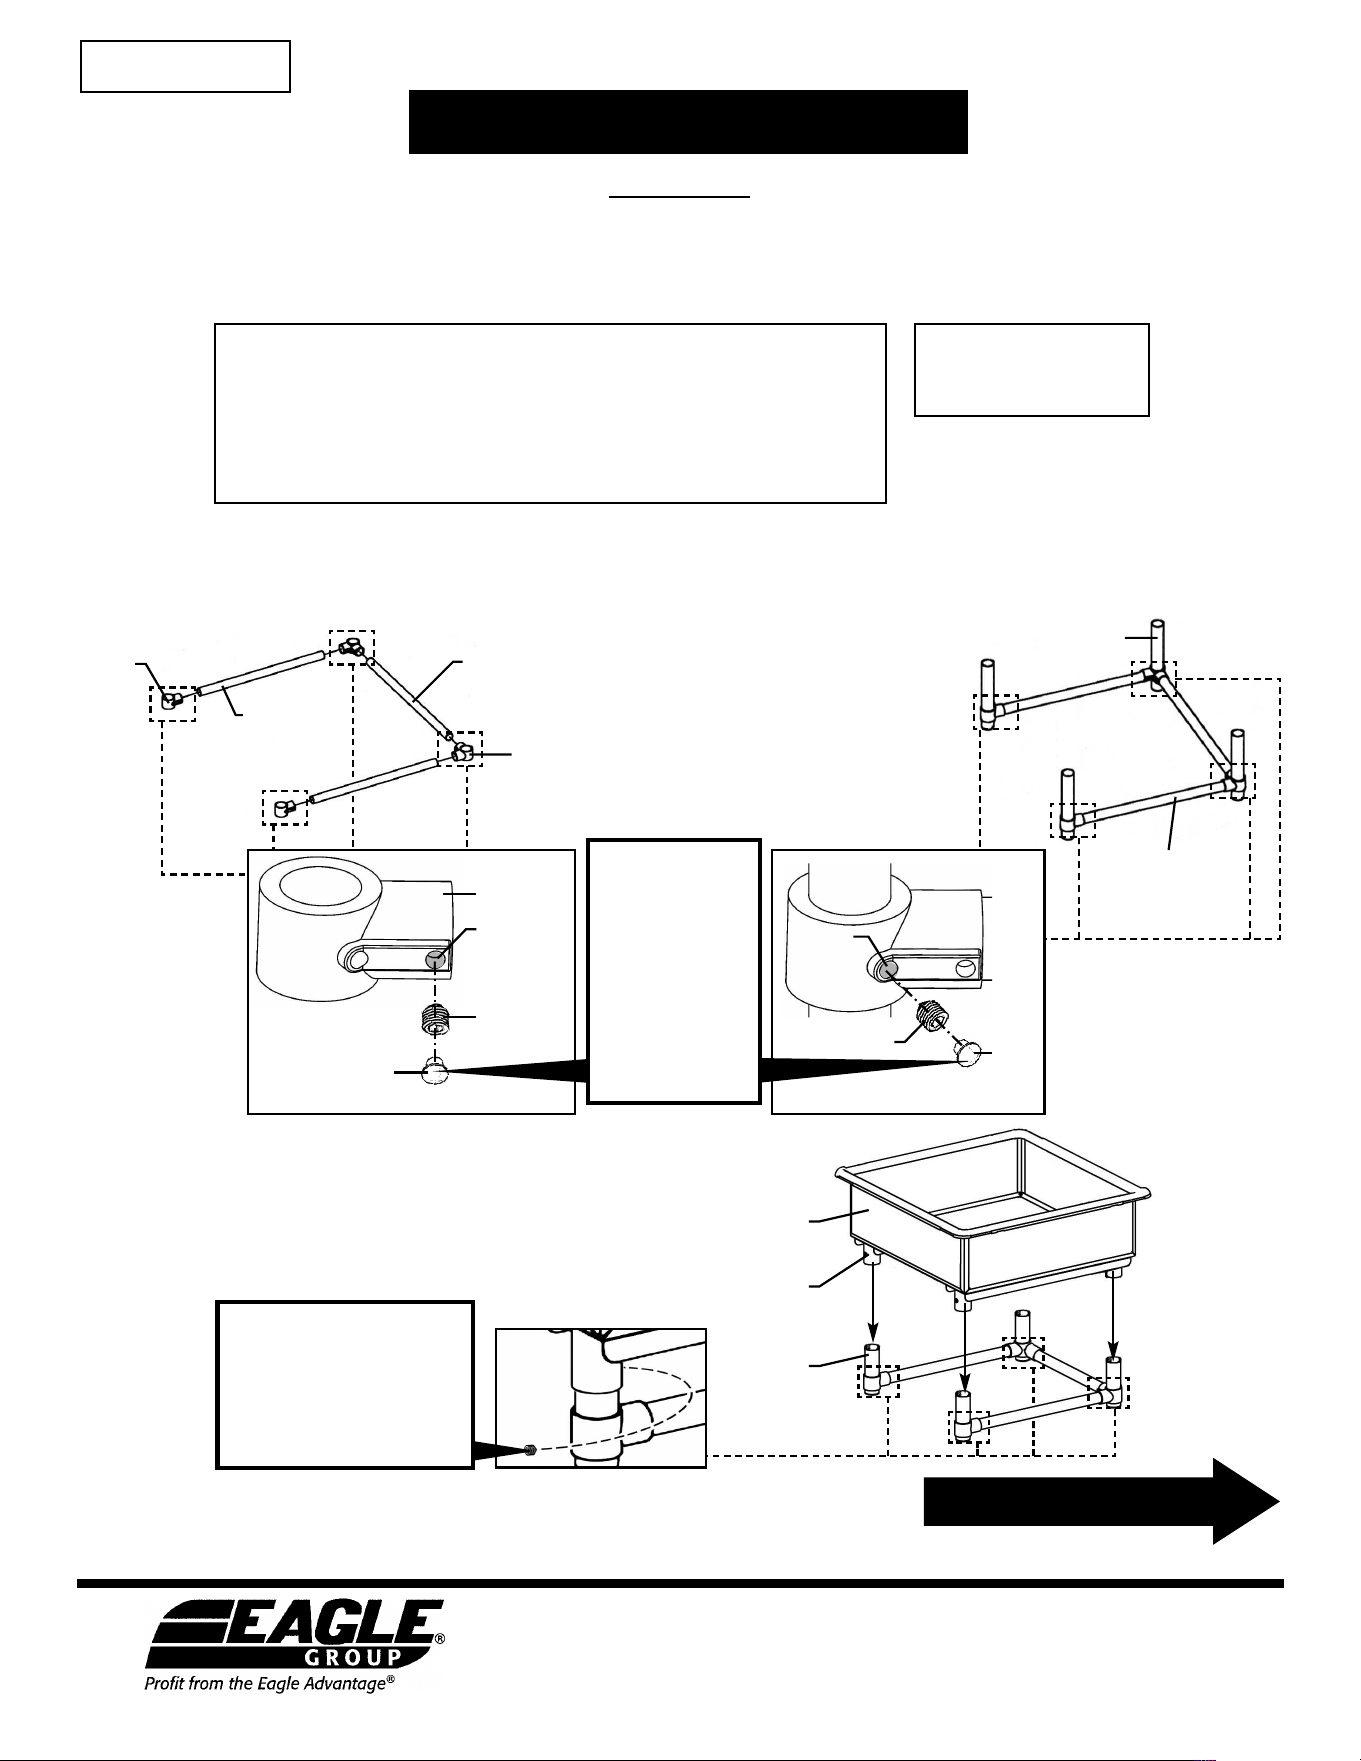
gusset
leg
sink
bowl
leg
crossbrace
subassembly
ASSEMBLY INSTRUCTIONS
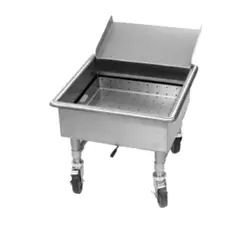
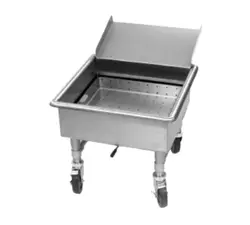
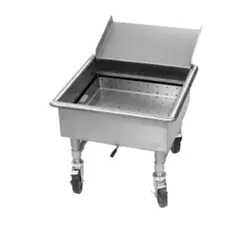
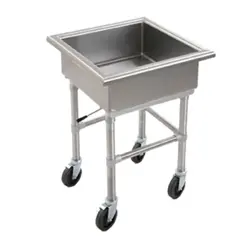
Mobile Soak Sink
eG10070 revised 07/17
eagle Foodservice equipment, eagle Mhc, specFAB, and retail Display are divisions of eagle Group. ©2017 by the eagle Group
• 100 Industrial Boulevard, Clayton, Delaware 19938-8903 U.S.A. • www.eaglegrp.com
• Phone: 302/653-3000 • (Foodservice) 800/441-8440 • (MHC/Retail) 800/637-5100
• Fax: 302/653-2065
CAUTION
insPect contents iMMeDiAteLY AnD FiLe cLAiM With DeLiVerinG cArrier For AnY DAMAGe.
SAVE YOUR BOX AND ALL PACKING MATERIALS.
You Are resPonsiBLe For DAMAGe to Your unit iF returneD iMProPerLY PAcKeD.
(continued on back page)
end
casting
front-to-back
crossbracing
corner
casting
rear
knockdown
tube
Step 1 - Assemble crossbrace subassembly.
• Assemble corner and end castings to rear knockdown
tubes and front-to-back crossbracing.
• Snug set screws*.
Step 3 - Attach sink bowl.
• Insert top of each leg into each gusset.
• Tighten all set screws*.
instruction sheet
#362591
set
screw
NSF set
screw cap
casting
threaded hole
in casting for
crossbracing
set screw
NSF
set
screw
cap
leg
threaded
hole in
casting
for leg
Either the supplied
NSF set screw caps
must be installed
over all exposed set
screws, or exposed
set screws must be
filled with silicone
sealant.
*
To meet
NSF requirements:
Step 2 - Attach crossbrace subassembly to legs.
• On legs, measure and
mark desired height of
crossbrace subassembly.
• Insert legs.
• Snug the set screws*.
*
To meet NSF requirements:
Either the supplied NSF set
screw caps must be installed
over all exposed set screws, or
exposed set screws must be
filled with silicone sealant.
This package contains: Tool required:
• 5/32˝ allen wrench (supplied)
• adjustable wrench
(1) Sink bowl
(4) Legs
(2) End castings
(2) Corner castings
(2) Swivel casters
(2) Casters with brake
(2) Front-to-rear cross braces
(1) Left-to-right cross brace
(14) Set screws
(14) Set screw caps
(1) Lever drain
(1) Drain tail-piece
(1) Scrap basket (optional)
(1) Silverware chute (optional)
- (1) Chute
- (2) Support brackets
- (4) Lock nuts
- (4) Wing nuts
ASSEMBLY INSTRUCTIONS
Mobile Soak Sink
eagle Foodservice equipment, eagle Mhc, specFAB, and retail Display are divisions of eagle Group. ©2017 by the eagle Group
• 100 Industrial Boulevard, Clayton, Delaware 19938-8903 U.S.A. • www.eaglegrp.com
• Phone: 302/653-3000 • (Foodservice) 800/441-8440 • (MHC/Retail) 800/637-5100
• Fax: 302/653-2065
(End)
Place basket (if provided) inside sink bowl. Assembly is complete.
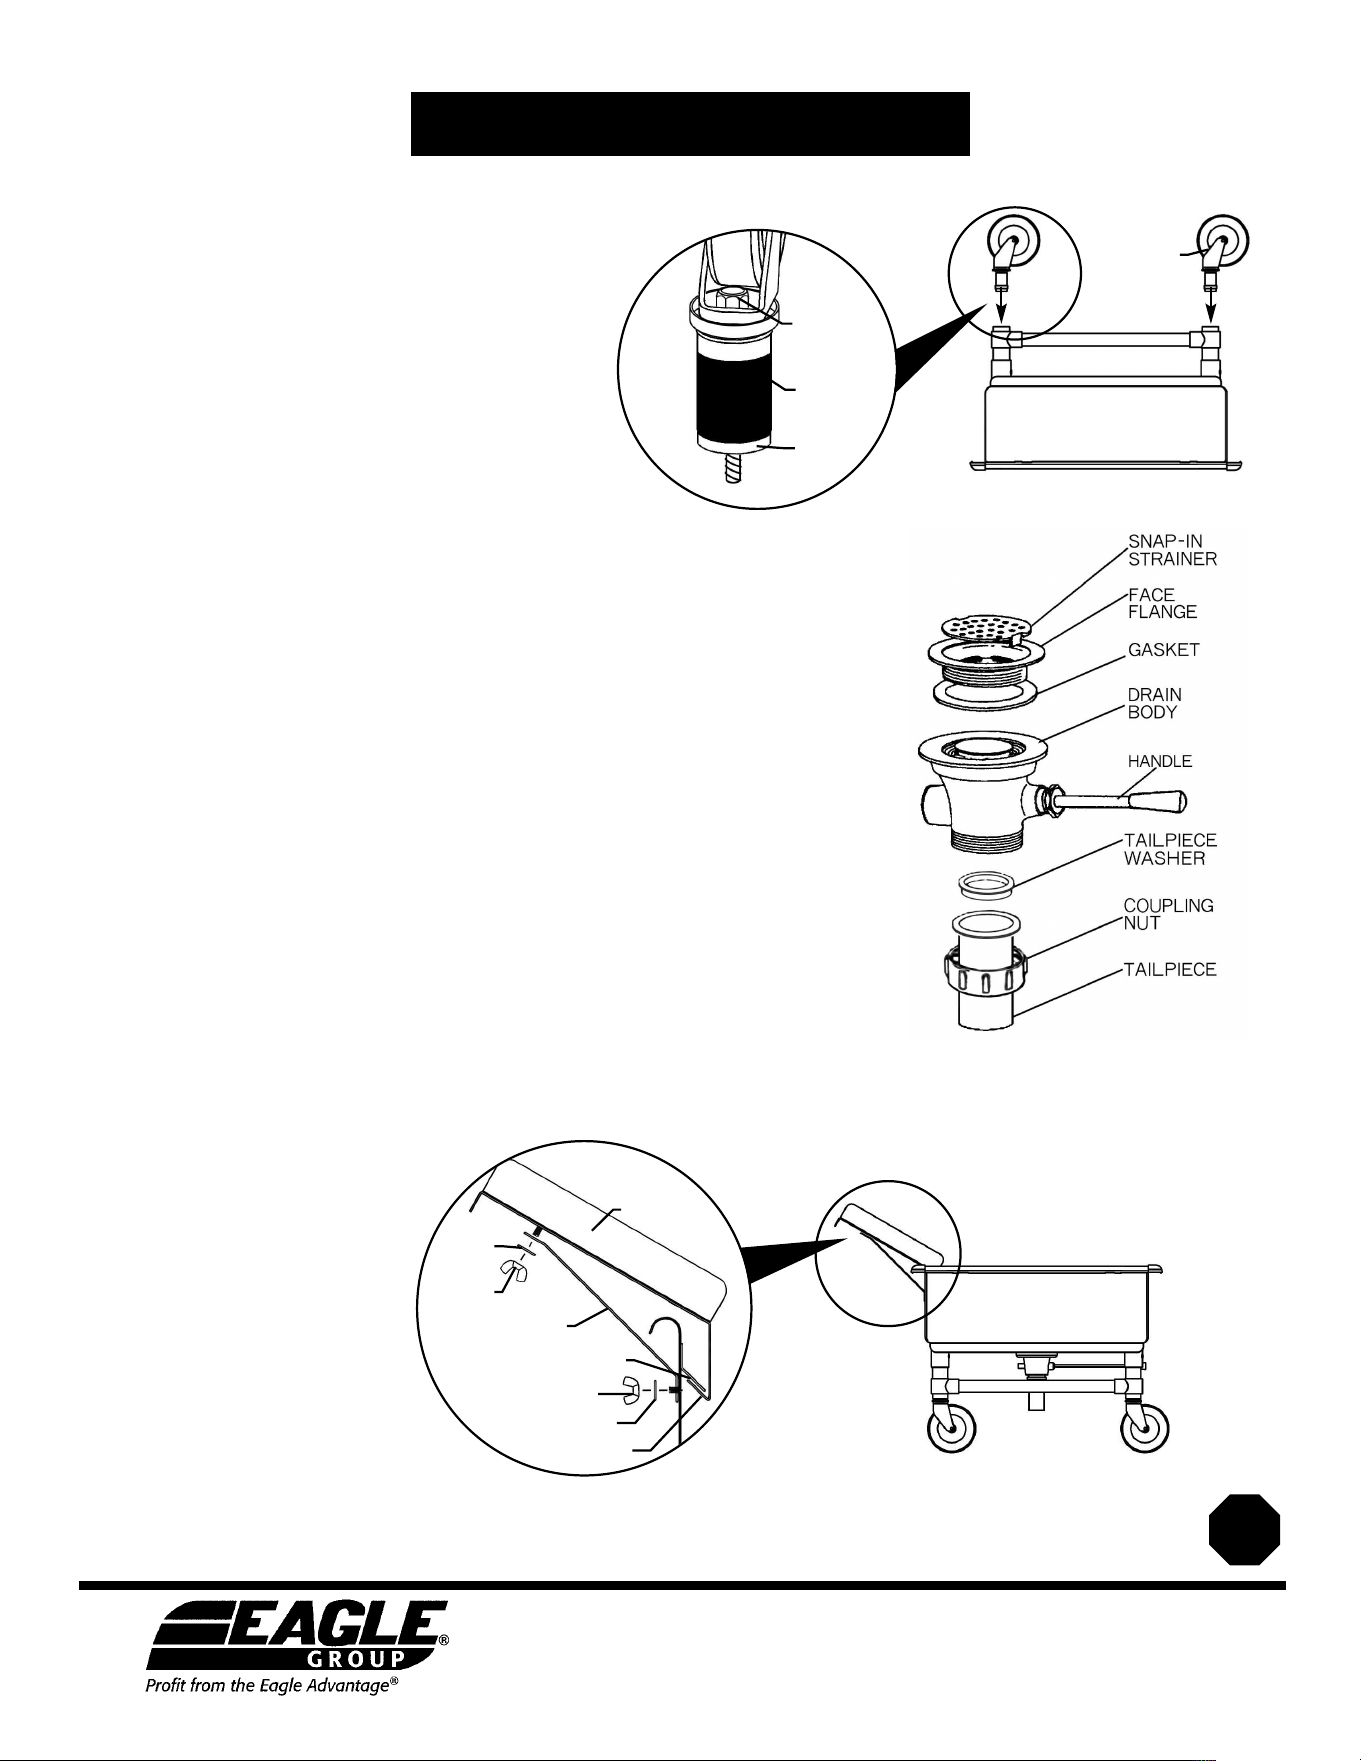
Step 6 - Attach chute.
• Set chute inside sink bowl, and
hook to inner bracket.
• Attach chute to brackets using
wing nuts and washers supplied.
Step 5 - Attach lever drain to sink (referring to illustration at right).
• Remove the Snap-in Strainer and unscrew the Face Flange from the Drain Body. Apply a
bead of Plumber’s Putty to the bottom of the Face Flange where it contacts the sink bowl.
• Make sure the underside and inside mating surfaces of the sink bowl in the area of the
drain are clean.
• Install the Drain Body and Gasket from below the sink.
• Install the Face Flange thru the sink drain opening and screw it into the Drain Body below.
• Before tightening, position the Handle to the desired location. Tighten the Face Flange
securely with a sink flange tool or similar.
• Place Tailpiece Washer inside top of Tailpiece. To attach the Tailpiece, screw Coupling Nut
onto the bottom of the Drain Body.
bracket
chute
wing nut
washer
inner bracket
wing nut
chute hook
washer
If a chute is provided with sink, proceed below to Step 6.
caster
Step 4 - Attach casters.
• Lay unit on its top.
• On caster, hold bottom nut and tighten knurled nut until
applicator starts to expand.
• Insert caster into leg. Caster should fit snugly. If loose,
tighten knurled nut more.
• With caster fully inserted into leg, tighten bottom nut
with adjustable wrench.
• Flip unit onto its casters.
knurled
nut
applicator
bottom nut