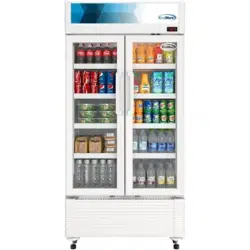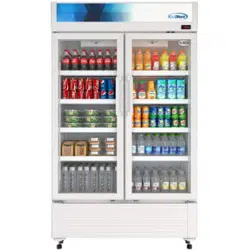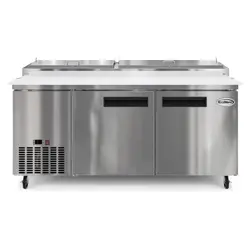
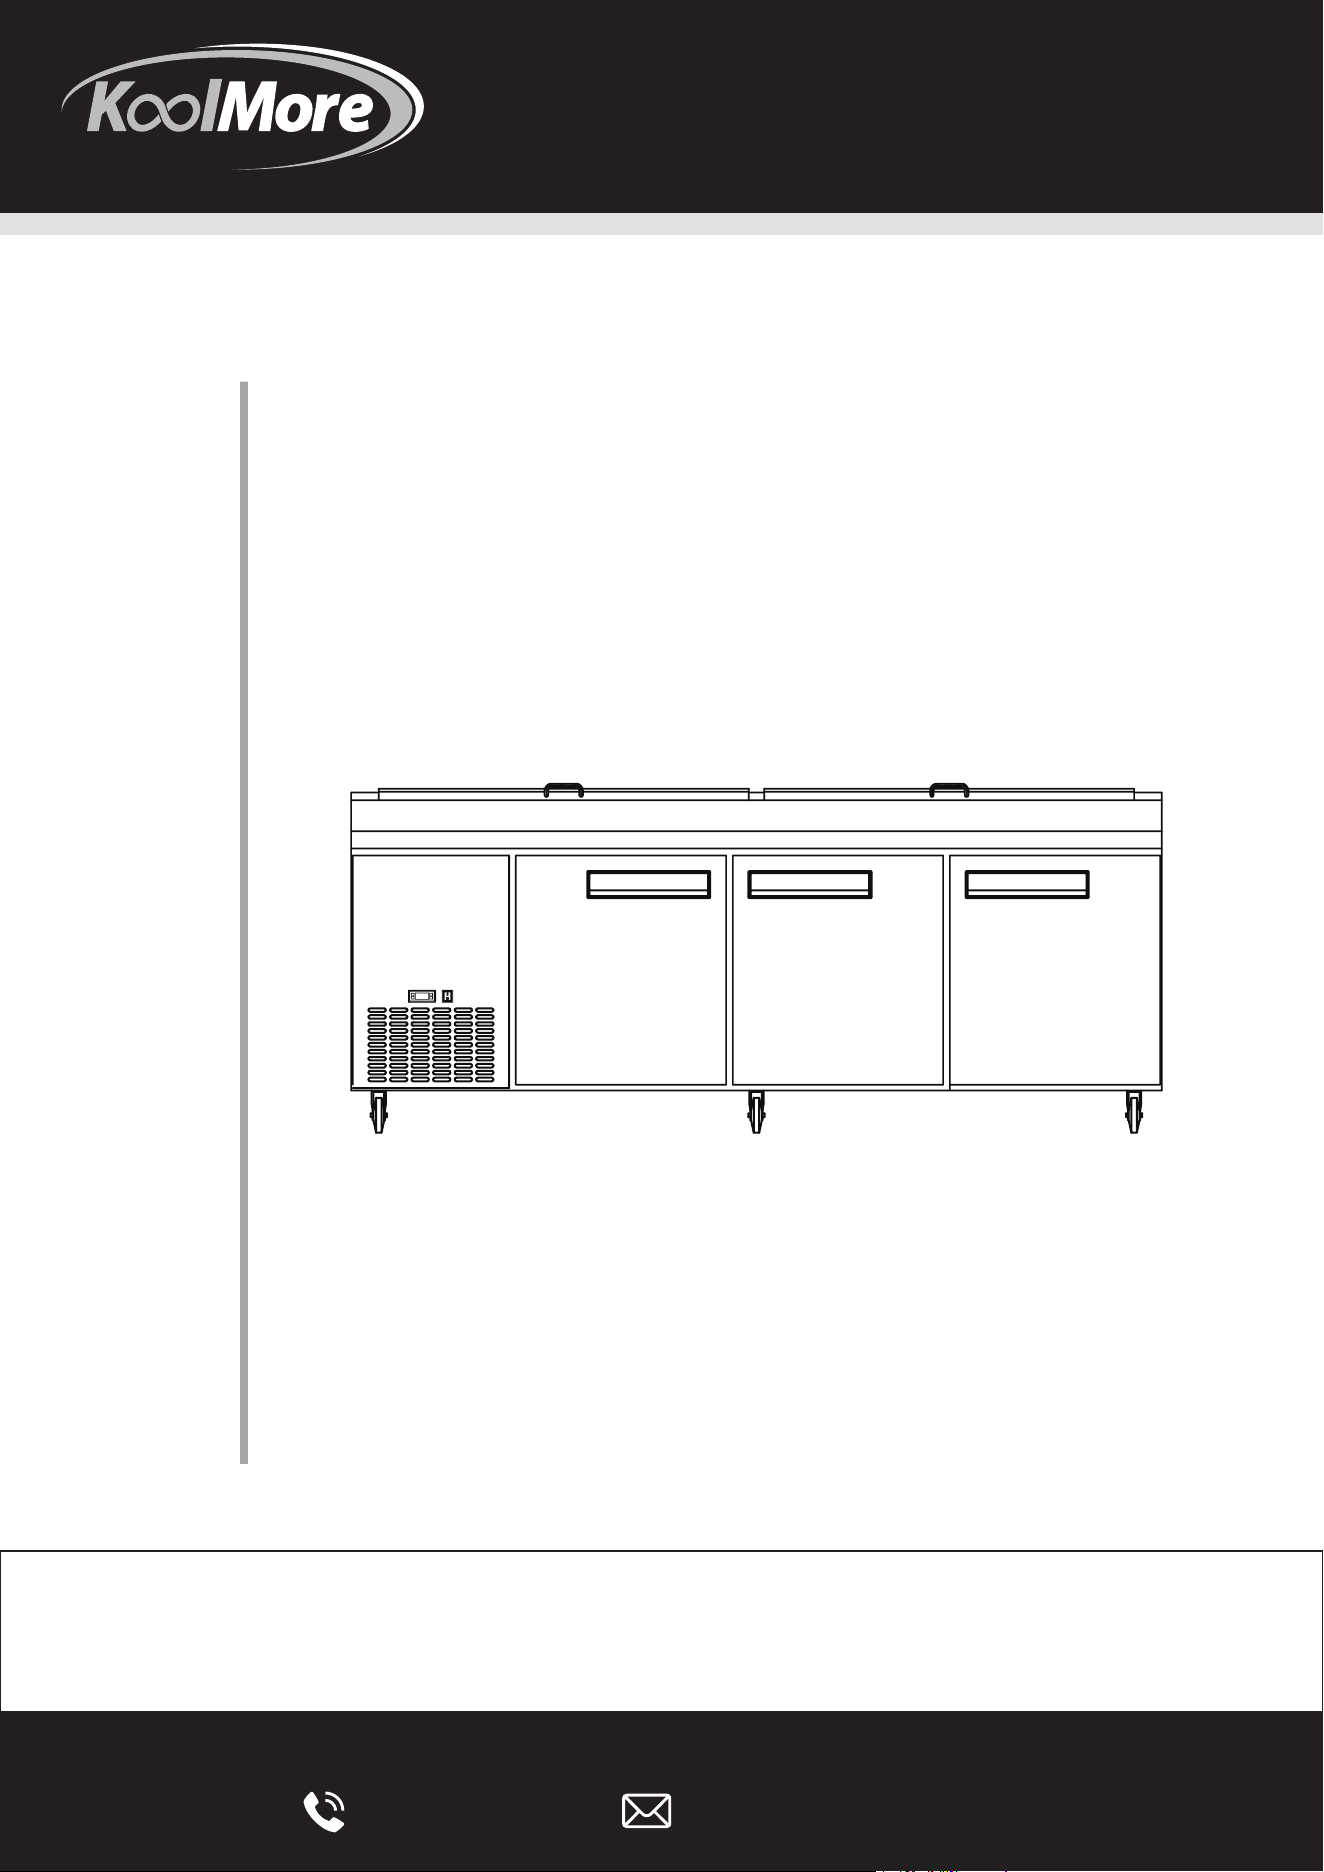
Prep Refrigerator
KM-RPPS-1DSS | KM-RPPS-2DSS | KM-RPPS-3DSS |
KM-RPPS-1DSS-B |KM-RPPS-2DSS-B | KM-RPPS-672DSS |
KM-RPPS-3DSS-B | RWT-1DSS-ED | RWT-2DSS-ED
RWT-3DSS-ED | RWTB-1DSS-ED | RWTB-2DSS-ED | RWTB-3DSS-ED

Stay informed with the latest information
for your KoolMore Appliance.
If you need any assistance or have questions, our customer
support team is here to help.

Safety Precautions
Ensure there's ample space between the appliance, the wall, and the ceiling—do not seal the back
part entirely; instead, allow for an air vent leading outside.
Note: Maintain a gap of more than 20 cm (about 8 inches) from the appliance to any wall.
Remove all packaging material from the bottom to allow heat to escape and prevent fire hazards.
Storing flammable or explosive materials near the appliance is strictly prohibited due to the risk of
explosion.
Only use an individual single-phase electrical socket that's properly grounded for this appliance.
Caution: Never connect the appliance's grounding wire to any water or gas pipes.
Avoid moving the appliance in a manner that causes hard collisions or vibrations, especially if the
appliance is tilted more than 45 degrees.
If you encounter operational issues, consult the trouble-shooting guide or contact a certified techni-
cian. Do not attempt repairs yourself.
Danger: Recognize the risk of fire or explosion due to the flammable refrigerant. Avoid using
mechanical devices for defrosting or puncturing the refrigerant tubing. Repairs should only be
performed by qualified service personnel.
Caution: Always consult the owner's manual or repair guide before attempting any service on the
appliance. Follow all prescribed safety measures.
Dispose of the appliance in compliance with local and federal environmental regulations due to the
risk associated with flammable refrigerants.
Be cautious when handling to avoid puncturing the refrigerant tubing.
Keep all ventilation openings in the appliance clear to ensure proper function.
Servicing should only be conducted by authorized service personnel to reduce the risk of ignition
from incorrect parts or improper service.
IMPORTANT: PLEASE READ CAREFULLY BEFORE INSTALLATION
• If your unit has been in transit, let it rest for at least 24 hours before starting it up.
• Ensure the unit reaches the desired temperature before loading it with any contents.
• Confirm there's adequate airflow around the unit in its designated space.
• Install all parts, such as shelves, clips, and casters, prior to connecting the unit to power.
• Thoroughly review the entire manual before operating the unit.
CABINET LOCATION GUIDELINES
• Position your unit on a sturdy and level surface to prevent noise and malfunctions that can occur
if it's uneven.
• Place the unit in an area with good ventilation to enhance performance and avoid overheating.
• Keep a minimum clearance of 3 inches behind the unit to avoid efficiency loss or damage, espe-
cially when placed outdoors.
• Be mindful of high humidity or dusty environments, as these can cause rust or other malfunc-
tions. Cleaning the condenser monthly with a brush or cloth is recommended.
• Keep the unit away from heat sources and moist areas to prevent overworking the compressor,
which can lead to increased energy costs and potential breakdowns.
ELECTRICAL REQUIREMENTS
• Make sure the unit is supplied with the correct voltage at all times to prevent damage to the
refrigerator.
• Connect the unit to a grounded and appropriately sized electrical outlet with a built-in overcur-
rent protector. Detailed electrical requirements can be found on the unit's nameplate.
• Assign a dedicated outlet for your unit and refrain from using extension cords.
OPERATION
Temperature Controls
The temperature settings for refrigerators are preset to average 38°F, and freezers to 0°F. To adjust:
1. Turn the control knob clockwise for colder temperatures.
2. Turn it counterclockwise for warmer temperatures.
Caution
Avoid setting the temperature to the coldest level as it may lead to the evaporator coil freezing and
cause the interior to warm up.
Loading Products
• Shelves are pre-installed. Ensure all shelf clips are secured before placing items.
• Maintain at least 2 to 4 inches of space between the back wall and items to prevent blocking
SAFETY
2
airflow, which can lead to a warmer interior and potential compressor issues.
Defrost Systems
The defrost system maintains refrigerator coils above 32°F to prevent ice build-up.
Evaporator fans circulate air to prevent frost, and defrost water drains into an evaporation pan.
The defrost cycle is automatic and cannot be adjusted, operating at specific intervals and durations.
Note
Limit opening the doors frequently to preserve the temperature and prevent coils from freezing.
Loading Food Pans
• Pizza and sandwich prep units are designed for use with all pans in place, but you can leave
spaces if needed.
• For optimal freshness, fill only with the necessary amount and use the specified size for each
space.

Safety Precautions
Ensure there's ample space between the appliance, the wall, and the ceiling—do not seal the back
part entirely; instead, allow for an air vent leading outside.
Note: Maintain a gap of more than 20 cm (about 8 inches) from the appliance to any wall.
Remove all packaging material from the bottom to allow heat to escape and prevent fire hazards.
Storing flammable or explosive materials near the appliance is strictly prohibited due to the risk of
explosion.
Only use an individual single-phase electrical socket that's properly grounded for this appliance.
Caution: Never connect the appliance's grounding wire to any water or gas pipes.
Avoid moving the appliance in a manner that causes hard collisions or vibrations, especially if the
appliance is tilted more than 45 degrees.
If you encounter operational issues, consult the trouble-shooting guide or contact a certified techni-
cian. Do not attempt repairs yourself.
Danger: Recognize the risk of fire or explosion due to the flammable refrigerant. Avoid using
mechanical devices for defrosting or puncturing the refrigerant tubing. Repairs should only be
performed by qualified service personnel.
Caution: Always consult the owner's manual or repair guide before attempting any service on the
appliance. Follow all prescribed safety measures.
Dispose of the appliance in compliance with local and federal environmental regulations due to the
risk associated with flammable refrigerants.
Be cautious when handling to avoid puncturing the refrigerant tubing.
Keep all ventilation openings in the appliance clear to ensure proper function.
Servicing should only be conducted by authorized service personnel to reduce the risk of ignition
from incorrect parts or improper service.
IMPORTANT: PLEASE READ CAREFULLY BEFORE INSTALLATION
• If your unit has been in transit, let it rest for at least 24 hours before starting it up.
• Ensure the unit reaches the desired temperature before loading it with any contents.
• Confirm there's adequate airflow around the unit in its designated space.
• Install all parts, such as shelves, clips, and casters, prior to connecting the unit to power.
• Thoroughly review the entire manual before operating the unit.
CABINET LOCATION GUIDELINES
• Position your unit on a sturdy and level surface to prevent noise and malfunctions that can occur
if it's uneven.
• Place the unit in an area with good ventilation to enhance performance and avoid overheating.
• Keep a minimum clearance of 3 inches behind the unit to avoid efficiency loss or damage, espe-
cially when placed outdoors.
• Be mindful of high humidity or dusty environments, as these can cause rust or other malfunc-
tions. Cleaning the condenser monthly with a brush or cloth is recommended.
• Keep the unit away from heat sources and moist areas to prevent overworking the compressor,
which can lead to increased energy costs and potential breakdowns.
ELECTRICAL REQUIREMENTS
• Make sure the unit is supplied with the correct voltage at all times to prevent damage to the
refrigerator.
• Connect the unit to a grounded and appropriately sized electrical outlet with a built-in overcur-
rent protector. Detailed electrical requirements can be found on the unit's nameplate.
• Assign a dedicated outlet for your unit and refrain from using extension cords.
OPERATION
Temperature Controls
The temperature settings for refrigerators are preset to average 38°F, and freezers to 0°F. To adjust:
1. Turn the control knob clockwise for colder temperatures.
2. Turn it counterclockwise for warmer temperatures.
Caution
Avoid setting the temperature to the coldest level as it may lead to the evaporator coil freezing and
cause the interior to warm up.
Loading Products
• Shelves are pre-installed. Ensure all shelf clips are secured before placing items.
• Maintain at least 2 to 4 inches of space between the back wall and items to prevent blocking
INSTALLATION
3
airflow, which can lead to a warmer interior and potential compressor issues.
Defrost Systems
The defrost system maintains refrigerator coils above 32°F to prevent ice build-up.
Evaporator fans circulate air to prevent frost, and defrost water drains into an evaporation pan.
The defrost cycle is automatic and cannot be adjusted, operating at specific intervals and durations.
Note
Limit opening the doors frequently to preserve the temperature and prevent coils from freezing.
Loading Food Pans
• Pizza and sandwich prep units are designed for use with all pans in place, but you can leave
spaces if needed.
• For optimal freshness, fill only with the necessary amount and use the specified size for each
space.

Safety Precautions
Ensure there's ample space between the appliance, the wall, and the ceiling—do not seal the back
part entirely; instead, allow for an air vent leading outside.
Note: Maintain a gap of more than 20 cm (about 8 inches) from the appliance to any wall.
Remove all packaging material from the bottom to allow heat to escape and prevent fire hazards.
Storing flammable or explosive materials near the appliance is strictly prohibited due to the risk of
explosion.
Only use an individual single-phase electrical socket that's properly grounded for this appliance.
Caution: Never connect the appliance's grounding wire to any water or gas pipes.
Avoid moving the appliance in a manner that causes hard collisions or vibrations, especially if the
appliance is tilted more than 45 degrees.
If you encounter operational issues, consult the trouble-shooting guide or contact a certified techni-
cian. Do not attempt repairs yourself.
Danger: Recognize the risk of fire or explosion due to the flammable refrigerant. Avoid using
mechanical devices for defrosting or puncturing the refrigerant tubing. Repairs should only be
performed by qualified service personnel.
Caution: Always consult the owner's manual or repair guide before attempting any service on the
appliance. Follow all prescribed safety measures.
Dispose of the appliance in compliance with local and federal environmental regulations due to the
risk associated with flammable refrigerants.
Be cautious when handling to avoid puncturing the refrigerant tubing.
Keep all ventilation openings in the appliance clear to ensure proper function.
Servicing should only be conducted by authorized service personnel to reduce the risk of ignition
from incorrect parts or improper service.
IMPORTANT: PLEASE READ CAREFULLY BEFORE INSTALLATION
• If your unit has been in transit, let it rest for at least 24 hours before starting it up.
• Ensure the unit reaches the desired temperature before loading it with any contents.
• Confirm there's adequate airflow around the unit in its designated space.
• Install all parts, such as shelves, clips, and casters, prior to connecting the unit to power.
• Thoroughly review the entire manual before operating the unit.
CABINET LOCATION GUIDELINES
• Position your unit on a sturdy and level surface to prevent noise and malfunctions that can occur
if it's uneven.
• Place the unit in an area with good ventilation to enhance performance and avoid overheating.
• Keep a minimum clearance of 3 inches behind the unit to avoid efficiency loss or damage, espe-
cially when placed outdoors.
• Be mindful of high humidity or dusty environments, as these can cause rust or other malfunc-
tions. Cleaning the condenser monthly with a brush or cloth is recommended.
• Keep the unit away from heat sources and moist areas to prevent overworking the compressor,
which can lead to increased energy costs and potential breakdowns.
ELECTRICAL REQUIREMENTS
• Make sure the unit is supplied with the correct voltage at all times to prevent damage to the
refrigerator.
• Connect the unit to a grounded and appropriately sized electrical outlet with a built-in overcur-
rent protector. Detailed electrical requirements can be found on the unit's nameplate.
• Assign a dedicated outlet for your unit and refrain from using extension cords.
OPERATION
Temperature Controls
The temperature settings for refrigerators are preset to average 38°F, and freezers to 0°F. To adjust:
1. Turn the control knob clockwise for colder temperatures.
2. Turn it counterclockwise for warmer temperatures.
Caution
Avoid setting the temperature to the coldest level as it may lead to the evaporator coil freezing and
cause the interior to warm up.
Loading Products
• Shelves are pre-installed. Ensure all shelf clips are secured before placing items.
• Maintain at least 2 to 4 inches of space between the back wall and items to prevent blocking
4
airflow, which can lead to a warmer interior and potential compressor issues.
Defrost Systems
The defrost system maintains refrigerator coils above 32°F to prevent ice build-up.
Evaporator fans circulate air to prevent frost, and defrost water drains into an evaporation pan.
The defrost cycle is automatic and cannot be adjusted, operating at specific intervals and durations.
Note
Limit opening the doors frequently to preserve the temperature and prevent coils from freezing.
Loading Food Pans
• Pizza and sandwich prep units are designed for use with all pans in place, but you can leave
spaces if needed.
• For optimal freshness, fill only with the necessary amount and use the specified size for each
space.
SAFETY / WARNING
Please heed the safety advisories detailed below. Ignoring these could result in injury or harm
to the appliance.
ATTENTION
Prevent electrical overload by using a dedicated outlet for your appliance.
Extension cords should not be used.
When moving the appliance, it must first be unplugged. Wait at least 10 minutes after unplug-
ging before restarting to avoid compressor damage.
UNPLUGGING THE APPLIANCE
To reduce the risk of shock or fire, never unplug the appliance with wet hands.
Always unplug the appliance before cleaning or servicing.
PROPER GROUNDING
Ensure the appliance is connected to a properly grounded electrical outlet to minimize the
risk of shock or fire.
PROHIBITIONS
Do not repair or disassemble any appliance parts unless directed by factory instructions.
Make sure the power is off and the plug is removed from the outlet before performing any
maintenance.
Avoid hanging on the appliance doors to prevent injury.
Keep flammable materials away from the appliance.
Never modify or tamper with the appliance's electrical components.

Cleaning the Condenser Coil
• To ensure your unit runs effectively, keep the condenser surface free of dust and dirt. It's
recommended to clean it at least once a month.
• Use a commercial condenser coil cleaner and brush vertically from top to bottom. Do not brush
side to side.
• After cleaning, realign any bent fins using a fin comb.
Cleaning the Fan Blades and Motor
When necessary, wipe the fan blades and motor with a soft cloth. If you must wash them, protect
the motor from moisture damage.
Cleaning the Interior of the Unit
• Use warm water with a gentle soap to clean the interior. Avoid harsh chemicals like steel wool,
caustic soap, or bleach, as these can damage the stainless steel.
• Regularly wash and dry the door gaskets each week. If they become soaked, let them sit in
warm soapy water for 30 minutes, then dry and replace them.
• Inspect and ensure door gaskets are sealing properly after they're reattached.
• For cleaning shelves and pilasters, remove them along with their brackets, wash with mild soap
and warm water, then replace them back in the unit.
Warning
Always disconnect the unit from the power supply before beginning any maintenance tasks.
MAINTENANCE
5
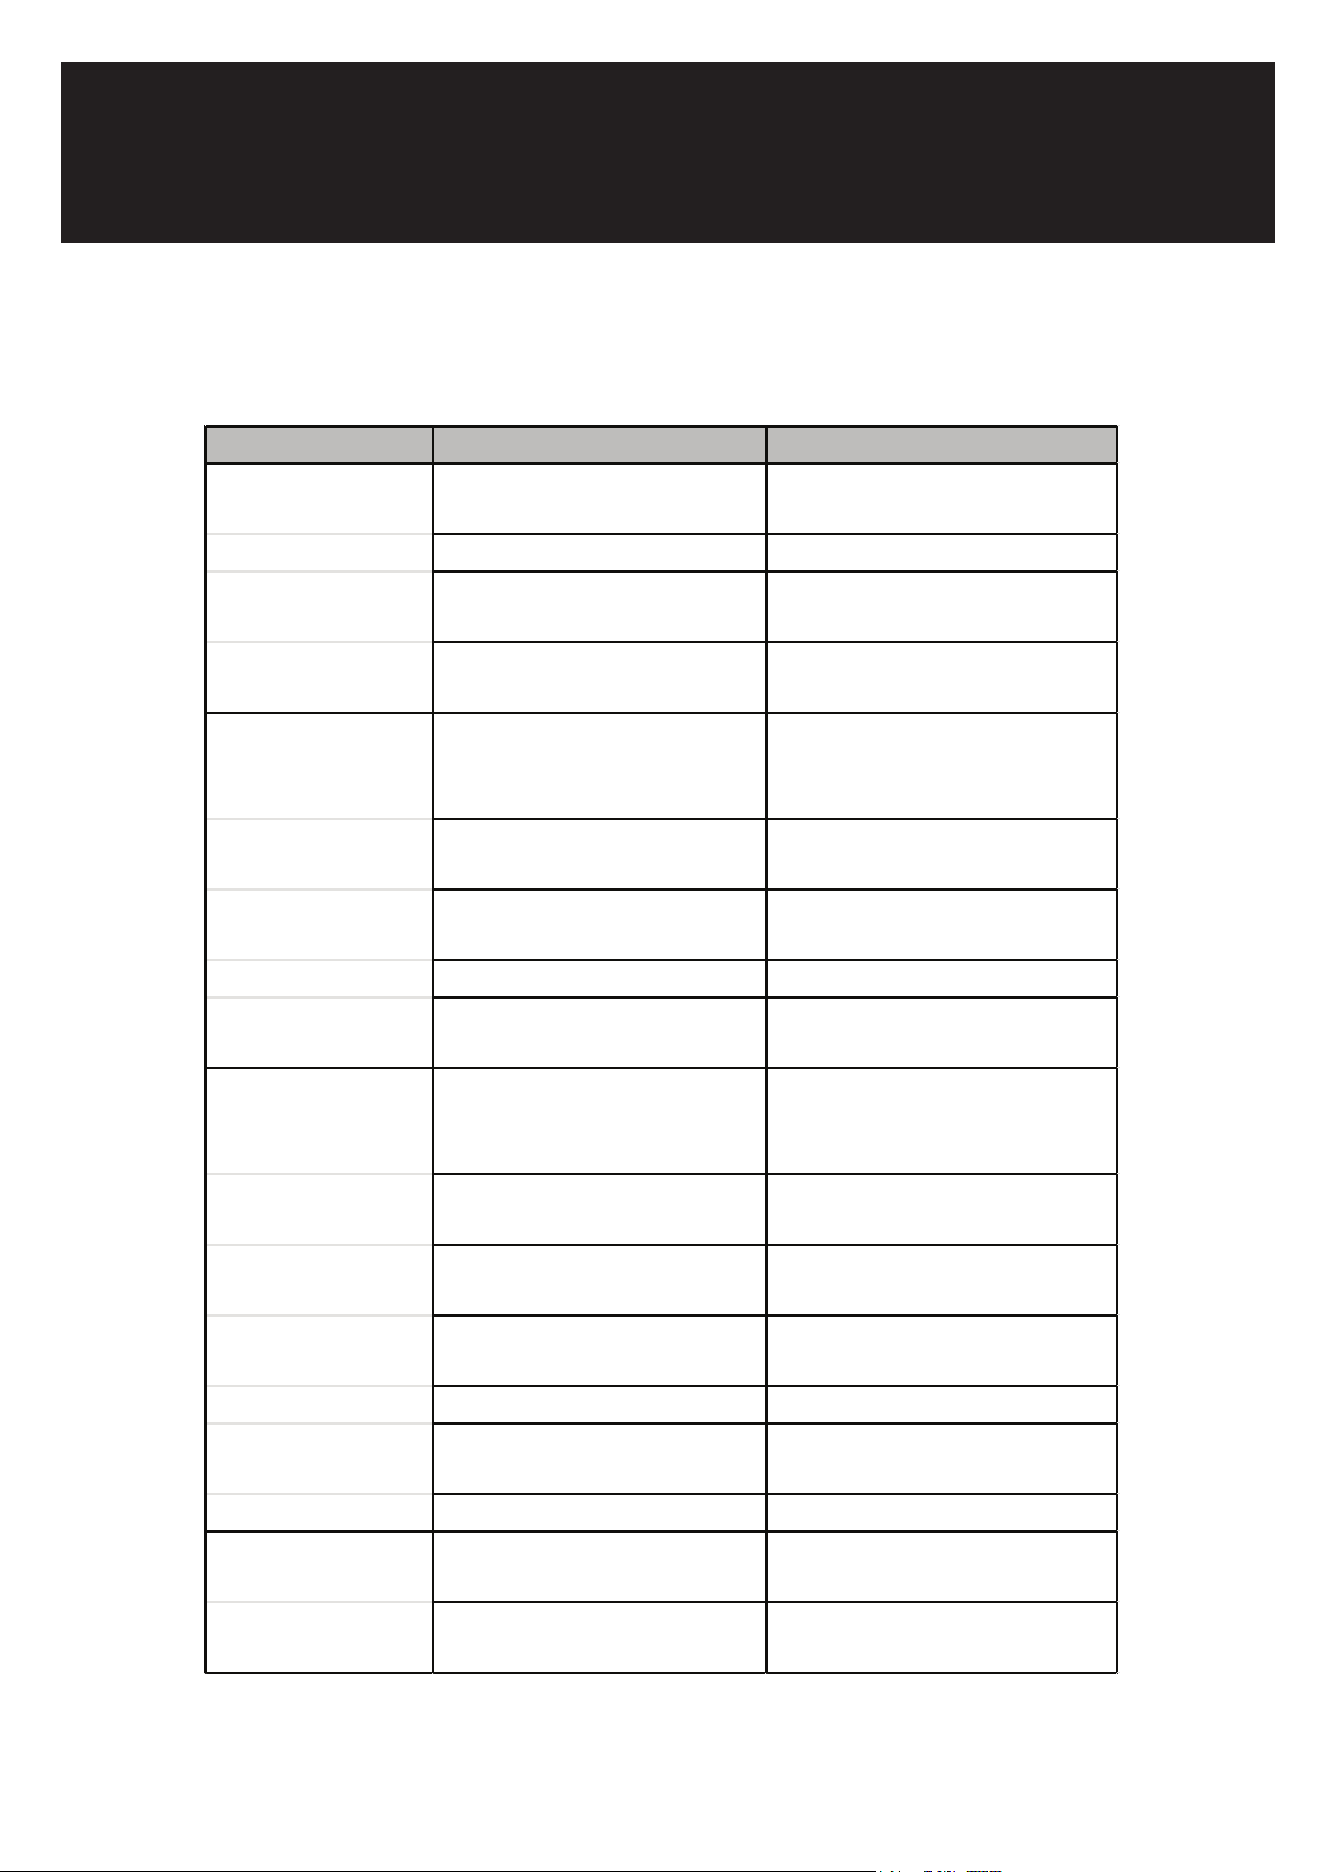
TROUBLESHOOTING
6
Symptom Possible Cause Corrective Action
Compressor not
running.
Fuse blown or circuit breaker
tripped.
Replace fuse or reset circuit
breaker.
Power cord unplugged. Plug in the power cord.
Thermostat set too high.
Set thermostat to a lower
temperature.
Cabinet in defrost cycle.
Wait for the defrost cycle to
complete.
Condensing unit
runs for long
periods.
Excessive warm product in
cabinet.
Allow product to cool before
storing.
Prolonged door opening or
door ajar.
Keep doors closed when not in
use.
Door gasket(s) not sealing
properly.
Check and replace gaskets if
needed.
Dirty condenser coil. Clean the condenser coil.
Evaporator coil iced over.
Defrost and ensure proper
sealing of door gaskets.
Cabinet
temperature is too
warm.
Thermostat set too warm.
Adjust thermostat to a cooler
setting.
Blocking air flow.
Ensure proper air circulation
and clearance.
Excessive warm product in
cabinet.
Allow time for product to cool
down.
Fuse blown or circuit breaker
tripped.
Replace fuse or reset circuit
breaker.
Dirty condenser coil. Clean the condenser coil.
Prolonged door opening or
door ajar.
Minimize door opening times.
Evaporator coil iced over. Defrost the evaporator coil.
Cabinet is noisy. Loose part(s). Tighten any loose components.
Tubing vibration.
Secure tubing to prevent
vibrations.
Koolmore Supply, Inc. extends a limited warranty to the original purchaser, guaranteeing that this
Koolmore
product is free from manufacturing defects in material or workmanship for one year from the date of
purchase.
Should you discover any such defect within the warranty period, Koolmore Supply, Inc., reserves the
right to
repair or replace the product without charge, or to cover the cost of replacement parts and repair labor
needed
to correct defects present at the time of purchase or resulting from regular usage, when the appliance
has been
installed, operated, and maintained as per the instructions provided.
At its sole discretion, Koolmore Supply Inc. may decide to replace the product. In such an event, your
replacement
appliance will carry the warranty for the remaining term of the original unit's warranty period.
This warranty is valid exclusively to the original purchaser of the product and only applicable within the
United
States. The warranty commences from the date of original consumer purchase. Proof of the original
purchase
date will be required to obtain service under this warranty.
Under this limited warranty, your sole and exclusive remedy will be product repair, as outlined above. All
services must be provided by a Koolmore-designated service company.
To claim warranty or request repair service:
Email support@koolmore.com. Please include your name, address, phone number, warranty repair
request,
and a copy of your proof of purchase receipt. Alternatively, visit koolmore.com and use the contact us
page. A
Koolmore customer service representative will promptly arrange service for your appliance.
We thank you for choosing Koolmore.
This limited warranty will not cover:
1. Failure of the product to perform during power failures or interruptions,
or due to inadequate electrical service.
2. Damage incurred during transportation or handling.
3. Damage caused by accidents, vermin, lightning, winds, re, oods, or acts of God.
4. Damage resulting from accidents, alterations, misuse, abuse, improper installation, repair, or mainte-
nance.
This includes using any external device that alters or converts the voltage or frequency of
electricity.
5. Unauthorized product modications, repairs by unauthorized centers, or use of non-approved
replacement parts.
6. Abnormal cleaning and maintenance not aligned with the user's manual.
7. Use of incompatible accessories or components.
8. Any costs associated with repairs or replacements under these excluded circumstances shall be the
responsibility of the consumer.