Kit No. 82303
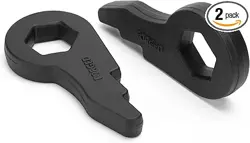
Torsion Key Leveling Key Kit Installation
(if you want to buy shock bracket,please contact us )
Vehicle application
Chevy:
Avalanche 2500 02-06 2WD 4WD 8-Lug
Silverado 1500HD 01-07 2/4WD 8Lug (unfit 03 year)
Silverado 2500 99-04 2WD 4WD 8-Lug
Silverado 2500HD 01-10 2WD 4WD 8-Lug
Silverado 3500 01-07 2WD 4WD 8-Lug
Silverado 3500HD 07-10 2WD 4WD 8-Lug
Suburban 2500 00-13 2WD 4WD 8-Lug
(Except 2000 Suburban 2500 4 wheel drive 8 lug)
GMC:
Yukon XL 2500 00-13 2WD 4WD 8-Lug
Sierra 1500HD 01-07 2WD 4WD 8-Lug
Sierra 2500 99-04 2WD 4WD 8-Lug
Sierra 2500HD 01-10 2/4WD 8Lug (unfit 02, 06 year)
Sierra 3500 01-07 2WD 4WD 8-Lug
Sierra 3500HD 07-10 2WD 4WD 8-Lug
1. To begin installation, block the rear tires of the vehicle.
Place a jack stand on both the driver and passenger side.
2. Remove the front tire and wheel assembly.
3. Remove the lower shock bracket and remove the
shock from the factory. Remove the factory lower shock
bracket and discard.
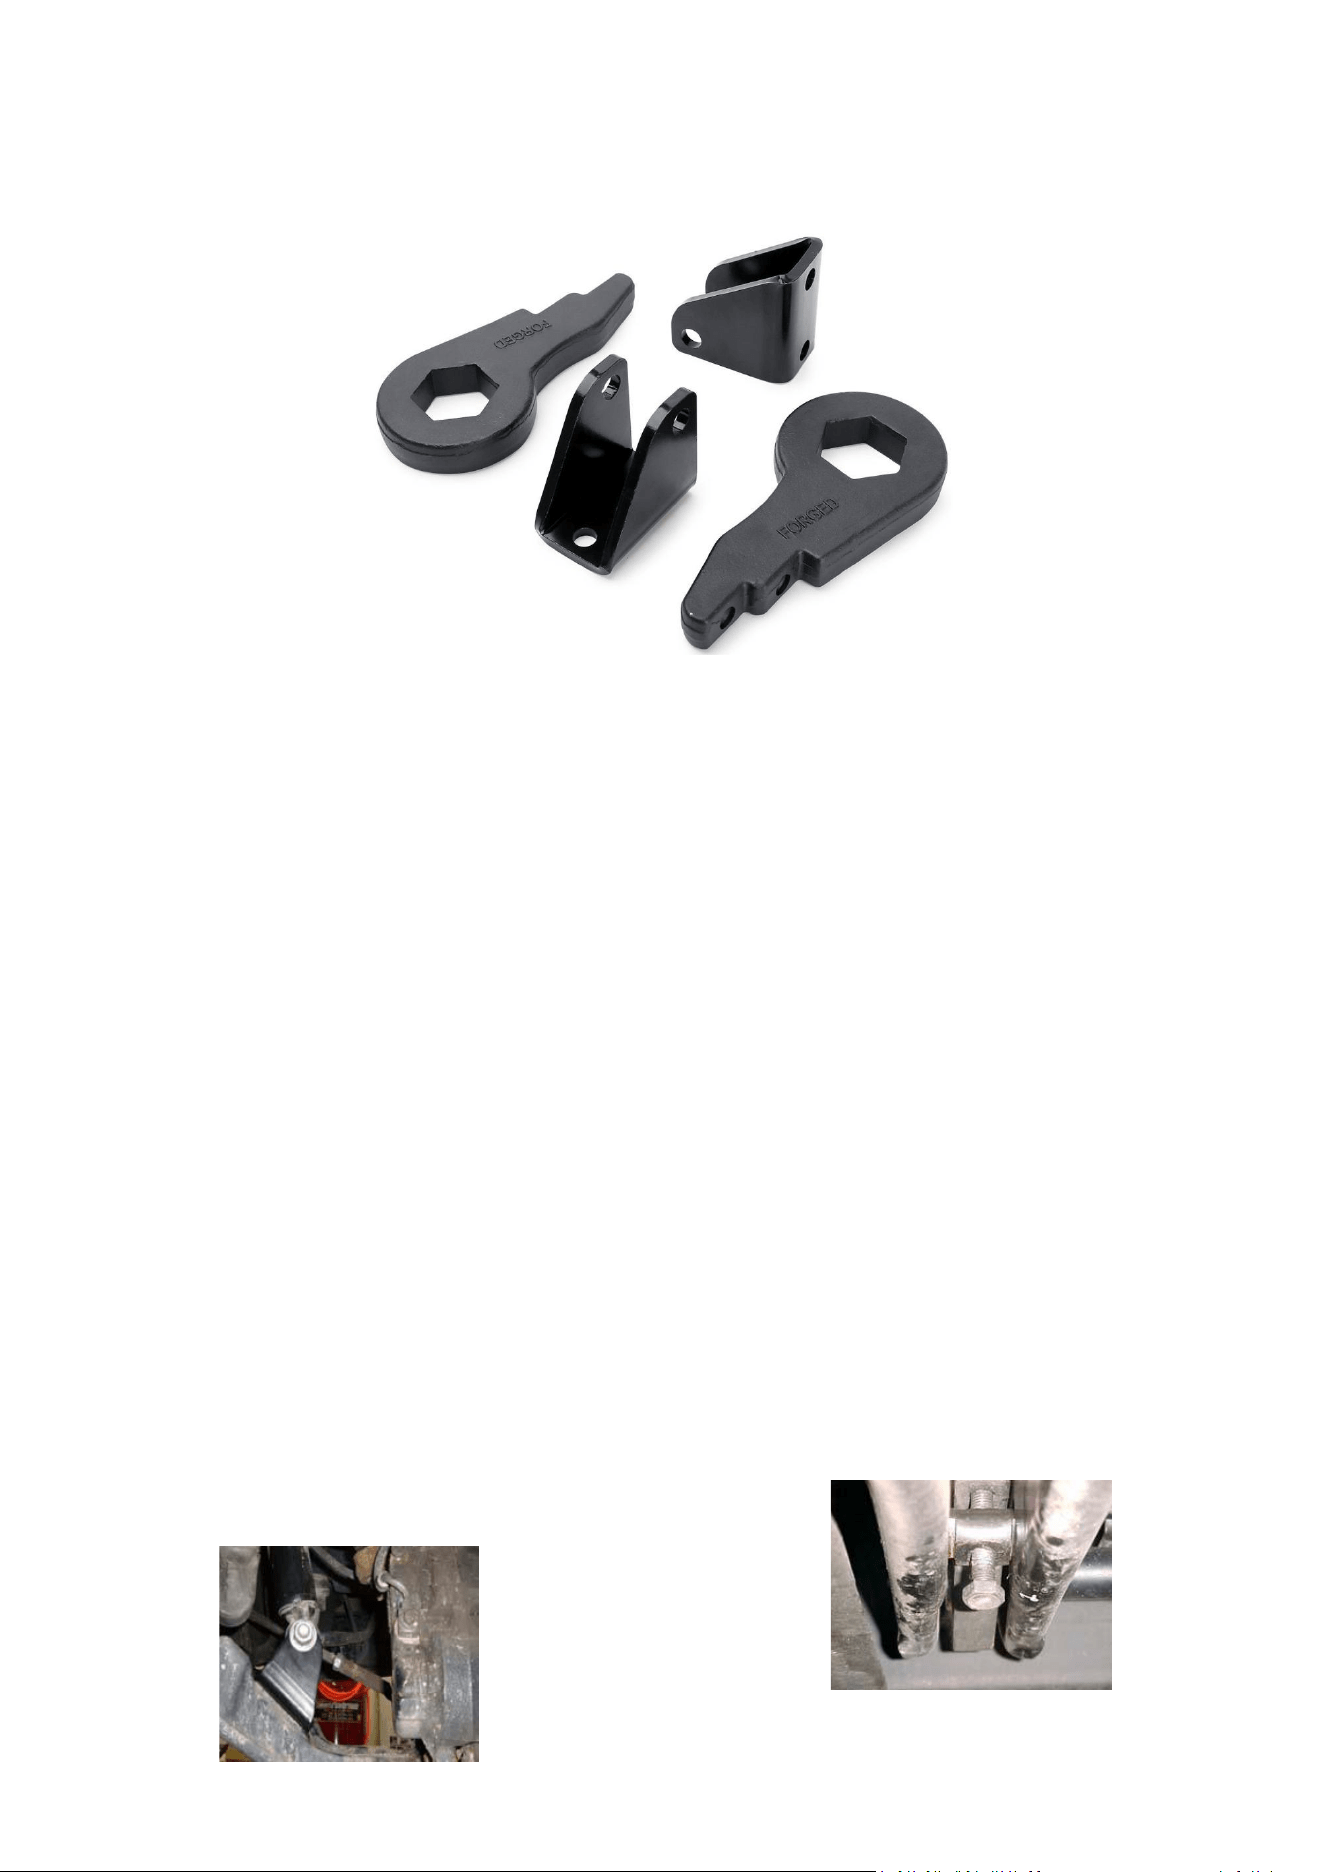
4. Install the Extender shock bracket to the lower
control arm with the angle on the bracket going toward
the center of the vehicle. (If you don’t have extender
shock bracket, you need to buy it.)
5. Install the lower shock and shock hardware to the
new mount and torque to spec.
6. Repeat the lower shock bracket installation to the
other side of the vehicle.
7. Locate the torsion bar cross member. There is a bolt
on each side of the cross member that adjusts torsion
bar preload. Measure or mark the exposed length of the
adjuster bolt for reference during re-assembly.
8. Working on the driver side, Remove the adjuster
bolts from the torsion key.
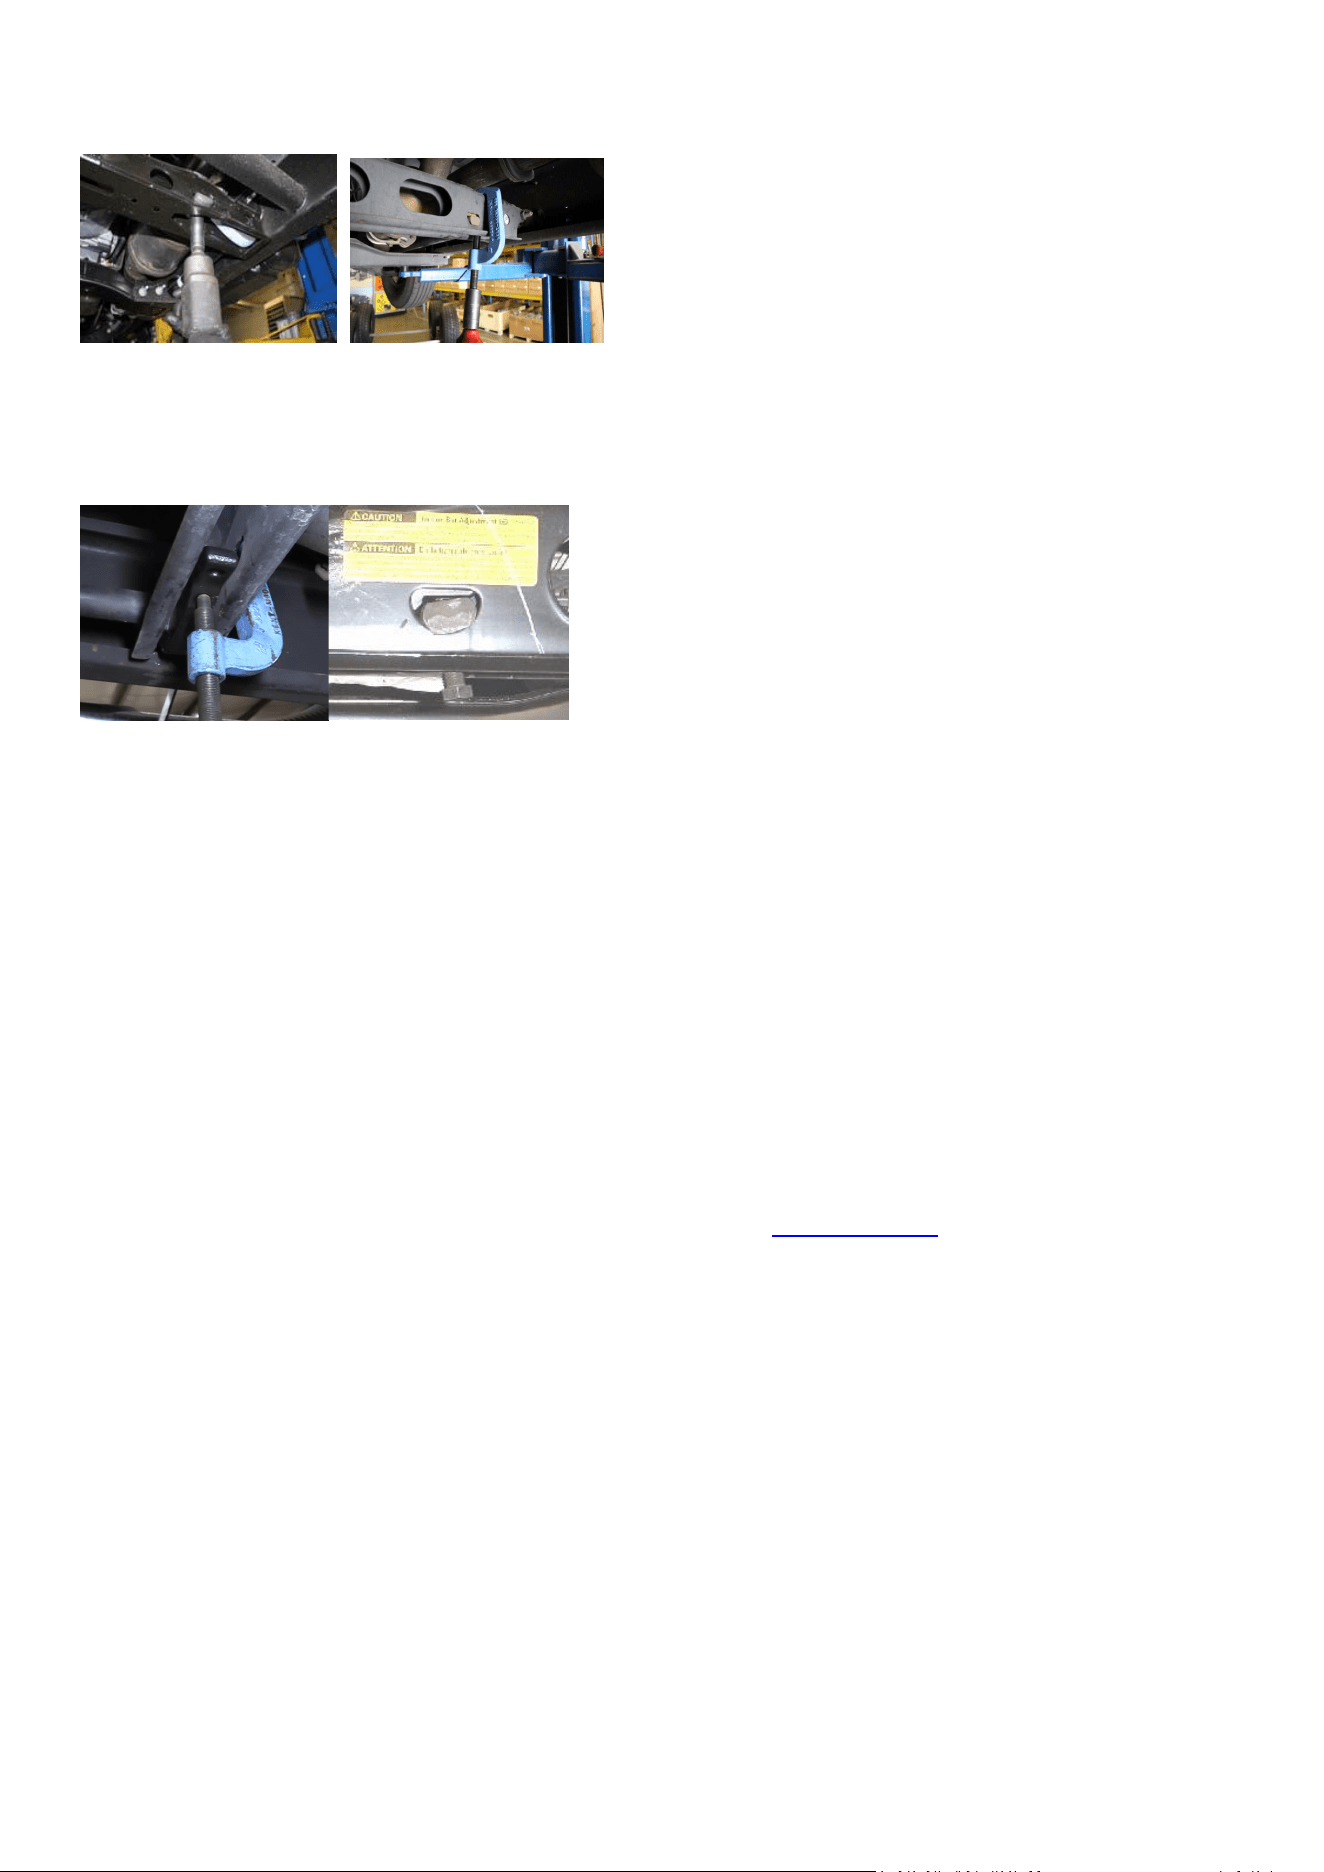
Using the torsion key unload tool carefully unload the
torsion key and remove the keeper. Note the
orientation of the torsion bar key in relation to the end
of the torsion bar.
9. Install the new torsion key, and reinstall the bar pin and
torsion bolt.
Using the same precautions and procedures that were used
during removal.
10. Torque all bolts in the installation torsion key to
factory specs.
11. You have an alignment professional check and adjust
the alignment to factory specifications.
12. After 25 miles of driving re-torque the lug nuts, after
500 miles of driving re-torque all of the hardware
associated with the leveling spacer installation to factory
specifications. Repeat torqueing procedure as required.
The Vehicle Needs To Have A Front End Alignment
Performed Immediately After The Installation Of This Kit.
Thank you for the purchases!
It is our honor to help you. So please write us about what you think and what you need.
We will reply you ASAP and try our overwhelming best to help you solve the problem.
Please feel free to contact us via eBay message or Amazon tools.
E-mail:speed@nbgoldenlion.com
Amazon:
1.Visit www.amazon.com/your-orders
2. Find your product
3. Click on “contact seller”
4. Include your order #
eBay:
1.Visit www.ebay.com
2. Click on ”My eBay”
3.Find your product
4. Click on “More actions”
5. Click on “Contact seller”