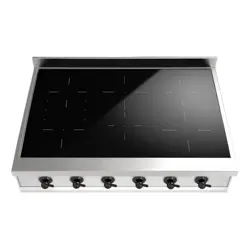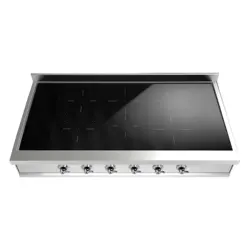

INDUCTION
COOKTOPS
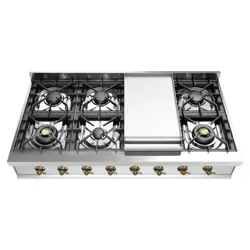
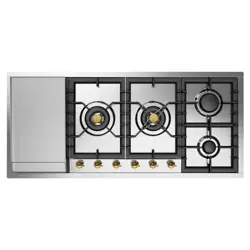
UHCPI366 - UHCPI486
EN User’s manual

2

3
- Keep appliance area clear and free from combustible
materials, gasoline and other ammable vapors and liquids.
- Before beginning, please read these instructions
completely and carefully.
- Do not remove permanently axed labels, warnings, or
plates from the product. This may void the warranty.
- Please observe all local and national codes and ordinances.
- Please ensure that this product is properly grounded.
- The installer should leave these instructions with the
consumer who should retain for local inspector’s use and
for future reference.
- Electrical installation must be in accordance with the
National Electrical Code, ANSI/NFPA70 latest edition and/
or local codes.
- Electrical installation must be in accordance with the
current CSA C22.1 Canadian Electrical Codes Part 1 and/
or local codes.
- The manufacturer will not be responsible for any damage
to property or to persons caused by incorrect installation
or improper use of the appliance.
- The manufactured reserves the right to make changes to its
products when considered necessary and useful, without
aecting the essential safety and operating characteristics.
- This appliance has been designed for non-professional,
domestic use only.
- This appliance must be used only for the purposes for
which it was intended. Any other use is incorrect and
therefore dangerous.
- Possible hazards may result from using this appliance for
storage space.
- Appliances are not intended for manufactured (mobile)
home installation.
- Do not touch surface units or areas near units - surface
units may be hot even though they are dark in color. Areas
near surface units may become hot enough to cause
burns. During and aer use, do not touch, or let clothing or
other inammable materials contact surface units or areas
near units until they have had sucient time to cool.
- WARNING: If the information in this manual is not
followed exactly, a ne or explosion may result causing
property damage, personal injury or death.
Keep appliance area clear and free from combustible materials,
gasoline and other ammable vapors and liquids.
All Appliances:
- CAUTION: Do Not Leave Children Alone - Children should
not be le alone or unattended in area where appliance is
in use.
- They should never be allowed to sit or stand on any part
of the appliance. Do not store items of interest to children
above or at the back of this appliance, as they could climb
on the appliance to reach items and be injured.
- Wear Proper Apparel - Loose-tting or hanging garmets
should never be worn while using the appliance.
- User Servicing - Do not repair or replace any part of the
appliance unless specically recommended in the manual.
- All other servicing should be referred to a qualied
technician.
- Storage in or on Appliance - Flammable materials should
not be stored near surface units.
- Do Not Use Water on Grease Fires - Smother re or ame
or use dry chemical or foam type extinguisher.
- Never leave this appliance unattended when in use.
Boilovers and greasy spills may smoke or ignite
- Do not heat unopened food containers, such as baby food
jars and cans. Pressure build-up may cause the container
to burst and cause injury.
- Wear proper apparel. Loose-tting or hanging garments
should never be worn while using this appliance.
- Use extreme caution when moving a grease kettle or
disposing of hot grease.
- Clean only those parts listed in this guide.
- Do not repair or replace any part of this appli-ance unless
specically recommended in literature accompanying this
appliance.
- Proper Installation – Be sure your appliance is properly
installed and grounded by a qualied technician.
- Never Use Your Appliance for Warming or Heating the
Room.
IMPORTANT INSTRUCTION
- PLEASE READ AND FOLLOW

4
INSTALLATION INSTRUCTIONSINDUCTION APPLIANCE
This appliance shall only be installed by an authorized person.
This appliance shall be installed in accordance with the
manufactures installation instructions, IMPORTANT: this
appliance must be installed in accordance with the norms in
force of the country concerned.
The installation of this appliance must conform to local codes
and ordinances.
The appliance , when installed, must be electrically grounded
in accordance with local codes or, in absence of local codes,
with the National Electrical Code, ANSI/NFPA 70, CSA C22.1-
02
The correct voltage, frequency and amperage must be supplied
to the appliance from a dedicated, grounded circuit which is
protected by a properly sized circuit breaker or time delay fuse.
The proper voltage, frequency and amperage ratings are listed
on the product rating plate.
WARNING: Do not use aerosol sprays in the vicinity of this
appliance while it is in operation. of turning on or shutting off
gas to the appliance.
WARNING: Do not use aerosol sprays in the vicinity of this
appliance while it is in operation.
The appliances should not be installed with a ventilation system
that blows air downward toward the range.
A ventilation hood is recommended(but not required) for use
with the gas cooktop.
Warning! Before removing the appliance disconnect the
electric power supply cable and close the relevant shut off
valve. Make sure that the electric power supply cable is not
damaged during cleaning / mainteinance operation.
- Use Proper Pan Size - This appliance is equipped with
one or more surface units of dierent size. Select utensil
shaving at bottoms large enough to cover the surface unit
heating element. Proper ratio of utensil to cooking zone will
also improve eciency.
- Protective Liners - Do not use aluminum foil to line oven
bottom, installation of these liners may result in a risk of
electric shock, or re.
- Avoid spilling water or other liquids onto the Induction
Cooker, and never immerse the unit in water.
- Do not touch the Ceramic Plate immediately aer cooking
- it may be hot from residual heat from the utensil.
- Do not place or store very heavy objects on the ceramic
plate.
- The heating area is warmed up from the heat of the pan.
To avoid injuries (burning) do not touch the heating area.
Do not insert any piece of paper, cardboard, cloth, etc.
Between the pan and the heating area, as this might initiate
a re.
- As metallic objects are heated up very quickly when
placed on the operating heating area, do not place any
otherobjects (closed cans, aluminium foil, cutlery, jewelry,
watches etc.) on the induction cooker.
- Aluminium foil and plastic vessels are not to be placed on
the hot surface.
- The surface must not be used for storage.
- Do not place credit cards, phone cards, cassette tapes, or
other objects that are sensitive to magnetism on the ceran
plate.
- Do not use pans with an uneven bottom. This might cause
internal damage.
- If the supply cord is damaged, it must be replaced by the
manufacturer, its service agent or a similarly qualied
person in order to avoid a hazard.
- Do Not Cook on broken cooktop. If cooktop should break,
cleaning sotutions and spillovers may penetrate the broken
cooktop and create a risk of electric shock. Contact a
qualied technician immediately.
- Clean cooktop with caution if a wet sponge or cloth is used
to wipe spills on a hot cooking area, be careful to avoid
steam burn. some cleaners can produce noxious fumes if
applied to a hot surface.
- Do not place metallic objects such as knives, forks, spoons,
and lids on the cooktop surface since they can get h

5
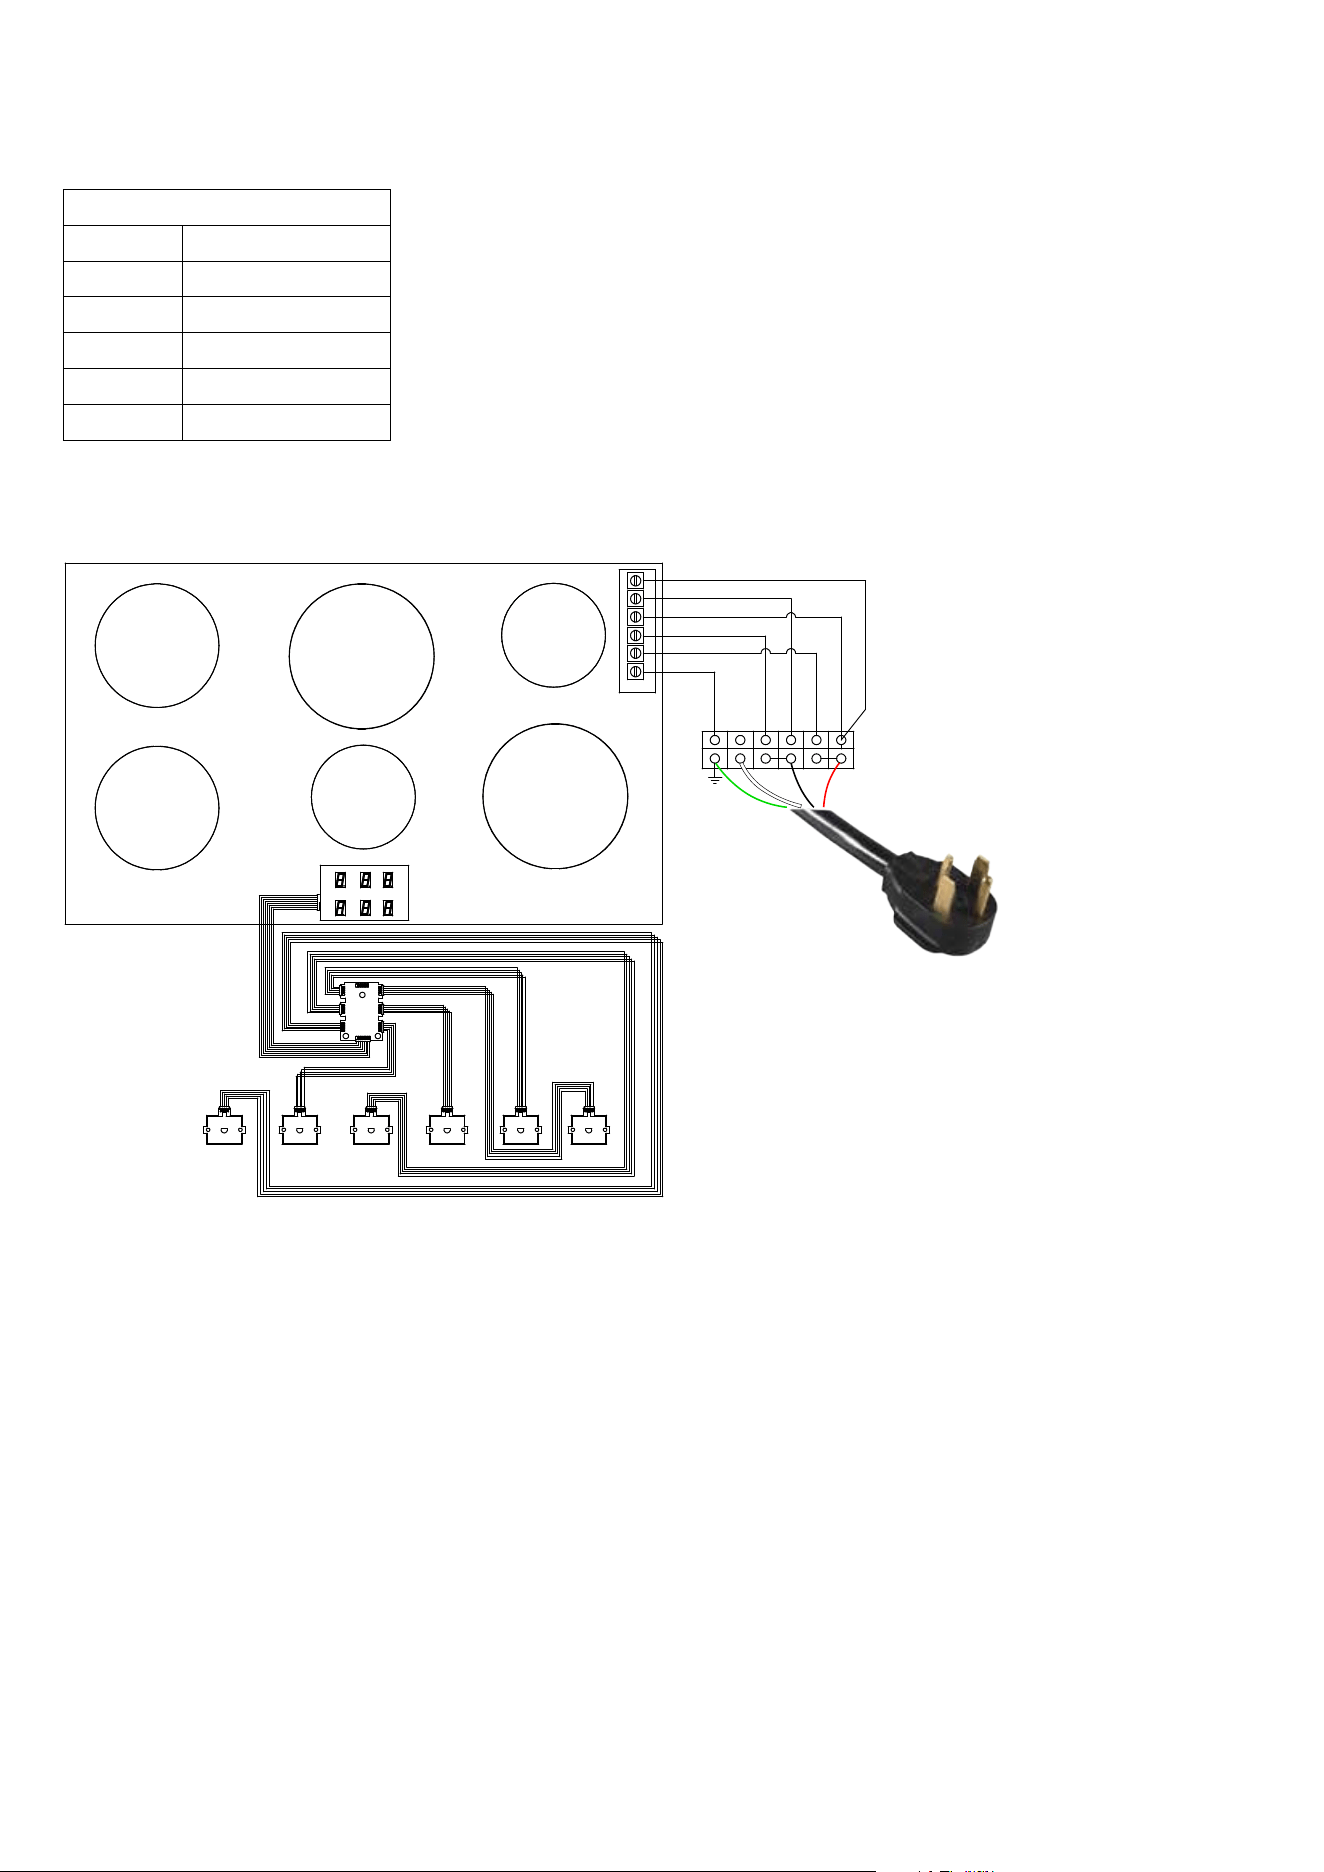
ELECTRICAL CONNECTION
The connection of the electrical supply must be done by
approved installation contractors in accordance with specific
National and Local installation standards in conformity with all
safety regulations. The warning signs and rating plates on the
appliances must strictly be followed. This unit is manufactured
for a polarized, grounded 240 volt 60Hz (2 phases 6 AWG, 1
ground 8 AWG with plug, see Fig. A). Check and ensure that the
supply voltage and the line current matches the specifications
given on the rating plate. Before connecting the appliance to
the electric network, follow the instructions below:
fuse and electric feeding installation of your home must
support the load of the appliance (see registration label);
power supply system must be properly grounded;
the outlet or multiple-switch, with 1”3/8 inch diameter
connection opening, has to be easily reached once the
appliance has been installed;
the power supply cable should not reach a 120°F temperatu.
WARNING: If the If the voltage is wrong, the hob can be
damaged.
WARNING: Dangerous electric voltage inside! DO NOT
OPEN induction unit.
6
Cooktop
Before the first use
Clean your hob with a damp cloth, and then dry the surface
thoroughly. Do not use detergent which risks causing bluetinted
colour on the glass surface.
INDUCTION PRINCIPLE
An induction coil is located under each heating zone. When it
is engaged, it produces a variable electromagnetic field which
produces inductive currents in the ferromagnetic bottom plate
of the pan. The result is a heating-up of the pan located on the
heating zone.
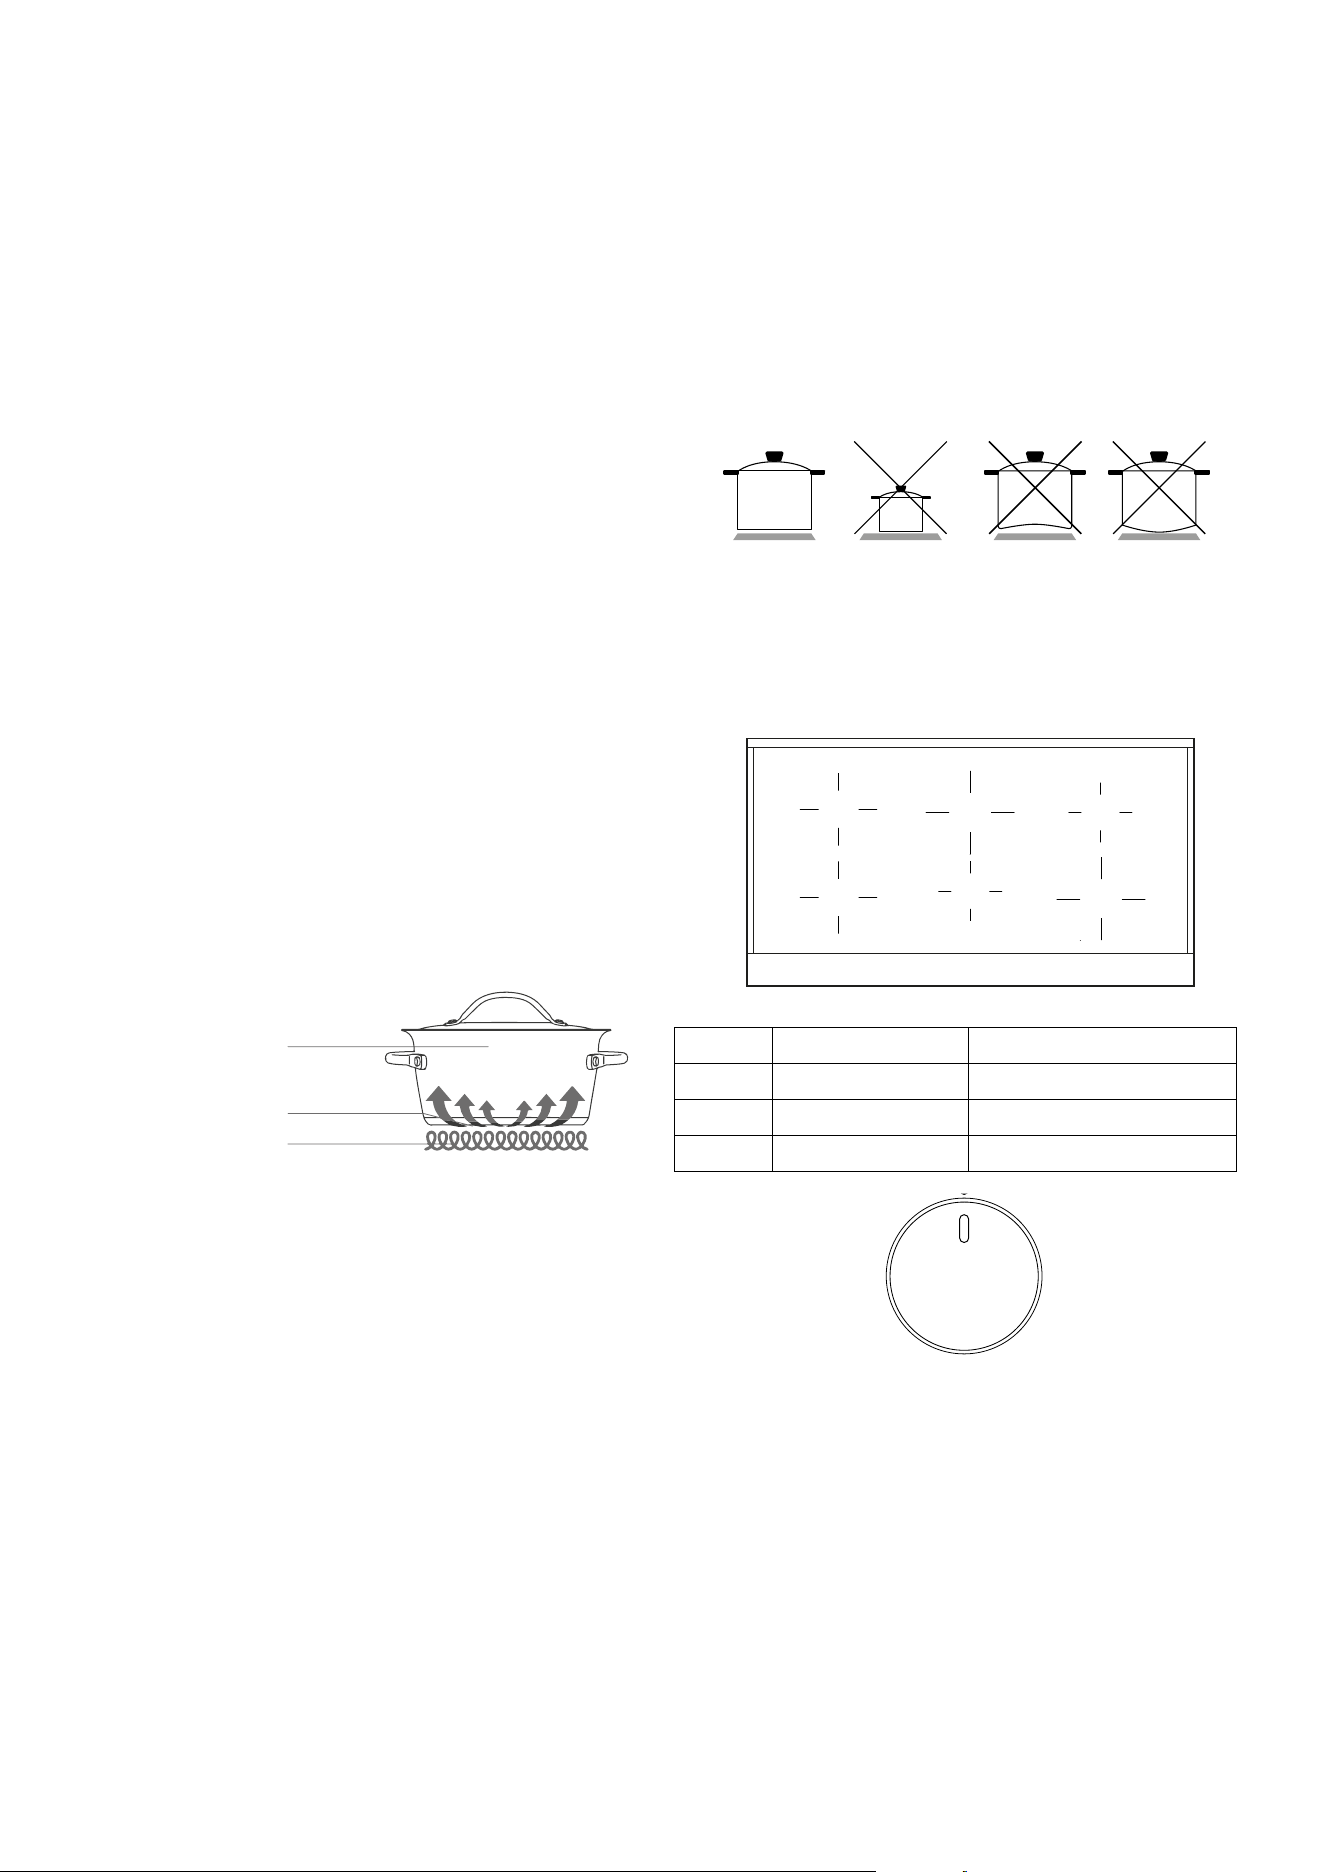
Of course the pan has to be suitable:
- All ferromagnetics pans are recommended (please verify it
thanks a little magnet): cast iron and steel pans, enamelled
pans, stainless-steel pans with ferromagnetic bottoms…
- Are excluded : copper, pure stainless-steel, aluminium,
glass, wood, ceramic, stoneware,…
The induction heating zone adapts automatically the size of
the pan. With a too small diameter the pans doesn’t work. This
diameter is varying in function of the heating zone diameter.If
the pan is not suitable to the induction hob the display will show
[ U ].
Magnetic material
Induction
Electromagnetic coil
IMPORTANT
The ceramic hob remains hot for a long time after use. Do
not touch the hob with your hands or let children near it. The
residual heat indicator will remain lit until the hob has cooled
down.
If any cracks appear in the ceramic hob, disconnect the
appliance immediately from the mains and call an authorized
technical service centre.
The hob has cooking areas with different power values and
diameters. The positions are clearly indicated by the rings
during operation, heat is located exclusively within these rings
and the remaining area stays cold. Each
cooking area is designed to operate with specific pans for
induction cooking, having a diameter just smaller than the
diameter of the chosen cooking area. The bottom of the pan
must be thick and flat. Its diameter must be as similar as
possible to that of the cooking ring. The surface of the hob and
the bottom of the pan must be kept clean.
Do not wet or overheat the plates.
Avoid sudden changes of temperature on the ceramic hob. For
example, do not pour cold water onto the hot hob.
- Do not leave the pan handles sticking out as they could be
ipped accidentally.
- It is preferable not to cook on the ceramic hob with pans
that have been used on gas burners The ames will have
deformed the bottom of the pans.
WARNING
The glass ceramic cooking zone is warmed up from the heat of
the pan. To avoid injuries (burning) do not touch this area.
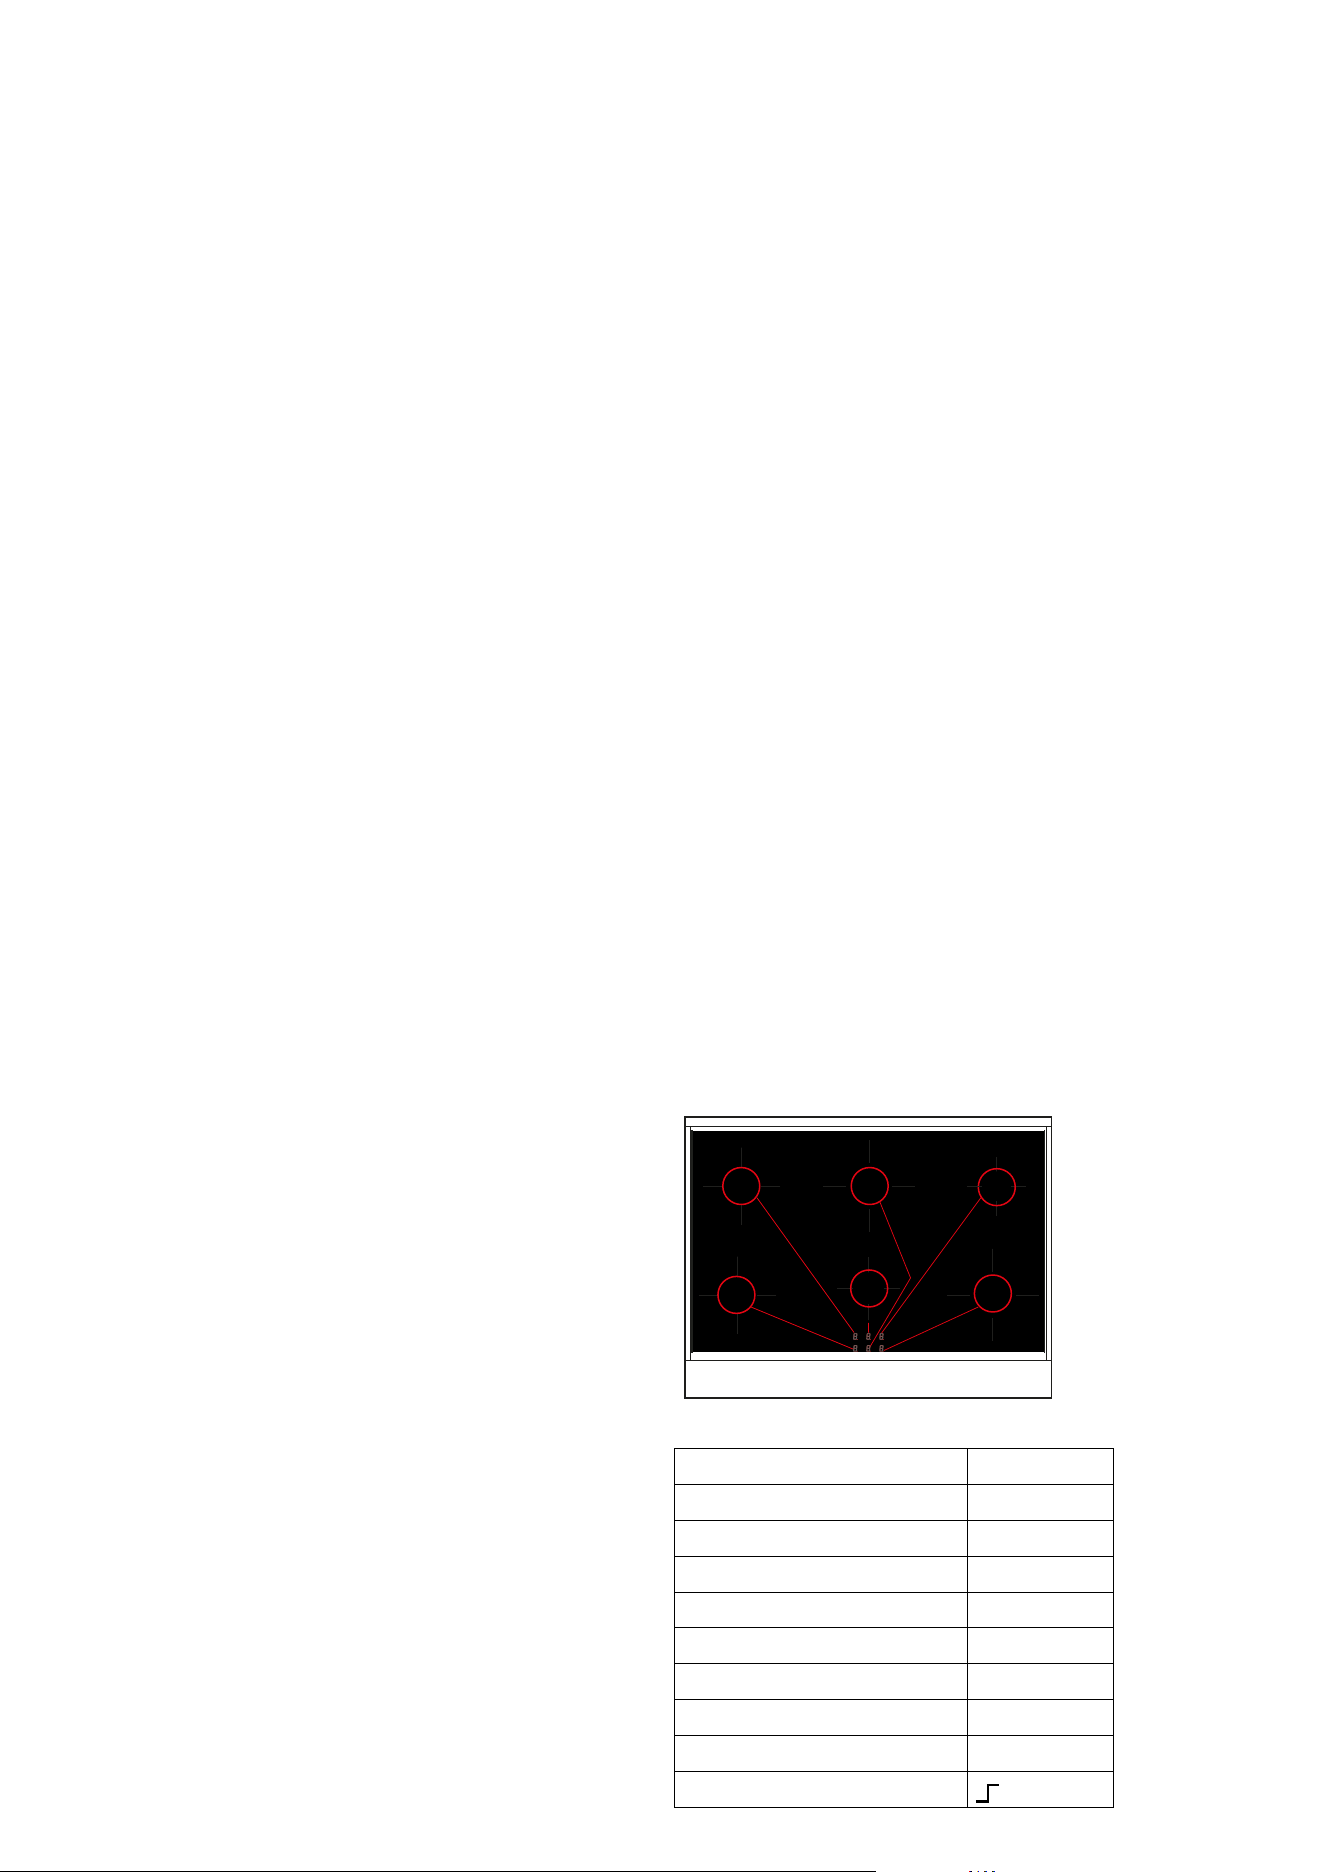
B
C
A
B
A
C
Burners Cooking area (inch) Electric power (watt)
A ø 5”3/4 1400W / Booster 1800W
B ø 7”1/4 1850W / Booster 2500W
C ø 8”11/16 2300W / Booster 3200W
Switching on a cooking area
A cooking area is switched on by pushing and turning the
relevant knob (fig. 13) clockwise. The set power level appears
on the hob display (from 1 to 9).
Switching off a cooking area
A cooking area is switched o by turning the relevant knob
anticlockwise. The symbol [0] appears on the hob display for
3 seconds, then it disappears from the display changes to the
symbol [H], if the cooking area is still hot.
Automatic switching off of the device
The device switches o automatically if any conditions of
excess temperature (185°F) or errors in power supply occur.
INSTRUCTIONS FOR USE
7
INSTRUCTIONS FOR USE
BRIDGE function for the induction hob:
Place the pan in the middle of the two heating zones that will be
connected (the two equal-sized zones).
Turn the knobs of the two affected zones clockwise and until
the end of the stroke.
Hold them for 3 seconds to activate the function.
Adjust the power of the bridge with the front left area knob.
BOOSTER function
The purpose of the booster function is to give more power to
a determined area in order to reduce the necessary cooking
time.
This function is activated by pushing and turning the knob
clockwise from position 0 (off) to the fi nal position. The symbol
[P] appears on the display, meaning that the booster function
is activated.
The Booster function has a maximum duration of 10 minutes.
The area concerned then returns to level [9].
The Booster function ends before this time when:
- a lower power level is set
- the pan is removed
- there is overheating of the appliance or of the heating area
The Booster function has precedence over the “Heat-up”
function. This means that, if the heat-up function has been
activated in an area at the time of activating the Booster
function, the heat-up function will be interrupted.
Recognizing the presence of a pan
Each cooking area is designed to operate with specic pans for
induction cooking, having a diameter just smaller than the dia-
meter of the chosen cooking area. If the pan is not suitable, the
display for the area shows the symbol indicating absence of the
pan (U) and the appliance does not start up. This prevents the
appliance being switched on until a container is placed on the
coo king area, or until a container suitable for induction is used.
If the container used on the cooking area is removed during
this time, the area is switched o.
Residual heat indication
If the cooking area is still very hot, even though it is switched o,
the symbol H appears on the display.
“HEAT-UP” FUNCTION
The Heat-up function, or quick heating, is available on each
cooking area. This means that for a well defined time the
cooking area works at maximum power and at the end of
this time the power is automatically brought to the set level.
In this case the duration depends on the set power level. The
Heat-up function is activated by pushing and turning the knob
anticlockwise from position 0 to the final position. As soon
as the control is turned to the left, a letter [A] is shown on the
display for the area. After it has been activated you must set a
power level to continue cooking within 3 to 5 seconds; if this is
not done, the Heat-up function is interrupted.
KEY-LOCK FUNCTION
The Key-lock function is useful if there are children at home.
However, it is always advisable for an adult to be present
when the appliance is in operation. When the Key-lock function
is activated all the cooking areas are switched off and they
cannot be switched on accidentally.
The Key-lock function is activated, with the knobs in position
0, by turning the controls 1 and 2 simultaneously in an
counterclockwise direction.
Heating function 108°F AND 149°F
Turn the knob (A) clockwise. Between the off position (0) and
the power position (1) there is the position (u) which identifies
the function for heating food at 108°F. Only for 5 and 6-zone
models: turn the knob (A) clockwise again.
Between the (u) position and the power position (1) there is the
position (U) which identifies the function for heating food at
149°F. The maximum time of use for both functions is limited
to 120 minutes. Both functions are prioritized over the ‘HEAT-
UP’ mode.
The Key-lock function is activated, with the knobs in position 0,
by turning the controls 2 and 3 in a counterclockwise
direction. The letters [L][L][L][L] appear on the display. The
Key-lock function is deactivated by repeating the same
operation. The letters [O][F] appear on the display. If a knob is
turned when the key-lock function is active, the letters [L][L][L]
[L] appear on the disp.
B
C
A
B
A
C
B
A
B
A
C
C
induction
DISPLAY: A display is associated with each cooking area
Set power level (1-9)
Food heating 108°F 149°F (U)
Booster (P)
Heat-up (A)
Residual heat (H)
Pan absent or not suitable (U)
External error (E)
Fault (F)
Key-lock function [L][L][L][L]
Knob permanent rotation
8
INSTRUCTIONS FOR USE
Residual heat indication
A maximum time of continuous operation is associated with
each cooking area.
This depends on the set power level. If the limit of the duration
of operation is reached, the respective area is switched off
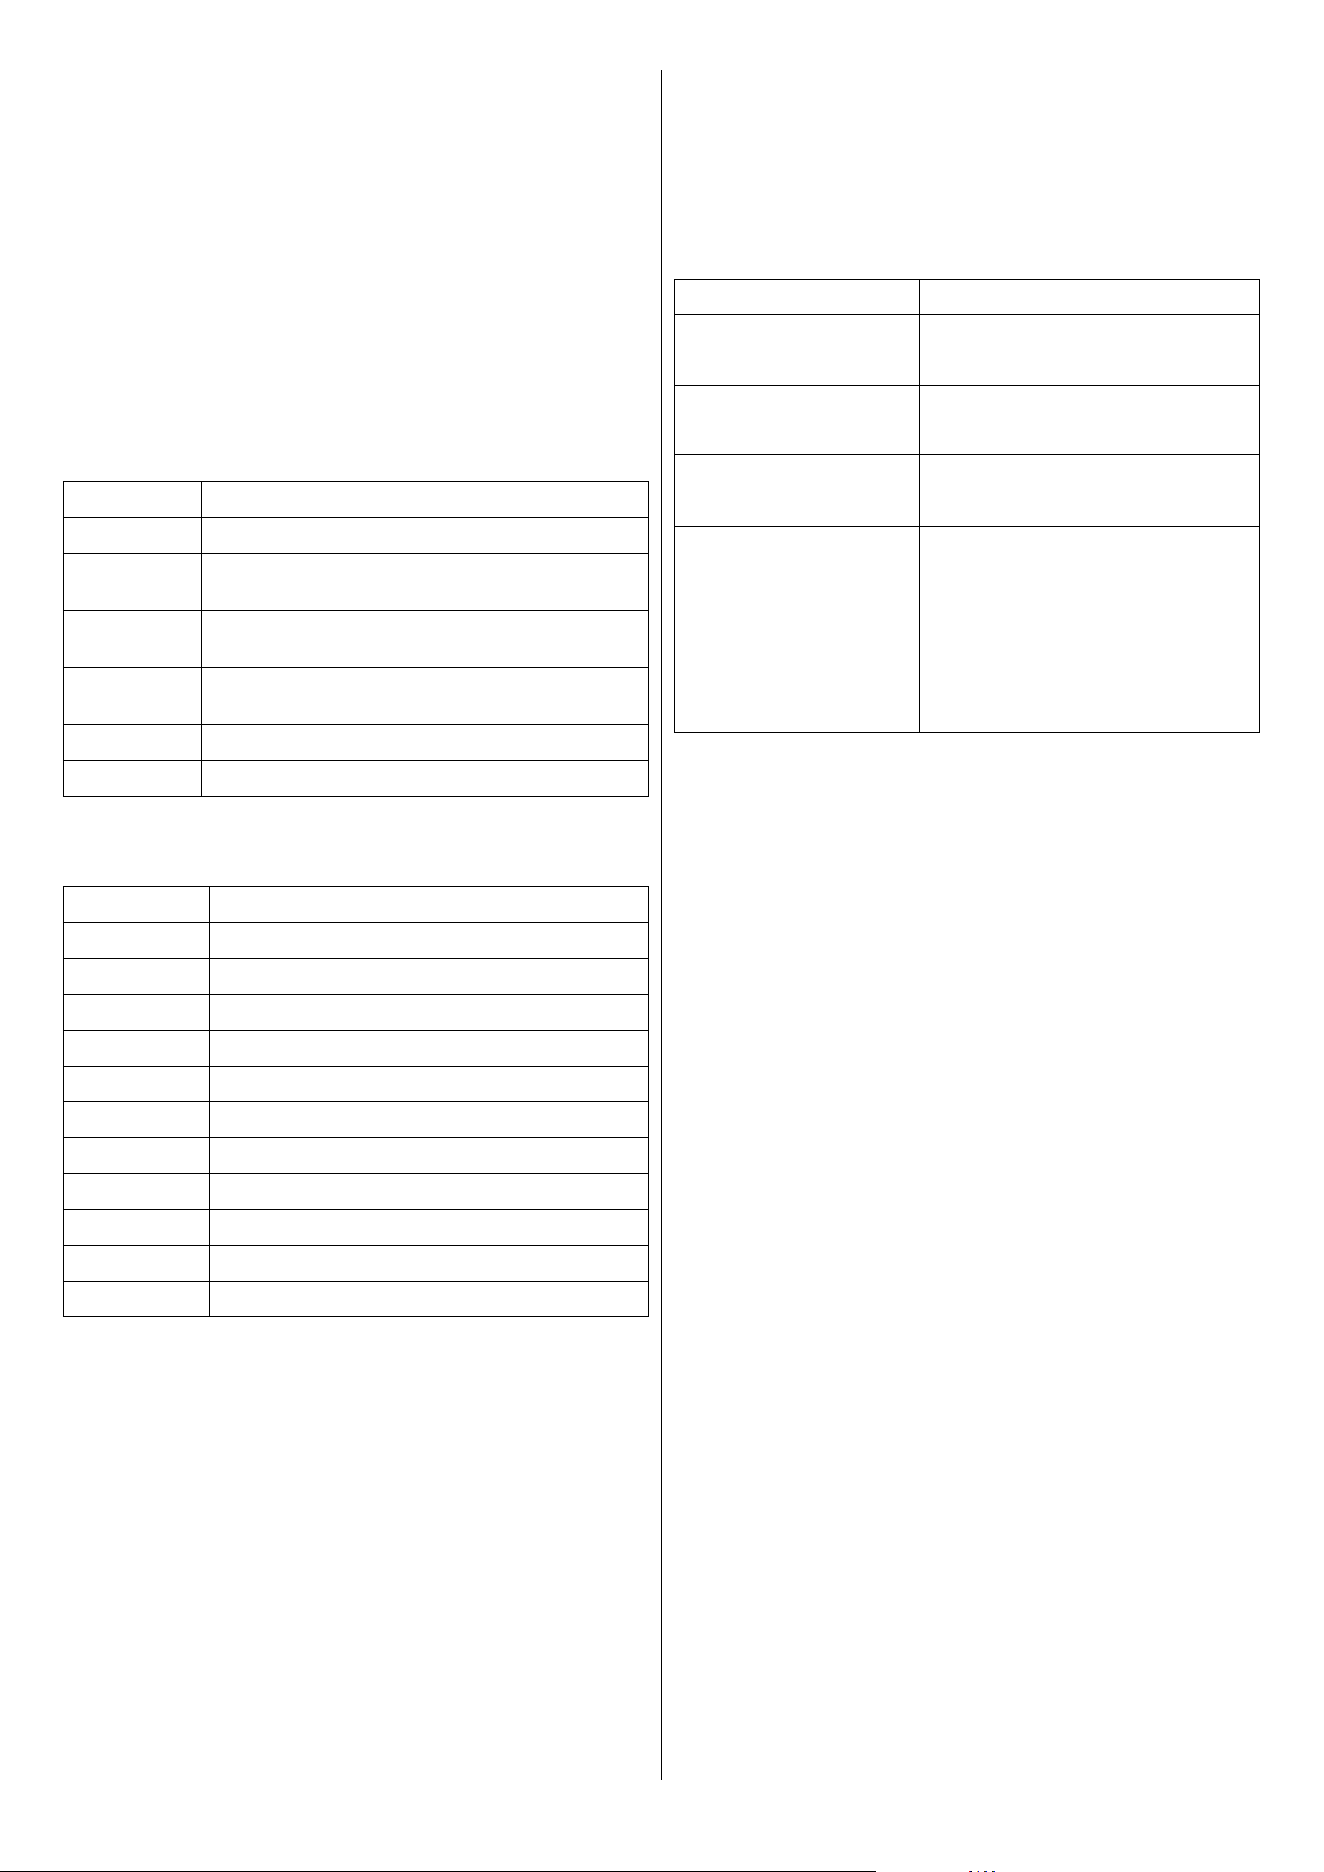
OPERATING TABLE (purely indicative values)
Knob position Type of cooking
1-2 melting butter, chocolate, etc.
2-4 heating small amounts of liquids, keeping food warm,
preparing sauces.
4-5 heating solid foods, thawing frozen foods, omelettes with
2-3 eggs, fruit and vegetables.
5-6 cooking meat and sh, pulses in sauces, dishes with
water, making jam.
6-7 roasting meat or sh, steaks, liver, eggs.
8-9 boiling large amounts of water, frying chips, etc.
Time limit operation table
Power Level Approximate limit of the duration of operation (hours)
U 2
1 6
2 6
3 5
4 5
5 4
6 1,5
7 1.5
8 1,5
9 1,5
P (10 min. [P], later 80 min. [9])
CLEANING AND MAINTENANCE
List with common types of soiling and recommendations
how to treat them:
Type of soiling Treatment
Slight soiling, no burned
residues
Wipe with a moist cloth (scotch), without
cleaning agent
Sticky soiling Remove with a scraper. Then wipe the
heating area with a moist cloth
Lime deposits, caused by
water which has boiled over
These spots can be removed with vinegar
or a special cleaning agent
Sugar, sugar containing food,
plastic, aluminum foil
Immediately scrape o the sugar, plastic
or aluminum foil residues thoroughly from
the hot cooking area, e.g. with a razor
blade. Aer removal of the residues, clean
it with a cleaning agent. If the heating area
is soiled with residues of sugar, plastic or
aluminum foil cools down without prior
cleaning, the ceramic surface might
become deformed by pinheadsized pits.
The cleaning of the Ceran glass is identical to other similar
surfaces like glass. Do not use corrosive or abrasive cleaning
agents, such as grill and oven-sprays, stain- and rust-removers,
scouring powder and rough sponges.
Before being cleaned, the Ceran glass must be cooled down.
Other maintenance and servicing work other than cleaning as
described here, must be done by authorized service personnel.
Make sure that no liquid can enter in the induction unit.
WARNING
Do not open the induction unit, dangerous electric voltage
inside. The hobs may only be opened by authorized
personnel.
9
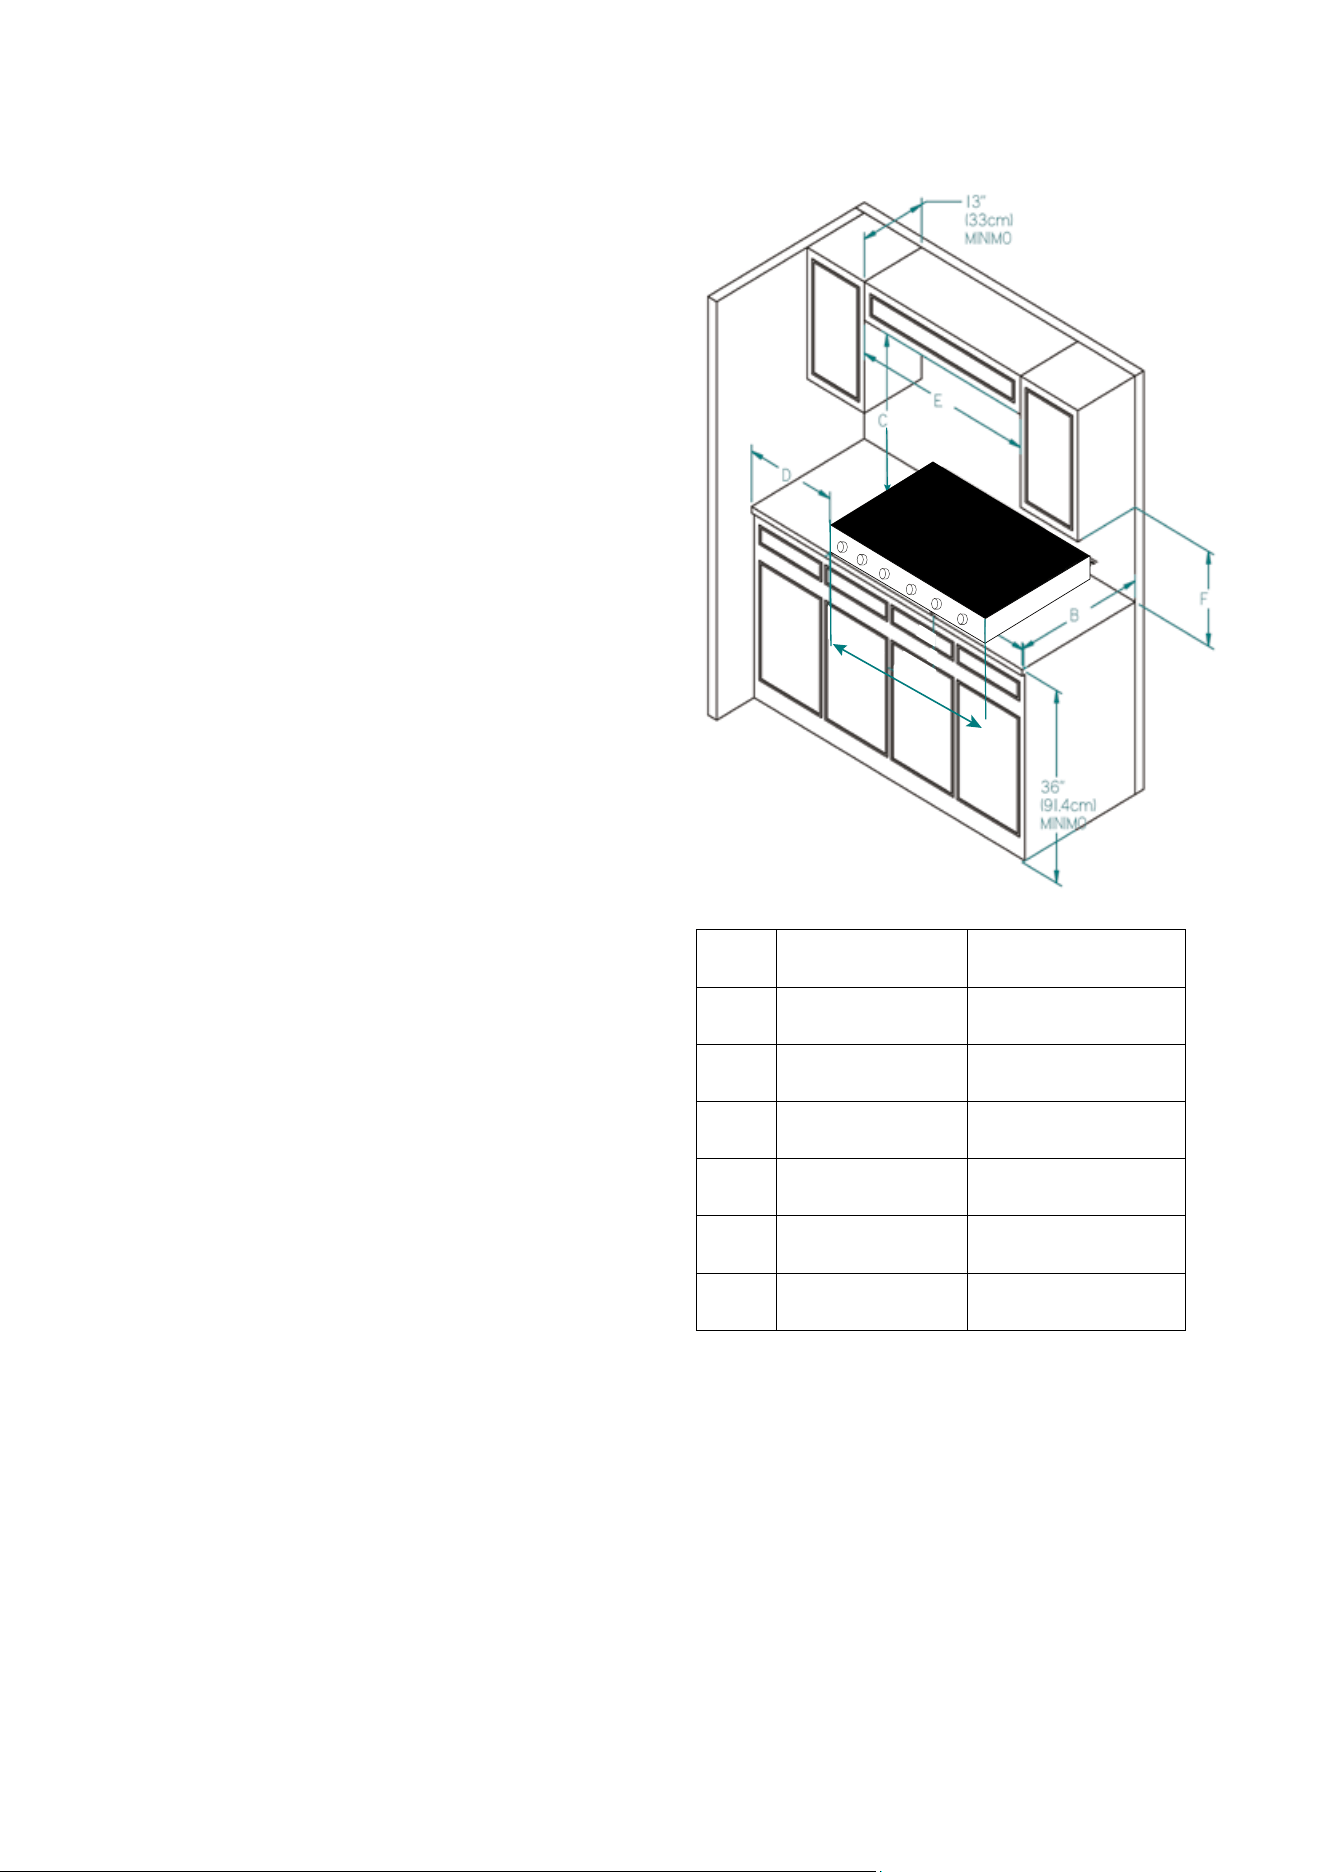
PROXIMITY TO SIDE CABINET INSTALLATION
The cooktop may be installed directly to existing base
cabinets. The cooktop CANNOT be installed directly adjacent
to sidewalls, tall cabinets, tall appliances, or other side vertical
surfaces above 36” (91.4 cm) high. There must be a minimum
of 8” (20.3 cm) side clearance from the cooktop to such
combustible surfaces above the 36” (91.4 cm) counter height.
Within the 8” (20.3 cm) side clearance to combustible vertical
surfaces above 36” (91.4 cm), the maximum wall cabinet depth
must be 13” (33.0 cm) and wall cabinets within this 8” (20.3
cm) side clearance must be 18” (45.7 cm) above the 36” (91.4
cm) high countertop.
The maximum wall cabinet depth must be 13” (33.0 cm) and
wall cabinets within this 8” (20.3 cm) side clearance must be
18” (45.7 cm) above the 36” (91.4 cm) high countertop
Wall cabinet above the cooktop must be a minimum of 36”
(91.4 cm) above the burner graters. This minimum height
requirement does not apply if a rangehood is installed over the
cooking surface.
Minimum Clearances from Adjacent
Combustible Construction
Above countertop 36” (91.4 cm) minimum
Side 8” (20.3 cm)
Wall cabinets no deeper than 13” (33.0 cm)
Must be minimum 18” (45.7 cm) above countertop
Wall cabinets directly above the product must be minimum 36”
(91.4 cm) above the burner grates
A
UHCPI366
UHCPI366N
UHCPI486
UHCPI486N
A 35 7/8’
(91.1 cm)
47 7/8’
(121.6 cm)
B 25 19/32’
(65 cm)
25 19/32’
(65 cm)
C MIN. 36’
(91.4 cm)
MIN. 36’
(91.4 cm)
D MIN. 8’
(20.3 cm)
MIN. 8’
(20.3 cm)
E MIN. 36’
(91.4 cm)
MIN. 48’
(121.9 cm)
F MIN. 18’
(47.7 cm)
MIN. 18’
(47.7 cm)
10
WIRING DIAGRAM
UHCPI366..., UHCPI486...
KEYS
45 Yellow-Green
00 Black
22 Red
RE Encoder
PE Inductor
SI Interface board
PE1
PE2
(1850 W)
(1850 W)
PE6
(1400 W)
PE5
(2300 W)
PE3
(2300 W)
PE4
(1400 W)
SI
5ER1ER 6ER2ER
RE3
RR
RC
RL
FR
FC
FL
RE4
1
2
3
4
5
M
22
00
00
22
45
N F F
F1
F1
22
22
22
00
00
00
00
45
22
22
22


ilve.com
ILVE S.p.A Via Antoniana, 100 — 35011 — Campodarsego (PD) Italy
T. +39 049 9200990 / Email: [email protected]
cod. EI33960770000EN 06/2025