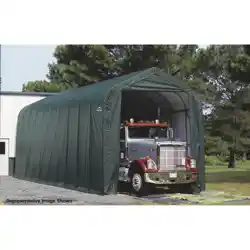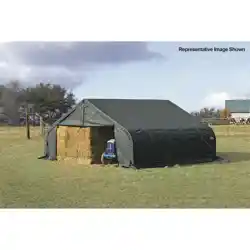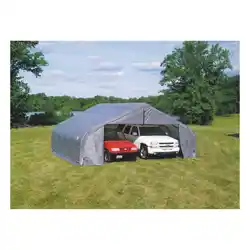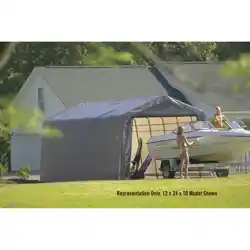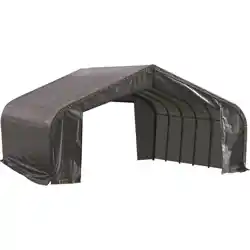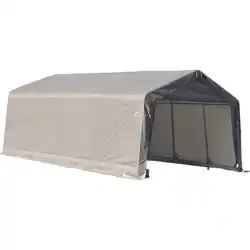
22x24x12 Peak Style Run-in Shed
05-58542-0A 08/24/07
PAGE 1
150 Callendar Road
Watertown, CT 06795
ATTENTION:
BOLTS ARE NOT
NEEDED OR
INCLUDED FOR EVERY
CONNECTION BUT
MAY BE
PURCHASED BY CALLING
THE NUMBER BELOW.
FOR MISSING OR
REPLACEMENT PARTS
OR QUESTIONS
PLEASE CONTACT
CUSTOMER SERVICE:
1.800.524.9970
BASIC HAND TOOLS
REQUIRED FOR ASSEMBLY:
• Adjustable Wrench
• Rubber Mallet
Model #
58542
Please read instructions completely before assembly
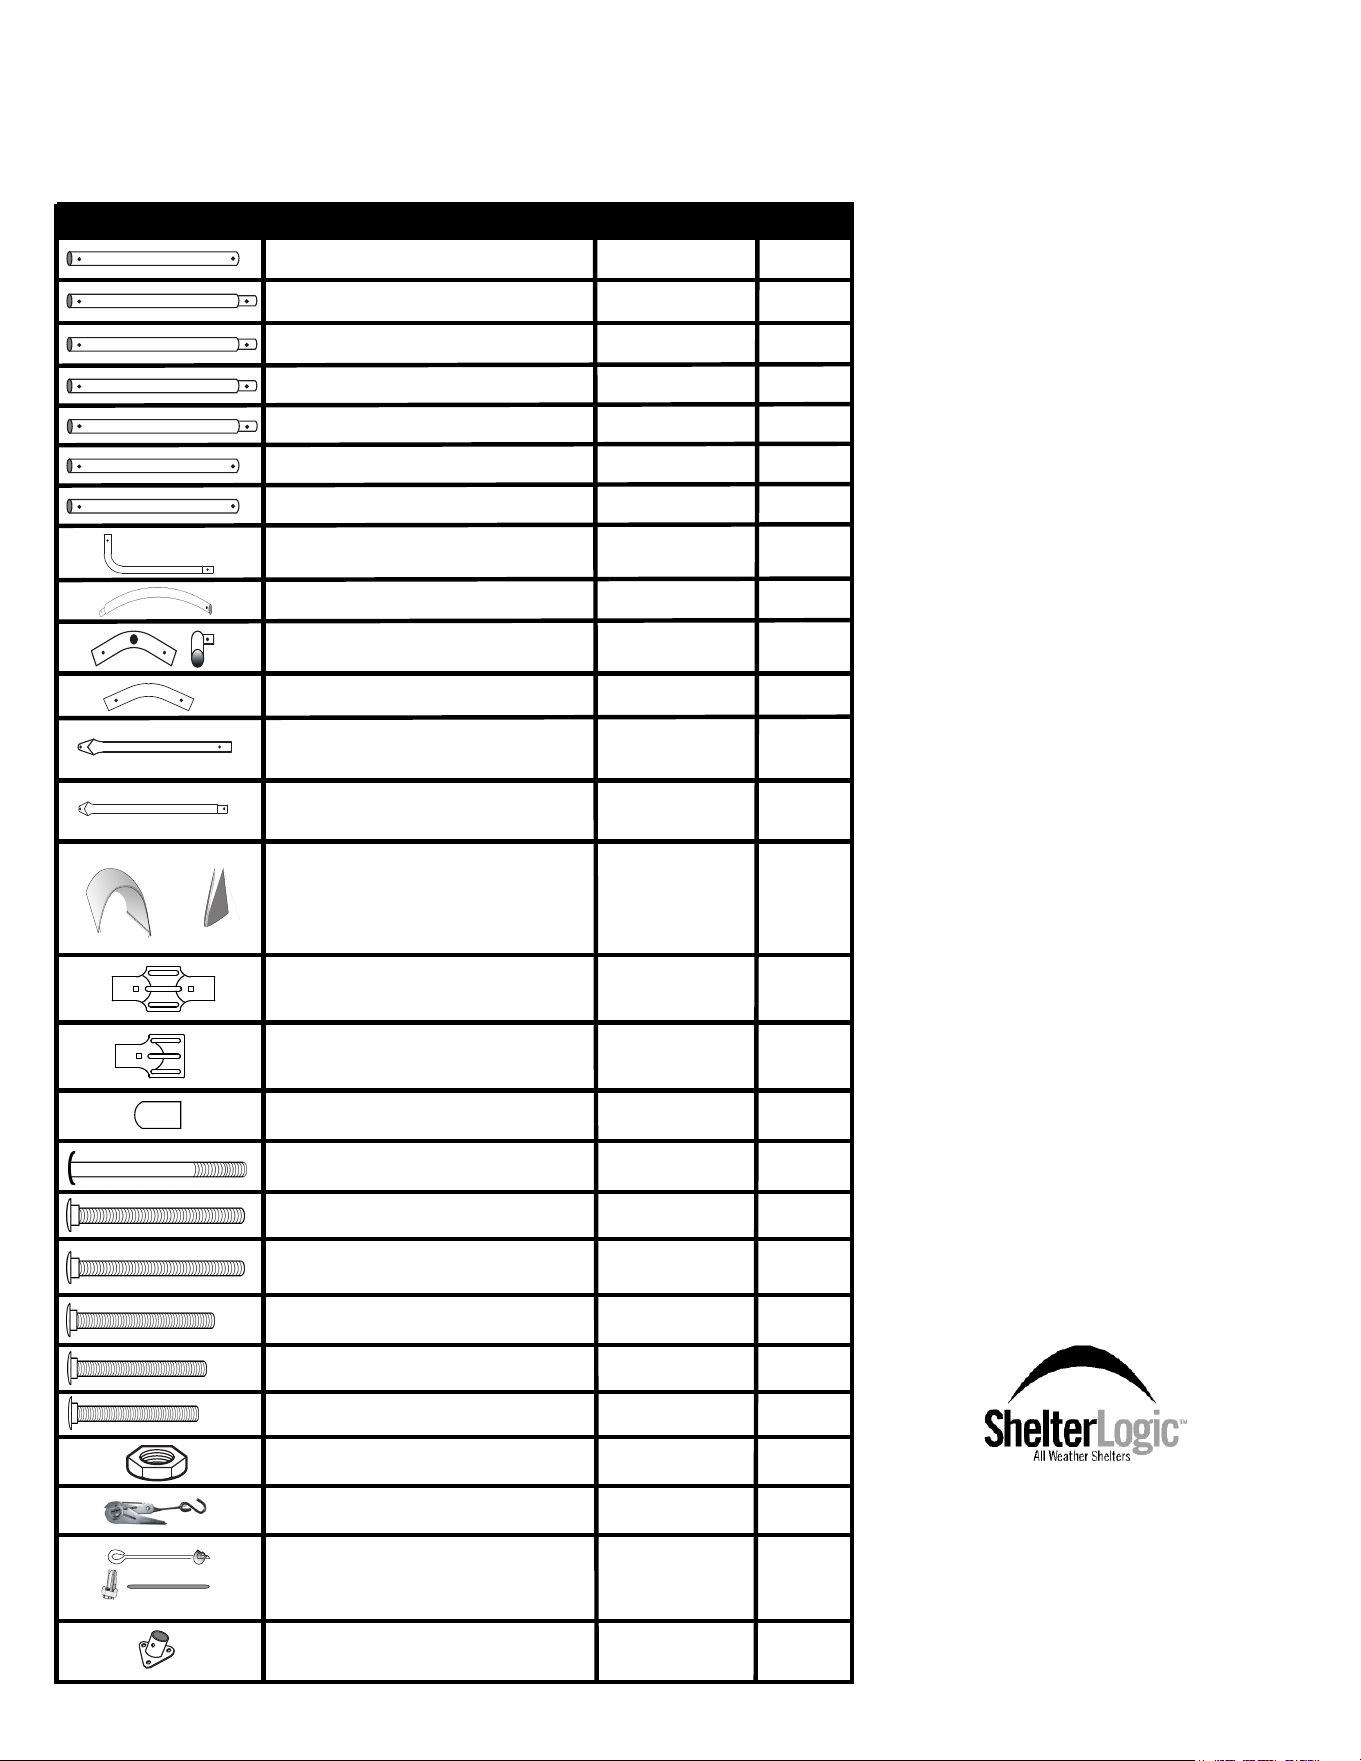
Description Part # Qty.
Cross Rail Plain Ends
45"L
11105
11068
10
11
Cross Rail Swedged 48 1/2”L 11103
11101
1
1
Corner Upright Leg
11016 4
Side Bend Tube 11013 12
End Top Bend 11136 2
Middle Top Bend 11135 4
Extension 59.4"L 24
Straight Leg Tube
Cross Rail Swedged
38”L
50 1/2”L
11019
11102
8
Wind Brace 30”L 11095
4
Wind Brace 54.2”L 11093 4
Description Part # Qty.
Cross Rail Plain End 46.6"L
11104
2
Cross Rail Plain End 48.5"L
All-Weather Cover 1A7134 1
Protective Boot 800196 4
4-Way Cover Rail Clamp
3-Way Cover Rail Clamp
11107
16
11106 8
5/16"x 4" Round Head Bolt
5/16"x 4" Bolt
5/16"x 2 3/4" Bolt
5/16"x 2 1/4" Bolt
5/16"x 2" Bolt
5/16" Nuts
11133 4
11132 8
11131 60
11130 20
11270 8
648 6
690
10040
102
4
Bolt Cap
11150 24
5/16"x 4 1/2" Bolt
11134 4
Ratchet
Temporary 30”Auger Anchors
Cable - 1’ Lengths
Cable Clamps
6
822
Base Feet
Page 2
Basic Frame Assembly
STEP 1
STEP 2
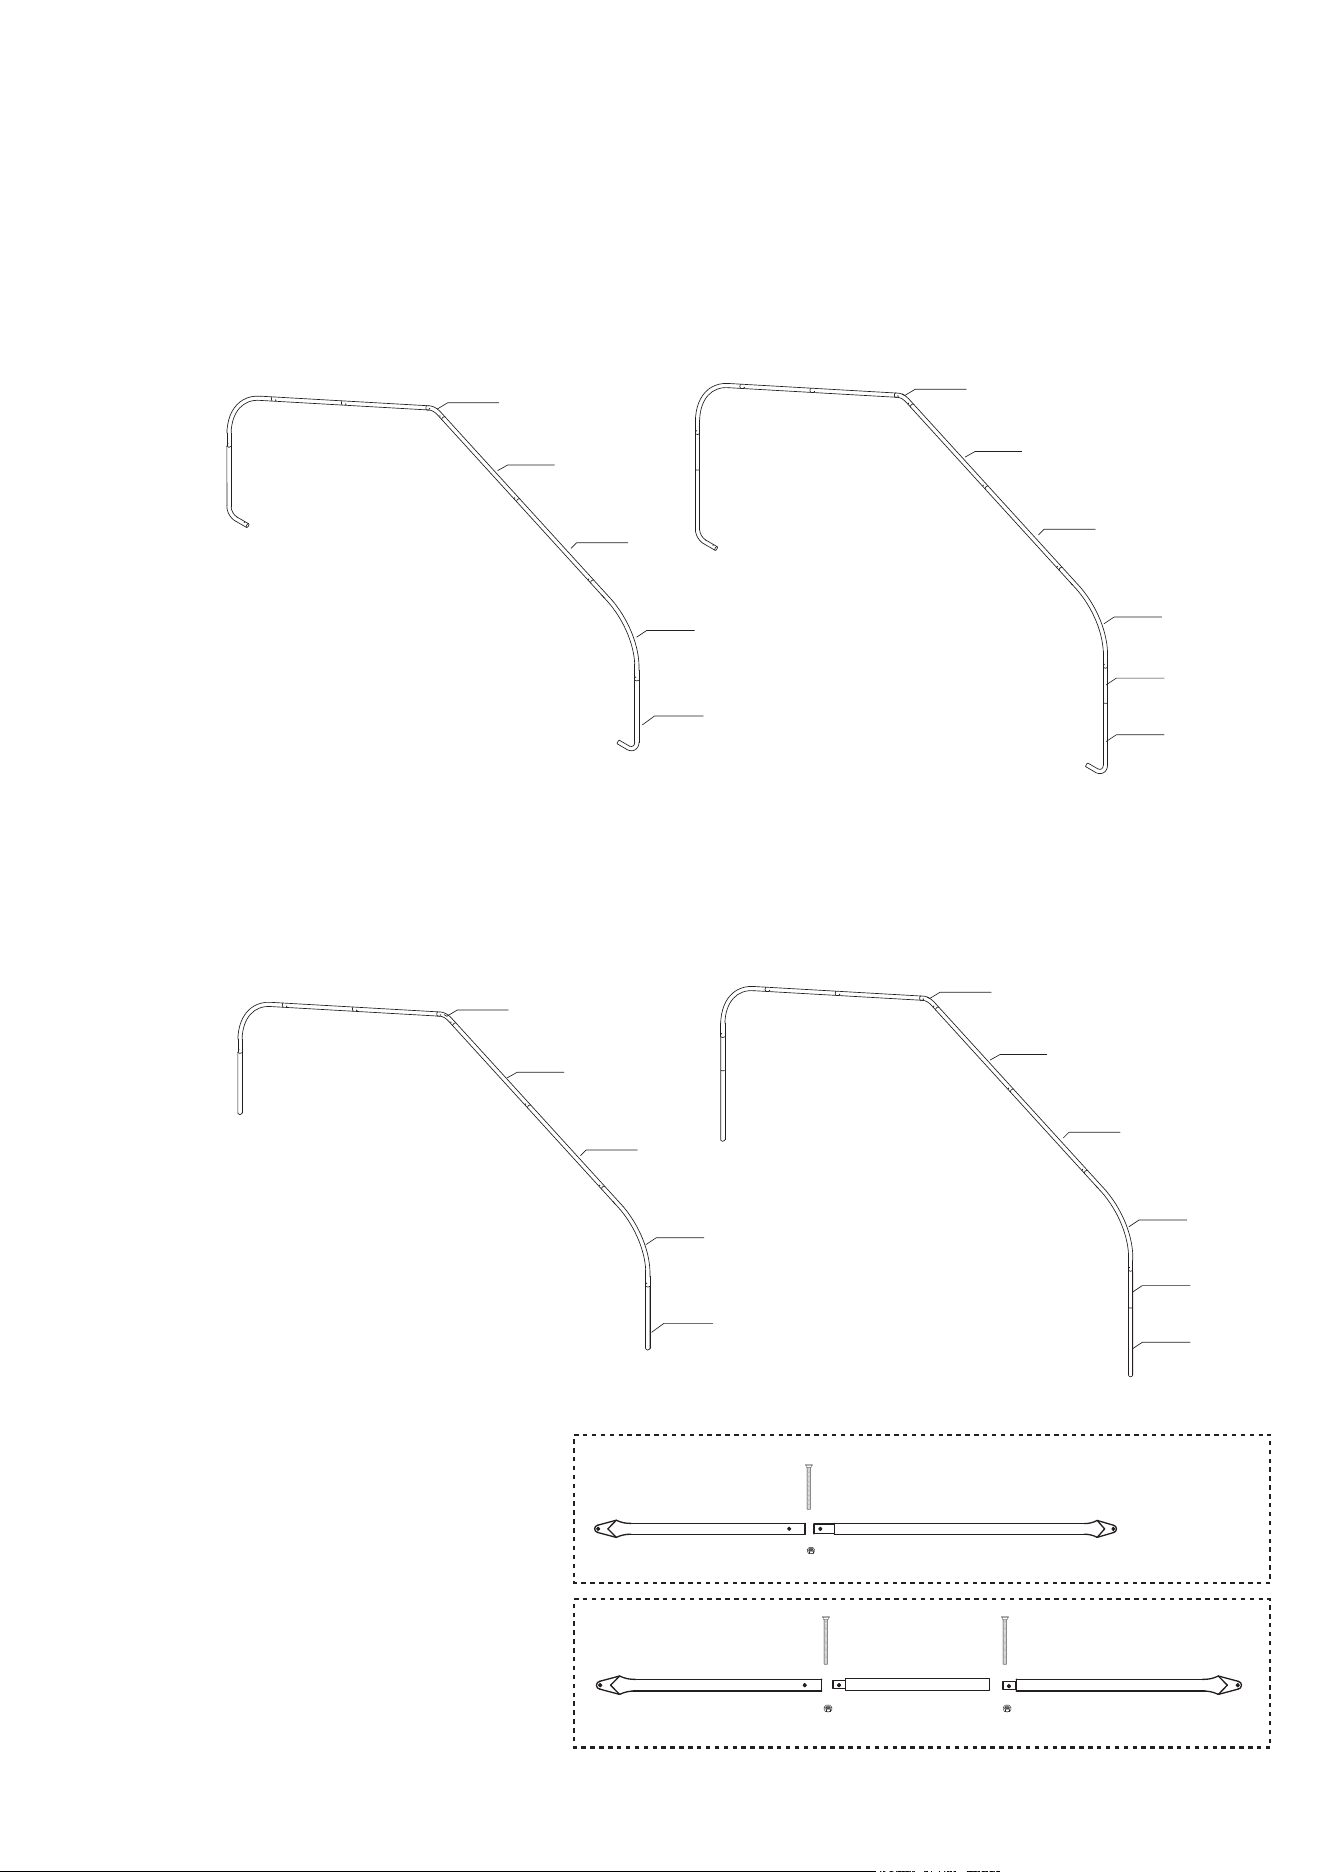
Fit together an end rib using the following parts, (1) #11136 3-Way Top Connector, (4) #11068 Swedged Rafter Pole, (2)
#11013 Side Bend Tube and (2) #11016 Bend Corner Leg. Using (8) 11131 5/16 X 2 3/4" bolts and (8) 690 5/16" nuts
securely fasten the joints of all parts. Lay this rib on the ground at the rear of your shelters designated location. For a 12'
tall building be sure to include the two foot extension pipe (4551).
NOTE: Be sure that all of the heads of the bolts are facing toward the outside of the rib.
Fit together the first middle rib using the following parts, (1) #11135 Top Bend Tube, (4) #11068 Swedged Rafter Pole, (2)
#11013 Side Bend Tube and (2) #11019 Swedged Upright Tube. Using (8) #11131 5/16 X 2 3/4" bolts and (8) #690 5/16"
nuts. Securely fasten the joints of all parts. Lay this rib on the ground near the first end rib. For a 12' tall building be sure
to include the two foot extension pipe (4551).
Assemble the wind braces as shown in the
illustrations.
Fig.1
10' Tall Frame 12' Tall Frame
10' Tall Frame 12' Tall Frame
Fig.2
Use 11131
5/16" x 2 3/4"
Bolts
11136
11068
11068
11013
11016
4551
Use 11131
5/16" x 2 3/4"
Bolts
11019
4551
11135
11068
11068
11013
Use 11131
5/16" x 2 3/4"
Bolts
11136
11068
11068
11013
11016
Use 11131
5/16" x 2 3/4"
Bolts
11135
11068
11068
11013
11019
STEP 3
For Basic Frame
For 12' Tall Building
#648
#690
#11095
#11093
#648
#800053
#690
#648
#690
#11095
#11093
Page 3
STEP 4
STEP 5
STEP 6
middle leg
clamps
11107
11130
690
corner leg
clamps
11130
690
11106
11013
11016
11105
11106
11107
Wind Brace
11134 Bolt
11102
11013
11016
11102
11105
11106
11107
11019
11134 Bolt
11131 Bolt
11132 Bolt
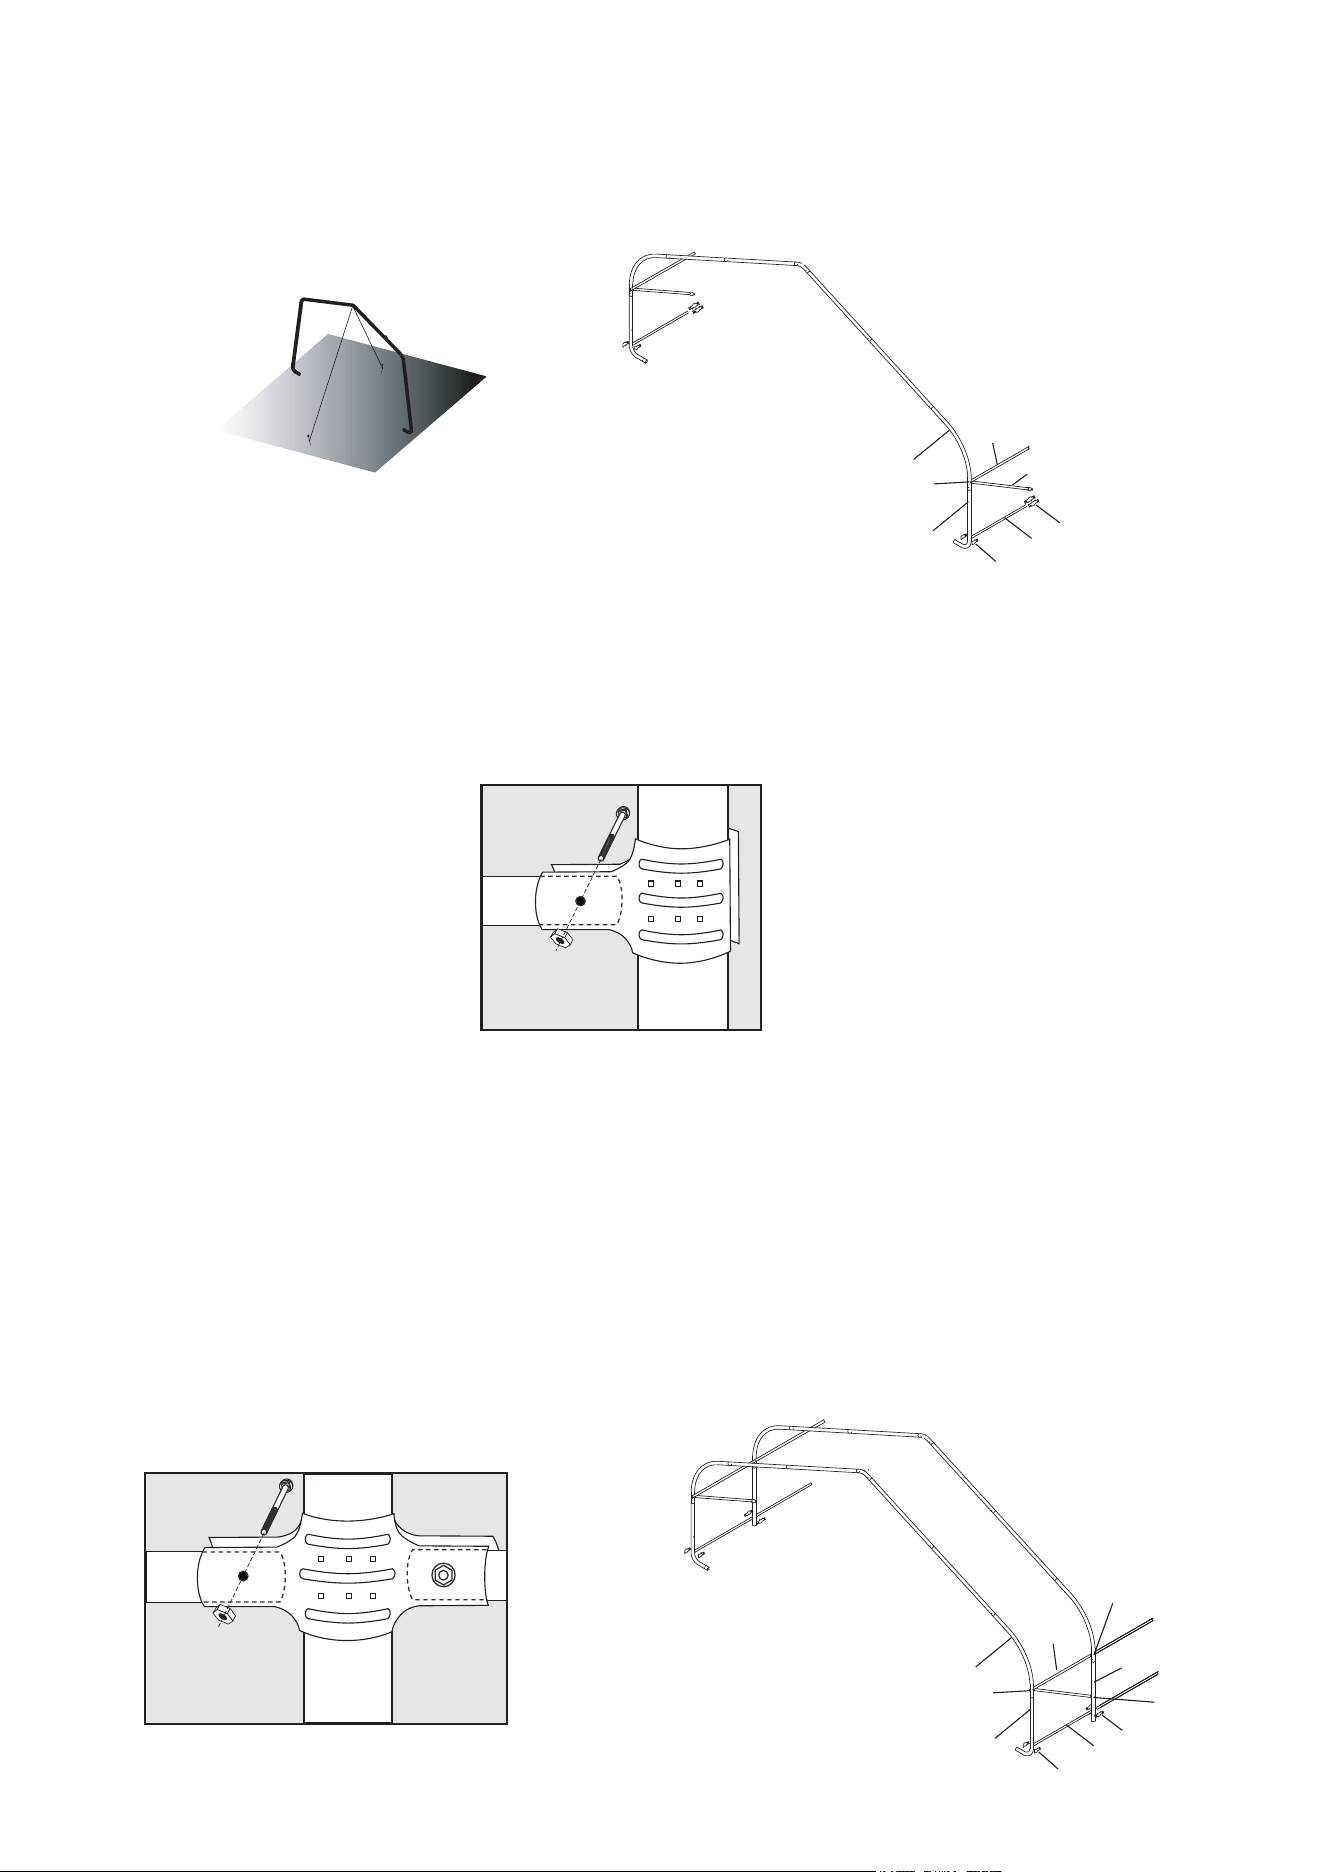
With help stand the first end rib vertically and lean against a permanent structure such as a tree or a fence. Attach the
plain end of a #11102 horizontal tube and a wind brace assembly to the first rib using a #11134 5/16 X 4 1/2" bolt and
a #690 5/16" nut on the INSIDE of the bow, on each side bend just above the joint of the side bend/extension. Repeat
the same steps on opposite side.
Place (2) #11106 3-Way Clamps around #11016 Bent Leg. Insert #11105 Cover Rail into the clamp and attach using a
#648 5/16 X 2" bolt and #690 5/16" nut. Position the clamp about five inches above the ground and tighten the nut
and bolt finger tight. Repeat the same steps on opposite side.
With help position the first middle rib about four feet from the first end rib. While one person holds the middle rib vertical
the other person should raise the previously installed #11102 cross rail and place another #11102 over each of the previous.
Raise the two rails so they are horizontal and attach to the middle cross rail using a #11132 5/16 X 4" bolt and a #690
5/16" nut. Attach a #11107 4-Way Clamp to the end of the (2) cover rail tubes using a #648 5/16 X 2" bolt and a #690 5/16"
nut. Place the clamp around the middle leg and insert a #11105 cover rail into the opposite side of the clamp and attach
with a #648 5/16 X 2" bolt and a #690 5/16" nut. Position the clamp about five inches above the ground and tighten
finger tight. Raise the cross brace to the middle rib and attach it to the rib using a #11131 5/16 X 2 3/4" bolt and a #690
5/16" nut, Repeat these steps for the opposite side.
Repeat the cross rail installation for the remaining middle legs.
Page 4
STEP 10 ATTACHING & SECURING BASE FEET
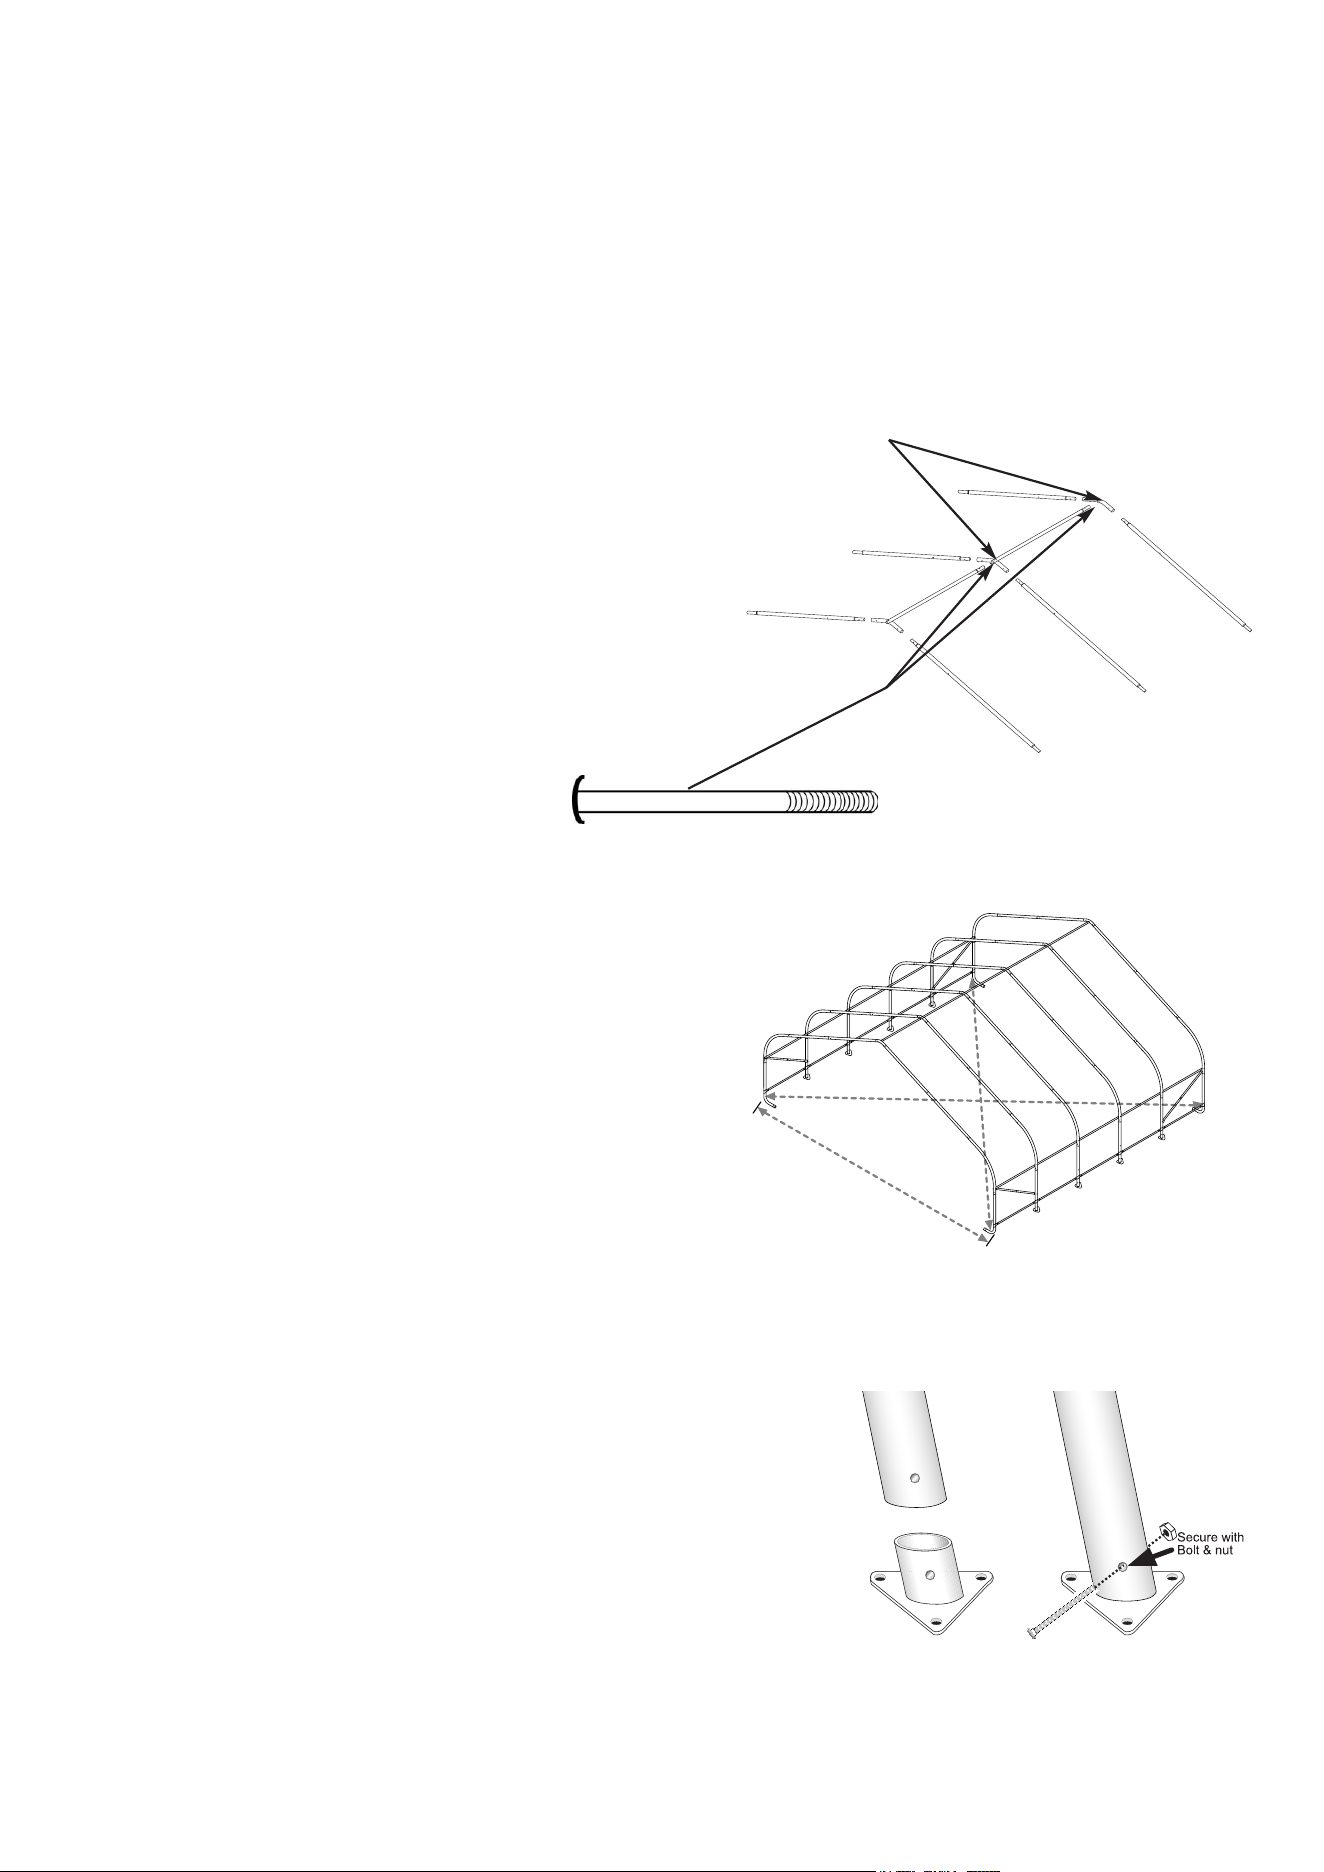
Install the top cross rail assembly starting with #11103 Cross
Rail Swedged 48 1/2"L inserted into the End 2-Way Connector.
Secure with a #648 5/16 X 2" bolt and #690 nut. Place the
plain end of a #11103 Cross Rail Swedged over the end and
put the joint on the top of the middle rib. Secure with a #11133
5/16 X 4" Round Head Bolt and #690 Nut. Continue adding
#11102 Cross Rails and finish with the #11101 Cross Rail Plain
End inserted into the last end 3-way connector and secure with
a #648 5/16 X 2" bolt and #690 nut.
NOTE: Use the special Round Head Bolts for securing the
top rail to the middle ribs only!!!
Step 8 Installing T
Step 9 SQUARING THE SHELTER
op Rail
Install the Top Rail
Over all Middle Ribs
Check that the shelter's width is correct from the outside to
outside of the uprights at ground level. Check also that the
shelter is square by measuring diagonally from corner to
corner at ground level.
The two measurements must be within 2 inches of each
other.
Depending on the model you have purchased, your base feet will either fit
onto the outside of the leg poles, or slide inside the leg poles. After installing
Base Feet Plates onto bottom of Middle leg Poles, be sure to line up the
pre-drilled hole in the leg with the pre-drilled hole in the base foot. Insert
5/16" x 2 3/4" bolts all the way through leg and foot, to other side, secure with
nuts.
STEP 7
Install the other end rib as you had installed all the middle ribs only use #11104 crossrails and attach the sliding crossrail
using the remaining 3-way coverrail clamps.
Note: The final windbrace assemblies should be installed as shown. Be sure the upper of the windbraces are
installed between the rib and crossrail
22'
Page 5
STEP 11 INSTALLING AUGER ANCHORS
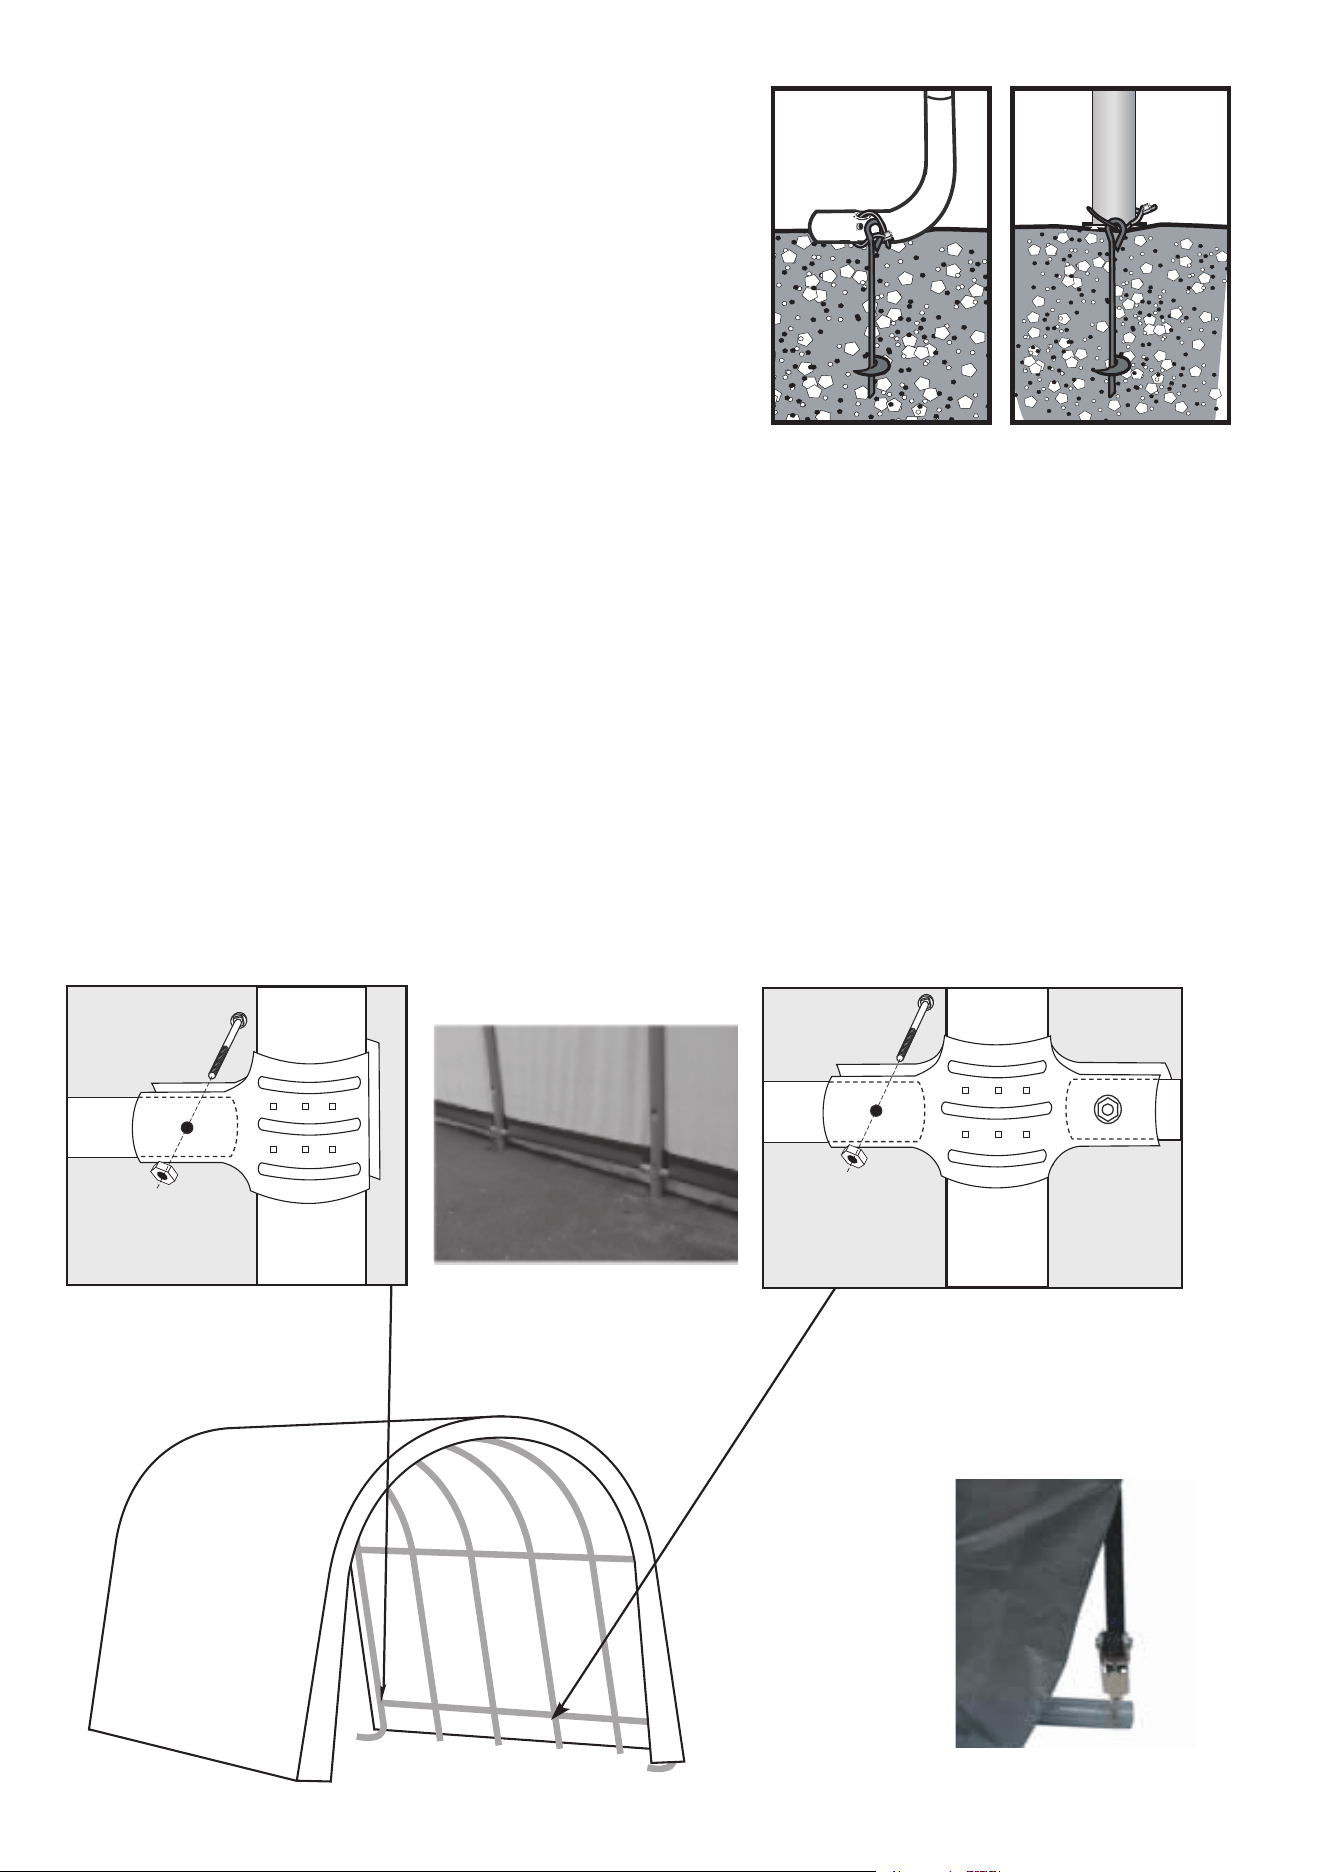
Using a 3/4" pipe or steel rod, (a car tire iron works also) placed
through the eyelet on the auger, screw it into the ground. Start at
the four corners of the unit and space the remainder out evenly.
Be sure to screw the anchor in fully (the eyelet should be a level
where it can be securely attached to the frame. Wrap the cable
provided through the eyelet of the anchor and around the frame.
Secure the cable with the clamp(s) provided.
WARNING:
DO NOT INSTALL THE END PANELS OR COVER ON THE
SHELTER UNTIL IT HAS BEEN PROPERLY ANCHORED.
Page 4
STEP 12 SECURING YOUR COVER:
* The ratchets
should be checked
monthly to make sure
the cover is tight.
Outside Corner View
Pull the cover over the frame. The welded in webbing should be at the front and back of the building. Also note that the
pocket with cutouts, running along the sides of the cover should be on the inside and near the ground. Insert the "S" hook
from the ratchets into the hole in the leg of the frame. Next, insert the webbing into the spindle of the ratchet and tighten
ratchet until the webbing overlaps itself, do not tighten all the way yet. Check to be sure the cover still has an even overhang
on the front and rear, adjust as necessary. Once the cover is even, finish tightening the ratchets, alternating from corner to
corner to ensure the cover stays even.
After the cover is tight end to end, remove the cross rails and connectors on one side of the frame and place them into
the pockets between the cutouts. Attach the crossrails using the 3-way and 4-way cover rail clamps around the uprights and
loosey fasten with the 1/4" x 1 5/8" bolts and 1/4" nuts. Check that the rails are evenly spaced above the ground on both
sides. Push down on the connectors one at a time to tension the cover and tighten the bolts to hold tightly.
Warning:
Do not leave a partially or fully covered unit without being fully anchored. Serious injury to persons or property
could result.
Fig. 11
Fig. 12
Fig. 8
corner leg
clamps
10115
1010
10112
Fig.9
middle leg
clamps
10115
10111
1010
Fig.10
STEP 8
Page 6
Fig. 13
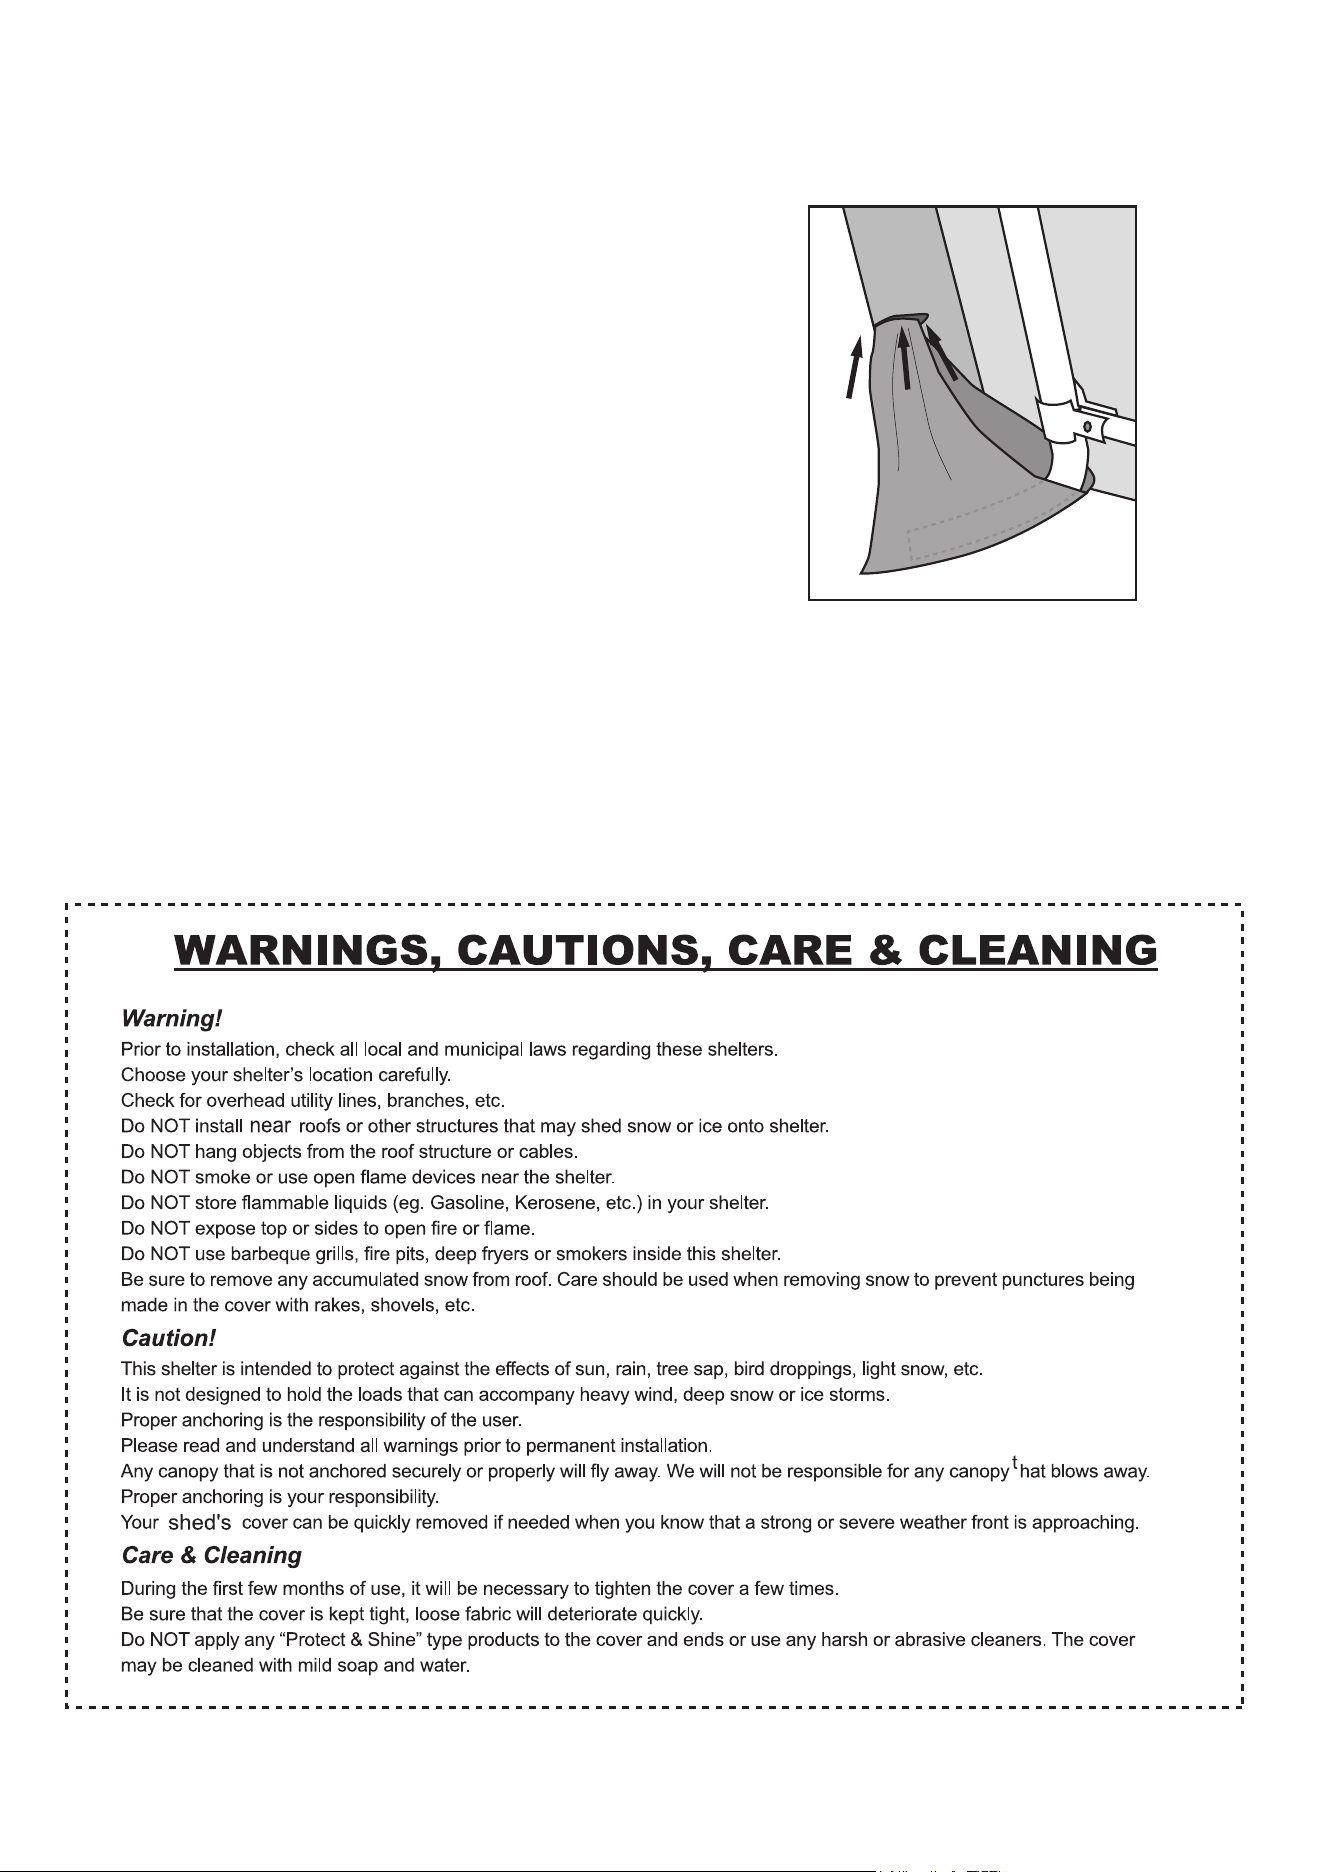
Find the open side of the protective boot and open it.
Insert the foot of the corner leg into the protective boot.
When the foot is all the way in the boot insert the top edge
of the boot into the hem of the cover (Fig 13).
When complete secure the Velcro on the open side of the boot to
close the boot.
For Replacement Parts or Help with assembly, Please call:
Customer Service:
1-800-524-9970
8am-7pm
Mon-Sat EST
150 Callender Road
Watertown, CT 06795