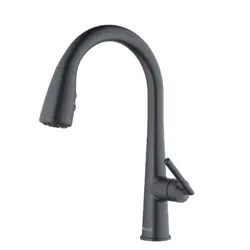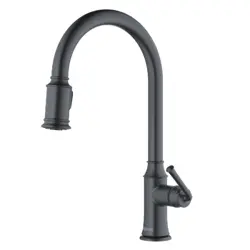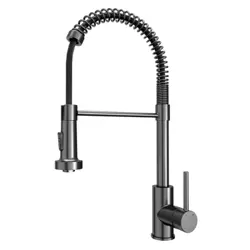

INSTALLATION GUIDE
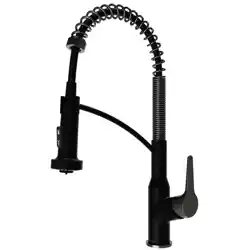
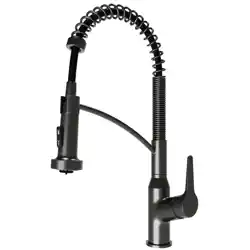
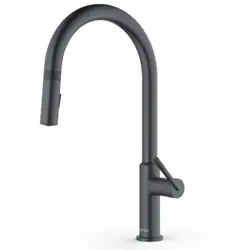
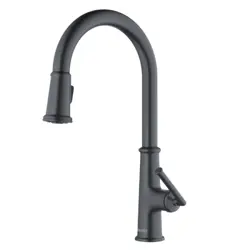
KKF228C KKF228SS
KKF228MB KKF228GG
KKF228BG
Models:
Karran USA Tel: 866.452.7726 www.karran.com info@karran.com
** Denotes faucet component color options:
C - Chrome
SS - Spot Free Stainless Steel
MB - Matte Black
GG - Gunmetal Gray
BG - Brushed Gold
11
No.
1.
2.
3.
4.
5.
6.
7.
8.
9.
10.
11.
12.
13.
14.
15.
16.
17.
18.
19.
20.
21.
22.
23.
24.
Description
Finishes/colors
Item No.
Spray Head
Washer
Spray Hose
Spring Assembly
Spray Support Assembly
Cover Button
Set Screw
Main Body
Base
35A Cartridge
Nut
Cap
Handle
Rubber & Metal Washer
Mounting Nuts & Screws
Weight
Supply Hose
Waterline
Waterline
Hex Wrench
Connector
Fast connector
DC control box
Sensor line
500301912**
70020038930
500402277**
500600410**
400602181**
50010103731
50060033800
100300521**
500101557**
20060010900
40060171752
500101172**
200100371**
70020037354
40060185018
50020066800
50040215600
50042060021
50042060026
50060003700
40060128652
50040191652
50020091800
50020091900
REPLACEMENT PARTS
C SS MB GG BG, , , ,
C SS MB GG BG, , , ,
C SS MB GG BG, , , ,
C SS MB GG BG, , , ,
C SS MB GG BG, , , ,
C SS MB GG BG, , , ,
C SS MB GG BG, , , ,
C SS MB GG BG, , , ,
16
20
10
11
12
13.2
13.1
13.3
13
4
5.2
5.1
5
8
6
7
2
9
14
15
17
18
19
3
1
.
2
1
.
1
1
21.2
21.1
21.3
21
23
2
4
2
2
.
2
2
2
.
1
2
2
Loxton
PARTS SHEET KKF228**
1
TECHNICAL DRAWING
2
The Component List
Qty.
1
1
1
1
1
1
1
1
1
2
1
1.Spray Head
2.Main Body
3.Rubber Washer A
4.Rubber Washer B
5.Metal Washer
6.Mounting Hardware
7.Spray Hose
8.Weight
9. Hex Wrench
10.Connector
11.DC control box
4
5
7
6
3
1
2
8 9
10
11
3 4
TECHNICAL DRAWING INSTALLATION GUIDE
STEP 2
STEP 1
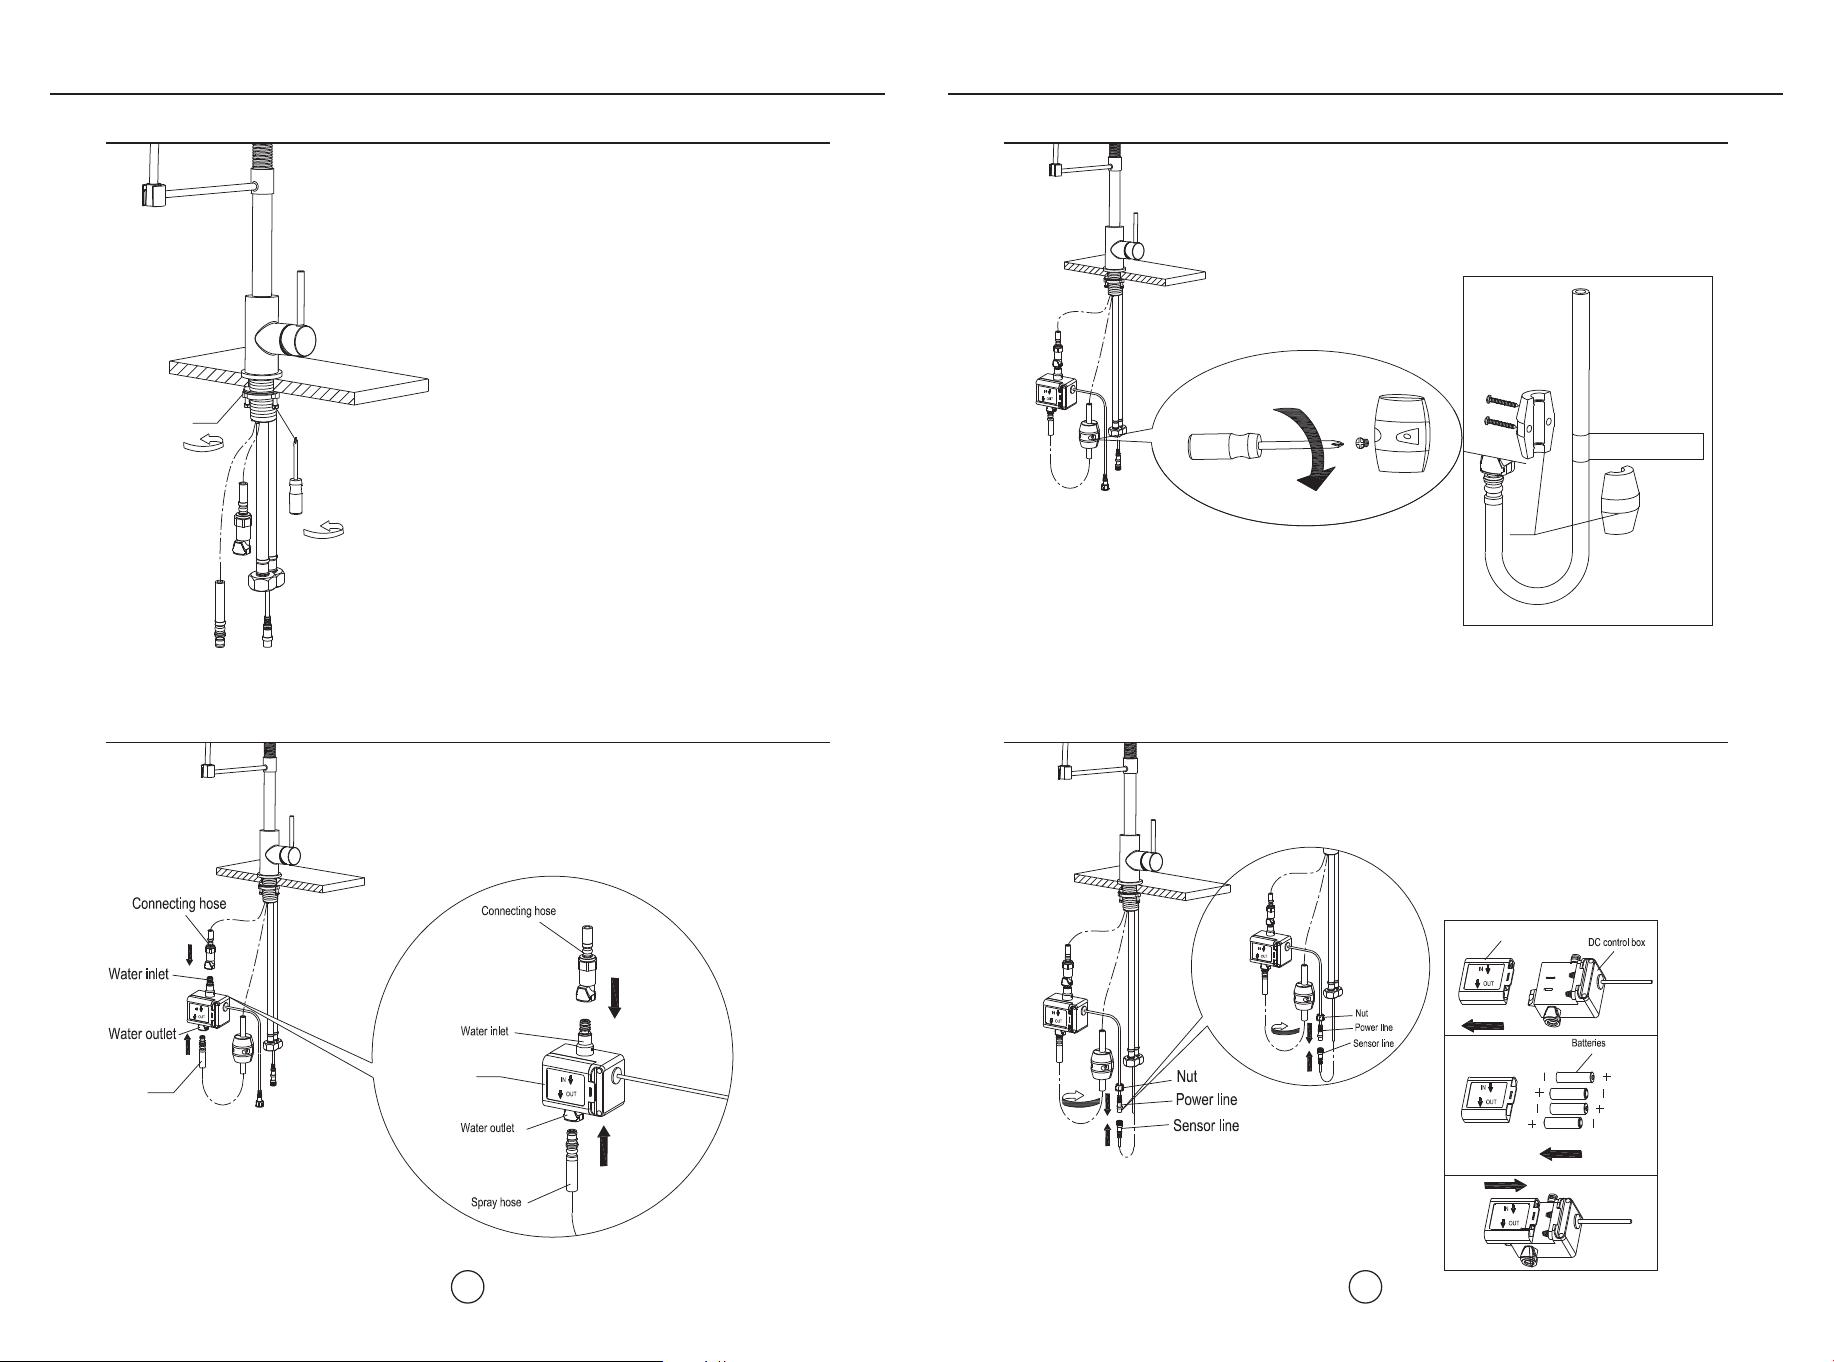
1. Remove mounting hardware(6), metal
washer(5) and rubber washer B (4) from
the main body (2).
2. Insert the main body into the hole with
base(12) and rubber washer A(3) .
Refix the rubber washer B(4), metal
washer(5), mounting hardware(6) from
the bottom.
5
6
4
3
2
4
5
6
3
2
INSTALLATION GUIDE INSTALLATION GUIDE
5 6
STEP 3
STEP 4
3. After adjusting the direction of the main
body(2), tighten the mounting hardware
(6) with hands and tighten the screws
with a Philips screwdriver.
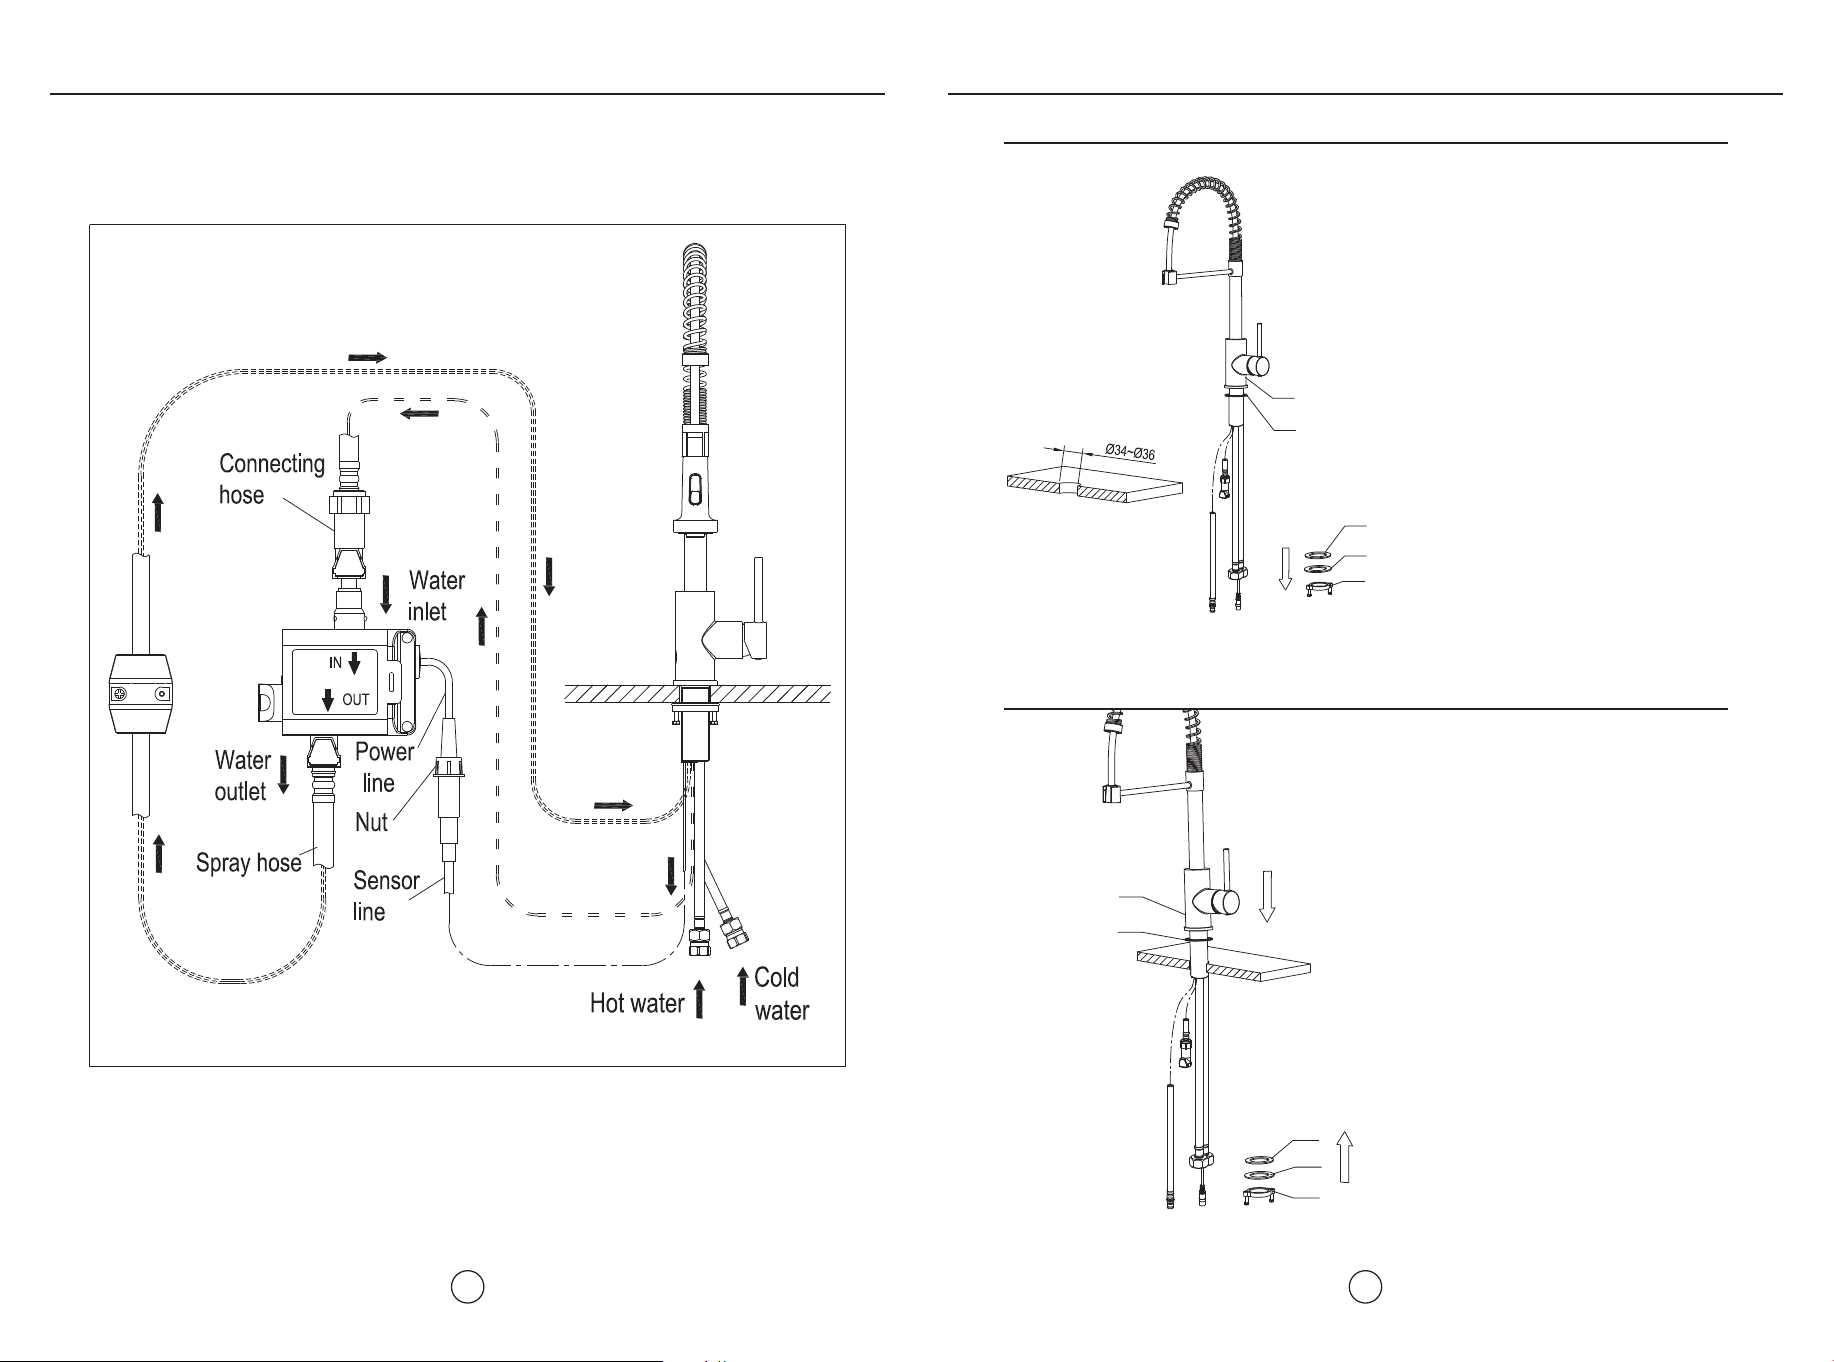
4. As shown in picture, connect the connecting
hose and water inlet on the DC control box
and the spray hose and water outlet on the
DC control box.
STEP 5
STEP 6
5. Fix the weight bob(8) on a suitable
location of the spray hose.
6.As shown here, connect the power line
of DC control box and sensor line of the
main body, and tighten the nut with
hands.
6
7
11
Battery box
8
Weight here
INSTALLATION GUIDE INSTALLATION GUIDE
7 8
STEP 7
STEP 8
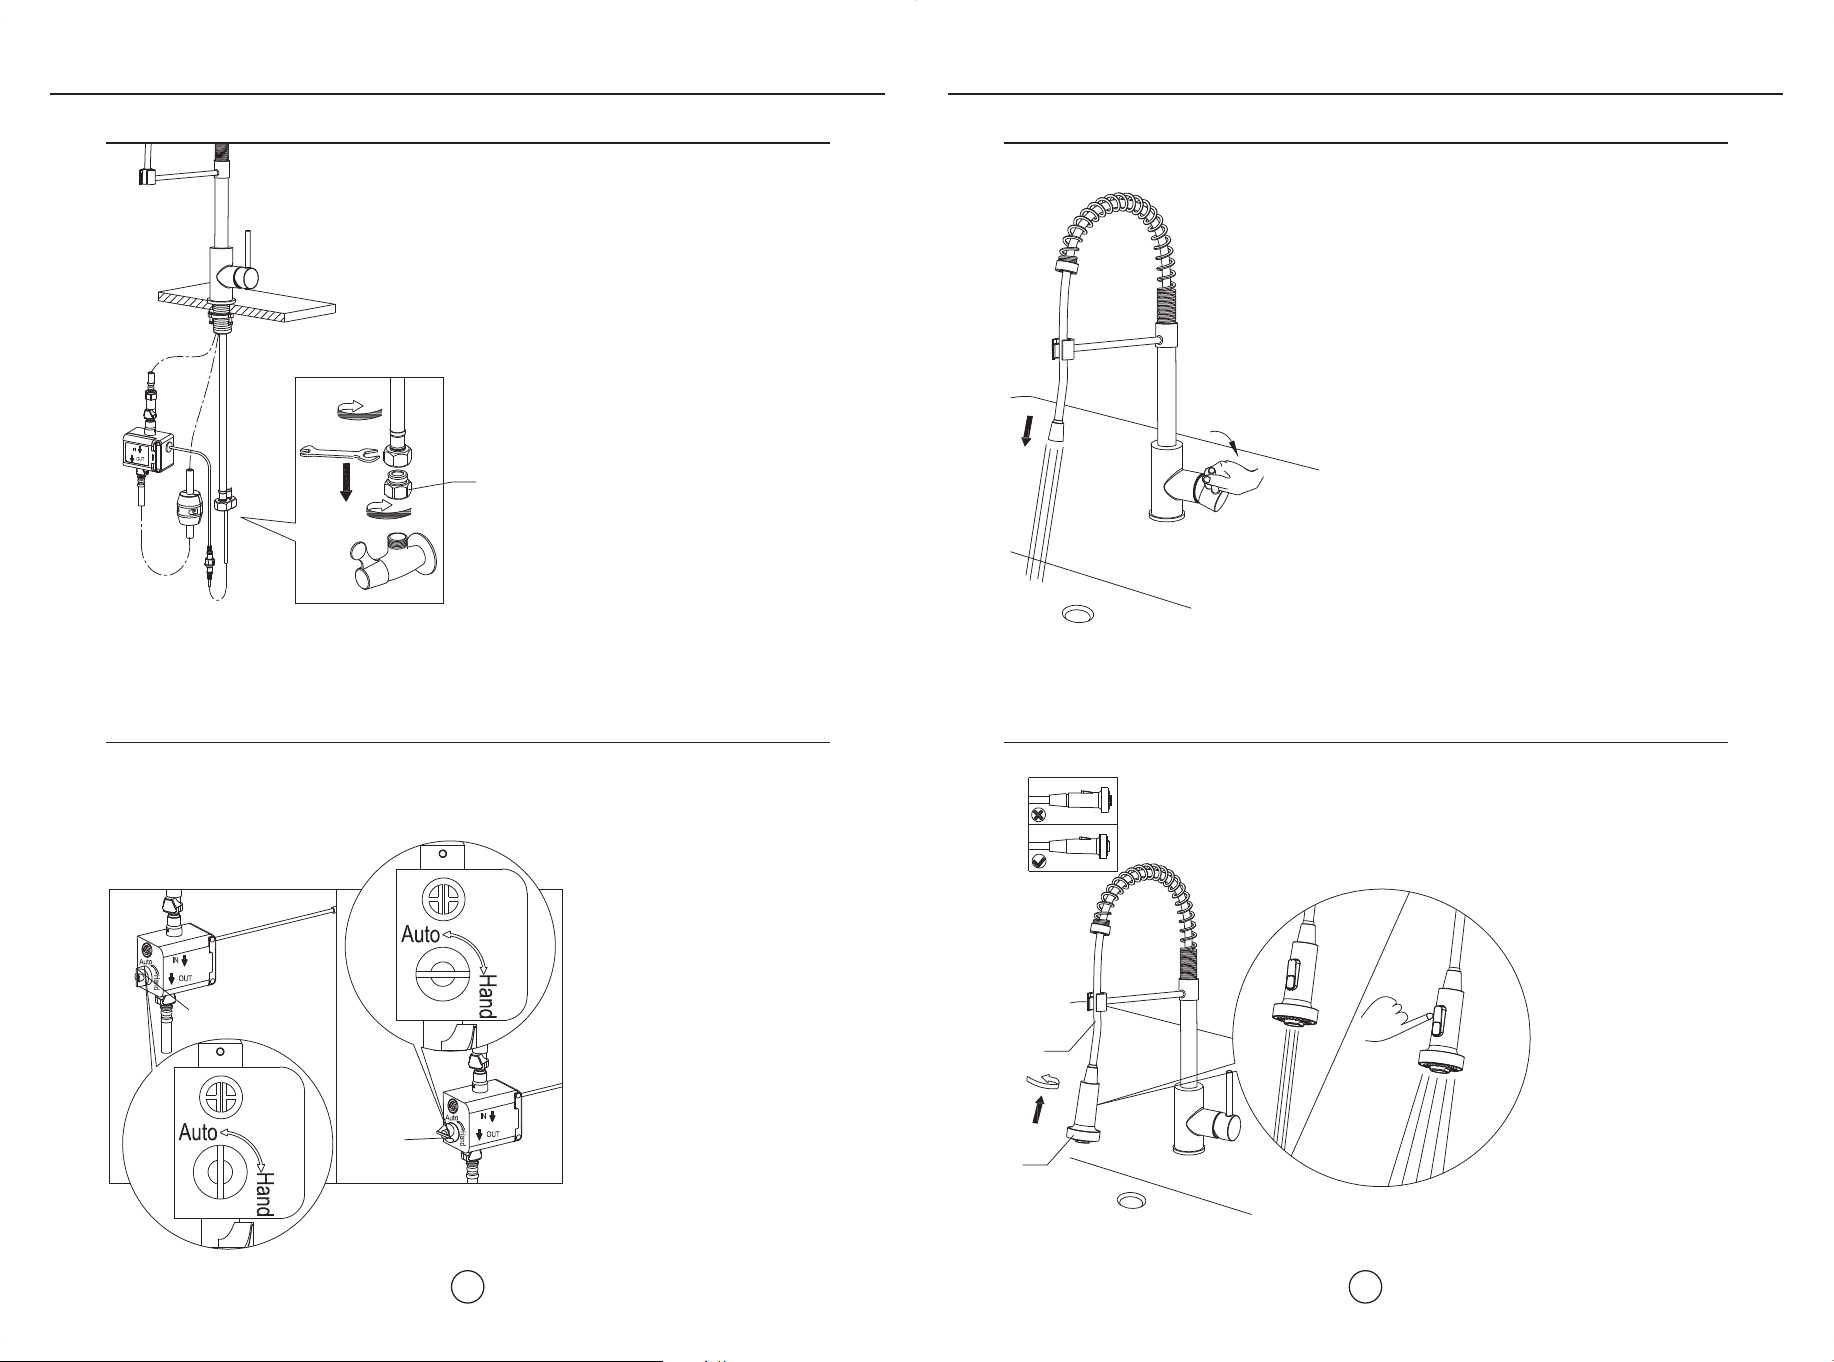
7. Connect the connectors(10) to the
valves, and connect the 2 inlet hoses
to the connectors.
Finally turn on the faucet to test the
tightness of all joints to finish the
installation.
8. Factory default setting is sensor pattern.
You will find the switch on Auto.
STEP 9
STEP 10
9. Turn on mixer to check for leaks.
10. Connect the spray hose(7) and
spray head(1) to finish installation.
Auto
Hand
10
7
1
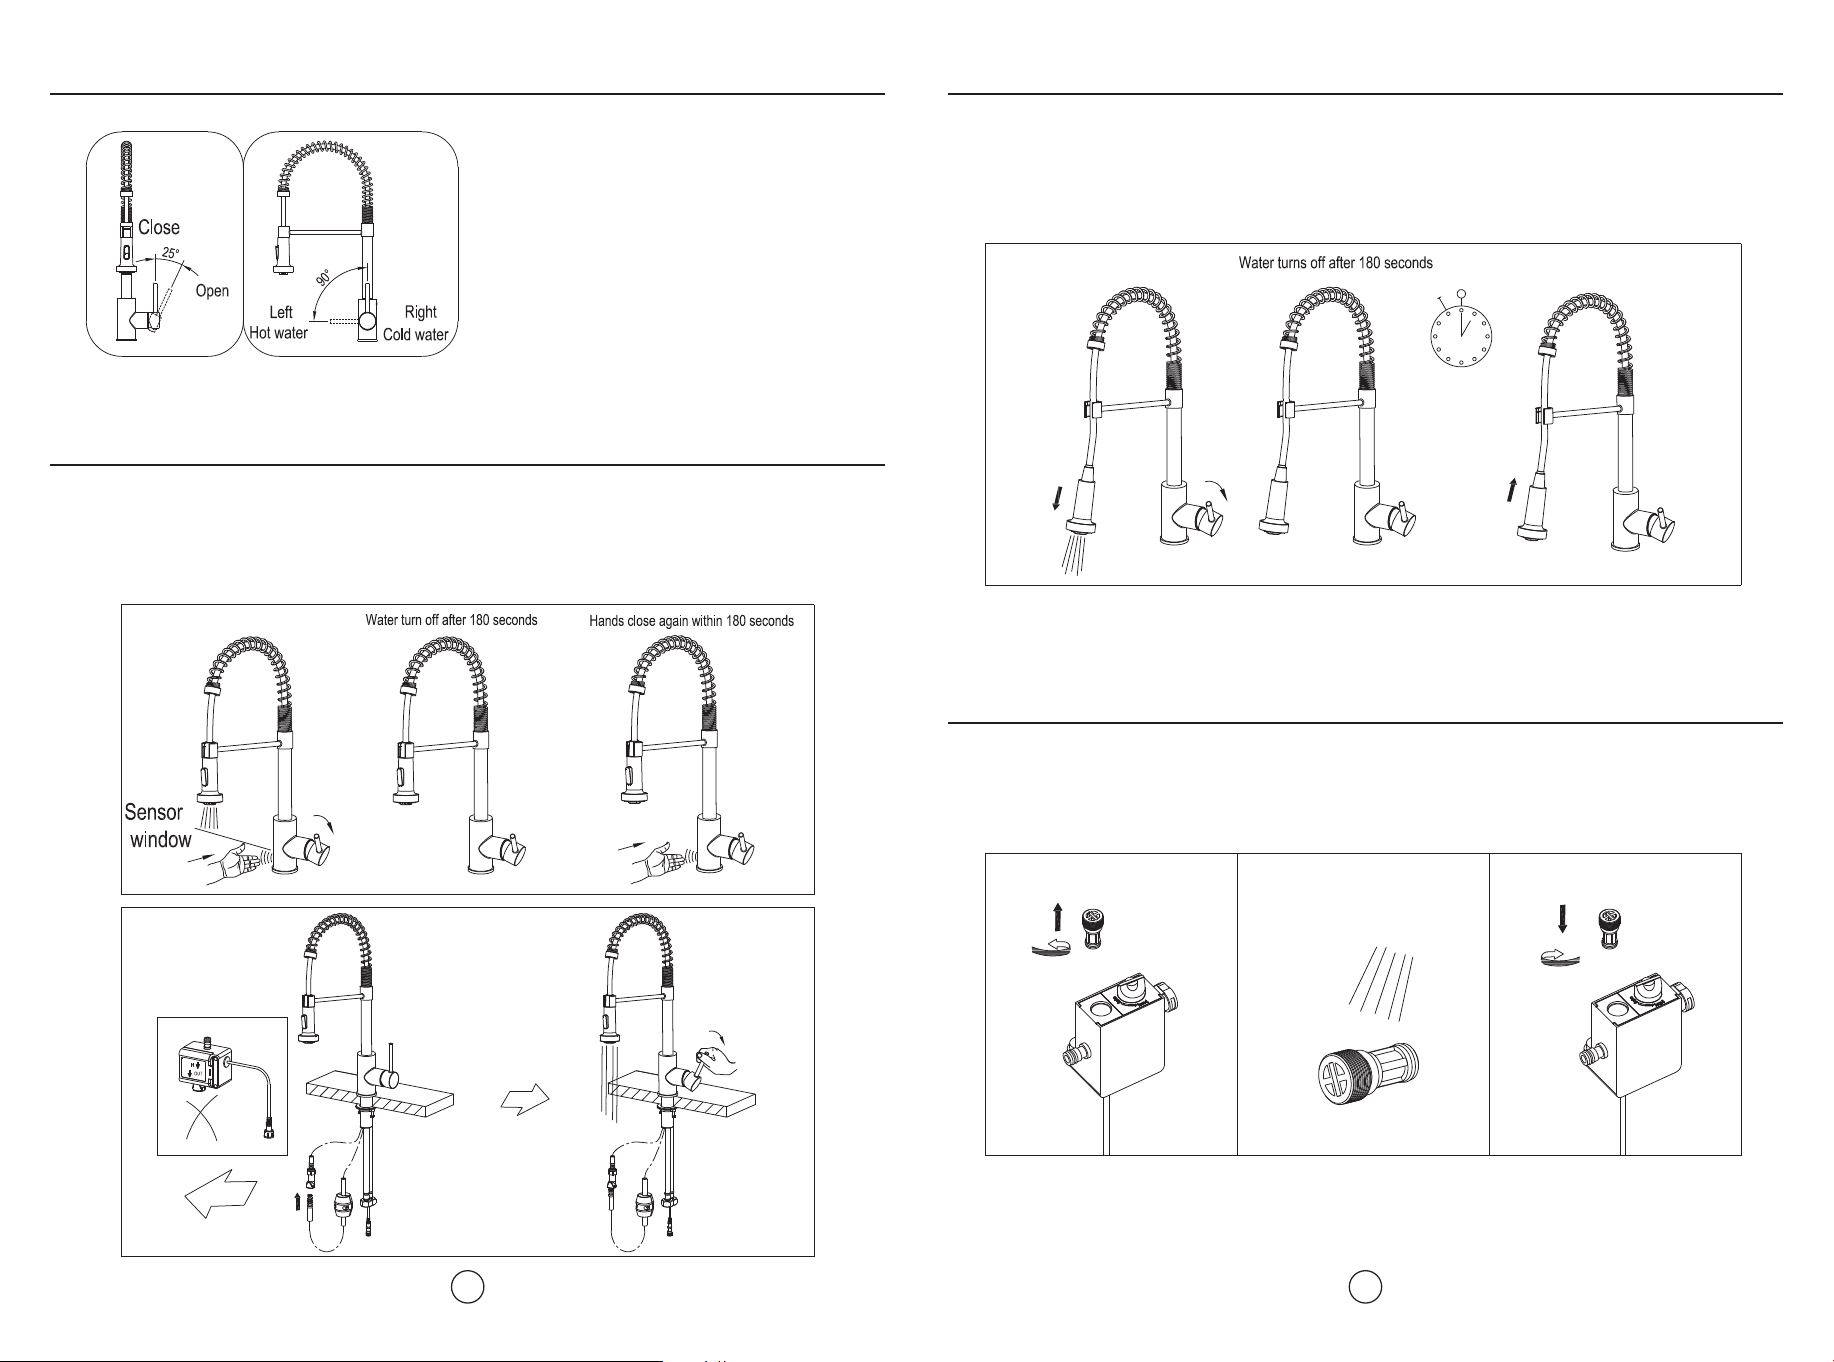
☆ How to operate the handle:
1) Open the handle lever to turn water on,
push to turn off.
2) Turn the handle lever to the left to increase
hot water flow with higher water
temperature, while lower the water
temperature by operating reversely.
☆ Usage of sensor window:
Pull open the handle from faucet to turn on
1) Wave hand before sensor window, water flows automatically.
2) Water turns off after 180 seconds automatically.
3) Wave hand before sensor window again within 180 seconds to turn off water.
9
☆ Turn on and off water by pull down and return spray.
10
Pull open the handle from faucet to turn on,
1) Pull down spray, water flows automatically.
2) Water turns off after 180 second automatically.
3) Or return backward spray head within 180 seconds, to turn off water.
☆ Cleaning of filter in DC control box.
Please clean filter when water flows down. Normal suggestion for cleaning is twice
per year.
1. 2. 3.
1. 2. 3.
return spray within 180 seconds head