Krowne 100 Haul Rd. Wayne, NJ 07470 krowne.com
Due to our commitment to continued product improvement, specications are subject to change without notice.
Rev. 04/2022
Tools Required:
Included:
Crescent Wrench
Channel Locks
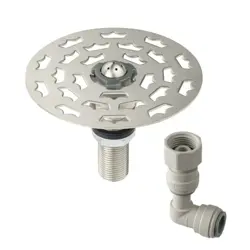
Glass Rinser & Faceplate
16-144
Glass Rinser Install Guide
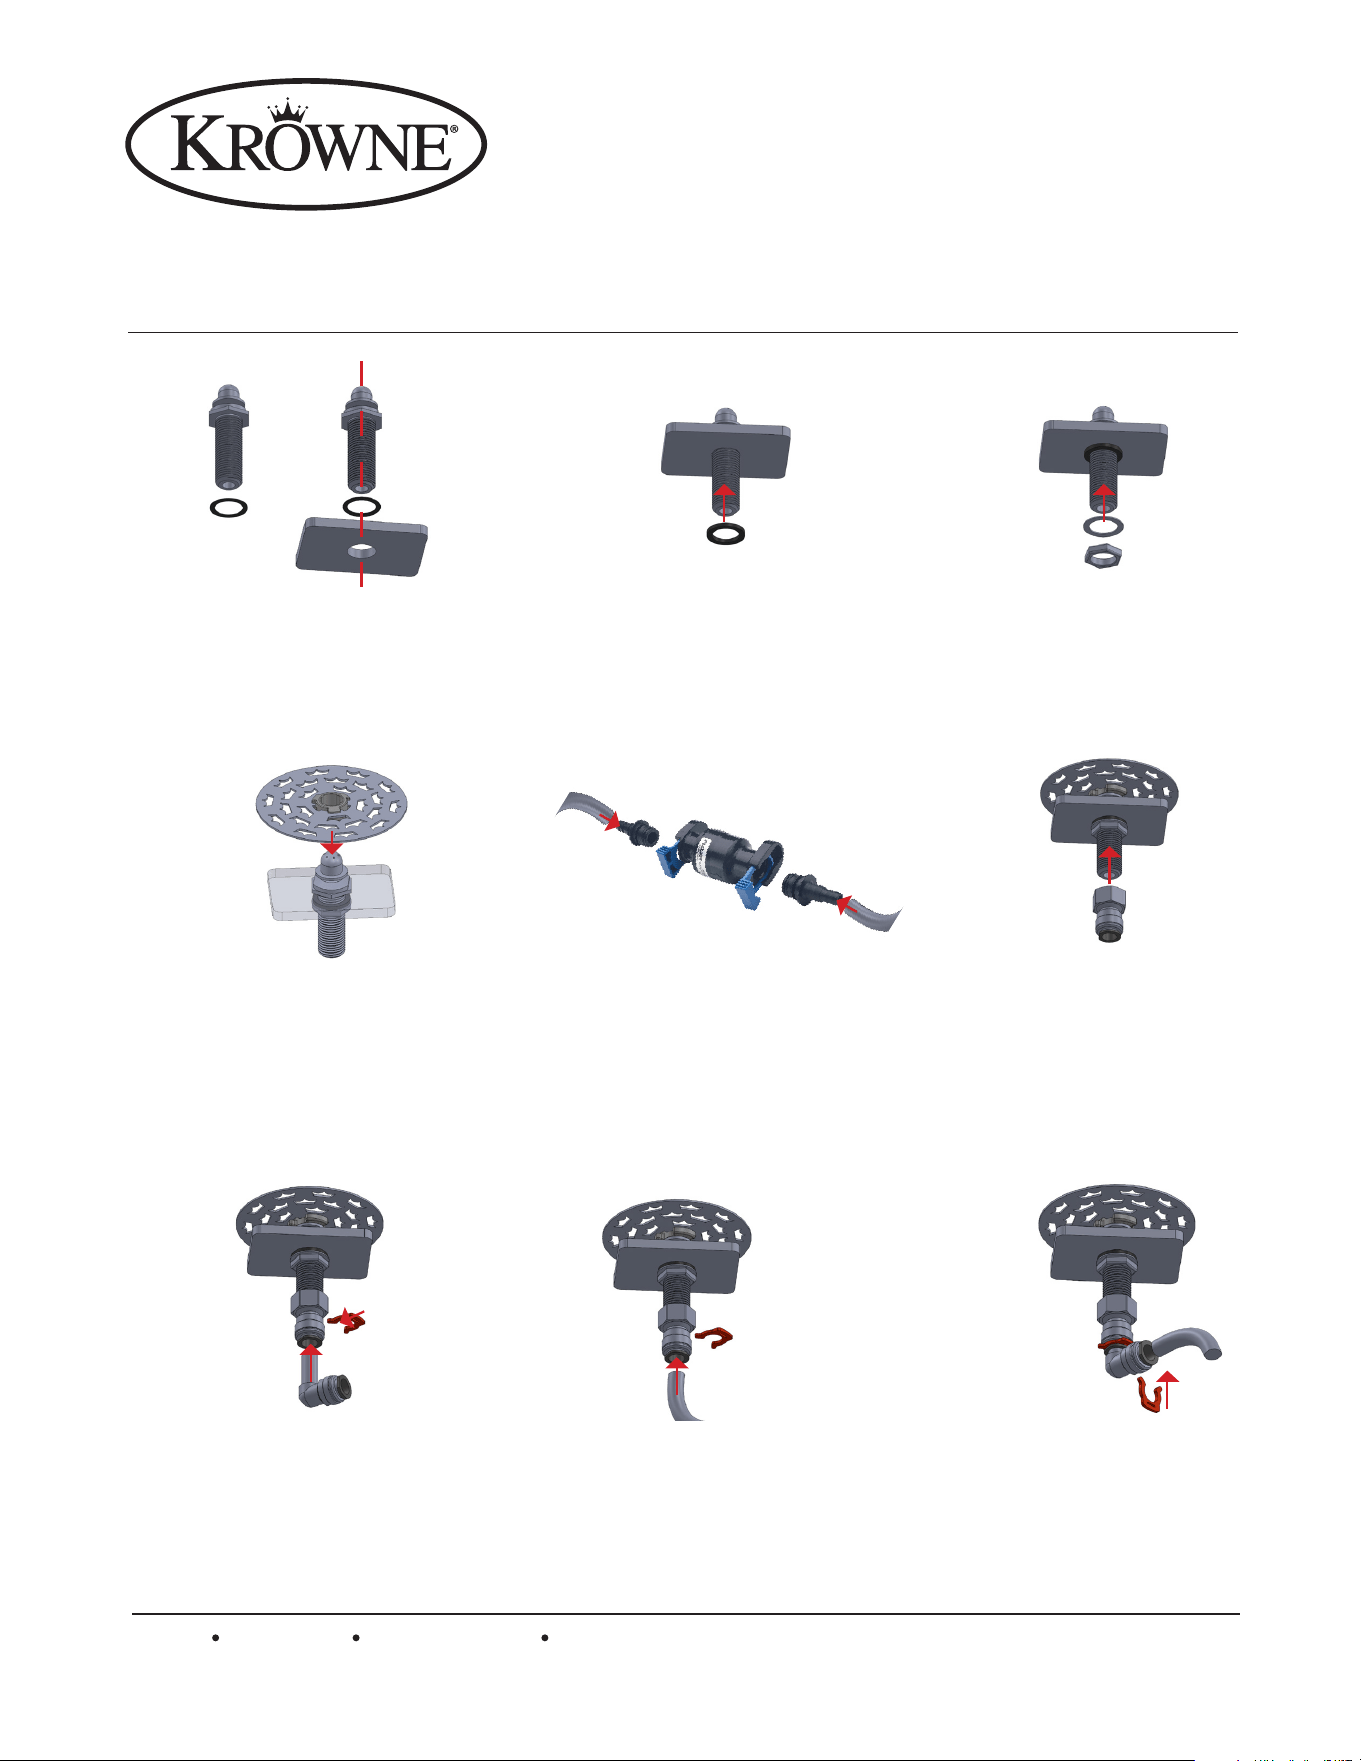
Place thin rubber seal on
threaded stem. Then insert
threaded stem into 7/8” hole.
From the top, install stainless steel
plate to glass rinser body. To install
plate, place the center of the plate
onto head of the rinser valve. Apply
force until the plastic centerpiece is
fully engaged with the head of the
rinser.
Insert a 1/2” OD water line tubing in
the plastic tting and slide the red
plastic ring in place between water
line connector to secure. Turn on the
water line and check for leaks.
If using the 90° elbow, insert the 1/2”
OD water line tubing into the plastic
tting of the elbow and slide the red
plastic ring in place. Turn on the water
line and check for leaks.
Connect the outlet from the reg-
ulator to the rinser water source
to the threaded stem. The rinser
uses 1/2” NPS thread and works
with either compression ttings
or plastic water line connectors.
Install Inline Pressure Regulator to
incoming water line. Two 3/8” hose
barbs (included) snap into regulator.
Plumb regulator to braided, high
pressure, exible tubing on both
ends, and secure with Stepless stain-
less-steel clamp.
If a 90° elbow is required for
the water line, insert the plastic
elbow into the straight plastic
water line connector installed in
step 5 and slide the red plastic
ring in to secure.
From the bottom, place thicker
rubber seal on threaded stem
and push up until it contacts the
bottom surface.
Place thin plastic washer on
threaded stem. Then place
metal locknut on threaded
stem. Tighten locknut until
glass rinser is fully secured.
1.
4.
8. 9.
6.
7.
2.
5.
3.