Lighting made better.
support@sunco.com
(844) 334-9938
User Manual
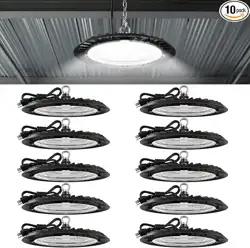
LED UFO
High Bay
Plug & Play
SKU: UFO-150W
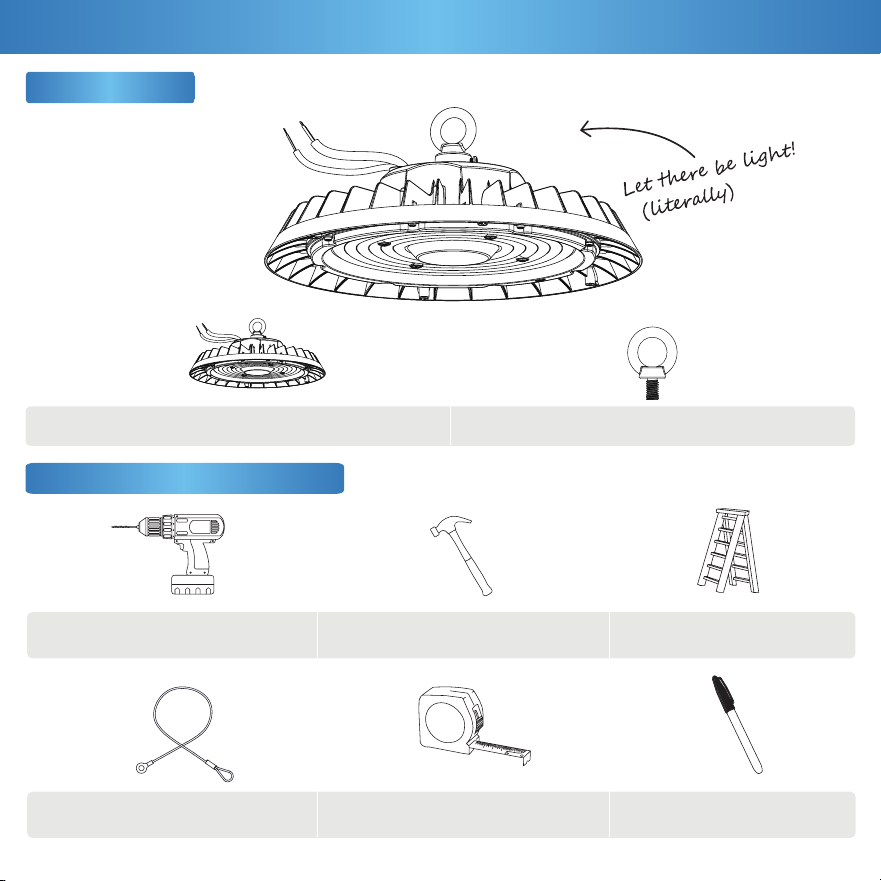
UFO High Bay
M10 Eyebolt Screw
1
What’s in the Box?
Get Your Gear (Not Included)
Light Fixture
A
B
Drill
Hammer
Ladder
Marker
Tape Measure
Safety Cable
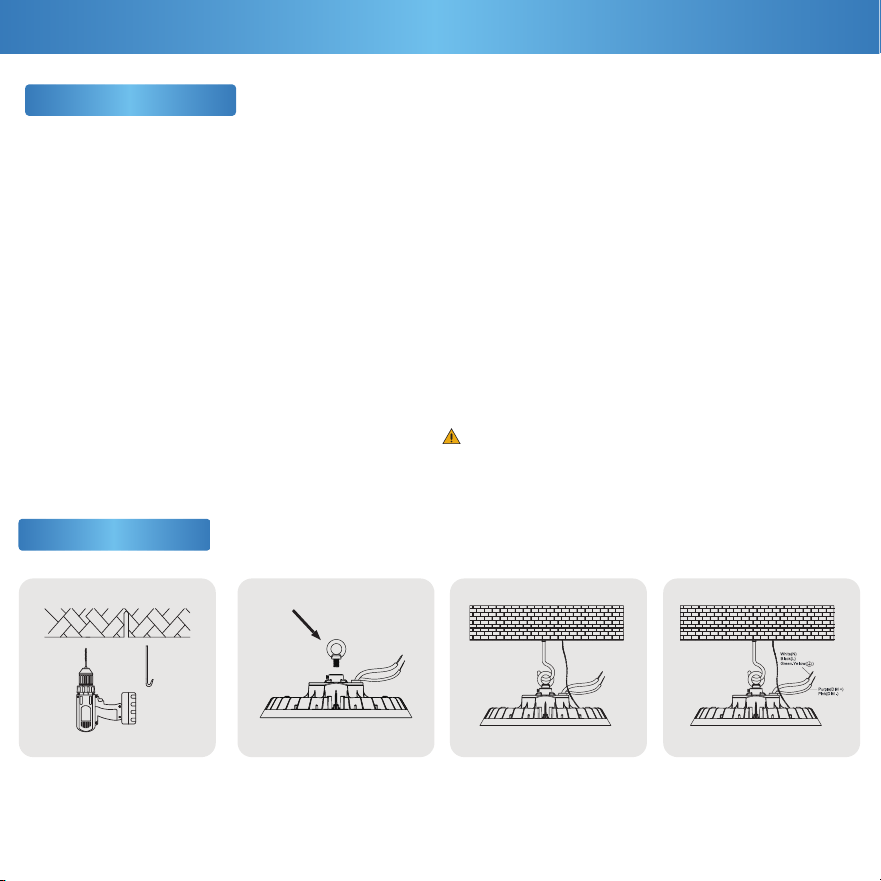
Securely install
adequate support.
Use eyebolt screw to hang
xture onto ceiling hook.
Secure eyebolt screw
and tighten rmly.
Wiring as shown in the
diagram.
Step 1 Step 2 Step 3 Step 4
This device complies with Part 15 of the FCC rules.
Operation is subject to the following two conditions:
1) This device may not cause harmful interference.
2) This device must accept any interference that may
cause undesired operation. Please review all
instructions carefully prior to installation.
• Turn o circuit breaker before installing this xture.
• Suitable for use in wet environments at temperatures ranging
from -40°F to 113°F.
• Not intended for use with emergency xtures.
• Not compatible with photo controls.
• Not compatible with occupancy sensors.
• Not compatible with third party sensors.
• Not compatible with dimmers.
• Not compatible with timing devices.
• All electrical connections must be in accordance with local
and National Electric Code (N.E.C.) standards.
To reduce the risk of fire, electric shock, or physical injury:
2
Safety Information
Quickstart Guide
2
Before You Start
WARNING:
Cancer & Reproductive Harm- www.P65Warnings.ca.gov
• Please review installation manual carefully before
proceeding. Consult a qualied electrician if you are
unfamiliar with proper electrical wiring connections.
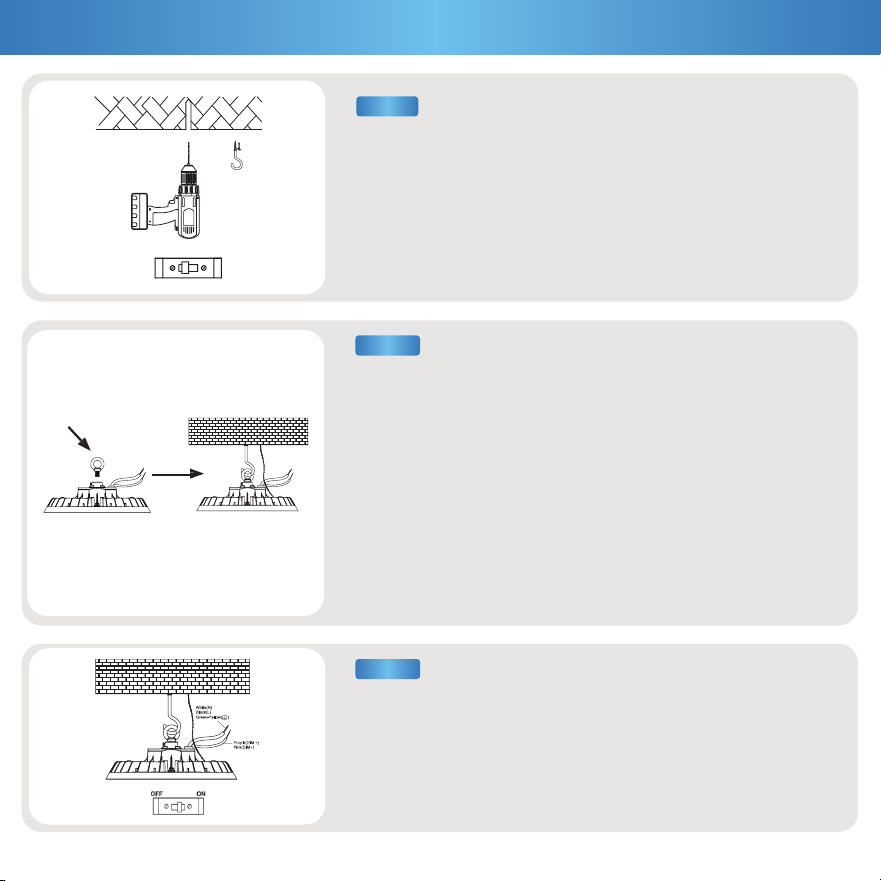
a. Turn off the circuit breaker before installation.
b. Drill a pilot hole into the ceiling.
c. Install a chain or ceiling hook (not included) to provide
adequate support.
3
STEP 3
STEP 2
STEP 1
Installation Guide(Hook Mount)
a. Attach the eyebolt screw (B) to the UFO luminaire by turning
the ring clockwise.
b. Tighten the screw to hold the eyebolt screw (B) into place.
c. Use the eyebolt screw (B) to hang the luminaire onto the chain
or ceiling hook.
d. Secure the light with safety cables (not included) to prevent it
from falling.
a. Wiring as shown in the diagram.
b. Turn on the circuit breaker to test the light.
(B)
OFF ON
4
Product Details
Specifications
Voltage
Wattage
Beam Angle
Efficacy
Power Factor
Material
Dimmable
120V
150 W
90°
130 lm/W
>0.9
Aluminum (Housing) + PC (Lens)
0-10V
50,000 Hours
19500 lm
Wet Rated
80+
IP65
Indoor
5 Years
Average Lifetime
Lumens
Moisture Rating
CRI
IP Rating
Usage
Warranty
Installation
5
Feeling in the dark about an issue with your product? No
worries! Our troubleshooting section is here to shed some light
and provide you with easy-to-follow solutions for any problem.
Light unexpectedly fails.
Fixture buzzing with appliances or electronic devices.
Fixture buzzing when dimmed.
Look for nearby interferences that can cause buzzing.
Such as televisions, radios, computers, etc.
Light ickering with other lights on the same circuit.
Check that the lights on the same circuit are not
overloading the circuit.
Light ickering when turned on.
Light ickering when dimmed. This luminaire is not dimmer compatible.
Double check if xture is properly connected
and circuit breaker hasn’t been tripped.
Light isn’t turning on.
Fixture buzzing with power outages. Verify light is connected to surge protector securely.
This luminaire is not dimmer compatible.
Verify xture compatibility and that it is grounded.
Light is ickering when turning on. Check that xture wiring connections are secure.
For further assistance, reach out to customer support.
If you still need some assistance, please feel free to
contact us with any questions. Our team of lighting experts
are happy to help brighten your day.
Flickering
Buzzing
Common Troubleshooting

“This page is intentionally left blank.”
6

support@sunco.com
(844) 334-9938
Lighting made better.
REV 2.0