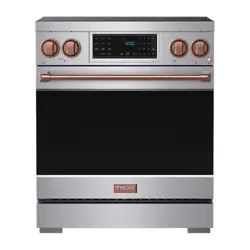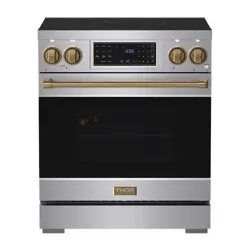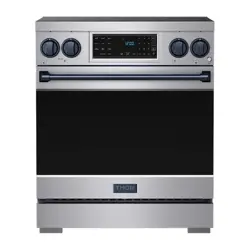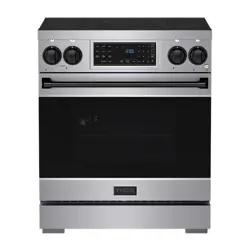
USE + CARE
MANUAL
REV.092026
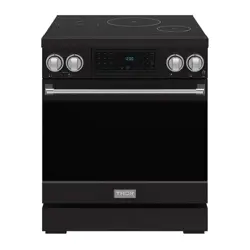
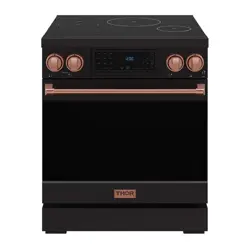
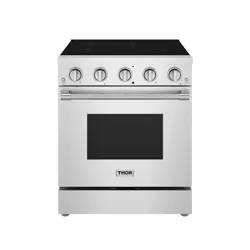
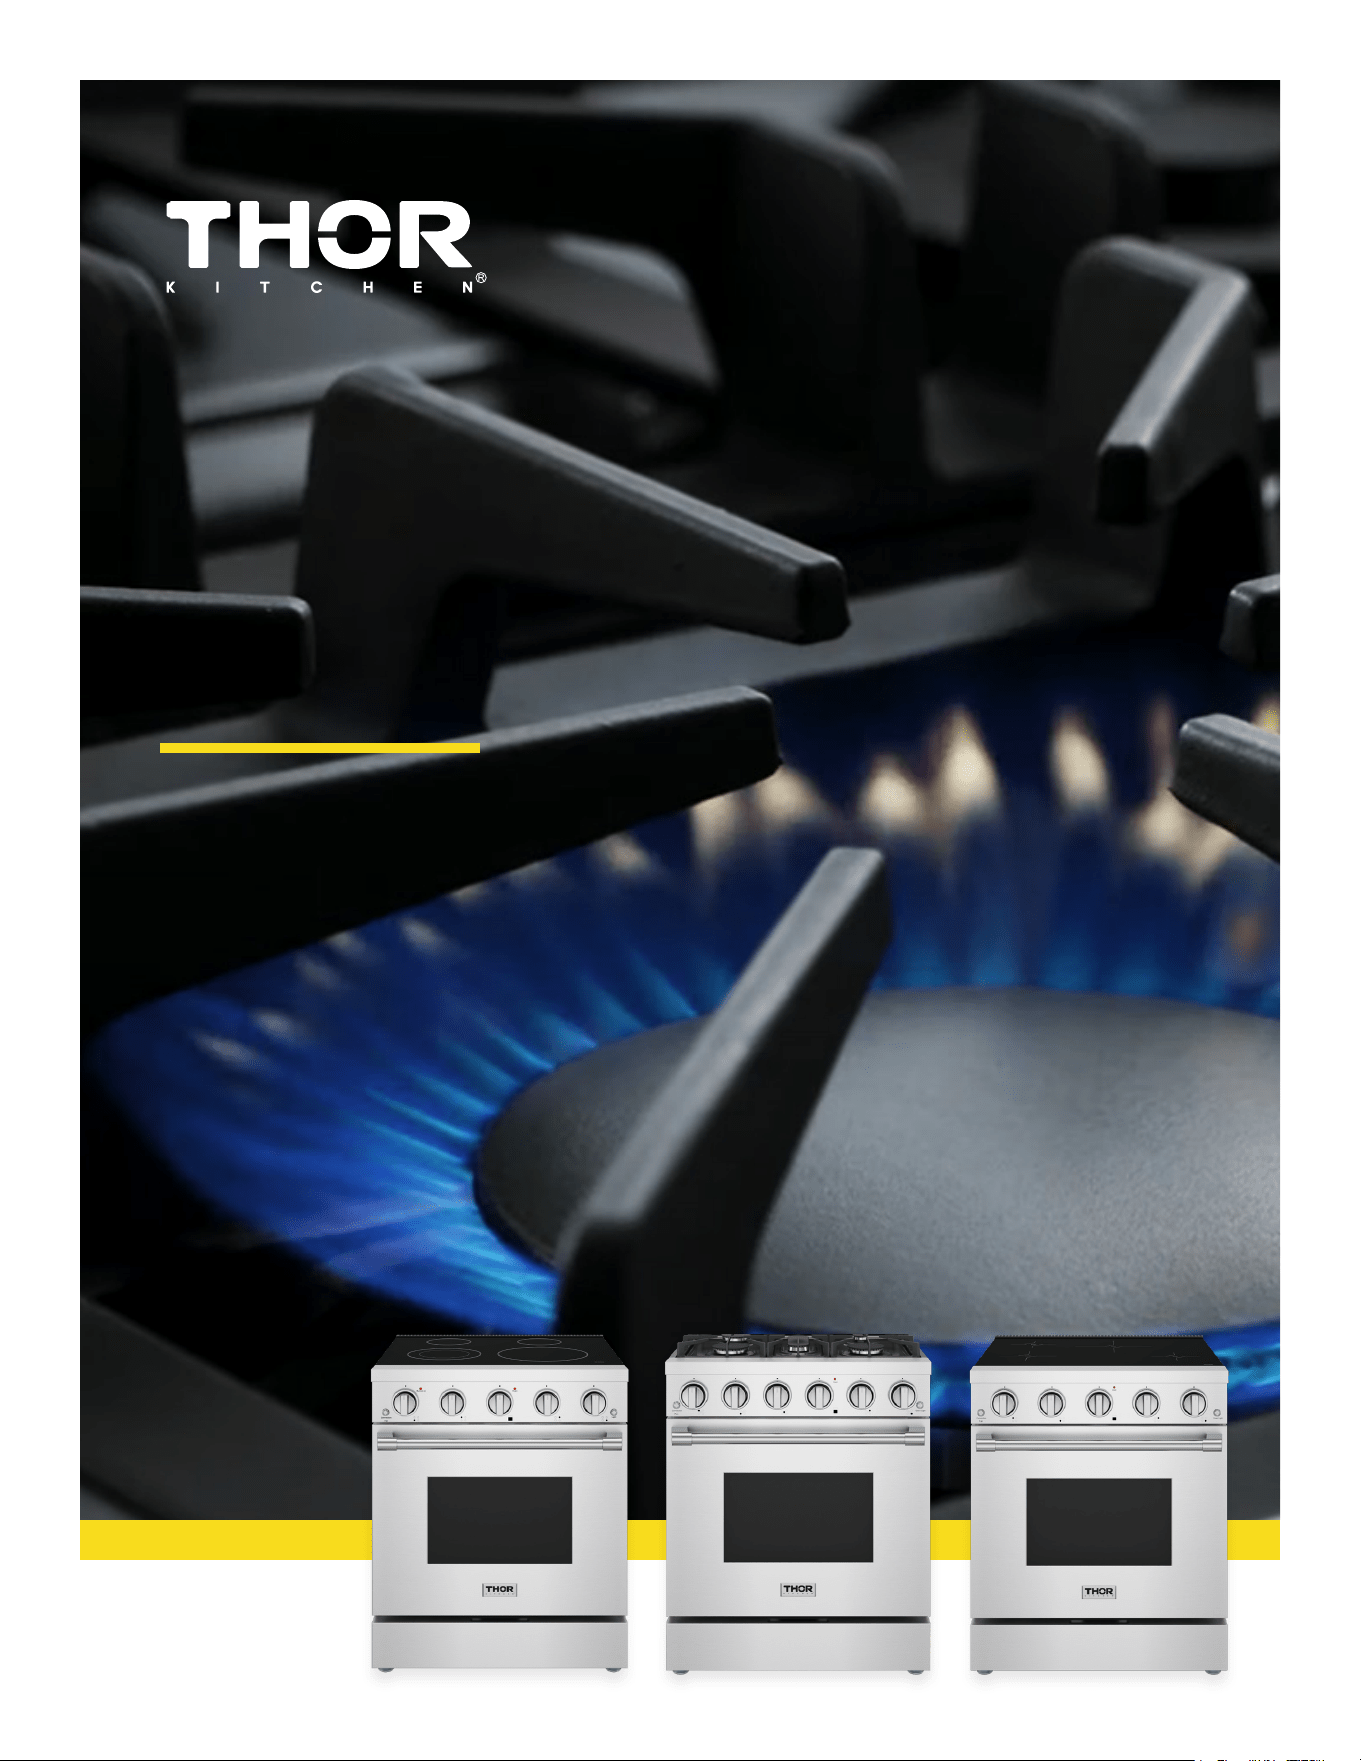
S SERIES PROFESSIONAL
ELECTRIC/GAS/INDUCTION RANGE
SRE3001 | SRG3001/LP | SRI3001

USE & CARE MANUAL
S SERIES PROFESSIONAL
ELECTRIC/GAS/INDUCTION
RANGE
SRE3001|
SRG3001/LP |
SRI3001

3
TABLE OF CONTENTS
IMPORTANT INSTRUCTION. . . . . . . . . . . . . . . . . . . . . . . . . . . . . . . . . . . . . . . . . . . . . . . . . . . . . . . . . . . . . . . . . . . . . . . . . . . . . . . . . . 4
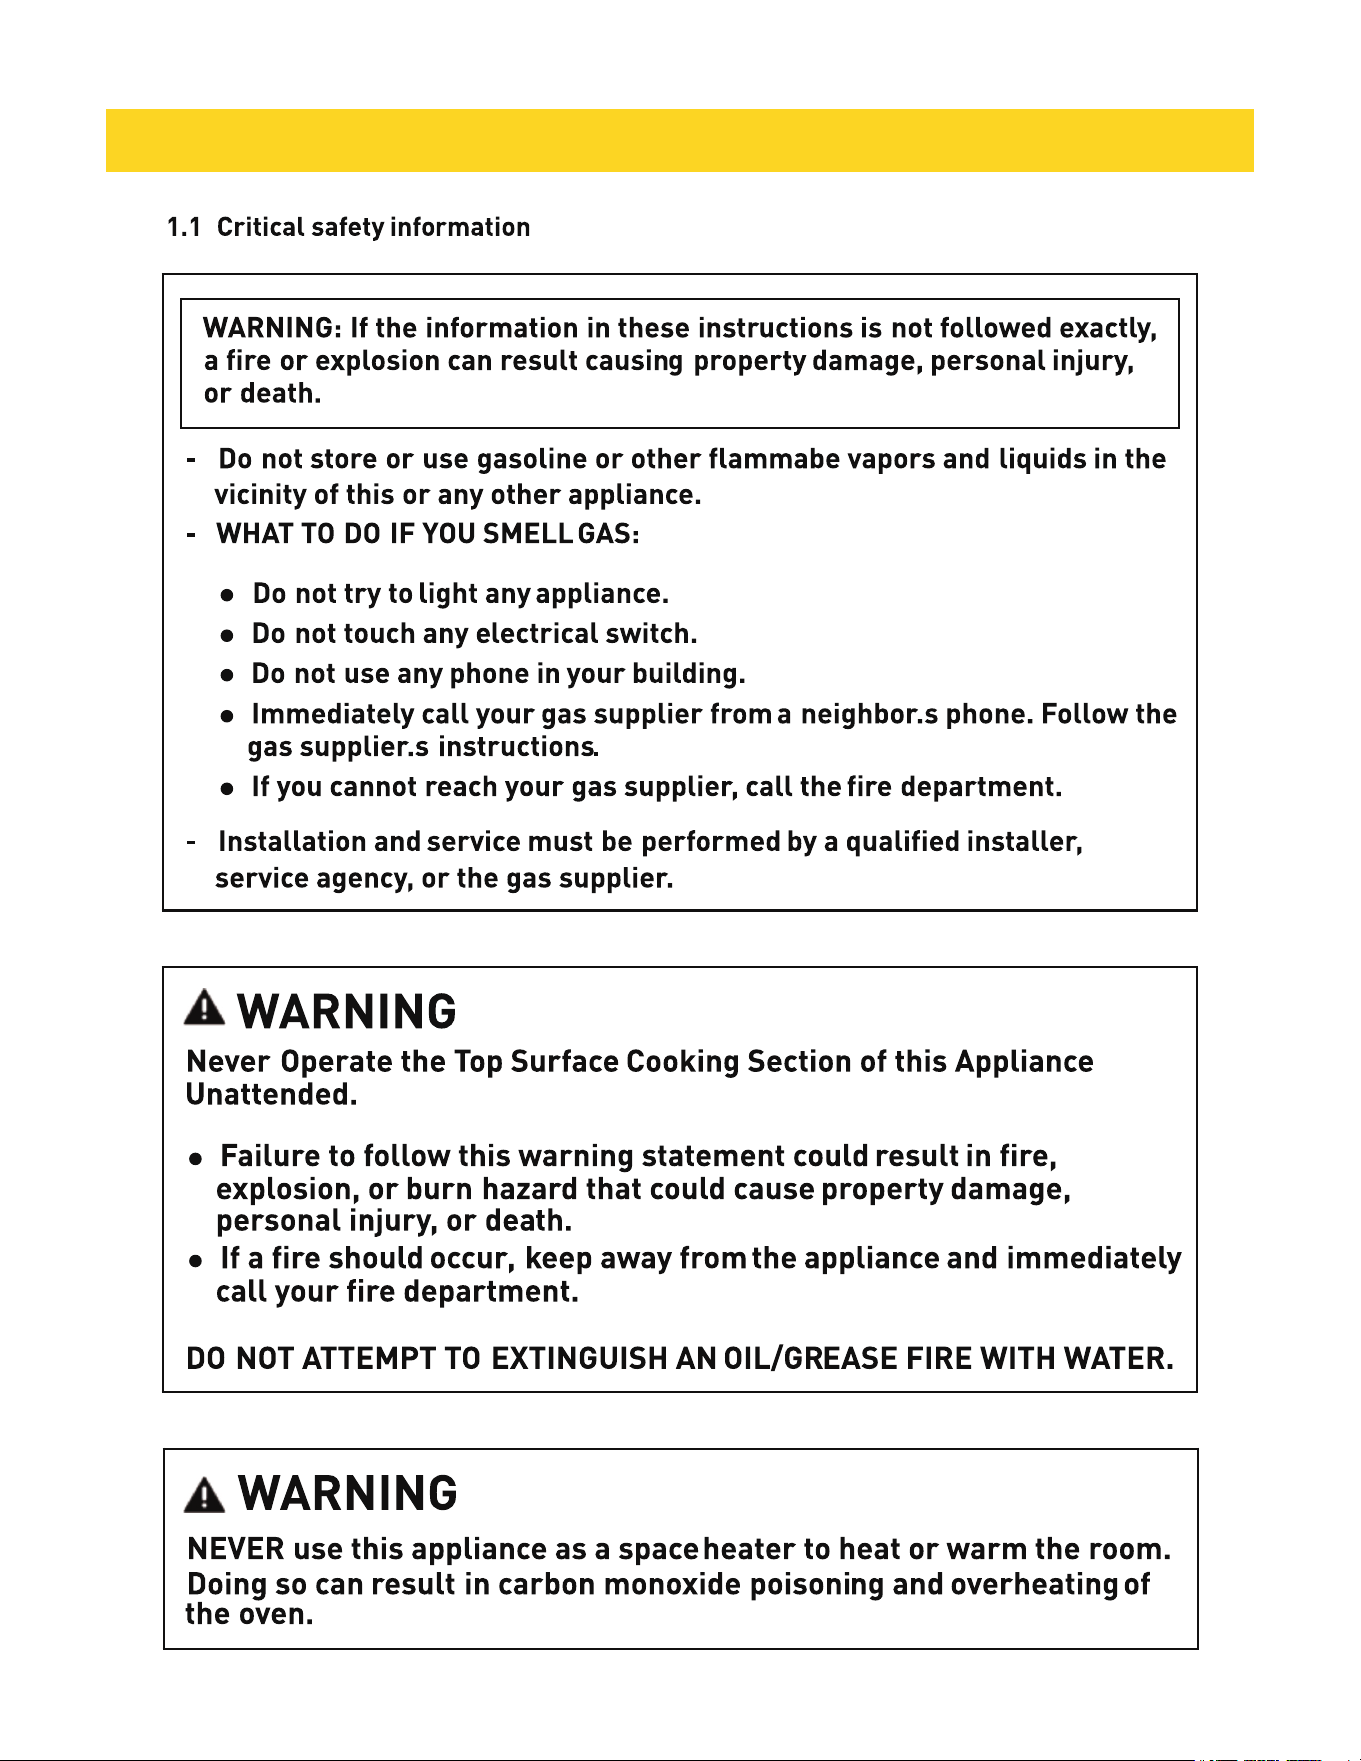
1.1 Critical safety information . . . . . . . . . . . . . . . . . . . . . . . . . . . . . . . . . . . . . . . . . . . . . . . . . . . . . . . . . . . . . . . . . . 4
1.2 Signal words explanation . . . . . . . . . . . . . . . . . . . . . . . . . . . . . . . . . . . . . . . . . . . . . . . . . . . . . . . . . . . . . . . . . . . . . . . 5
1.3 Intended use. . . . . . . . . . . . . . . . . . . . . . . . . . . . . . . . . . . . . . . . . . . . . . . . . . . . . . . . . . . . . . . . . . . . . . . . . . . . .5
1.4 IMPORTANT INSTRUCTION. . . . . . . . . . . . . . . . . . . . . . . . . . . . . . . . . . . . . . . . . . . . . . . . . . . . . . . . . . . . . . . . . . . . . . 6
COOKTOP FUNCTIONS. . . . . . . . . . . . . . . . . . . . . . . . . . . . . . . . . . . . . . . . . . . . . . . . . . . . . . . . . . . . . . . . . . . 9
2.1 Safety guidelines(SRG3001/LP only) . . . . . . . . . . . . . . . . . . . . . . . . . . . . . . . . . . . . . . . . . . . . . . . . . . . 9
2.2 Safety guidelines(SRE3001,SRI3001 only) . . . . . . . . . . . . . . . . . . . . . . . . . . . . . . . . . . . . . . . . . . . . . . . . . . 10
2.3 Usage Tips. . . . . . . . . . . . . . . . . . . . . . . . . . . . . . . . . . . . . . . . . . . . . . . . . . . . . . . . . . . . . . . . . . . 11
2.4 Matching knob to the burners . . . . . . . . . . . . . . . . . . . . . . . . . . . . . . . . . . . . . . . . . . . . . . . . . . . . . . . . . . 11
2.5 Igniting a burner. . . . . . . . . . . . . . . . . . . . . . . . . . . . . . . . . . . . . . . . . . . . . . . . . . . . . . . . . . . . . . . . . 12
OVEN FUNCTIONS. . . . . . . . . . . . . . . . . . . . . . . . . . . . . . . . . . . . . . . . . . . . . . . . . . . . . . . . . 12
3.1 Safety guidelines. . . . . . . . . . . . . . . . . . . . . . . . . . . . . . . . . . . . . . . . . . . . . . . . . . . . . . . . . . . . . . . . . . . . 12
3.2 Using the accessories. . . . . . . . . . . . . . . . . . . . . . . . . . . . . . . . . . . . . . . . . . . . . . . . . . . . . . . . . . . . . . . . . . . . 14
3.3 Oven burner use. . . . . . . . . . . . . . . . . . . . . . . . . . . . . . . . . . . . . . . . . . . . . . . . . . . . . . . . . . . . . . . . . . . . 14
CLEANING. . . . . . . . . . . . . . . . . . . . . . . . . . . . . . . . . . . . . . . . . . . . . . . . . . . . . . . . . . . . . . . . . . . . . . . . . . 15
4.1 Generalcleaning . . . . . . . . . . . . . . . . . . . . . . . . . . . . . . . . . . . . . . . . . . . . . . . . . . . . . . . . . . . . . . . . . . . . . . . . . . . . 15
4.2 Cooktop . . . . . . . . . . . . . . . . . . . . . . . . . . . . . . . . . . . . . . . . . . . . . . . . . . . . . . . . . . . . . . . . . . . . . . . . . . . . . . . 16
4.3 Oven. . . . . . . . . . . . . . . . . . . . . . . . . . . . . . . . . . . . . . . . . . . . . . . . . . . . . . . . . . . . . . . . . . . . . . . . . . . . . . . . 18
4.4 Baking accessories . . . . . . . . . . . . . . . . . . . . . . . . . . . . . . . . . . . . . . . . . . . . . . . . . . . . . . . . . . . . . . . . . . . . . . . . . . . 19
MAINTENANCE. . . . . . . . . . . . . . . . . . . . . . . . . . . . . . . . . . . . . . . . . . . . . . . . . . . . . . . . . . . . . . . . . . . . . . . . . . . . . 20
. . .. . . . . . . . . . . . . . . . . . . . . . . . . . . . . . . . . . . . . . . . . . . . . . . . . . . . . . . . . . . . . . . . . .20
. . . . . . . . . . . . . . . . . . . . . . . . . . . . . . . . . . . . . . . . . . . . . . . . . . . . . . . . . . . . . . . . . . .20
. . . . . . . . . . . . . . . . . . . . . . . . . . . . . . . . . . . . . . . . . . . . . . . . . . . . . . . . . . . . . . . . . . . . . . . 21
WARRANTY. . . . . . . . . . . . . . . . . . . . . . . . . . . . . . . . . . . . . . . . . . . . . . . . . . . . . . . . . . . . . . . . . . . . . . . . . . . . . . . . . 22
. . . .. . . ..
5.1 Maintenance guidelines
5.2 Purchase replacement
parts
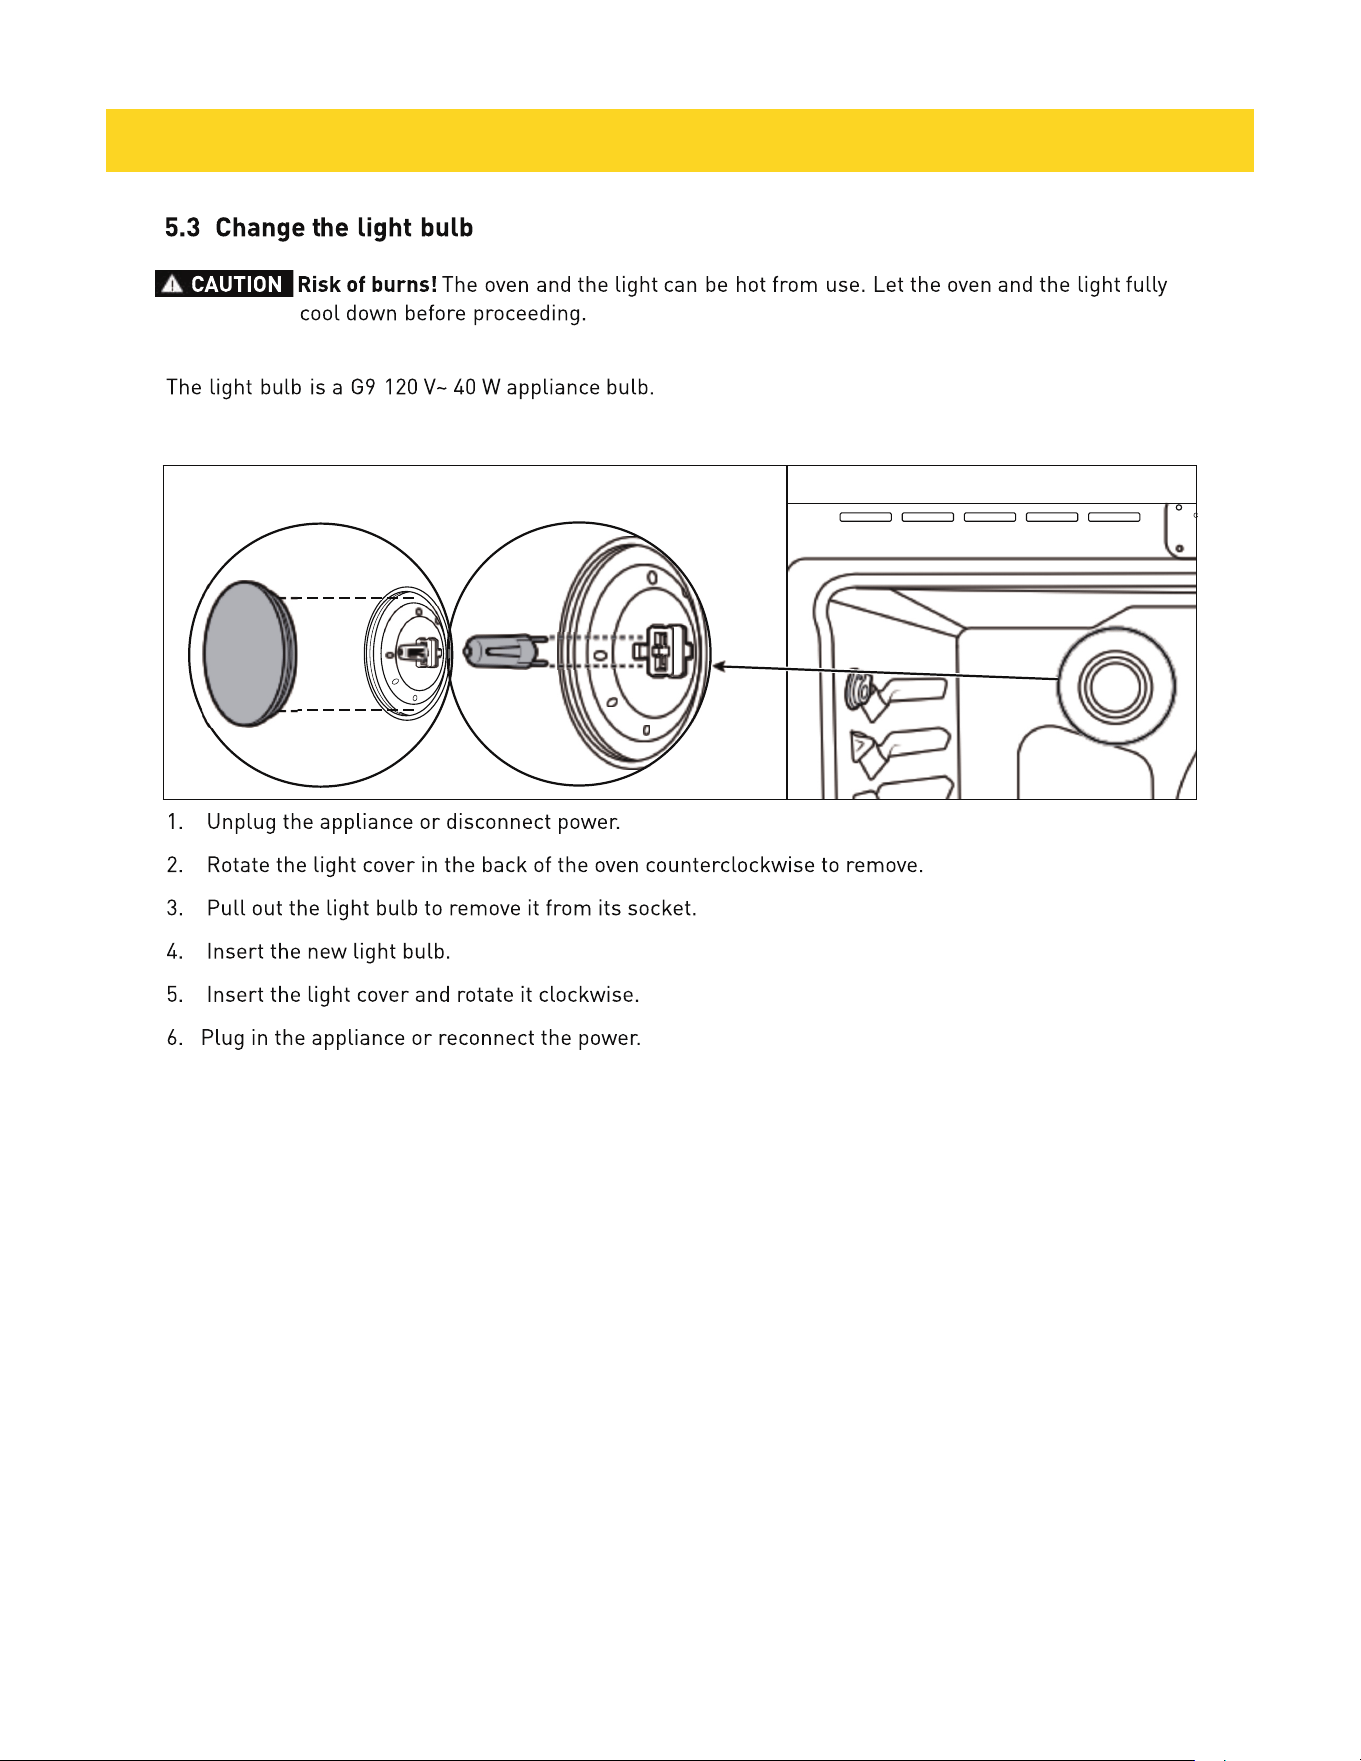
5.3 Change the light
bulb
4
IMPORTANT INSTRUCTION
5
•
A child or adult can tip the appliance and be killed.
been properly installed and engaged with the back of the appliance.
•
Engage the appliance to the anti-tip device by pushing that appliance all the way into the installation
location. Ensure the anti-tip device is re-engaged when the appliance is moved.
•
Re-engage the anti-tip device if the appliance is moved. Do not operate the appliance without the anti-
tip device in place and engaged.
•
See installation instructions for details.
•
Failure to do so can result in death or serious burns to children or adults.
To check the installation of the anti-tip device:
1. Remove any items on the cooktop.
2. Grasp the top rear edge of the appliance and carefully attempt to tilt it forward.
3. Verify that the anti-tip device is engaged.
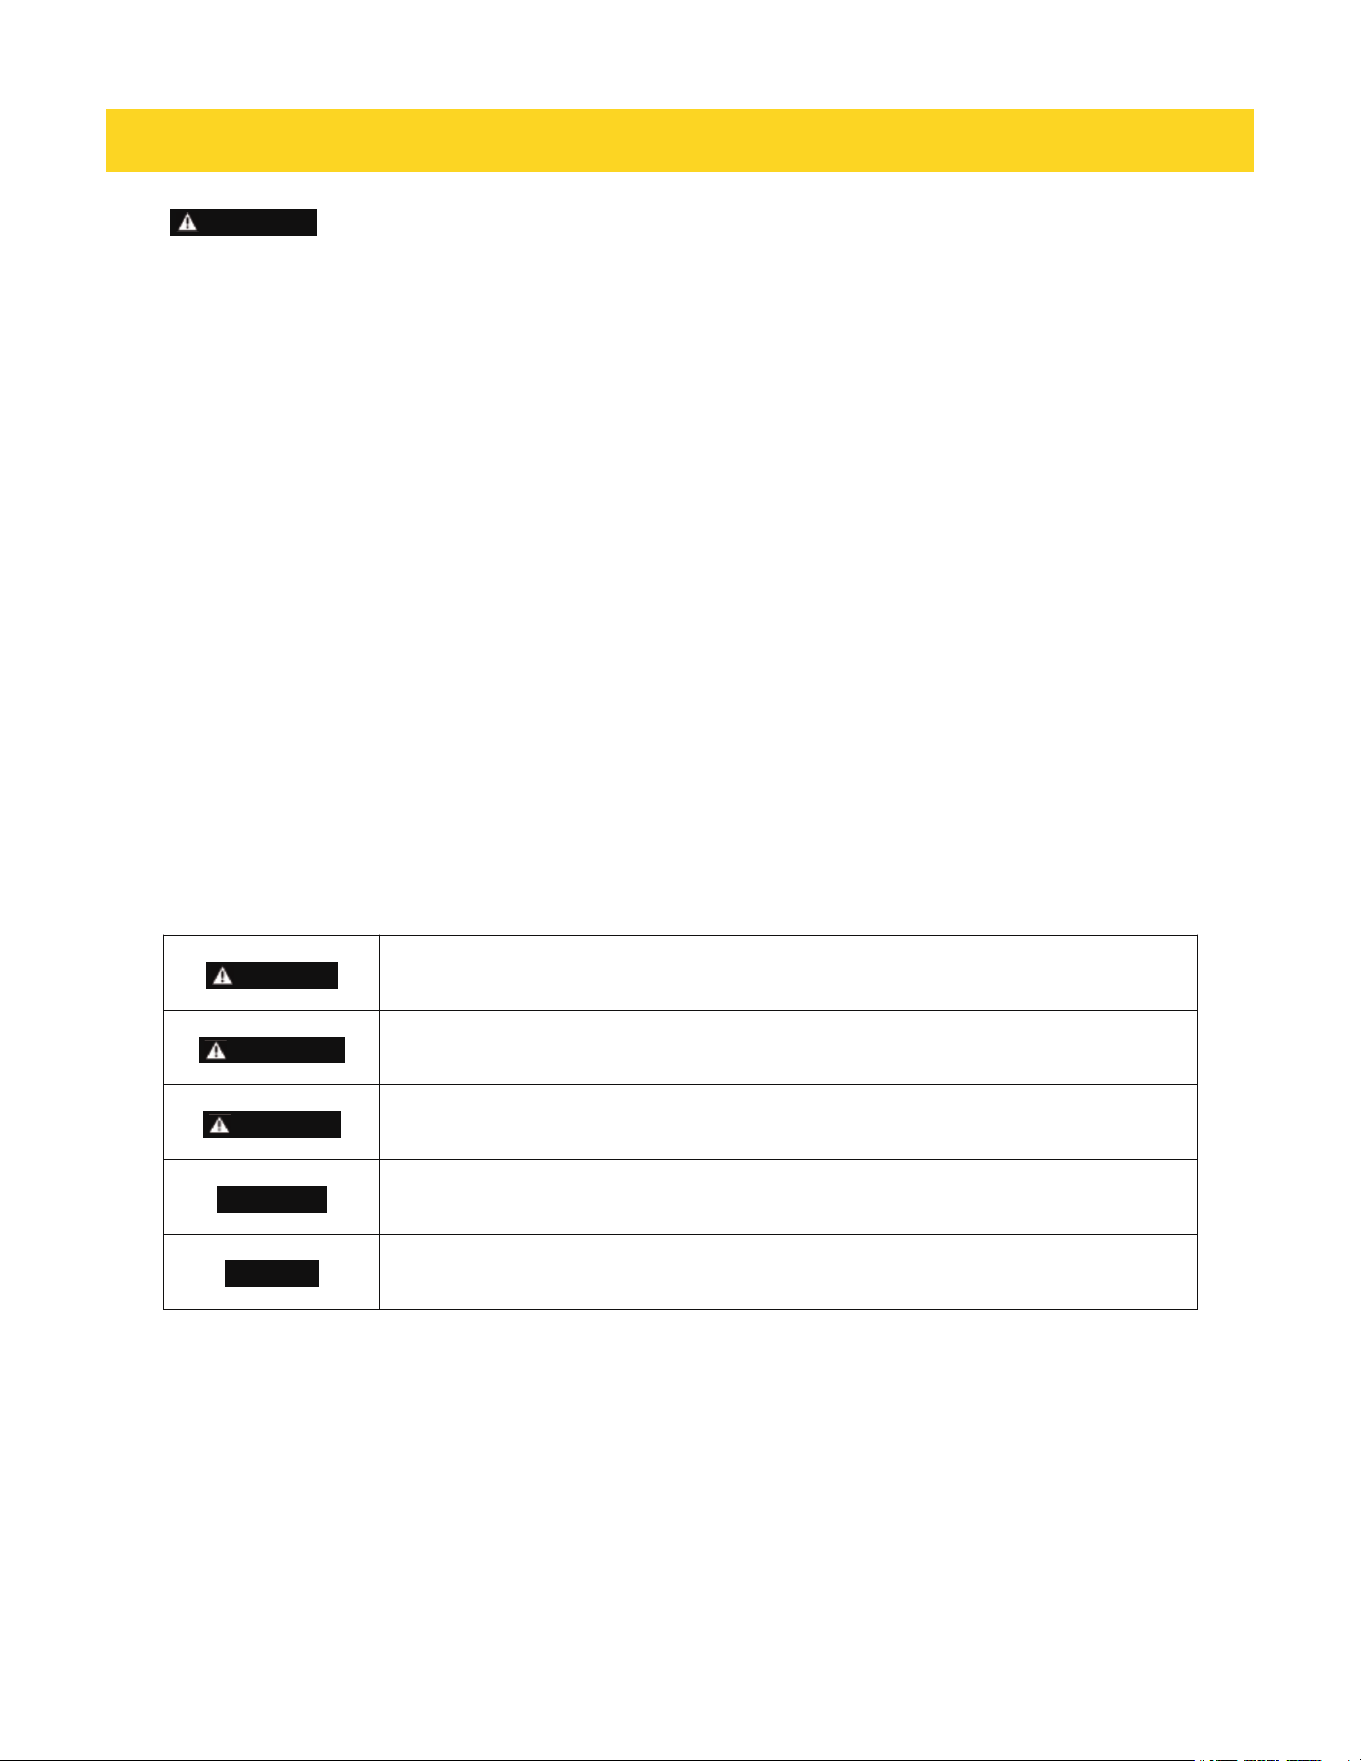
1.2 Signal words explanation
The following signal words are used in this manual
This signal word indicates a hazardous situation which, if not avoided, will result
in death or serious injury.
This signal word indicates a hazardous situation which, if not avoided, could
result in death or serious injury.
This signal word indicates a hazardous situation which, if not avoided, could
result in minor or moderate injury.
This signal word indicates a hazardous situation which, if not avoided, could
result in property damage.
NOTICE
This signal word is a preferred signal word to address tips and practices not
related to personal injury.
1.3 Intended use
•
This appliance is intended for cooking and preparing food.
•
This appliance is intended for household use only.
•
This appliance is intended to be used in dry indoor areas only.
•
Only use the appliance as mentioned in this manual. Any other use is considered improper and may
result in damage to property or injury to persons.
•
Potential injury from improper use.
•
The manufacturer or vendor cannot be held liable for damages or injury incurred through improper or
incorrect use.
WARNING
WARNING
CAUTION
DANGER
CAUTION
IMPORTANT INSTRUCTION
Install the anti-tip device to the w
all/floor
(see Installation instructions). Verify the anti-tip device has
•

6
1.4 IMPORTANT INSTRUCTION
For all models
This user manual is part of this appliance, and
contains
important informationon setup and use. Read
this manual carefully, especially the IMPORTANT INSTRUCTION chapter, before using the appliance.
Failure to do so may result in personal injury and/ordamage to the appliance.
•
Keep this manual for future use and reference. Make sure to include this manual when passing the
appliance on to third parties. If you require a digital copy of this manual, please contact customer
service.
•
The appliance must be installed in accordance with local codes. In the absence of local codes, follow
ANSI Z223.1/NFPA 54 standards in the U.S. or CSA B149.1 in Canada.
•
It is recommended to electrically ground the appliance during installation in accordance with local
codes. If local codes are not available, followNFPA 70 or CSA C22.1 standards in Canada.
•
The ventilation area is located at the back of the appliance. The back of the appliance should not be in
direct contact with a wall/surface. Install the back spacers to the back of the appliance to maintain a
proper area for ventilation.
•
In the event of a power failure, do not attempt to use the appliance. If the power fails, always turn the
left unattended could catch fire or spoil.
The maximum depth of cabinets installed above thecooktop is 13" (33 cm).
•
Seal any openings in the wall behind the appliance and in the floor under the appliance.
•
If there is a cabinet above the appliance, install a noncombustible material on the bottom if that
cabinet in accordance with local codes. If local codes are not available, follow ANSIZ223.1/NFPA 54 or,
CSA B149.1. in Canada
•
Proper Installation - Be sure your appliance is properly installed and grounded by a qualified
technician.
•
Never Use Your Appliance for Warming or Heating the Room.
•
Do Not Leave Children Alone - Children should not be left alone or unattended in area where
appliance is in use. They should never be allowed tosit or stand on any part of the appliance.
•
Wear Proper Apparel - Loose-fitting or hanging garments should never be worn while using the
appliance.
•
User Servicing - Do not repair or replace any part of the appliance unless specifically recommended in
the manual. All other servicing should be referred to a qualified technician.
•
Storage in or on Appliance - Flammable materials should not be stored in an oven or near surface
units.
•
Do Not Use Water on Grease Fires - Smother fire
or flame
or use dry chemical or foam-type
extinguisher.
•
Use Only Dry Potholders - Moist or damp potholders on hot surfaces may result in burns from steam.
Do not let potholder touchhot heating elements. Do not use a towel or other bulk cloth.
•
Use Proper Pan Size - The appliance is equipped with one or more surface units of different size.
Select utensils having lat bottoms large enough to cover the surface unit heating element. The use
of undersized utensils will expose a portion of the heating element to direct contact and may result in
ignition of clothing. Proper relationship of utensil to burner will also improve efficiency.
IMPORTANT INSTRUCTION
•
oven off. If the oven is not turned off and the power returns, the oven may beginto operate again. Food
7
•
Never Leave Surface Units Unattended at High Heat Settings - Boilover can cause smokeand greasy
spillovers that may ignite.
•
Protective Liners - Do not use aluminum foil to line the surface of cooktop drip pan or oven bottoms.
Improper installation of these liners may result in a risk of electric shock, fire or damage to the
porcelain surface.
•
Glazed Cooking Utensils - Only specific types of glass, glass-ceramic, ceramic, earthenware, or other
glazed utensils are suitable for use on the cooktop, as they may break from sudden temperature
changes.
•
Utensil Handles Should Be Turned Inward and Not Extend Over Adjacent Surfaceunits
-
To reduce
the risk of burns, ignition of flammable materials, and spillage due to unintentional contact with the
utensil, the handle of a utensil should be positioned sothat it is turned inward, and does not extend
over adjacent surface units.
•
Use Caution When Opening Door - Let hot air or steam escape before removing or replacing food.
•
Do Not Heat Unopened Food Containers - Build-up of pressure may cause container to burst and
result in injury.
•
Keep Oven Exhaust Vent Unobstructed.
•
Placement of Oven Racks - Always place oven racks in the desired position while theoven is cool. If
moving a rack while the oven is hot, ensure potholders do not touch theheating elements.
•
Do Not Clean Door Gasket - The door gasket is essentials for agood seal. Care should be taken not to
rub, damage, or move the gasket.
•
Clean only the parts as suggested in the manual.
•
DO NOT TOUCH SURFACE UNITS OR AREAS NEAR SURFACES UNITS - Surface units may be hot
even though they are dark in color. Areas near surface units may become hot enough to cause burns.
During and after use, do not touch, or let clothing or other flammable materials contact surface units
or areas near units until they have had sufficient time to cool. Among these areas are the surrounding
areas of cook-top, drip-pan, burners and cooking grates.
•
DO NOT TOUCH INTERIOR SURFACES OF OVEN - Interior surfaces of an oven become hot enough to
cause burns. During and after use, do not touch, or let clothing or other flammable materials contact
the interior surfaces of oven until they have had sufficient timeto cool. Other surface of the appliance
may become hot enough to cause burns - among these surface are oven vent openings and surfaces
near these openings, oven doors, and windows of oven doors.
IMPORTANT INSTRUCTION
•
Use Proper Cookware (For SRI3001 Induction Model Only) - Induction cooking utilizes electromagnetic
energy and requires cookware made of ferromagnetic materials. Compatible Materials: Cast iron, enameled
cast iron, and magnetic stainless steel (look for an "Induction Ready" symbol on the bottom). Incompatible
Materials: Aluminum, copper, glass, ceramic, or non-magnetic stainless steel. The Magnet Test: To verify
compatibility, place a magnet against the bottom of the pan. If the magnet sticks firmly, the pan is suitable
for your induction range.
8
WARNING
This appliance contains chemicals known to the State of California to cause cancer and/or
reproductive harm, and birth defects or other reproductive harm. For more information go to
www. P65Warnings.ca.gov.
For gas appliances only (SRG3001/LP )
Leak testing of the appliance shall be conducted in accordance with these instructions (see
Installation instructions).
•
A manual shut-off valve has to be installed in an accessible location in the gas piping external to the
appliance for the purpose of turning on or shutting off the gas supply to the appliance.
COMMONWEALTH OF MASSACHUSETTS
•
Installations and repairs must be performed by a qualified or licensed contractor, plumber, or gas
fitter, qualified or licensed by the state, province, or region where this applianceis being installed.
•
Use only gas shut-off valves approved for use within the state, province, or region where this
appliance is being installed.
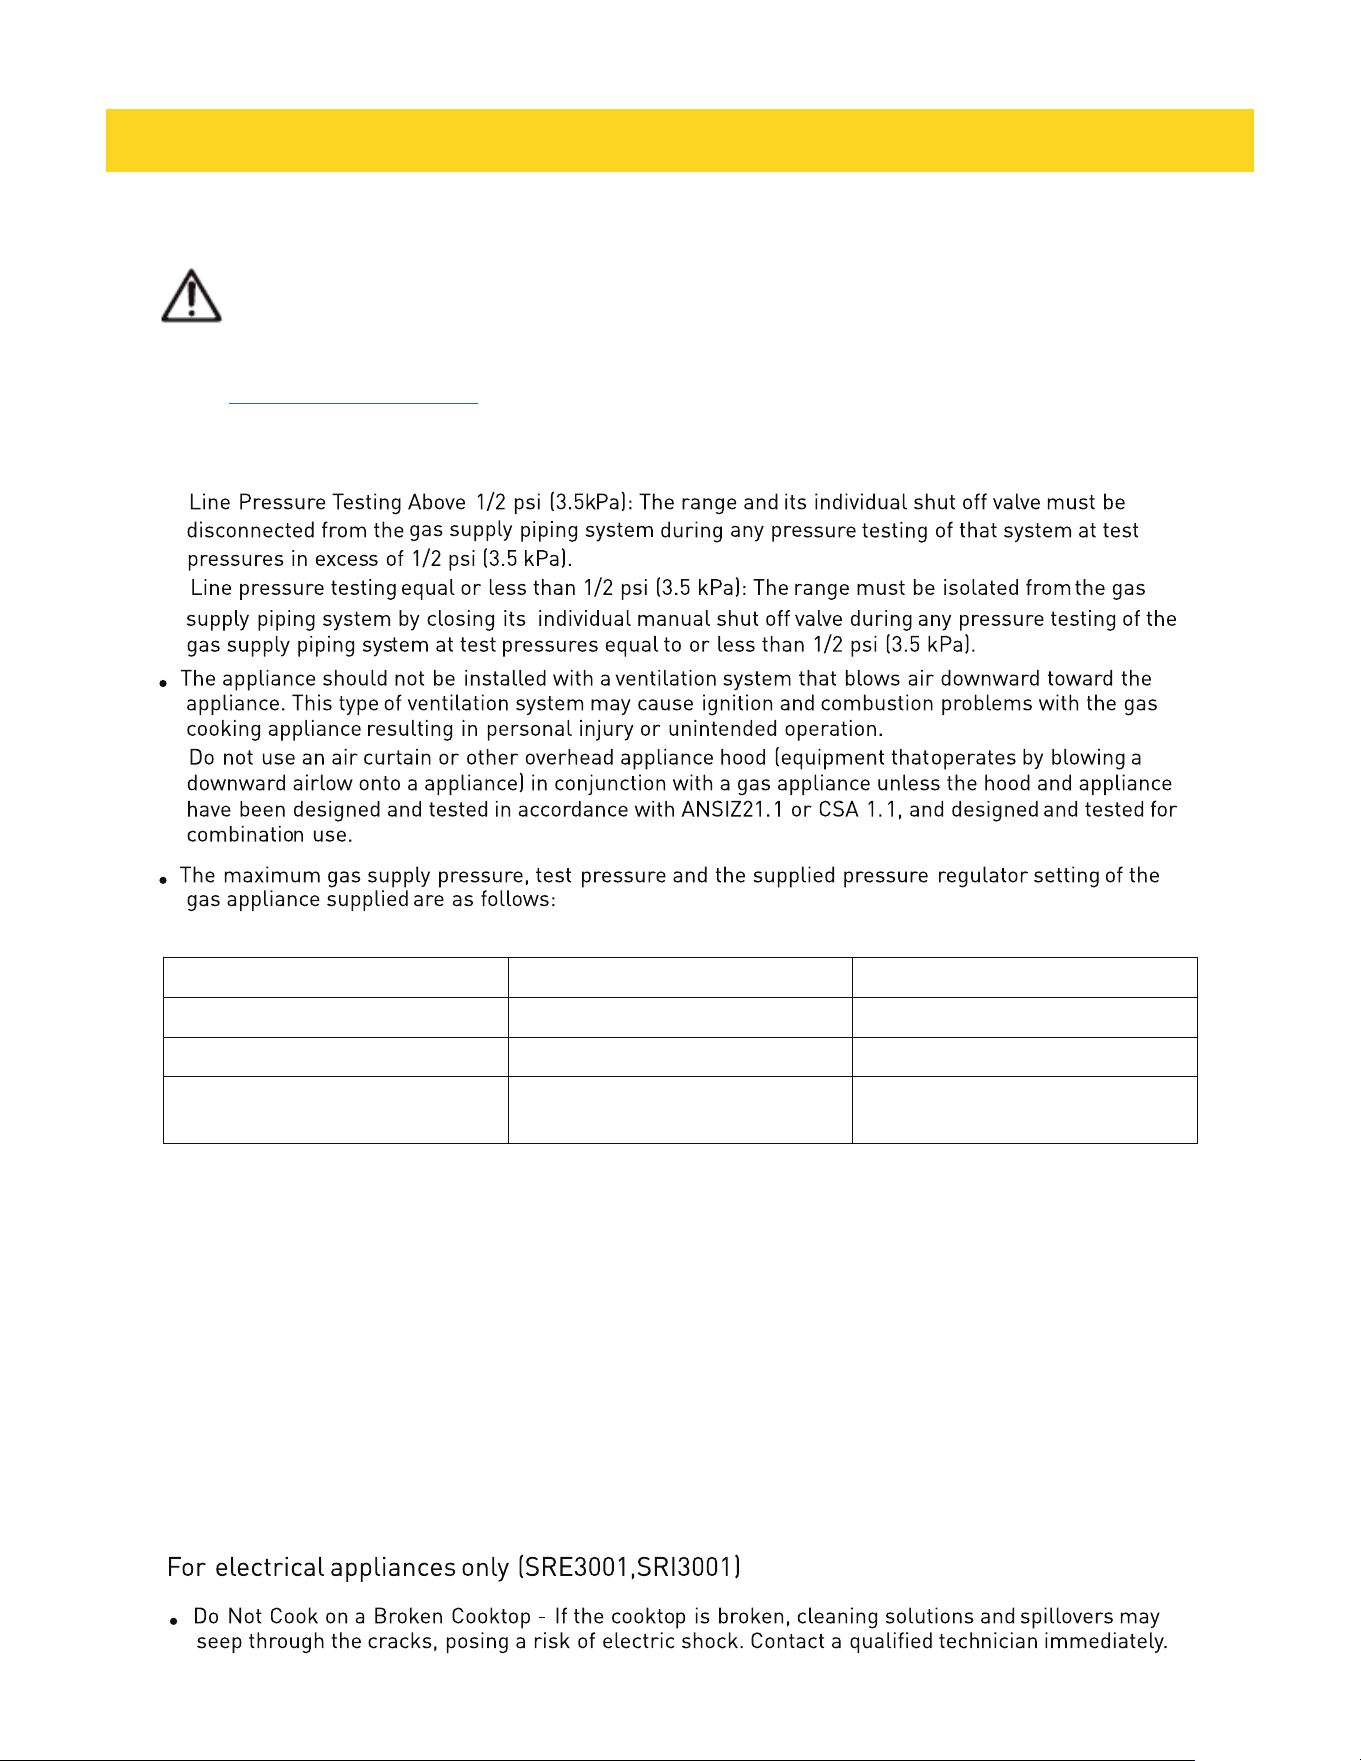
LP (Liquid Propane) in wc
NG (Natural gas) in wc
Maximum gas supply pressure
13.0
10.0
Test pressure
≥11.0 ≥6.0
Appliance pressure regulator
setting for outlet pressure
10.0 5.0
IMPORTANT INSTRUCTION
9
•
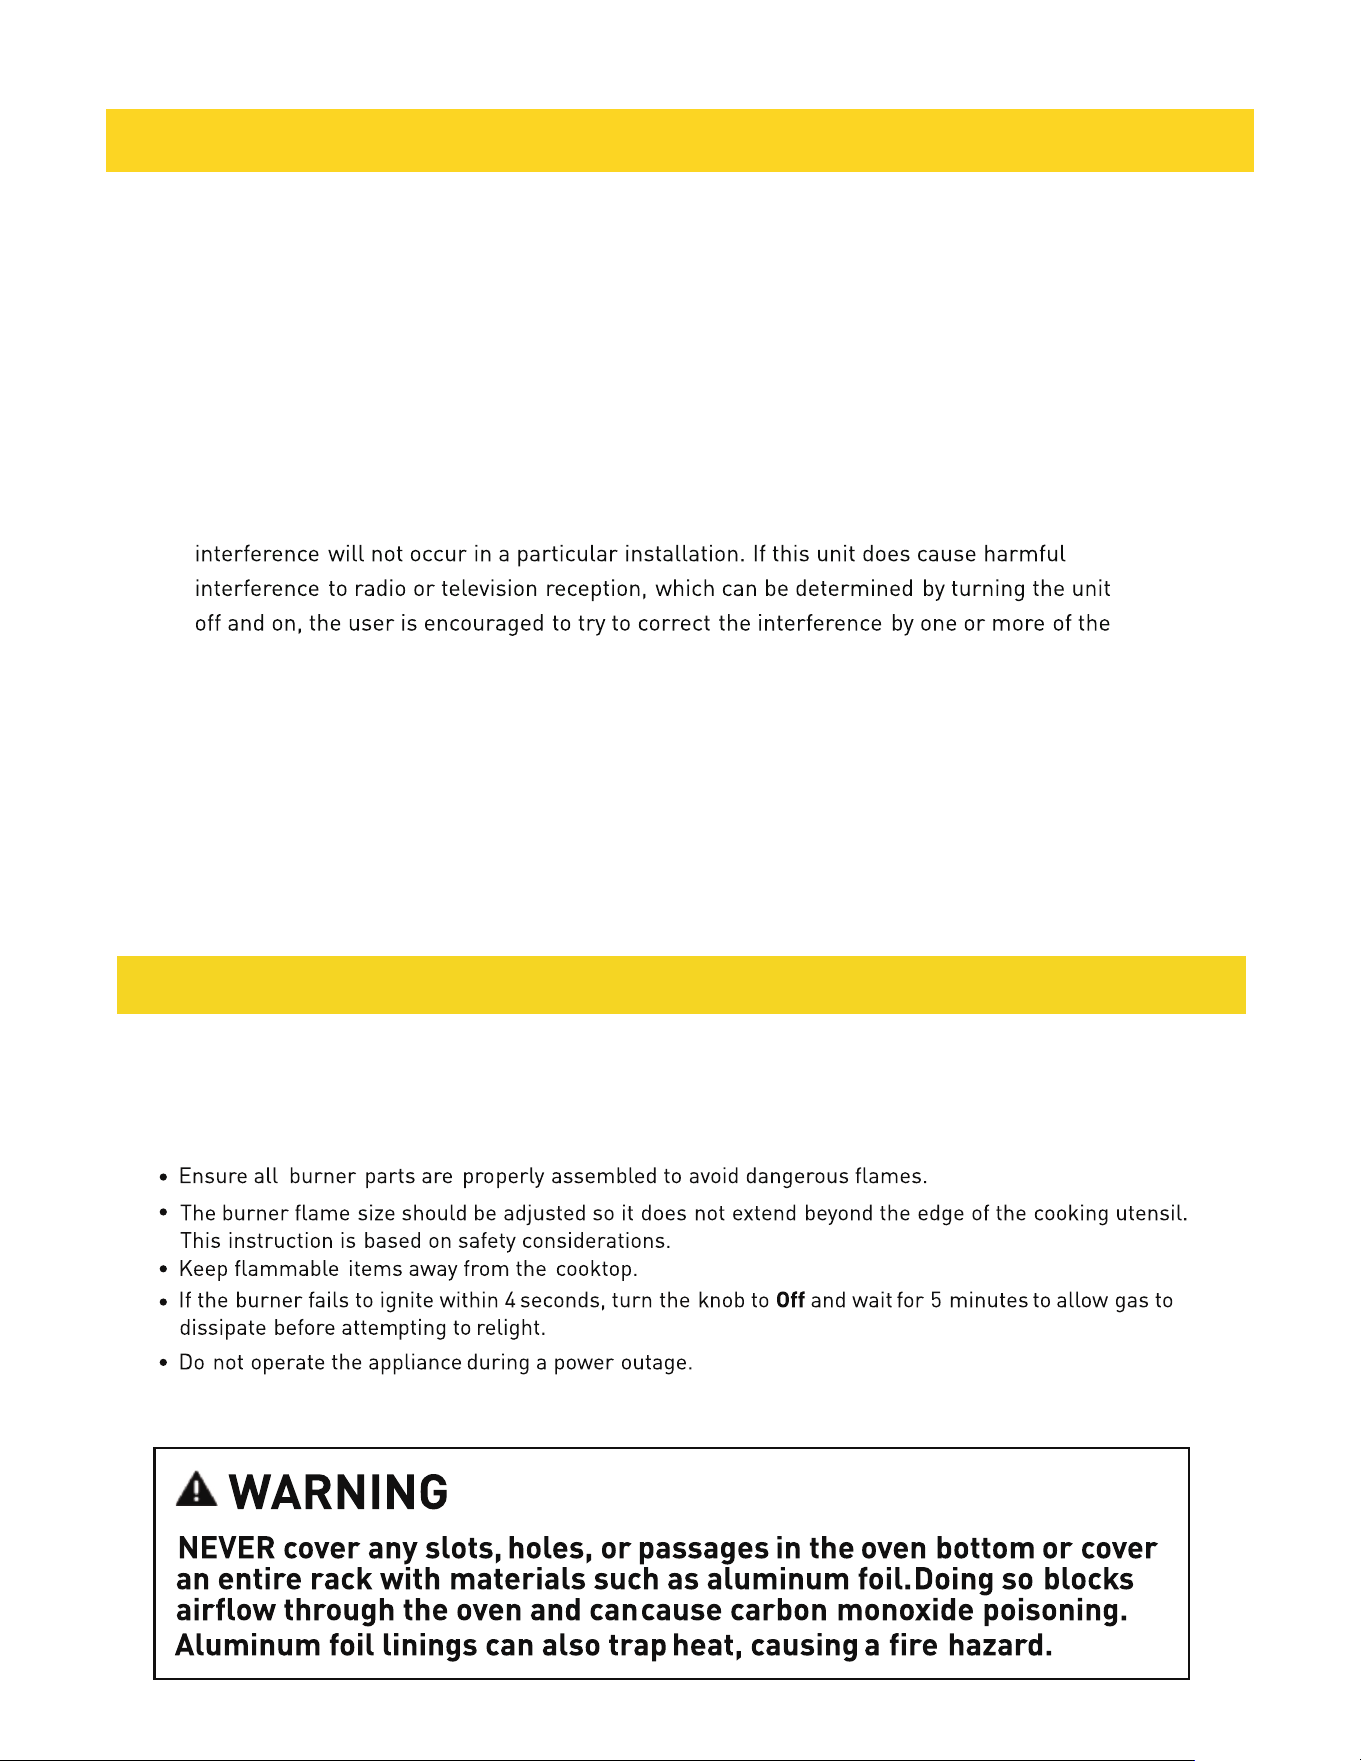
Clean Cook-Top With Caution. Do Not clean cooktop when it's hot. - If a wet sponge or cloth is used to
wipe spills on a hot cooking area, be careful to avoid steam burn. Some cleaners can produce noxious
fumes if applied to a hot surface.
COOKTOP FUNCTIONS
2.1 Safety guidelines (SRG3001/LP only)
Before cooking
During cooking
IMPORTANT INSTRUCTION
For induction appliances only (SRI3001)
Important: This appliance has been tested and found to comply with the limits for a
class B digital device, pursuant to Part 18 of the FCC rules (United States) and ICES- 001
(Canada). These limits are designed to provide reasonable protection against harmful
interference in a residential installation. This unit uses and can radiate radio frequency
energy and, if not installed and used in accordance with the instructions,may cause
harmful interference to radio communications. However there is no guarantee that
following measures:
-Reorient or relocate the receiving antenna.
-Increase distance between unit and receiver.
-Connect the unit into an outlet or a circuit different from that to which the receiver is
connected.
PROPER DISPOSAL OF YOUR APPLIANCE
Dispose of or recycle your appliance in accordance with Federal and Local Regulations.
Contact your local authorities for the environmentally safe disposal or recycling of your
appliance.
•

10
After cooking
2.2 Safety guidelines (SRE3001,SRI3001only)
Before cooking
During cooking
WARNING Do not cook on broken cooktop - if the cooktop breaks, cleaning
solutions and spillovers can penetrate the broken cooktop and create a risk of electric shock.
Contact a qualified technician immediately.
•
Avoid placing aluminum foil or plastic items on the appliance when it is in use, as the hot air from the vent
could cause melting or ignite flammable materials.
•
Ensure the correct surface unit of the appliance is turned on.
•
Never cook directly on the glass surface of the appliance; always use cookware.
•
Always place the pan in the center of the surface unit being used for cooking on the appliance.
•
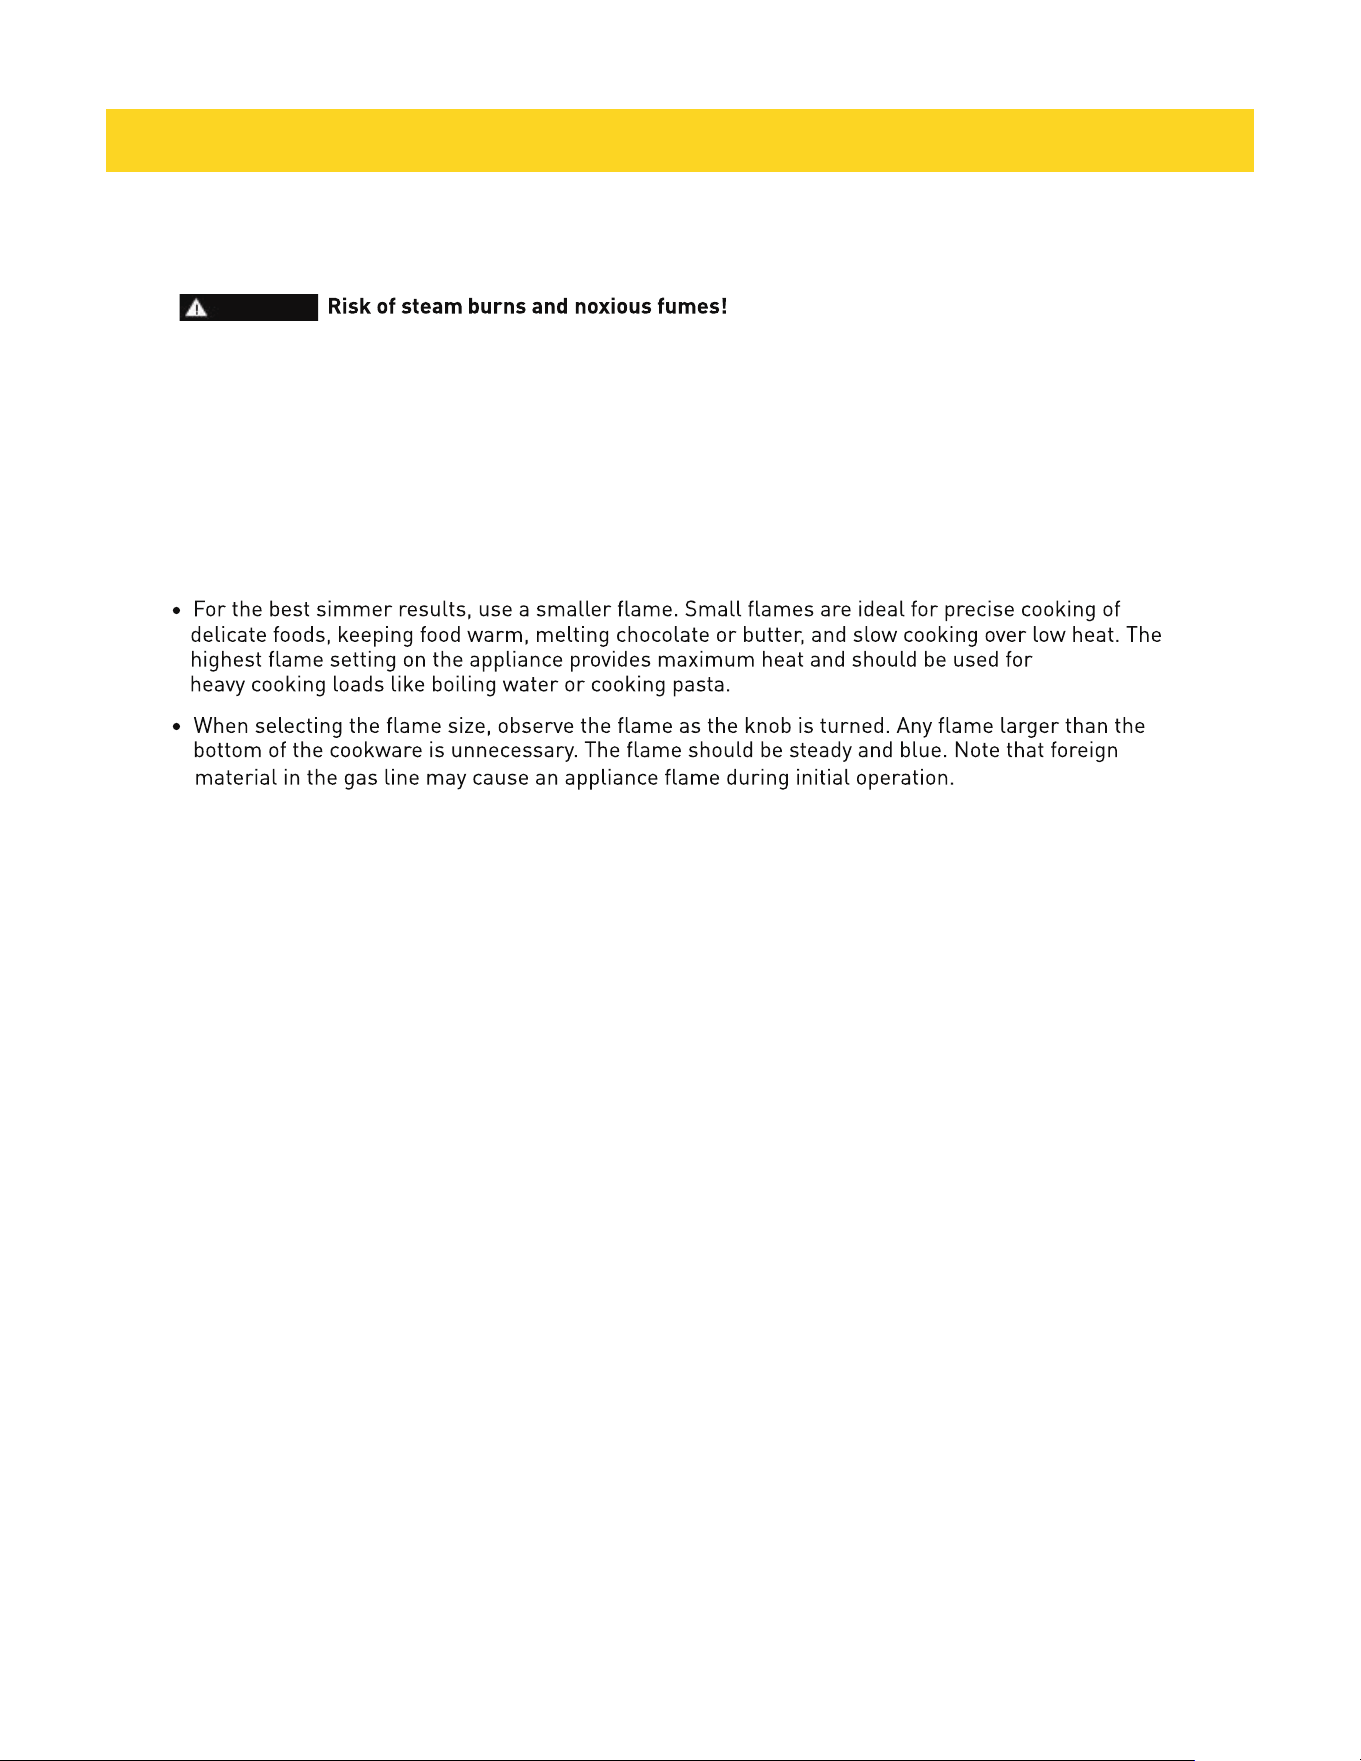
Do not leave surface units of the appliance unattended while using high heat settings, as boilovers can
cause smoking and
greasy spillovers that may catch fire.
•
Remember to turn off the surface units of the appliance before removing cookware.
•
Avoid using plastic wrap to cover food on the appliance, as it may melt onto the surface and be difficult to
remove.
COOKTOP FUNCTIONS
•
uching
capsDo not disassemble or clean around a burner while another burner is on. Avoid to burner or
bases when igniters are sparking.
•
Ensure flames do not extend beyond cookware or curl up on the sides to prevent damage,
discoloration,
•
Keep handles away from the edge of the appliance or on a burner that is on.
•
Be cautious when deep-frying as oil or fat can quickly overheat, especially on a high setting.
and burns.
Do not use the glass cooktop surface as acutting board.
•
Do not place or store items that can melt or catch fire on the glass cooktop, even when it is not in use.
•
Only turn on the surface units after placing cookware on them.
Avoid storing heavy items above the cooktop surface to prevent damage from falls.
•
•
The burners can be easily removed and are not sealed tothe cooktop.
•
Clean the burners after each use and especially after spills or boil overs.
•
Promptly wipe up acidic or sugary spills to prevent discoloration or staining.
•
Clean affected burners before using them again to prevent clogging of the
which can affect burner functionality.
•
11
•
Clean the burners after each use and especially after spills or boil overs.
2.3 Usage Tips
For SRG3001/LP only
For SRE3001,SRI3001 only
Cooking areas on the glass cooktop are identified by permanent rings on the surface. Match the pan
size to the cooking area for optimal efficiency. Pans should not extend more than 0.5 to 1" (1.3 to 2.5
cm) beyond the cooking area.
•
When a burner is turned on, a glow is visible through the glass surface. The cooking area cycles on
and off to maintain the preset heat setting, even at high settings. The temperature in the cooking area
gradually and evenly increases. As the temperature rises, the broil element glows red and cycles
on and off to maintain the selected setting.
The broil element retains enough heat to provide uniform andconsistent heat during the off
cycle. For efficient cooking, turn off the element several minutes before cooking is complete to allow
residual heat to finish the process.
•
The cooking area has a limiter that cycles it on and off, even at the highest setting, to prevent damage
to the glass cooktop. This cycling is normal and occurs if the cookware is too small or if the
bottom of the cookware is not flat.
2.4 Matching knob to the burners
There are markings located on the control panel to show which knob corresponds to which burner on
the cooktop.
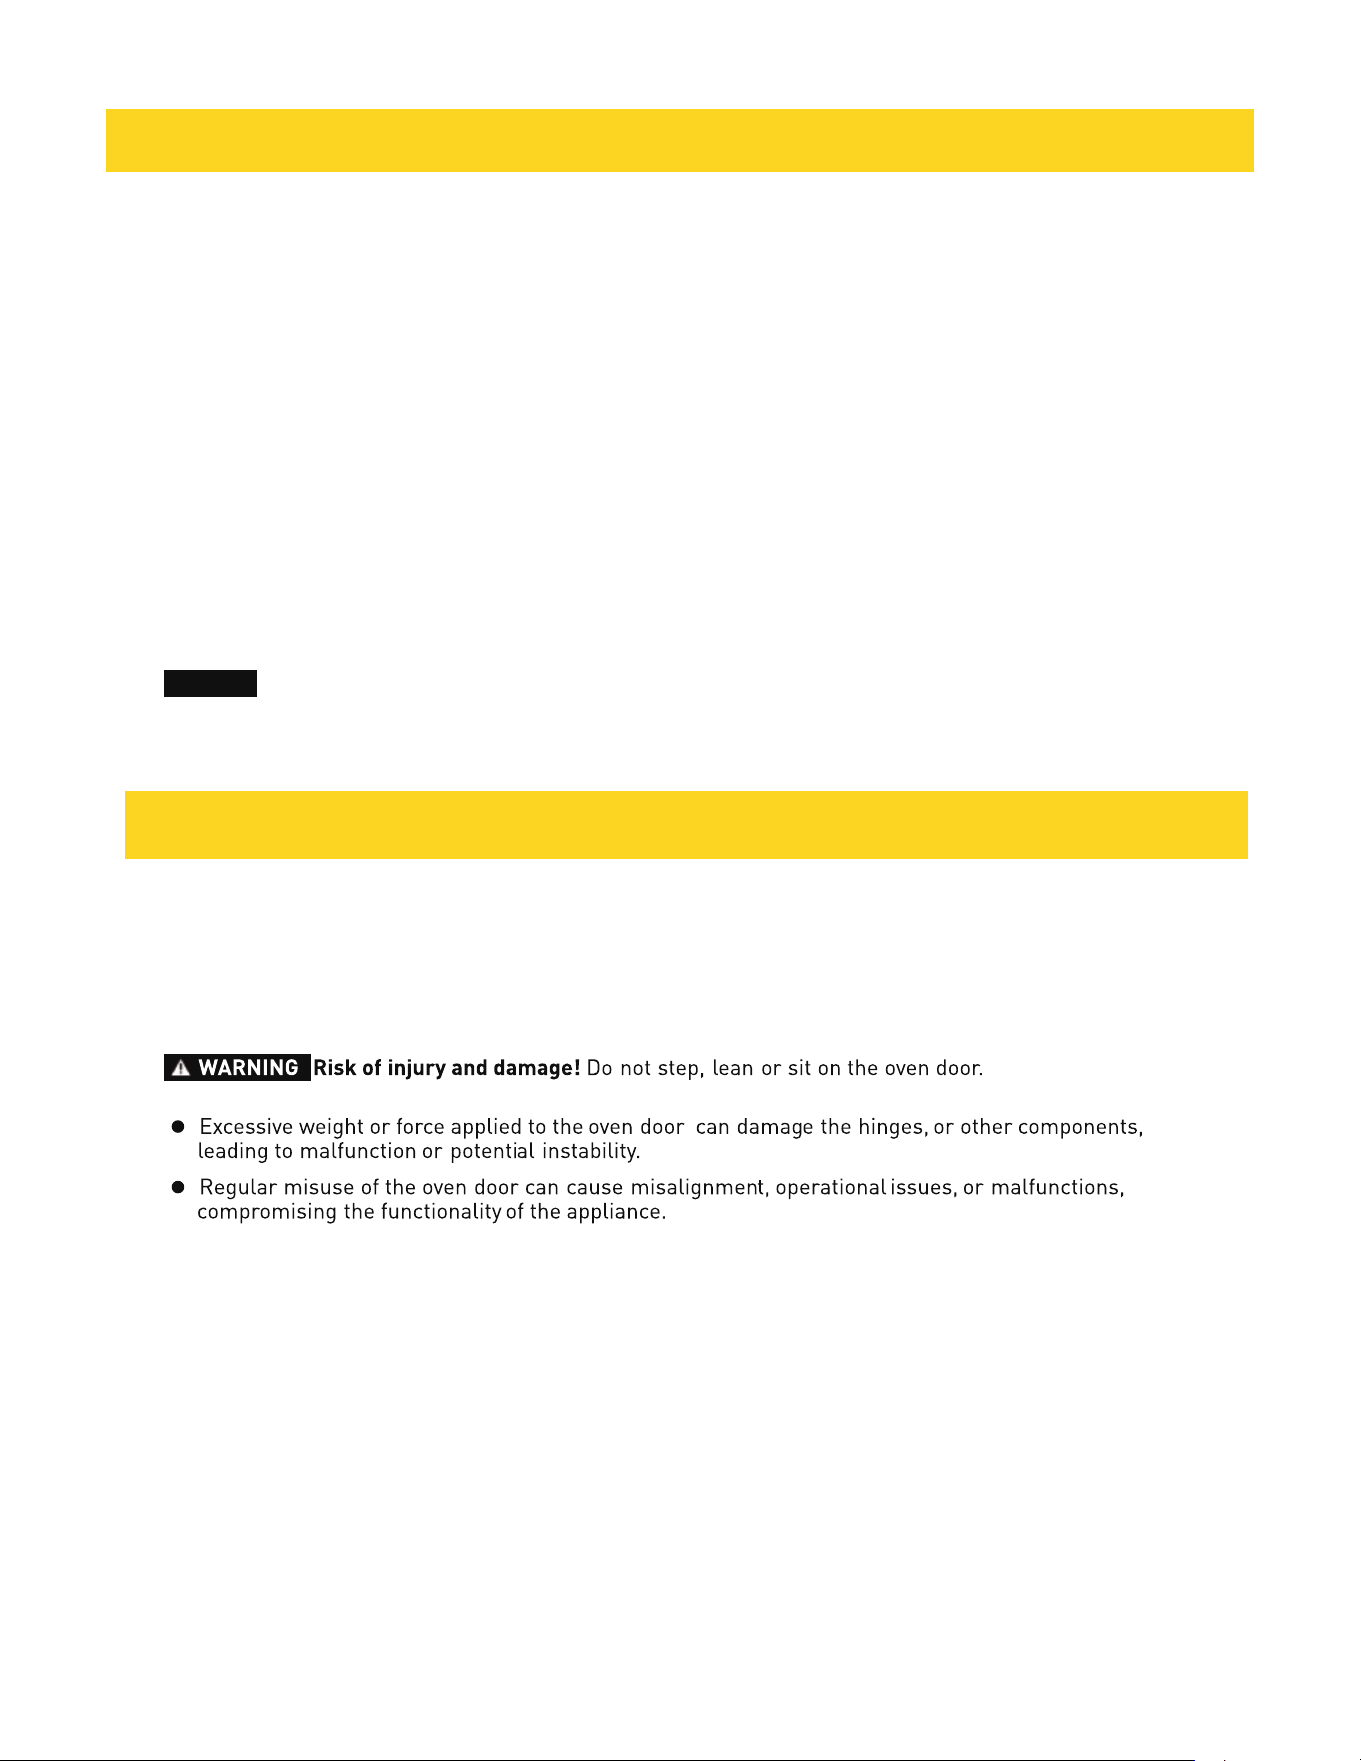
CAUTION Clean cooktop with caution - if a wet sponge or
cloth is used to wipe spills on a hot cooking area, be careful to avoid steam burns. Some
cleaners can produce noxious fumes if applied to ahot surface.
After cooking
COOKTOP FUNCTIONS
•
•
12
3.1 Safety guidelines
Oven door
2.5 Igniting a burner
For SRG3001/LP only
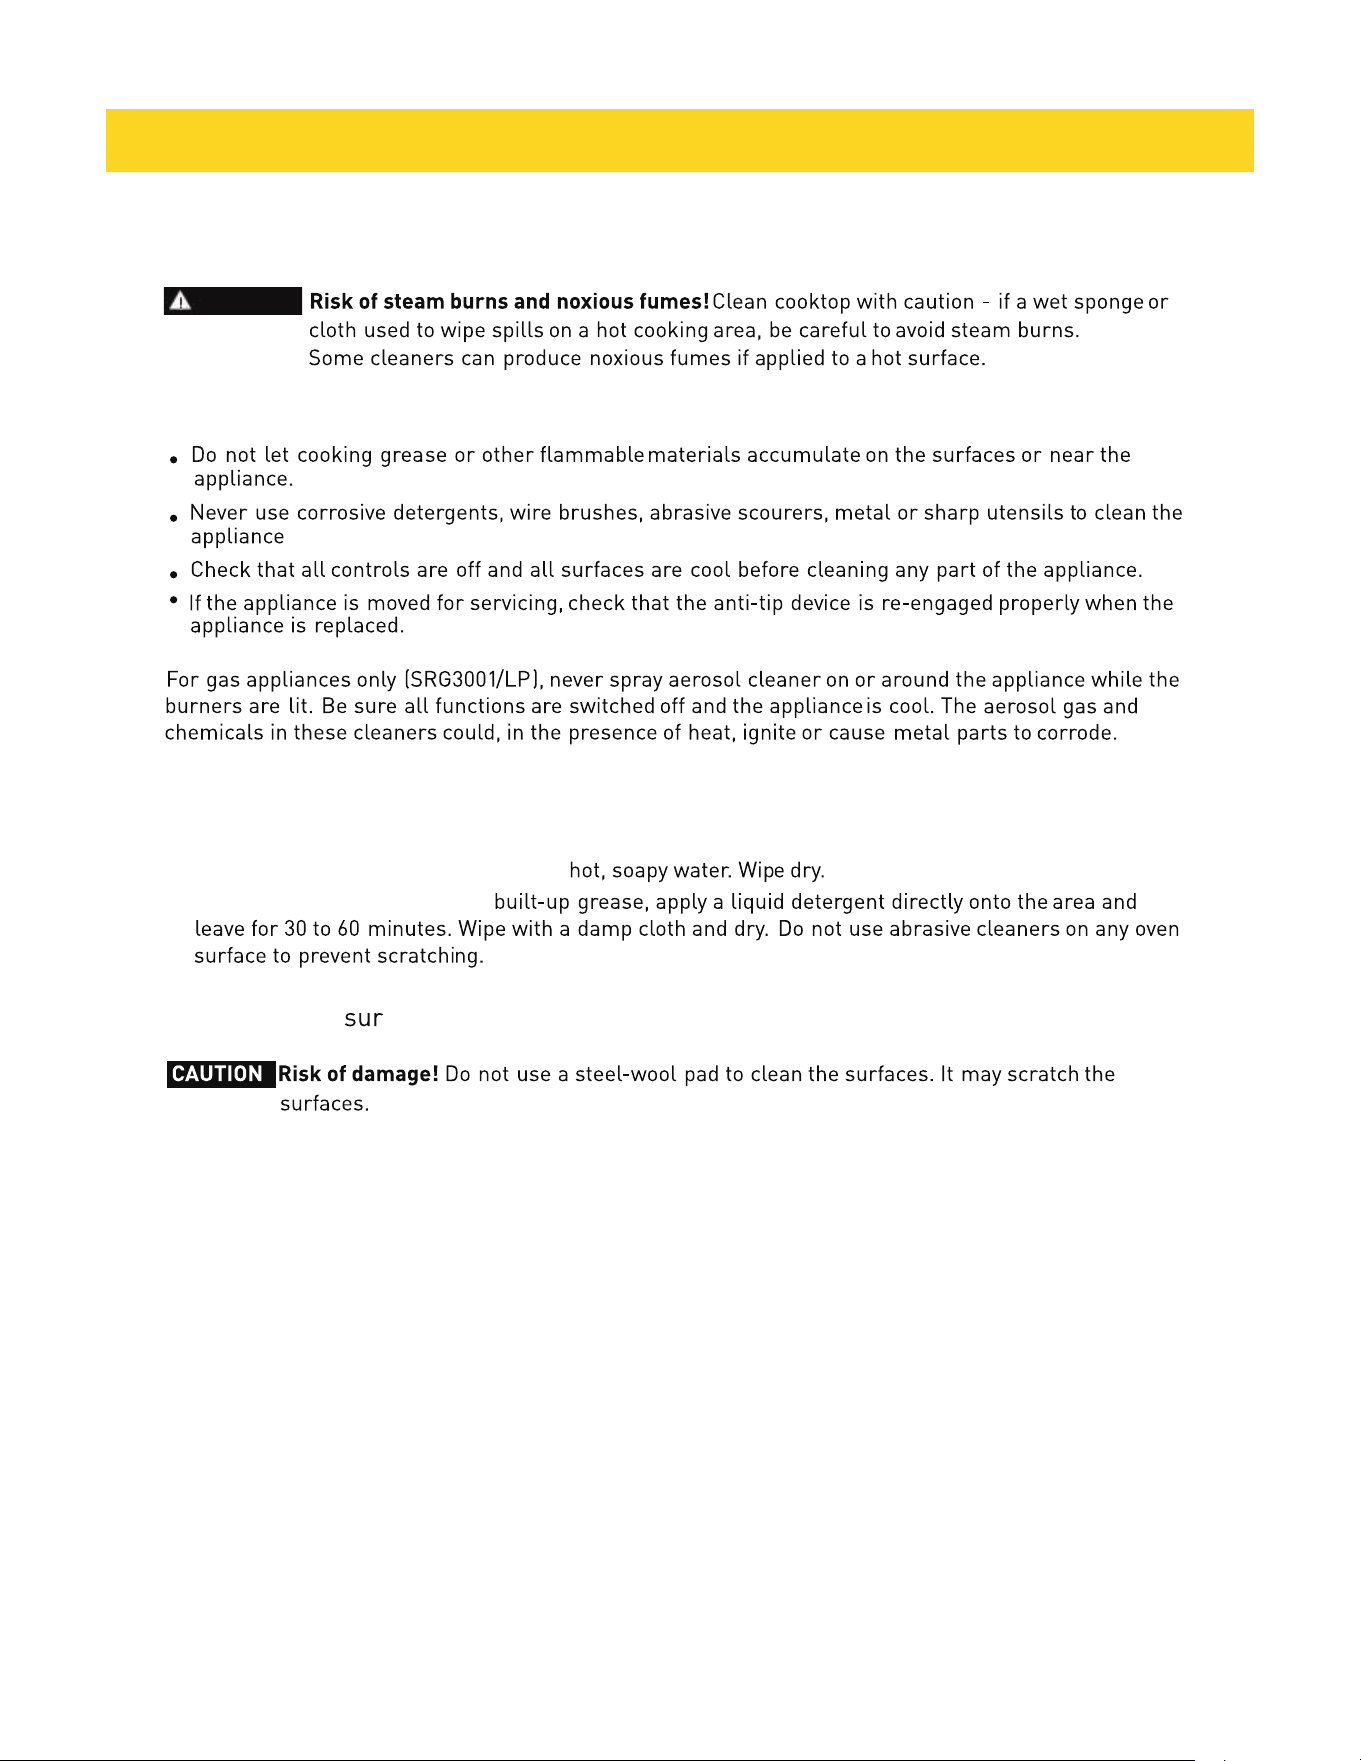
1. Simultaneously push in and turn a knob to the Ignite position. Aclicking sound is heard, the burner
ignites.
2. After the burner ignites, rotate the knob to the desired heat setting.
3. After use, return the knob to the Off position.
For SRE3001,SRI3001 only
NOTICE After the burners are switched on, the Burner On indicator lights up to show that the
burners are hot.
COOKTOP FUNCTIONS
OVEN FUNCTIONS
1. Push theknob in.
2. For the back burners, rotate the knob to the desired heat setting.
3. After use, return the knob to the OFF position.
13
Oven
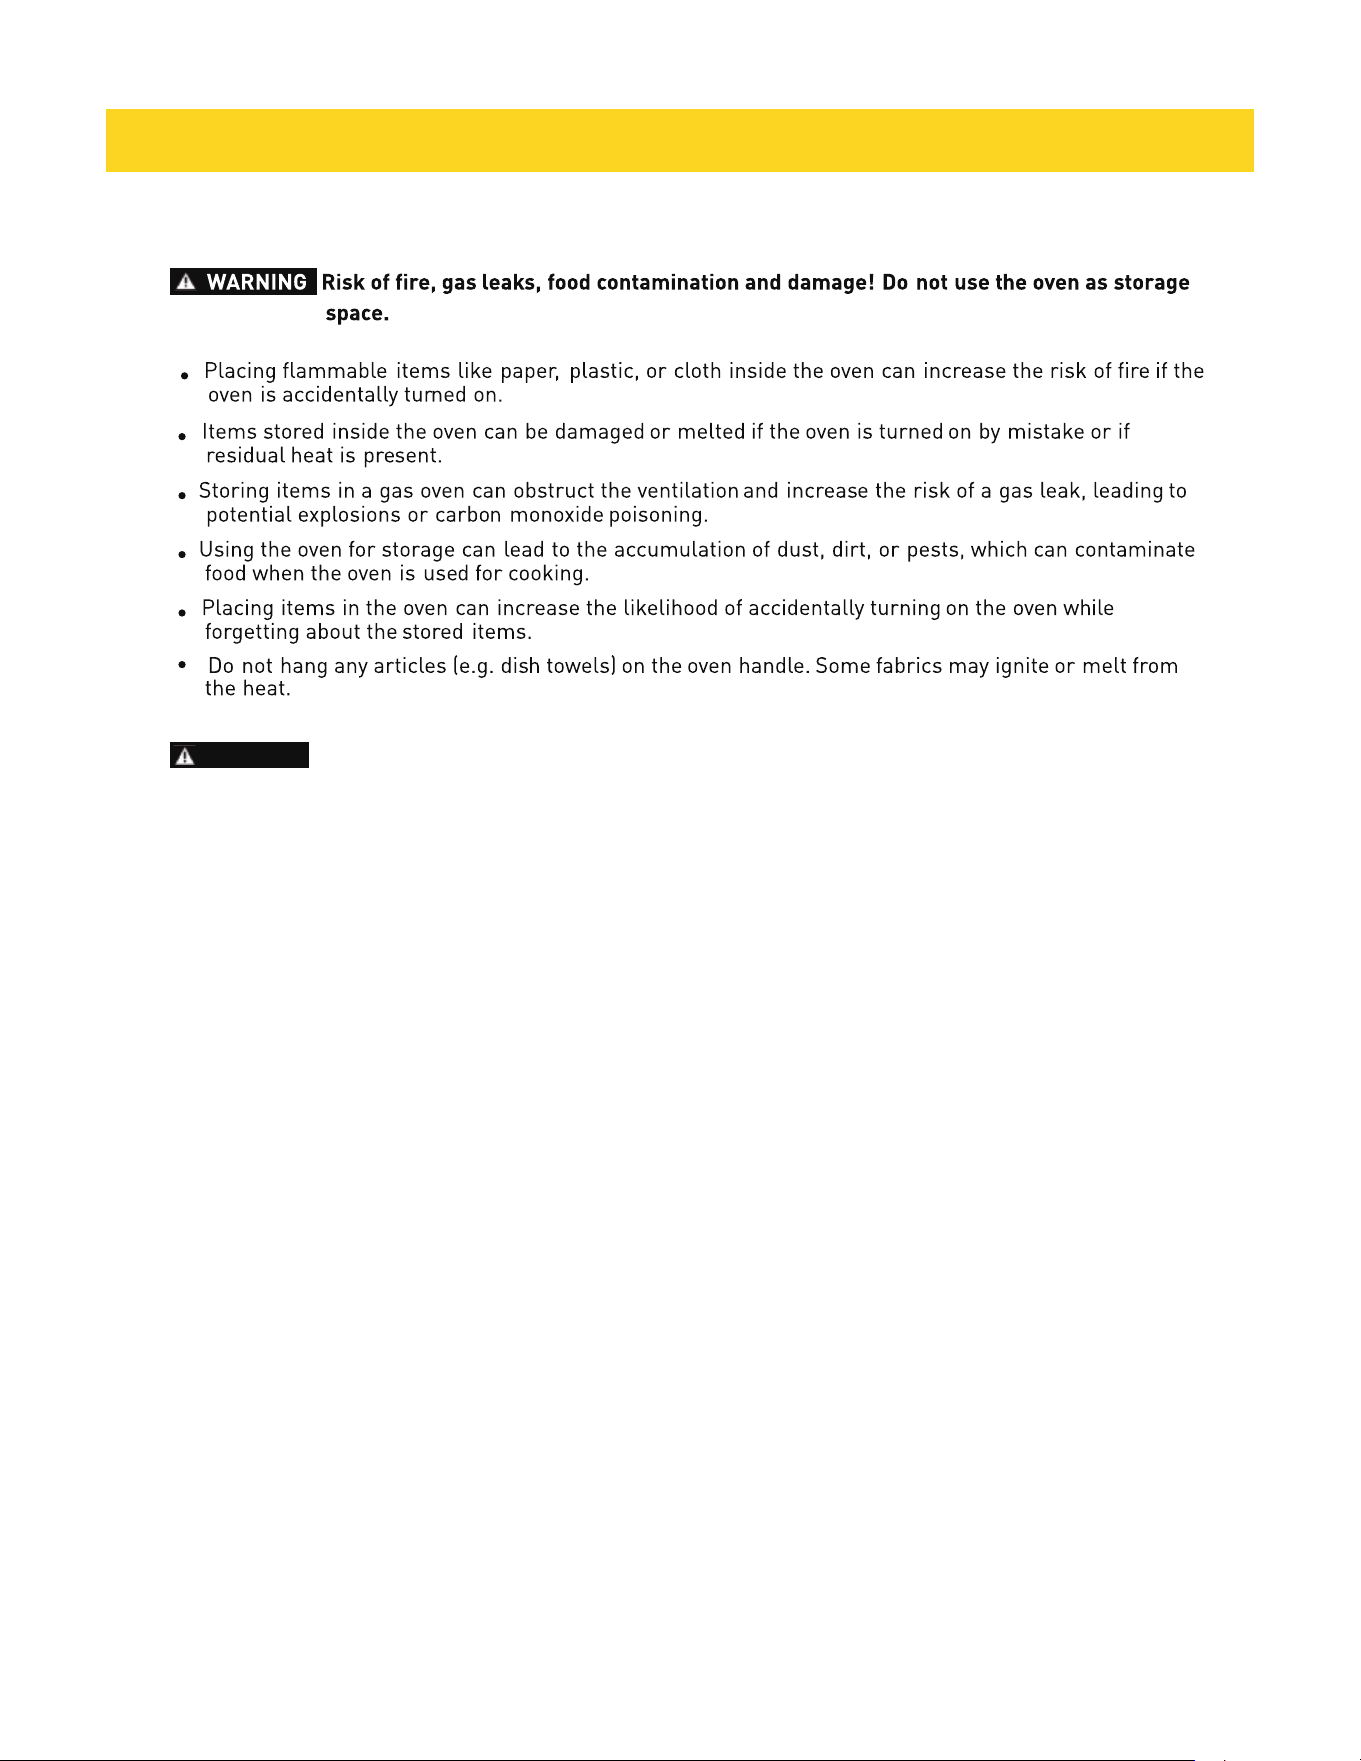
CAUTION Risk of burns! When opening the oven door, do not stand directly at its opening. Hot air or
steam can escape when opening the oven door.
•
Avoid touching the vent opening or nearby surfaces during operation as they are hot.
•
Do not place plastics, paper, or other items that can melt or burn near the oven vent.
•
Use all oven functions with the door closed.
potential fire.
•
Do not use plastic wrap or wax paper in the oven.
•
For food safety, do not leave food in the oven for longer than 2 hours before and after cooking or
defrosting, especially in warmer weather. Do not hold foods at temperatures between 40
°
F to 140
°
F
for more than 2 hours.
OVEN FUNCTIONS
•
Do not use aluminum foil to cover oven shelves or line the oven floor to prevent heat damage and
•
Do not block the rear ducts of the appliance during oven use.
14
3.2 Using the accessories
•
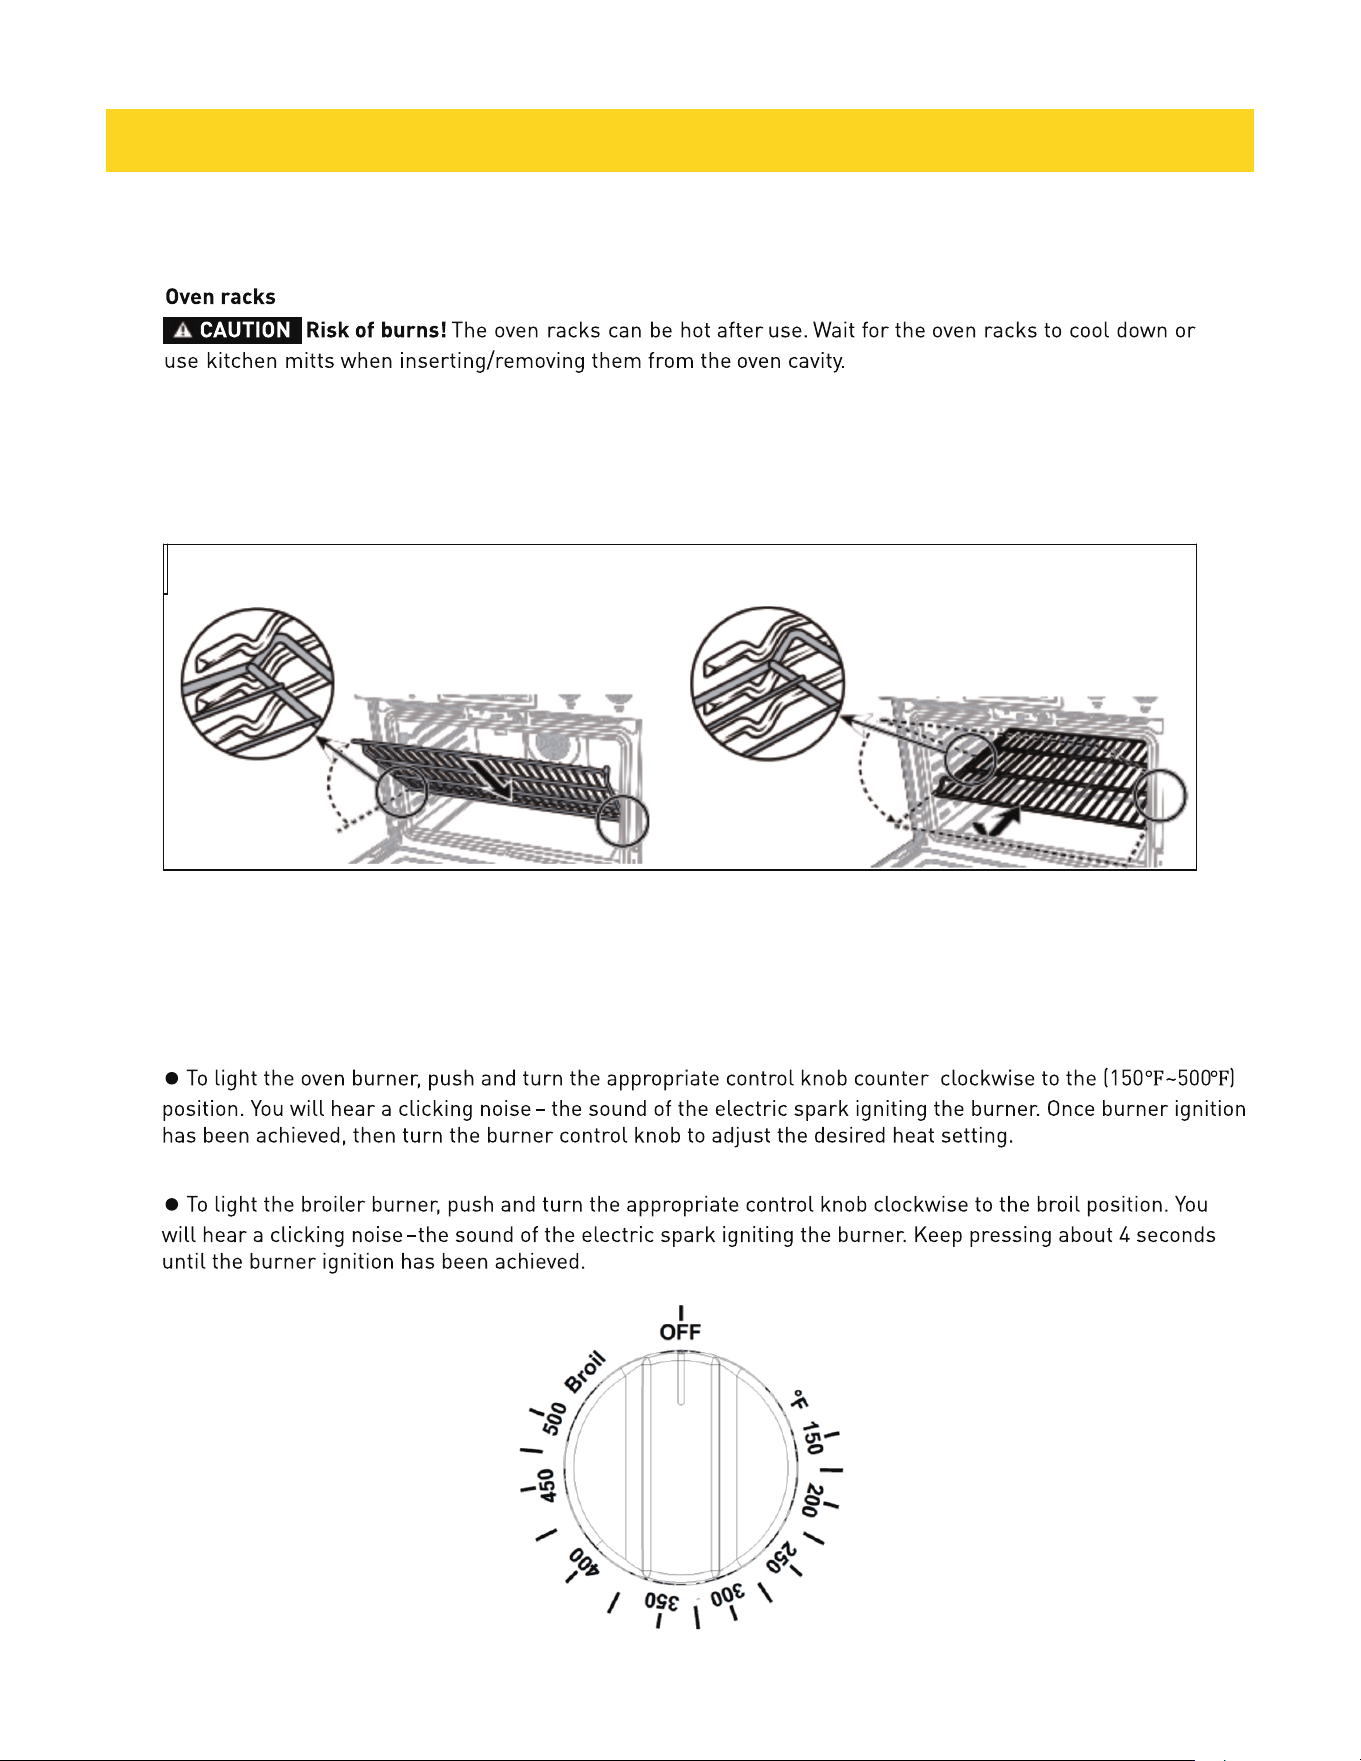
To remove an oven rack, pull it out until it stops. Lift the oven rack upwards and pull it out.
3.3 Oven burner use
OVEN FUNCTIONS
•
To insert an oven rack, place the end of it on the desired rack position. Tilt the oven rack forwards then
push inwards.
15
Painted parts and decorative trim
Stainless steel faces
CAUTION
4.1 General cleaning
CLEANING
•
For general cleaning, use a cloth with
•
For more difficult residue and
16
NOTICE If a mineral oil-base stainless steel appliance cleaner has been used before to clean the
appliance, wash the surface with liquid detergent and water prior to using the stainless steel
appliance cleaner/polish.
1. Use stainless steel appliance cleaner/polish.
2. Place a small amountof cleaner/polish on a damp cloth or paper towel.
3. Clean in small areas, rubbing with the grain of the stainless steel.
4. Dry and buff with a clean, dry paper towel or soft cloth.
5. Repeat as necessary.
4.2 Cooktop
Electrical cooktop (SRE3001,SRI3001only)
Surface care
•
Wipe spills immediately to prevent dulling.
•
Check pan bottoms for roughness to avoid scratches.
Normal daily use cleaning
Use only a ceramic cooktop cleaner for effective maintenance. Clean the cooktop with a ceramic
cleaner before first use to protect and ease futurecleanups.
1. Shake ceramic cooktop cleaner.
2. Apply cleaner directly on the cooktop.
3. Clean with a paper towel or ceramic cleaning pad.
4. Wipe with a dry cloth or paper towel toremove residue.
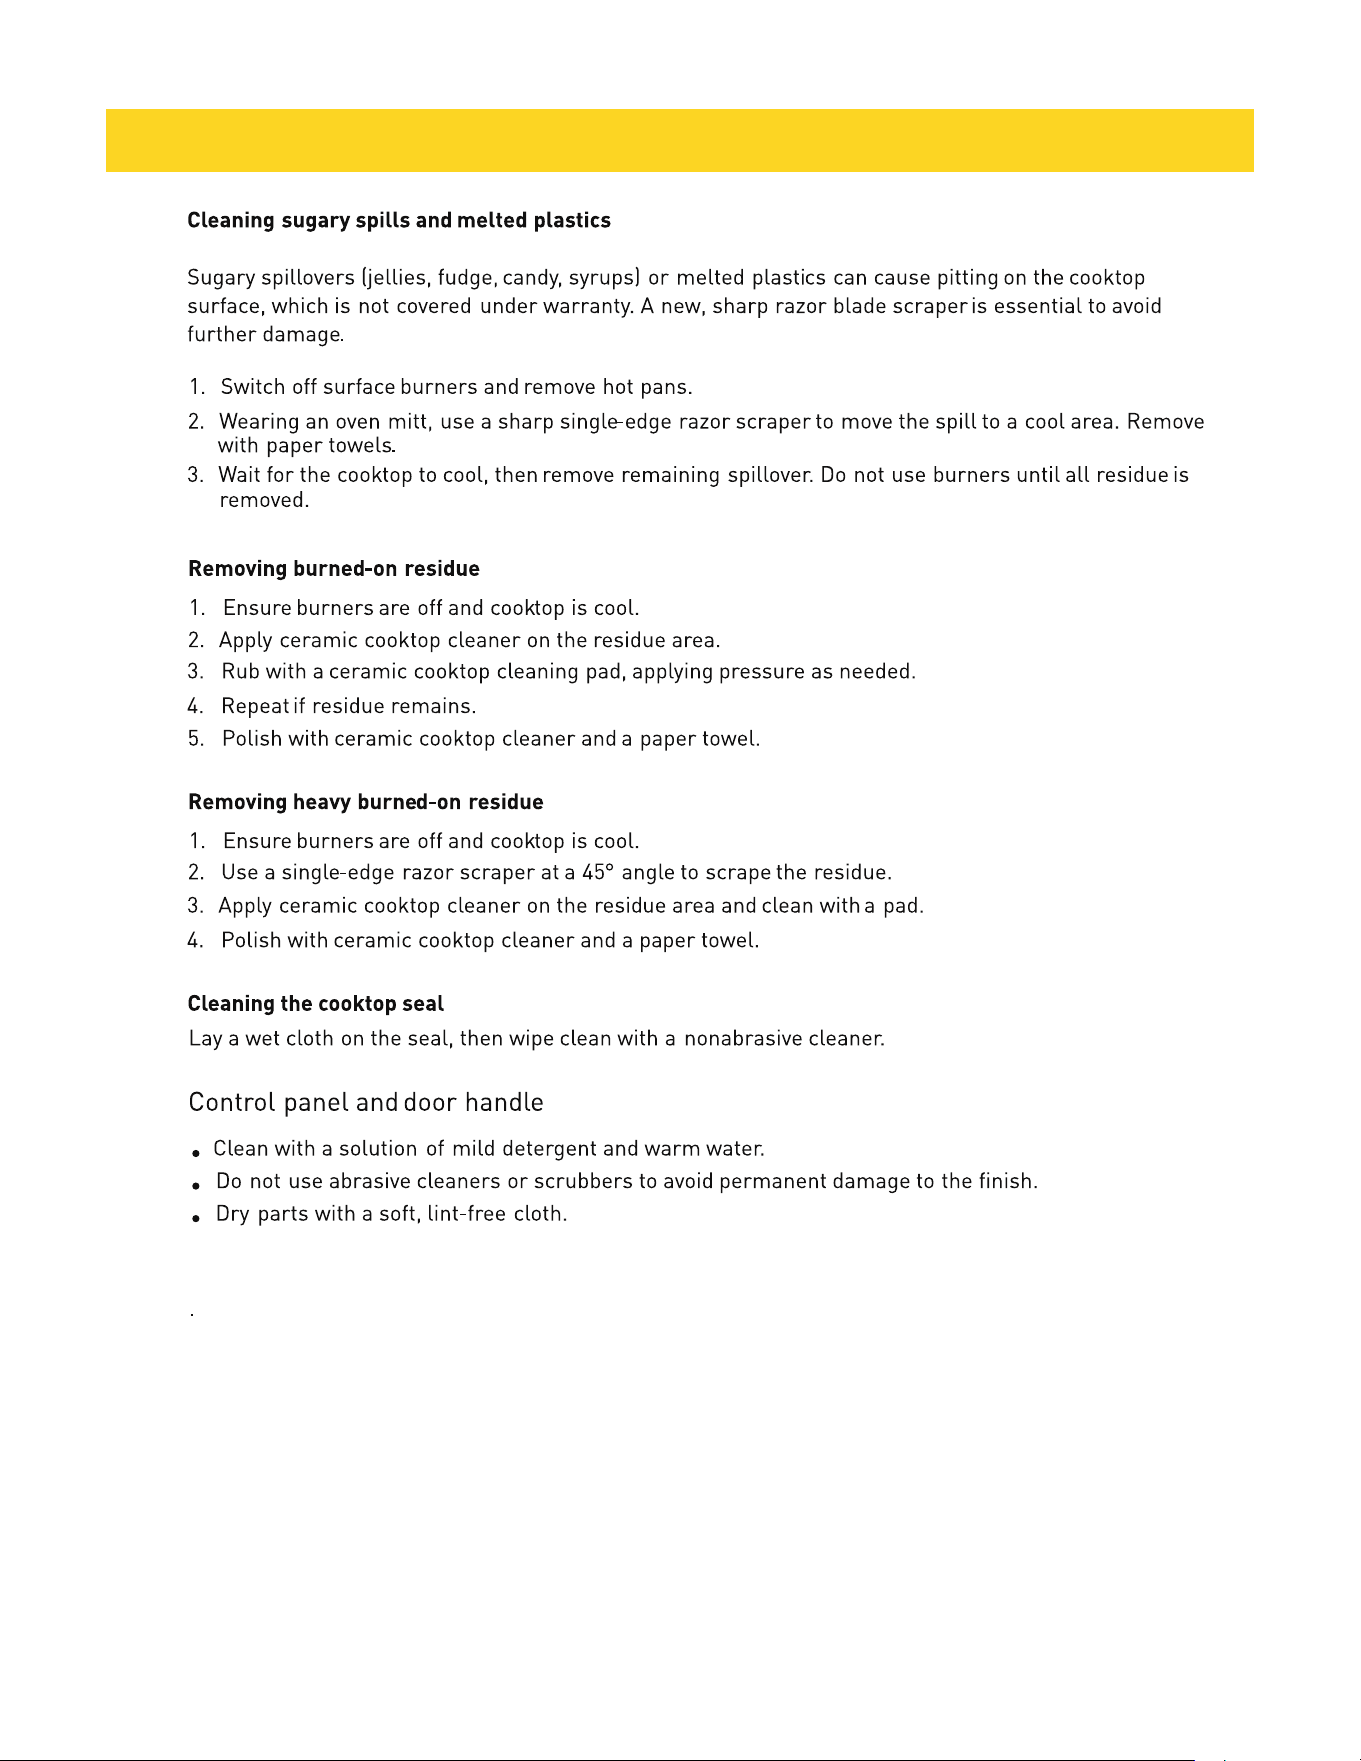
CLEANING
1. Ensure the burners are turned off and cooled.
2. Take off all the removable burner parts.
3. Wash them in hot soapy water, rinse, and dry.
4. Clear the notches of the burner heads, cap with flame spreader, simmer ring and lower flame spreader
5. Dry all removable burner parts completely.
6. Replace all the removable burner parts before using the cooktop.
with a stiff nylon brush or straight-ended paper clip.
The cooktop surface is ceramic glass. Acidic foods (tomatoes, sauerkraut, fruit juices)and high-
sugar foods can cause dull spots if left to set.
•
•
Avoid using steel wool, abrasive pads, or harsh chemicals.
17
CLEANING
18
4.3 Oven
Oven door
•
Clean the top, sides, and front of the oven door with soap and water. Rinse well.
•
Do not spray or allow water or glass cleaner to enter the door vents. Door vents are located at the
small gap above the oven cavity , close to the oven door lock and the oven door sensor.
•
Do not use oven cleaners, cleaning powders, or harsh abrasiveson the outside of the oven door.
•
Do not clean or damage the oven door gasket around theoven cavity, as it is essential for a good seal.
Oven shelves
2. Apply a food grade chrome cleaner with a damp sponge or cloth. Then wipe dry.
CLEANING
19
Oven door gasket
The oven door gasket is located around the oven cavity. Do not clean this part. Handle the gasket with
care to avoid rubbing, damaging or displacing it. If large food particles need to be removed, proceed as
follows:
1. Dampen a sponge withhot water.
2. Gently wipe off the soiling without rubbing.
3. Press a dry towel gently on the oven door gasket to dry.
Oven and broiler burners
Do not clean these parts. They self clean during normal use.
4.4 Baking accessories
Oven racks
CLEANING
20
MAINTENANCE
21
MAINTENANCE

22
WARRANTY
Warranty&Service
This appliance has been manufactured by Thor International, 10830 Ada Ave, Montclair, CA 91763
United States.
For Customer Service, please call (877) 288 - 8099
For the most up to date warranty and service policy, please refer to our website
WWW.THORKITCHEN.COM/WARRANTY-REGISTRATION
For in-warranty service requests, please visit our website at
WWW.THORKITCHEN.COM/SERVICE
Please Note: You must provide proof of purchase or installation date for any in-warranty service
requests

Warranty Registration
Made Easy.
We Stand Behind
the Quality of Our
Appliances.
Reliability and customer satisfaction are our top priorities. We offer a
solid two-year warranty on both parts and labor. Enjoy professional-grade
performance with the condence that we’ve got you covered.
01
02
03
Scan the QR Code or visit thorkitchen.
com/register-your-product.
Input your purchase and product
information and select register.
That’s it. You’re all set.
Enjoy!
WARRANTY
PARTS
Questions: [email protected]