QUICK SETUP GUIDE
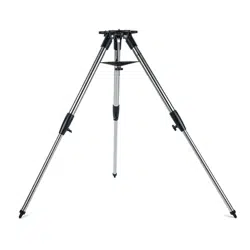
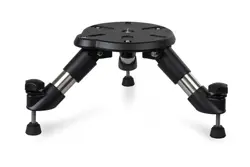
TABLETOP
TRIPOD
#93481
©2025 Celestron. Celestron and Symbol are trademarks of Celestron, LLC. • All rights reserved.
Celestron.com • US: 2835 Columbia Street, Torrance, CA 90503 USA • UK: Unit 2 Transigo, Gables Way,
Thatcham RG19 4JZ, United Kingdom • This product is designed and intended for use by those 14 years of
age and older. • Made in China | 11-25
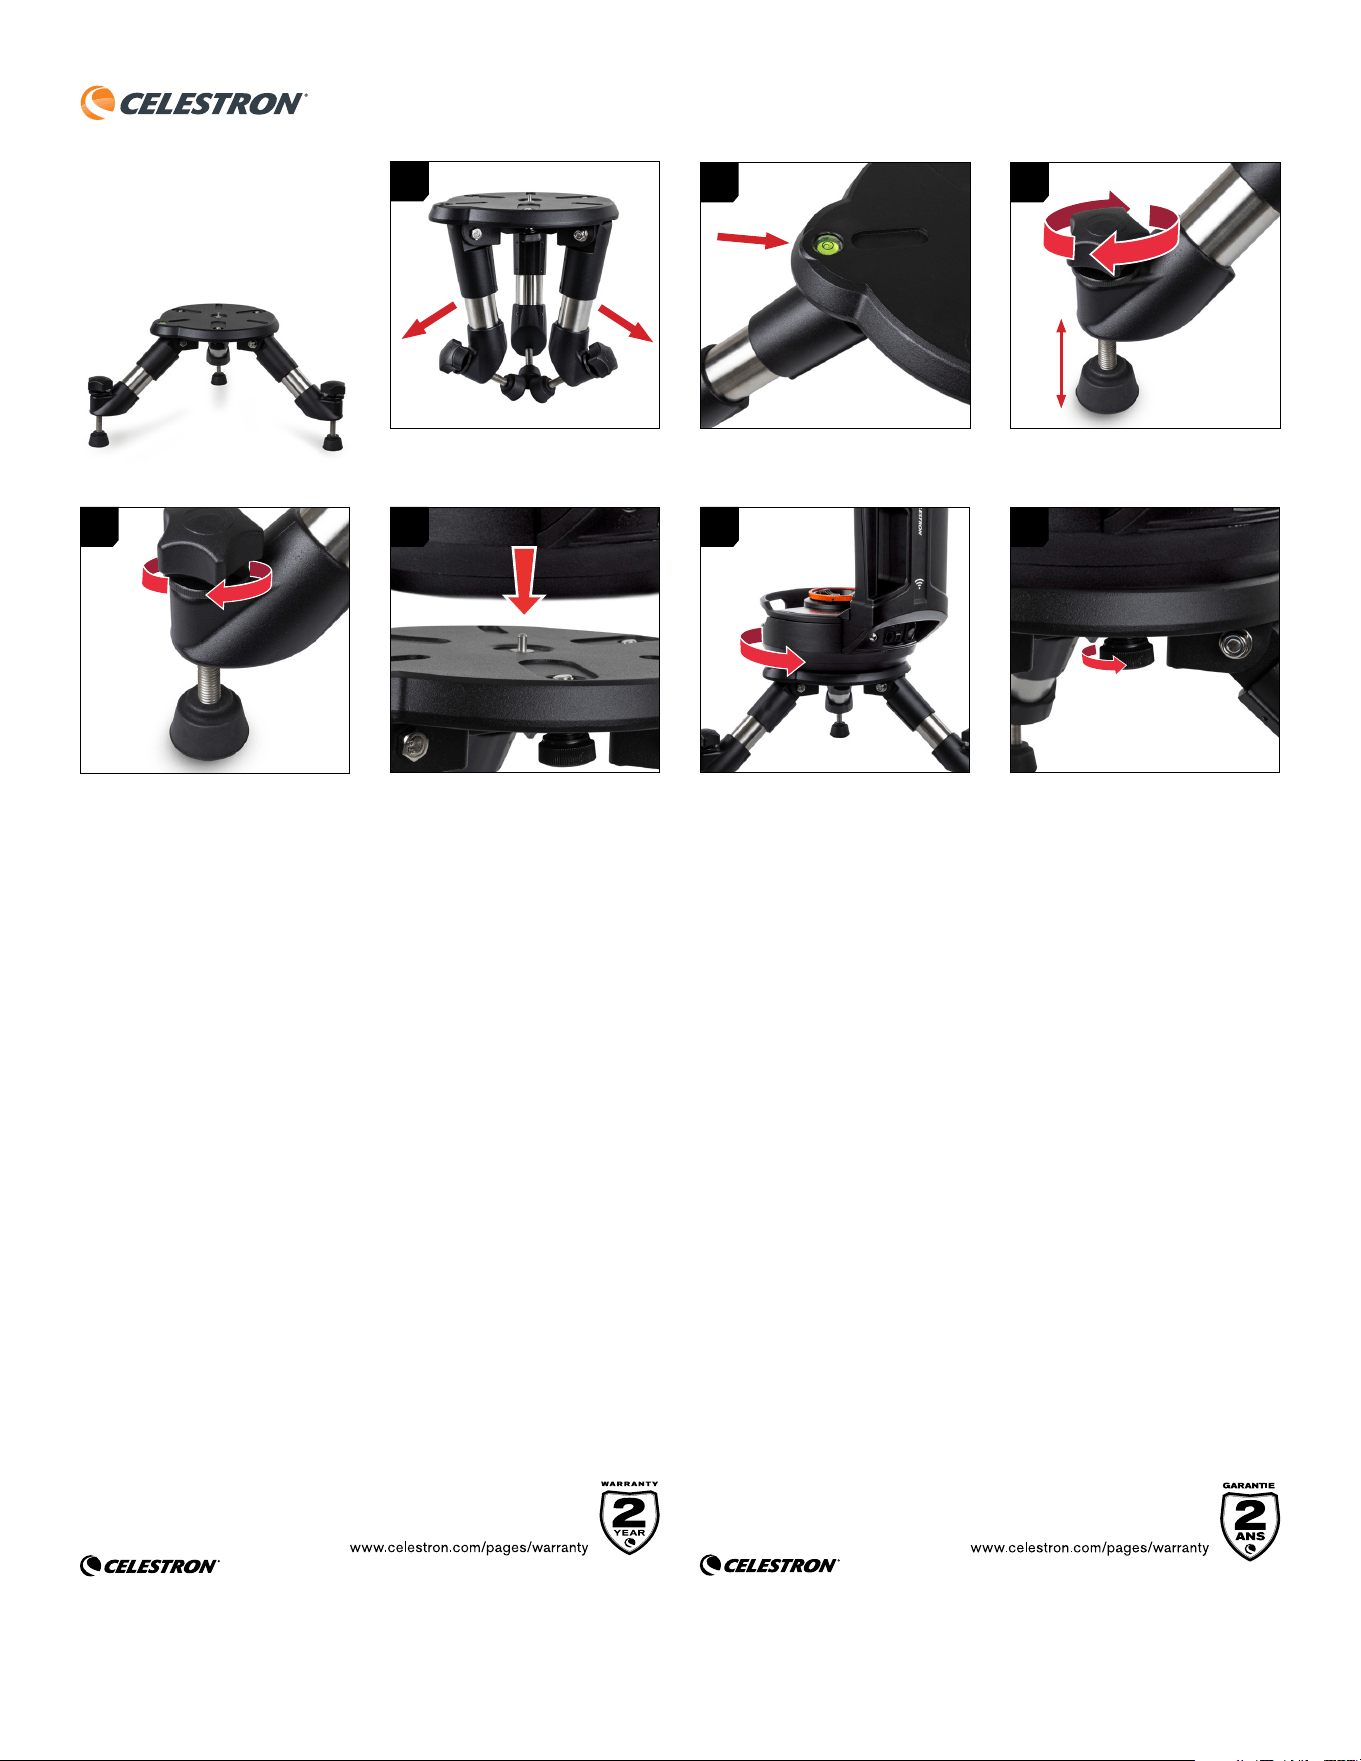
How to set up your Celestron #93481 Tabletop Tripod:
1. Spread the tripod legs and stand the tripod upright on a flat
surface.
2. Use the built-in bubble level on the tripod head to check that it’s
level.
3. Turn the leveling feet clockwise or counterclockwise to raise or
lower the feet until the tripod is level.
4. Once level, tighten the lock rings on each adjustment screw
by turning them clockwise. Then, loosen the lock ring on each
adjustment screw by turning counterclockwise.
To mount the telescope’s mount to the tripod:
5. Place the fork arm mount on the tripod, carefully centering it over
the center post of the tripod head. Do not let go of the mount
until it has registered with the center post.
6. With the mount resting on the flat top surface of the tripod head,
rotate the mount until the three mounting sockets align with the
tripod. The sockets will click into place.
7. Thread the three attached mounting bolts from underneath the
tripod head into the bottom of the telescope base. Finger-tighten
all three bolts.
1
5
4
2
6
3
7
ENGLISH FRANÇAIS
©2025 Celestron. Celestron et le Symbol sont des marques déposées de Celestron, LLC. • Tous droits
réservés • Celestron.com • US: Celestron • 2835 Columbia Street, Torrance, CA 90503 USA • UK: Celestron
Global Ltd., Unit 2 Transigo, Gables Way, Thatcham RG19 4JZ, Royaume-Uni • Le design et les spécifications
du produit sont sujettes à modification sans préavis. • Ce produit est conçu et prévu pour être utilisé par
des personnes âgées de 14 ans et plus • Fabriqué en Chine | 11-25
Comment utiliser votre trépied de table Celestron #93481 :
1. Écartez les pieds du trépied et placez ce dernier à la verticale sur
une surface plane.
2. Utilisez le niveau à bulle présent sur la tête du trépied pour vous
assurer qu’il est à niveau.
3. Faites tourner les pieds de mise à niveau dans le sens horaire ou
antihoraire de manière à élever ou abaisser les pieds jusqu’à ce
qu’ils soient à niveau.
4. Une fois à niveau, serrez les anneaux de verrouillage de chaque
vis de réglage en les tournant dans le sens horaire. Vous pouvez
déserrer les anneaux verrouillage de chaque vis de réglage par la
suite en les tournant dans le sens antihoraire.
Pour monter la monture de télescope sur le trépied :
5. Placez la monture en bras de fourche sur le trépied, en le
positionnant soigneusement sur l’axe au centre de la tête du
trépied. Ne lâchez pas la monture tant qu’elle ne s’est pas
engagée sur l’axe central.
6. Quand la monture repose sur la surface plate de la tête du
trépied, faites tourner la monture jusqu’à ce que les trois
connecteurs de la monture soient alignés sur le trépied. Les
connecteurs s’enclencheront.
7. Vissez les trois écrous de monture captifs depuis le dessous de
la tête, dans le dessous de la base du télescope. Serrez les trois
écrous manuellement.
QUICK SETUP GUIDE
©2025 Celestron. Celetron e Symbol sono marchi di Celestron, LLC.
Tutti i diritti riservati. • Celestron.com • Stati Uniti: Celestron, 2835
Columbia Street, Torrance, CA 90503 Stati Uniti • Regno Unito: Celestron
Global Ltd., Unit 2 Transigo, Gables Way, Thatcham RG18 4JZ Regno
Unito • Il design del prodotto e le specifiche sono soggetti a modifiche
senza previa notifica. Questo prodotto è progettato per essere utilizzato
da persone di età pari o superiore ai 14 anni. • Prodotto in Cina | 11-25
©2025 Celestron. Celestron y su símbolo son marcas comerciales de
Celestron, LLC. • Todos los derechos reservados. • Celestron.com
EE.UU.: Celestron, 2835 Columbia Street, Torrance, CA 90503 EE.UU.
GB: Celestron Global Ltd., Unit 2 Transigo, Gables Way, Thatcham RG19
4JZ, Reino Unido • El diseño y las especificaciones del producto están
sujetos a cambios sin notificación previa. Este producto ha sido diseñado
y está pensado para ser usado por personas de 14 años o más de edad.
Fabricado en China | 11-25
DEUTSCH ITALIANO ESPAÑOL
©2025 Celestron. Celestron und Symbol sind Warenzeichen von
Celestron, LLC. • Alle Rechte vorbehalten. Celestron.com • USA:
Celestron, 2835 Columbia Street, Torrance, CA 90503 USA • UK:
Celestron Global Ltd., Einheit 2 Transigo, Gables Way, Thatcham RG19
4JZ, Vereinigtes Königreich • Produktdesign und technische Daten
können ohne vorherige Ankündigung geändert werden. Dieses Produkt
ist für Personen ab 14 Jahren konzipiert und vorgesehen. • Hergestellt in
China | 11-25
So bauen Sie Ihr Celestron Tischstativ
Nr. 93481 auf:
1. Spreizen Sie die Stativbeine und stellen Sie
das Stativ aufrecht auf eine ebene Fläche.
2. Überprüfen Sie mithilfe der integrierten
Wasserwaage im Stativkopf, ob das Stativ
waagerecht steht.
3. Drehen Sie die Nivellierfüße im
Uhrzeigersinn oder gegen den
Uhrzeigersinn, um das Stativ waagerecht
auszurichten.
4. Sobald es waagerecht ausgerichtet
ist, ziehen Sie die Sicherungsringe an
den Einstellschrauben durch Drehen
im Uhrzeigersinn fest. Lösen Sie
anschließend die Sicherungsringe an den
Einstellschrauben durch Drehen gegen den
Uhrzeigersinn.
So montieren Sie die
Teleskopmontierung an das Stativ:
5. Setzen Sie die Gabelarmhalterung auf das
Stativ und zentrieren Sie sie sorgfältig über
der Mittelsäule des Stativkopfes. Lassen
Sie die Halterung erst los, wenn sie mit der
Mittelsäule übereinstimmt.
6. Drehen Sie die Halterung, während sie auf
der flachen Oberseite des Stativkopfes
aufliegt, bis die drei Befestigungsbuchsen
mit dem Stativ übereinstimmen. Die
Buchsen rasten hörbar ein.
7. Schrauben Sie die drei mitgelieferten
Befestigungsschrauben von der Unterseite
des Stativkopfes in die Unterseite der
Teleskopbasis. Ziehen Sie alle drei
Schrauben handfest an.
Come installare il treppiede da tavolo
Celestron #93481:
1. Allargare le gambe del treppiede e
posizionarlo in posizione verticale su una
superficie piana.
2. Utilizzare la livella a bolla integrata nella
testa del treppiede per verificare che sia a
livello.
3. Ruotare i piedini di livellamento in senso
orario o antiorario per sollevarli o abbassarli
finché il treppiede non è in piano.
4. Una volta livellato, stringere gli anelli di
bloccaggio su ciascuna vite di regolazione
ruotandoli in senso orario. Quindi, allentare
l’anello di bloccaggio su ciascuna vite di
regolazione ruotandolo in senso antiorario.
Per montare la montatura del telescopio
sul treppiede:
5. Posizionare il supporto del braccio a
forcella sul treppiede, centrandolo con
attenzione sul perno centrale della testa del
treppiede. Non lasciare andare il supporto
finché non si è incastrato correttamente nel
perno centrale.
6. Con la montatura appoggiata sulla
superficie superiore piatta della testa del
treppiede, ruotare la montatura finché i
tre alloggiamenti non si allineano con il
treppiede. Gli alloggiamenti si incastreranno
in posizione con uno scatto.
7. Avvitare i tre bulloni di montaggio in
dotazione da sotto la testa del treppiede
nella parte inferiore della base del
telescopio. Serrare manualmente tutti e tre
i bulloni.
Cómo instalar su trípode de sobremesa
Celestron #93481:
1. Separe las patas del trípode y ponga el
trípode derecho sobre una superficie plana.
2. Use el nivel de burbuja integrado en el
trípode para comprobar que está nivelado.
3. Gire las patas de nivelado en sentido
horario o antihorario para elevar o bajar las
patas hasta que el trípode esté nivelado.
4. Cuando esté nivelado, apriete las
arandelas de bloqueo de cada tornillo de
ajuste girándolas en sentido horario. A
continuación, afloje la arandela de bloqueo
de cada tornillo de ajuste girándola en
sentido antihorario.
Para montar el soporte del telescopio
en el trípode:
5. Ponga el soporte de brazo en horquilla en el
trípode, centrándolo cuidadosamente sobre
el poste central del cabezal del trípode. No
suelte el soporte hasta que encaje con el
poste central.
6. Con el soporte apoyado en la superficie
superior plana del cabezal del trípode, gire
el soporte hasta que se alineen las tres
tomas de montaje con el trípode. Las tomas
encajarán en posición.
7. Enrosque los tres pernos de montaje
incluidos desde debajo del cabezal del
trípode en la parte inferior de la base del
telescopio. Apriete los tres pernos a mano.