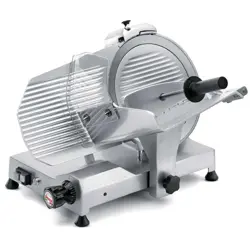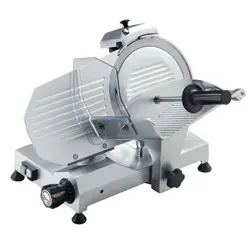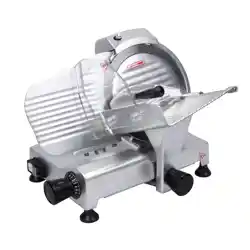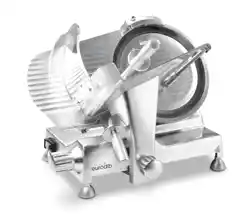
EURODIB MEAT SLICER SERIES
ELECTRIC MEAT SLICER
USER MANUAL FOR ELECTRIC MEAT SLICER
2025

INTRODUCTION
Thank you for purchasing Eurodib’s electric meat slicer. Please read these instructions carefully
before operating the machine and keep them safe for future reference.
Eurodib will not accept liability for a product failure if:
• The instructions in this manual are not followed correctly.
• An unqualied or unauthorized person has serviced the machine.
• Non-original parts are used.
All our products are inspected and tested prior to packaging. This product contains the following
items:
• 1 meat slicer
• Instruction manual
If any of these are missing or damaged after shipping, you must contact your local retailer.
SAFETY
• This machine should only be repaired by a qualied, authorized technician.
• Ensure the machine is plugged into a grounded electrical outlet to prevent electric shock.
• This machine is equipped with a sharp blade. To prevent any injuries, keep your ngers,
hands and all other body parts away from the cutting area while the machine is in operation.
• In an emergency, turn OFF all switches and unplug the machine.
• Do NOT use the machine if the cable or plug are damaged.
• Do NOT use the machine to slice frozen meat.
• Do NOT use the machine to slice cheese without installing a Teon blade
• It is recommended that you perform regular checks on the blade cover, food holder arm,
blade and other parts to ensure they are not damaged or loose. Unplug the machine when
doing so to prevent any injury.
• Always disconnect the machine when performing maintenance or service to prevent
injuries.
• If you see any noticeable changes in the operation of the machine (e.g. excessive vibration
or strange sounds), stop using it and contact the service department.
TECHNICAL SPECIFICATIONS
Model
HBS300L
HBS250L
HBS220JS
HBS195JS
Voltage
110-120V, 60Hz
110-120V, 60Hz
110-120V, 60Hz
110-120V, 60Hz
Power
250W
150W
120W
120W
Slicing
thickness
0-15 mm
0-12 mm
0-12 mm
0-12 mm
Blade
diameter
300 mm
250 mm
220 mm
220 mm
Max. slicing
width
220 mm
180 mm
160 mm
160 mm
Dimensions
Length
Width
Height
18 in. (45 cm)
21.8 in. (55 cm)
16.6 in. (42 cm)
16.3 in. (41 cm)
19.7 in. (50 cm)
14 in. (35 cm)
14.8 in. (37 cm)
17.7 in. (44 cm)
13.7 in (34 cm)
14.7 in. (37 cm)
15.7 in. (39 cm)
12 in. (30 cm)
Weight
49.1 lb (22 kg)
36.1 lb (16 kg)
27.7 lb (12 kg)
26.8 lb (12 kg)
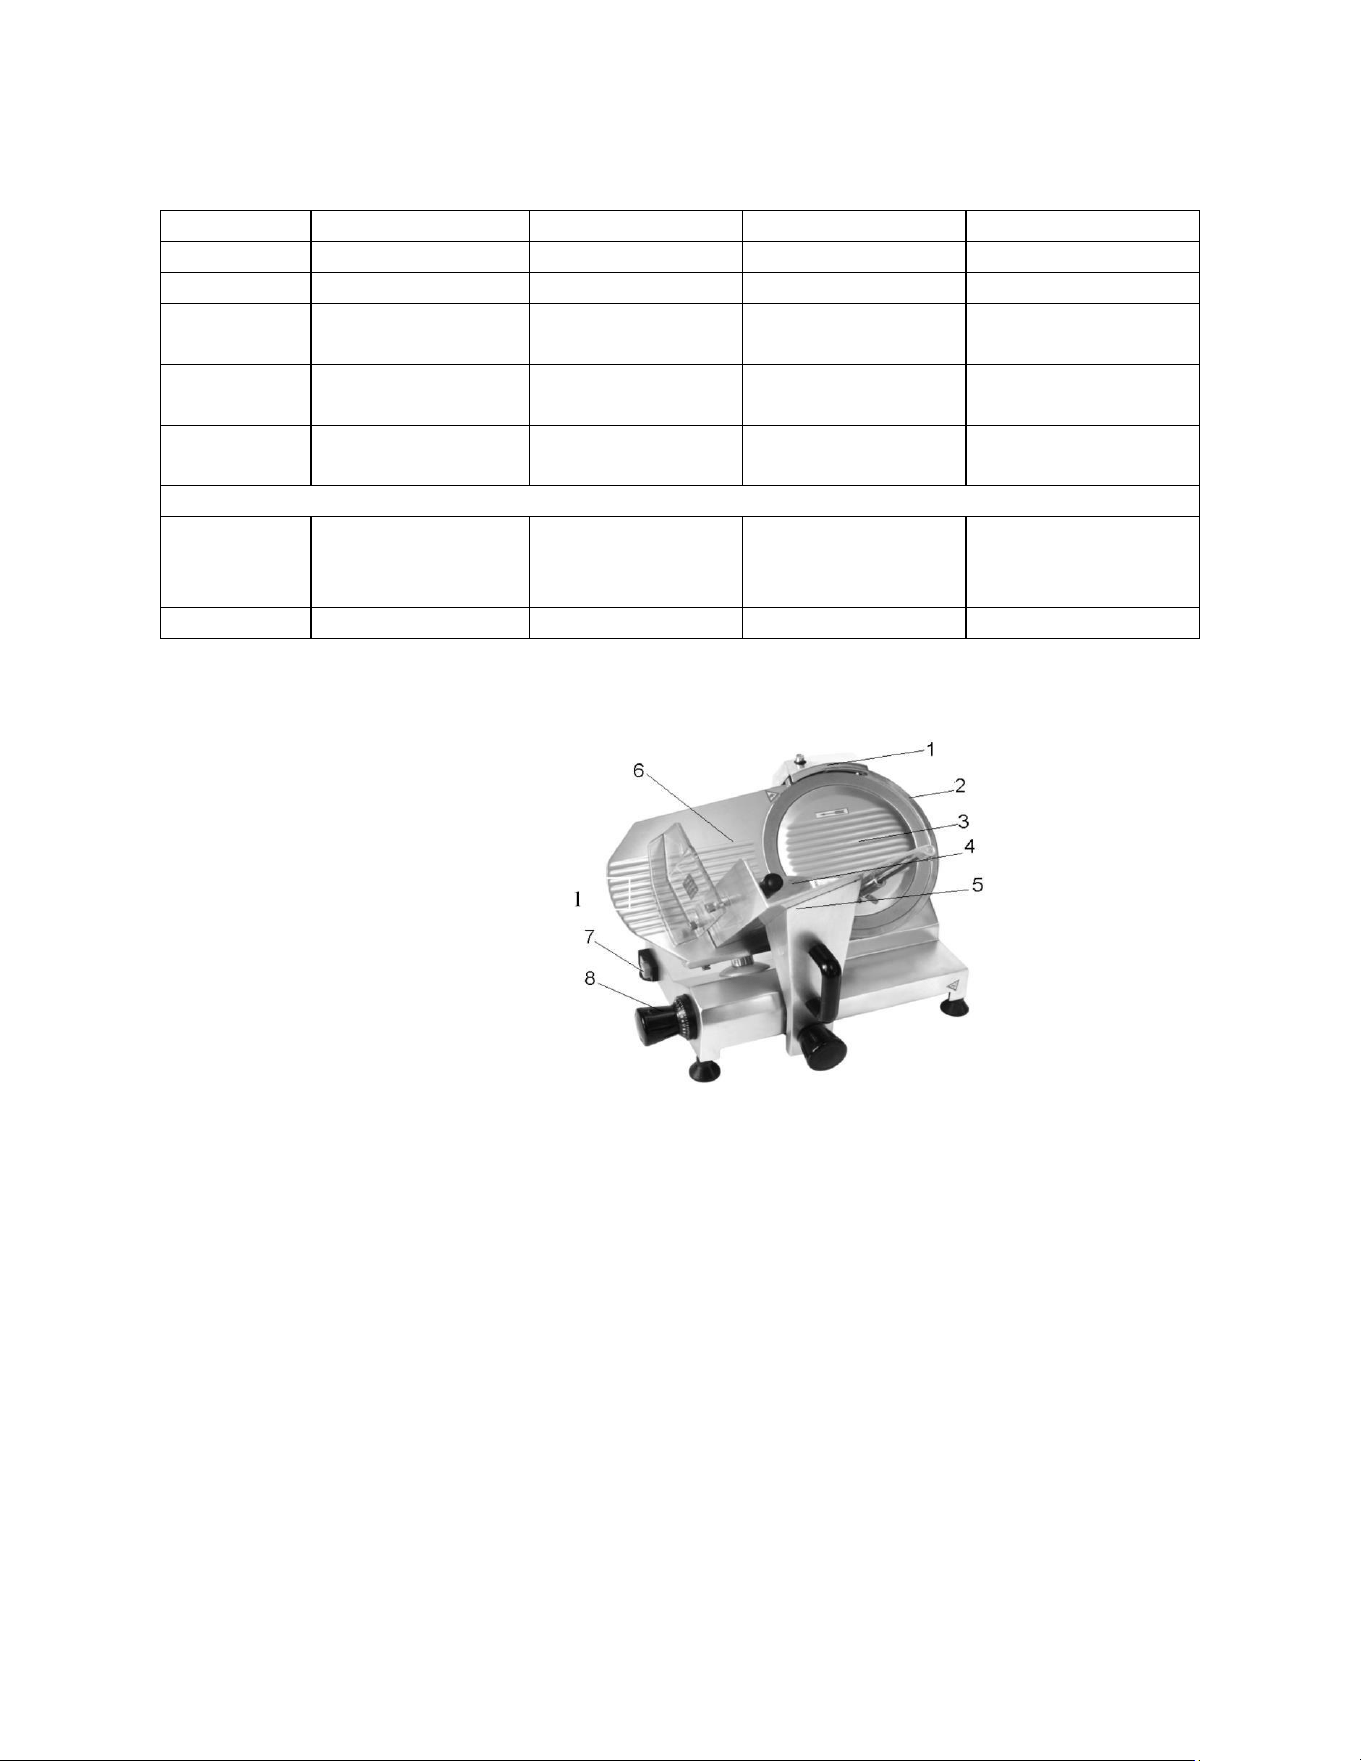
MACHINE DIAGRAM
1. Sharpener
2. Blade protection
3. Blade cover+ active pusher
4. Product pusher handle
5. Carriage
6. Size control board
7. Power switch
8. Thickness regulator
OPERATION
1. Open the packaging and remove all plastic and cardboard components from the machine.
2. Place the machine on a level, stable, and at surface that can support its weight.
3. Plug the machine into an outlet, turn the power switch on and allow the machine to run for 2
or 3 minutes to evaluate performance.
4. Check that the pilot lamp in the power switch is lit and visually conrm that the blade is
rotating in a counterclockwise direction.
5. Place the meat on the carriage. Please note the size of the product should not exceed the
size of the carriage.
6. Adjust the thickness regulator if necessary. Using the handle or knob, move the carriage
back and forth over the blade in a smooth, continuous motion.
7. When you nish slicing the product, turn the knob and return the carriage head to the
original position.
8. Turn o the machine and allow it to come to a full stop, before removing the slices.

MAINTENANCE
Cleaning the machine every day is recommended but depending on its use, you might need to
clean it more often.
ATTENTION: THIS MACHINE CONTAINS A SHARP BLADE; THE FOLLOWING PRECAUTIONS
MUST BE FOLLOWED TO PREVENT ANY INJURY:
• Always wear safety gloves.
• Don’t touch the edge of the blade.
• Proceed with caution.
• Do not immerse the machine in water or use a pressure washer to clean the body or
parts.
• Never use any chemicals or abrasive products to clean the machine. Brushes or metal
scrubs are not recommended as they can damage the various slicer parts.
To clean the machine:
• Always turn o the machine, allow it to come to a full stop and unplug it before cleaning it.
• Move the slice thickness regulator to 0.
• Remove the blade cover from the blade when cleaning the machine.
• Use a damp cloth and a drop of detergent to clean the machine.
• Run the machine for 5 minutes after cleaning.
To remove the carriage:
• Turn the thickness regulator to 0 so the blade is not exposed.
• Loosen the carriage knob under the carriage handle.
• Push the carriage all the way to the left away from the blade, where it will lock into
safety.
• Lift the carriage up and out.
To prevent the blade from rusting:
• After using and cleaning the blade, use a dry cloth to dry the blade.
• Apply cooking oil on the edge of the blade with a dry cloth.
• Sharpen the blade daily to maintain its sharpness.
Lubrication guide:
• Move the carriage to the side and clean any grease with dry cloth.
• Apply grease to the guide surface making sure it’s completely covered and lubricated.
• We recommend lubricating the blade on a weekly basis.
Lubricating the pusher axle:
• Clean the pusher with a dry cloth.
• Apply cooking oil to both sides of the axle.
• Move the pusher up and down to ensure the oil is well distributed.
• We recommend lubricating the axle daily.
Lubricating the carriage sliding rod:
• Remove the carriage as indicated above.
• Tilt the unit backwards
• Lubricate the sliding rod
• Put the carriage back on
BLADE SHARPENING
1. Sharpen the blade if the slice thickness becomes uneven or if slices start to break apart.
2. Carefully clean the blade edge to remove any debris. Use safety gloves.
3. Pull out the sharpener and apply food-safe lubricant to ensure smooth operation.
4. Rotate the sharpener 180 degrees. Press down on the right-side sharpening stone with your
nger, then place the sharpener in its working position.
5. Make sure the stone’s surface is in close contact with the blade edge. If not, adjust as
needed.
6. Run the machine for a few minutes, then turn it o and inspect the blade. If it’s still dull,
repeat the process.
7. Press down on the left-side stone and ensure it ts against the blade. Sharpen for about 3
seconds and remove any burrs.
8. Return the sharpener to its original position when you’re done.
9. Keep the sharpening stone clean for best results.
10. Never look directly at or place your face close to the rotating stone, as broken pieces can
cause injury.
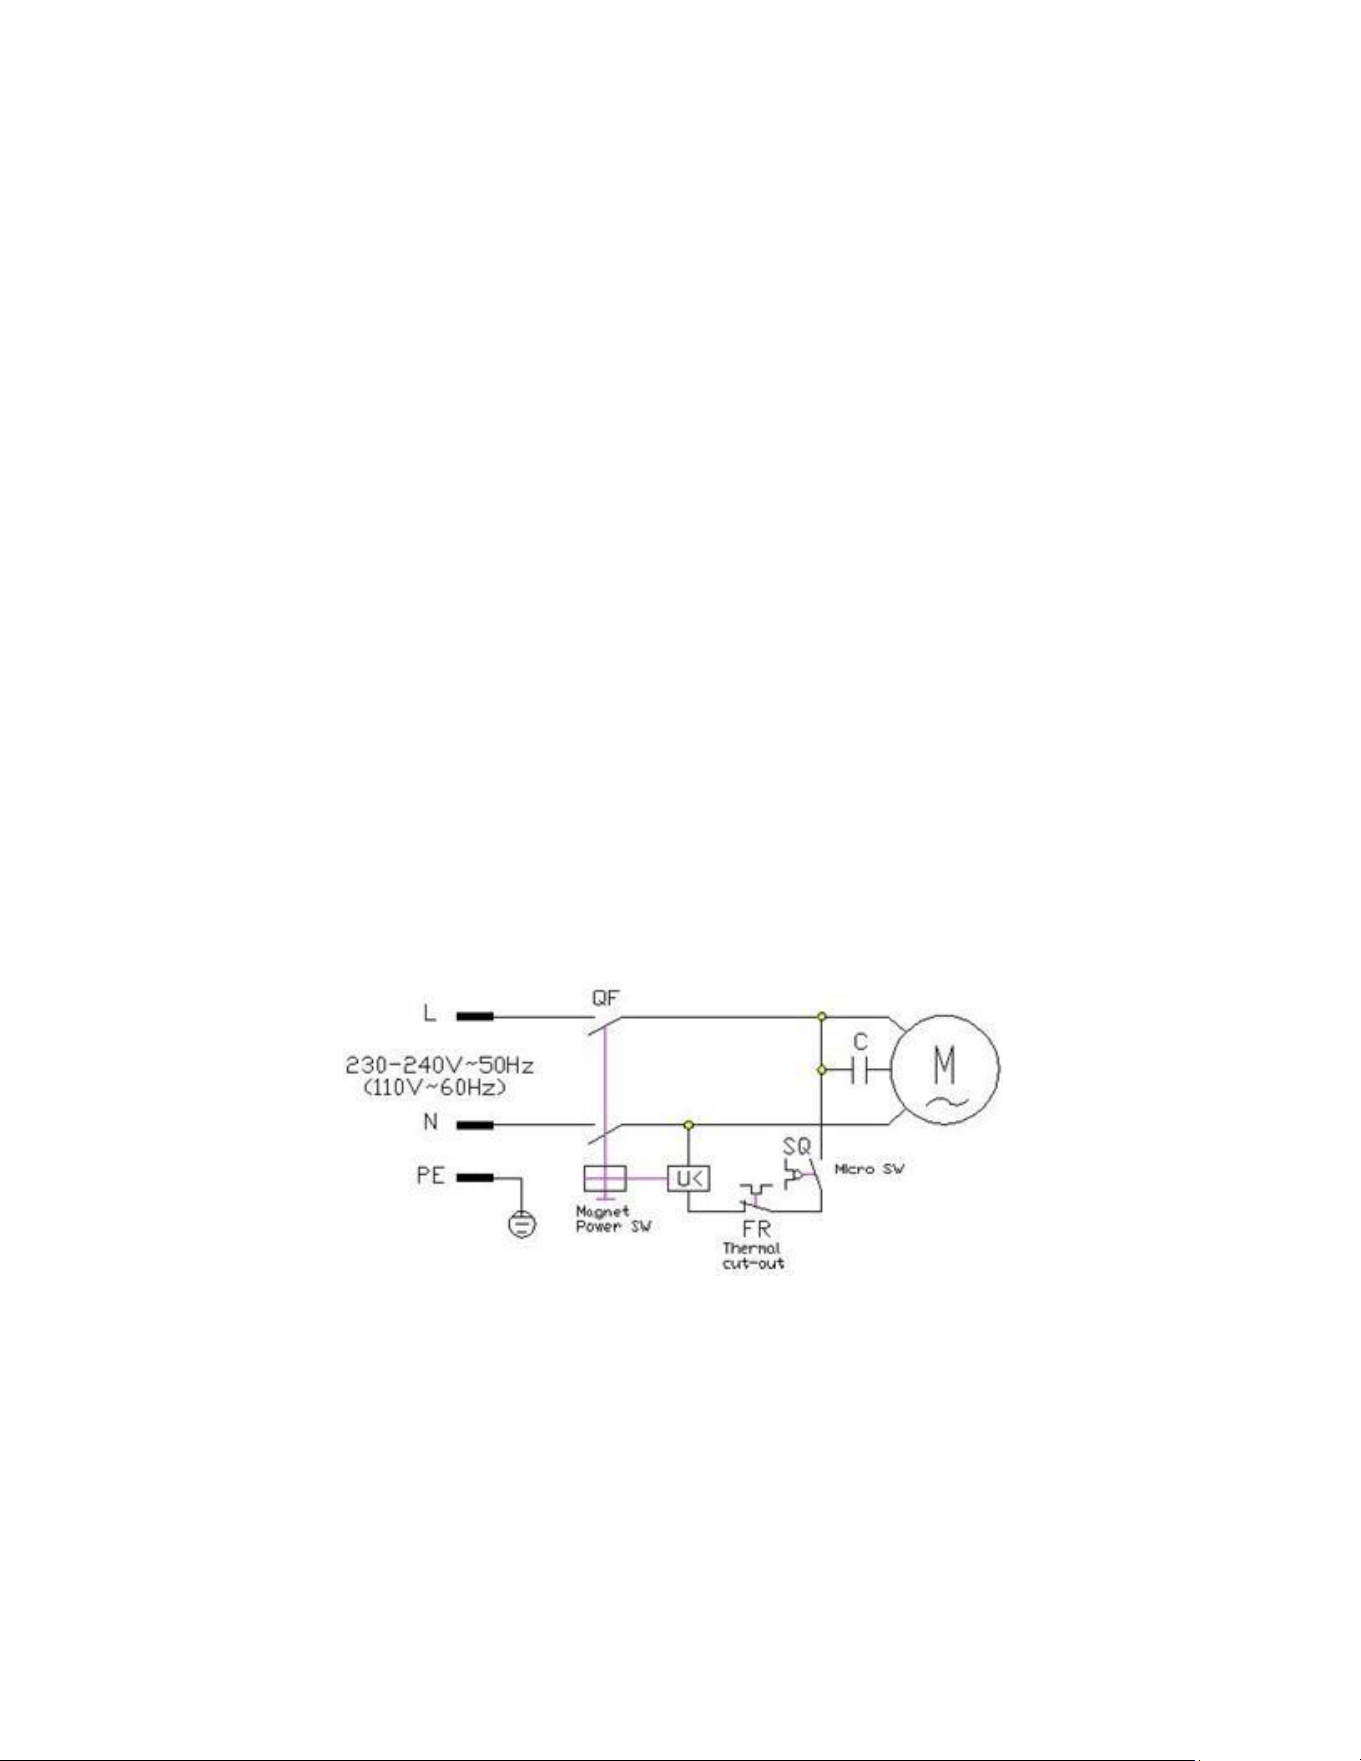
ELECTRICAL DIAGRAM