Installation Instructions for
ADJUSTABLE 2-TIER SHELVING POSTS
CHECK FOR CONCEALED DAMAGE
FILE CLAIM WITH DELIVERING FREIGHT CARRIER
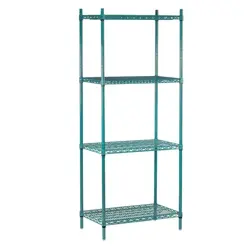
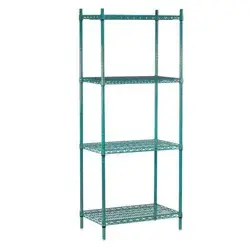
ADVANCE TABCO Wire Shelving is recommended for practical storage
applications. ADVANCE TABCO does not recommend product use for
activities employing harsh and active chemicals. Please consult factory
regarding unusual applications.
Edgewood, New York 11717-8380
ATPWS 4-00
Step 6:
Repeat Steps 1 - 5 for remaining two posts.
Step 7:
Place wire shelving onto shelving brackets (Illustration 7).
Illustration 7
Step 8:
Place collar filler caps onto shelf (Illustration 8).
Illustration 8
Collar Filler Cap
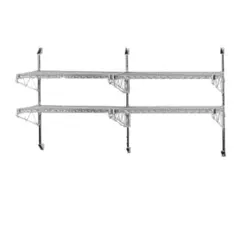
Installation Requirements
Contents:
(2) 34” End Mount Posts (4) End Mount Shelving Brackets
(1) 34” Mid Mount Post (2) Mid Mount Shelving Brackets
(6) Post Wall Mounting Brackets and Bolts
(3) Center Support Brackets
Mounting hardware provided
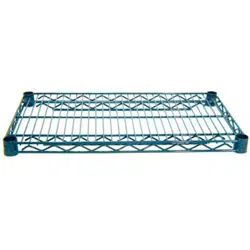
Use desired shelves (14” or 18” widths only)
Tools Required:
Drill Gun with philips head bit
Screw Driver
Use of anchors is recommended when there is no stud in wall.
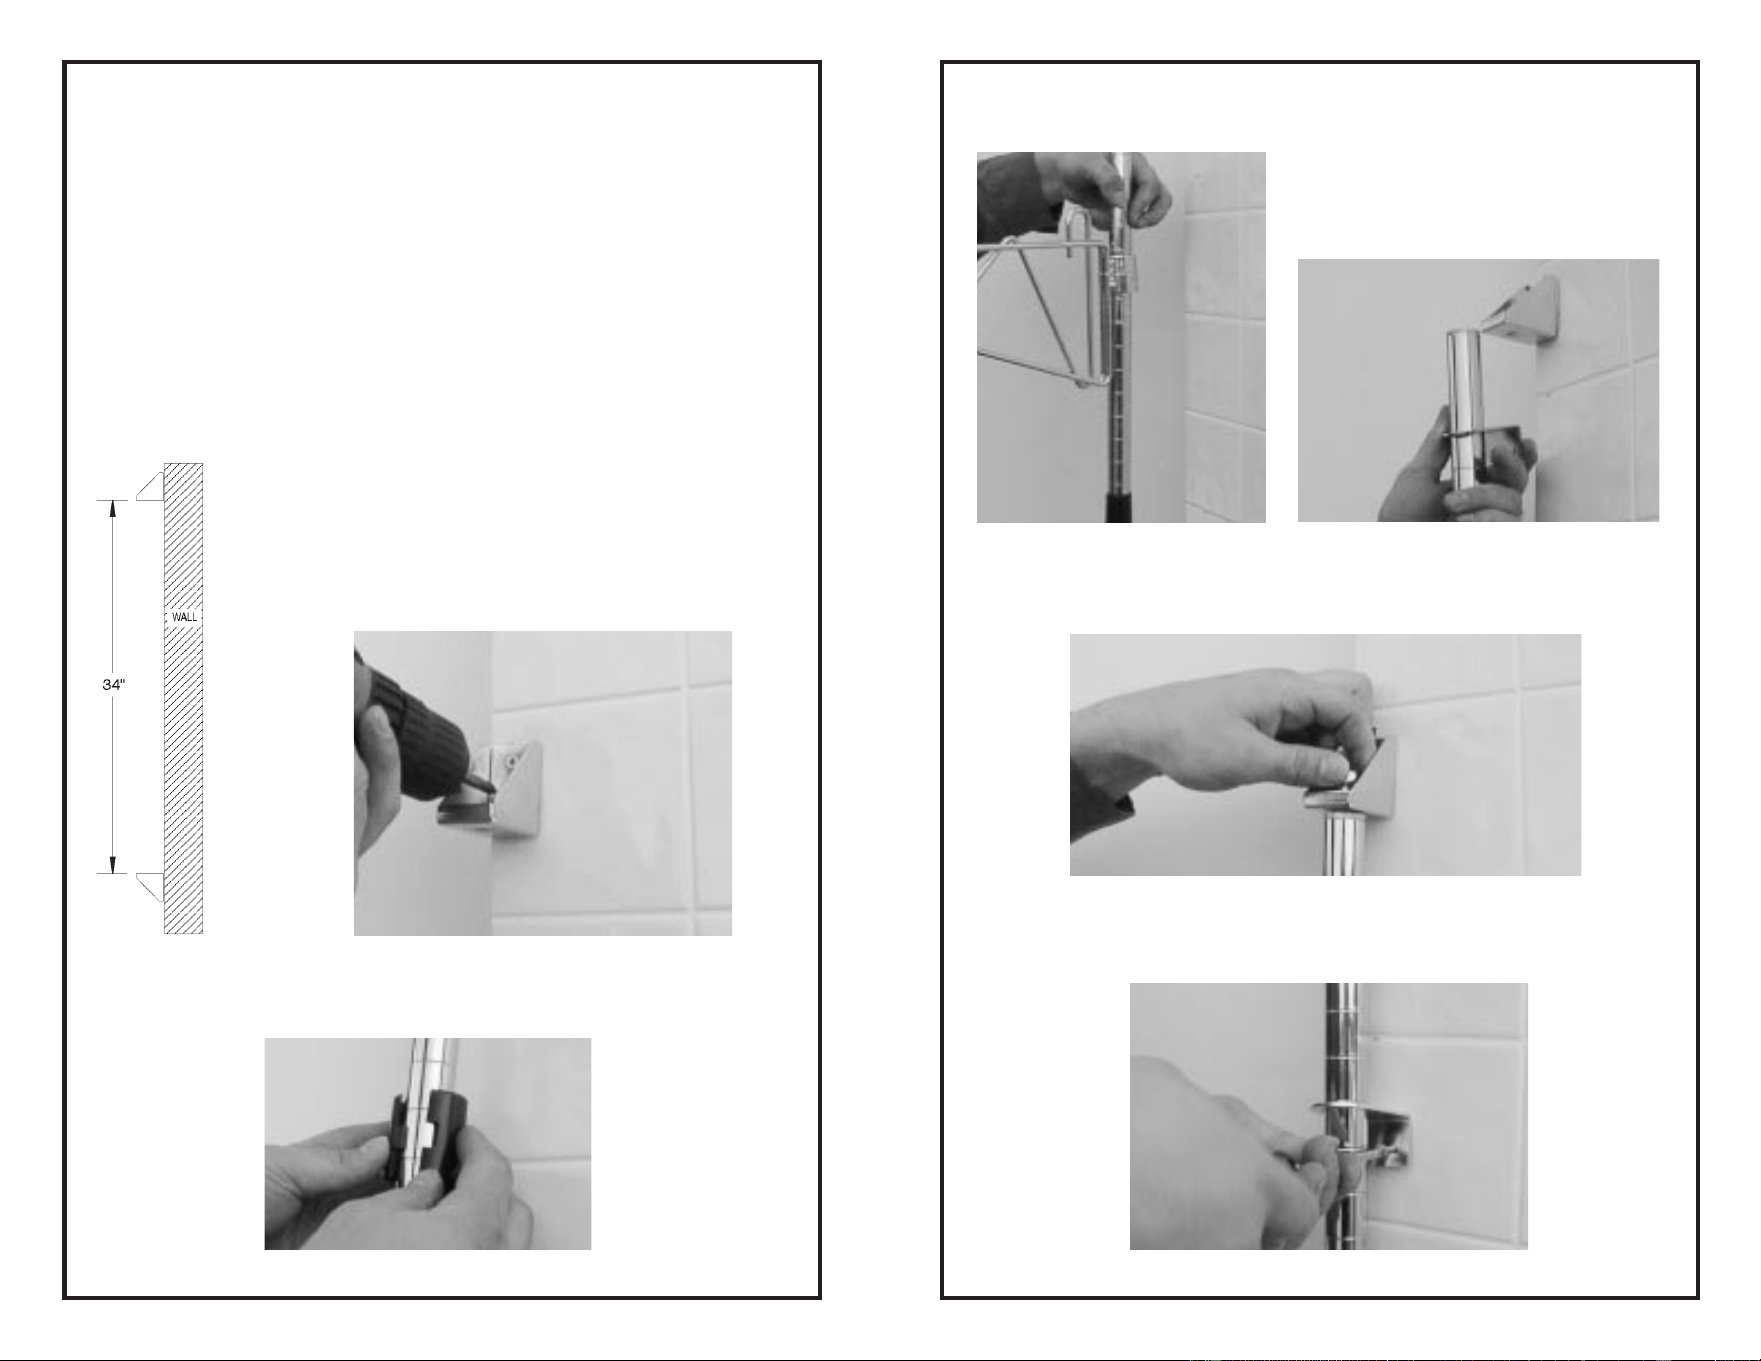
Step 1:
Mark the wall so post mounting brackets are 34” a part
(Illustration 1). Drill post mounting bracket into wall (Illustration
2).
Step 2:
Place tapered split sleeve on bottom portion of post at desired
position (Illustration 3).
Step 3:
Slide shelving bracket onto post (Illustration 3). Then slide center support
bracket onto post (Illustration 4). Place
tapered split sleeve on top portion of post
at desired position. Then slide next shelv-
ing bracket onto post.
Step 4:
Bolt post onto post mounting bracket (Illustration 5)
Illustration 2
Illustration 1
Illustration 3
Illustration 3
Illustration 4
Illustration 5
Step 5:
Position center support bracket and secure into wall (Illustration 6).
Illustration 6