Operating Instruction for
Pinless Moisture Meter
1
2
1.Introduction
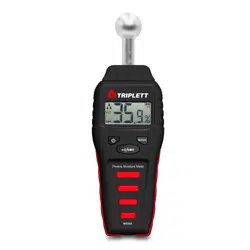
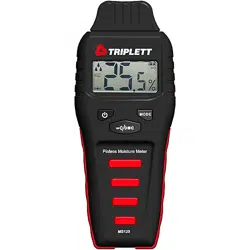
• This is the Pinless Moisture Meter, It is an electronic dampness indicator with a measuring process working on
the principle of high frequency.
• The instrument is used for non-destructively tracing dampness in building materials of all kinds as well as for
detecting damp distribution in walls , ceilings and floors.
• It is particulary suitable for pre-testing the readiness of building materials for covering prior to CM measurement.
2.Features
• Quickly indicate the moisture content of materials
• CM % measured function
• Depth of penetration about 20-40mm
• Measure and HOLD Function
• MAX/MIN display Function
• Alarm Function
• Low battery indication
• Auto Power Off
• White Backlighting LCD Display
3.Specification
Measuring Range
Penetration Depth
Resolution
Battery
0.0 to 100.0
20 to 40mm
0.1
9V Battery
4.Description
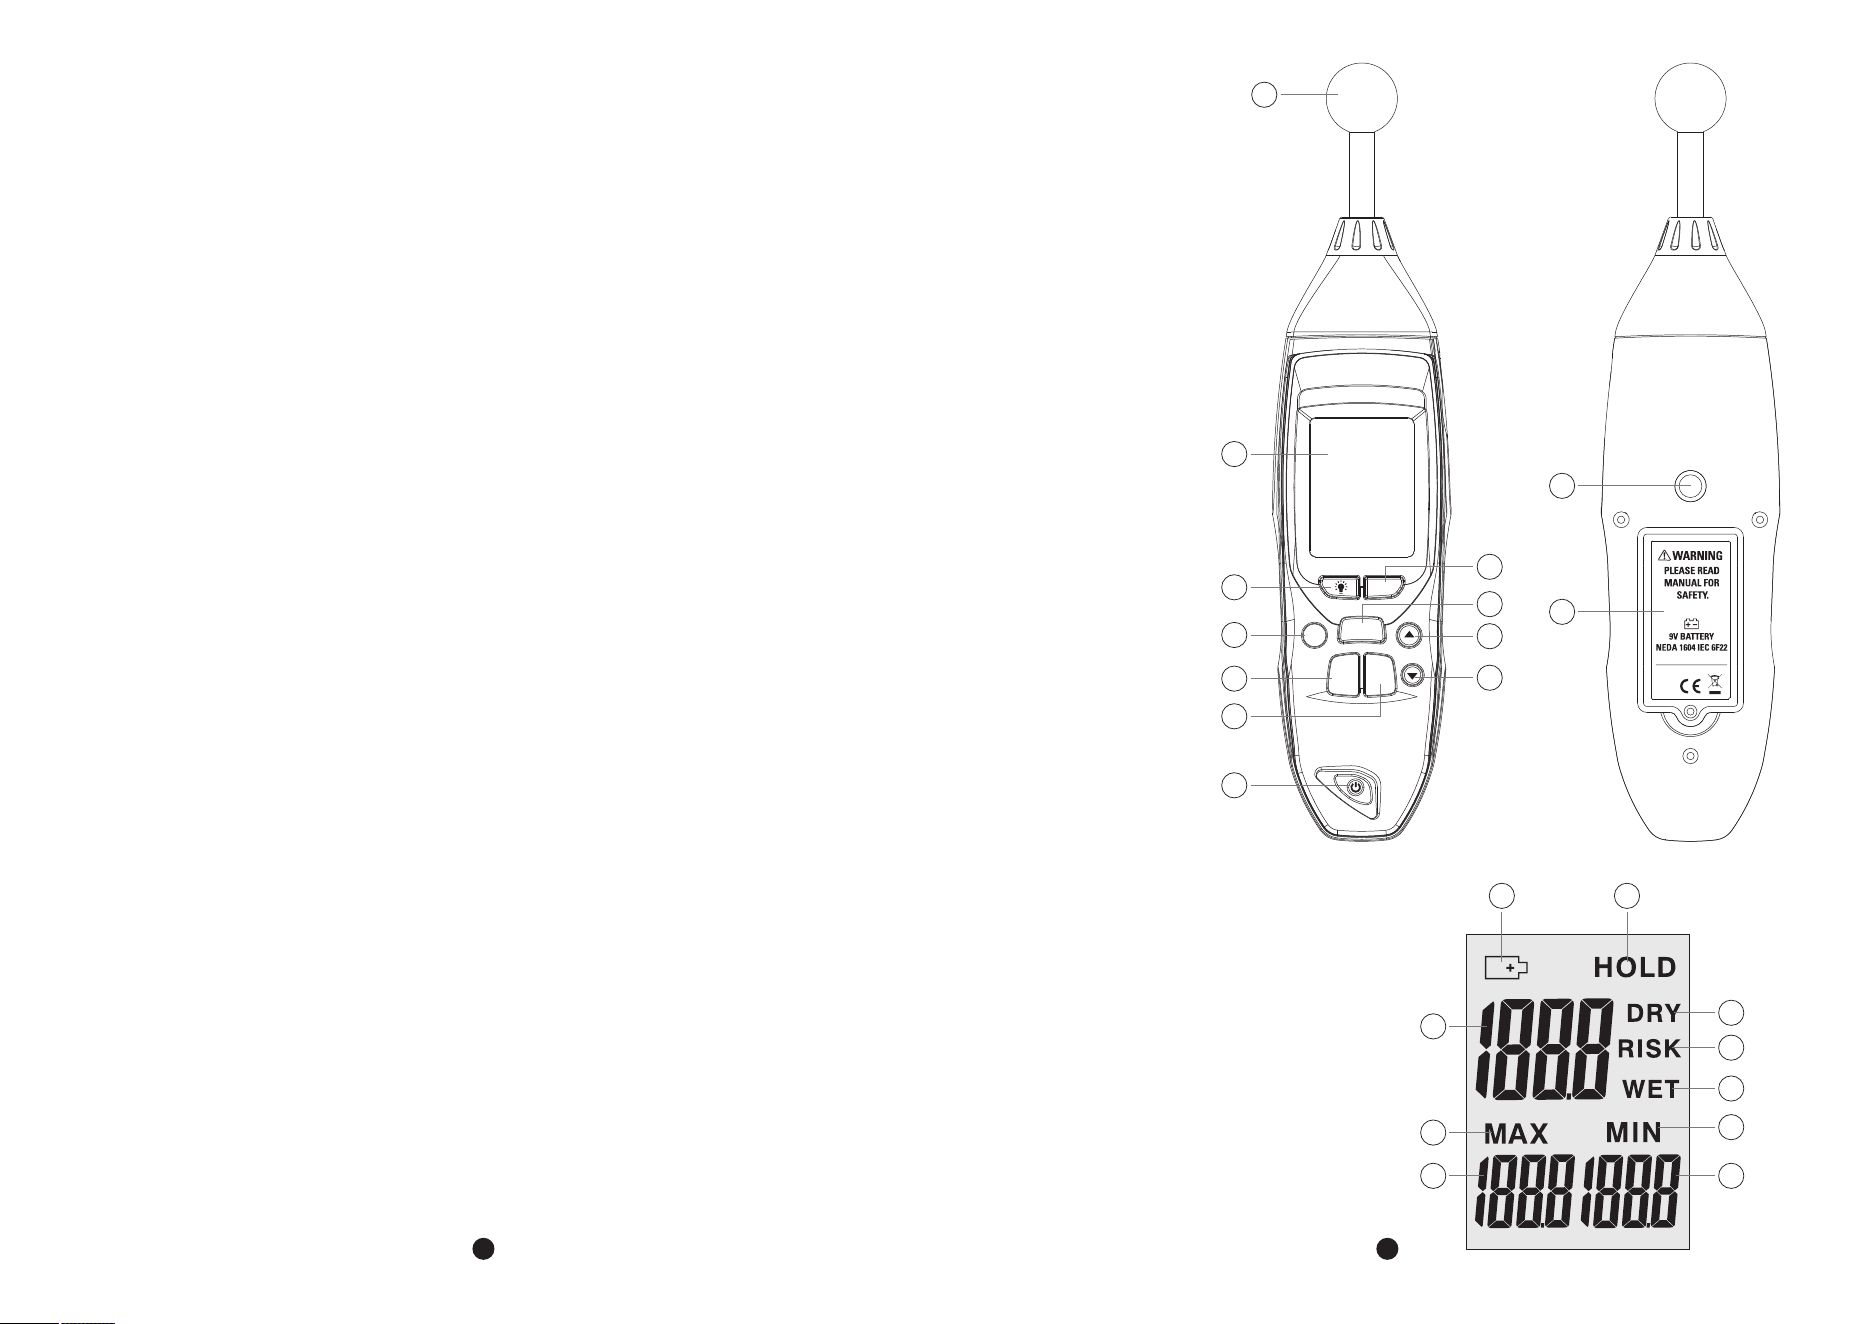
4-1.Meter Description
1-Moisture Sensor
2-LCD Display
3-Backlight Button
4-ZERO Button
5-Data Hold Button
6-MEAS Button
7-Up Button
8-Setup Button
9-Enter Button
10-Down Button
11-Power Button
12-Tripod Mounting Screw
13-Battery Cover
4-2.Symbols Used on LCD Display
1-Low Battery Indication
2-Data Hold Symbol
3-Current Moisture Value
4-DRY Status Symbol
5-RISK Status Symbol
6-WET Status Symbol
7-MAX Symbol
8-MAX Moisture Value
9-MIN Symbol
10-MIN Moisture Value
ZERO
Pinless Moisture Meter
MEAS
HOLD
SETUP ENTER
1
2
3
4
5
7
6
8
10
9
11
12
13
1
2
3
7
8
4
9
10
5
6
Rev.231018
3
4
5.Operation
• Turn the meter On by pressing the Power Button, press the MEAS Button to start measuring.
• User press the MEAS Button for the first time when the meter is turn on, please hold the meter up so that the
ball sensor is in the air, not covered by your hand or any surface or object for 8 to 10cm distance.
• Press the ZERO Button, the LCD will display “CAL” indication and then moisture value display in LCD, the value
must below 0.5, if not, please turn meter on over again and repeat hereinbefore operation, then the meter start
to measuring the object.
• Press the HOLD Button again, the moisture measurement shall latch on the display for 50 sec, the HOLD symbol
will displayed, after 50 sec, the meter will auto turn off.
• In the measurement state, pressing the ZERO Button will clear the current value.
Note: When you turn meter on once, you must calibrate once, and if you move meter from one place to another
place, you must calibrate once.
Note: If the ball head in corners, it maintain a minimum distance of 8 to 10cm from corner ares.
Note: The ball head must be kept perpendicular to the measured material during the measurement, pressed firmly
against the surface and not slanted.
Note: In the case of material thicknesses of less than 20mm,there is the danger that moisture values, maybe the
values is not correct.
Note: If “ ” appears in the display, the battery should be replaced.
6.Alarm Set Mode
• Press the SETUP Button will enter the alarm set mode when the meter is already in data hold mode, the “RISK”
icon appears on the LCD, you can use the Up and Down Button to adjust the threshold.
• Press the ENTER Button shall save the alarm setting, then “WET” icon appears on the LCD, you can use the Up
and Down Button to adjust the threshold.
• Press the ENTER Button shall save the alarm setting and then the meter back to the Data Hold Mode, if the
moisture measurement is higher than the RISK alarm setting.
• It shall beep once every 2sec, if the Moisture measurement exceeded the WET alarm setting, it shall beep four
time every 1sec.
Note: The RISK value is adjust 0 to 50, the default value is 30; The WET value is adjust 50 to 100, the default value
is 60.
7.Backlighting
• Press the Backlight Button to switch the backlighting on or off when the meter is in the data hold mode.
• The displayed shall be backlit with a series of white LEDs.
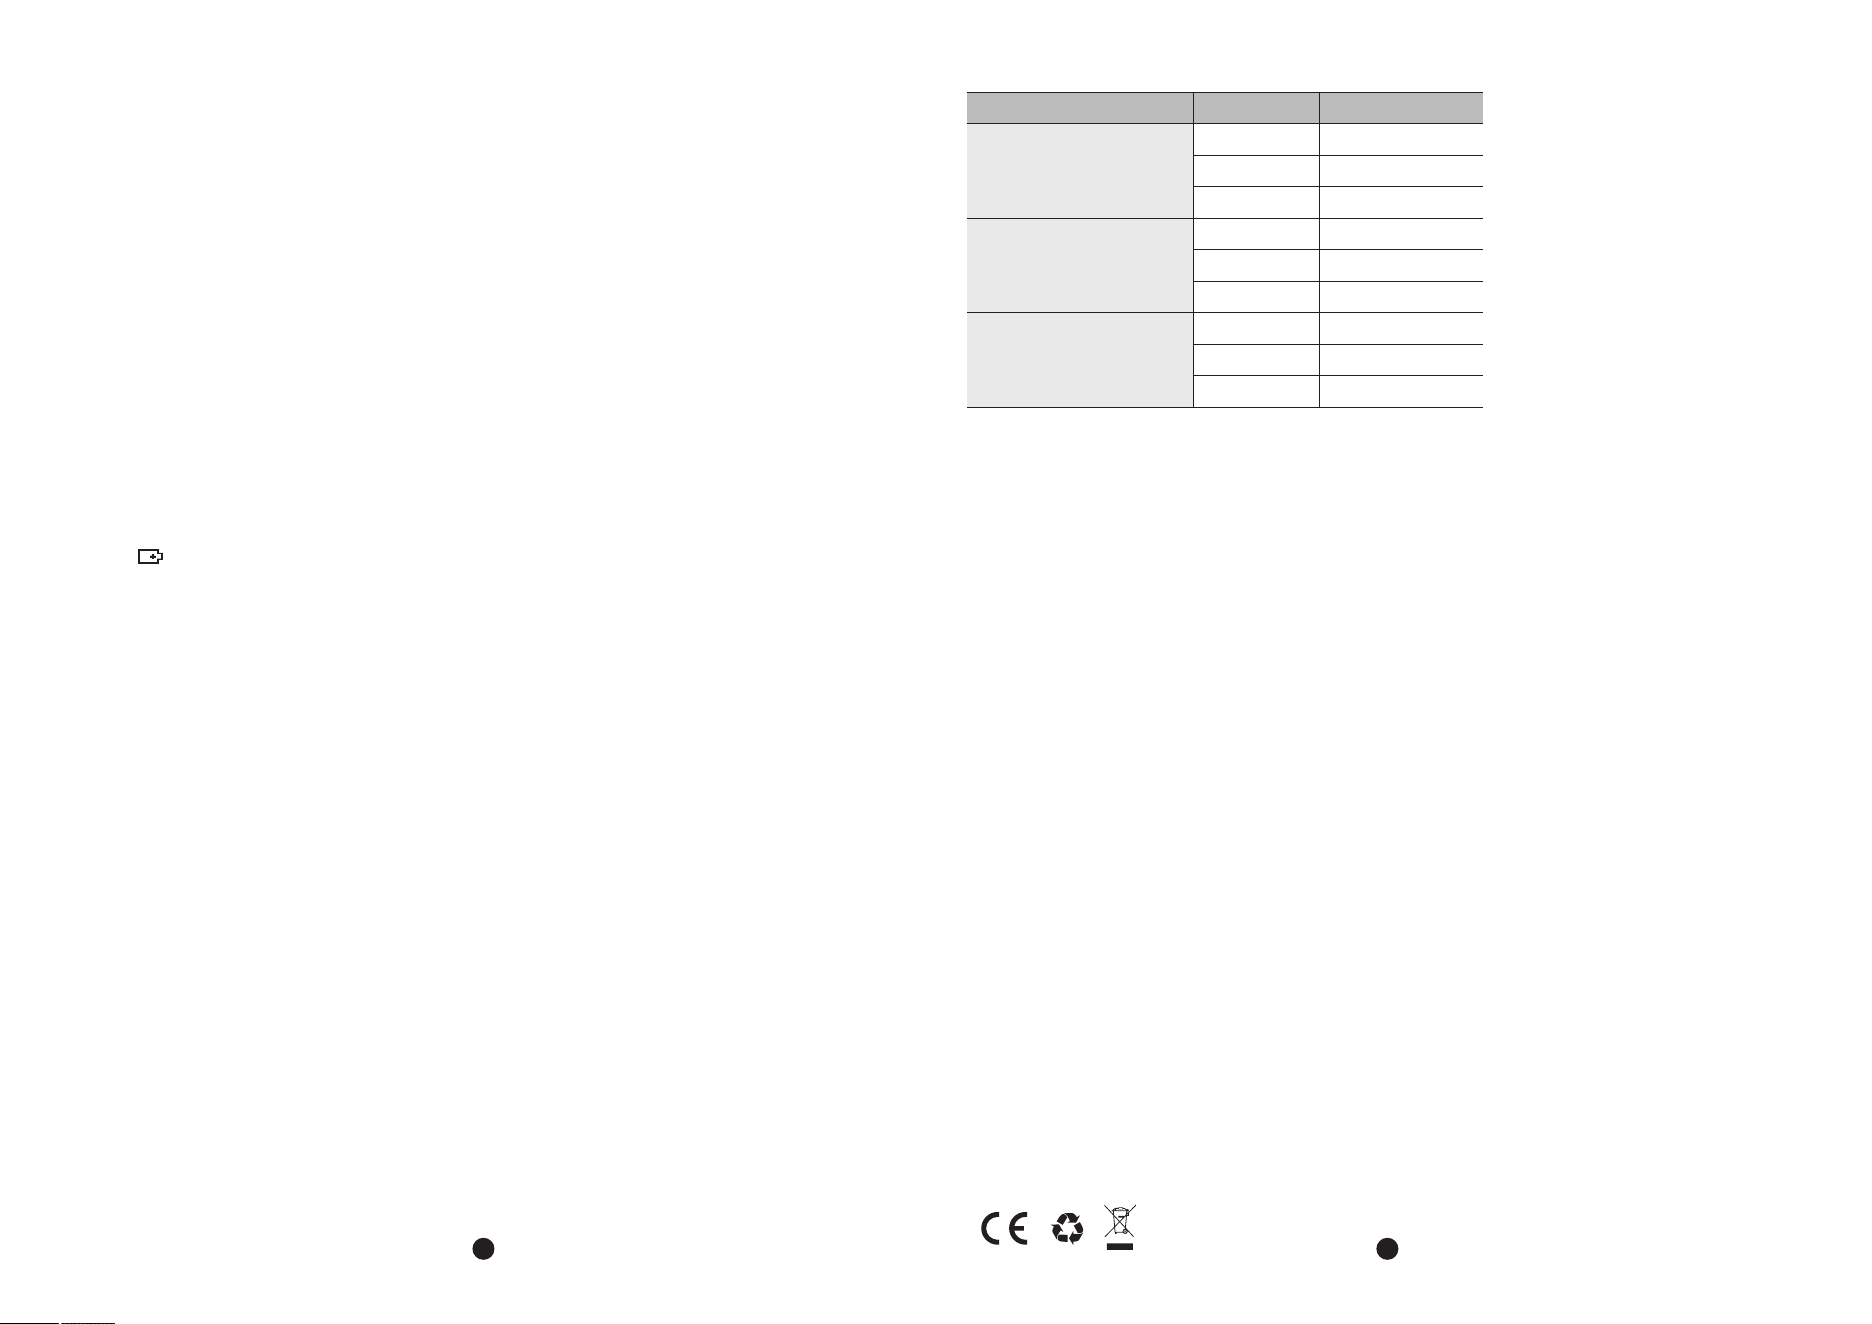
8.Moisture Table of Comparison
Display
<30
30 to 60
>60
<25
25 to 50
>50
<50
50 to 80
>80
Moisture Status
DRY
RISK
WET
DRY
RISK
WET
DRY
RISK
WET
Construction Material
Gypsum
Cement
Wood