
GBPUSH Product Manual
Product Name and Model Number: GBPUSH-710012
FCC Part 15 Certified | Non-weatherproofed | Indoor-Only Use
1. Product Overview
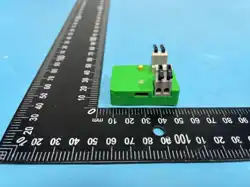
The GBPUSH is a retrofit smart switch that replaces traditional garage door pushbuttons. It
integrates with existing garage systems via BLE-enabled mobile apps while maintaining
mechanical reliability. No internal wiring modifications are required to existing garage door
openers—simply repurpose the standard pushbutton circuit.
Key Features
✅ Dual-connector design: Works with standard garage door opener wiring (no adapter
needed).
✅ App-controlled relay: Triggers garage door operation via Bluetooth 6.0
(iOS/Android).
✅ Passive operation: Garage button works even when GBPUSH is unpowered (fallback
to hardwired functionality).
✅ Compact enclosure: PC/ABS hybrid casing (designed for indoor use only).
2. Safety & Important Warnings
⚠ CRITICAL: Electrical Safety
Power Source: Operates solely on 5.0V DC via USB-C (no data transfer). Never attempt
to connect to AC mains power.
No Weatherproofing: Not for outdoor/garage exposure (e.g., rain, humidity >80%).
Damage from environmental factors voids warranty.
Fallback Functionality: The physical button always works when pressed if wires are
secured in connectors, even if the device is unpowered (prevents total loss of control).
⚠ Installation Safety
Locking Mechanism: The levers on the headers must be fully depressed downward to
lock in the wires.

Wire Handling: Ensure wires are secured tightly at both connectors. Loose wiring may
cause arcing or temporary disconnects.
Positioning: Position within 12" of the garage opener. Avoid metal obstructions near
the antenna.
3. Installation Guide
Tools Required
Wire stripper (for standard 18-22 AWG wires)
Step-by-Step Procedure
1. Power Off: Disconnect power at the garage opener’s junction box.
2. Identify Connectors: Since the two GBPUSH headers are interchangeable, select which
header will be Port A and which header will be Port B.
Port A: Standard garage push button wiring. Connect the two wires from the
existing garage button directly to Port A.
Port B: Standard garage opener wiring. Connect the two wires to the same circuit
on the garage opener that the button would normally connect to.
3. Wire Connections: GBPUSH should be inserted “inline” with existing wiring.
Cut/strip wires as needed in order to insert GBPUSH inline with existing wiring.
Wire connections according to Port A and Port B definitions above.
4. Secure Connections: Fully depress levers on headers downward to lock in wires. Follow
instructions for garage opener to secure wires to garage opener.
5. Power On: Reconnect junction box power. The GBPUSH will self-initialize in <5 seconds.
6. Pair App to Device: Follow the app pairing procedure to pair with the device.
Why both buttons work?
The GBPUSH duplicates the physical button’s signal internally. Pressing the garage button or the
GBPUSH relay both trigger the opener—no internal rewiring needed.
4. Troubleshooting
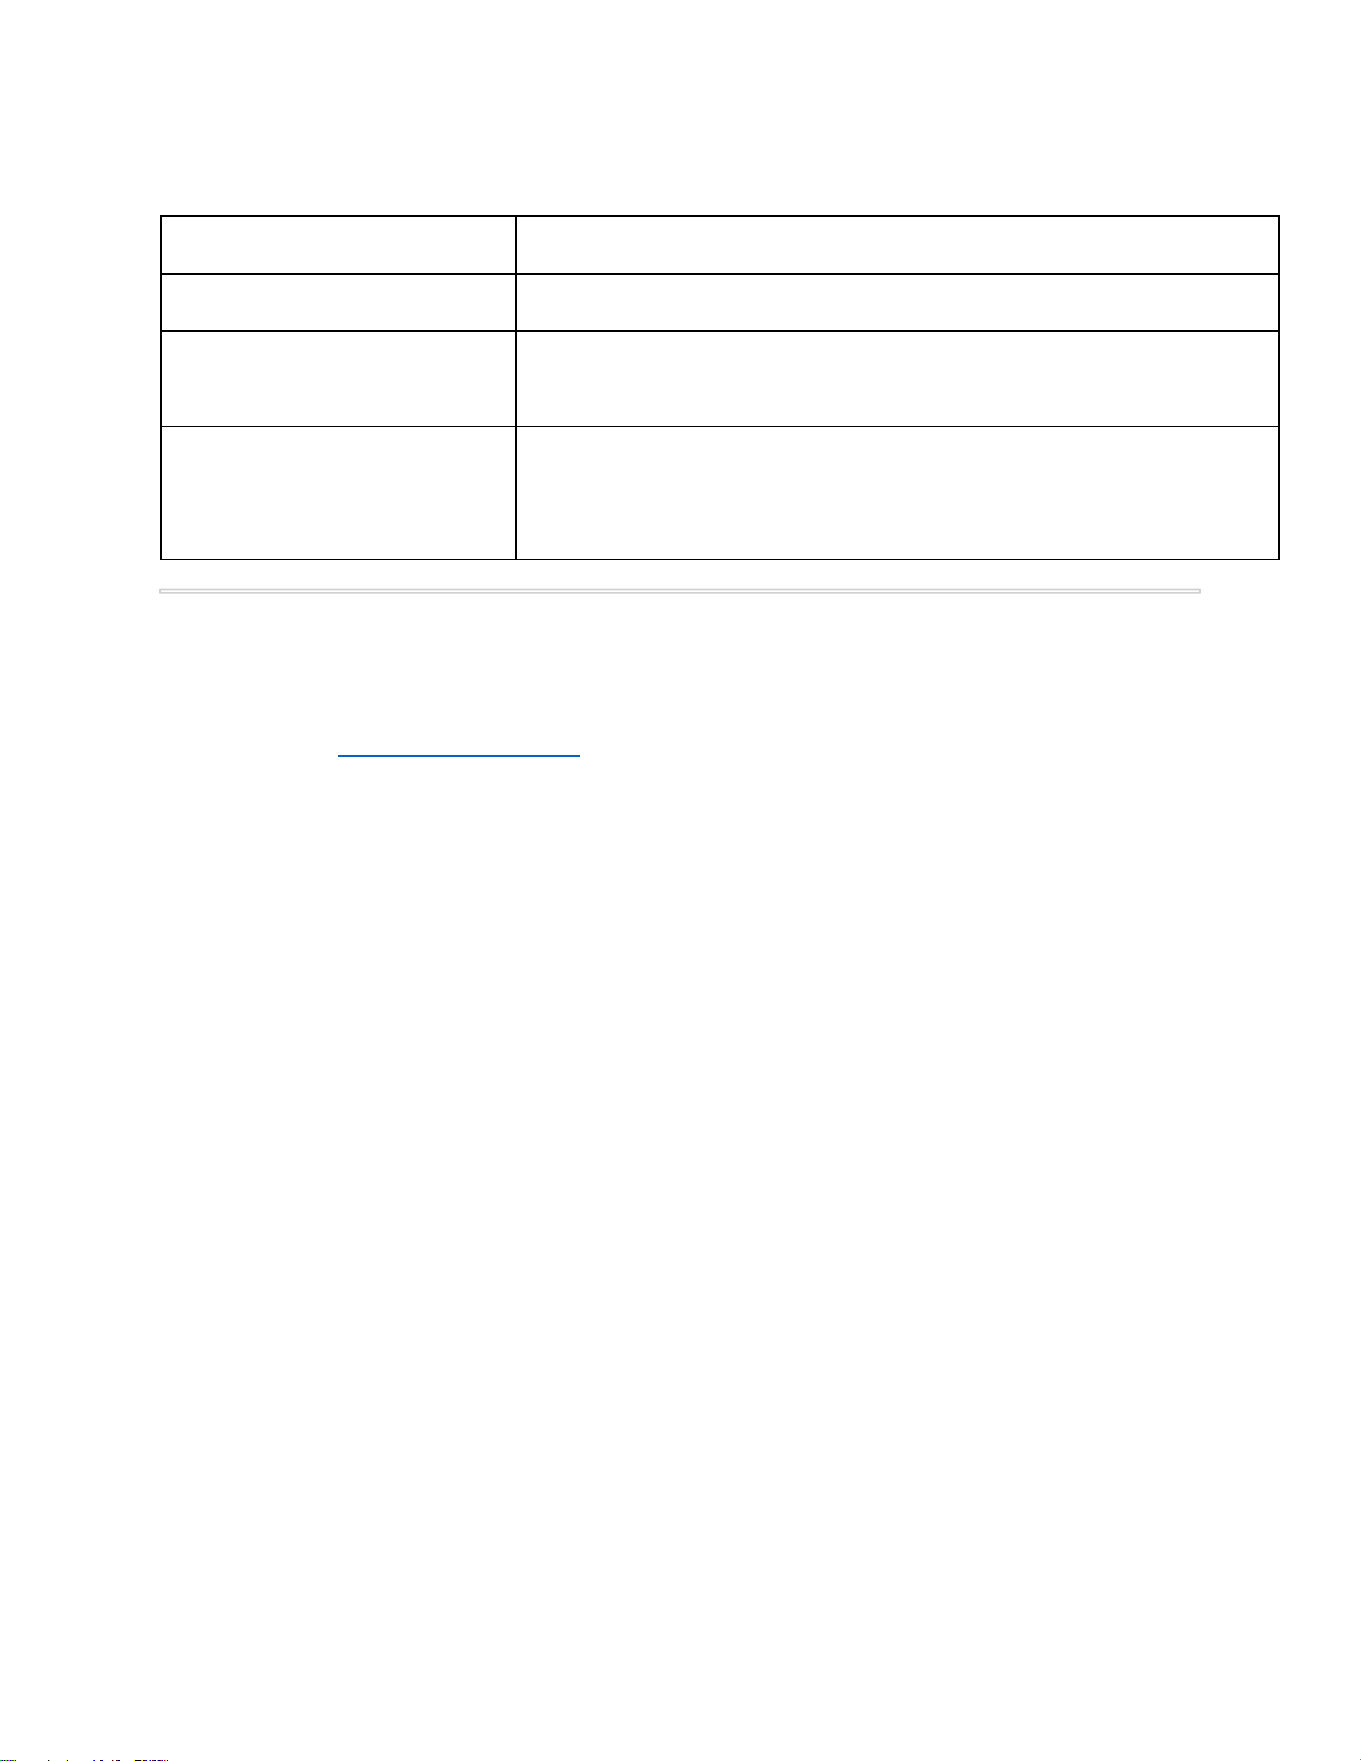
Issue
Solution
Garage Button doesn’t activate
1. Verify wires are tight GBPUSH headers and on garage opener.
Relay fails to lock
1. Confirm lever is fully depressed.
2. Check for moisture in enclosure (unlikely indoors).
App connection fails
1. Forget device (Devices> “Forget Device”).
2. Follow app pairing procedure to re-pair with the device.
3. Update device firmware via OTA (Settings > "Firmware Update").
5. Maintenance & Support
Firmware Updates: Automatic via app.
Contact: [email protected]om

FCC Compliance Statement
This device complies with part 15 of the FCC Rules. Operation is subject to the following two
conditions:
(1) this device may not cause harmful interference, and (2) this device must accept any
interference received, including interference that may cause undesired operation.
CAUTION: The grantee is not responsible for any changes or modifications not expressly
approved by the party responsible for compliance. Such modifications could void the user’s
authority to operate the equipment.
NOTE: This equipment has been tested and found to comply with the limits for a Class B digital
device, pursuant to part 15 of the FCC Rules. These limits are designed to provide reasonable
protection against harmful interference in a residential installation. This equipment generates,
uses, and can radiate radio frequency energy, and if not installed and used in accordance with
the instructions, may cause harmful interference to radio communications. However, there is no
guarantee that interference will not occur in a particular installation. If this equipment does
cause harmful interference to radio or television reception, which can be determined by turning
the equipment off and on, the user is encouraged to try to correct the interference by one or
more of the following measures:
– Reorient or relocate the receiving antenna.
– Increase the separation between the equipment and receiver.
– Connect the equipment into an outlet on a circuit different from that to which the receiver is
connected.
– Consult the dealer or an experienced radio/TV technician for help.
This equipment has been tested and meets applicable limits for radio frequency (RF) exposure.