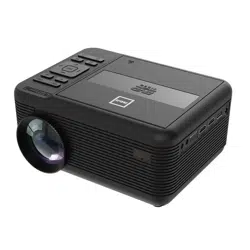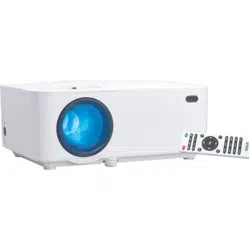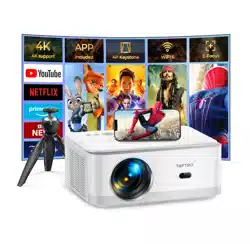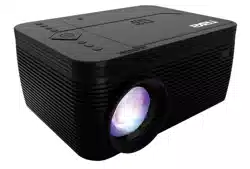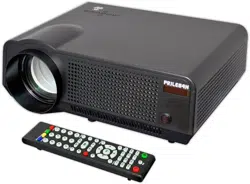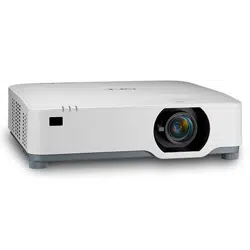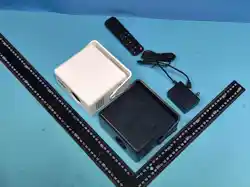

LCD Projector
※Quick Installation Guide※

Please read this manual carefully before use and keep it for
future reference.
1.In order to reduce the risk of fire and electric shock, do
not expose the projector to rain and fog.
2.Please use the original power adapter. The projector
should work under specified rated power supply.
3.When projector is working, please do not look directly
into the lens, the strong light will flash your eyes and cause
slight pain. Children should use the projector under the
supervision of adults.
4.Do not cover the vents of projector. Heating will reduce
the life of projector and cause danger.
5.Regularly clean projector vents, or dust may cause
cooling malfunction.
6.Do not use the projector in greasy, damp, dusty or smoky
environment. Oil or chemicals will cause malfunction.
7.Please handle with care during daily use.
8.Please cutoff the power if the projector is out of use for
longtime.
9.Non-professionals are forbidden to disassemble the
projector for testing and maintenance.
1 2 3 4 5 6 7 8 9 10 11 12 13 14

Structure description
This manual is for reference only. It is subject to change without
prior notice. reserves the right of final interpretation.
ON/OFF
HDMI
USB
DC IN (TYPE-C)
1 2 3 4 5 6 7 8 9 10 11 12 13 14
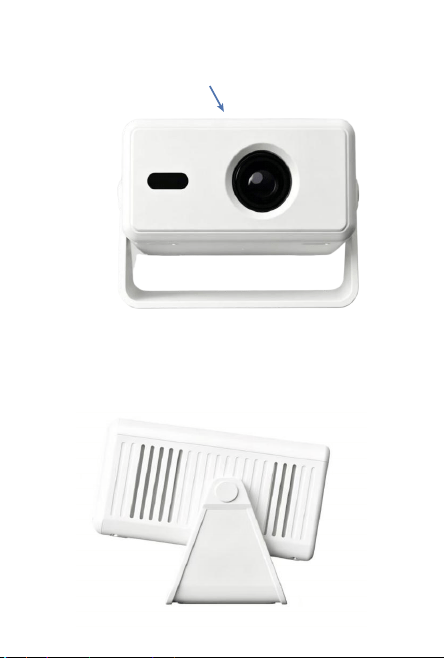
LENS
AIR INLET
ROTATE
1 2 3 4 5 6 7 8 9 10 11 12 13 14

RETURN
VOL-
MUTE
ON/OFF
Remote Component and Functions
1 2 3 4 5 6 7 8 9 10 11 12 13 14
AIR MOUSE
HOME
VOL+
FOCUS
MENU
OK
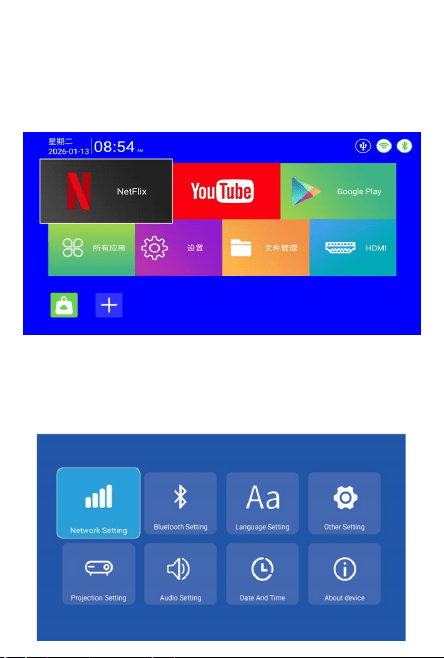
On the home screen, select "APPS"" and press the OK button to
view the installed applications.
Press any application icon to switch between them. All applications
can be clearly distinguished by their icons.
Switching Applications
On the home screen, select the "Settings" option and press the OK
button to enter the settings screen.
From here, you can configure general, display, and system
settings.
Settings
1 2 3 4 5 6 7 8 9 10 11 12 13 14
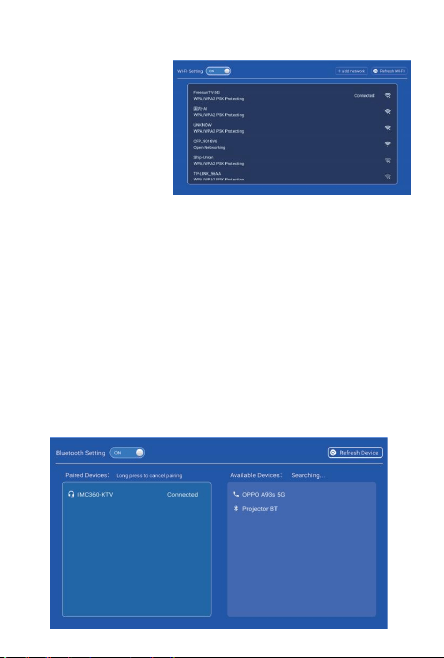
On the settings screen,
select the WiFi icon and
press OK to access the
network settings.
To connect to a WiFi
network, toggle the
switch to turn on WiFi.
Within seconds, a list of
available networks will
appear.
Select the SSID of the network you wish to connect to and press
the OK button, then enter the password when prompted to establish
the connection.
Connecting Bluetooth Headphones
On the settings screen, select the Bluetooth icon and press the OK
button to open Bluetooth settings.
To pair a Bluetooth device, toggle the switch to enable Bluetooth. A
list of available devices will shortly appear.
Select the device you wish to pair with and press the OK button.
Once pairing is complete, the projector will connect successfully.
Bluetooth Settings
Network Settings
1 2 3 4 5 6 7 8 9 10 11 12 13 14
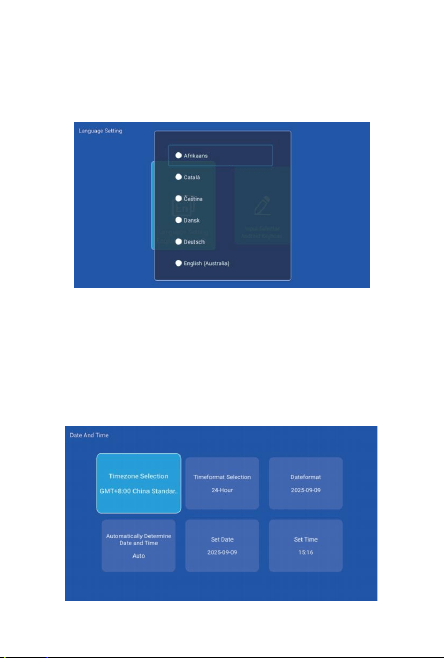
On the settings screen, select the Language icon and press the OK
button to access the language options.
Choose your preferred language and press the OK button to
confirm.
Language Settings
To adjust the date and time zone, select Time and Time Zone to
access its settings.
Toggle the switch to enable time settings, then adjust the time zone
as needed.
Time and Time Zone Settings
1 2 3 4 5 6 7 8 9 10 11 12 13 14
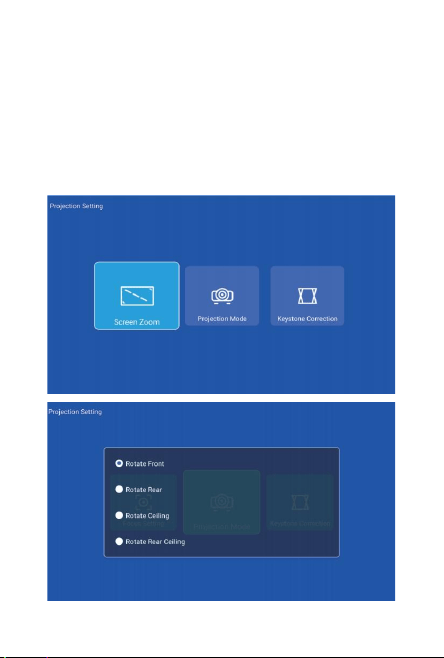
In Display Settings, you can finely adjust the Trapezoid and Manual
Keystone configurations to achieve the best image quality.
To adjust the Trapezoid Settings, select the second icon and press
the OK button.
Then, toggle the switch to enable the function and follow the
on-screen instructions to complete image calibration.
Projection Settings
1 2 3 4 5 6 7 8 9 10 11 12 13 14
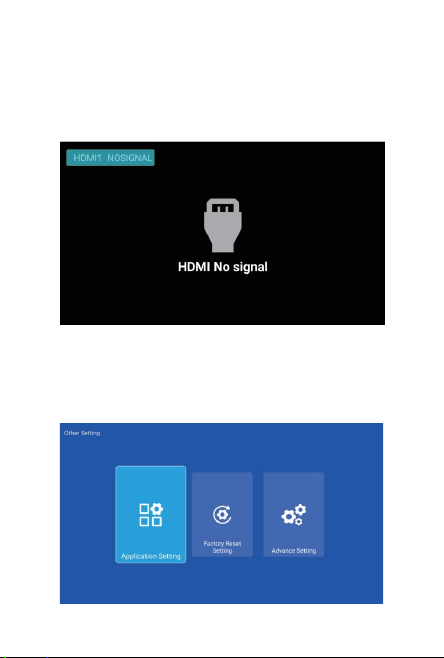
After connecting the projector to an external device, select the
"Source" option on the home screen to access the input selection
menu.
Choose the appropriate input source based on the connected
device and press OK to confirm.
Signal Source
In System Settings, you can adjust the date and time, restart the
device, view projector information, or update the firmware.
Other Settings
1 2 3 4 5 6 7 8 9 10 11 12 13 14
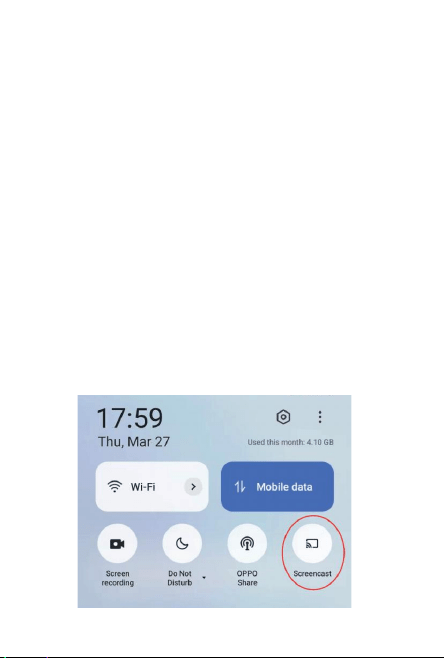
Make sure your Android device is connected to the same Wi-Fi
network as the projector. Then, follow these steps:
Home screen → My Apps → QuickShare → Follow the steps to
connect.
Android Device:
Android
1 2 3 4 5 6 7 8 9 10 11 12 13 14
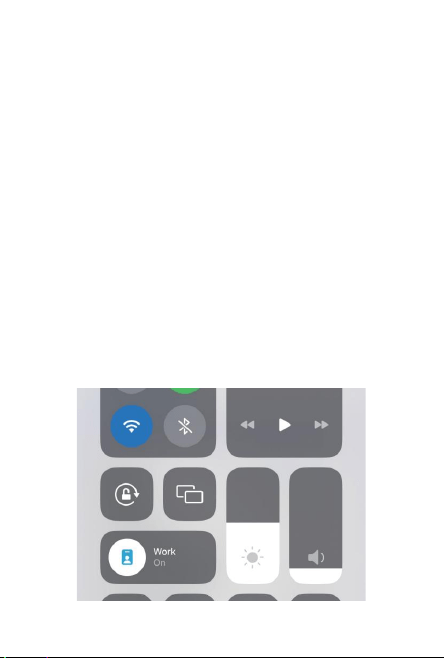
Make sure your iOS device (such as an iPhone or iPad) is
connected to the same Wi-Fi network as the projector. Then, follow
these steps: Home screen → My Apps → QuickShare → Turn on
screen mirroring → Connect.
Airplay
iOS Device:
1 2 3 4 5 6 7 8 9 10 11 12 13 14

Safety Instructions
Please pay attention to important information related to the operation and
maintenance of the projector. You should read this information carefully to avoid
problems. Following safetyinstructions will increase the life of projector.
Please consult the qualified personnel for installation and repair services, and
do not use damaged wires, accessoriesand other peripherals.
Projector should be kept away from flammable, explosive strong
electromagnetic interference (large radar stations,power stations,substa-
tions),etc. Strong ambient light (avoiddirect sunlight),etc.
Do not cover projector vents.
Please use the original power adapter.
Keep adequate ventilation and make sure vents are notcovered to avoid
projector overheating
When projector is working, please do not look directly into the lens, the strong
light will flash your eyes and cause slightpain.
Do not bend or drag the power cord.
Do not put power cord under projector or any heavy objects.
Do not cover other soft materials on power cord
Do not heat the power cord.
Avoid touching power adaptor with wet hands.
1 2 3 4 5 6 7 8 9 10 11 12 13 14

Disclaim
This manual is general instructions, The pictures and functions in this manual
should subject to the actual product. Our company is devoting to improve product
performance, we reserve the right to modify product functions and interface
described in this manual without notice.
FCC Statement
1.This device complies with Part 15 of the FCC Rules,Operation is subject to the
following two conditions:
(1)This device may not cause harmful interference.
(2)This device must accept any interference receivedincluding interference that
may cause undesired operation.
2.Changes or modifications not expressly approved by the party responsible for
compliance could void the user's authority to operate the equipment.
Please keep your device properly. We are not responsible for any loss caused by
wrong operation of software/hardware or repairing or any other reasons. We are
not responsible for any loss of any third party claims.
This manual has been carefully checked by professional engineer, please
understand for any inevitable omissions.
1 2 3 4 5 6 7 8 9 10 11 12 13 14

Note:This equipment has been tested and found to comply with the limits for a
class B digital device,pursuant to Part 15of the FCC Rules. These limits are
designed to provide reasonable protection against harmful interference in a
residential installation.
This equipment generates uses and can radiate radio frequence energy and,if
not installed and used in accordance with the instructions,may cause harmful
interference to radio communications.However,there is no guarantee that
interference will not occur in a particular installation.if this equipmemt does cause
harmful interference to radio or television reception,which can be determined by
turning the equipment off and on,the user is encouraged to try to correct the
interference by one or more of the following measures:
Reorient or relocate the receiving antenna.
Increase the separation between the equipment andreceiver.
Connect the equipment into an autlet on a circuit different from that to which
the receiver is connected.
Consult the dealer or an experienced radio/TV technicianfor help.
The device has been evaluated to meet general RF exposurerequirement, This
equipment should be installed and operatedwith a minumum distance of 20cm
between the radiator andyour body.
1 2 3 4 5 6 7 8 9 10 11 12 13 14

Attention:
Please do not look directly into the lens when
projecting to prevent the strong light doing harm to
your eyes. Kids should use the projector under the
supervision of adults.