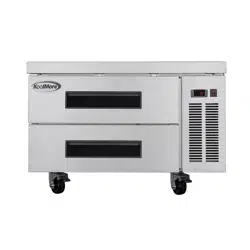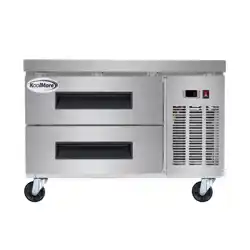
CHEF BASE FREEZER
KoolMore Commercial Stainless Steel Chef
Base Freezer
USER MANUAL
Before use, please read these operating instructions carefully to ensure
proper use and optimal performance.
For any service related issues, please contact us:
718-576-6342
suppor[email protected]
Models: KM-BF-362D, KM-BF-482D, KM-BF-724D
Stay informed with the latest information for your
KoolMore appliance.
Scan the QR code below to access the most up-to-date user manual.
If you need any assistance or have questions, our customer support
team is here to help.
Phone: 718-576-6342 Email: suppor[email protected]
Please write down the model number and serial number below for future reference. Both numbers are located on the
rating label on the back of your unit or inside of the unit and are needed to obtain warranty service. You may also
want to staple your receipt to this manual as it is your proof of purchase and may also be needed for service
under warranty.
Model Number:
Serial Number:
Date of Purchase:
To better serve you, please do the following before contacting customer service:
If you received a damaged product, immediately contact the retailer or dealer that sold you the product.
Read and follow this User Manual carefully to help you install, use, and maintain your unit.
Refer to the Troubleshooting section of this manual as it will help you diagnose and solve many common issues.

3
Contents
Safety ............................................................................................. 4
Installation ..................................................................................... 5
Operation ....................................................................................... 6
Maintenance .................................................................................. 8
Troubleshooting ............................................................................ 9
Warranty ......................................................................................... 10
4
Please read and follow all safety instructions in this section. Failure to do so may result in serious
injury, property damage, or product malfunction.
Danger – Risk of Fire or Explosion
This appliance uses a ammable refrigerant.
• Do not puncture or damage the refrigerant tubing.
• Repairs must be performed only by trained and qualied service personnel.
Risk of Fire or Electrical Shock
• Use a dedicated, grounded electrical outlet. Do not share or overload the outlet.
• Do not use extension cords or adapter plugs.
• Do not plug in or unplug the unit with wet hands.
• Ensure the power cord is not damaged, pinched, or resting under the unit.
• Unplug the unit before cleaning or servicing.
• After unplugging, wait at least 10 minutes before reconnecting power to prevent compressor
damage.
Handling and Usage Safety
• Do not sit, stand, or place excessive weight on the unit or open drawers.
• Do not place your hands under the unit while moving it.
• Do not hang or place heavy objects on the doors or drawers.
• Do not attempt to modify, repair, or tamper with the unit unless performed by qualied service
personnel.
• If the unit has been transported on its side, allow it to stand upright for at least 24 hours before
connecting to power.
Installation Safety
• Ensure the unit is placed on a stable and level surface to prevent tipping or malfunction.
• Keep the unit away from heat sources, open ames, and moisture.
• Ensure adequate ventilation around the unit at all times.
Fire and Hazard Prevention
• Do not store ammable, explosive, or corrosive substances in or near the unit.
• Follow all handling and installation instructions carefully.
• Comply with all applicable local safety regulations.
Safety

5
Installation
This unit is intended for use in a temperature-controlled environment less than 75 degrees Fahr-
enheit and 60% relative humidity.
Important – Read Before Installation
• Ensure the unit has reached the desired operating temperature before loading products. This
unit is designed to maintain cold temperatures, not to cool warm items.
• Make sure all components (drawers, drawer pans, dividers, and casters) are properly installed
before use.
• Install the unit away from doors, air ducts, and fans that may disrupt airow.
Place the unit on a solid, level surface.
• Place the unit on a solid, level surface.
• An uneven surface may cause noise, poor drawer alignment, or improper operation.
• Install the unit indoors in a well-ventilated area.
• Maintain at least 2 inches of clearance at the rear for proper airow.
• Do not install outdoors.
• Avoid direct sunlight.
• Avoid high humidity or dusty environments.
• Humidity above 60% may cause condensation, corrosion, and reduced eciency.
• Dust buildup on the condenser may affect performance.
• Keep the unit away from heat and moisture-generating equipment.
• Ambient temperature guidelines:
• Optimal performance: below 75°F (24°C)
• Do not operate above 90°F (32°C)
• Operation in high temperatures may cause a malfunction and void the warranty
• Do not install the unit inside a closet or enclosed alcove.
6
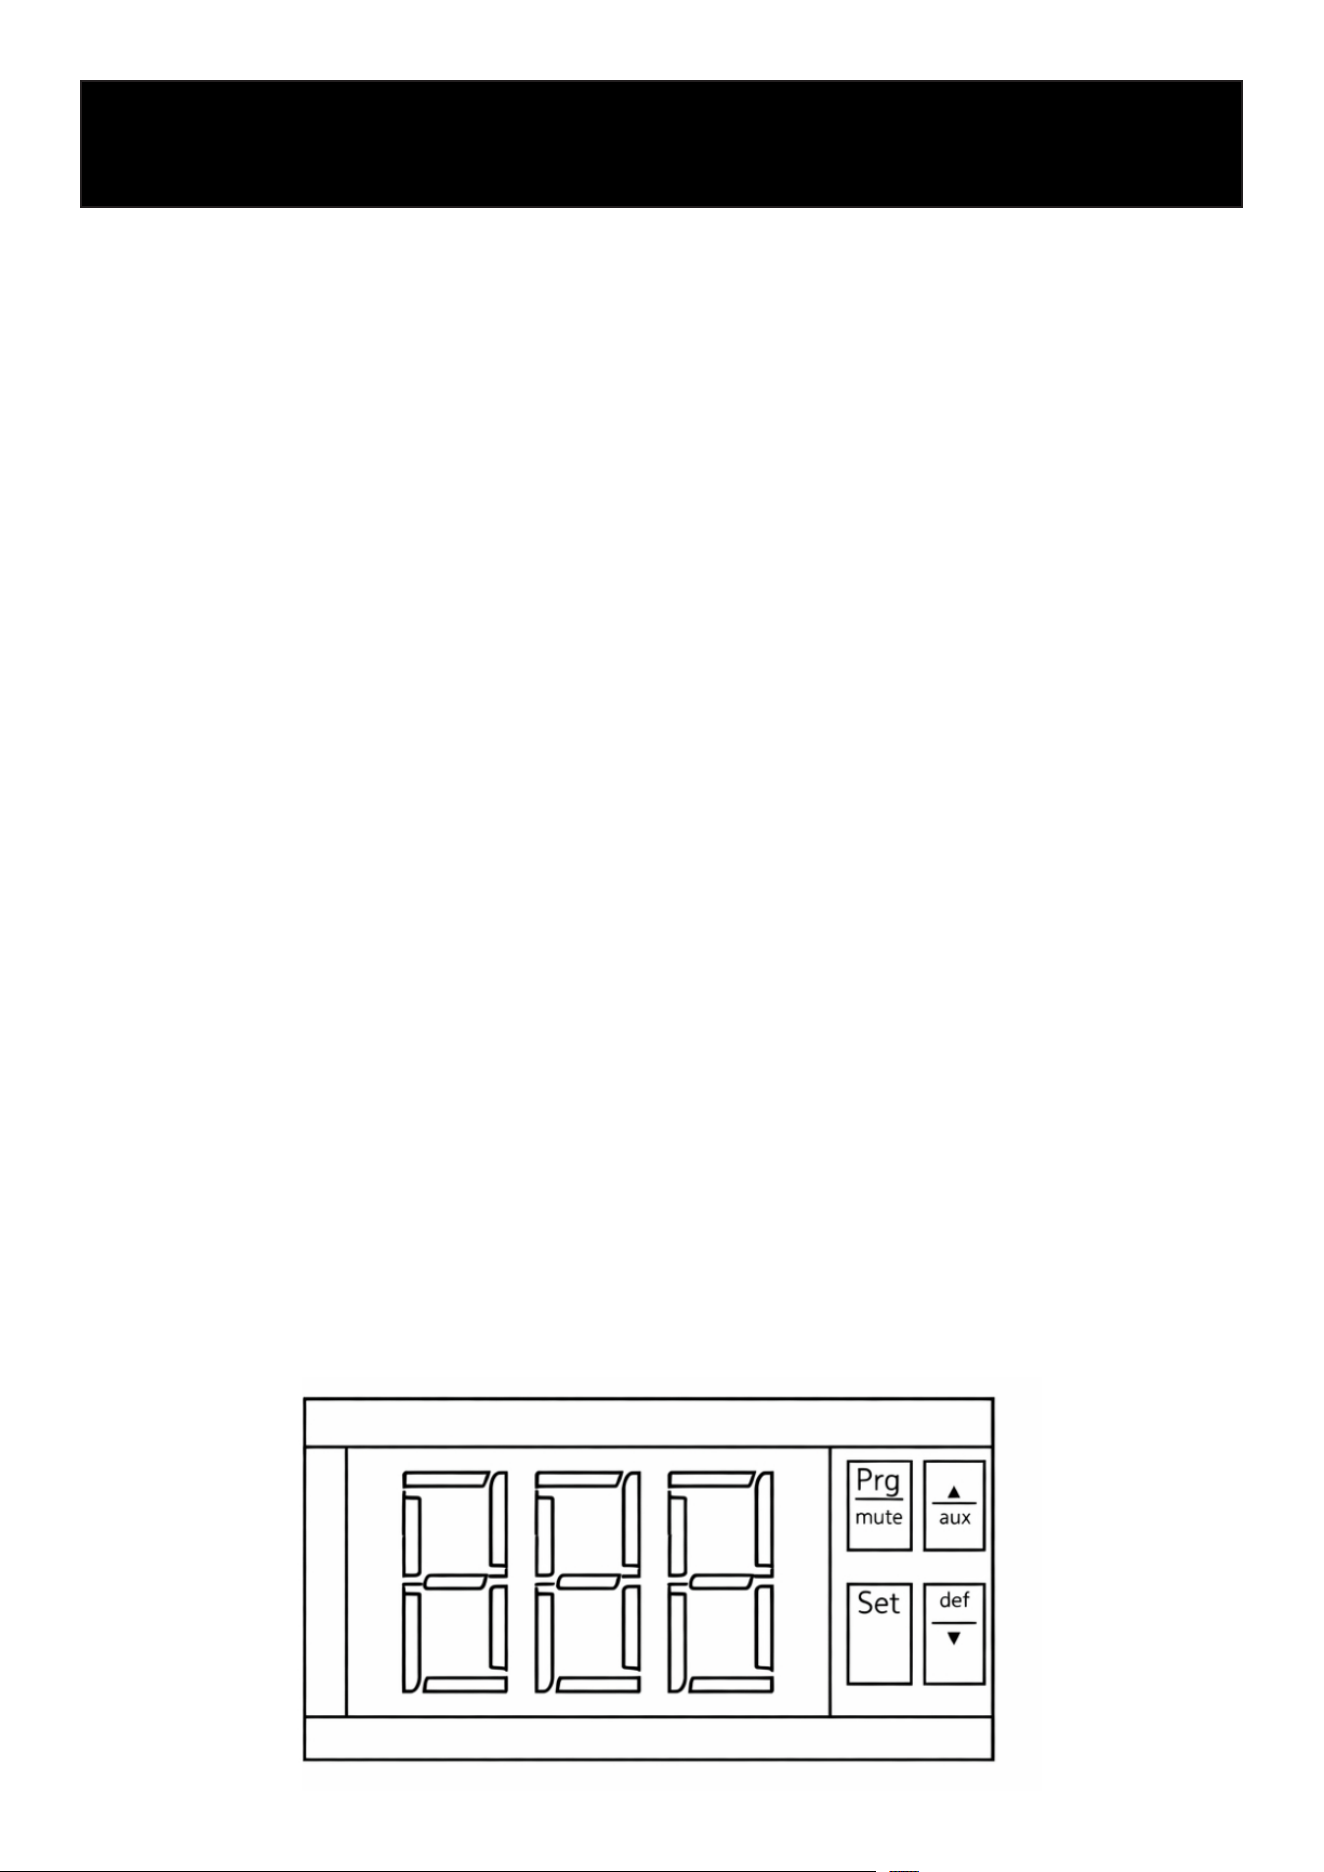
Temperature Controls
• Refrigeration LED: Indicates the compressor is running.
• Fan LED: Indicates the evaporator fan is operating.
• Defrost LED: Indicates the defrost cycle is active.
Adjusting the Temperature
Your freezer is factory-set to operate at optimal temperatures for food safety and typically does
not require adjustment. The unit cycles between approximately -7°F and 0°F.
Adjusting the temperature changes the minimum operating temperature, not the constant tem-
perature inside the unit.
To Adjust the Temperature:
• Press and hold the “SET” button for 1 second. The display will ash the current minimum tem-
perature.
• Use the arrow buttons to adjust the desired minimum temperature.
• Press “SET” again to save your settings.
Note:
The internal temperature may uctuate up to +7°F above the set minimum as the compressor cy-
cles on and off. Setting the temperature too high may result in unsafe storage conditions.
Always remember to calculate the differential if you change the minimum temperature setting.
The cabinet temperature will uctuate up to +7 degrees over your set minimum temperature as the
compressor runs and shuts off. Setting the temperature too high will result in unsafe maximum
temperatures and possible health code violations.
Loading Product
• Ensure all drawers, pans, and dividers are properly installed before loading.
• Allow adequate space between stored items and the back wall (2–4 inches) to maintain proper
airow.
• Do not block the evaporator fan, as this can cause uneven cooling and reduced performance.
Operation
7
Defrost System
The freezer is equipped with an automatic defrost system that operates at preset intervals.
• During defrost, frost buildup on the evaporator coil is melted.
• Melted water is automatically collected and evaporated.
• The evaporator fan may continue running during this process to assist airow.
Loading Food Pans
• This unit is designed to accommodate 3”, 4”, and 6” deep food pans.
• Use the included divider bars to congure each drawer as needed.
• Each drawer can hold a combination of full-size, 1/3, 1/6, or 1/9 pans.
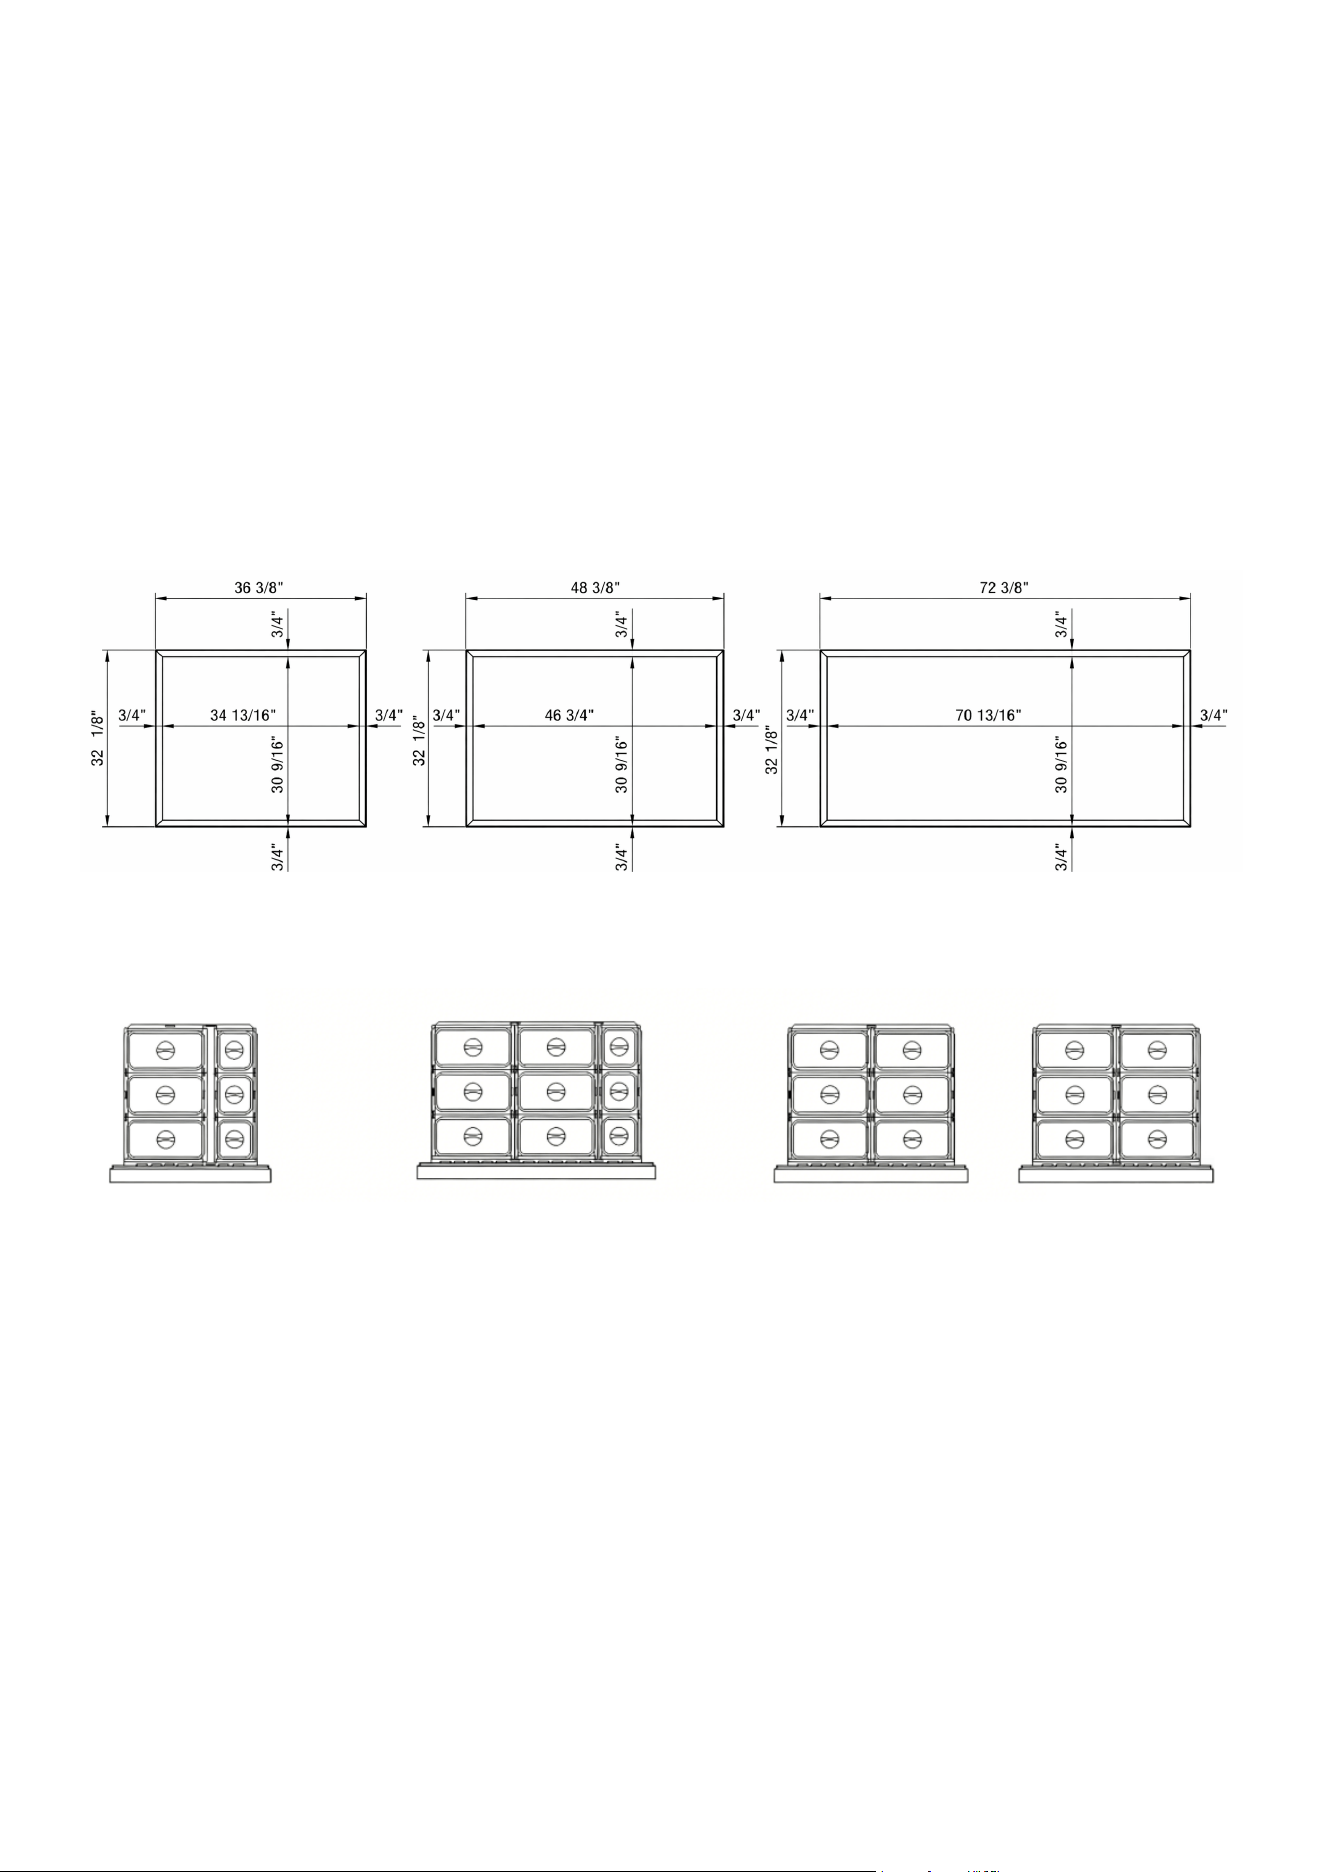
Top Surface Dimensions
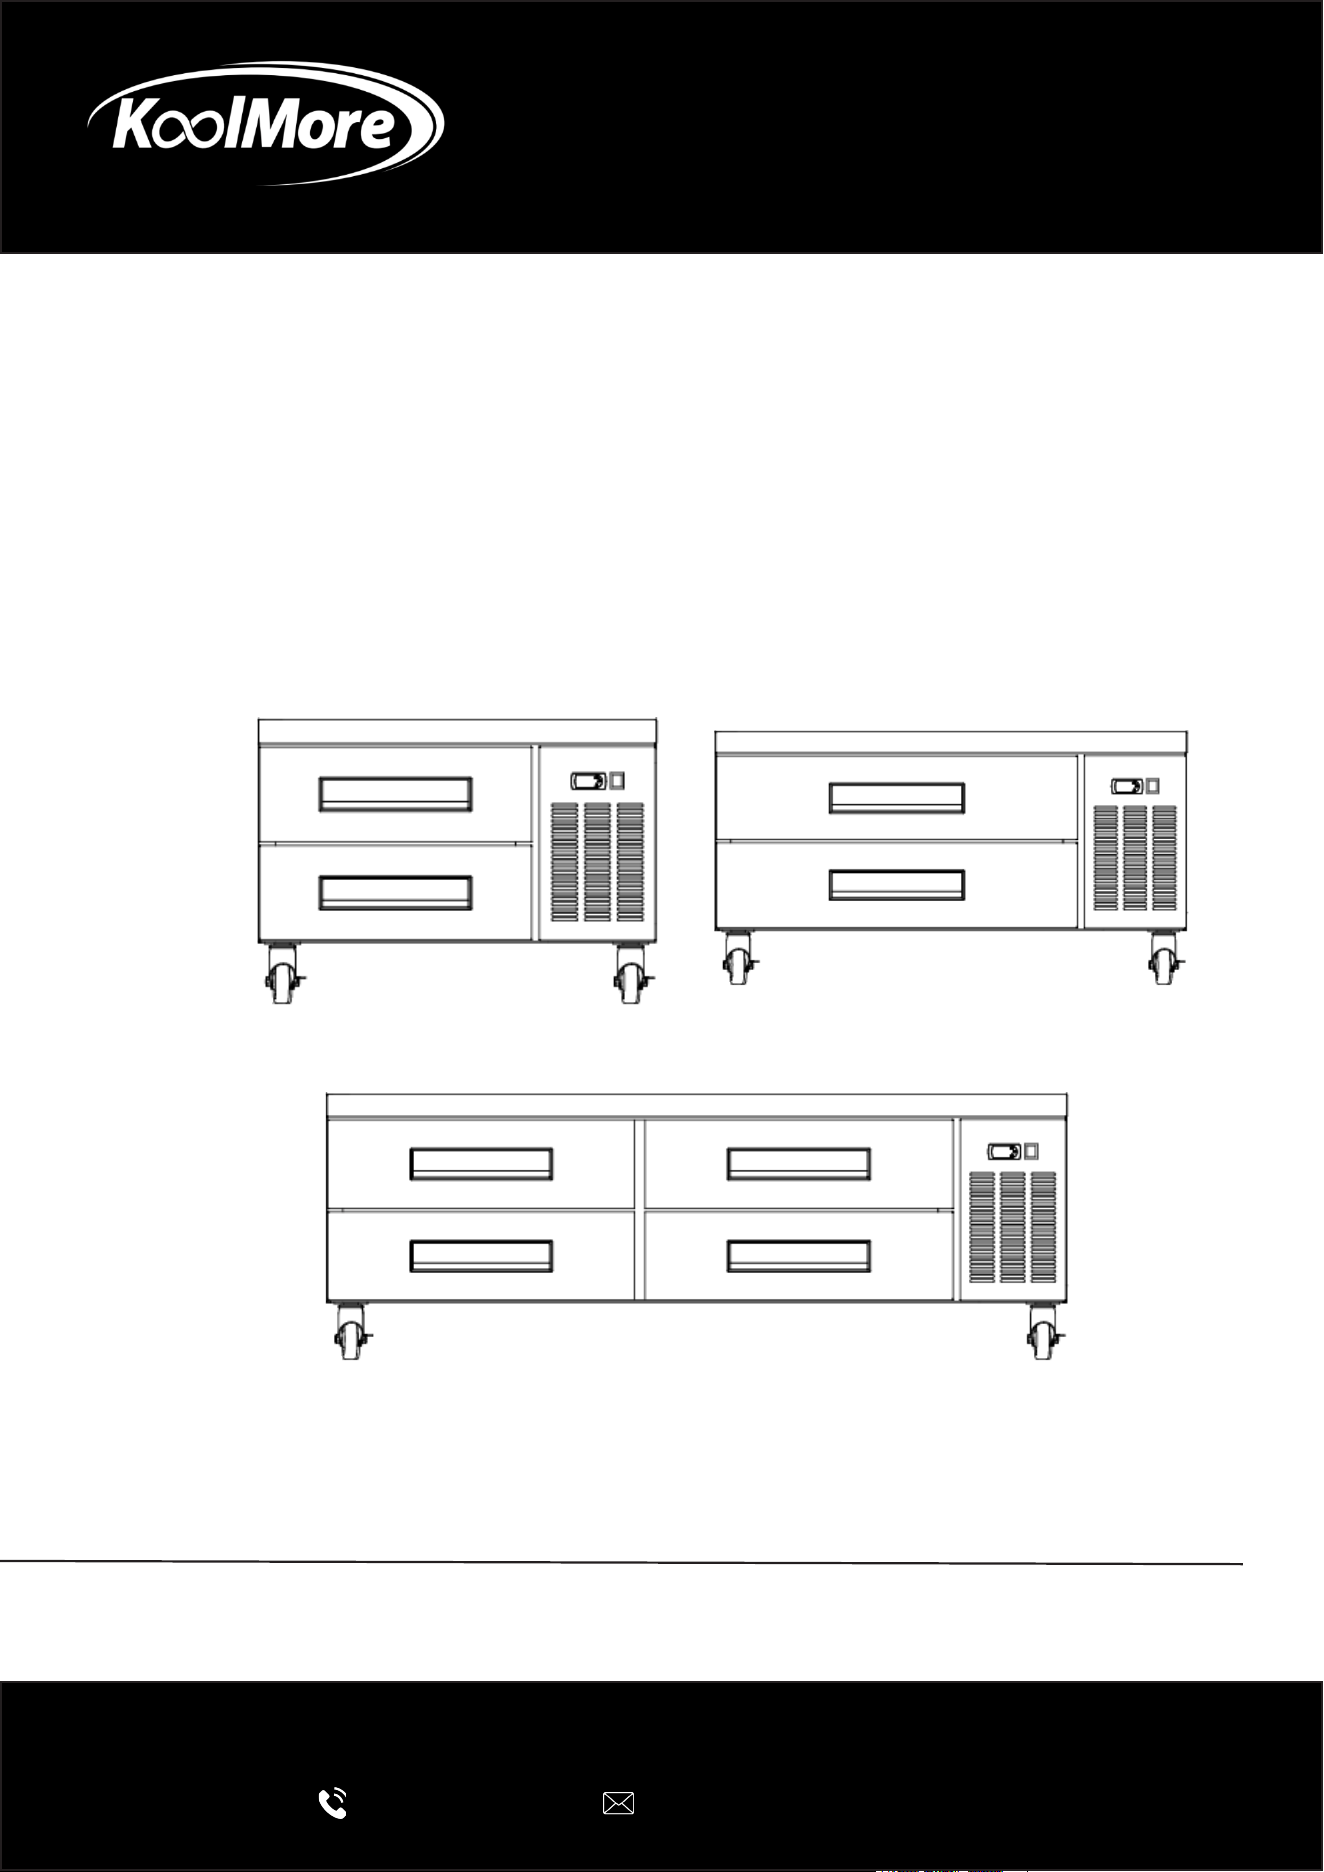
Drawer Conguration Diagrams
KM-BF-362D
KM-BF-482D
KM-BF-724D
KM-BF-362D
KM-BF-482D
KM-BF-724D
8
Warning
Disconnect the power cord before cleaning or servicing any part of the unit.
Note:
We strongly recommend that all servicing be performed by an authorized service technician.
General Use
• Do not store ammable or explosive gases or liquids inside the unit.
Cleaning the Fan Blades and Motor
• Clean the fan blades and motor using a soft, dry cloth as needed.
• If cleaning with moisture is necessary, ensure the fan motor is covered to prevent water dam-
age.
Cleaning the Interior
• Clean the interior with warm water and mild soap.
• Do not use steel wool, abrasive cleaners, caustic detergents, or bleach, as these may damage
interior surfaces.
• Clean door gaskets regularly (recommended weekly):
• Remove the gasket from the door frame.
• Wash with warm water and mild soap.
• After cleaning, ensure the gasket is properly seated to maintain a tight seal.
Cleaning the Condenser Coil
• Keep the condenser coil free of dust, dirt, and lint to ensure ecient operation.
• Clean the condenser coil at least once per month.
Important:
• A dirty condenser may result in reduced cooling performance, increased energy consumption,
and potential compressor damage.
Condenser Coil Cleaning Instructions
The condenser coil is located at the bottom of the unit behind the front panel.
1. Disconnect power to the unit.
2. Remove the front and base panels using a screwdriver.
3. Using a soft brush or vacuum, remove dust and debris from the condenser coil, brushing in a
vertical direction.
4. Clean the coil with a commercial condenser cleaner if needed.
5. Straighten any bent ns using a n comb.
6. Reinstall all panels after cleaning.
7. Reconnect power to the unit.
Maintenance
9
Problem Possible Cause Possible Solution
Compressor not running
• Blown fuse or tripped circuit break-
er
• Power cord unplugged
• Thermostat set too high
• Unit is in defrost cycle
• Replace fuse or reset circuit breaker
• Plug in the power cord
• Set thermostat to a lower temperature
• Allow the defrost cycle to complete
Unit runs for long periods
of time
• Excessive warm product loaded
• Dirty condenser coil
• Evaporator coil iced over
• Allow time for product to cool • Clean the
condenser coil
• Unplug the unit and allow it to defrost;
ensure thermostat is not set too low and
door gaskets are sealing properly
Cabinet temperature is
too warm
• Thermostat set too high
• Airow blocked
• Excessive warm product loaded
• Blown fuse or tripped circuit break-
er
• Dirty condenser coil
• Evaporator coil iced over
• Low refrigerant levels
• Set thermostat to a lower temperature
• Rearrange product to allow proper airow
(maintain at least 4” clearance from evap-
orator)
• Allow time for product to cool
• Replace fuse or reset circuit breaker
• Clean the condenser coil
• Ensure drawers are fully closed when not
in use
• Avoid frequent or prolonged door open-
ings
• Contact a qualied service technician if
refrigerant issues are suspected
Condensation is collect-
ing on the cabinet and/
or oor.
• High ambient humidity (above 60%)
• Move the unit to a lower humidity environ-
ment or improve ventilation
Troubleshooting
Additional Support
If the issue persists after performing the troubleshooting steps above, please contact KoolMore
Customer Service for further assistance.
10
LIMITED WARRANTY
KoolMore Supply Inc. extends a limited warranty to the original purchaser, guaranteeing that this KoolMore product is
free from manufacturing defects in material or workmanship for one year from the date of purchase.
Should you discover any such defect within the warranty period, KoolMore Supply Inc. reserves the right to repair or re-
place the product without charge, or to cover the cost of replacement parts and repair labor needed to correct defects
present at the time of purchase or resulting from regular usage, when the appliance has been installed, operated, and
maintained as per the instructions provided.
At its sole discretion, KoolMore Supply Inc. may decide to replace the product. In such an event, your replacement
appliance will carry the warranty for the remaining term of the original unit’s warranty period.
This warranty is valid exclusively to the original purchaser of the product and only applicable within the United States.
The warranty commences from the date of original consumer purchase. Proof of the original purchase date will be
required to obtain service under this warranty.
Under this limited warranty, your sole and exclusive remedy will be product repair, as outlined above. All services must
be provided by a KoolMore designated service company.
KoolMore shall not be responsible or liable for any loss, spoilage, or damage to food, beverages, pharmaceuticals,
medical supplies, or any other contents stored in the unit resulting from failure, malfunction, defects, improper instal-
lation, improper use, power interruption, or any other cause. Any such losses are expressly excluded from coverage
under this warranty.
To claim warranty or request repair service:
Email [email protected]. Please include your name, address, phone number, warranty repair request, and a copy
of your proof of purchase receipt. Alternatively, visit koolmore.com and use the Contact Us page. A KoolMore custom-
er service representative will promptly arrange service for your appliance.
We thank you for choosing KoolMore.
WARRANTY EXCLUSIONS
This limited warranty will not cover:
1. Failure of the product to perform during power failures or interruptions, or due to inadequate electrical service.
2. Damage incurred during transportation or handling.
3. Damage caused by accidents, vermin, lightning, winds, re, oods, or acts of God.
4. Damage resulting from accidents, alterations, misuse, abuse, improper installation, repair, or maintenance. This
includes using any external device that alters or converts the voltage or frequency of electricity.
5. Unauthorized product modications, repairs by unauthorized centers, or use of non-approved replacement parts.
6. Abnormal cleaning and maintenance not aligned with the user’s manual.
7. Use of incompatible accessories or components.
8. Any costs associated with repairs or replacements under these excluded circumstances shall be the responsibility
of the consumer.
WARRANTY