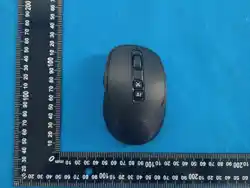
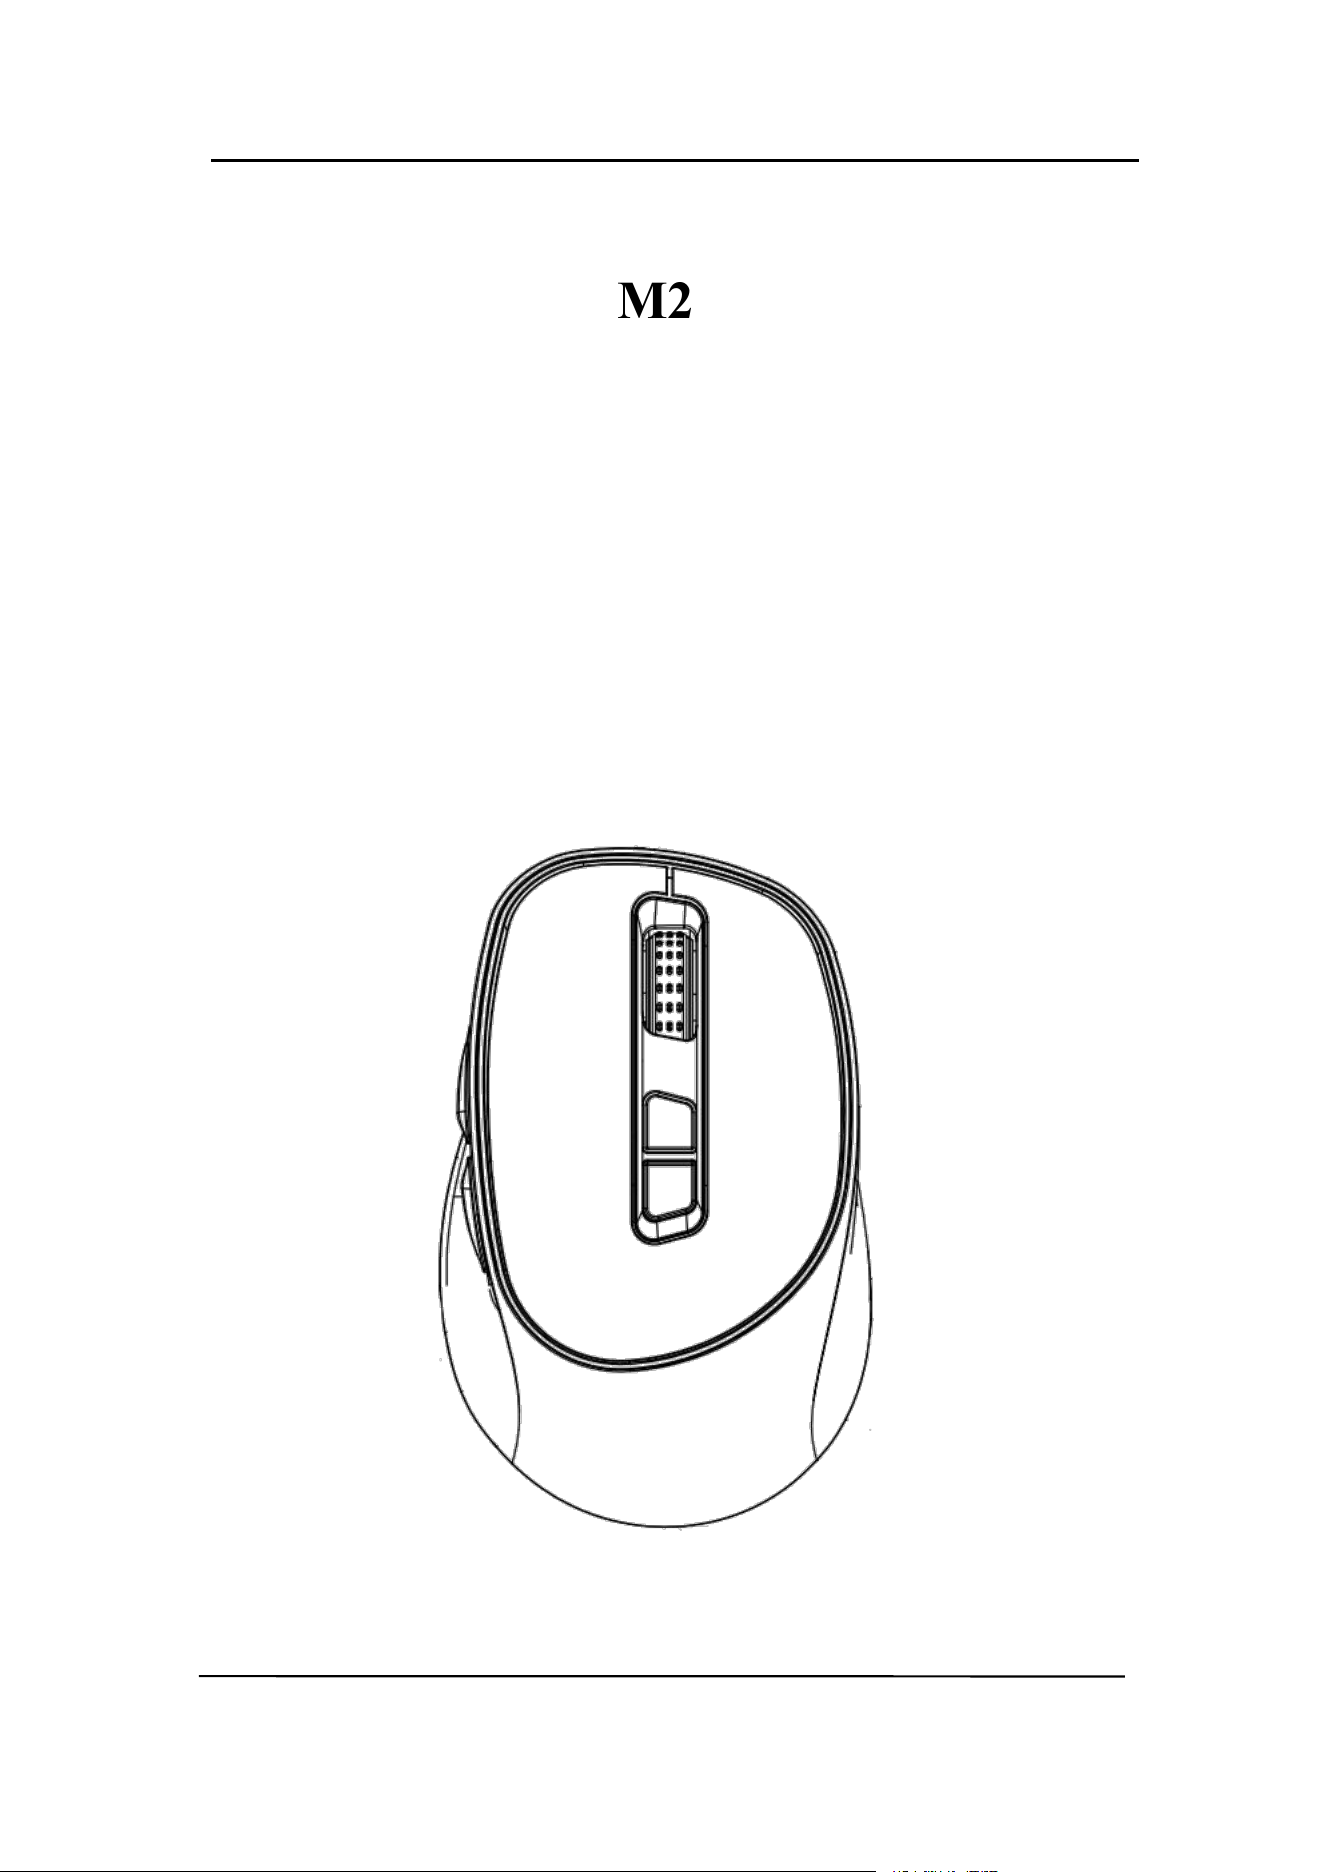
M2
Intelligent Voice Mouse
Instructions

Specifications
Product
name
Intelligent voice mouse
Product
model
M2
Package
size
(L) 107.67* (W) 68.43* (H) 41.91 mm
Coverplate
material
ABS
Connection
mode
2.4 G+ Bluetooth 5.0
Effective
distance
<10 m
Battery
type
Built-in polymer battery
Battery
capacity
330mAh
Charging
mode
Type-C
Number of
keys
7
Microphon
configuratin
Single wheat
Pickup
range
<1 meters
Pickup noise
reduction
>20dB
Key
volume
<30dB
System
support
Win7 (Bluetooth is not supported at present)
above/8/10;Mac OS10.13
450mAh
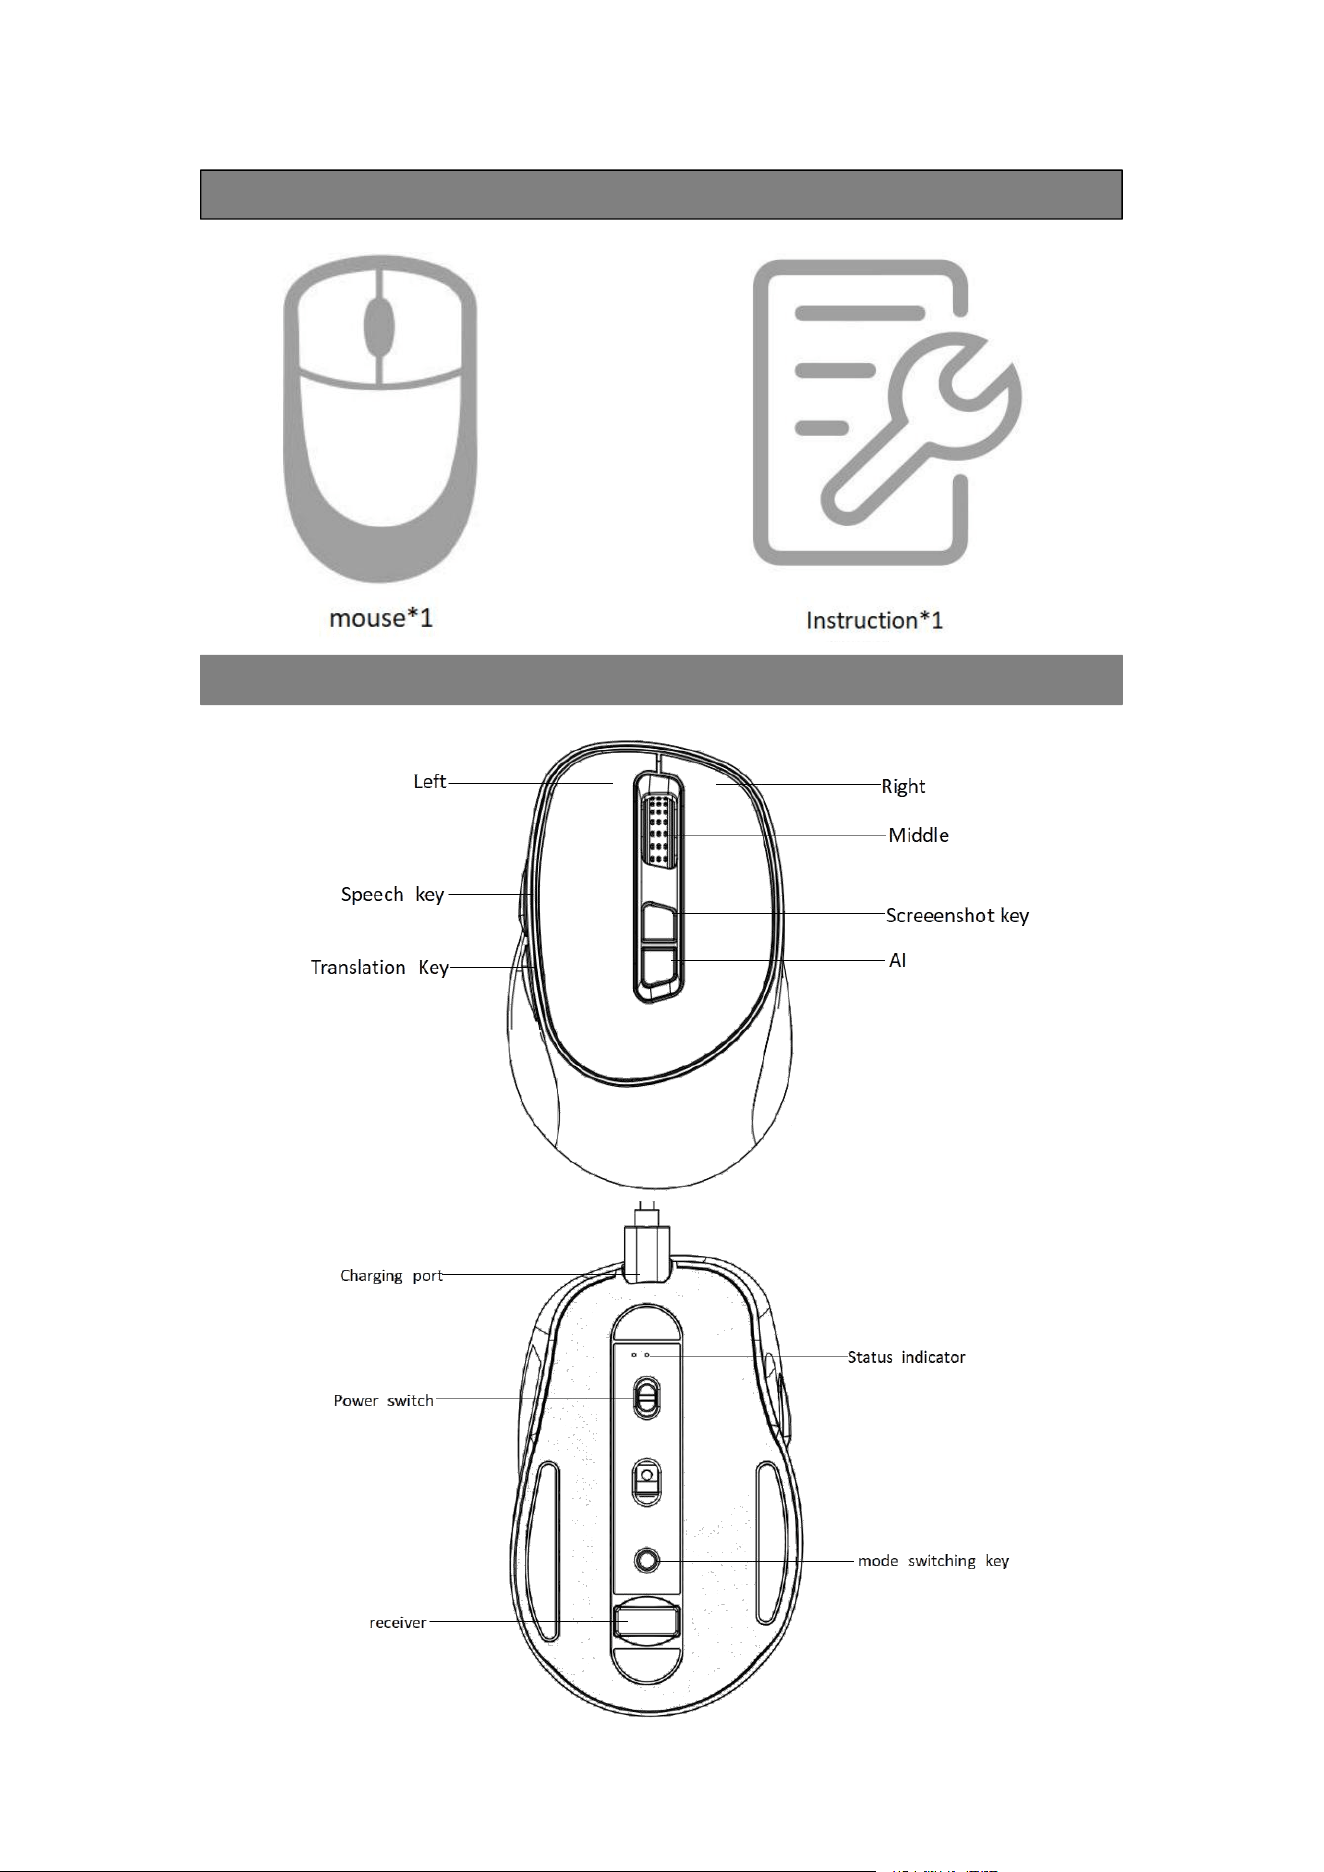
Packing list
Key description
Step 1:Connect the mouse to the computer
Use first to pair the mouse with the computer according to any of the following tutorials.
The device supports two connection modes: Wireless 2.4 G and Bluetooth:
Mode 1: Wireless 2.4 G connection
1.
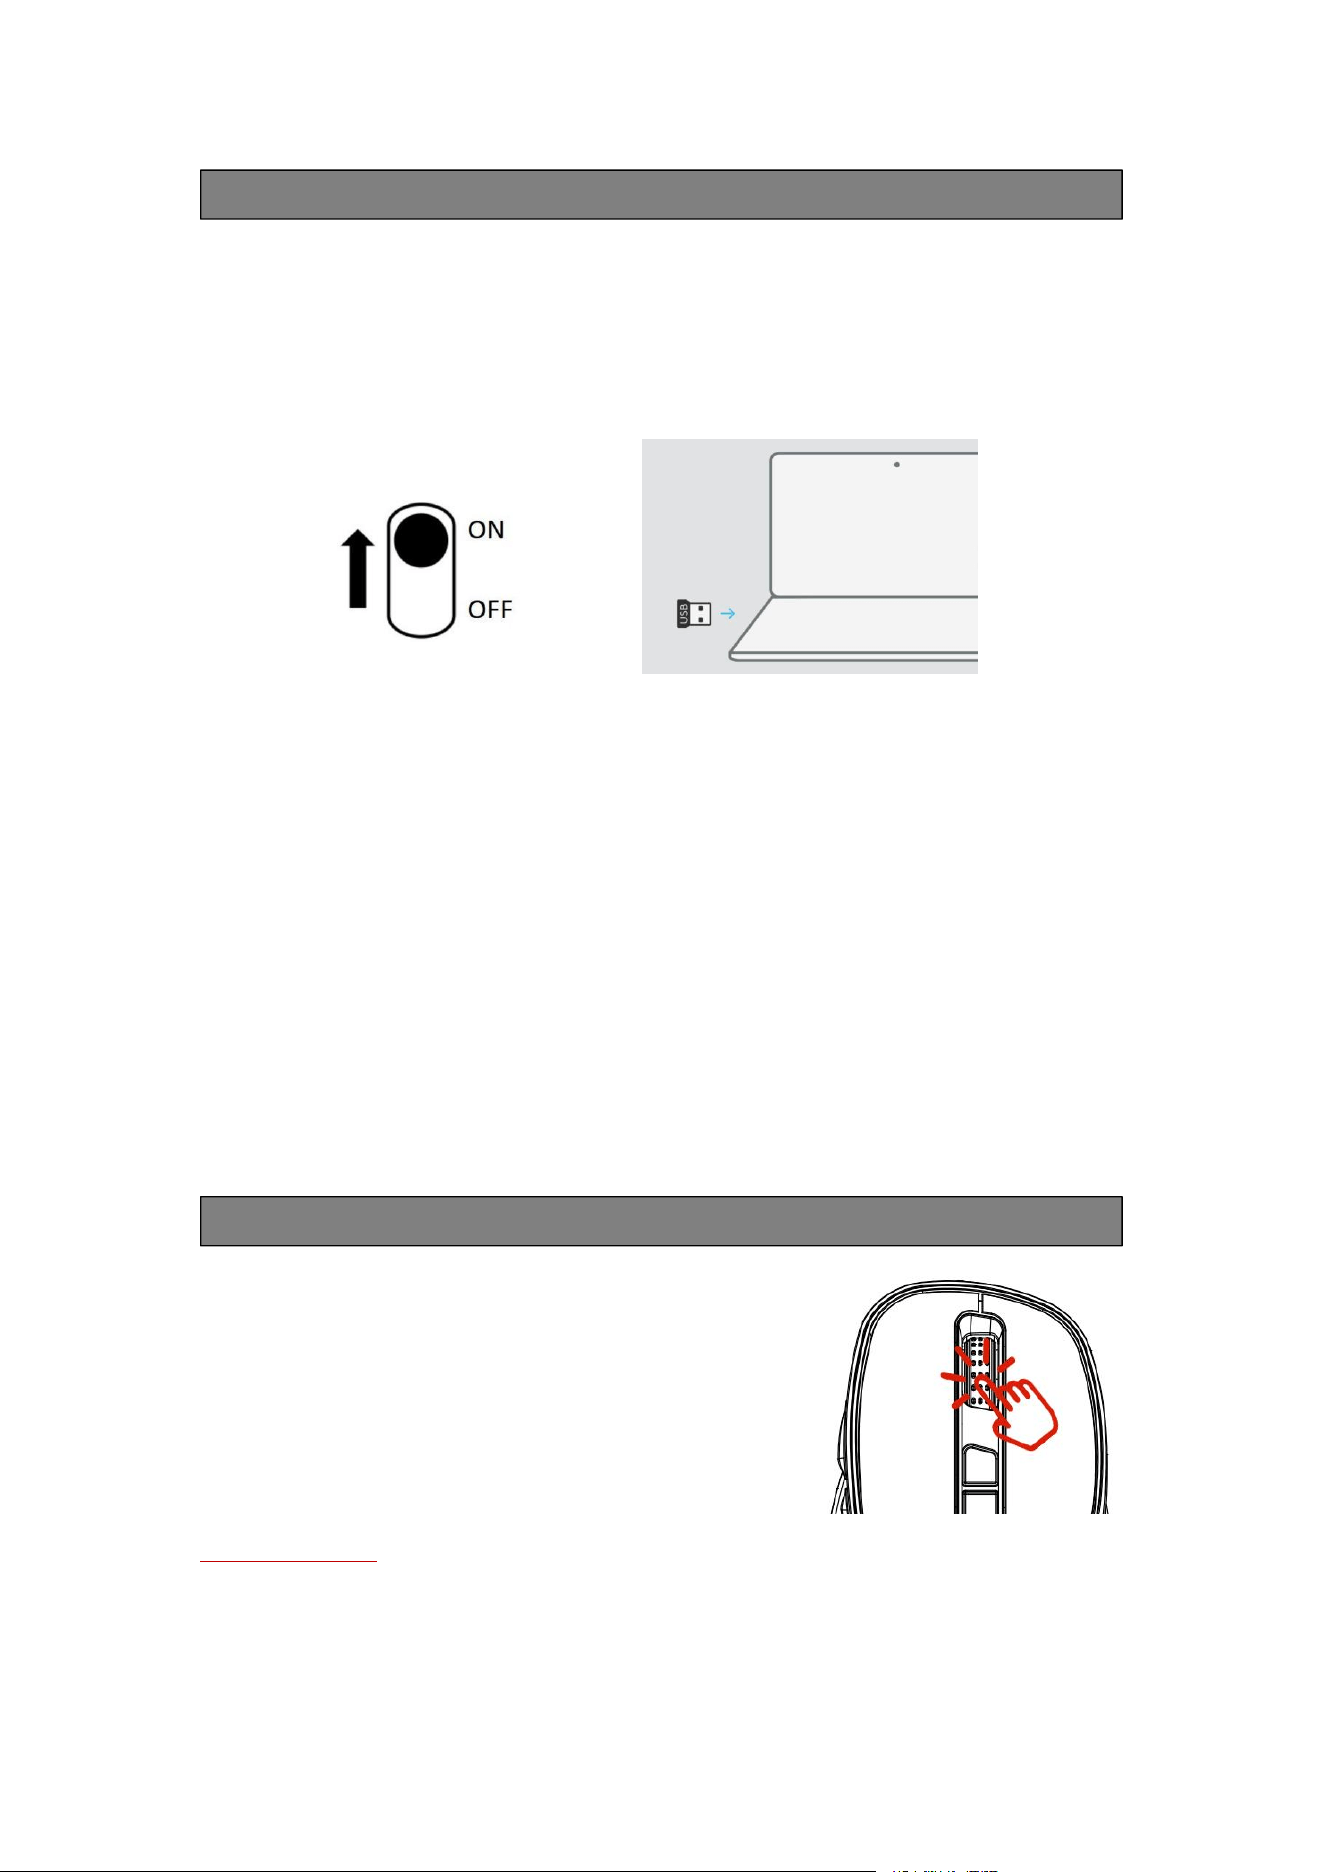
Turn on the mouse power switch, take out the intelligent voice mouse USB receiver and insert
it into the USB interface of the notebook computer;
2.
Short press "mode switch key" to switch to 2.4 G mode, and the upper indicator light is green;
3.
Press and hold the "mode switch key" for 3s, the green light of mouse pairing indicator flashes
quickly and wait for 2.4 G pairing. After successful pairing, the green light goes out and basic
functions can be used;
4.
Turn off the mouse power switch, disconnect the wireless 2.4 G connection and shut down.
Mode 2: Bluetooth connection
1.
Turn on the mouse power switch, short press the "mode switching key" to switch to Bluetooth
mode, and the upper indicator light is blue;
2.
Long press the "mode switch key" for 3 seconds, and the blue light of mouse pairing indicator
flashes quickly to wait for Bluetooth pairing;
3.
Turn on the computer Bluetooth, find the uMouse device, and pair with it. After the pairing is
successful, the blue light turns off, and the basic functions can be used.
4.
Turn off the mouse power switch, disconnect the Bluetooth connection and shut down.
Step 2 : Download & install the driver
The steps for driver download&
installation are as follows:
Step 1: Access the download address
When the mouse and the computer are paired
Long press the scroll key for 5 seconds to pop up the download
URL (some computers do not support this function, and this
mode is only supported in Windows system).
If the download URL does not pop up, open the browser
https://imouse.tech
Step 2: Download driver
On the download page, select your corresponding system and click Download Now.
Step 3: Install the drive

Click one-click installation, and the driver software can be used after the installation is completed.
Description of the function
* Voice input
After the software is installed successfully, double-click to start the software, select "Speech
typing" in "Speech mode," locate to the text box of the content to be input and click to activate
the input state, long press the "Speech( )" key of the mouse, the system will start real-time
speech recognition, and the recognition text will be displayed in the target text box after
releasing the key.
* Speech translation
After the software is installed successfully, double-click to start the software, select "Speech
Translation" in "Speech Mode," select the source language and target language, locate to the
text box of the content to be input, click to activate the input status, and long press the
"Translation Key" of the mouse to release the key and end the speech translation. The displayed
content is the text of the target language.
*AI Function
After the software is installed successfully, double-click to start the software, click the Al button
of the mouse to open the main interface of the AI quickly, and then use its various functions,
including AIGC, intelligent generation of PPT, text generation of picture, etc. For detailed
functions, see the mouse software.
* Screenshot identification
Click the screenshot key, long press the left mouse button to select the area, you can easily
complete one-click intelligent screenshot and identify the content, picture text, PDF documents,
invoice tax number and so on can be quickly extracted, and easy to edit.
* Mouse Settings
1.
DPI Settings
DPI setting: Open the software to enter the 【My Device】interface. DPI provides multiple
gear options, which can be selected by user.
2.
Set the software to start automatically
After the software starts normally, you can right-click the tray icon of the software and select
"Automatic startup after startup." The software starts automatically the next time you start.
Charging instructions
Charging wire: Type-C
Charging suggestion: Use low output current such as computer or
charging treasure;
Safety tips: Keep away from humid and high temperature environment

during charging. Do not disassemble, repair or modify the product
by yourself. Battery use Improper operation may lead to leakage,
explosion and other hazards.
Safety Information
Read the following safety instructions and follow all routine safety precautions before using this product.
Any operation inconsistent with this manual may cause damage to the product.
Attention
1. Only authorized technicians can disassemble the product. Users are not recommended to disassemble the
product.
2.
Do not touch the battery compartment/USB connector/power cord when your hands are wet.
3. Do not place this product close to cigarette butts, lighters and other open flames.
4. Do not over-bend the wires or put heavy objects and sharp objects on the machine.
5. Do not use this product in a wet environment (eg:bathroom).
6. Remove the battery from the machine before scrapping the product.
7.
Make sure the product is not powered on when removing the battery.
8. Please recycle the waste battery safely.
Warning
1.
Do not place equipment close to heat sources or exposed sources of ignition, or other places where high
temperatures may occur.
2.
There is a danger of explosion if the power supply is not replaced properly.
3. Do not attempt to replace the internal rechargeable lithium-ion battery. Please contact the original
manufacturer for replacement.
4. Do not continue to use the product in case of severe swelling.
5.
Do not squeeze or place the product in a place where it will fall easily.
6.
Do not attempt to disassemble or retrofit the optional pedestal type battery as this may result in battery
explosion or leakage of liquid in the battery. Removed and modified batteries are not covered by the
warranty.

FCC Caution:
This device complies with part 15 of the FCC Rules. Operation is subject to the
following two conditions: (1) This device may not cause harmful interference, and (2)
this device must accept any interference received, including interference that may
cause undesired operation.
Any Changes or modifications not expressly approved by the party responsible for
compliance could void the user's authority to operate the equipment.
Note: This equipment has been tested and found to comply with the limits for a Class
B digital device, pursuant to part 15 of the FCC Rules. These limits are designed to
provide reasonable protection against harmful interference in a residential installation.
This equipment generates uses and can radiate radio frequency energy and, if not
installed and used in accordance with the instructions, may cause harmful interference
to radio communications. However, there is no guarantee that interference will not
occur in a particular installation. If this equipment does cause harmful interference to
radio or television reception, which can be determined by turning the equipment off
and on, the user is encouraged to try to correct the interference by one or more of the
following measures:
-Reorient or relocate the receiving antenna.
-Increase the separation between the equipment and receiver.
-Connect the equipment into an outlet on a circuit different from that to which the
receiver is connected.
-Consult the dealer or an experienced radio/TV technician for help.
The device has been evaluated to meet general RF exposure requirement. The device
can be used exposure condition without restriction.