
THANK YOU FOR YOUR PURCHASE
2
CONTACT US
service@branohome.com
service@branohome.com
BRANO appliances are designed according to the strictest safety and performance
standard for the North American market. We follow the most advanced manufacturing
phiosophy. Each appliance leaves the factory after quality inspection and testing.We
are ready to answer any thorough questions you may have regarding how to install,
use and care for your products.We hope that this manual will help you learn to use the
product in the safest andmost effective manner.
If you require assistance,please contact BRANO Range Hoods.Please have your order number
and model of the range hood ready. You must have this information in order to receive a response
to your request.
If you need replacement parts,we recommend using only genuine parts.Our accessories and
parts are engineered and designed specifically for BRANO range hoods.Each part is rigorously
tested assur-ing the utmost in durability and reliability,providing a factory match,factory-
installed appearance and functionality tailored to each individual range hood model.

3
12
14
Rough-In
15
16
20
BU09B Installation
23
24
25
27
28
31
32
33
34
35
QRED-115C Installation
26
4
4
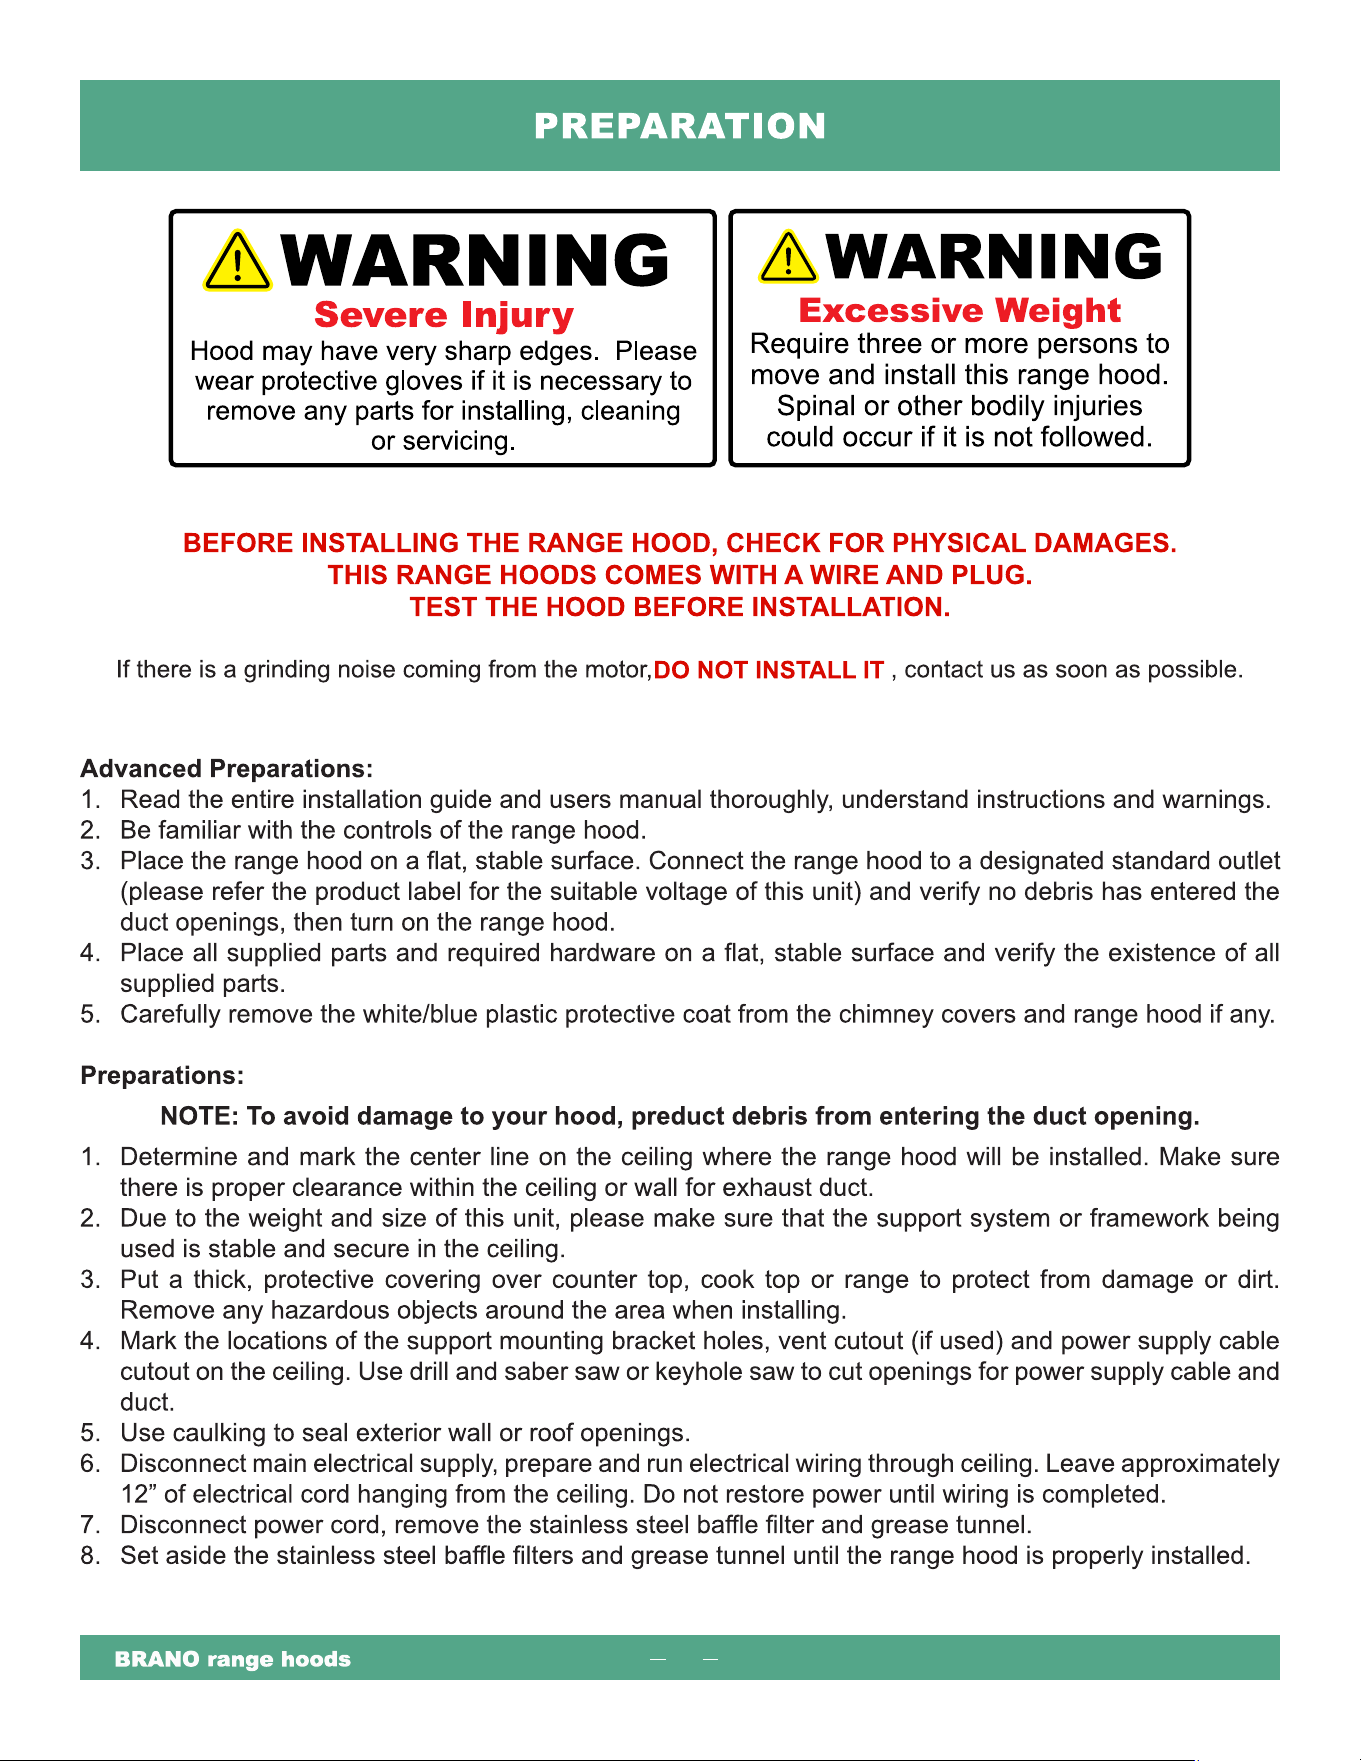
Read all instructions before installing and operating this appliance

5
Read all instructions before installing and operating this appliance
6
7
8
236W+# of Light x Votage of Light
230W
LED 3W 12V
www.branohome.com

9

BU09B:
10
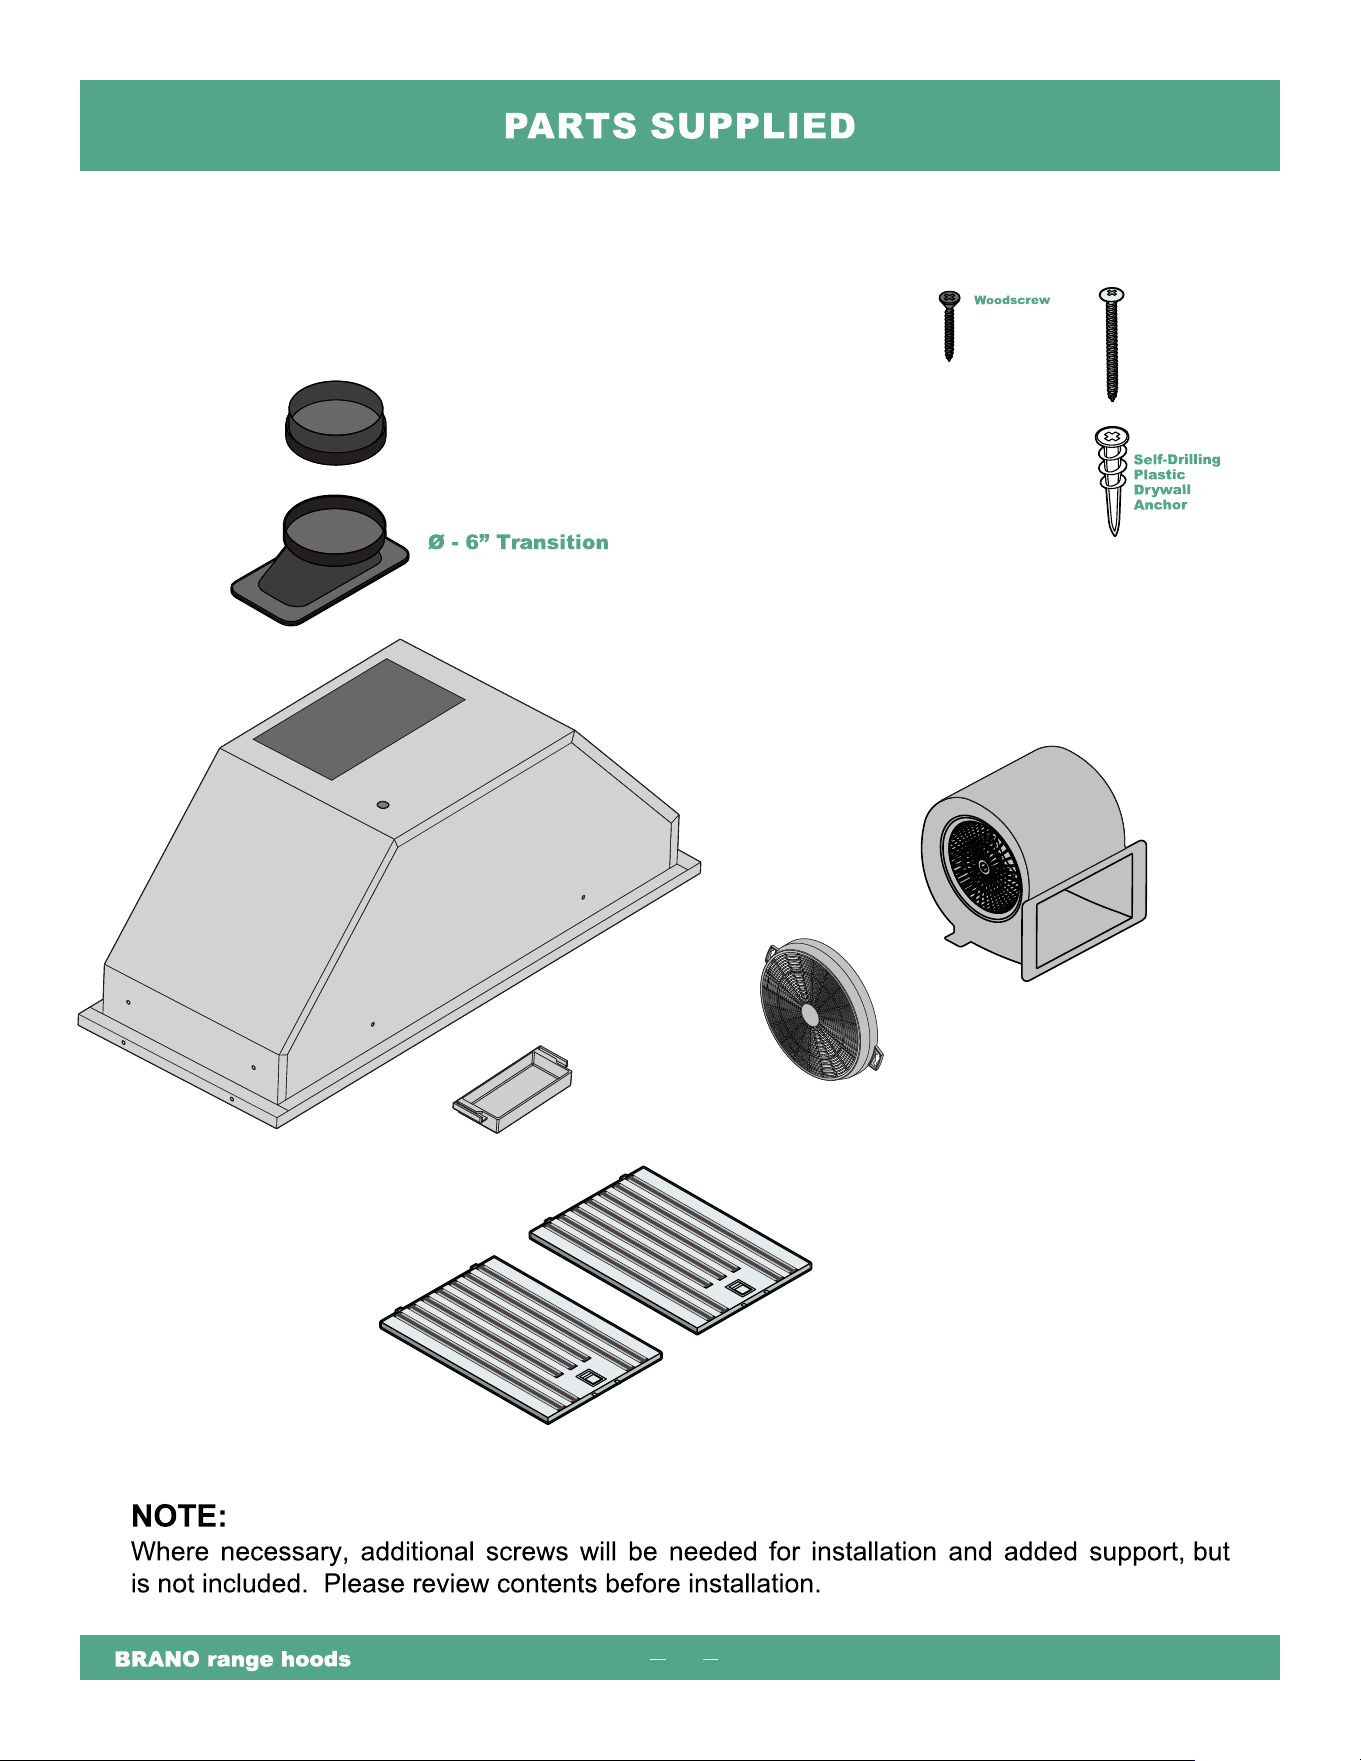
Duct Adapter
Anchor
Screw
(x12)
(x12)
(x12)
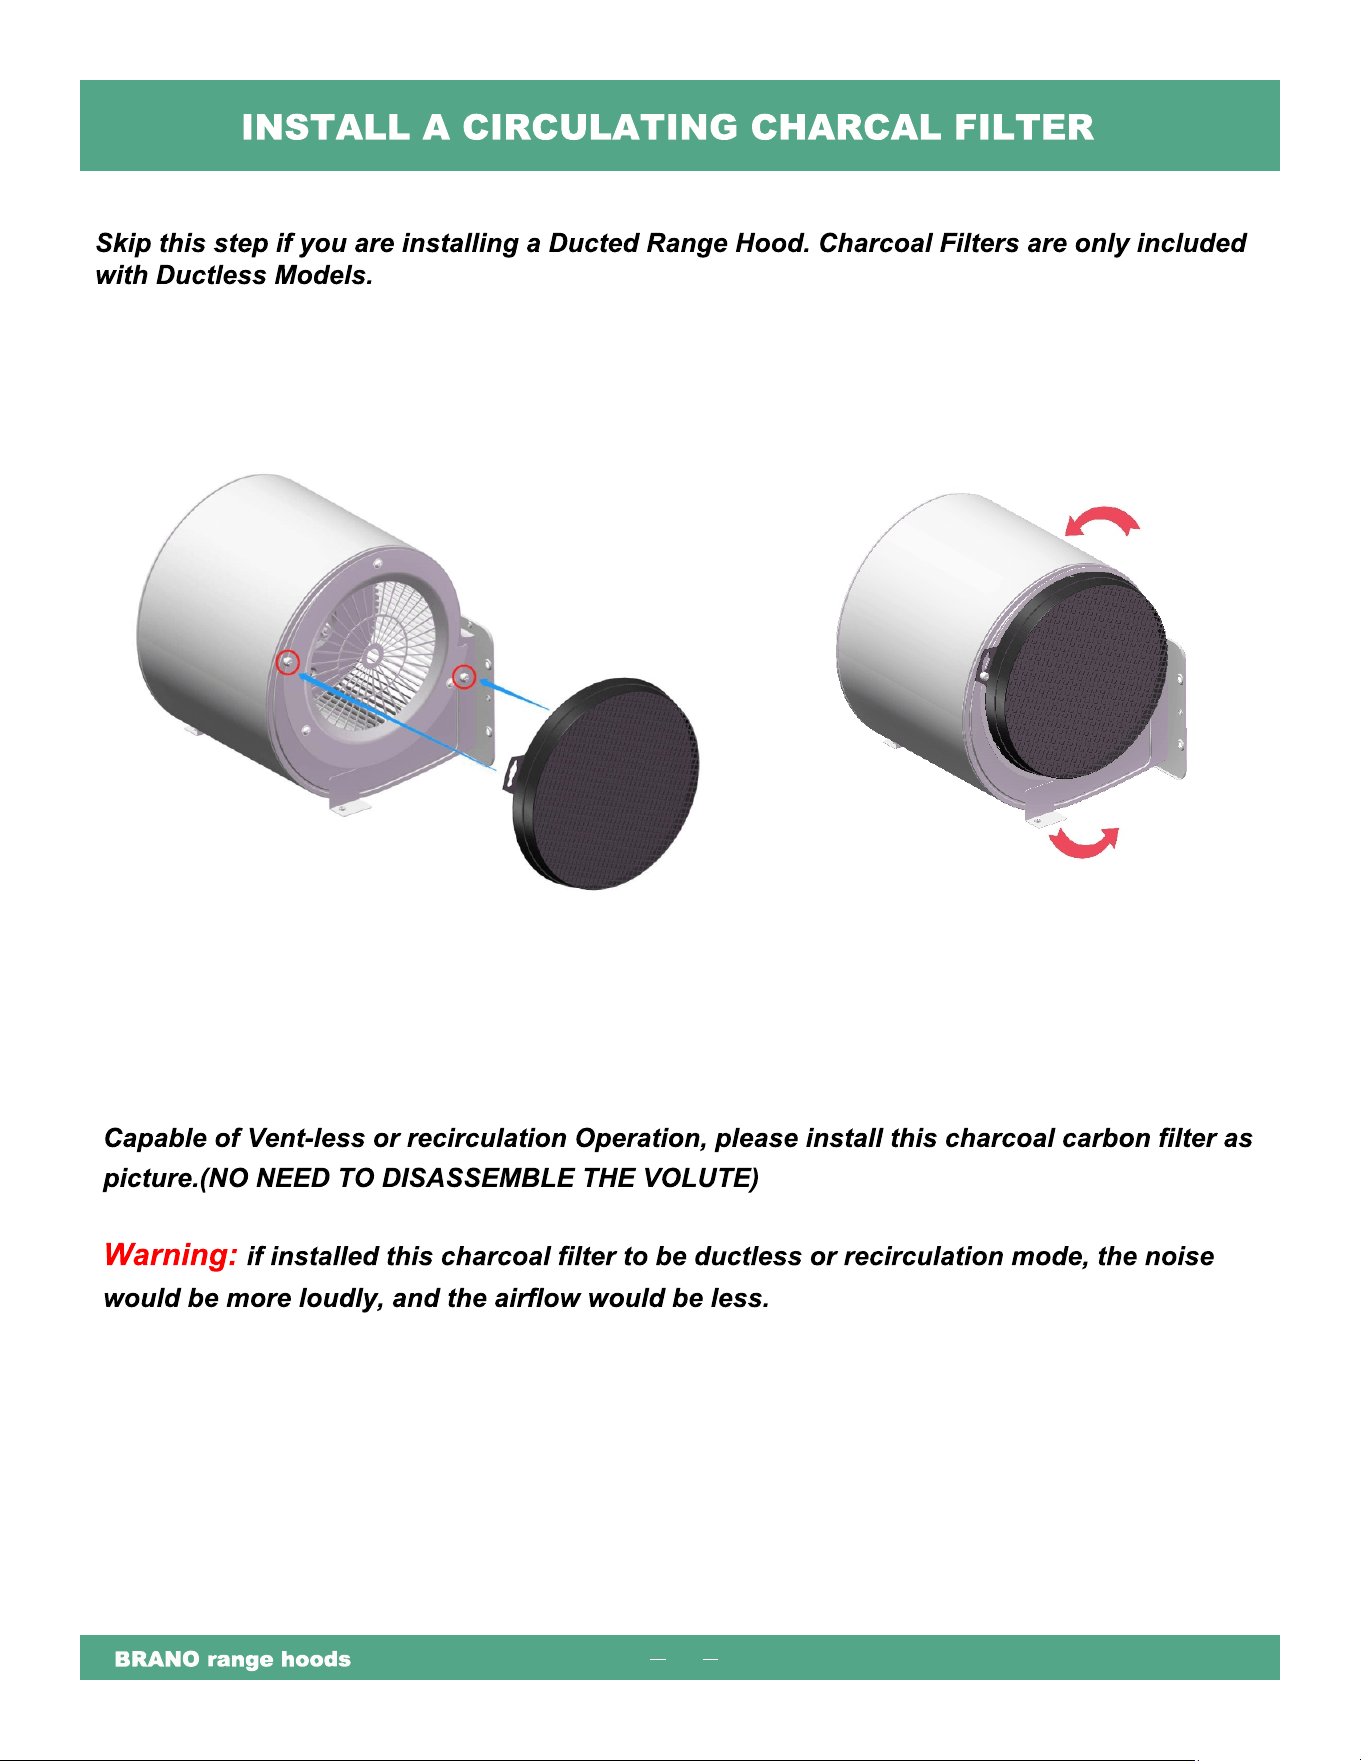
Charcoal Filter
blower Motor System
Vent Pipe
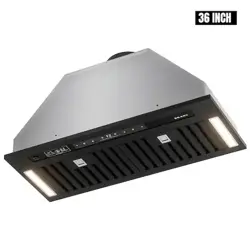
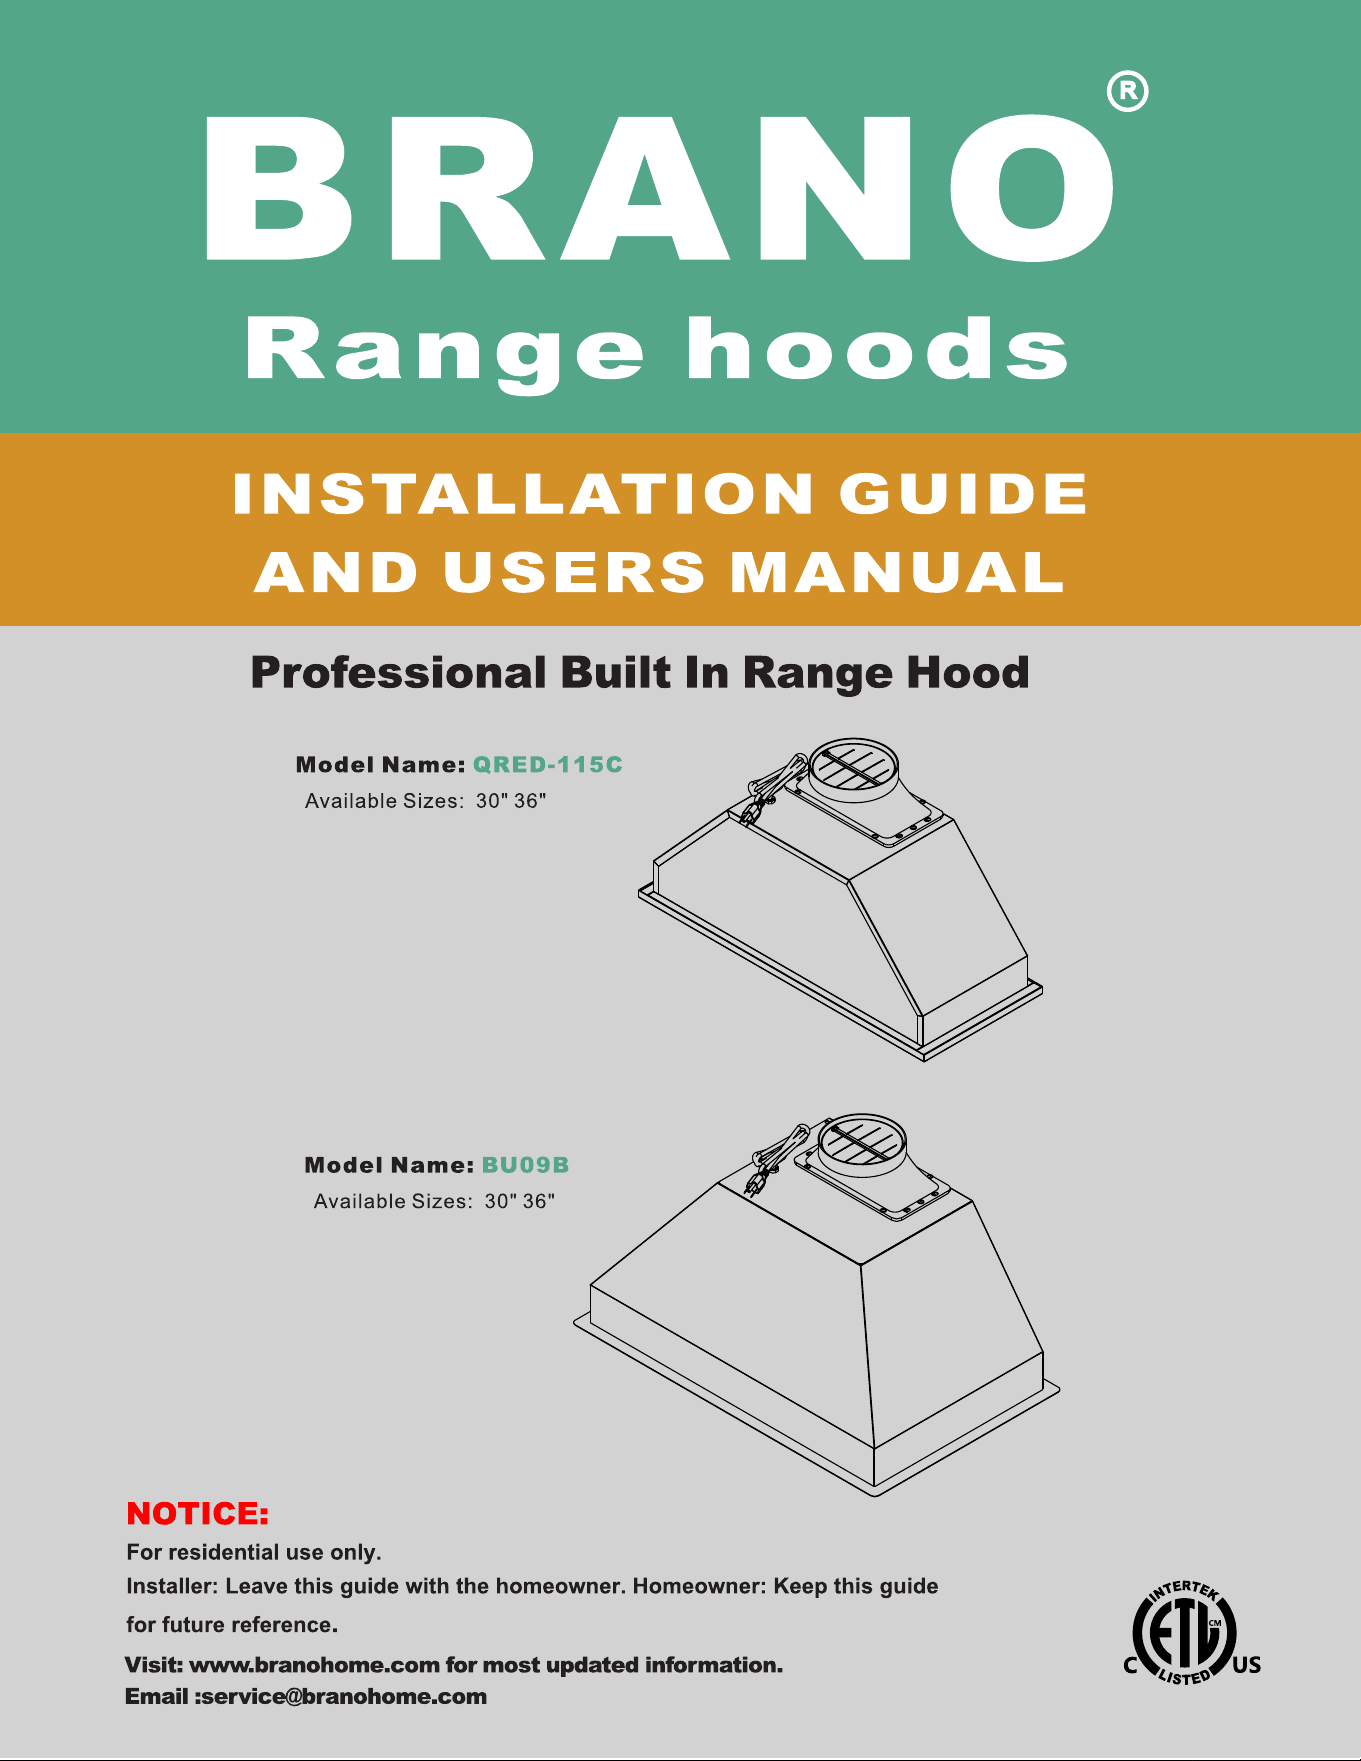
QRED-115C:
11
Duct Adapter
Anchor
Screw
(x8)
(x8)
(x8)
Charcoal Filter
blower Motor System
Oil Cup
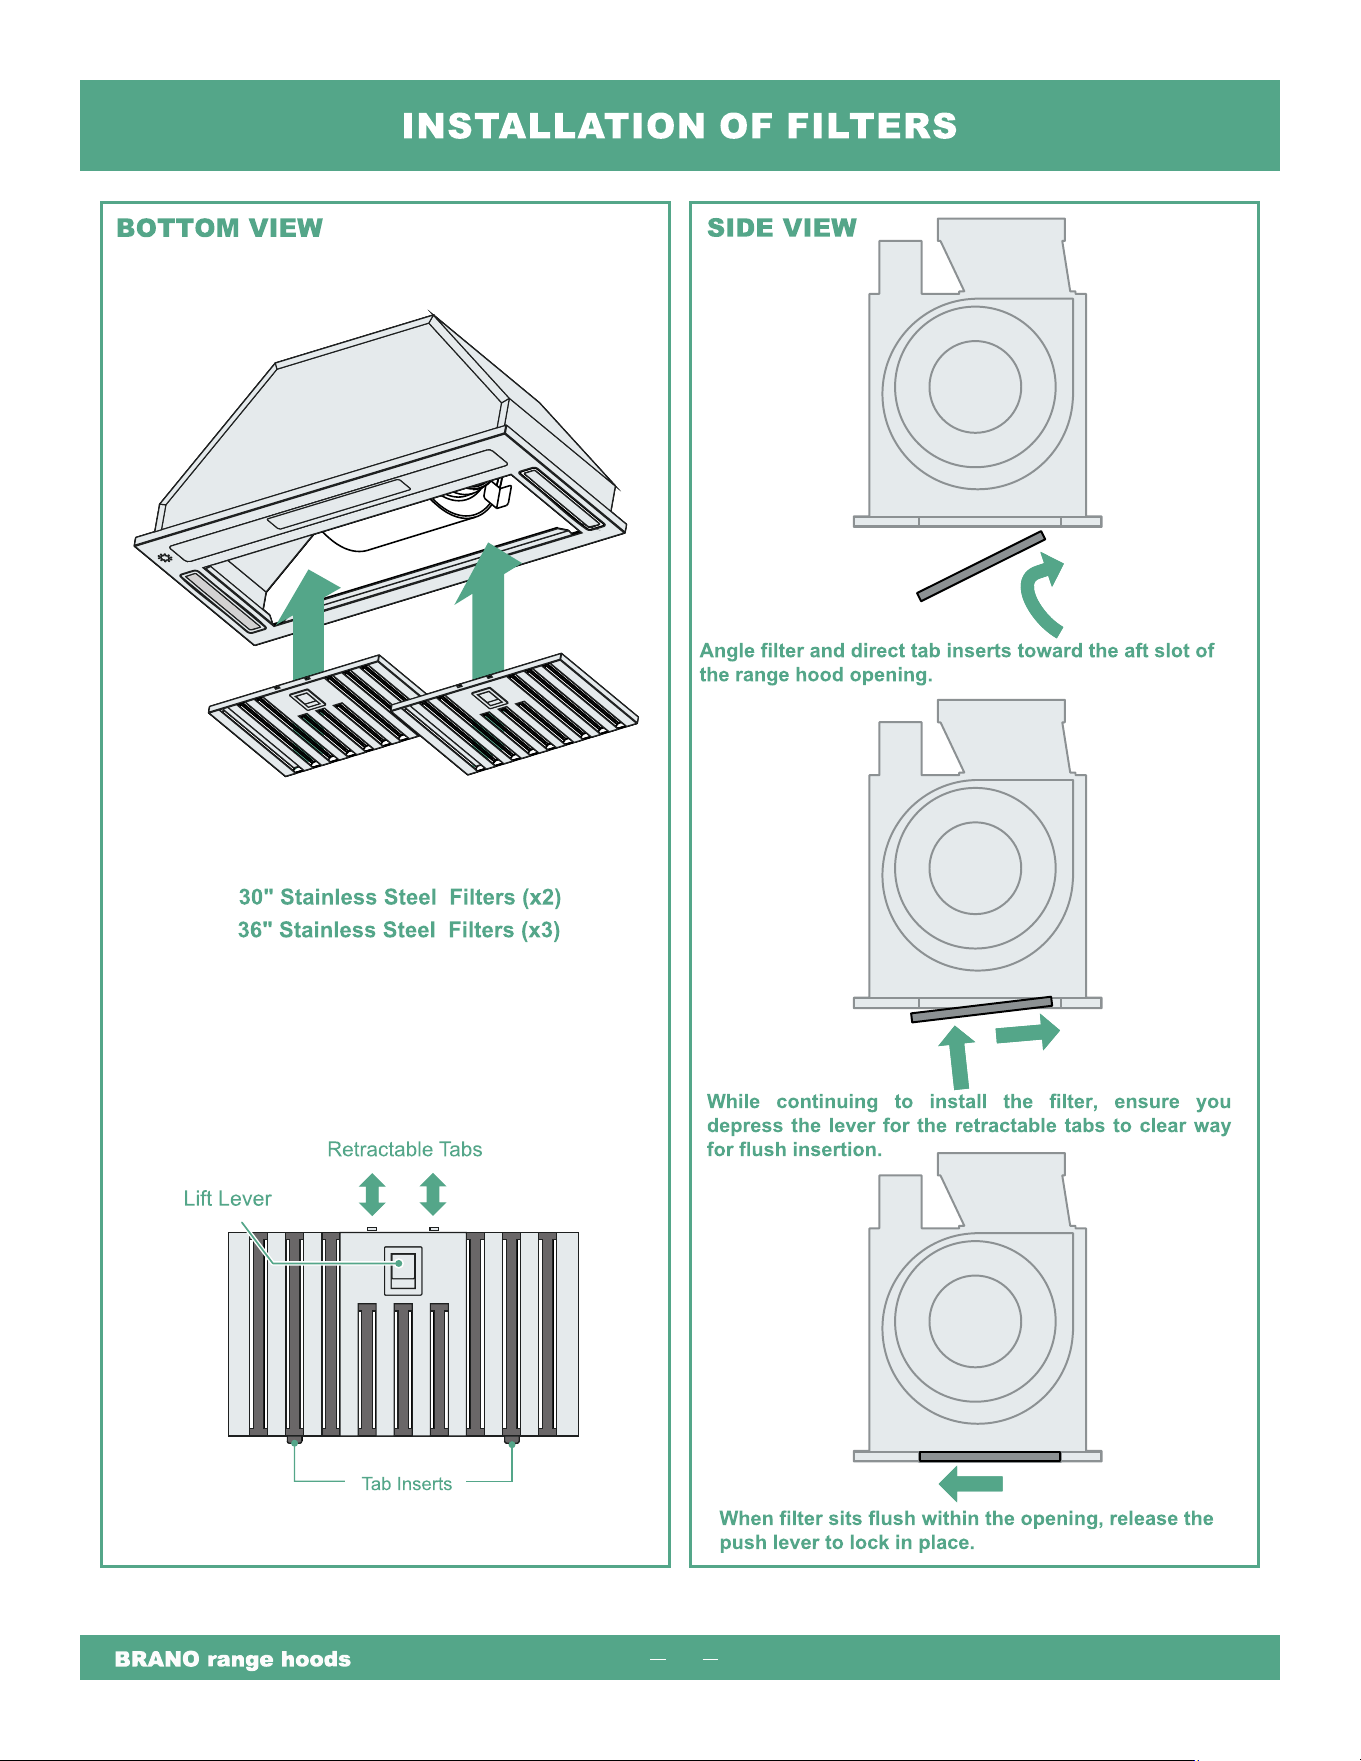
30" Baffle Filters (x2)
36" Baffle Filters (x3)
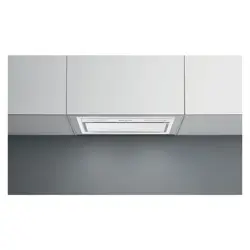
BU09B :
12
30"
36"
BU09B
28"
32.5"
30"
34.45"
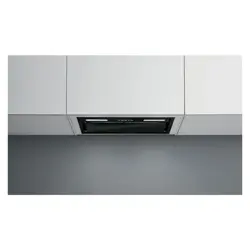
QRED-115C:
13
30"
36"
QRED-115C
27.75"
35.5"
26"
34"
14
15
ROUGH-IN
16
BU09B INSTALLATION
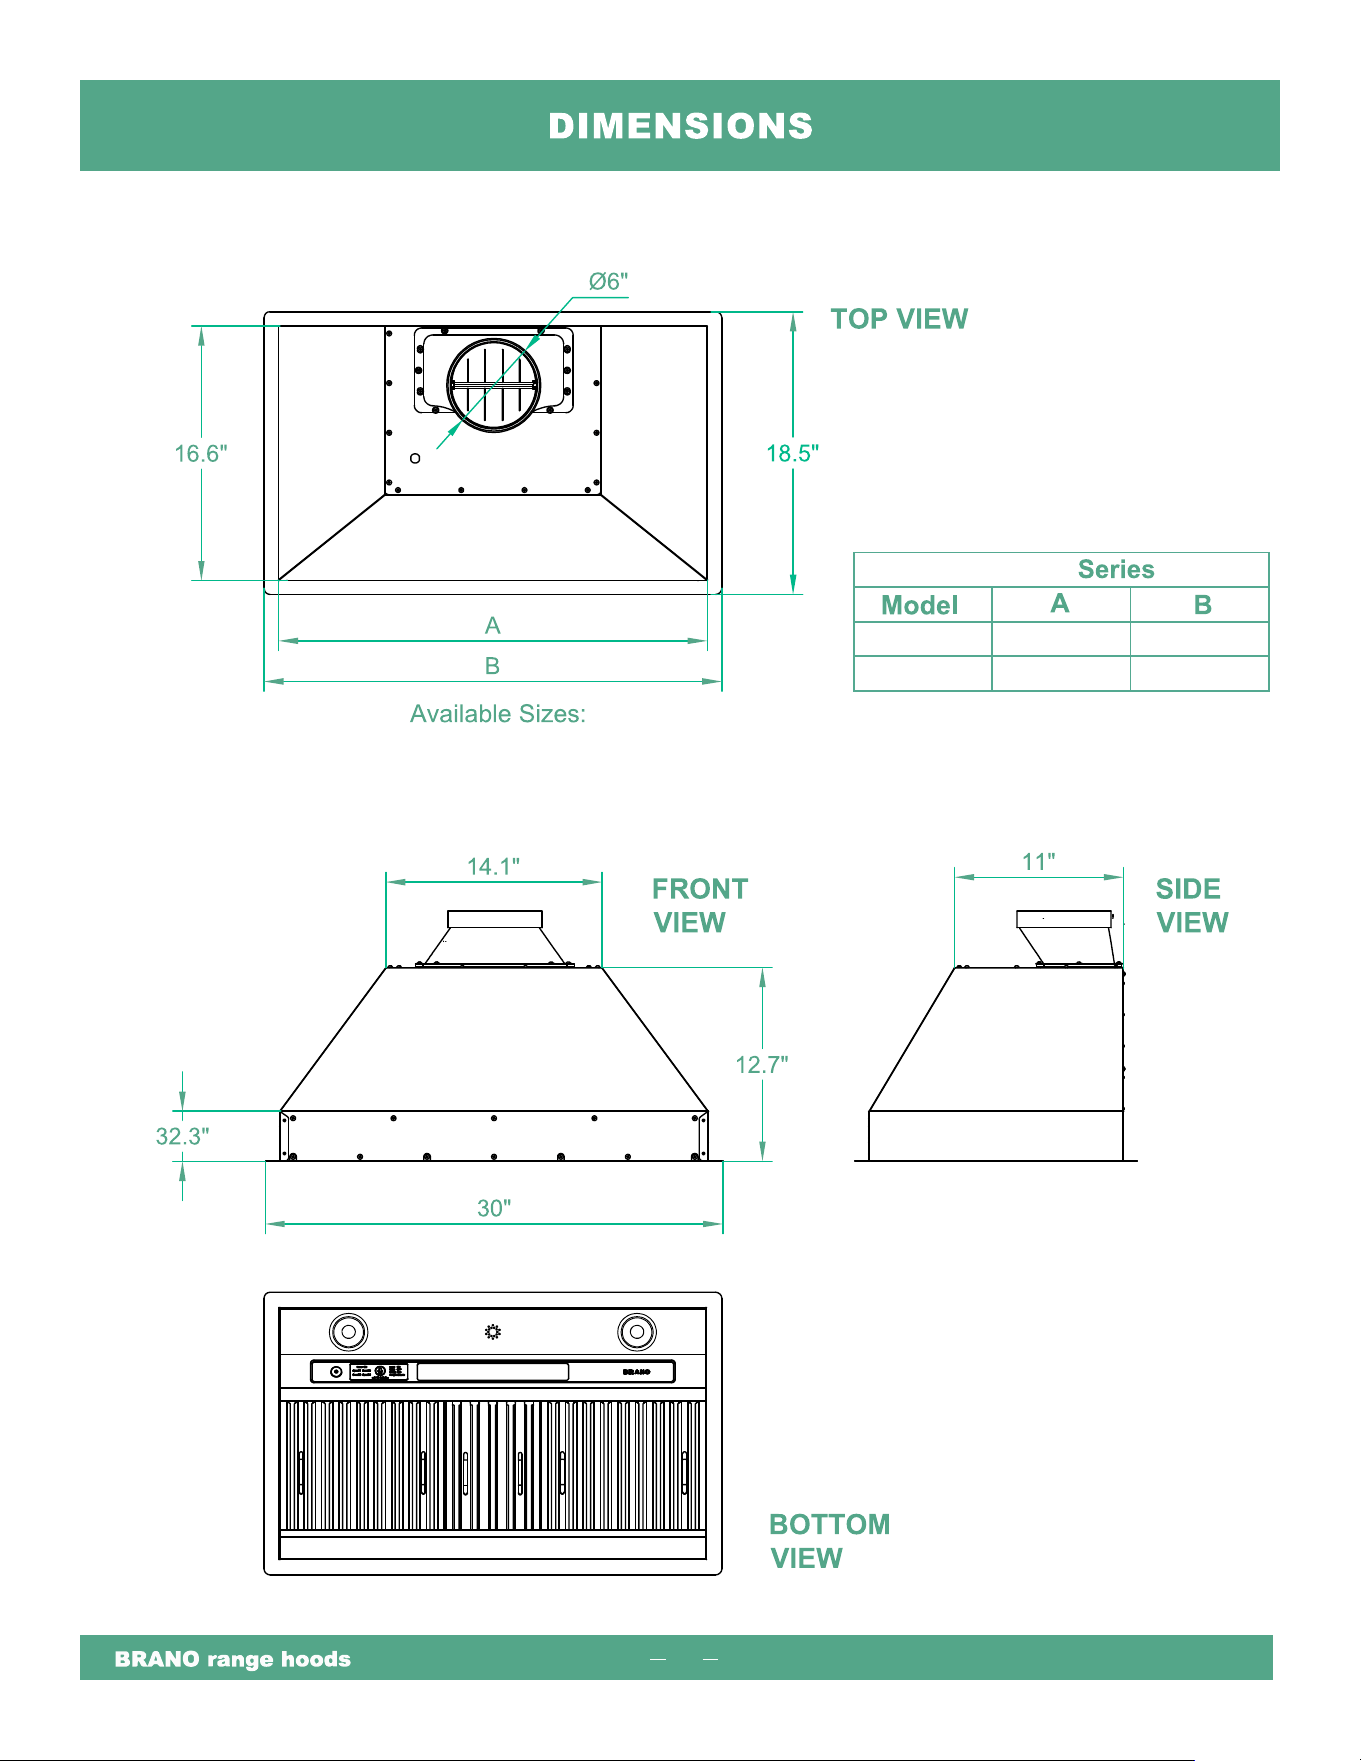
28.5"
BU09B-30"
33"
17"
17"
(1) Use M4 - 4mm big head screws to fasten on 6”-
Ø transition to theopening of the fan motor exit.
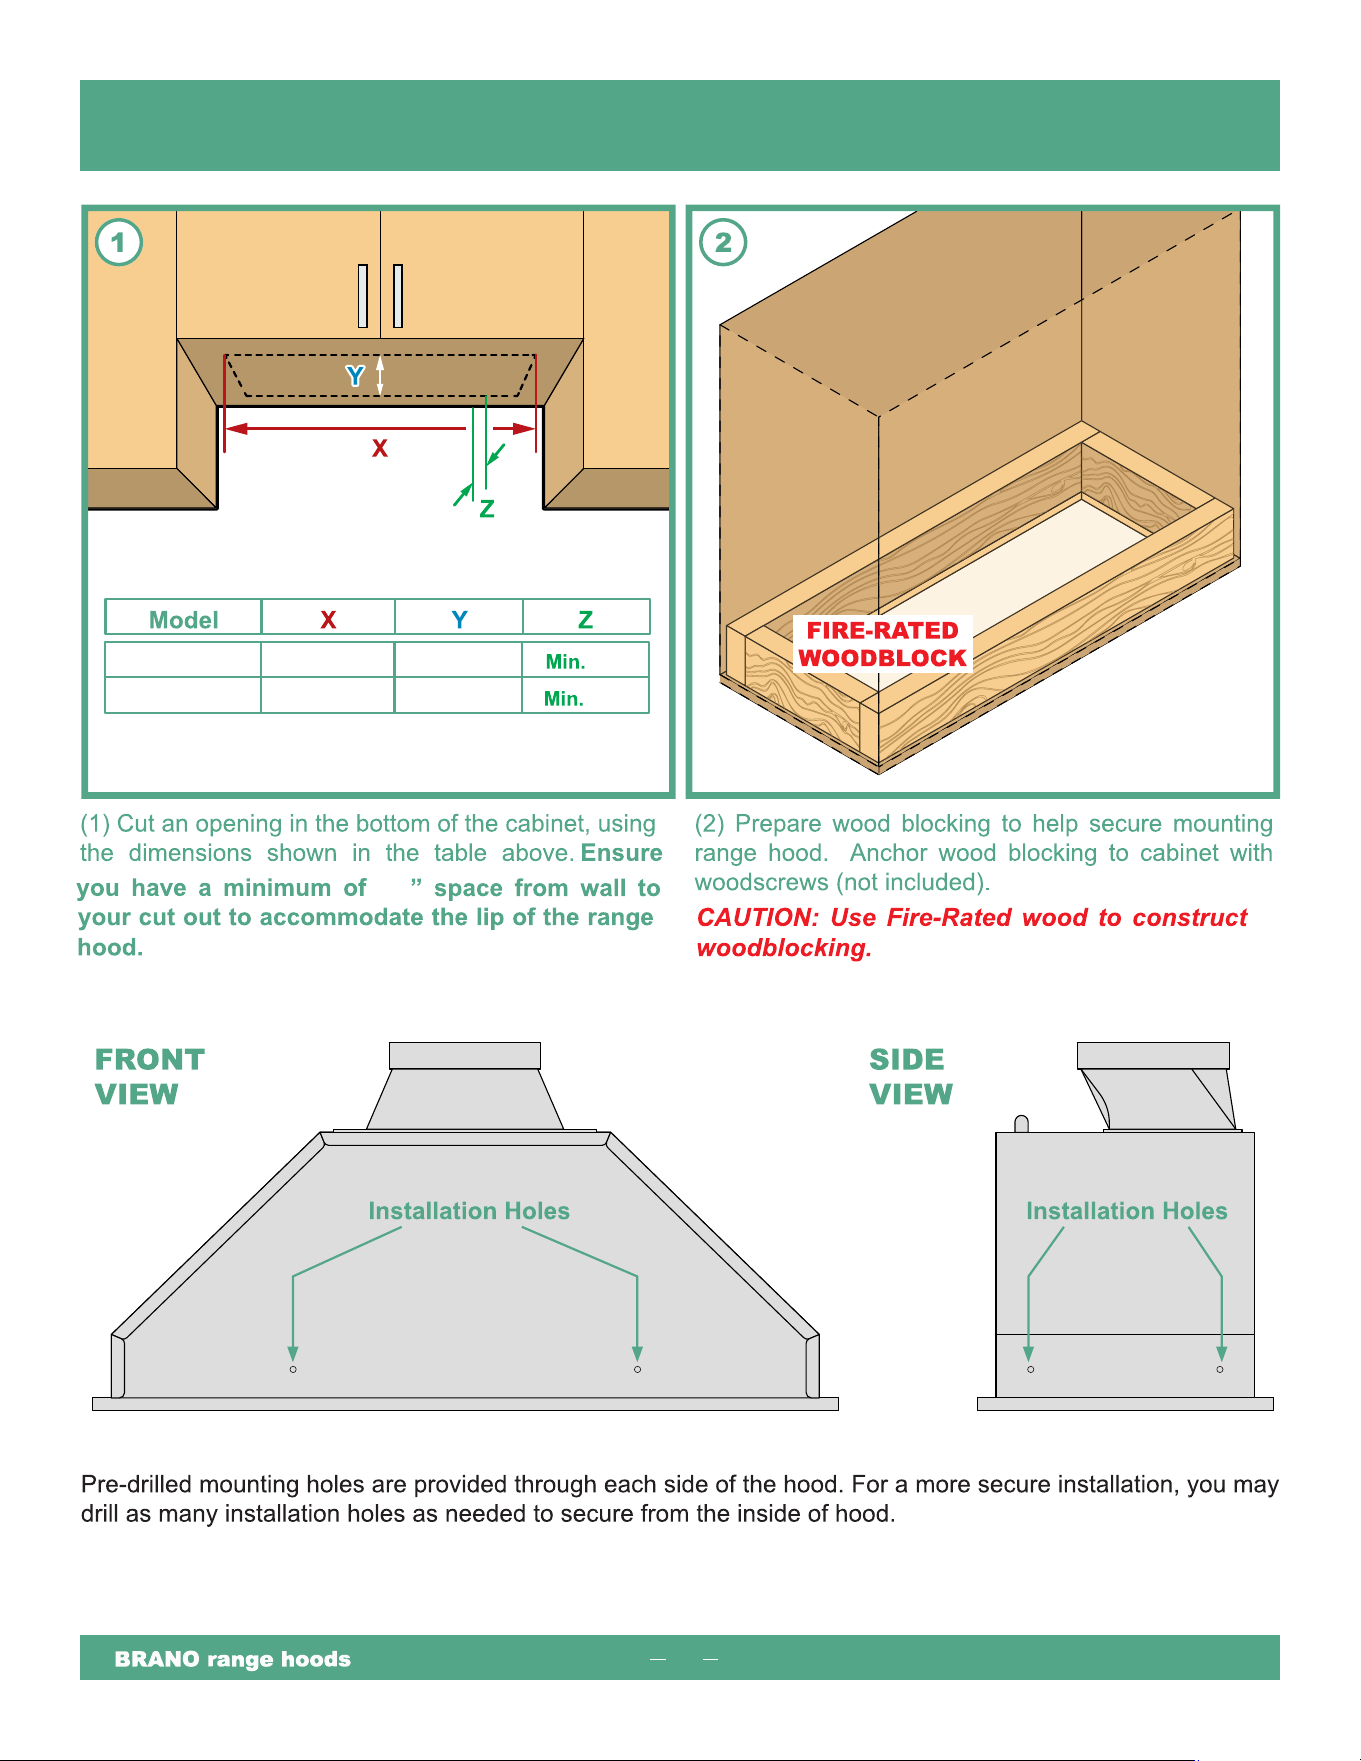
(2) Cut an opening in the bottom of the cabinet,
using the dimensions shown in the table above.
Ensure you have a minimum of 1.25” space
from wall to your cut out to accommodate the
lip of the range hood.
1.25"
1.25"
BU09B-36"
17
BU09B INSTALLATION(Continued)
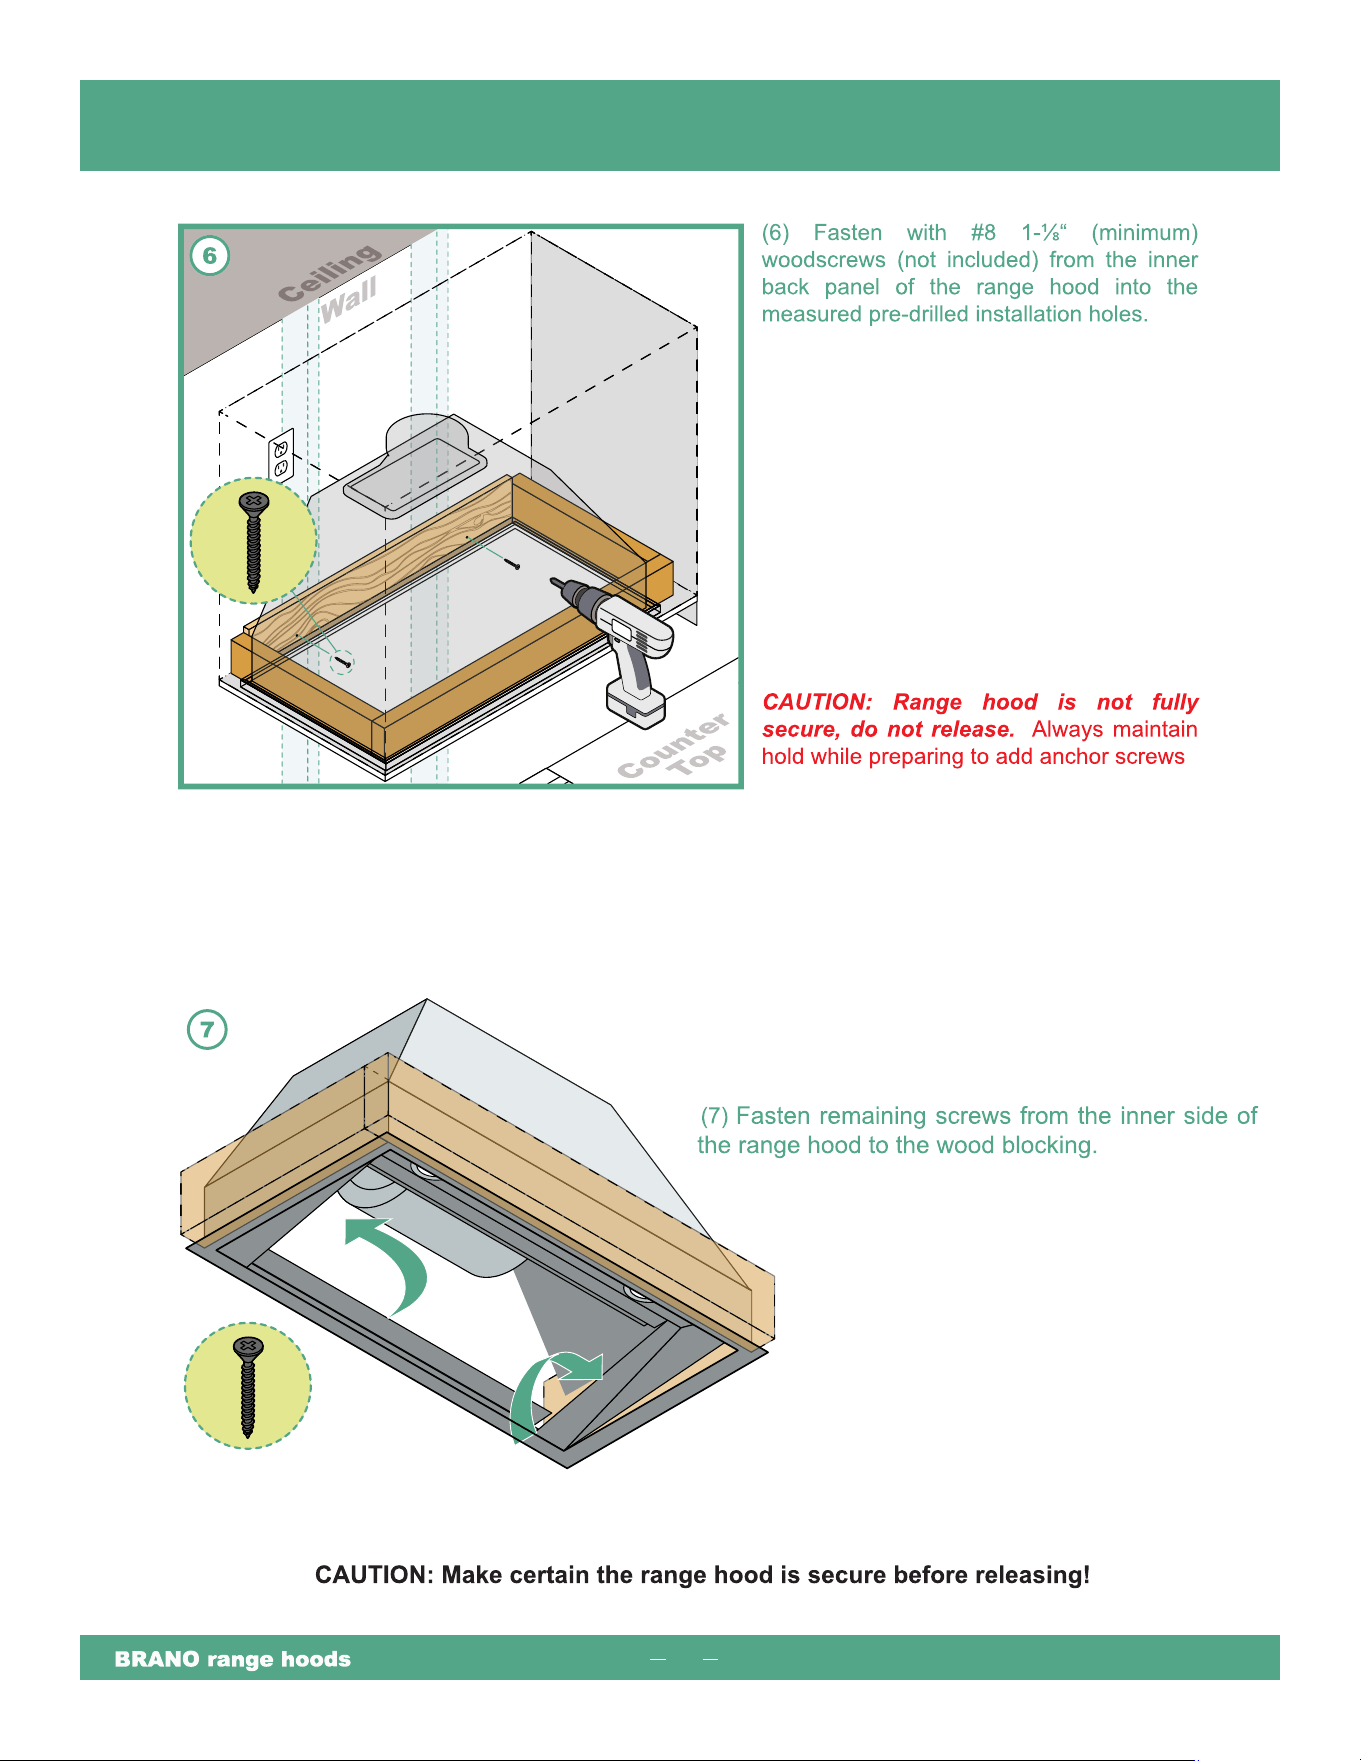
(3) Fasten a plywood back support with a depth of
1.25" using #8 2.5" (minimum) woodscrews (not
included) to mount into the studs for support.
(4) Fabricate woodblock inside the cupboard bottom
panel surrounding the opening where range hood
placement will be.
18
BU09B INSTALLATION(Continued)
19
BU09B INSTALLATION(Continued)
20
QRED-115C INSTALLATION
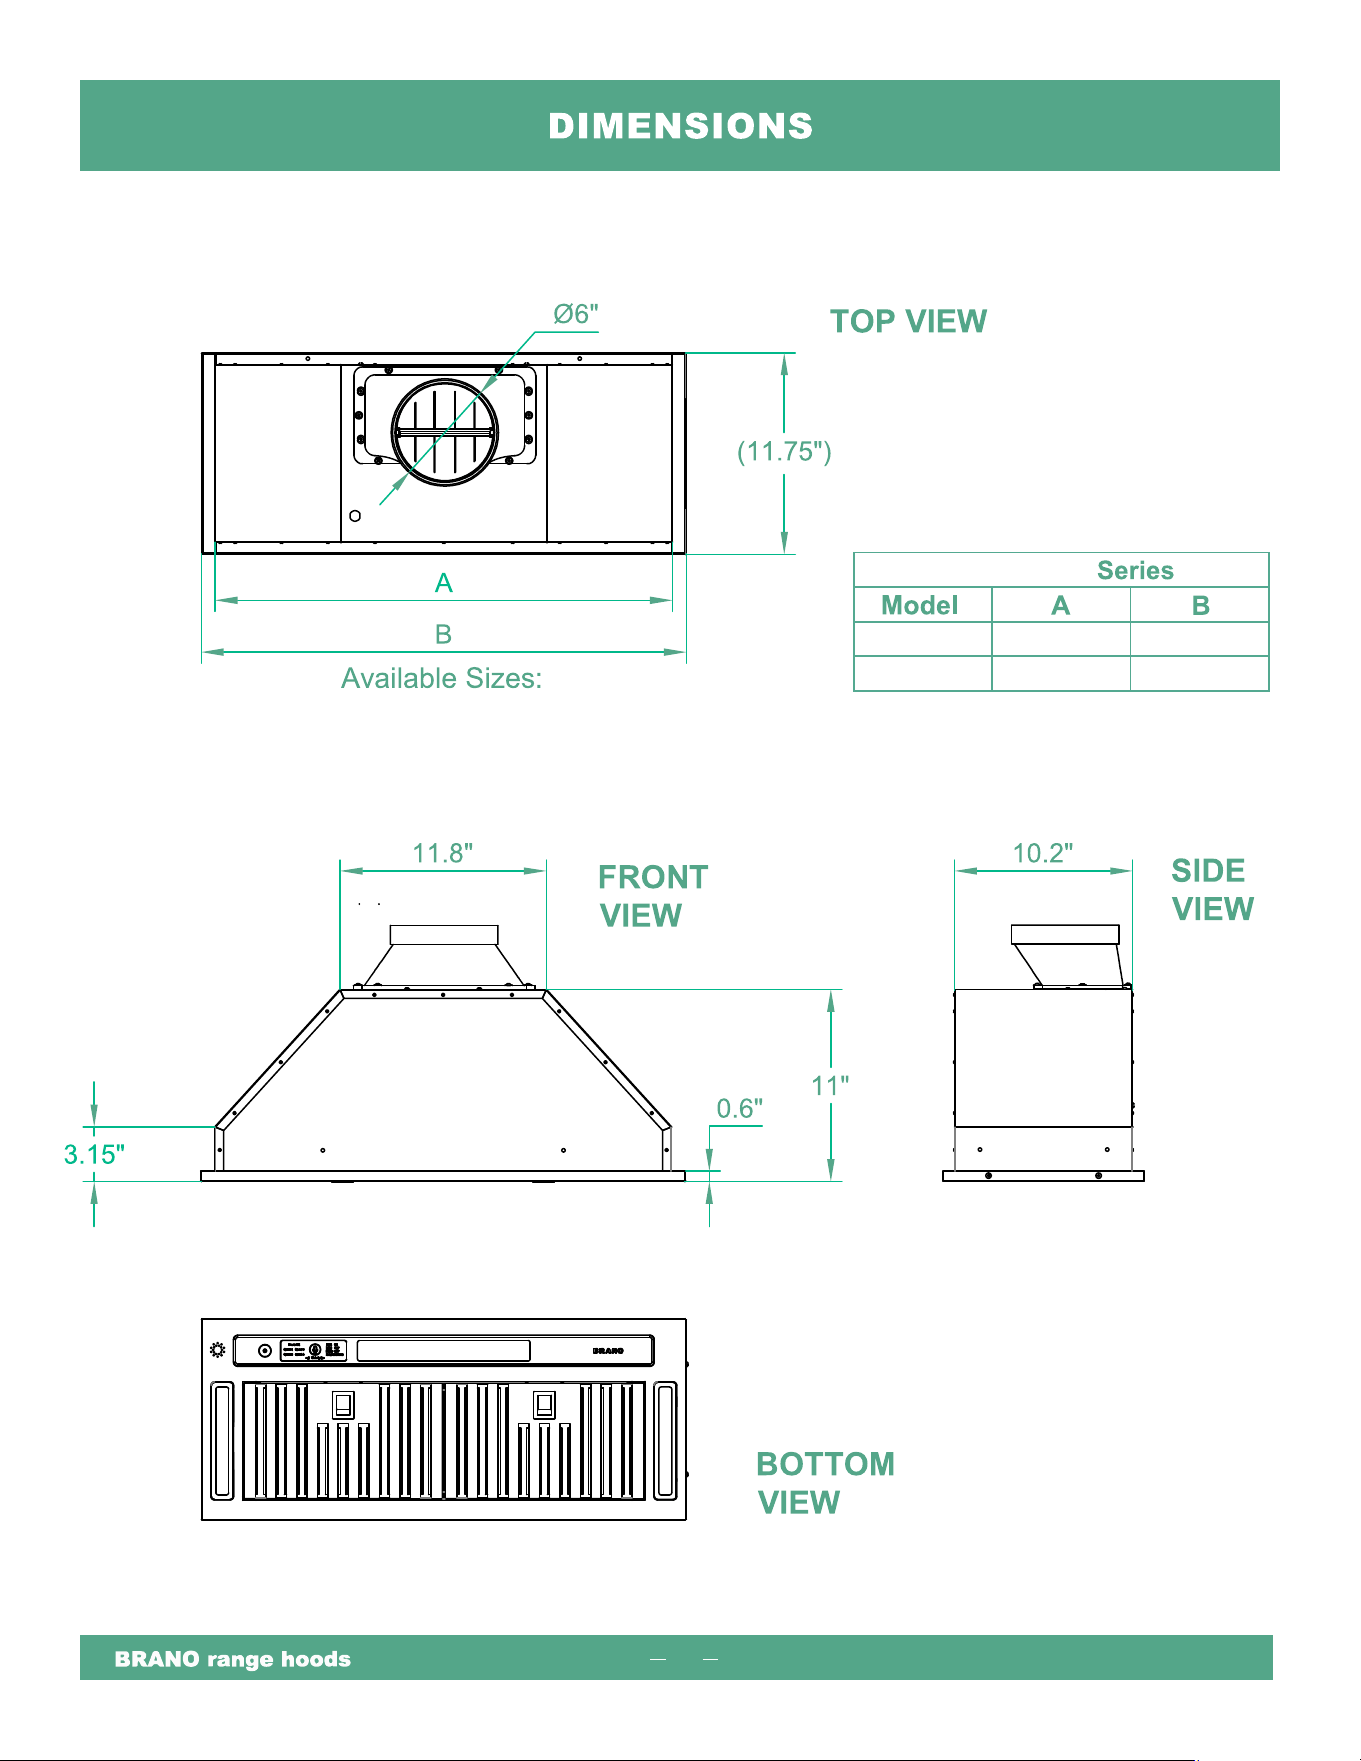
115C-30"
115C-36"
34.3" 10.6"
10.6"
0.8"
0.8"
26.5"
0.8
21
QRED-115C INSTALLATION(Continued)
22
QRED-115C INSTALLATION(Continued)
23
INSTALLATION (Grease Tunnel & Filters)
24

25
26
27
28
29

34
31
32
33
34
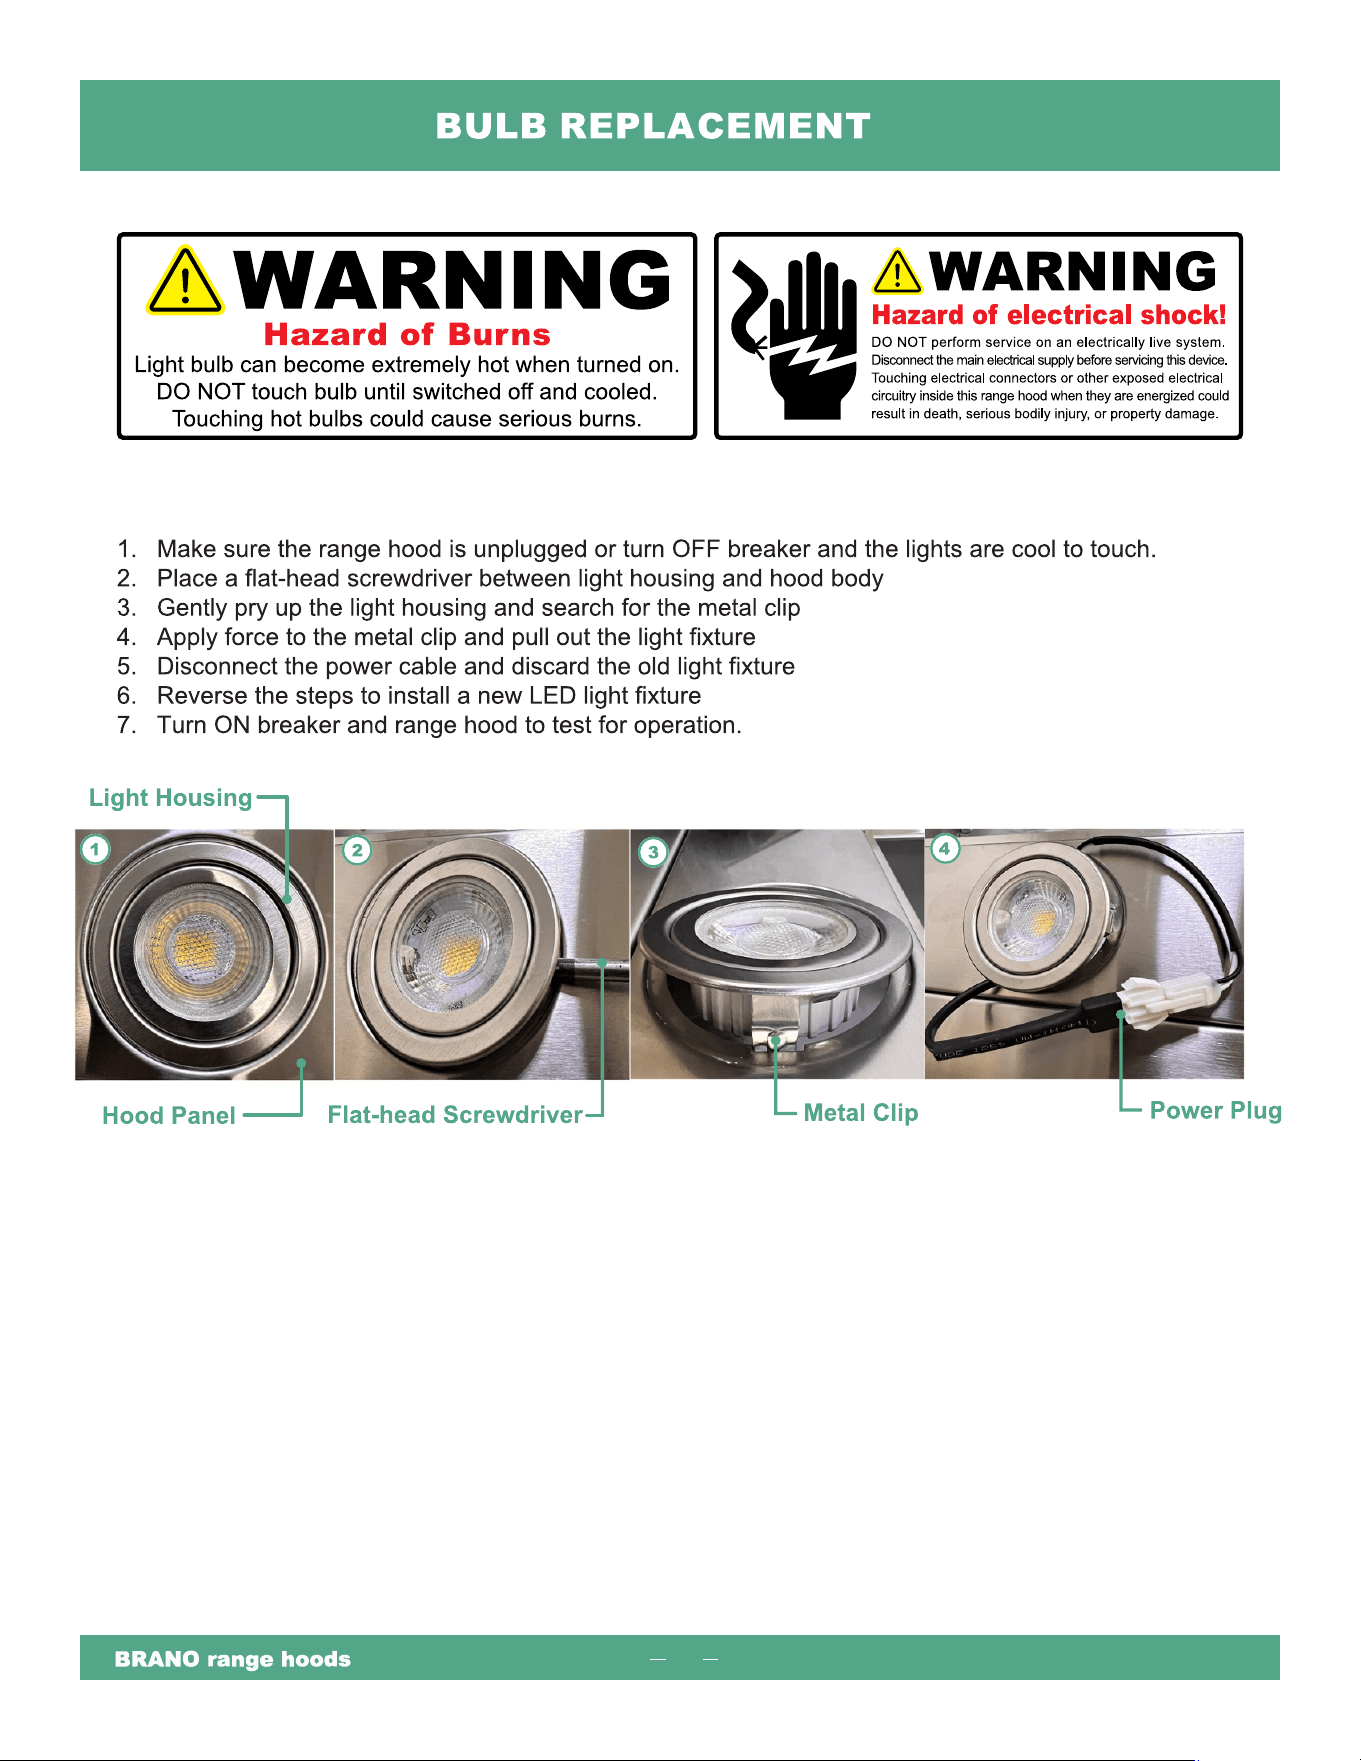
Replacing LED 3W 12V Light Fixture:
35

Dispose of this product properly:
To prevent possible harm to the environment or human health from uncontrolled
waste disposal, please recycle this product responsibly to promote sustainable
reuse of material resources.