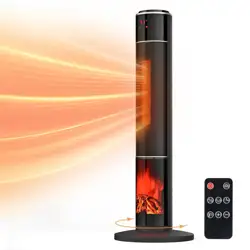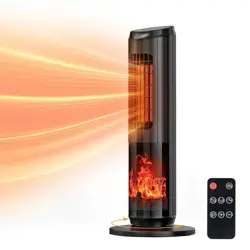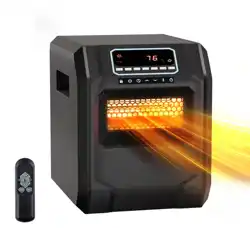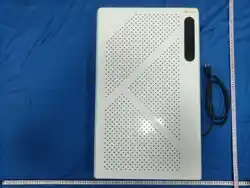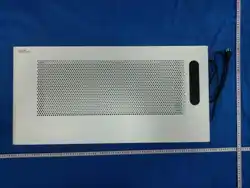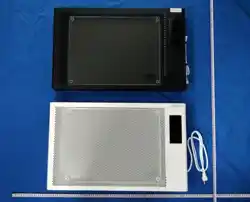

Space Heater
XESTZHEO
SAFETY INSTRUCTIONS
Do not place or cover items or clothing on top of the product.
Do not use power strips or exten- sion cords, as they may cause plug
damage due to excessive power.
Do not let children touch or trip
over the product, especially those with delicate skin.
Do not overload electrical circuits.
Avoid plugging multiple high-pow- ered devices into the same circuit.
Please keep a distance of more than 1 meter from flammable
objects such as curtains, quilts, newspapers, and fibers.
FCC REQUIREMENTS
Warning:
Changes or modifications not expressly approved by the party respon-
sible for compliance could void the user's authority to operate the
equipment.
This device complies with Part 15 of the FCC Rules. Operation is sub-
ject to the following two conditions:
1. This device may not cause harmful interference, and
2. This device must accept any interference received, including inter-
ference that may cause undesired operation.
Note:
This equipment has been tested and complies with the limits for a Class
B digital device, pursuant to Part 15 of the FCC Rules.
These limits are designed to provide reasonable protection against harm-
ful interference in residential installations.
This device may generate and radiate radio frequency energy. If not
installed and used properly, it may cause interference to radio com- mu-
nications.
However, there is no guarantee that interference will not occur in a par-
ticular installation.
Jinan Boteng Electric Co., Ltd.
Space Heater
XESTZHEO
Jinan Boteng Electric Co., Ltd.
WALL MOUNTED
WARNING INFORMATION
1. DON’ T cover this heater. Covering this appliance is a overheating or
fire hazard.
2. Extreme caution is necessary when any heater is used by or near chil-
dren or those in need of assistance, especially whenever the
heater is left operating and unattended.
3. To reduce the risk of fire keep textiles, curtains, or any flammable ma-
terial a minimum distance of 1 meter from the air outlet.
4. It is recommended that this appliance is plugged directly into the wall
socket. Power boards are not rated to supply power to high wattage
appliances.
5. This heater is hot when in use. To avoid burns, do not let bare skin
touch hot surfaces. Always use the handle when moving this heater.
6. Always unplug heater when not in use.
7. Use only the voltage specified on the rating label of the appliance.
8. Indoor using only.
9. Use this appliance only as described in this manual.
10. Ensure hands are dry before handling the plug or main unit.
11. Ensure appliance is on a flat, stable, heat- resistant surface.
12. Carry out regular checks of the supply cord to ensure no damage is
evident.
Measure the distance between the mounting holes and mark the posi-
tions on the wall (use a spirit level to ensure precise align-ment).
Drill holes in the wall according to the markings and insert the expansion
bolts.
After securing the expansion bolts, hang the heater onto the bolts via its
mounting holes, then push the bolts into the heater's slot to prevent easy
removal.
For best performance, install the heater as low as possible. How- ever,
the bottom must be at least 20 cm (8 inches) above the ground. Ensure
no obstructions within 50 cm (20 inches) above or on either side of the
heater. The mounting height should not exceed 180 cm (71 inches).
!
WARNING INFORMATION
13. Always ensure that all cord has been removed from heater and is
unrolled before use. In avoid the insulation to weaken and split.
14. Do not remove plug from power socket until the appliance has been
switched off .
15. Keep this appliance and cable away from heated surfaces. Do not
position the cable under furniture or appliances.
16. Arrange the cord so it cannot be tripped over.
17. Do not place appliance close to radiant heat source
18. Do not insert or allow foreign objects to enter any ventlation or
exhaust opening, as this may cause an electric shock, fire or damage to
the appliance.
19. A heater has hot and arcing or sparking parts inside. It must NOT be
used in potentially angerous locations such as flammable, explo- sive,
chemical-laden or wet atmospheres. This heater is intended for general
use ONLY.
20. Do not use this appliance in the immediate surrounds of a bath, a
shower or swimming pool or other liquids.
21. If your appliance does not work, or is not working properly, con- tact
the XESTZHEOCustomer Services Team.
!
封面封底 内7 内8 内9 内 10
-07- -08- -09- -10-
XESTZHEO Space Heater
I. Introduction
Thank you for purchasing our Hauxionex Space Heater.
The product you have purchased has undergone strict testing and
inspection before leaving the factory to ensure its quality. We hope
you are satisfied with your purchase.
II. Product Overview
This product offers features such as adjustable constant temperature,
independent control, energy efficiency, comfort, long lifespan, safety,
and maintenance-free operation. It is an energy-saving, comfortable,
and eco-friendly heating solution with no pollution.
The convection heater provides even heat distribution, excellent tem-
perature control, energy savings, and does not consume indoor
oxygen.
III. Preparation Before Use
During loading and handling, the product should be handled with care.
Do not throw, drop, roll, or drag it. Avoid exposure to direct sun- light
and rain.
The storage area should be well-ventilated, free from corrosive gases,
and with a relative humidity not exceeding 85%.
Avoid heavy pressure, do not stack outdoors, and do not stack more than
six boxes high.
IV. Instructions for Use
1. Power On/Off: In standby mode, the 'Power' button flashes, while the
display and other button lights are off; press the button to power on/off.
2. Temperature Setting: With the device powered on, press the 'Up' and
'Down' buttons to set the temperature (5~99℉); heating is activated
when the room temperature is lower than the set temperature, and stops
when the room temperature is equal to or higher than the set tempera-
ture.
3. Sleep Function: After powering on, press and hold the 'Up' button for
5 seconds to enter or exit sleep mode; when the sleep function is
enabled, the display brightness decreases, and all button lights except
the power button turn off; the sleep function automatically exits after
cumulative operation of 8 hours.
4. Scheduled Power On/Off: Short-press the 'Settings' button to display
V: Remote Control Operation
1. Press 'ON' to power on and 'OFF' to power off;
2. Press 'Temperature +' and 'Temperature -' to set the heating tempera-
ture;
VI: Fault Code
The display shows 'E1', indicating a temperature sensor fault. Please
inspect or replace the sensor.
VII: Automatic shutdown upon dumping
1. Equipment equipped with a fall-protection function will automatically
shut down upon falling; it must be repositioned upright before normal
operation can resume.
2. The dump function can be enabled or disabled by holding both the
'Up' and 'Down' buttons simultaneously for 5 seconds.
Any accidents or damages caused by failure to follow the instructions
and safety precautions in this manual are not covered by our warran-
ty, and the company bears no responsibility for such incidents.
Please keep this manual in a safe place for future reference.
Reminder: Room temperature and electricity consumption are
directly related to the room layout and insulation conditions.
Please read this user manual carefully before using the product.
Note: Disconnect the power supply if the product will not be used for a long time to avoid potential danger.
the countdown for power on/off time; press the 'Up' and 'Down' buttons
to set the shutdown time; after setting, the system enters countdown
mode; the scheduled time range is 0~9 hours (default 0), where 0 means
the scheduled function is disabled. The display's scheduled icon lights up
to indicate countdown in progress (set to countdown shutdown when
powered on, and countdown power on when powered off).
5. Child Lock: Press and hold the 'Down' button for 5 seconds to activate
the child lock; when activated, the buttons are locked and need to be
unlocked by pressing and holding the 'Down' button for 5 seconds again.
6. Mode: Short-press the 'M' button to select mode (Auto/Manual); in
Auto mode, the device automatically adjusts heating power based on the
set temperature difference; in Manual mode, heating is done at a fixed
power (stops when the set temperature is reached).
7. Power Setting (Manual Mode): Press 'M' to select Manual mode;
long-press 'M' for 2 seconds to enter settings, then press 'Up' and 'Down'
buttons to select the power.
8. Restore Factory Settings: With the device powered on, press and hold
the 'Power' button for 5 seconds to restore factory settings.
3. Press 'Mode' to switch between automatic and manual modes;
4. Press 'Time +' and 'Time -' to set the countdown shutdown time. Set-
ting it to 0H disables the countdown;
5. Press 'Child Lock' to enable or disable the child lock function;
6. Press 'Sleep' to enable or disable sleep mode;
7. Hold 'WIFI' for 3 seconds to enter or exit the network configuration.
VIII: WIFI Network Configuration
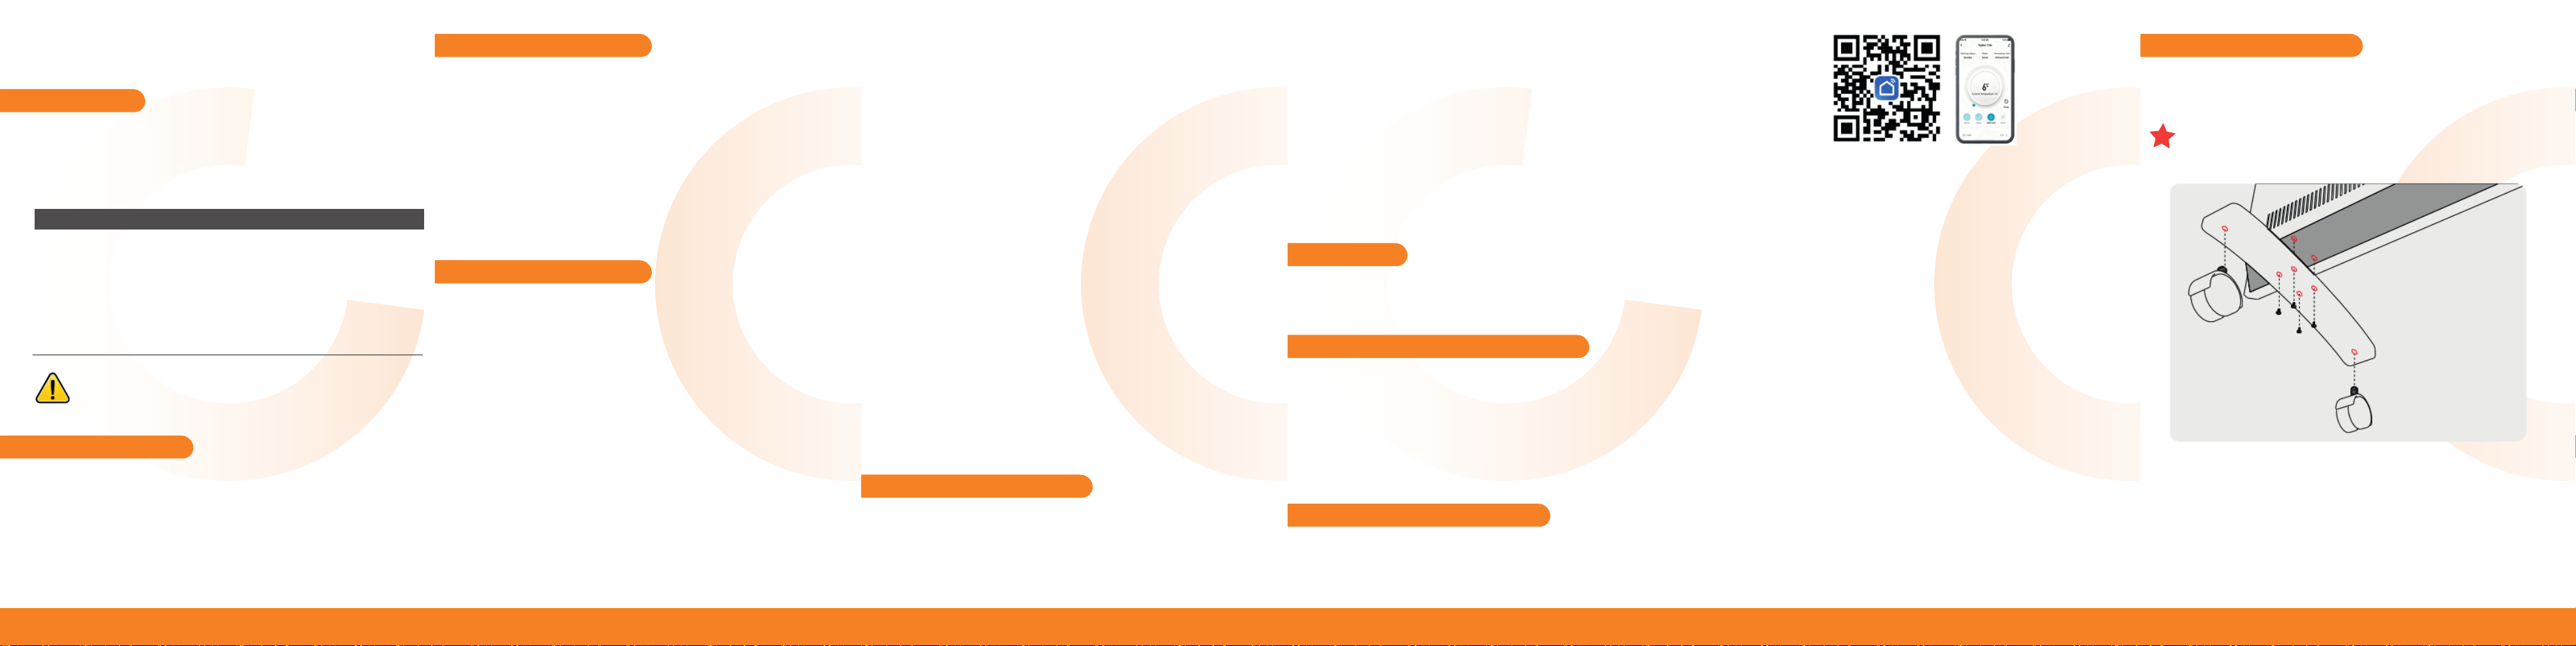
Search for and download the 'Smart Life' app from the mobile app store,
or scan the QR code directly to install and then register an account.
IX:Installation Instructions
This heater supports two installation according to your needs.
methods. Please choose one
Align the heater's base with the installation holes at the bottom of the
heater and fix it in place with screws.
Attach the caster wheels into the base holes and tighten the screws
securely.
Powerline Network Setup:
Before performing the powerline network setup via your mobile phone,
please first confirm that the device is in the powerline network setup
mode (the Wi-Fi icon will flash rapidly); if the device is not in the
powerline network setup mode, hold the "Settings" button for 5 seconds
while the device is powered on to enter the powerline network setup
mode.
WIFI Icon Description:
A slow blink indicates no connection; a fast blink indicates that the
device is in the network configuration process; a steady light indicates a
successful connection.
Two methods for configuring the power distribution network:
(1)Open the APP, tap the "+" icon in the upper right corner to add a
device; the APP will automatically search for devices. Tap "Vertical
Screen Variable Frequency Heater," follow the APP's prompts to add the
device, and the power distribution network configuration will be complet-
ed.
(2)Open the APP, click the '+' in the top-right corner to add a device.
Select the large category 'Small Appliances' at the bottom of the page,
then choose 'Heater (Wi-Fi)'. Complete the device addition by setting up
the network.
FREESTANDING
-01- -02- -03- -04- -05- -06-