
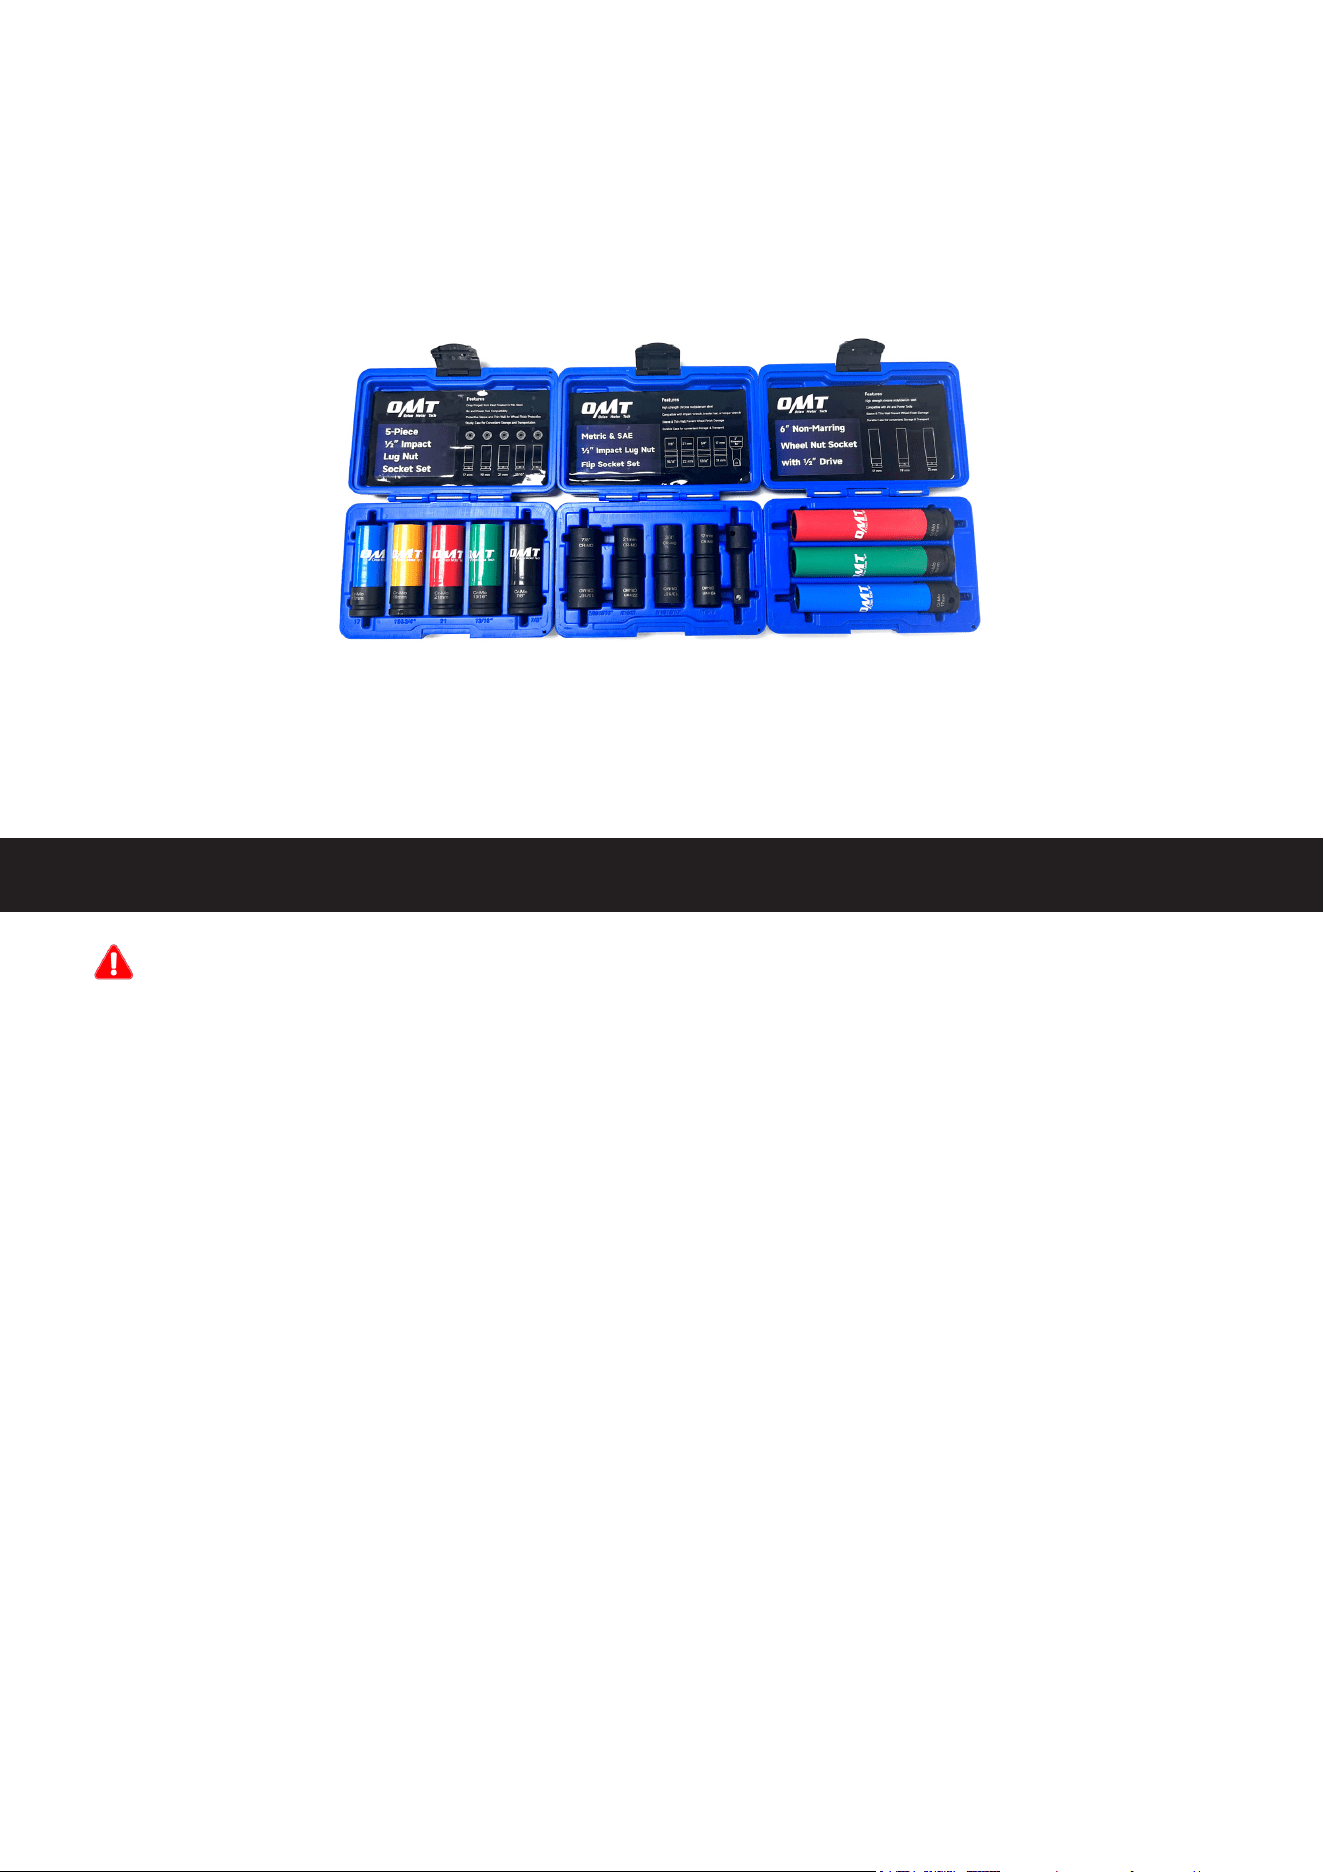
LUG NUT SOCKET SET
USER MANUAL
Read Carefully Before Use
Keep for Future Reference
V20230821
Safety Information
• The instructions provided herein are only for general information. ALWAYS perform all repairs
in full compliance with your vehicle’s service manual. After any repair, test your engine and
vehicle in your workshop and at low speed before returning to normal use. Failure to do so
may result in brake failure, serious property damage, and severe personal injury.
•
DO NOT
allow children or those unfamiliar with this product to use it. Do not use while under
the inuence of alcohol, drugs, or any medication that negatively aects your judgment or
reexes. Keep children and bystanders away during use.
• Keep your work site clean and well lit. Cluttered and dark work areas invite accidents.
• For best results, keep the kit clean and dry. Remove any uid, oil, or grease before and after
work, particularly from the sockets.
•
ALWAYS
use personal protective equipment (PPE) suitable to your task. Always wear
ANSI-approved eye and hand protection while using this product. Nonslip footwear is also
highly recommended. Other equipment such as ear, head, and body protection may also be
necessary depending on your work and other equipment.
• Dress properly for automotive servicing. Do not wear loose clothing or jewelry and keep hair,
clothing, gloves, hoses, and tools away from any moving parts during use.
•
ALWAYS
know and understand the specic safety warnings and instructions for your vehicle
before using this kit. Use the correct uids, pressures, adapters, etc. for your vehicle. Make
sure the parking brake is activated before beginning any work. Use with jack and jack stands
able to fully support the necessary weight. Never touch any heated surface with exposed
skin.
DANGER!
1
• Do not overreach. Keep proper footing and balance at all times.
•
DO NOT
use excessive pressure with this product and do not force it.
• Maintain this product. Check for debris, grease, or wear before use. If any damage is
detected, replace the faulty piece before further use. In a large shop, mark such tools
DO
NOT USE
until they have been repaired.
•
ALWAYS
follow the instructions for impact or pneumatic tools.
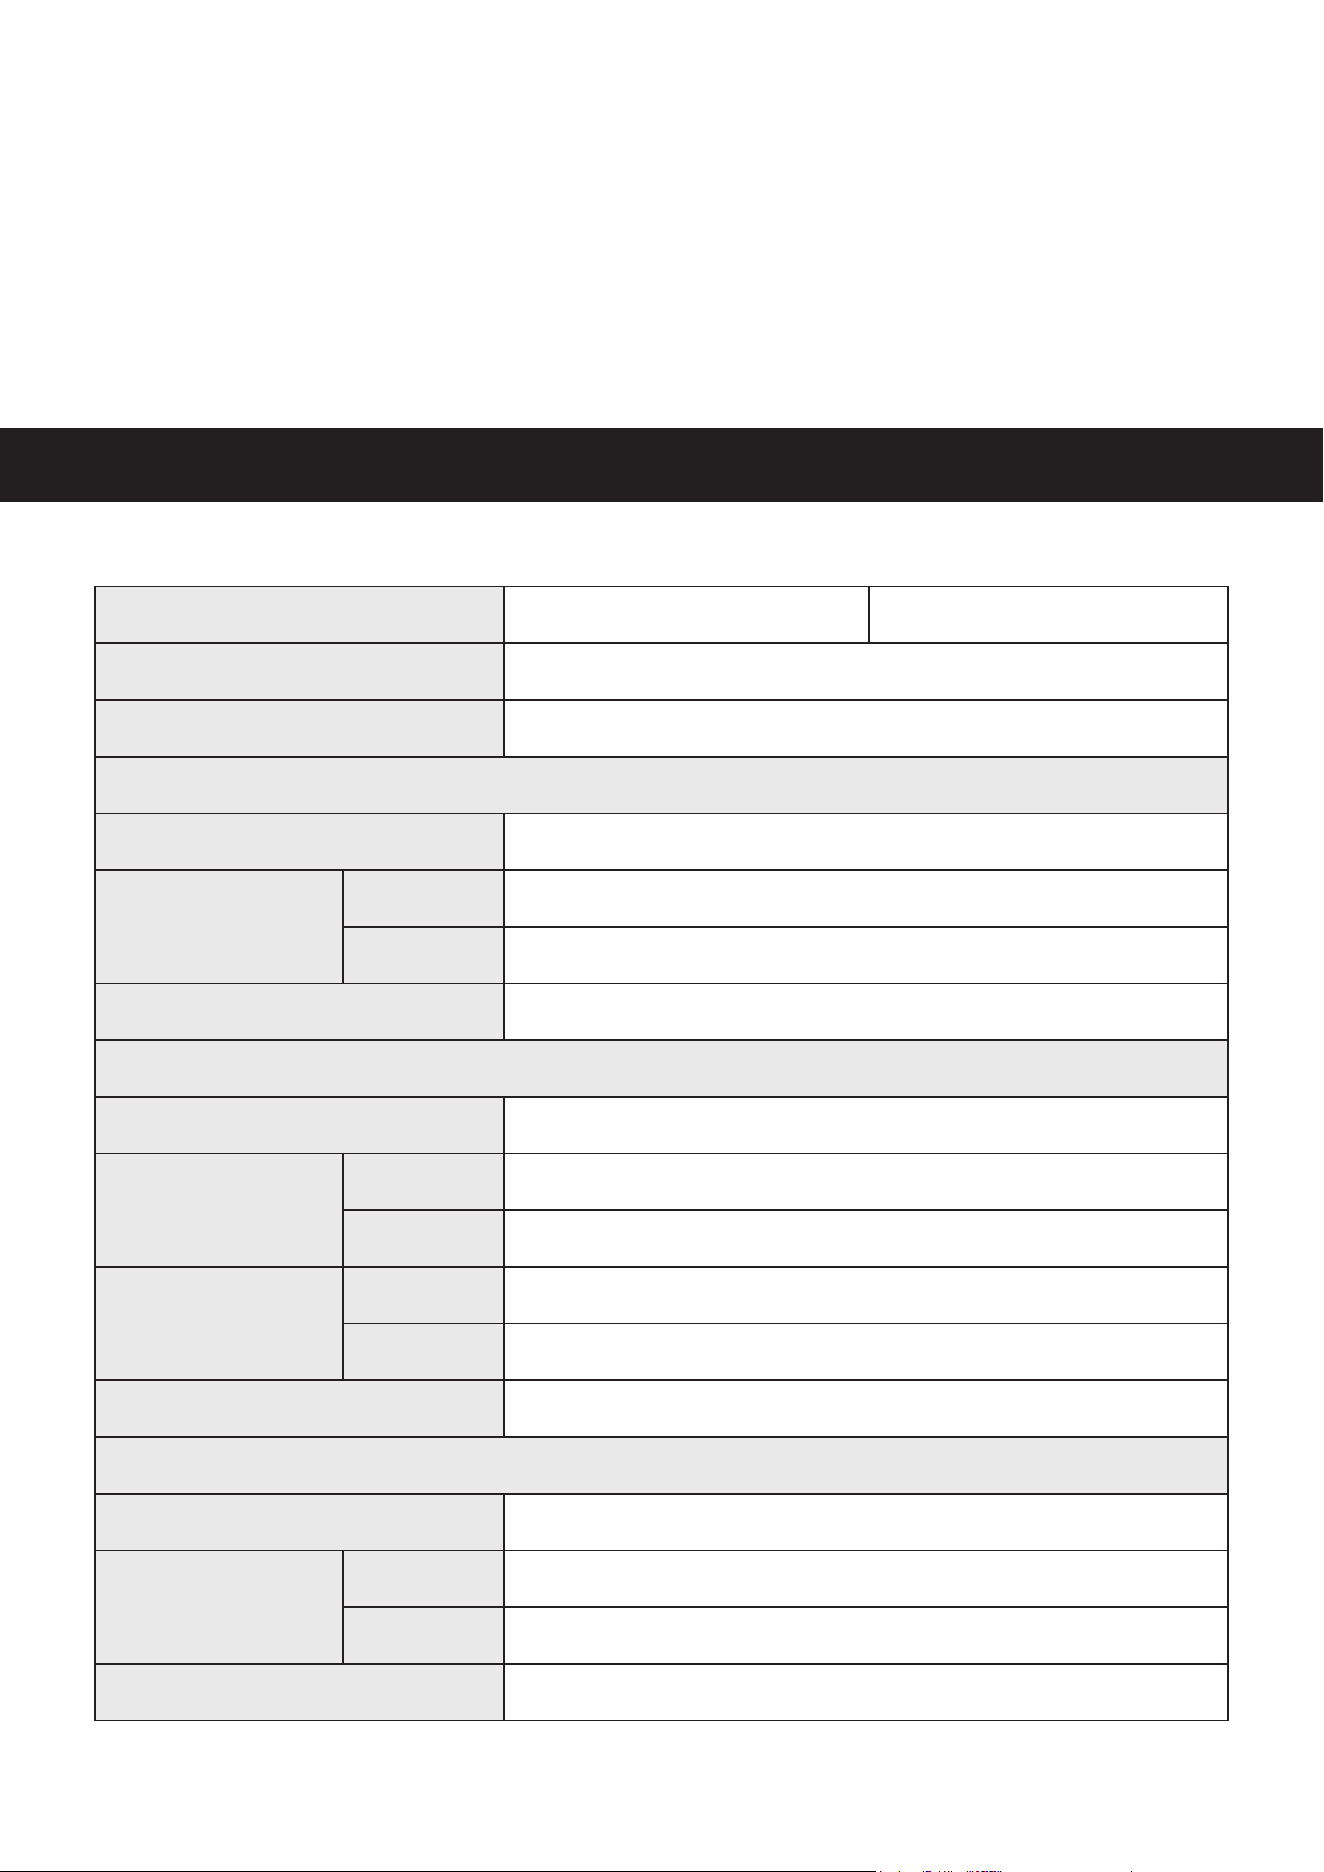
Specications
Case Dimensions
8.2×5.6×2 in. 20.7×14.1×5.3 cm
Compatibility
Manual, Impact, and Pneumatic
Material
Cr-Mo Steel, ABS Plastic
B001
Pieces
5
Socket
Sizes
17,19, 21 mm, 13/16, 7/8 in.
Drive
½ in.
Protective Cover Colors
Blue, Yellow, Red, Green, Black
B002
Pieces
4
Extension Bar
Size
½ in.
Drive
½ in.
Socket
Sizes
17 & 19, 21 & 22 mm, 13/16 & 3/4, 7/8 & 15/16 in.
Drive
½ in.
Protective Cover
N/A
B003
Pieces
3
Socket
Sizes
17, 19, 21 mm
Drive
½ in.
Protective Cover Colors
Blue, Green, Red

2
Operation
1. Park the car on a level surface and engage the parking brake. Refer to your vehicle's service
manual to determine the correct socket size. The plastic protective cases on B001 and B003
sockets are designed to prevent any damage to the area around the lug nut on your hub. If
the socket doesn't t, remove the case by turning it counterclockwise. For B002, insert the
end of the extension bar with a ball bearing into the chosen socket. They will lock tightly
when you hear a distinct "click."
2. If your car has a hubcap, remove it carefully to avoid damaging its fasteners. Locate the lug
nuts.
3. Check for any locking nuts among the lug nuts. If present, use the key designed for the
locking nuts to loosen them.
4. Attach the selected socket or the other end of the extension bar to a ½-inch manual or impact
wrench, or to a pneumatic or cordless nutrunner.
5. Position the socket precisely onto the lug nut you intend to remove. Follow the appropriate
protocols for using torque wrenches, impact tools, or pneumatic tools.
6. Start loosening the lug nuts while the car is still on the ground. Before lifting the car with a
jack, attempt to loosen the lug nuts using the resistance provided by the tire's contact with
the ground. The nuts will be easier to remove since they won't spin while on the ground.
It is recommended to loosen the nuts in a "star" pattern, skipping the lug nut adjacent to
the one you just loosened. This pattern helps keep the wheel centered and is especially
important when installing the wheel.
7. Once all the lug nuts are loose, lift the car with a jack, remove the lug nuts completely by
hand, and then remove the wheel to proceed with your intended task.
Warning! If your task requires more than simply replacing the wheel with a spare or new
wheel, it is essential to use a frame stand to support the car until the project is complete.
8. After servicing your vehicle, reassemble the parts and retighten the nuts by following the
same steps in reverse order.
Warning! Always tighten the nuts according to the torque specications provided in your
owner's manual. To prevent over-tightening, ensure that the torque applied by your tools
matches the specic torque requirements of your lug nuts.
9. Replace the protective cases for B001 and B003 sockets or disassemble the extension bar
and socket for B002. Store them back in the storage box.
Parts List
Lug Nut Sockets × 5 /Lug Nut Flip Socket × 4, Extension Bar × 1/ Thin Wall Lug Nut Socket × 3
Storage Case × 1

3
Contact Us
Thank you for choosing our products! If you have any questions or
comments, contact us at
and we'll resolve
your issue ASAP!
For a .pdf copy of the latest version of these instructions, use the
appropriate app on your smartphone to scan the QR code to the right.
Maintenance
• Clean the tools with a soft damp cloth using a mild detergent or solution after use. Do not
rinse them or use abrasive cleaners or caustic chemicals.
• Check the tools periodically for any wear or damage. Repair or replace any problematic
piece before further use.
• If the tools will not be used for an extended period of time, clean and lubricate them and
store them in a cool dry place inaccessible to children.
NSS-B001-00
NSS-B002-00
NSS-B003-00
Rev. 21 Aug. 2023