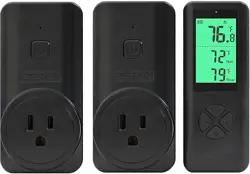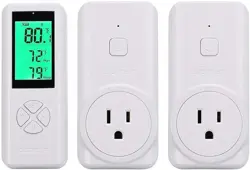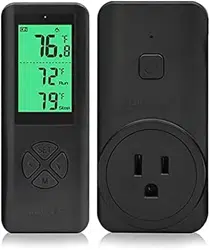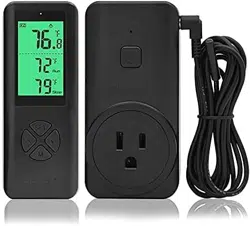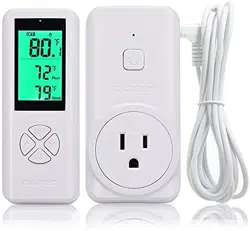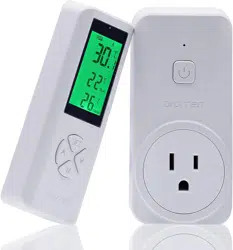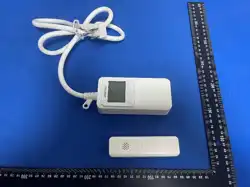
WTC305 Wireless Temperature Controller
User Manual
Overview
The WTC305 Wireless Temperature Controller includes a transmitter and a receiver. The transmitter
measures the temperature and sends the temperature data to the receiver. The receiver displays
the temperature and controls the connected heating or cooling equipment.
The receiver features a large, clear LCD display for easy setup and monitoring. It supports high and
low temperature alarms and records the maximum and minimum temperatures measured during
the past 24 hours, providing smart and reliable temperature control for connected equipment.
Specifications
Transmitter
Item Specification
Power Supply 2 × AAA, 3 V
Transmission Distance 100 m (328 ft) in open-air space
Probe Built-in high precision NTC probe
Temperature Measurement Range -40.0 °C to 60.0 °C / -40.0 °F to 140.0 °F
Refresh Rate 60 seconds
Receiver
Item Specification
Power Supply 100–240 VAC
Measurement Range -40.0 °C to 60.0 °C / -40.0 °F to 140.0 °F
Control Range -40.0 °C to 60.0 °C / -40.0 °F to 140.0 °F
Display Resolution ±0.1 °C / °F
Setting Accuracy ±1 °C / °F
Mode Heating / Cooling
High / Low Alarm Range -20.0 °C to 60.0 °C / -4.0 °F to 140.0 °F
Cooling Delay Protection (DP) 0–10 minutes
Transmitter Low-Battery Alarm Battery icon flashes
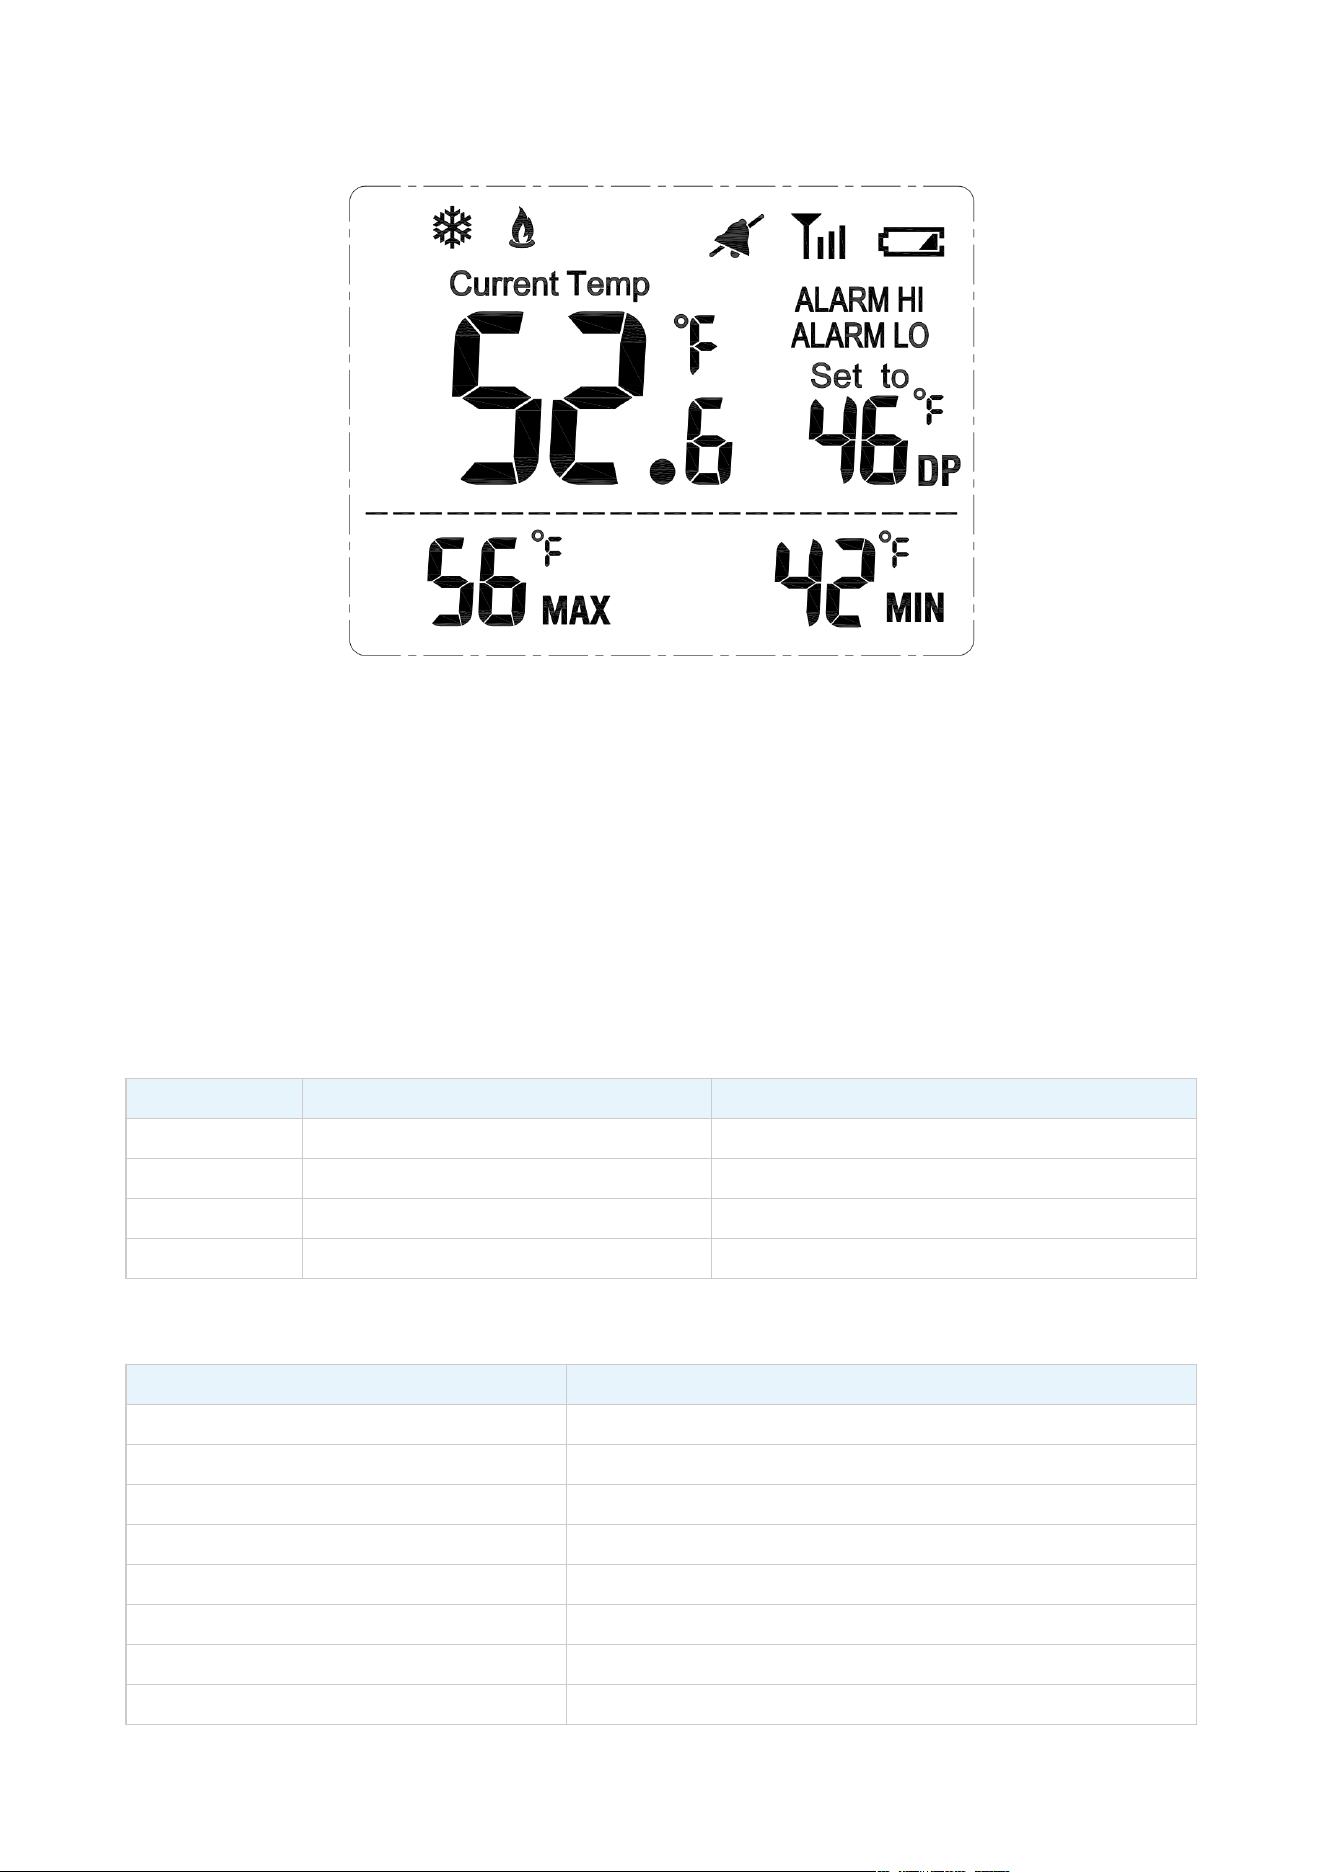
LCD Display
• Heating or Cooling mode — Snowflake / Flame icons
• Alarm Speaker — Bell icon (with or without slash)
• Transmitter battery is low — Battery icon flashes
• Current temp — Real-time measured temperature
• Cool / Heat — Current operating mode
• Set to — Target (setpoint) temperature value
• ALARM HI / ALARM LO — High and low temperature alarm thresholds
• DP — Compressor delay time in cooling mode (minutes)
• MAX / MIN — Highest and lowest temperatures recorded in the past 24 hours
Key Buttons
Button Short Press Long Press
SET Advance to next setting Enter advanced settings or save and exit
+ Increase value by 1 Rapid increase
− Decrease value by 1 Rapid decrease
ALARM Mute alarm beep Enable or disable alarm function (3 seconds)
Factory Default Settings
Item Default Value
Target Temperature (SET TO) 82 °F (28 °C)
Operating Mode COOL
Temperature Unit °F
ALARM HI 60.0 °C (140.0 °F)
ALARM LO -40.0 °C (-40.0 °F)
DP (Compressor Delay) 0 minutes
Hysteresis (Diff) 2 °F (2 °C)
Alarm Function Enabled

Working Principle
The target temperature (setpoint) is the temperature at which the load stops. Hysteresis (Diff)
prevents short cycling. The default Diff is 2 °F (2 °C).
Cooling mode: The load turns on when the measured temperature rises above (setpoint + Diff) and
turns off when the temperature falls to the setpoint.
Heating mode: The load turns on when the measured temperature falls below (setpoint − Diff) and
turns off when the temperature rises to the setpoint.
Switching Temperature Unit
Press and hold + and − together for 3 seconds to switch between Celsius (°C) and Fahrenheit (°F).
Operation Instructions
Set Target Temperature
Press + or − to adjust the target temperature. The display returns to the main screen after 5
seconds of inactivity.
Advanced Settings (Mode, ALARM HI, ALARM LO, DP)
1. Press and hold SET for 3 seconds until the Cool or Heat icon blinks.
2. Press + or − to select Heat or Cool mode.
3. Short press SET. The ALARM HI value blinks. Use + / − to set the high-temperature alarm.
4. Short press SET. The ALARM LO value blinks. Use + / − to set the low-temperature alarm.
5. Short press SET. The DP value blinks. Use + / − to set the compressor delay time (0–10
minutes).
6. Long-press SET to save all settings and return to the main screen.
You may press and hold SET at any time during setup to save and exit.
Compressor Delay Protection (DP)
Restarting a compressor immediately after it stops can cause damage. The DP setting forces a
waiting period (0–10 minutes) before the compressor is allowed to restart. The DP icon flashes
during the delay and stops flashing when the delay ends and the compressor may start.
Setting Hysteresis (Diff)
Press and hold + and SET together for 3 seconds. Adjust the value with + / −, then press and hold
SET to save.
High / Low Temperature Alarm
When the temperature rises above ALARM HI or falls below ALARM LO, the bell icon flashes and the
buzzer sounds. Press ALARM briefly to silence the beep (the icon continues flashing until the
temperature returns to the normal range).
To enable or disable the alarm function, press and hold ALARM for 3 seconds.
• Bell icon visible = Alarm ON
• Bell icon with slash = Alarm OFF

Transmitter–Receiver Pairing
1. Power on the receiver. Press and hold SET and ALARM together for 3 seconds until --.- blinks on
the display.
2. Power on the transmitter. Briefly press the KEY button on the transmitter, or wait
approximately 20 seconds for automatic transmission.
3. Pairing is successful when the receiver displays a valid temperature reading.
Note: One receiver can be paired with only one transmitter. If no signal is received, the display
continues to show blinking --.-.
Restore Factory Defaults
While holding the SET button on the receiver, plug in the power cord. A long beep confirms that
factory settings have been restored.
24-Hour MAX / MIN Records
The bottom of the main screen shows the highest (MAX) and lowest (MIN) temperatures recorded
over the past 24 hours. To clear these records, press and hold + for 5 seconds.
Warranty
The DIGITEN products are guaranteed to the original owner for one year against defects in
workmanship and materials. For service or support, contact:
Email: [email protected]
Website: www.digit-en.com/support
Copyright © 2024 DIGITEN CO., LTD. All rights reserved.

FCC Warnning:
This equipment has been tested and found to comply with the limits for a Class B digital device,
pursuant to part 15 of the FCC Rules. These limits are designed to provide
reasonable
protection against harmful interference in a residential installation. This equipment generates,
uses and can radiate radio
frequency
energy
and,
if
not
installed
and
used
in
accordance
with
the
instructions,
may cause
harmful
interference
to
radio
communications.
However,
there
is
no
guarantee
that interference
will
not
occur
in
a
particular
installation.
If
this
equipment
does
cause
harmful interference to radio or television reception, which can be
determined by turning the equipment off
and
on,
the
user
is
encouraged
to
try
to
correct
the interference
by
one
or
more
of
the following measures:
•
Reorient or relocate the receiving antenna.
•
Increase the separation between the equipment and receiver.
•
Connect the equipment into an outlet on a circuit different from that to which the receiver is
connected.
• Consult the dealer or an experienced radio/TV technician for help.
Caution:
Any
changes
or
modifications
to
this
device
not
explicitly
approved
by
manufacturer
could void your authority to operate this equipment.
This
device
complies
with
part
15
of
the
FCC
Rules.
Operation
is
subject
to
the
following
two
conditions:
(1)This
device
may
not
cause
harmful
interference,
and
(2)
this
device
must
accept
any
interference received, including interference that may cause undesired operation.
This
equipment
complies
with
FCC
radiation
exposure
limits
set
forth
for
an
uncontrolled
environment.
This
equipment
should
be
installed
and
operated
with
minimum
distance
0cm
between the radiator and your body.