


FRAME OVERVIEW
01
03
04
05
06
10
11
11
PACKING LIST
INSTALLATION
POWER ON THE DIGITAL PICTURE FRAME
QUICK GUIDE FOR FRAMEO APP
INSERTING AN EXTERNAL STORAGE
WARRANTY
SUPPORT
SPECIFICATIONS
02
CATALOG
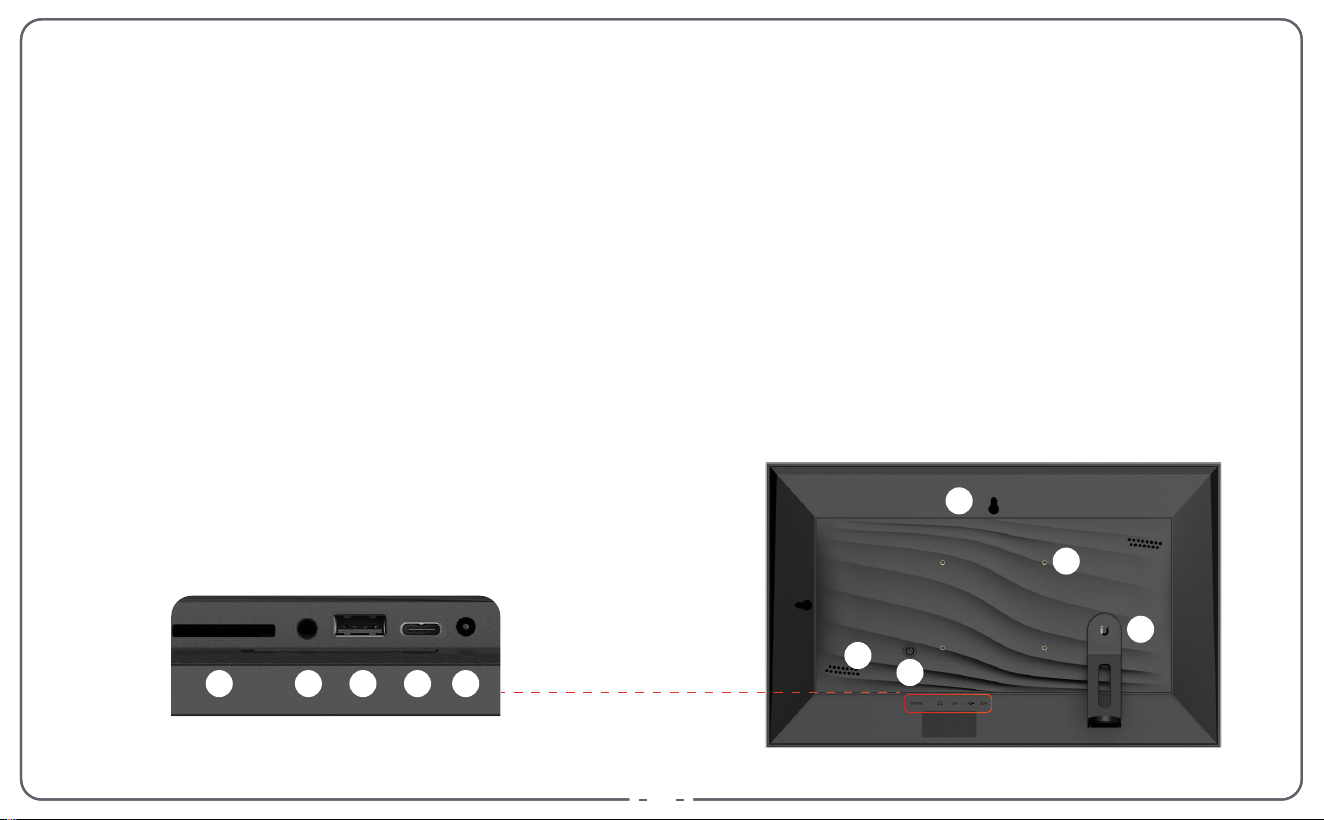
1. 15.6” LCD Screen
2. Frame
3. White Matte
4. SD Card Slot
5. Headphone Jack/Reset
6. USB 2.0 Port
7. Type C Port
8. DC IN
9. Power Button
10. Speaker
11. Wall Mount Hole
12. Frame Stand
13. VESA Hole
FRAME OVERVIEW
1
2
3
9
10
11
12
13
4 5
6
7 8
0101
02
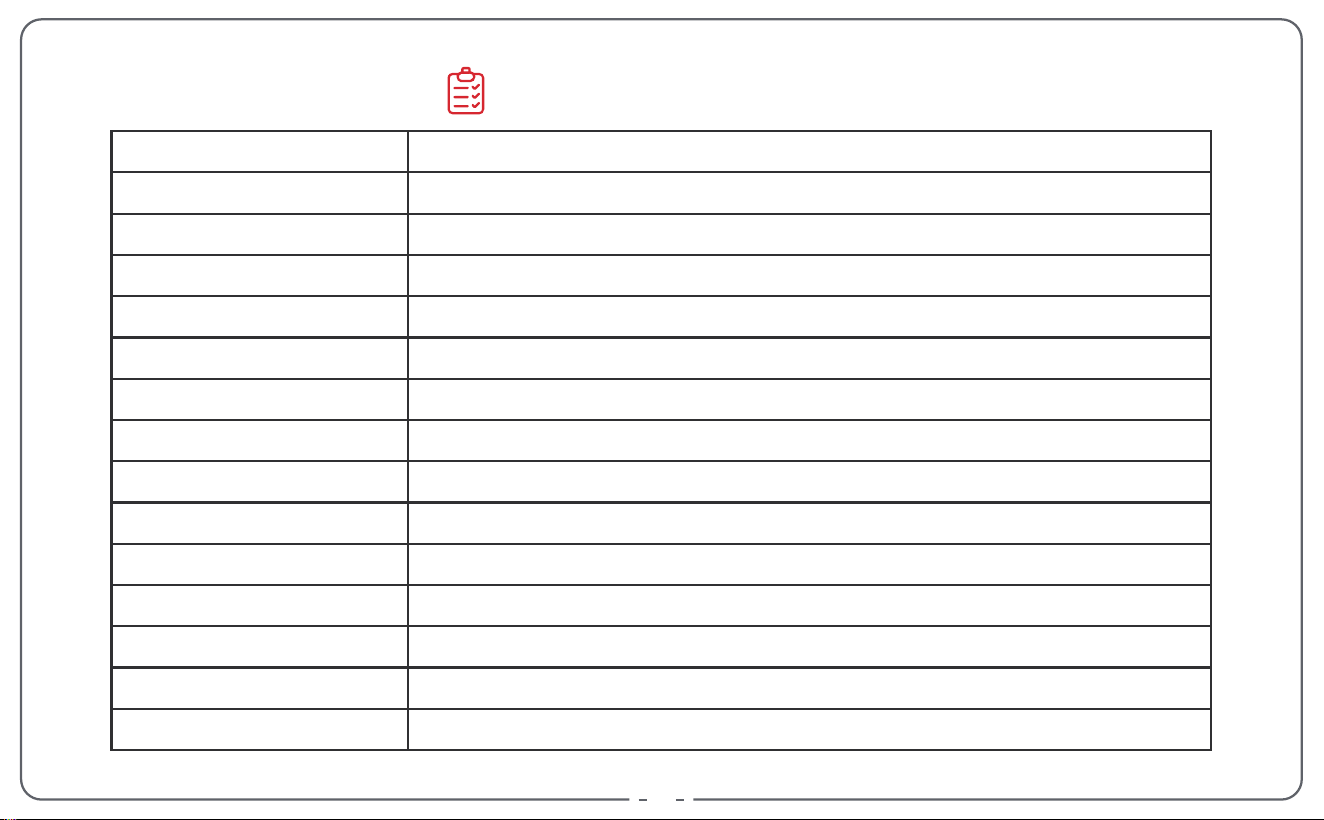
4.0*1.7mm
3.5 mm
75*75 mm
15.6" Digital Photo Frame
15.7*9.8*1.1 inch
2.48 Pound
15.6" Touchscreen (16:10)
Touch
1920*1080
32 GB
2 * 2W Stereo
SD/SDHC/SDXC/MMC
2.4 G
4-core A35 * 1.5G
AC 100-240V~, 50/60 Hz input, DC12V = 2A output
Unit
Unit Size
Weight
Screen
Control Method
Resolution
Memory Capacity
Built-in Speakers
Card Type
Wi-Fi
CPU
AC Adapter
Power Cord Jack
Headphone Jack
VESA Hole
SPECIFICATIONS
03
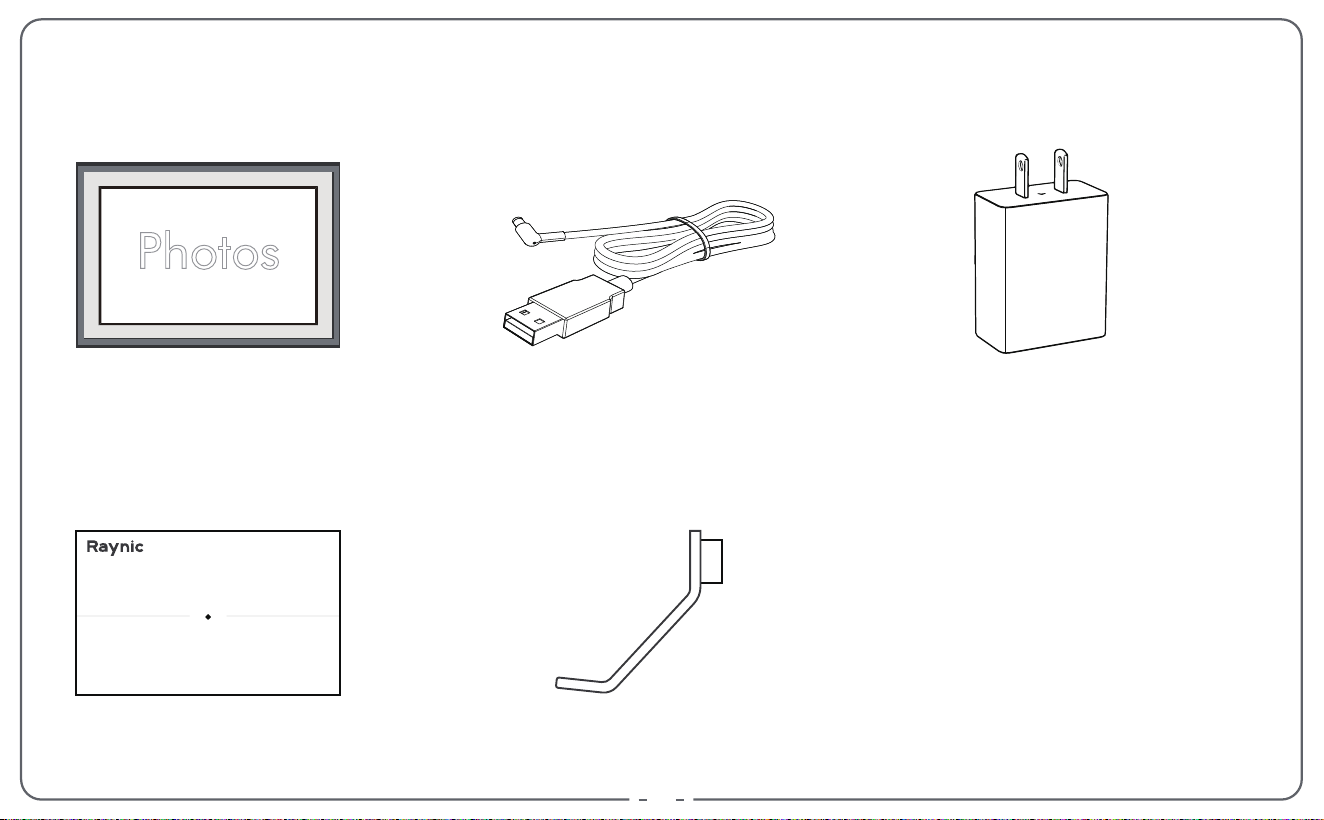
1x Digital Picture Frame
1x Stand Bracket
1x Power Cord
1x User Manual
1x AC Adapter
PACKING LIST
USER MANUAL
EP1002
EP1002
04
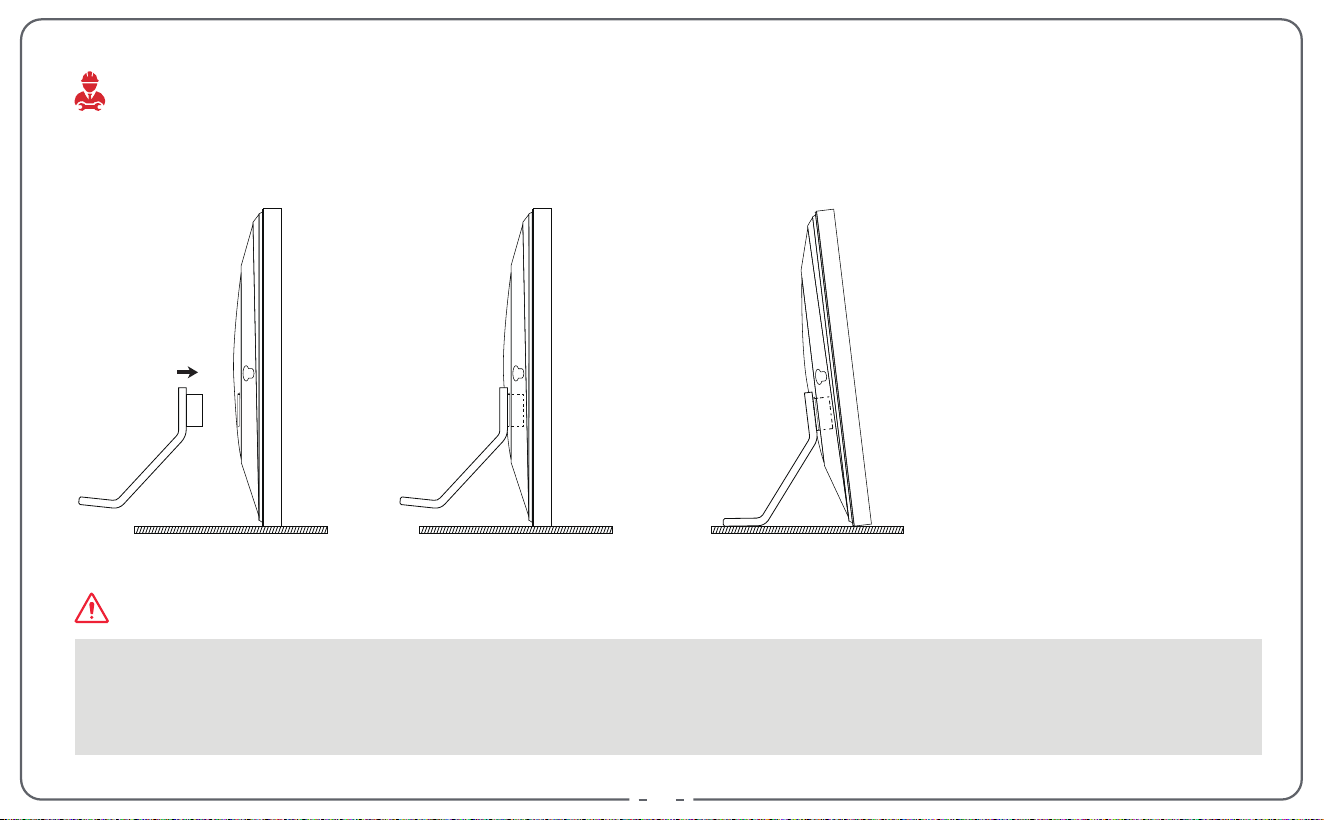
For desktop use, simply insert the stand bracket.
When moving the frame, do not hold it by the magnetic stand bracket alone. Instead, hold
both ends of the edge of the frame. Since the magnetic support is not strong enough, the
machine may easily fall and be damaged.
INSTALLATION
Please note:
05
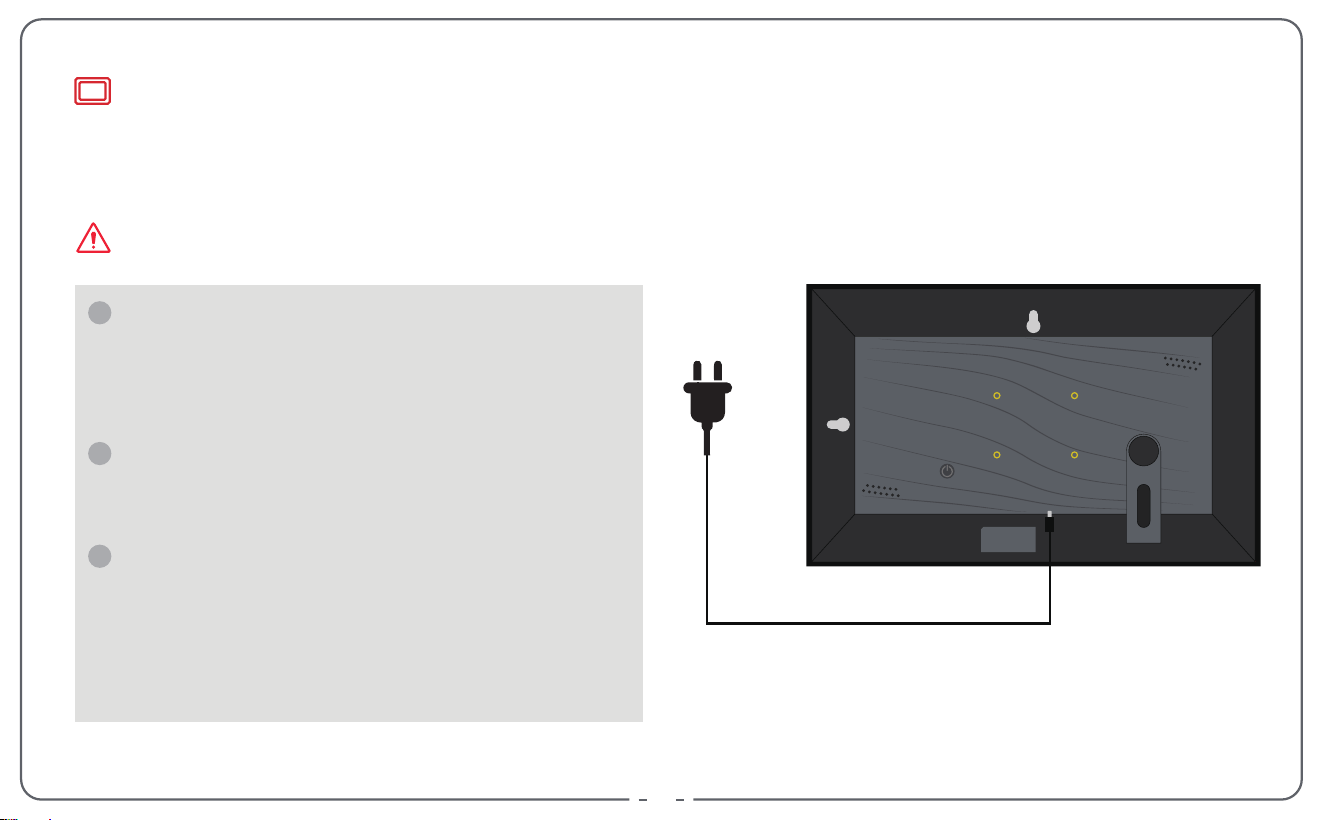
Plug in the power adapter to power on the picture frame.
Actuate the line adapter only with
earthed plugs of AC 100-240V~, 50/60 Hz
input, DC12V = 2A output.
Use the included line adapter and line
connection cable only.
Do not use the Type-C connector to
power this device.This interface is only
used to connect to the computer to
upgrade the app.If the voltage exceeds 5V,
the machine will burn out.
1
2
3
POWER ON THE DIGITAL PICTURE FRAME
Please note:
DCIN
100-240V
06
Congratulations on your brand new Frameo picture frame!
If you are new to using Frameo then start by following the Frameo quick setup or follow
the on-screen guide when powering it on for the first time.
Once you have set up your Frameo frame, you can start connecting it to your friends and family.
Getting started
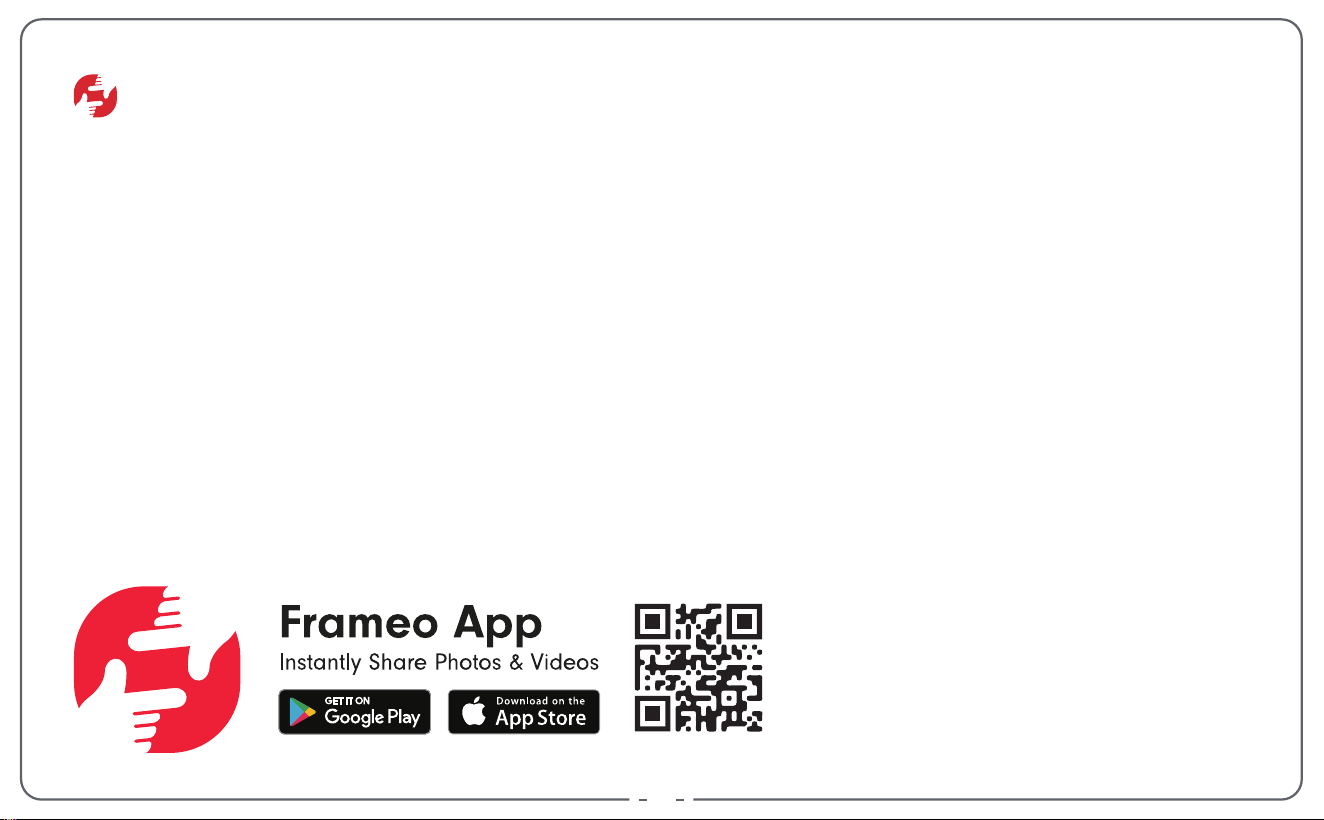
Frameo app
To send photos to your frame, use the Frameo app for iOS or Android.
QUICK GUIDE FOR FRAMEO APP
07
Video tutorials
https://raynic.com/frame-quick-guide
Check out our “Frameo Tutorials” playlist on YouTube with informative videos where we
guide you on how to get started using Frameo. Scan the code on the right or use the link
to find the playlist.
08
When starting your frame for the first time, you will need to set up the frame.
Select a language. This will be the language used on the Frameo.
Connect your frame to the internet by connecting it to Wi-Fi.
Verify or correct the date and time.
Frameo may ask you to update to the latest version. It is recommended to update
your frame before continuing if asked to.
Enter your name, and the location where you have placed your frame e.g. “John Doe” and
“Living room”, “Kitchen” or “Office”. Finally set the timezone if not already correct.
Next step is to connect Frameo with your friends and family by providing them with a
code from your frame.
If you want to be able to send photos to the frame yourself, start by downloading the app
for iOS or Android on App Store or Google Play. Then use the code to connect your frame
and app as described below.
Frameo quick setup
Start using Frameo
1
2
3
4
5
09
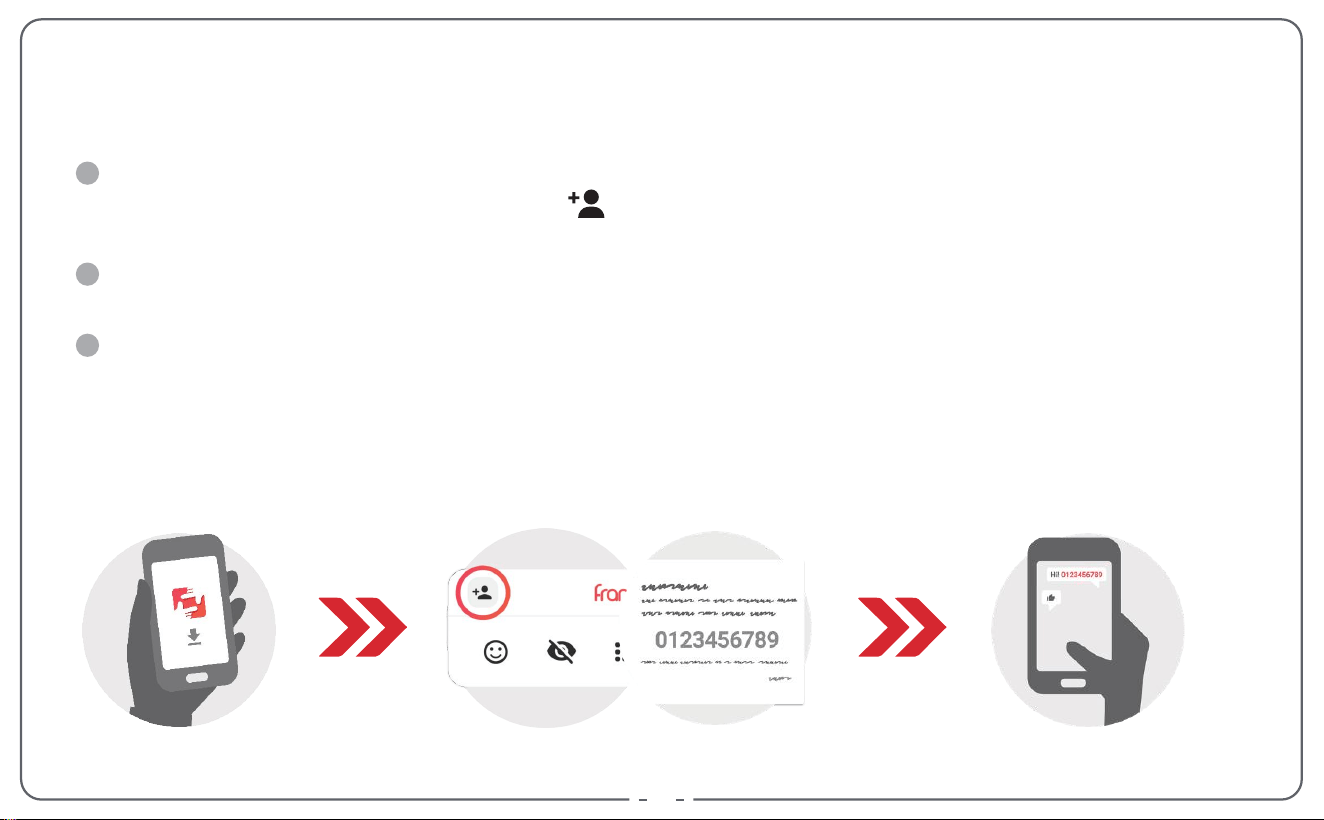
Connecting a new friend
Make sure that your friend has downloaded and installed the Frameo app.
Click the add friend icon on your frame . A dialog will appear showing a connection
code, which is valid for 12 hours.
Now share this code in whatever fashion you prefer e.g. SMS, E-Mail, IM, phone call, to
your friend.
Once your friends have added the code in their Frameo app, they will automatically
appear on your frame and be able to send you photos.
1
2
3
10
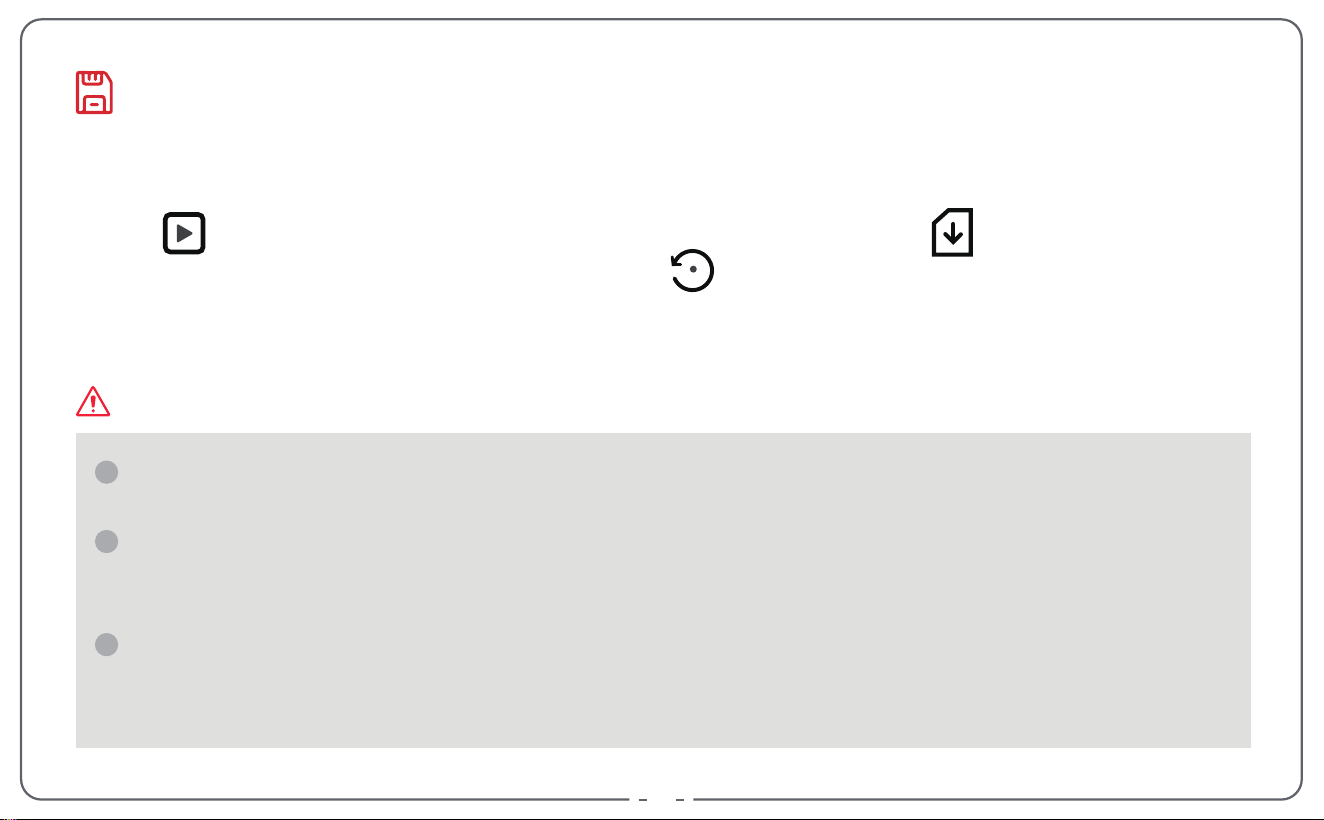
When inserting an external storage (eg. a SD card), a menu will automatically appear with
three options:
Press to play photos Directly from the external storage, press to import photos
to the internal memory of your frame or press to make a backup of your frame.
External storage only supports 2 file formats: FAT32 and NTFS. Other formats may
cause the external storage to become unreadable or the Frameo APP to crash.
Memory cards can display pictures directly, but do not support editing pictures. Please
import photos into the frame for editing. The frame supports exporting photos to a
memory card for backup or transferring to a computer.
Do not remove the memory card from the slot while pictures are still playing or the
power is on. This may damage the frame or memory card. Be sure to turn off the power
before removing the memory card.
1
2
3
INSERTING AN EXTERNAL STORAGE
Please note:
11
Phone Number: +1(323)616-1209
Telephone Support: Mon-Thur, 18:00-21:00 PDT
E-mail: support@raynic.com
Our Website : https://www.raynic.com
1
2
WARRANTY
Limited One-Year Warranty
We offer a one-year quality warranty on all products, valid from the date of
purchase.
Lifetime Free Support for Inquiries
Please don't hesitate to contact us if you have any questions about our products.
Thanks for choosing Raynic digital photo frame. If you need further assistance, please
contact our customer support team in the following ways:
SUPPORT


Live Easily and Enjoy Happiness!