©2026 Diamond Audio. All Rights Reseved.
(a division of CV & DA Holdings, Inc.)
3761 South Hill St.
Los Angeles, CA 90007
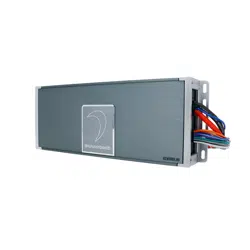
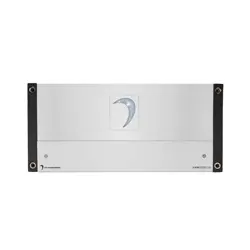
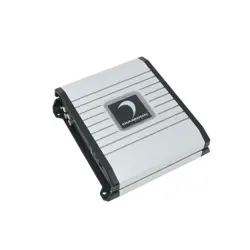
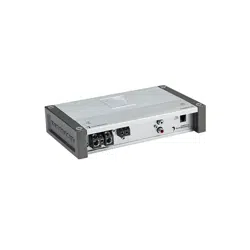
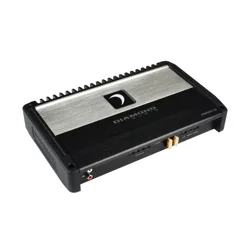
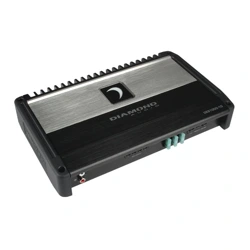
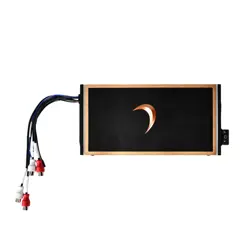
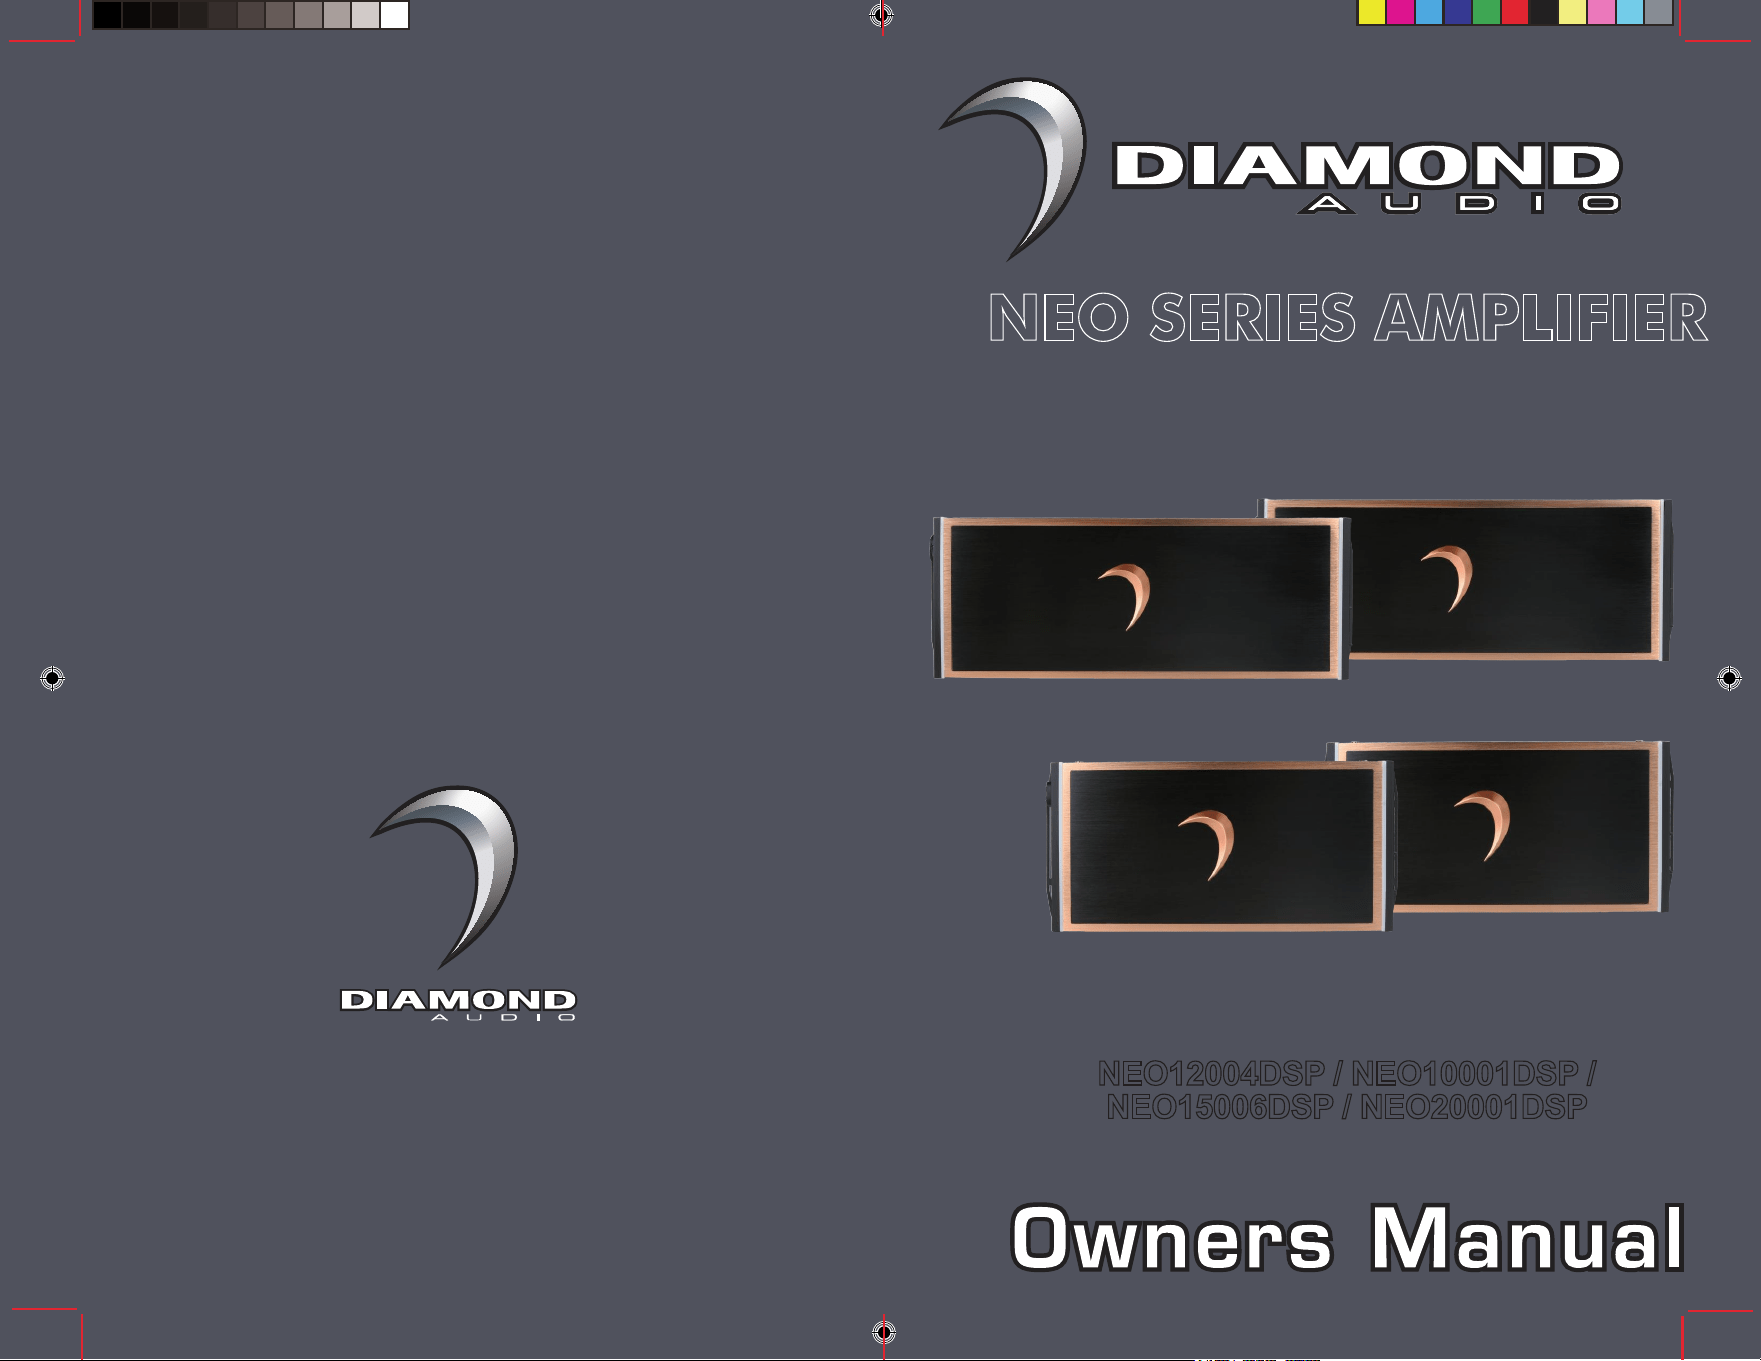
NEO SERIES AMPLIFIER
NEO12004DSP / NEO10001DSP /
NEO15006DSP / NEO20001DSP
3761 South Hill St.
Los Angeles, CA 90007
Diamond Audio (a division of CV & DA Holdings, Inc.) warrants this product to be free from defects in
material and workmanship for a period of one (1) year from the original date of purchase provided it
was purchased from an authorized DAT retailer within the United States. However, if this product was
installed by the authorized DA retailer, the warranty period will be extended to two (2) years.
THIS WARRANTY IS NOT TRANSFERABLE AND APPLIES ONLY TO THE ORIGINAL PURCHASER
OF THIS PRODUCT IN ITS ORIGINAL INSTALLATION. Original purchaser must reside in the United
States and be able to provide proof of purchase and installation with the sales receipt from the
authorized DAT retailer and completion of online regoistration that sold and
installed the product.
Should a manufacturing defect occur during above said warranty period, DA will replace or repair the
defective product with a product of the same or equivalent value and performance.
Damage or failure caused by any of the following is not covered under this warranty policy:
negligence, improper use, abuse, product modification, unauthorized repair attempts, accident, acts
of God, misrepresentations by DA retailers, and improper/inadequate packaging during return
shipping.
Warranty is void if serial numbers have been removed, altered or defaced.
In the event a DA product should require service, you should visit the authorized DA retailer you
purchased the product from and they can expedite your claim. All claims must fall into
the guidelines
listed above and be accompanied by a copy of the original sales and installation receipt from that
authorized DA retailer.
Product returned for warranty service must be freight-prepaid, properly packaged and clearly marked
with the Return Authorization (RA) number issued by DA. Any product returned to DAT that is
improperly packaged, does not have a RA number clearly marked on the package, or never received
a RA number may be refused upon delivery. DA does not assume responsibility for lost or
misdirected product.
Repair or replacement under this warranty is the exclusive remedy of the consumer. DA shall not be
liable for any incidental or consequential damages for breach of any expressed or implied warranty
on this product. Some states do not allow the exclusion or limitation of incidental or consequenti
al
damages, or allow limitations on how long an implied warranty lasts, so the above limitations or
exclusions may not apply to you. This warranty gives you specific legal rights and you may also have
other rights that may vary from state to state.
1
12
Congratulations, you have just purchased one of the finest mobile audio products on
the market. Diamond Audio products represent the latest advances in acoustic
technology in sound reproduction for your vehicle. Diamond Audio products are
designed, developed, and engineered in the USA using the latest innovative materials
and components to provide the finest sound reproduction possible. Every Diamond
Audio product has been verified and tested to ensure the best sounding and most
reliable product on the market, if installed properly. Diamond Audio products will
provide many years of the ultimate listening experience.
Please note that prolonged exposure to sound pressure levels in excess of 100dB can
cause permanent hearing loss. Using Diamond Audio products can exceed that level, so
please exercise restraint in its operation in order to preserve your ability to enjoy its
high fidelity sound for many years to come.
Diamond Audio recommends our products be professionally installed by an authorized
Diamond Audio dealer to achieve the best possible system recommendation and
installation. This will ensure a true Diamond Audio listening experience and sound you
would expect from Diamond Audio products. With proper validation use a Diamond
Audio Retailer for installation of your newly purchased amplifier. Diamond Audio will
extend the product warranty from one year to Two Years !!
Go ahead, Hear the Music
INTRODUCTION WARRANTY
HOW TO OBTAIN WARRANTY SERVICE
We reserve the right to change the products and specifications at any time without notice.
Images may or may not include optional equipment.
Brought to you by John Catalano, Director of Product Development and General Chaos!
2
11
WARNING: Prolonged exposure to sound pressure levels in excess of 100dB can cause permanent hearing
loss. Diamond Audio amplifiers can exceed that level so please exercise restraint when listening and enjoying
your new amplifier.
GENERAL PRECAUTIONS
This unit is designed for negative ground 12V DC operation only. (some older english vehicles have a
positive ground!)
Total system impedance must not be less than 2 ohm, in a bridged OR stereo configuration (monoblocks are
1 ohm stable)
Avoid installing the unit where:
- It would be subject to high temperatures, such as from direct sunlight or hot air from the heater.
- It would be exposed to rain or moisture.
- It would be subject to dust or dirt.
Do not cover the amplifier with carpet or wires.
Do not use the amplifier with a weak car battery. Optimum performance depends on a normal battery supply
voltage.
For safety reasons, keep the volume of your car audio system moderate while driving your vehicle so that
you can still hear normal traffic sounds and emergency vehicles outside your car.
MOUNTING PRECAUTIONS
Although Diamond Audio NEO amplifiers incorporate heat sinks and protection circuits, mounting the amplifier
in a tight space without any air movement can still damage internal circuitry over time. Choose a location that
provides adequate ventilation around the amplifier. For easy system set-up, mount the amplifier so the side
panel controls will be accessible after installation. To increase thermal run times on low impedance loads, an
additional fan is recommended, remember any moving air across the amplifier will reduce heat. In addition,
observe the following precautions:
1. Using a felt pen mark, mark the mounting hole locations.
2. Mounting the amplifier on carpet will significantly reduce air flow, resulting in reduced thermal run times.
3. Mount the amplifier on a solid surface. Avoid mounting to sub woofer enclosures or areas prone to vibration.
Do not install the amplifier on plastic or other combustible materials.
4. Prior to mounting the amplifier, make sure not to cut or drill into the fuel tank, fuel lines, brake lines (under
chassis) or electrical wiring.
WIRING PRECAUTIONS
1. Before installation, make sure the source unit power switch is in the OFF position.
2. Disconnect the negative (-) lead of the battery before making any power connections.
3. When making connections, be sure that each one is clean and secure. Insulate all of your connections.
Failure to do so may damage your equipment.
4. A secure clean ground connection is critical to the performance of your amplifier. Connect the ground directly
to the car chassis to minimize resistance and avoid any noise problems.
5. Add an external fuse on the amplifier's positive (+) power lead and connect it as close as possible to the
vehicle's (+) battery terminal. 18 inches is the usual dimension. Use a rating that equals the total current
consumption at full output of all amplifiers in the system. This external fuse will protect the vehicle from short
circuits that can cause a fire.
SPECIFICATIONSINSTALLTION
We reserve the right to change the products and specifications at any time without notice.
Images may or may not include optional equipment.
Brought to you by John Catalano, Director of Product Development and General Chaos!
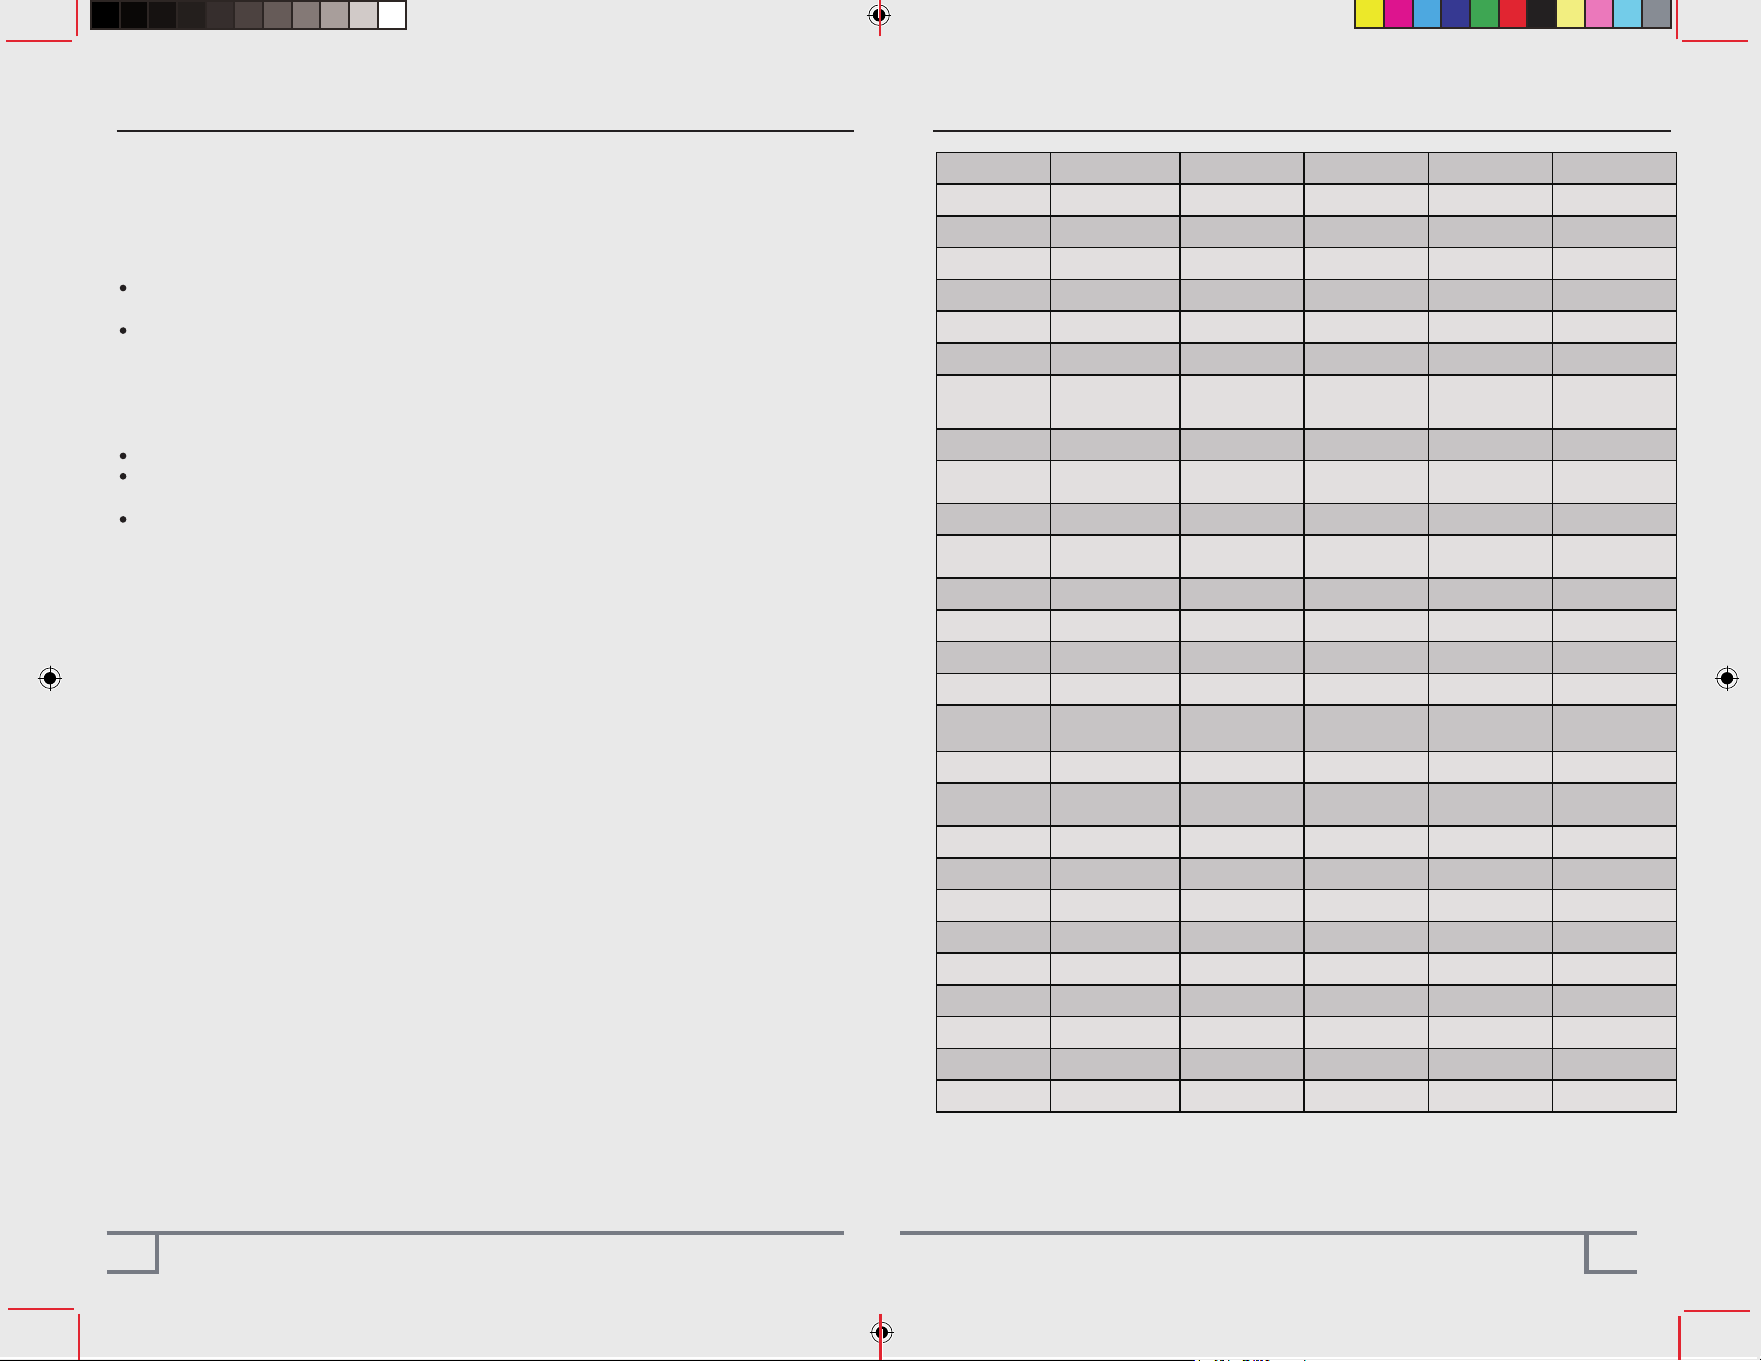
Specifications NEO12004DSP NEO15006DSP NEO10001DSP NEO20001DSP
Power Output
Audio Specs
I/O & Signal
Electrical
Physical
RMS Power @ 4Ω 4x150W 6x150W 1x600W 1x1200W
4x300W 6x250W 1x800W 1x1600W
RMS Power @ 1Ω N/A N/A 1x1000W 1x2000W
Bridged RMS @ 4Ω 2x600W 3x500W N/A N/A
Technology Class D Class D Class D Class D
Frequency
Response
15-23kHz 15-23kHz 10-20kHz 10-20kHz
THD 0.03% 0.03% 0.03% 0.03%
Signal-to-Noise
Ratio
85dB 85dB 95dB 95dB
Damping F
actor 65.6 99 199 199
Inputs High/Low Level High/Low Level High/Low Level High/Low Level
Input Sensitivity 0.4V-20V 0.4V-20V 0.4V-20V 0.4V-20V
Input Impedance 7.5k ohm 7.5k ohm 7.4k ohm 6.6k ohm
Outputs (Load) 2-8Ω 2-8Ω 1-8Ω 1-8Ω
Output Voltage
(RCA)
3V 3V 3.45V 3.46V
Operating Voltage 8-18V 8-18V 8-18V 8-18V
Max Current Draw 90A 130A 90A 200A
Idling Current 1.91A 2.73A 1.28A 1.95A
PCB Layers 4 4 4 4
Heatsink Material Aluminum Aluminum Aluminum Alumi
num
Dimensions (mm) 223.5x103.3x35 287.5x103.3x35 223.5x103.3x35 297.5x103.3x35
Dimensions (inch) 8.8x4.07x1.38 11.32x4.07x1.38 8.8x4.07x1.38 11.71x4.07x1.38
Net Weight (kg) 1.02kg 1.26kg 1.09kg 1.51kg
Net Weight (lbs) 2.25lbs 2.78lbs 2.40lbs 3.33lbs
RMS Power @ 2Ω

10
3
WIRING INSTALLTION
VEHICLE ELECTRICAL SYSTEM
Amplifiers (regardless of brand name) will put an increased load on the vehicle's battery and charging system.
Diamond Audio recommends checking your alternator and battery condition to ensure that the electrical system
has enough capacity to handle the increased load of your stereo system. Original equipment electrical systems
which are in good condition should be able to handle the extra load of any NEO amplifier without problems,
although battery and alternator life can be reduced depending on your individual listening habits. To maximize
the performance of your amplifier, we suggest the use of a reserve power "Stiffening"capacitor (1 Farad per
1000W).
WARNING:
Avoid running power wires near the low level input cables, antenna, power leads, sensitive equipment or
harnesses. The power wires carry substantial current and could radiate noise into the audio system through
the audio cables.
1. Plan the wire routing as described in the "Importance of Pre-Planning" section. Keep RCA cables close
together but isolated from the amplifier's power cables and any high power auto accessories, especially
electric motors. This is done to prevent coupling the noise from radiated electrical fields into the audio
signal. When feeding the wires through the firewall or any metal barrier, protect them with plastic or rubber
grommets to prevent short circuits. Leave the wires long at this point to adjust for a precise fit at a later time.
2. Prepare the power wire for attachment to the amplifier by stripping 5/8 inch (15.9mm) of insulation from the
end of the wire. Insert the bare wire into the B+ terminal And tighten the set screw to secure the cable in
place.
WARNING:
The B+ cable MUST be fused 18" or less from the vehicle's positive battery post. Choose a location to install a
waterproof fuseholder under the hood and ensure connections are water tight. If you do not use the appropriate
fuseholder, the connection will eventually suffer corrosion from moisture and heat.
3. Trim the power cable within 18 inches (45.7mm)
of the positive battery post and splice an in-line
fuse holder. DO NOT install the fuse at this time.
4. Strip 1/2 inch (12.7mm) from the battery end of
the power cable. Crimp and soldier a large ring
terminal to the cable. Connect the ring terminal
to the positive (+) battery post.
NEO15006DSP
NEO15006DSP

Prepare the ground wire for attachment to the amplifier by stripping 5/8" of insulation from the end of
the wire. Always use a wire of the same gauge as the power connection, never smaller. Insert the
bare wire into the GND terminal and tighten the set screw to secure the cable in place. Prepare the
chassis ground by scraping any paint from the metal surface and thoroughly clean the area of all dirt
and grease. Strip the other end of the wire, crimp and soldier a ring connector.
Fasten the cable to the chassis using a non-anodized screw with a star washer.
5.
6.
7.
8.
9.
WARNING: It is important to upgrade the ground
connection between the negative (-) battery post and
the vehicle body or chassis to achieve optimum
electrical performance.
Prepare the REM turn-on wire for attachment to the
amplifier by stripping 5/8 inch (15.9mm) of insulation
from the end of the wire. Insert the bare wire into the
REM terminal and tighten the set screw to secure the
wire in place. Connect the other end of the REM wire
to a switched 12 volt positive source. The switched
voltage is usually taken from the source unit's remote
amp turn on lead. If the source unit does not have this
output available, the recommended solution is to wire
to an accessory terminal in the car's fuse block using
a relay to isolate the amplifer from the vehicles
accessory circuit. This however will turn the amplifier
on and off with the ignition key, regardless of whether
the car stereo is on or off.
Securely mount the amplifier to the vehicle or amp rack. Be careful not to mount the amplifier on
cardboard or plastic panels. Doing so may enable the screws to pull out from the panel due to road
vibration or sudden vehicle stops.
Connect from source signal by connecting the RCA audio cables (or speaker wires) to the input jacks at
the amplifier.
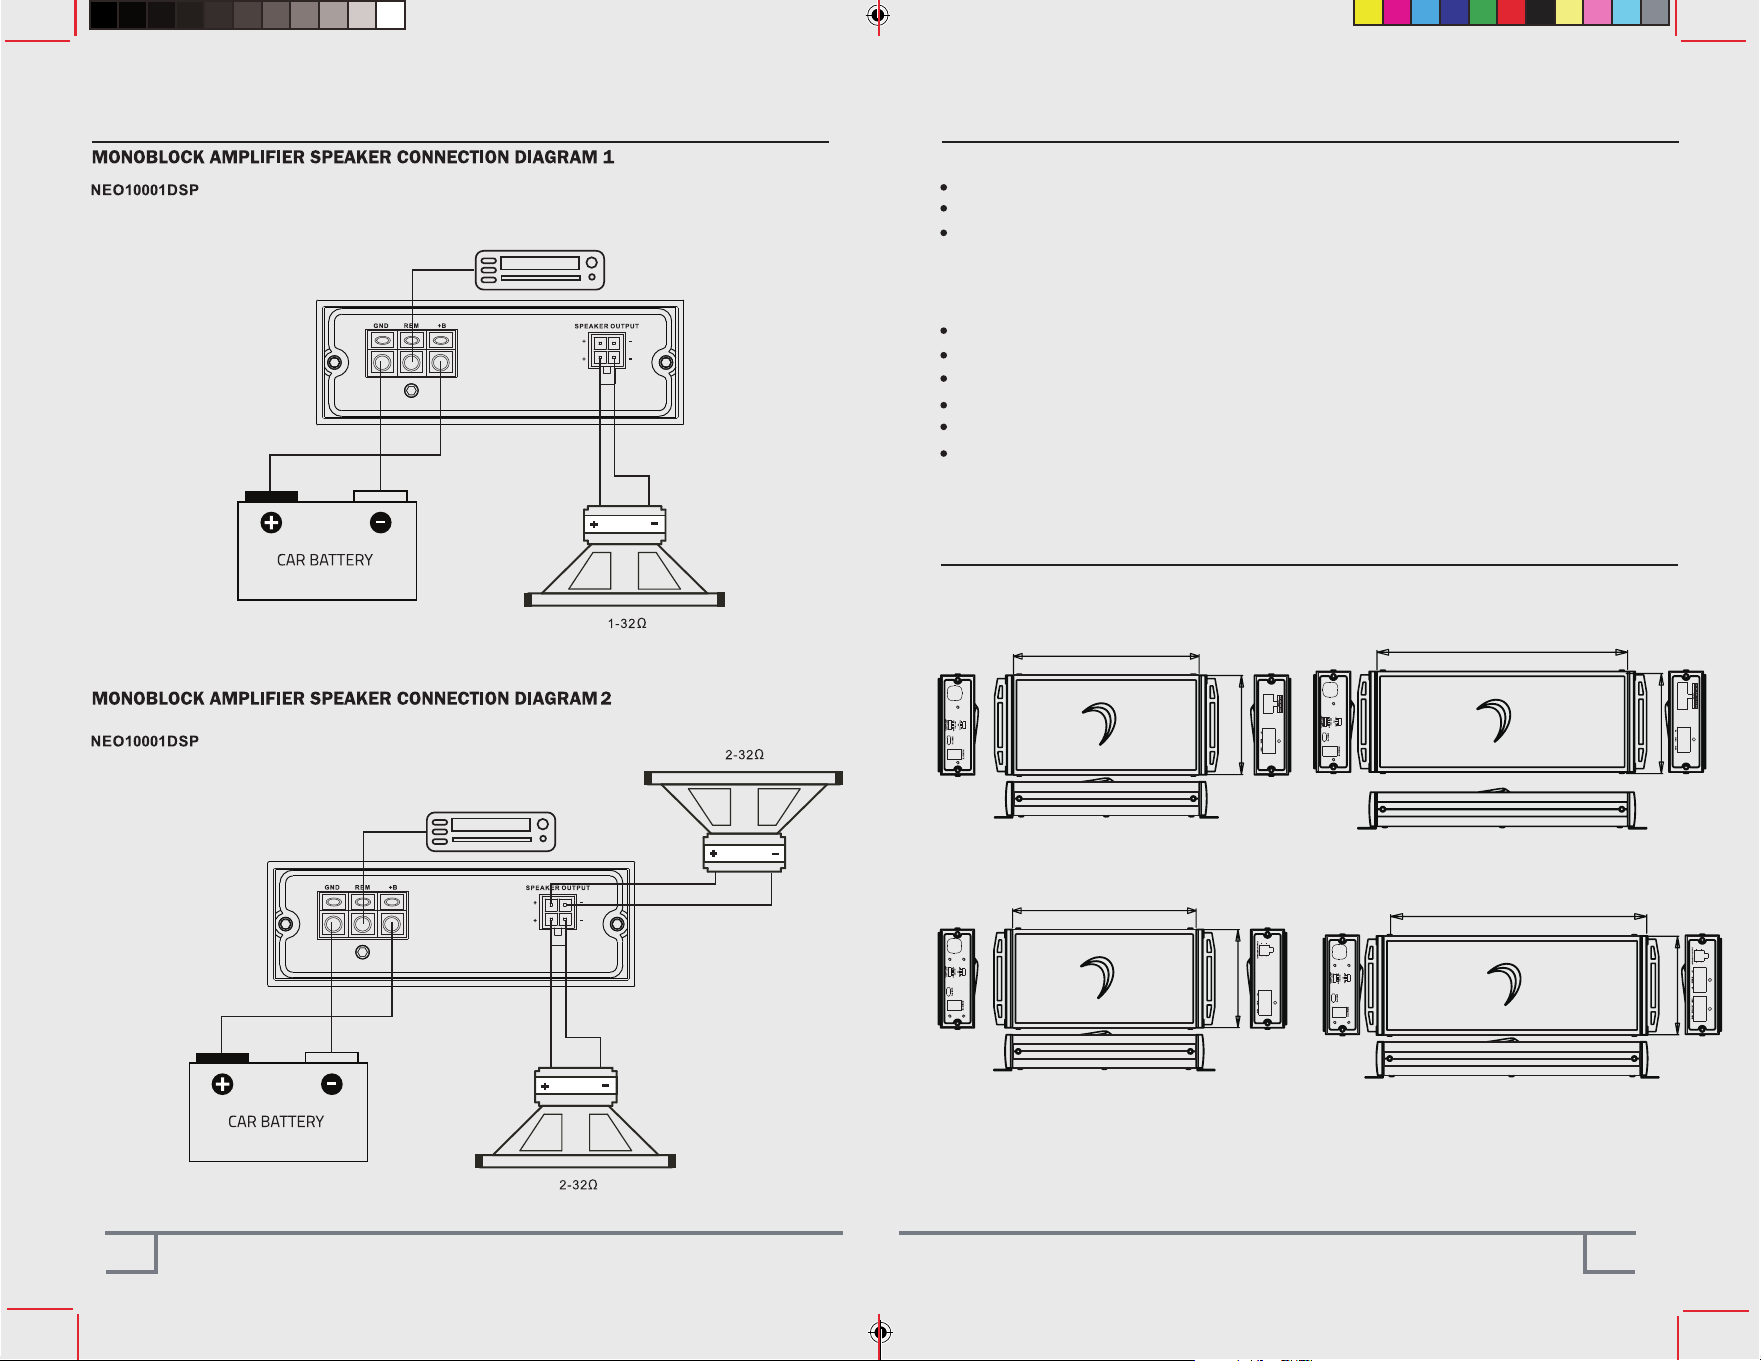
Connect the car speakers. Speakers impedance should NEVER be less than 2 Ohms stereo, 4 Ohms
bridged(the mono block's are stable into 1 ohms). For most applications 18 gauge wire is adequate for the
speaker leads. For leads in excess of ten feet, 16 gauge wire is recommended. Strip the speaker wires 1/2"
(12.7mm) and insert into the speaker terminal block, then tighten the set screw to secure into place. When
wiring the speakers, pay careful attention to the polarity of the terminals on the speakers and make certain
they correspond to the polarity on the amplifier. DO NOT chassis ground any of the speaker leads as
unstable operation or damage to the amplifier and/or speaker may result.
FUSE CONNECTION DIAGRAM
* FUSES SHOULD BE EQUAL TO 1/2
OF FULL POWER CURRENT DRAW
NEO12004DSP = 90A
NEO15006DSP = 130A
NEO10001DSP = 90A
NEO20001DSP = 200A
RCA CONNECTION DIAGRAM
4 9
INSTALLTION WIRING
NEO12004DSP
NEO12004DSP
DIMENSIONS
8 5
WIRING FEATURES
FEATURES:
FULL DSP INTEGRATION, 31 BAND PARAMETRIC EQS PER CHANNEL, CROSSOVERS, TIME DELAY,
CHANNEL LINKING, PC OR ANDROID PROGRAMMING AND MUCH MORE
EASY OEM INTEGRATION FEATURES:
o
UP TO 20V SIGNAL INPUTS (HIGH/LOW LEVEL 20V-0.4V)
o SELECTABLE ON-BOARD LOAD RESISTORS 10Ω, 20Ω,60Ω, 20KΩ
o EV FRIENDLY VOLTAGE COMPATIBILITY (8-17V)
MARINE READY, WATER-RESISTANT CHASSIS
STAGGERED RCA CONNECTIONS FOR CLEAN INSTALLATIONS
HIGH CURRENT QUICK CONNECT POWER BLOCK
NEODRC1 DIAMOND REMOTE COMMANDER COMPATABLE (SOLD SEPERATLY)
2 RCA PREAMP OUTPUTS FOR SYSTEM EXPANSION
ULTRA-LOW DISTORTION (0.05% THD)
191mm / 7.52”
265mm / 10.43”
255mm / 10.03”
NEO12004DSP NEO15006DSP
NEO10001DSP NEO20001DSP
102.7mm / 4.04”
191mm / 7.52”
102.7mm / 4.04”
102.7mm / 4.04”
102.7mm / 4.04”
6 7
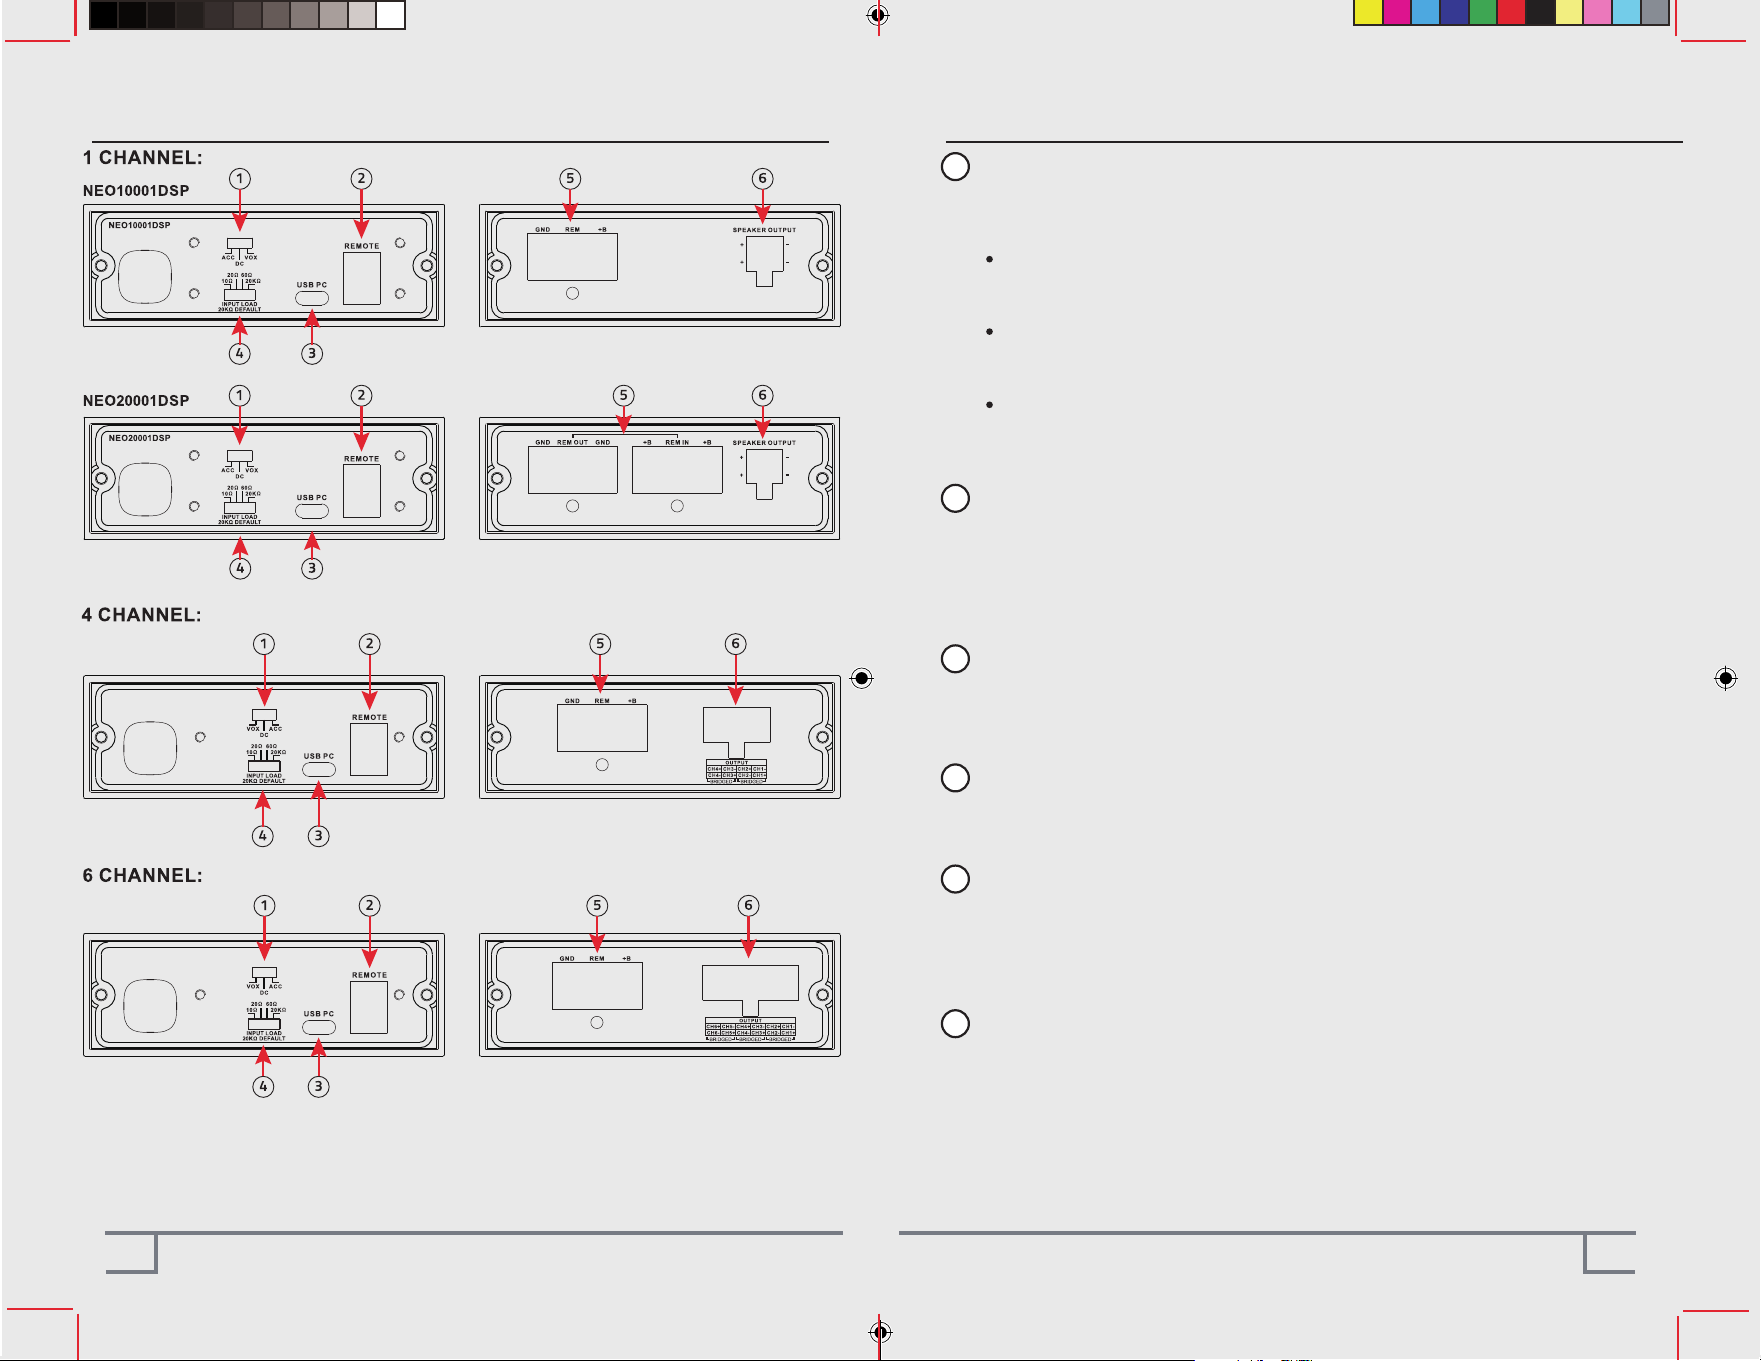
FUNCTIONS FUNCTIONS
1
2
Startup Mode Switch
ACC: Turns on/off synchronously with vehicle power supply
DC: Continuous power supply
VOX: Auto on/off triggered by audio signal
ACC Mode Wiring
Connect the amplifier's ACC control wire to the vehicle's ACC power output (powered on when the key
is turned to ACC position). The amplifier will turn on/off synchronously with the vehicle power supply.
DC Mode Wiring
No additional control wire required. Only connect the positive (+) and negative (-) power terminals. The
amplifier remains on once powered on.
VOX Mode Wiring
No additional control wire required. Only connect the positive and negative power terminals and audio
input cable. The amplifier will be auto on/off triggered by the input audio signal.
BASS REMOTE
All NEO series amplifiers have this port for the remote level control (not induded). The control is
intended to allow the user to control the level of gain up to the maximum adjustment level set on the
amplifier for the subwoofer output. The control does not add additional boost, it only attenuates the
setting that is fixed at the amplifier's control panel.
3
USB PC (Type-C) Port
Enables bidirectional data communication between the amplifier and a PC, used for DSP parameter
adjustment, firmware update, and configuration reading/writing. It is a dedicated interface for
professional debugging and device maintenance.
4
INPUT LOAD
Matches the output impedance of the front-end audio source, preventing signal reflection, distortion, or
abnormal volume, and ensuring optimal audio signal transmission efficiency and sound quality.
5
POWER INPUT
These connections are for input power, chassis ground, and remote turn-on. Use a minimum of 8 gauge
wiring for power and ground connections. 4 Guage is recommended for the monoblock. The terminals
will handle up to 4 gauge wiring with no problem whatsoever. Be sure any wiring that passes through
metal has a grommet! DO NOT USE CCA power/ground wire !!
6
SPEAKER OUTPUT
Connect your speakers to these terminals. Stereo connections are connected as labeled. Bridged
connections use the LEFT + and RIGHT - as the two connections. The 2 and 4 channel amplifiers will
perform into 4 and 2 ohm stereo loads or 4 ohm bridged loads. DO NOT run 2 ohm bridged loads on
these amplifiers! The mono blocks will run 1 ohm mono.
NEO12004DSP
NEO12004DSP
NEO15006DSP
NEO15006DSP