Thank you for your purchase of this quality clock. The utmost care has
gone into the design and manufacture of your clock. Please read
these instructions and store them in a safe place for future reference.
ALARM CLOCK INSTRUCTION MANUAL & WARRANTY
Mini Sound Machine Alarm Clock
Instruction Manual & Warranty
• Press & hold the ALARM button for 2 seconds to activate alarm time
setting, HOUR will begin to flash.
• Press the “+” or “
-
” button to the correct HOUR, the AM or PM
indicator will light when the HOUR is advanced into the AM or PM time.
• Press the ALARM button to confirm the HOUR, MINUTES will begin to flash.
• Press the “+” or “
-
” button to the correct MINUTE.
• Press the ALARM button to confirm the MINUTE, ALARM VOLUME
will begin to flash and sound.
• Press the “+” or “
-
” button to the desired ALARM VOLUME.
• Press the ALARM button to confirm and save the alarm setting.
Display will stop flashing.
NOTE: If there is no operation within 8 seconds, it will automatically
confirm and jump back to time mode.
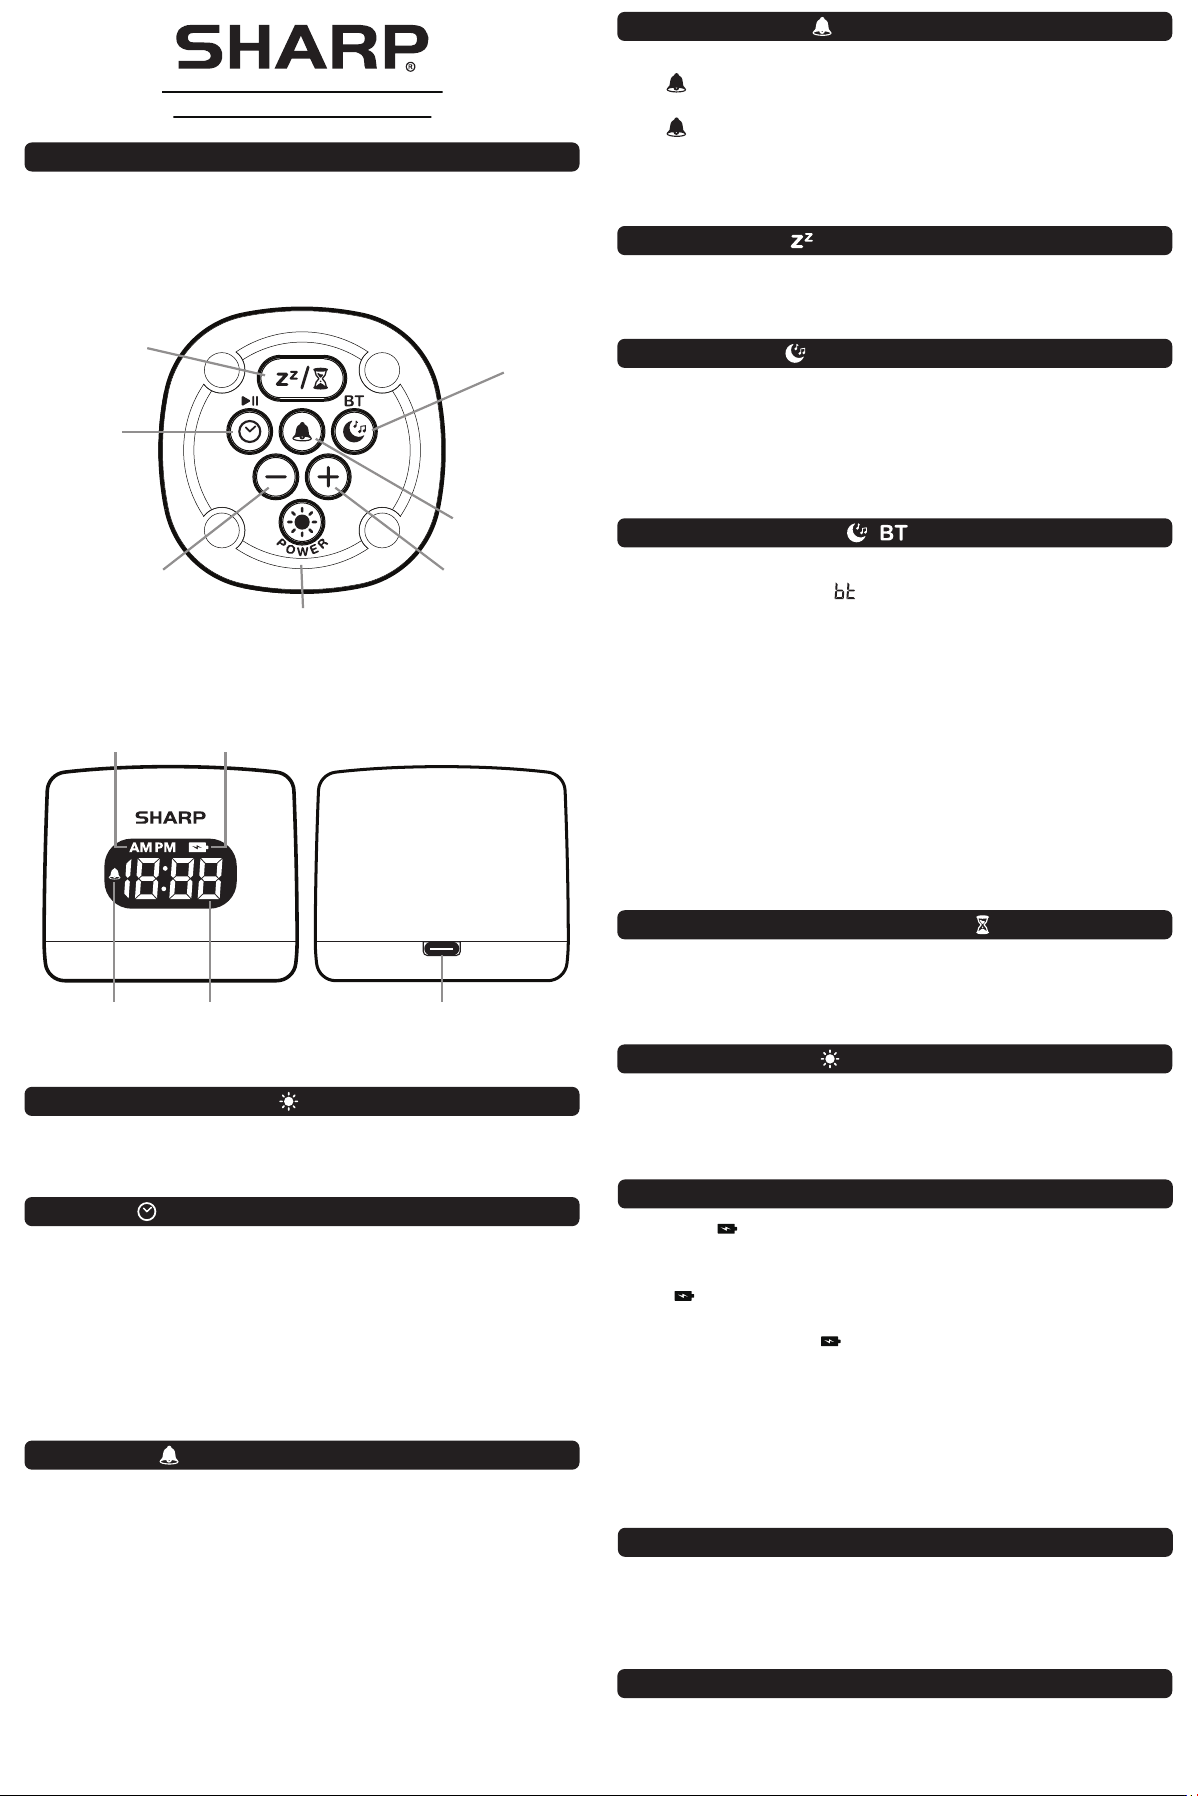
SET ALARM -
SLEEP SOUND &
BLUETOOTH (BT)
button
ALARM
button
- DECREASE
button
+ INCREASE
button
DIMMER &
POWER
button
SNOOZE &
SOUND TIMER
button
TIME &
PLAY/PAUSE
button
• Press & hold the TIME button for 2 seconds to activate time setting,
HOUR will flash.
• Press the “+” or “
-
” button to the correct HOUR, the AM or PM
indicator will light when the HOUR is advanced into the AM or PM time.
• Press the TIME button to confirm the HOUR, MINUTES will begin to flash.
• Press the “+” or “
-
” button to the correct MINUTE.
• Press the TIME button to confirm and save the time setting.
Display will stop flashing.
SET TIME -
AM / PM
indicator
ALARM
indicator
BATTERY
indicator
USB-C
charge port
TIME
display
• Press the ALARM button to turn the alarm ON,
the “ ” ALARM indicator will light on the display.
• Press the ALARM button again to turn the alarm OFF,
the “ ” ALARM indicator will no longer be visible on the display.
NOTE: While the alarm is sounding pressing any of the round buttons will
turn the alarm OFF.
USING THE ALARM -
• USB-C port input (IN) voltage and current: 5V/2A (MAX)
• Rechargeable Battery Capacity: 1200mAh 3.7V 4.44Wh
• Charging Cord (included): USB-C to USB-C
SPECIFICATIONS
• A soft cloth or a paper towel may be used to clean your clock. Do not use
any corrosive cleaner or chemical solutions on the clock. Keep the clock
clean and dry to avoid any problems.
CARE OF YOUR CLOCK
• When the “ ” CHARGING indicator blinks the clock requires charging.
• Connect a USB-C end of the included cord to a 5V USB-C charge port.
• Connect other USB-C end of the included cord to the USB-C port of the clock.
• The “ ” CHARGING indicator will turn solid and stop blinking,
indicating the clock is charging.
• When fully charged, the “ ” CHARGING indicator will disappear
from the display.
NOTE:
If the clock is powered OFF from being fully drained of battery power,
charge the clock, then press and hold the POWER button for 2 seconds
to turn the clock back ON. Check the time to make sure it is accurate and
adjust if necessary. You can continue to use all functions while the clock
is ON and charging.
RECHARGING CLOCK
• Press the SLEEP SOUND / BT button to cycle through the 12 built-in
sleep sounds (S01~S12).
• VOLUME: Press the “+” or “
-
” button to increase or decrease the volume
while a sleep sound is playing.
• Press & hold the SLEEP SOUND / BT button for 2 seconds to turn OFF.
SLEEP SOUNDS -
• While playing a Sleep Sound or Bluetooth, press the SOUND TIMER button
to cycle through a 15min, 30min, 60min, 120min timer.
The timer will show on the display for 3 seconds.
SLEEP SOUNDS & BLUETOOTH TIMER -
• While the alarm is sounding, press the SNOOZE button to pause the alarm
for 9 minutes. This will happen each time the SNOOZE button is pressed.
SNOOZE ALARM -
• Press the DIMMER button to adjust the display brightness.
There are 3 levels of brightness;
High 100%, Medium 50%, Low 5%
USING THE DIMMER -
• Press & hold the DIMMER / POWER button for 2 seconds to power the
clock ON.
TURNING THE POWER ON -
• Press the SLEEP SOUND / BT button to cycle until you’ve selected
Bluetooth (BT, S01~S12), “ ” will show on the display when in
Bluetooth mode. Using the native controls on your Bluetooth device
select “SPC5169BT” in your Bluetooth settings to pair.
• When successfully paired, the alarm clock will sound “CONNECTED”.
• PLAY or PAUSE: Press the PLAY / PAUSE button to play or pause
the current track.
• SKIP TRACKS: Press the “+” or “
-
” button.
• VOLUME: Press & hold “+” or “
-
” button for 2 seconds, the volume
interface will show on the display, short press the “+” or “
-
” button to
adjust the volume.
• Press and hold the SLEEP SOUND / BT button for 2 seconds to turn OFF.
NOTE: You can also reference your Bluetooth device for play/pause,
skipping tracks and adjusting volume while connected to the clock.
BLUETOOTH SPEAKER - /
Model : SPC5169BT
MZB & CO., LLC warrants the original consumer purchaser of this product
that it shall be free of defects in materials and workmanship for one year
from the purchase or delivery date of this product. Defects caused by
tampering, improper use, unauthorized modifications or repairs, immersion
in water or abuse are not covered by this warranty. If customer service is
needed, please contact us by telephone or email:
Having the model number and your receipt will help us provide you faster
service. M.Z. Berger will not be liable for any loss or damages of any kind;
from any breach of warranty either expressed or implied relating to the
product. Since some states do not allow the exclusion or limitation of
incidental or consequential damages, this limitation may not apply to you.
One Year Limited Warranty
1-800-221-0131 ask for Customer Service
Monday - Friday 9:00AM - 4:00 PM EST
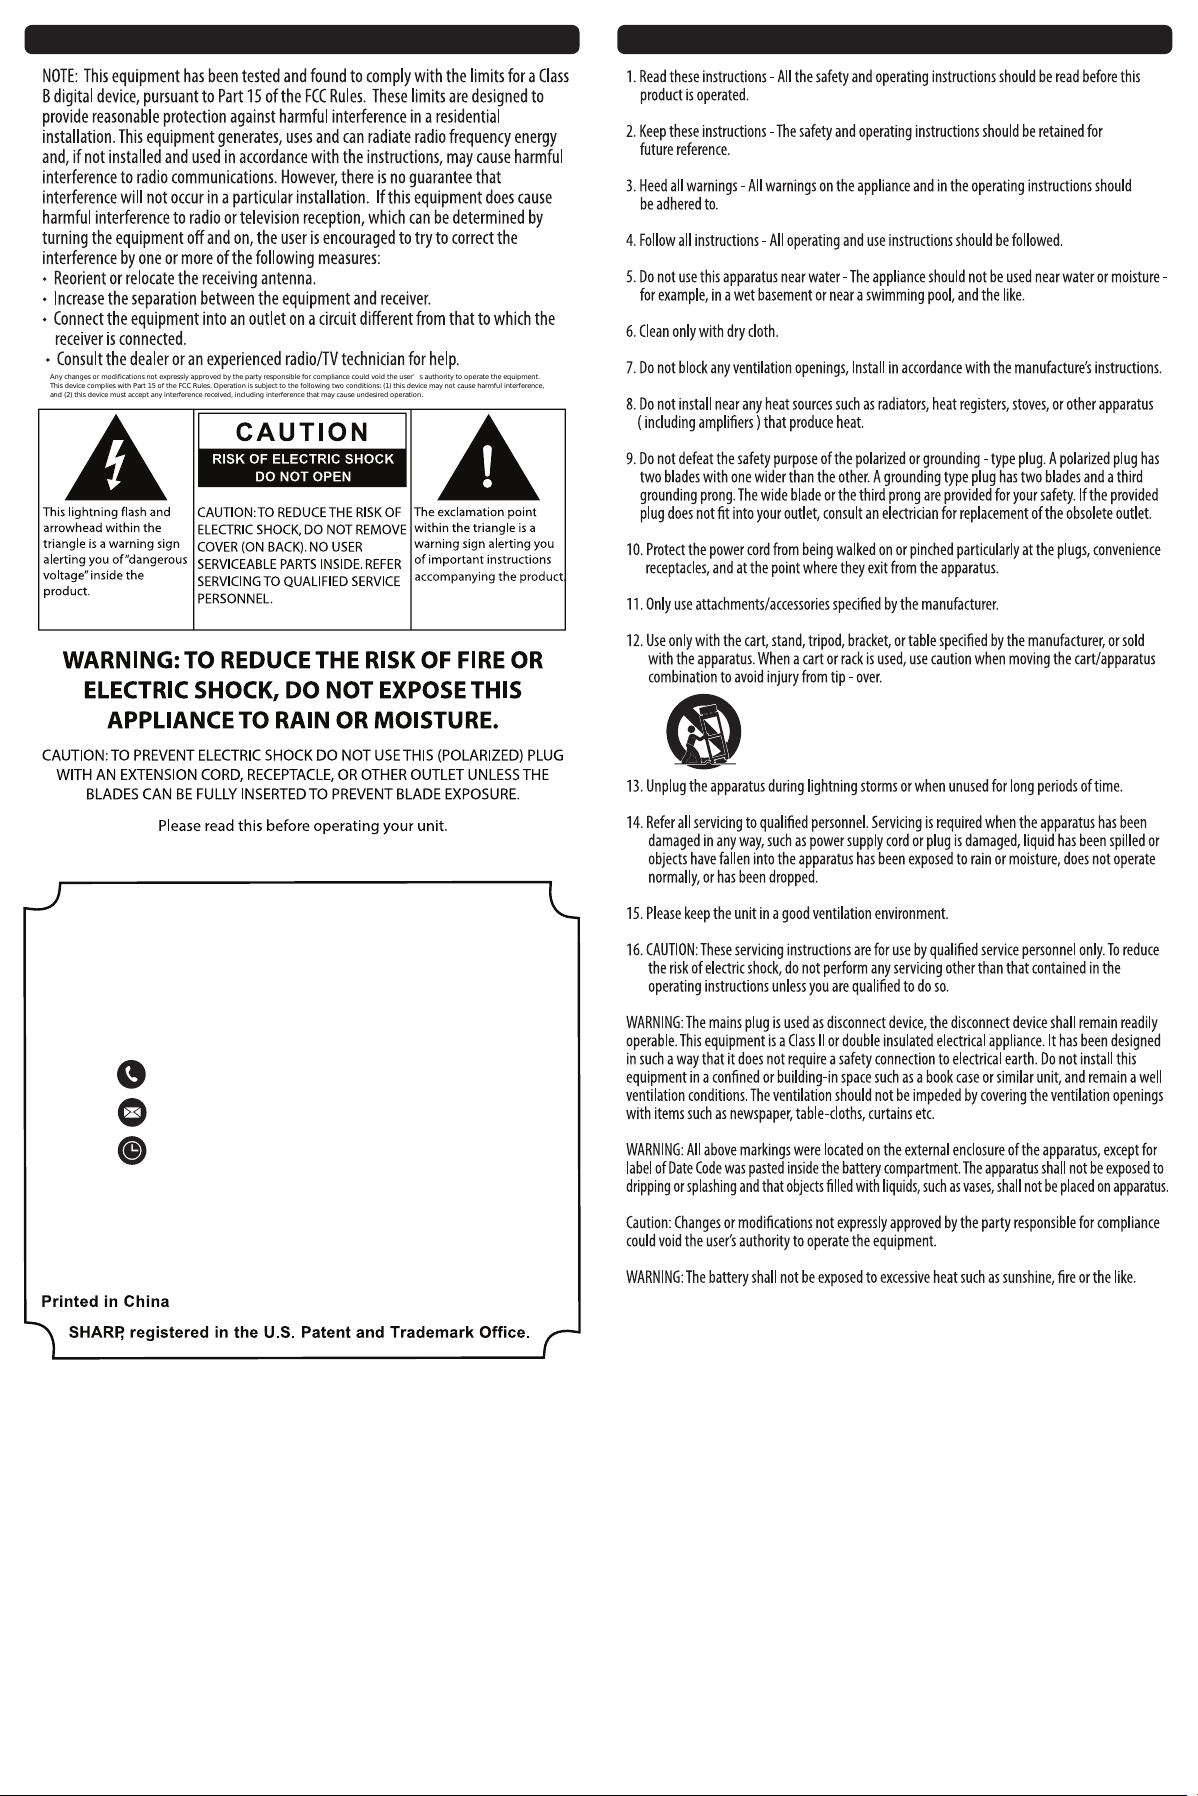
IMPORTANT SAFETY INSTRUCTIONSFCC INFORMATION
Any changes or modifications not expressly approved by the party responsible for compliance could void the user’s authority to operate the equipment.
This device complies with Part 15 of the FCC Rules. Operation is subject to the following two conditions: (1) this device may not cause harmful interference,
and (2) this device must accept any interference received, including interference that may cause undesired operation.