User Manual
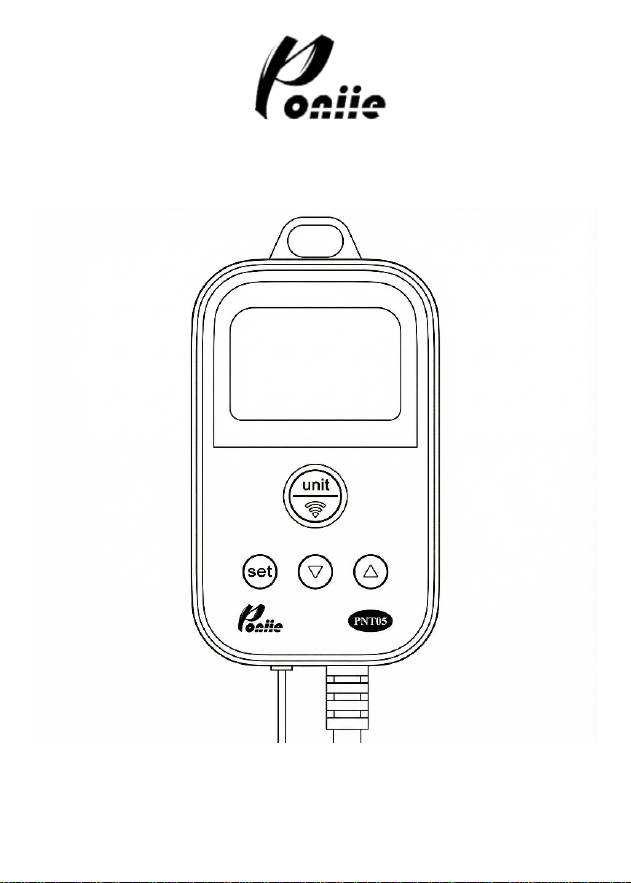
Model No: PNT05
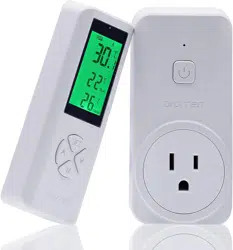
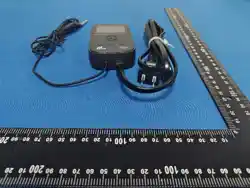
Thank you for purchasing the Remote Wireless Master–Slave Temperature
Controller by Poniie. Please read this manual carefully before using it.
1.1 ENSURE THE PRODUCT IS USED WITHIN THE
SPECIFICATION.
1.2 RISK OF ELECTRIC SHOCK, DO NOT PLUG INTO
ANOTHER RELOCATABLE POWER TAPS OR AN
EXTENSION CORD.
1.3 DO NOT OPERATE THE CONTROLLER NEAR ANY HIGH
TEMPERATURE, HIGH HUMIDITY, EXPLOSIVE OR
INFLAMMABLE FIELD.
1.4 CHILDREN ARE NOT ALLOWED TO OPERATE THE
DEVICE. KEEP CHILDREN AWAY FROM THE
CONTROLLER.
1.5 NORMALLY, LIFE OF THE RELAY IS 100,000 TIMES. IF
HEATING OR COOLING SWITCHES FREQUENTLY WHEN
USING, SERVICE LIFE GET SHORTER.
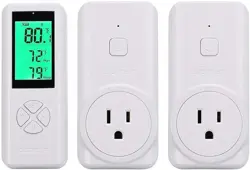
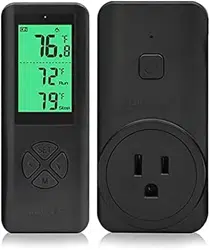
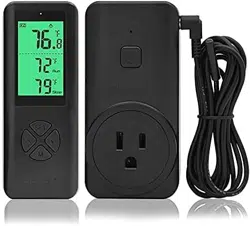
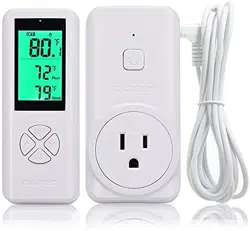
PNT05 is an ideal DIY solution designed for simultaneous connection
of heating and cooling equipment to achieve precise and reliable
temperature control. Perfect for various DIY tasks, such as Sous-vide,
Terrarium Heat Control, Heat Mats, Germination, Fermentation and
Home Brewing.
• Easy to use, auto 2-step setpoint remote controller.
• Wireless Master–Slave Split type, easy for DIY projects.
• Dual relay output for heating and cooling device;
• Support reading with ℃/ ℉;
• Power-off memory;
• Calibration function;
• Compressor delay protection;
• High and low temperature alarm;
• Faulty sensor alarm
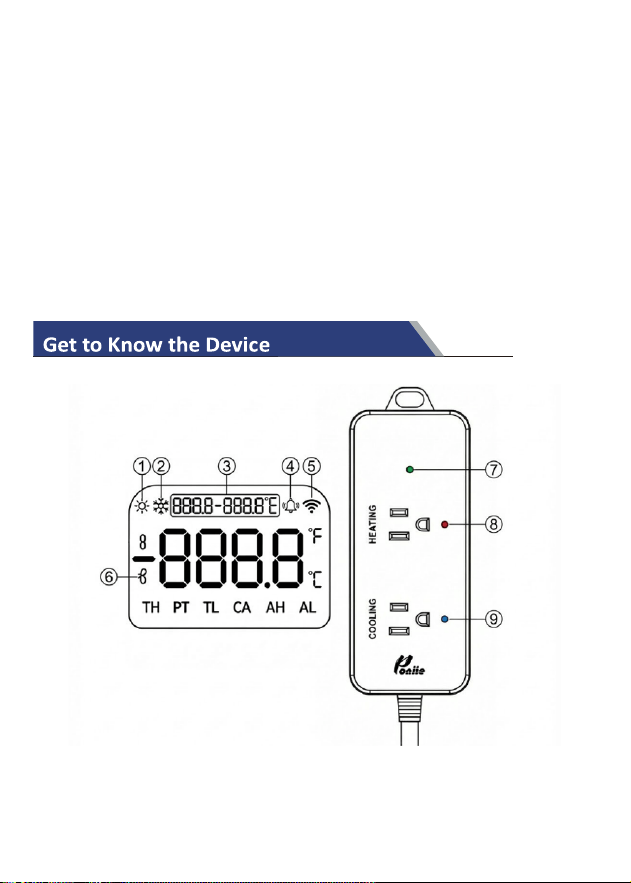
○
1E A Heating load working indicator
A
○
2E A Cooling load working indicator
○
3E A Temperature range setting value
A
○
4E A Over range High and Low alarm
A
○
5E A Wi-Fi connection indicator
A
○
6E A NTC sensor failure indicator
A
○
7E A Power ON/OFF & Master connection status indicator
A
○
8E A Heating load working indicator
A
○
9E A Cooling load working indicator
NOTE: Poniie Remote Wireless Master–Slave Temperature Controller
is able to operate independently without the app. Data synchronization
in the app may be delayed by a few seconds.
1 Download Smart Life App
Please scan the QR code or download Smart Life on App store.
2 Registration/ Log in or No-account as a guest
Enter the Register/Login interface, tap “Register” to create an account or
choose “Log in” if you already have a Smart Life account. NOTE:
Recommend to “Try as a guest” and no need to complete the account.

3 Configure the Sensor Monitor to the App
Preparation: Plug the controller monitor into powered outlets to power
on the device automatically; ensure your phone has been connected to the
same Wi-Fi (Internet connection required) and put your phone as close as
possible to the PNT05 Monitor.
Note: The App requires Bluetooth for the initial connection or new
connections.
Note: The Monitor only supports 2.4G network. Make sure you have a
2.4G compatible network.
Then open Smart Life App and Click “add device” or “+” to add Poniie
Remote Control Thermostat. Note: the prompt page will automatically
show the device on the top screen. If no searching device found, please
try to reset or re-pair Wi-Fi.
How to reset/re-pair Wi-Fi
Press and hold the “WiFi” key on PNT05 for 5 seconds to disconnect or
repair with the phone app. Wi-Fi indicator on the screen will flash for pair
connection.
Temperature Controller Outlets Socket Unit (Slave)
Power: 110〜220Vac, 50/60Hz
Max Relay Output:
1650W (110V) /3300W (220V) for resistive load such as fan, heat mat
1000W (110V) /2200W (220V) for inductive load such as compressor, heat pump
Communication Distance with Monitor Senor Unit: >20 meters
Temperature Controller Monitor Unit (Master)
Power: 110〜220Vac, 50/60Hz
Rate: 1.5W, Low Voltage Safety Control Panel
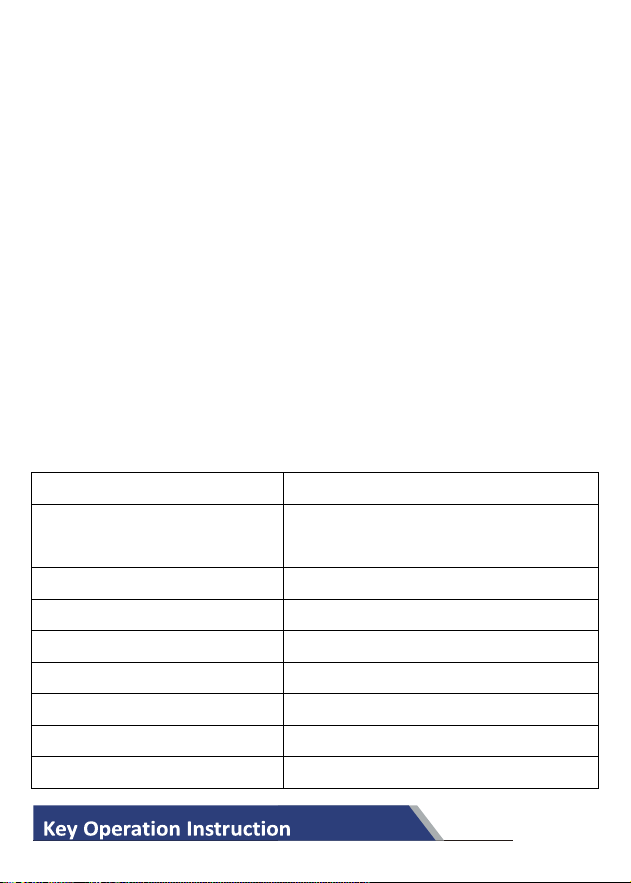
Accuracy
:
Temperature Range (°F)
Fahrenheit Error
-4°F ≤ T < 50°F ±3°F
50°F ≤ T < 185°F ±2°F
185°F ≤ T ≤ 302°F ±3°F
WiFi Communication distance: >10 meters
Others
Temperature Control Range
-4 ~302℉
Temperature Resolution
0.1
Input Power
110~220V, 50/60Hz
Maximum Output Load
15A, 1650W (110V) /3300W (220V)
Sensor Type
NTC sensor R25=1000KΩ ±1%
Control Panel Cable Length
1.4m / 4.6ft
Outlets Unit Cable Length
1.9m / 6.3ft
Sensor Length
1.5m / 5.0ft
Ambient Temperature
-20.0 ~ 55.0 ℃
Ambient Humidity
20~85% (No Condensate)

□
1E A. Parameter Definitions:
TH: High temperature range point (default 80 ℉)
TL: Low temperature range point (default 71 ℉)
PT: Compressor start delay time value (default 0 min)
AH: High temperature alarm value (default 176 ℉)
AL: Low temperature alarm value (default -4 ℉)
CA: Temperature calibration value (default 0℉)
A
□
2E A. Parameter Settings:
NOTE: YOU CAN DIRECTLY CONFIGURE ALL THE PARAMETER
SETTINGS BY CLICKING THE GEAR ICON IN THE APP DISPLAY.
1. On the temperature control screen, short press the set
button to select parameters in the following sequence:
TH → TL → PT → AH → AL → CA → Exit
2. After selecting the parameter to modify, hold press the set
button to enter value adjustment mode.
3. Short press the set button to select the digit to be modified
(3 integer digits + 1 decimal digit).
4. Short press the ▲ button to increase the value or the ▼
button to decrease the value.
5. The leftmost digit is used to select whether the value is

positive or negative.
6. After adjusting all digits, hold press the set button again to
save the setting and return to the previous menu.
Note: If no button is pressed for more than 10 minutes in the
parameter setting menu, the system will automatically exit.
Note: When the main unit is powered off, heating and cooling
outputs stop, and the green indicator flashes.
A
□
3E A.Temperature Control Range Setting (TH, TL)
This controller has a heating and cooling control socket. Always
set a proper range and test several times for your DIY project.
Note: When the set temperature (TH-TL) is less than 10
℉
, the
controller will regulates temperature from TH, TL to the near
midpoint.
When the set span (TH-TL) is 10
℉
or greater, the system
regulates the temperature from TH, TL to a defined central
band (allowing a reasonable & stable operating range based on
the selected settings).
A
□
4E A.Temperature Alarm Setting (AL, AH)

When measured temperature ≤ AL, low temperature alarm
sound and icon will be triggered.
When measured temperature ≥ AH, high temperature alarm
sound and icon will be triggered.
Note: Temperature control performance depends on the
heating and cooling equipment rating. As a result, the actual
temperature may slightly overshoot the TL–TH range. Users are
advised to set appropriate AL–AH alarm thresholds as practical
operating range.
A
□
5E A. Compressor Delay Protection Time (PT)
If needed, you can set a delay time to prevent your compressor from start
ON/OFF too frequently. Under cooling mode, PT setting will keep the
refrigeration off between cycles to protect your compressor. That means
compressor won't start refrigeration immediately, but waiting for a delay time
if it falls into the PT time frame (
0~15min).
A
□
6E A. Temperature Calibration (CA)
When there is a deviation between measured temperature and actual
temperature, you can use the calibration function to align the measured
temperature and actual temperature. The corrected temperature equals to
temperature before calibration plus corrected value (
-10.0~10.0℉).

This product is covered by a one
-
year limited warranty for quality
-
related
issues. If the device fails to operate properly, please contact customer
support at support@poniie.com
This equipment has been tested and found to comply with the limits for a Class B
digital device,pursuant to part 15 of the FCC Rules. These limits are designed to
provide reasonable
protection against harmful interference in a residential
installation. This equipment generates, uses and can radiate radio frequency
energy and, if not installed and used in accordance with the instructions,
may cause harmful interference to radio communications. However, there
is no guarantee that interference will not occur in a particular installation. If this
equipment does cause harmful interference to radio or television reception, which
can be determined by turning the equipment off and on, the user is encouraged to
try to correct the interference by one or more of the following measures:
• Reorient or relocate the receiving antenna.
• Increase the separation between the equipment and receiver.
• Connect the equipment into an outlet on a circuit different from that to which the
receiver is connected.
• Consult the dealer or an experienced radio/TV technician for help.
Caution: Any changes or modifications to this device not explicitly approved by
manufacturer could void your authority to operate this equipment.
This device complies with part 15 of the FCC Rules. Operation is subject to the
following two conditions:
(1)This device may not cause harmful interference, and (2) this device must accept
any interference received, including interference that may cause undesired
operation.
This equipment complies with FCC radiation exposure limits set forth for an
uncontrolled environment. This equipment should be installed and operated with
minimum distance 20cm between the radiator and your body.