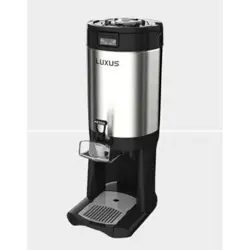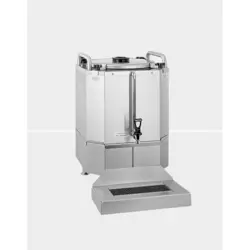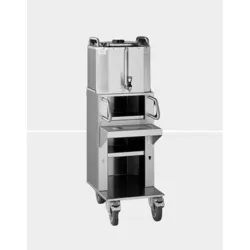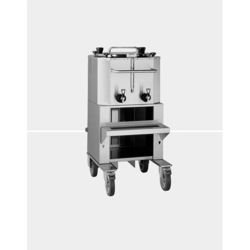
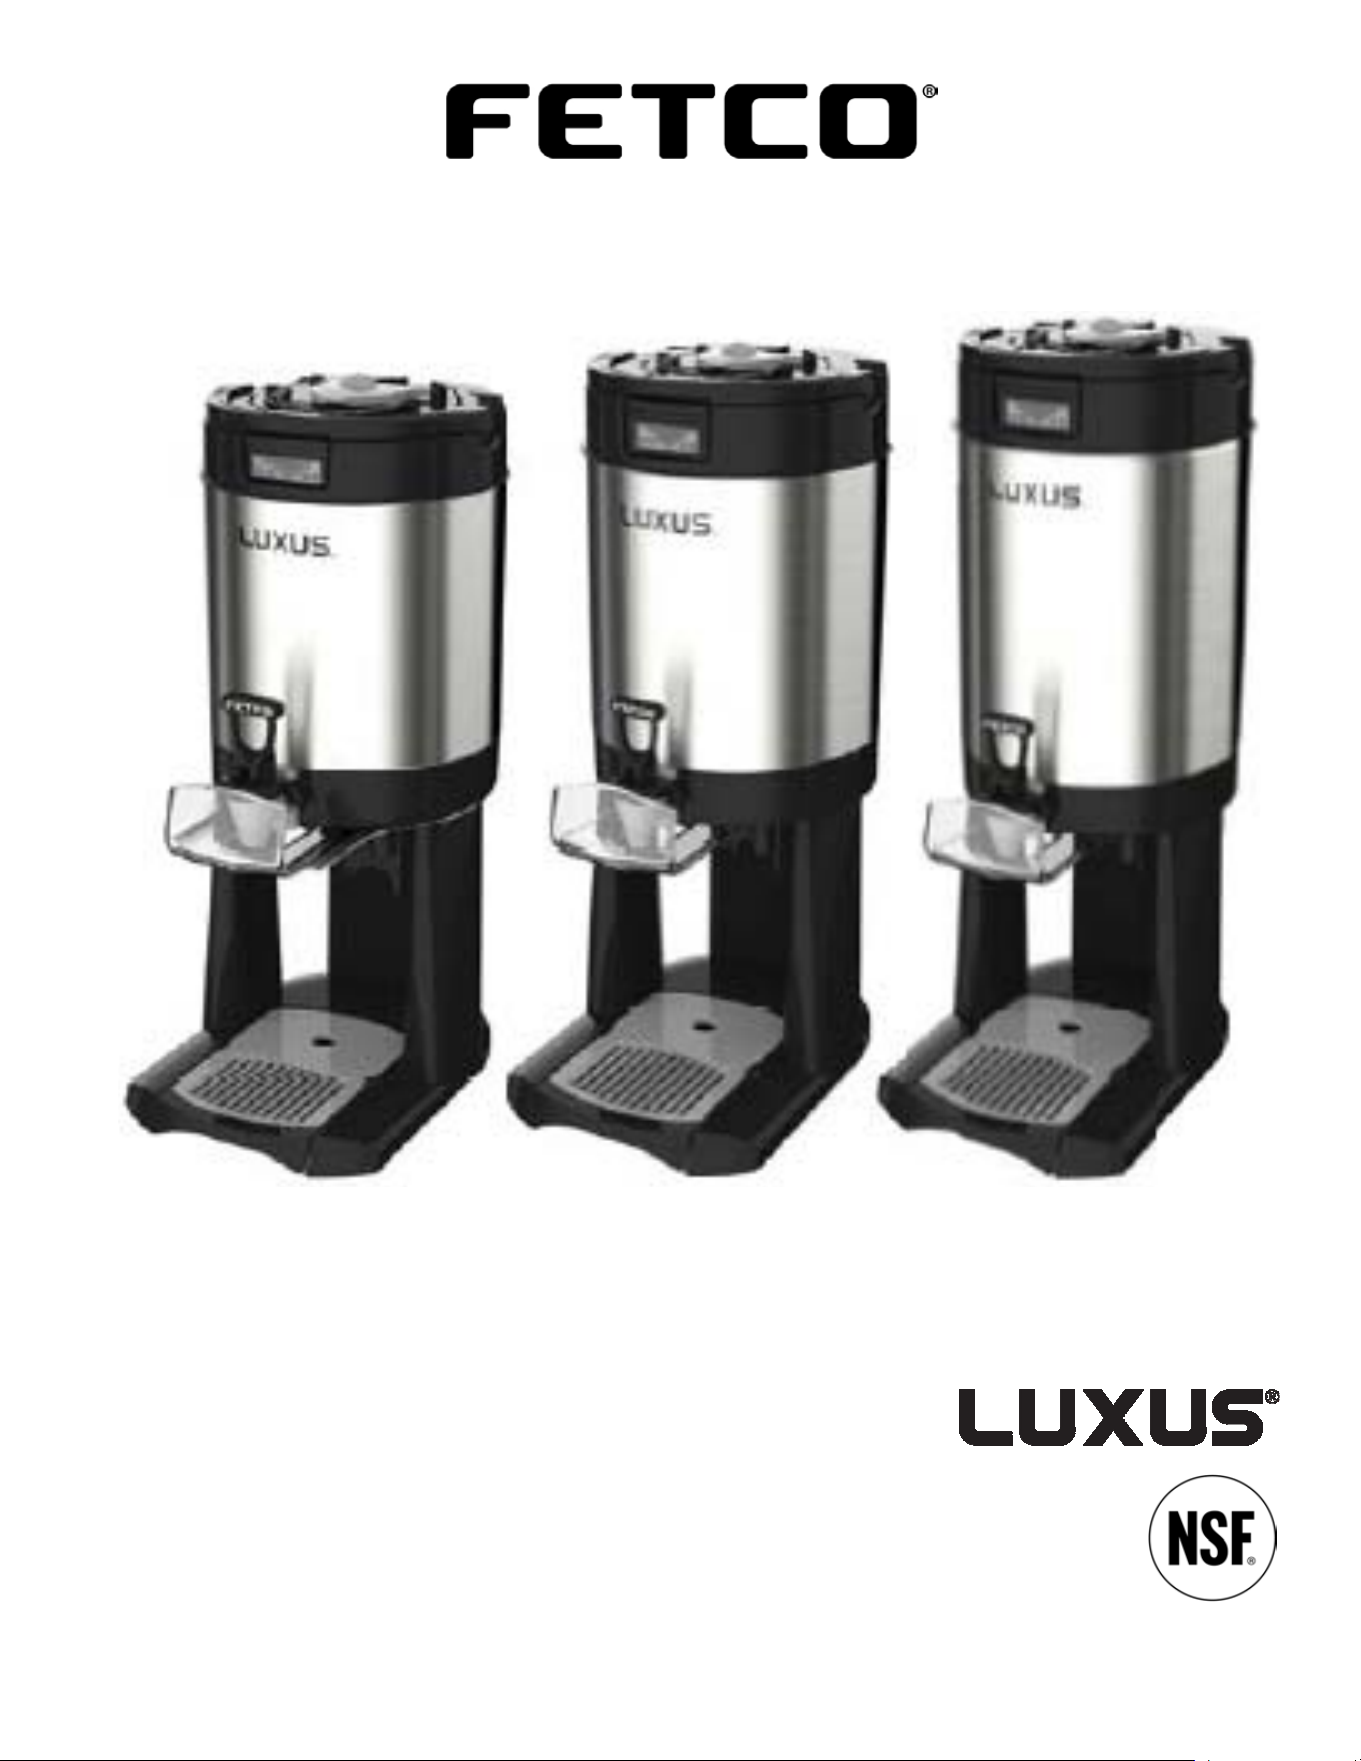
L4D-10 L4D-15 L4D-20
1 gallon 1½ gallon 2 gallon
LUXUS® L4D & L4S Thermal Dispensers
User’s Guide
© 2017 Food Equipment Technologies-FETCO®
600 Rose Rd. Lake Zurich, IL 60047-0429 USA
℡: (800) 338-2699 or (847) 719-3000
website: www.fetco.com email: in[email protected]
PATENTED PATENTS: www.fetco.com/patents P157 March 2017
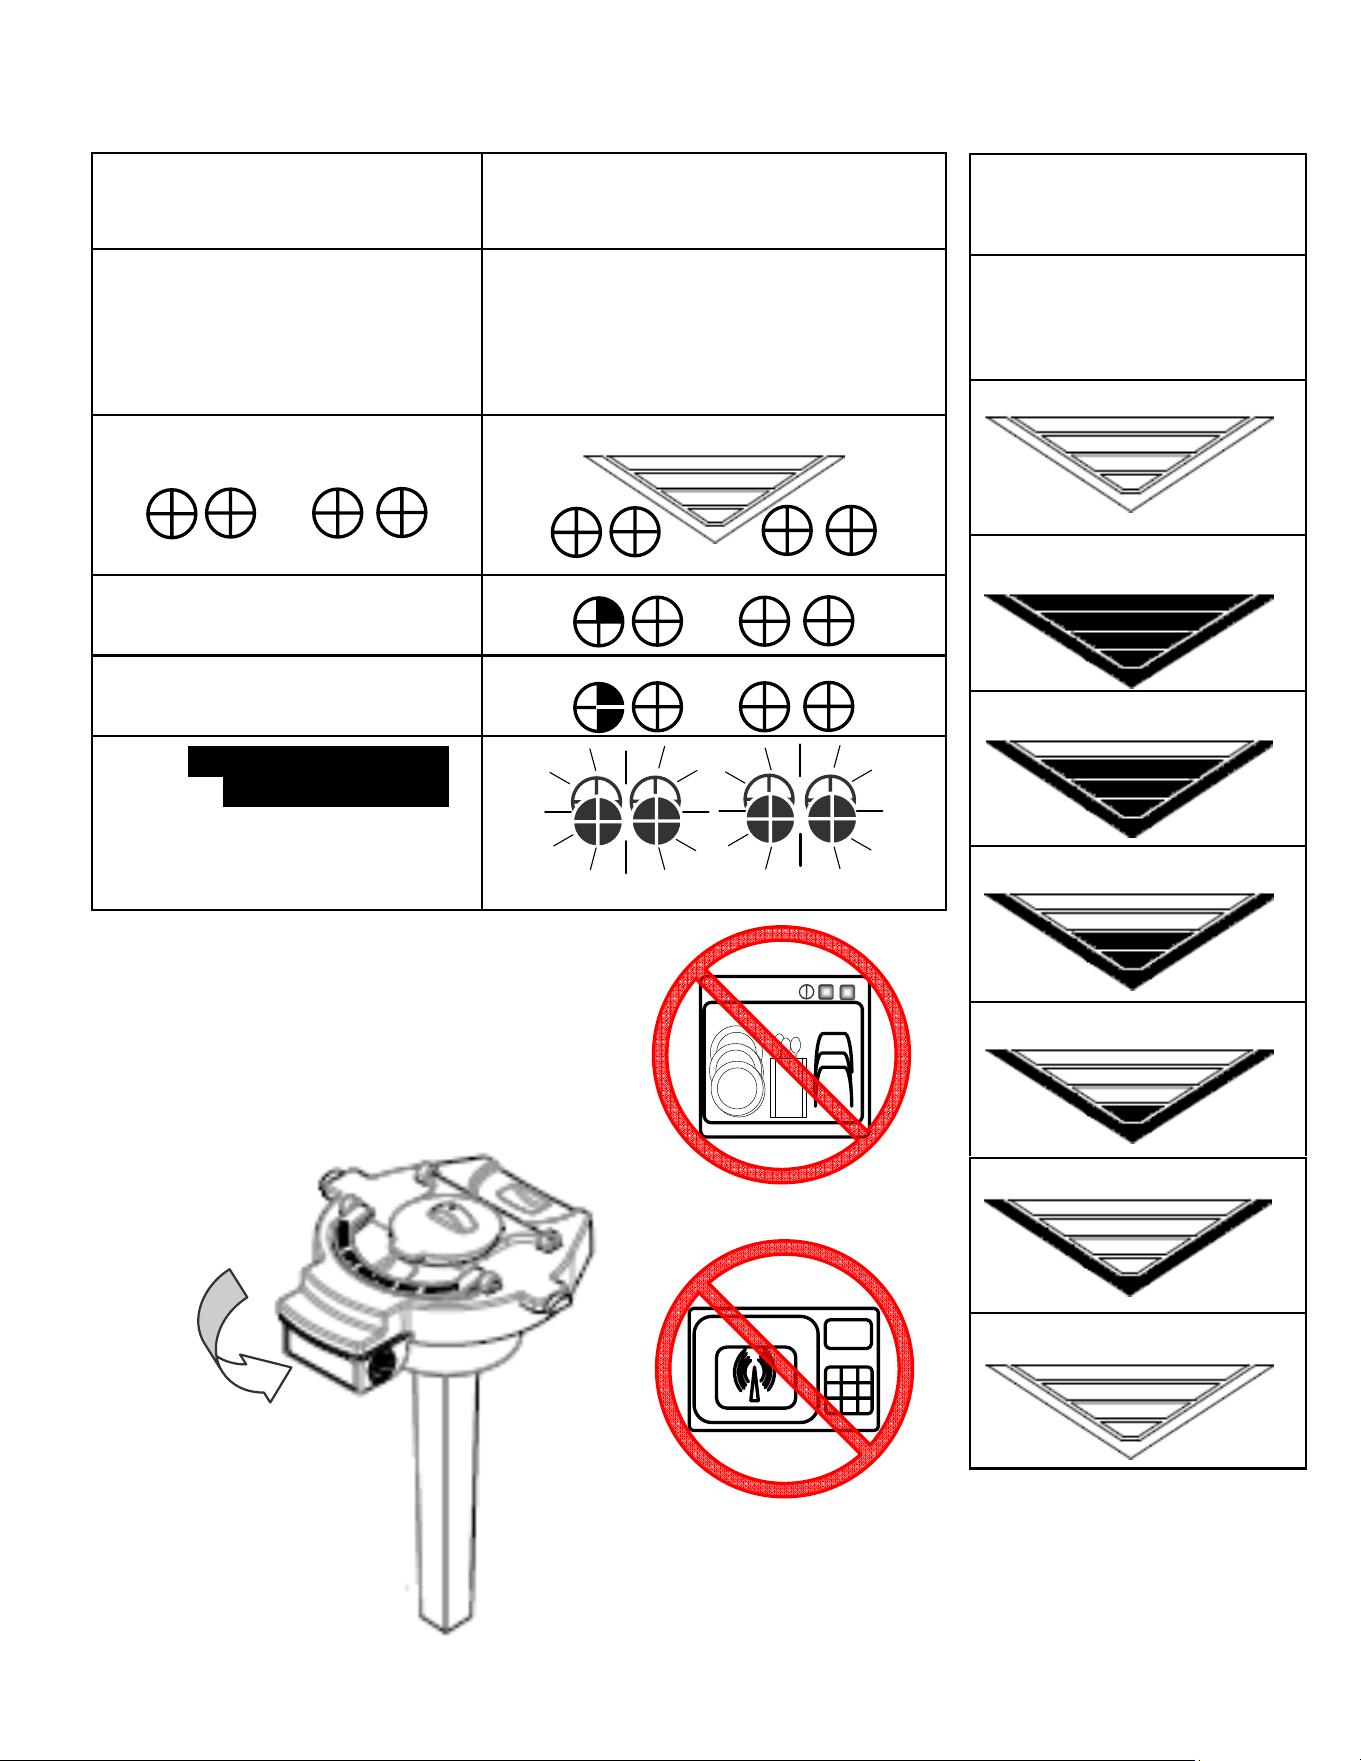
BREW FUNNEL DISPLAY
V
V
o
o
l
l
u
u
m
m
e
e
I
I
n
n
d
d
i
i
c
c
a
a
t
t
o
o
r
r
Lower “VEE”+ four upper
bars represent 20%
increments of fill level of
the dispenser
”READY” TO BREW”
Fifth Level-FULL
Fourth Level=80%filled
Third Level= 60% filled
Second Level=40% filled
First Level=20% filled
DISPENSER EMPTY
F
F
r
r
e
e
s
s
h
h
n
n
e
e
s
s
s
s
T
T
i
i
m
m
e
e
r
r®
F
F
E
E
T
T
C
C
O
O
i
i
n
n
d
d
i
i
c
c
a
a
t
t
o
o
r
r
f
f
u
u
n
n
n
n
e
e
l
l
Quad icons, each divided into
quarter hours segments—The
four icons represent a time
range of four hours
Blank indicator funnel display is
shown, dispenser is “Ready” for
brewing
BLANK: Empty—Ready To Brew
1-15…minute time range
16-30…minute time range
…Some displays are
omitted for clarity
Slowly pulsing display:
…more than 4 hours
…Active On & Off…
NO DISHWASHER
NO MICROWAVE
Clean and dry funnel
by hand only
Time is reset when dispenser is
completely emptied, when funnel is
removed, or when enough liquid is
added to increase the volume by at
least one level
FUNNEL
DISPLAY
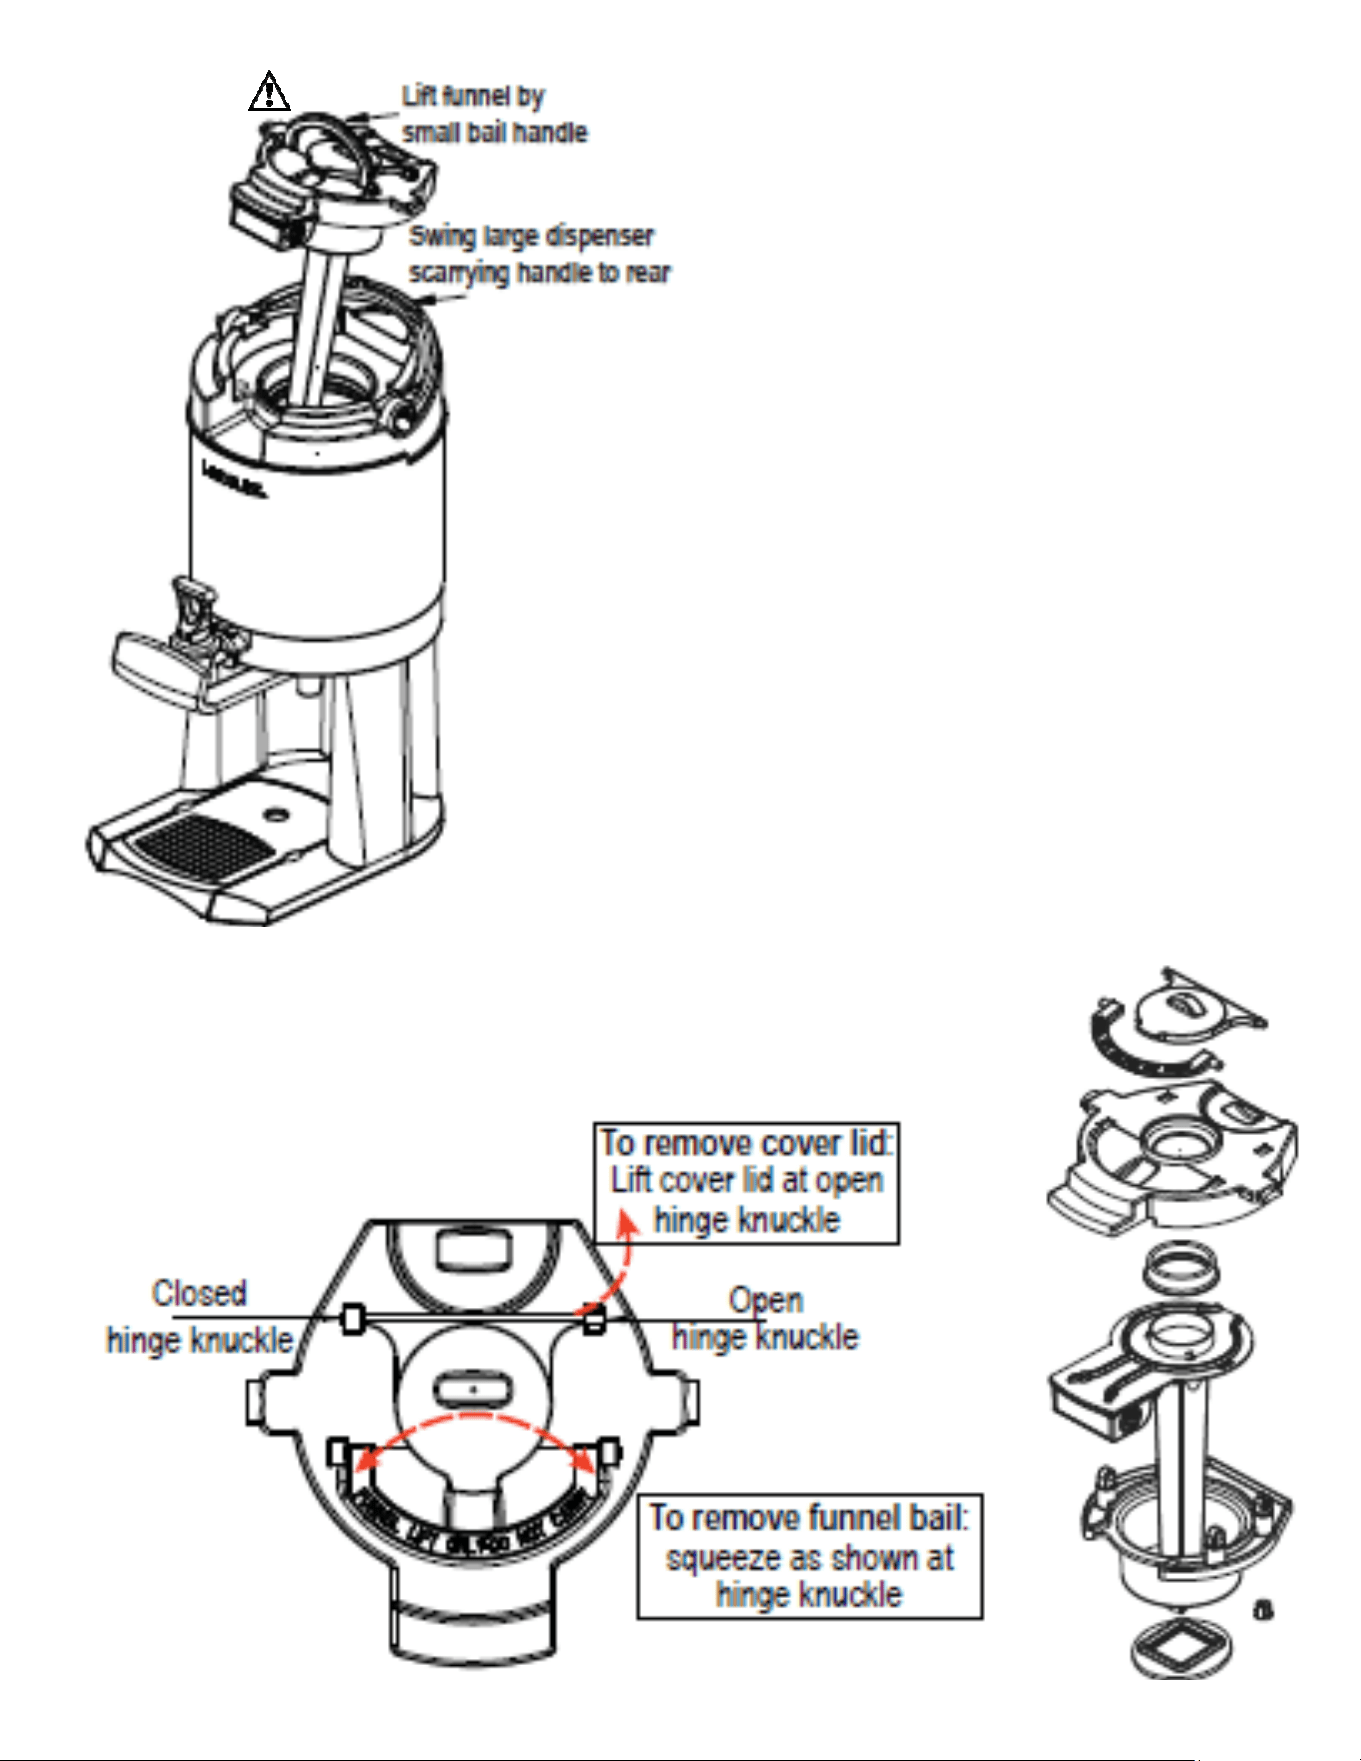
Maintaining
The L4 Funnel
TO REMOVE FUNNEL ASSEMBLY
NOTE:
NEVER carry dispenser by the bail handle
-Swing large carrying handle to rear
-Lift funnel by small bail handle
Important Notice: To maintain proper
operation of the funnel display, clean
the funnel stem daily under running
water with detergent and sponge,
or non-abrasive pad or towel.
Do not submerge
Brew funnel must be removed for
manual filling of dispenser.
Removing the funnel resets timer.
To extend battery life, remove the
funnel when not in use.
(Battery cannot be replaced.)
TO ACCESS BREW FUNNEL
Remove both plug and bail handle
-Snap cover out at OPEN hinge knuckle
-Squeeze funnel bail inward at knuckles
to remove
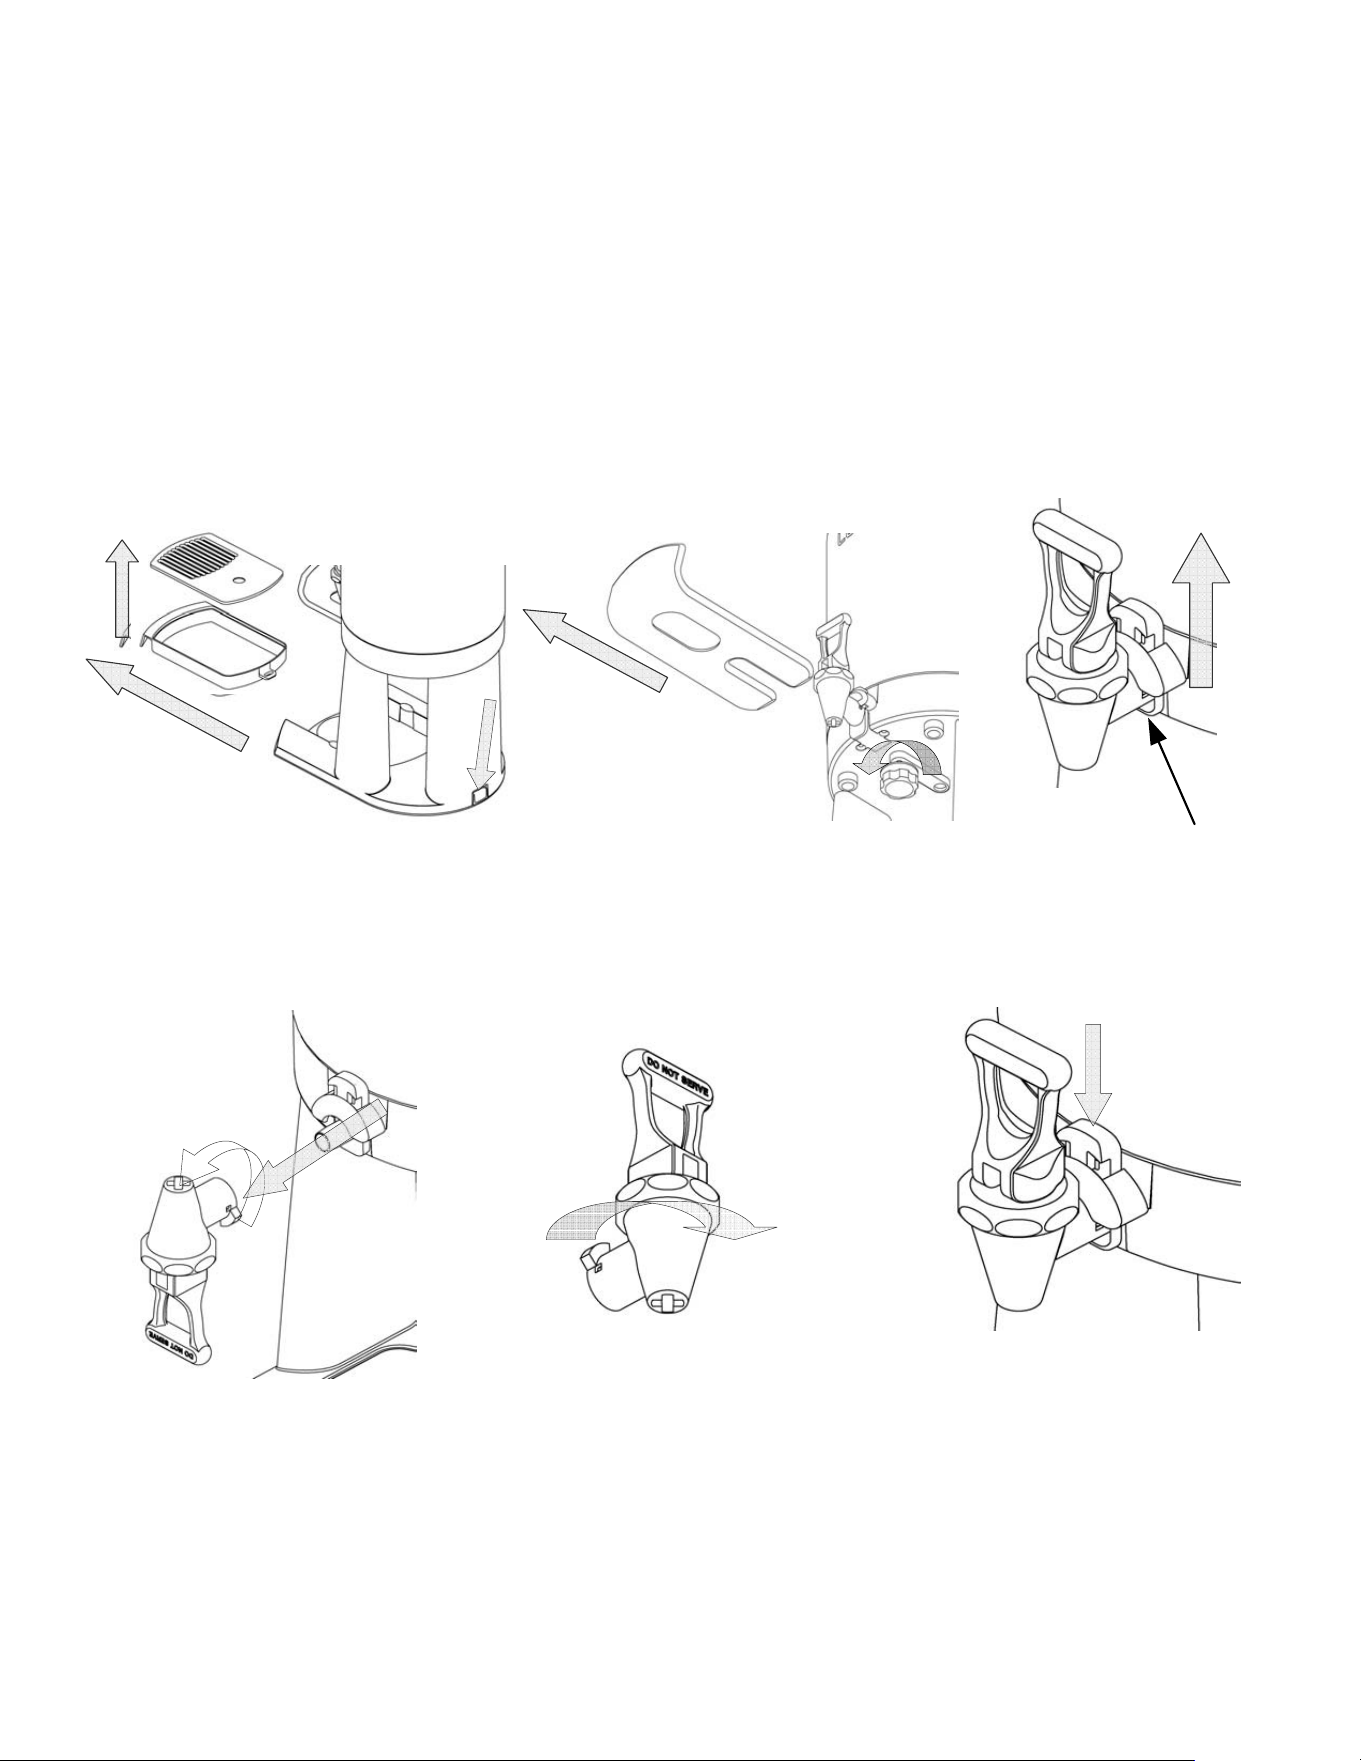
Accessing Dispenser Parts
REMOVING THE DRIP TRAY REMOVING THE FAUCET GUARD REMOVING THE FAUCET
1) Unscrew knob approximately
four turns
2) Slide faucet guard out.
knob
Slide drip tray out Ålatch release Press faucet
release latch up.
Rotate faucet 180°
and pull it out
Unscrew faucet upper Reverse procedure to re-install
assembly to clean or faucet. Press release latch down
replace seat cup to lock faucet into place--!!Click!!
IMPORTANT SAFEGUARDS
f To prevent overflows, make sure the dispenser is completely
empty before brewing.
f Always remove the funnel for manual filling of the dispenser.
f Use only the large handle to lift or carry the dispenser.
f NEVER use the small funnel bail to lift or carry the dispenser
f Do not use the faucet guard to pull or lift the dispenser.
f Do not submerge the brew funnel
f Do not use bleach or cleaners containing chlorides.
f Do not use solvent based cleaner or polish on this equipment
f Never use a cleaner on any food equipment that contains the
solvent diethylene glycol butyl ether (DGBE) .
f Use only non-metallic pads and non-abrasive cleaning pads.
f DO NOT USE A BRUSH INSIDE THE DISPENSER
CLEANING AND MAINTENANCE
Detailed instructions are available on our web site, www.fetco.com.
Daily:
Important Notice: To maintain proper operation of the funnel
display, clean the funnel stem daily under running water with
detergent and a non-abrasive sponge or towel.
DO NOT SUBMERGE FUNNEL OR DISPENSER.
f Use any commercial beverage urn cleaner to clean the inside of the
dispenser. Follow the cleaner manufacturer’s instructions. Make
sure to thoroughly rinse the dispenser after cleaning.
f Wash the drip tray and other plastic parts with dish detergent.
Avoid abrasives.
f To sanitize the dispenser before filling, brew a batch of water only
(no coffee) into the dispenser and allow it to rest for 10 minutes.
Weekly, or as needed:
f Remove the faucet upper assembly and inspect the seat cup for
wear. Clean or replace if necessary.
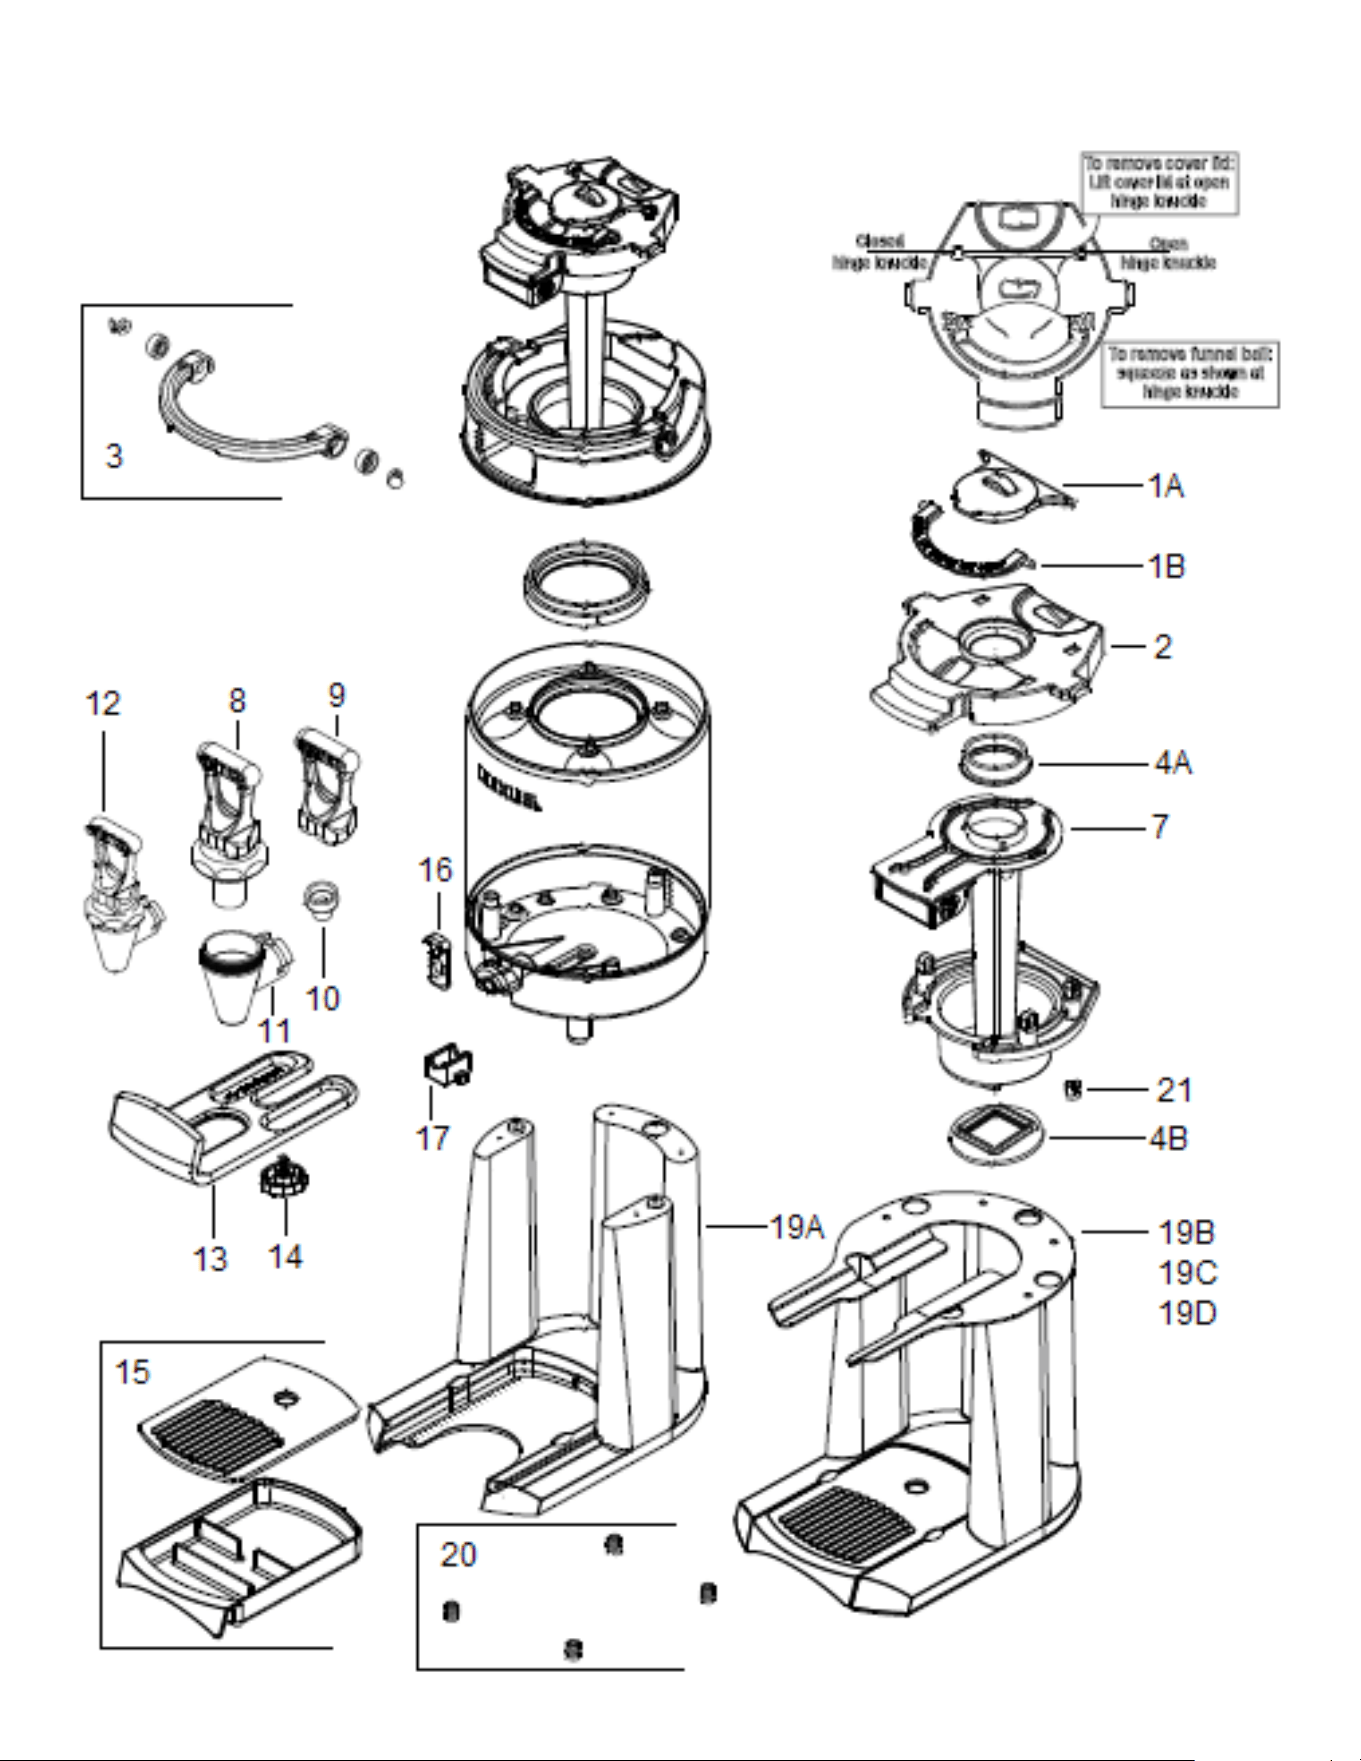
Replacement Parts
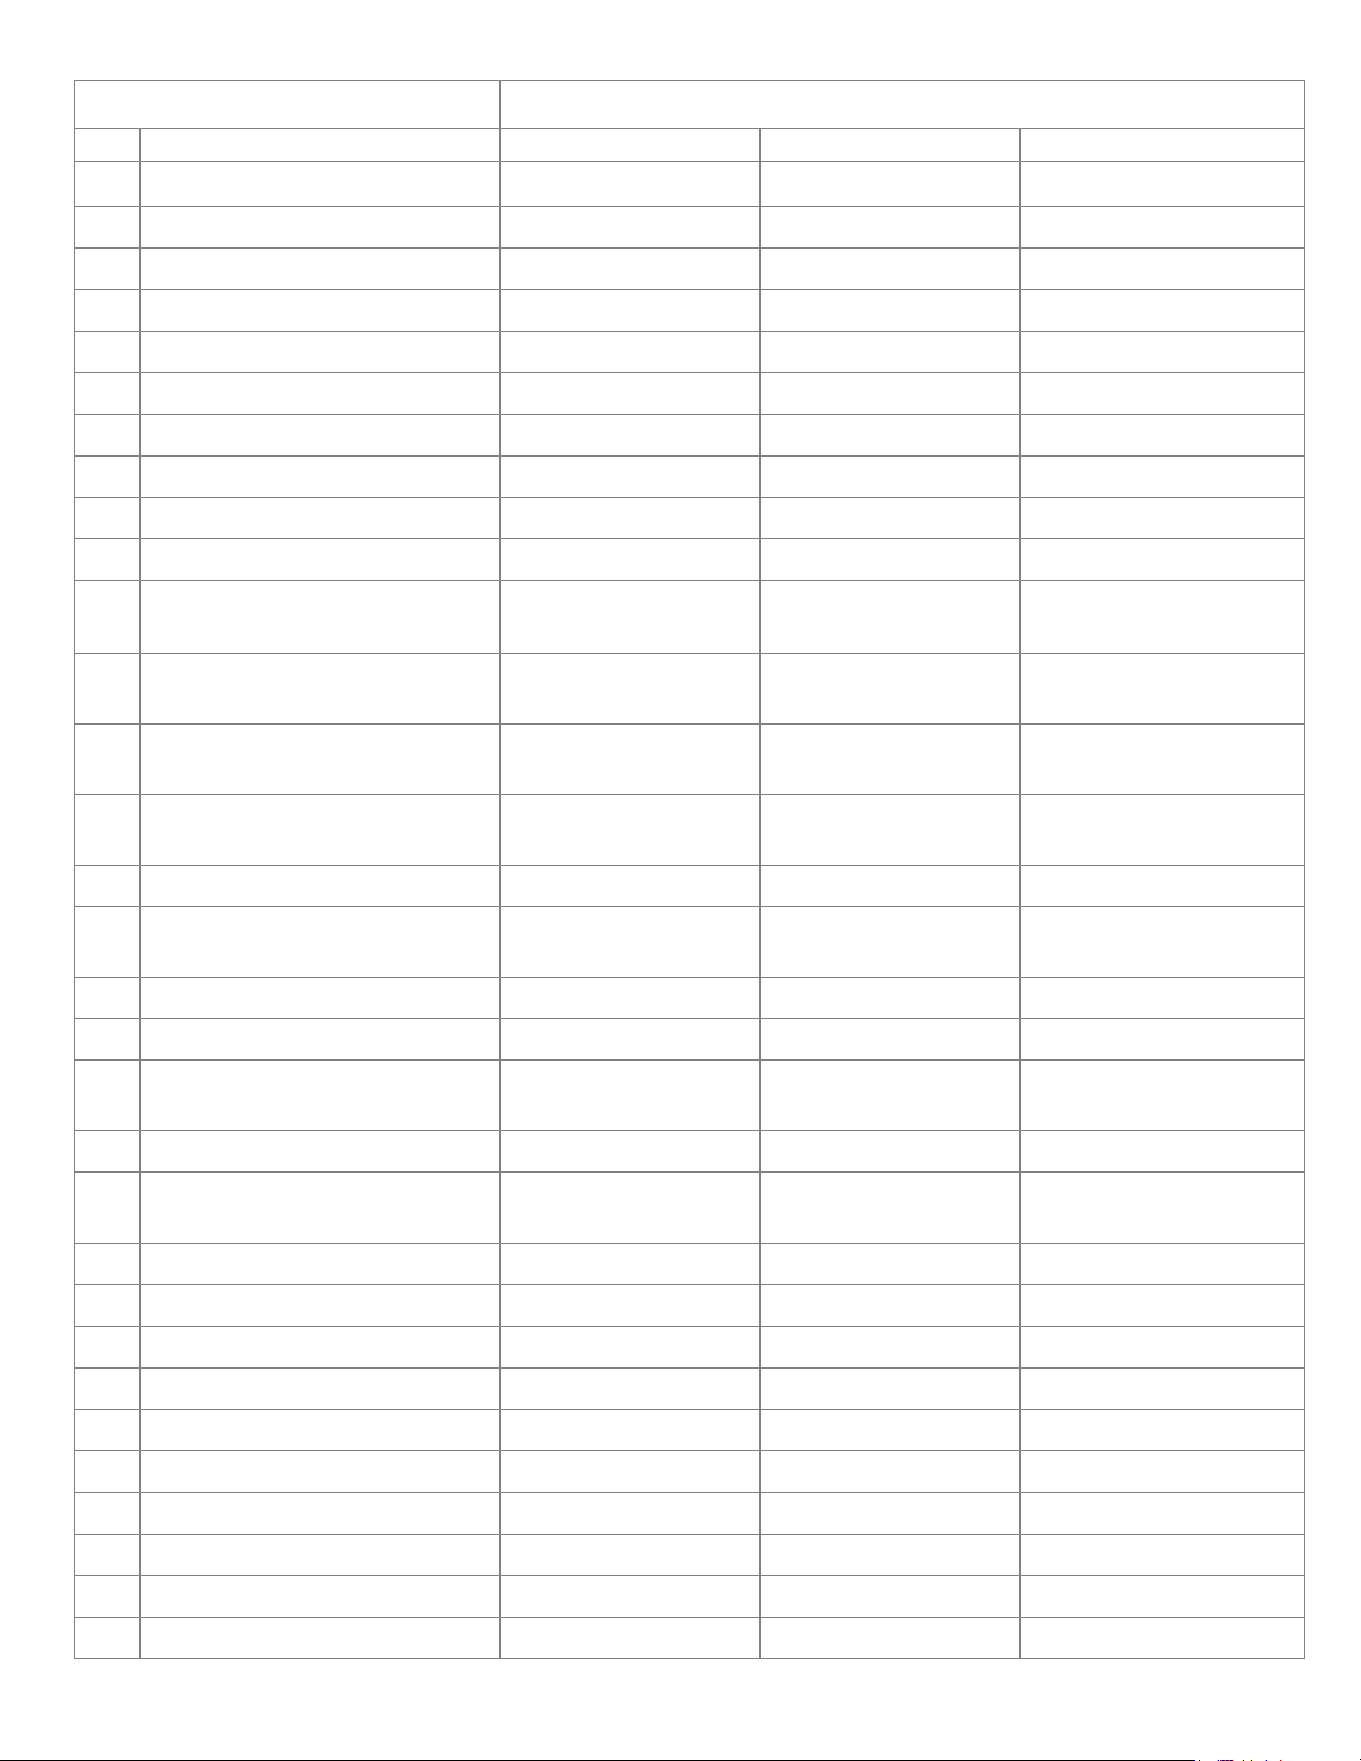
Dispenser Model Number
# Descri
p
tion L4D10 & L4S10 L4D15 & L4S15 L4D20 & L4S20
1A Cover Lid-Gray [GR]
1023.00277.00GR 1023.00277.00GR 1023.00277.00GR
1B Funnel Bail Handle
1023.00278.00 1023.00278.00 1023.00278.00
2 Funnel Top Cover
1023.00283.00 1023.00279.00 1023.00279.00
3 Handle With Hardware
1000.00111.00 1000.00112.00 1000.00112.00
4A Top Gasket
1029.00014.00 1029.00016.00 1029.00016.00
4B Bottom Gasket
1029.00013.00 1029.00015.00 1029.00015.00
4C Neck Gasket
1024.00070.00 1024.00070.00 1024.00070.00
5 Cover/ Funnel Assembly
1109.00109.00 1109.00109.00 1109.00109.00
6 Top L4D
1023.00286.00 1023.00282.00 1023.00282.00
7 Indicator Funnel
1102.00142.00 1102.00149.00 1102.00149.00
8
Faucet Upper Assembly
(Standard-Black)
1071.00020.00 1071.00020.00 1071.00020.00
8
Faucet Upper Assembly
Oran
g
e Handle“DECAFF”
1071.00030.00 1071.00030.00 1071.00030.00
8
Faucet Upper Assembly
Green Handle
1071.00031.00 1071.00031.00 1071.00031.00
8
Faucet Upper Assembly
Blue Handle
1071.00032.00 1071.00032.00 1071.00032.00
9 Faucet Handle, Black
1071.00022.00 1071.00022.00 1071.00022.00
9
Faucet Handle, Red
“HOT WATER”
1071.00040.00 1071.00040.00 1071.00040.00
10 Faucet Seat Cup
1071.00013.00 1071.00013.00 1071.00013.00
11 Faucet Body Assembly
1000.00012.00 1000.00012.00 1000.00012.00
12
Faucet Assembly
Com
p
lete
1102.00055.00 1102.00055.00 1102.00055.00
13 Faucet Guard
1023.00076.00 1023.00055.00 1023.00055.00
14
Knob & Washer
(
For Faucet Guard
)
1000.00010.00 1000.00010.00 1000.00010.00
15 Drip Tray Assembly
1000.00013.00 1000.00014.00 1000.00014.00
16 Faucet Lock
1023.00069.00 1023.00069.00 1023.00069.00
17 Insert, Bottom
1023.00083.00 1023.00067.00 1023.00067.00
18 Bottom L4D
1102.00363.00 1102.00361.00 1102.00361.00
19A Stand Assy.L4D
1000.00015.00 1000.00016.00 1000.00016.00
19B Stand Assy.L4S Single
A
147
A
150
A
150
19C Stand Assy.L4S Twin
A
148
A
151
A
151
19D Stand Assy.L4S Triple
A
149
A
152
A
152
20 Anti-Slip Foot (Qty-4)
1024.00069.00 1024.00069.00 1024.00069.00
21 Funnel Plug (Qty-4)
1029.00010.00 1029.00010.00 1029.00010.00

How the FETCO electronic beverage dispenser indicator funnel operates.
The FETCO electronic beverage dispenser indicator funnel works on contact with liquid. The
stem of the funnel has six gold contacts evenly spaced from the bottom to the top: five level
sensing contacts and one “common” contact (the lowest). Liquid immersion connects “makes”
the electronic connection between the gold contacts.
Pure gold is used because it is an excellent conductor, is inert and completely safe for all food.
The top of the funnel has a liquid crystal display (LCD) icons that display the age and level of
the contents of the dispenser. Very sophisticated electronics measure the contents inside the
dispenser and refreshes the LCD display.
The LCD icons time display begins when the gold contacts are immersed. The contacts have
a “pause” in reading and updating the LCD icon that is purposely programmed to
accommodate naturally occurring sloshing of the dispenser contents. The LCD icon display is
digitally updated approximately 2 times per minute.
About the FETCO electronic beverage dispenser indicator funnel
The FETCO electronic beverage dispenser indicator funnel information LCD icons are
informative and attractive;-yet unobtrusive enough so to not be distracting to guests.
The FETCO indicating funnel was developed to replace the old-styled clear sight-tubes used
in commercial coffee urns and dispensers. The old-style sight-tubes are easily broken, always
dirty, and cool the contents from heat loss due to heat convection.
Extensive research and development produced the FETCO electronic beverage dispenser
indicator funnel sold today. It is designed to be attractive, reliable, durable, simple to operate
and understand, and to be safe for food service. Customer input guided the extensive
development of the funnels operation method and appearance.
FETCO owns multiple patents for the electronic beverage dispenser indicator funnel.
[WWW.fetco.com/patents]