Mini-319
1- Zone Door/Window
Transmitter
Installation & Setup Guide
FEATURES
•
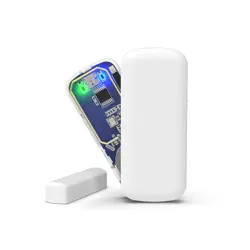
Single zone Door/Window Transmitter
• Built-in unique serial number which must be enrolled into
the control panel
• Refer to the control panel’s installation instructions for
programming details.
LED Indicators
LED
Meaning
Blue
Lights when the magnet is within proper range of the Mini-319 (1 inch max).
LED is active for 15 minutes after battery is first installed or when the
cover is removed.
Green
Flashes when the Mini-319 transmits. LED is active for 15 minutes after
battery is first installed or when cover is removed.
Red
Upon low battery condition, flashes once about every five seconds for two
minutes after a transmission.
MOUNTING
•
Choose a mounting location where the device is stationary and the magnet is
mounted to the moving part of the door or window.
• Verify adequate signal strength by using the control panel’s Go/No Go test (see
control’s instructions) before mounting permanently.
• Avoid mounting in areas where it will be exposed to moisture or where the operating
temperature of 32 to 120ºF (0 to 50ºC) will be exceeded.
• Keep the Mini-319 and magnet away from metal or metallic surfaces such as foil
wallpaper.
• Avo
id mounting the Mini-319 in areas with a large quantity of metal or electrical
wiring, such as a furnace or utility room.
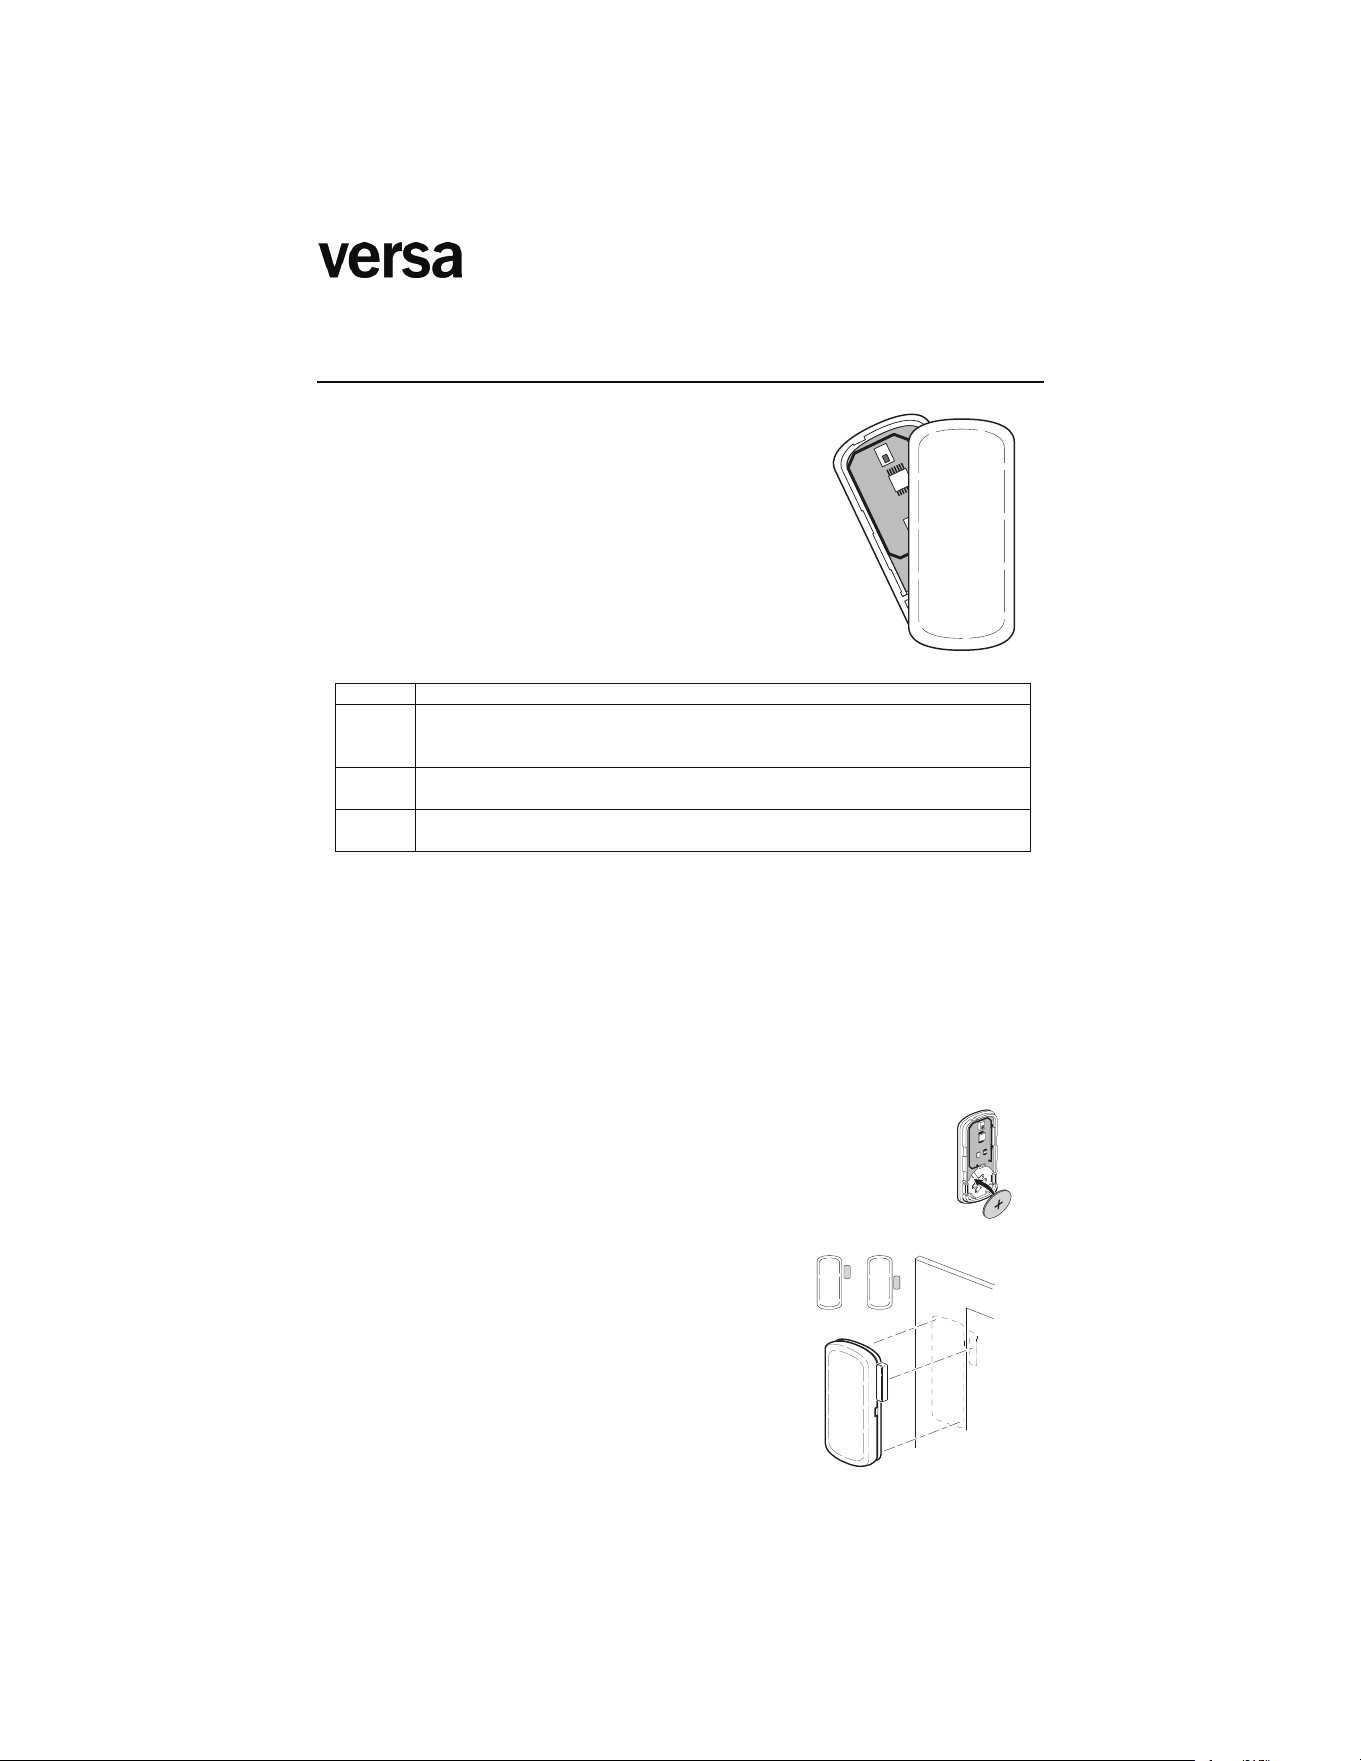
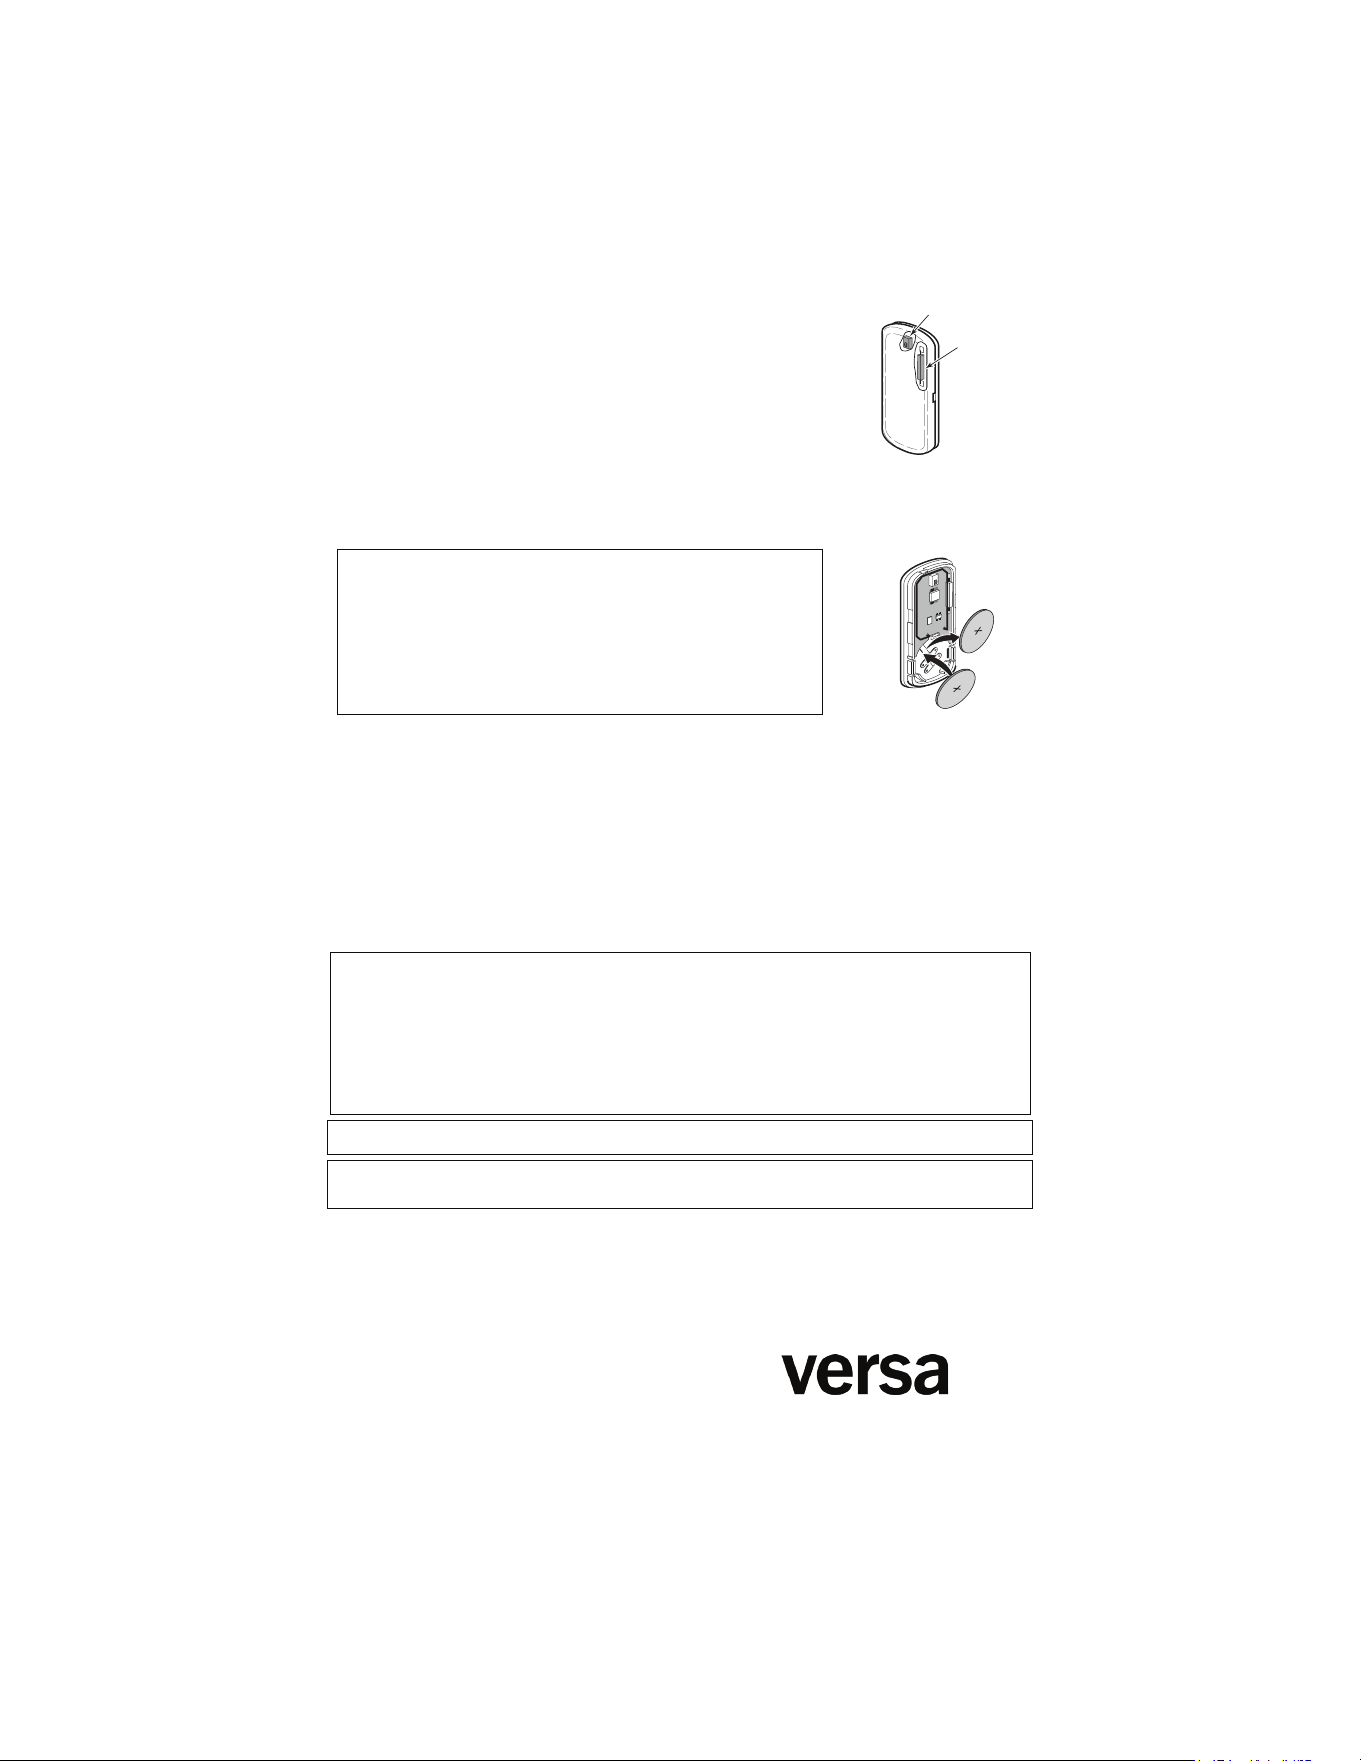
1. Install the Battery
a. Slide open the cover.
b. Install the battery with “+
++
+” side up.
c. Replace the cover.
The blue and green LEDs will be active for 15
minutes. To reactivate, remove the cover.
2. Mount the Mini-319 & Magnet
a. Mount the Mini-319 on the frame of the
protected door or window using double-faced
tape (supplied).
b. Mount the magnet (supplied) on the prote
cted
door or opening portion of the protected
window. Check that the blue LED lights when
the door or window is closed.
CORRECT INCORRECT
X
PROGRAMMING
BATTERY REPLACEMENT
1. Vertically slide open the cover and remove the old battery.
2. Install a fresh battery with +
++
+ side UP. See Specifications
section for compatible batteries.
3. Replace the cover.
BATTERY CAUTION: Risk of fire, explosion and burns. Do
not recharge, disassemble, heat above 212°F (100°C) , or
incinerate. Dispose of used batteries properly. Keep away
from children.
Attention de batterie: Risque d'incendie, d'explosion et de
brûlures. Ne rechargez pas, démonter, chauffer au-dessus de
212° F (100°C), ou incinérer. Débarrassez-vous des batteries
utilisées de façon appropriée. Gardez à partir des enfants.
SPECIFICATIONS
(TAMPER)
(REED)
Dimensions:
Transmitter: 1” (25.4mm) x 2.2” (55.9mm) x 0.25” (6.4mm)
Magnet: 0.25” (6.35mm) x 0.25” (6.35mm) x 1” (25.4mm)
Operating Conditions:
Relative Humidity 95%, (non-condensing); UL Tested at 85%
Magnet Gap:
Wood / Metal Surfaces Maximum: 1”, 1/4” (25.4mm, 6.35mm)
Battery:
3VDC, 225mAh, Lithium Coin Cell; Panasonic CR2032
FEDERAL COMMUNICATION
S COMMISSION STATEMENTS
The user shall not make any changes or modifications to the equipment unless authorized by the Installation Instructions or
User Manual. Unauthorized changes or modifications could void the user's authority to operate the equipment.
FCC/IC STATEMENT
This device complies with Part 15 of the FCC Rules, and Industry Canada’s license-exempt RSSs. Operation is subject to
the following two conditions: (1) This device may not cause harmful interferenc
e (2) This device must accept any interference
received, including interference that may cause undesired operation.
Cet appareil est conforme à la partie 15 des règles de la FCC et exempt de licence RSS d’Industrie Canada. Son
fonctionnement est soumis aux conditions suivantes: (1) Cet appareil ne doit pas causer d' interférences nuisibles. (2) Cet
appareil doit accepter toute interférence reçue y compris les interférences causa
nt une réception indésirable.
REFER TO THE INSTALLATION INSTRUCTIONS FOR THE CONTROL WITH WHICH THIS DEVICE IS USED FOR
DETAILS REGARDING LIMITATIONS OF THE ENTIRE ALARM SYSTEM.
The product should not be disposed of with other household waste. Check for the nearest authorized collection centers or
authorized recyclers. The correct disposal of end-of-life equipment will help prevent potential negative consequences for the
environment and human health.
103 - 19292 60 Ave
Surrey, BC V3S3M2
® 2024 Versa Wireless Inc.
www.versawireless.com
1. Place your panel in “autolearn” mode.
2. Open / Close magnet
3. Customize the name and settings then touch “ADD”
32º - 122ºF / 0º - 50ºC
Use of another battery may present a risk of fire or explosion.
V0000423-01-02 MINI-319 Installation Instructions
RES BURG