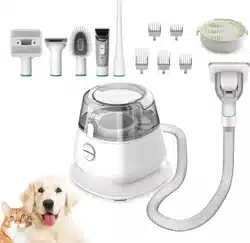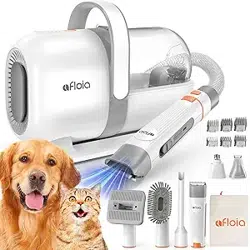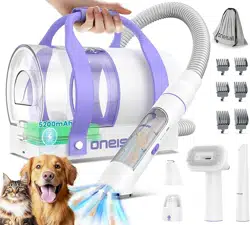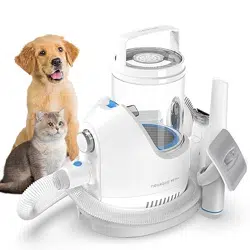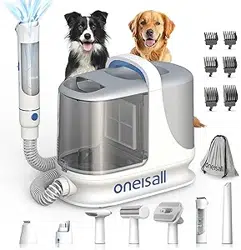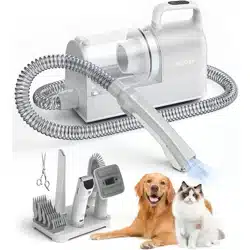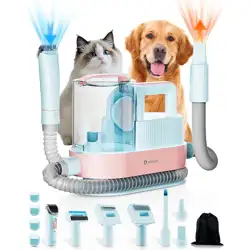

Pet Grooming Kit & Vacuum
User manual
Please read this manual carefully before using the product and keep them properly.


Content
1
2
3
7
10
11
Safety Tips
Pack List
Quick Start
Care & Maintenance
Specification
Fault Analysis
12
Warranty

Please keep your hands DRY before any operations.
Please keep away from inflammable and explosive environments.
Never let children and intellectual disabilities use this product alone.
Please install the filter properly before turning the power on to protect the motor.
Do not use the machine to suction smoke or liquids.
With built-in thermal protection, it will shut down the motor when overheating. If it happens, please unplug the machine
and wait for the temperature to drop.
Please clean the dust cup and filter in a timely manner to ensure the device functions properly.
Please be careful when using attachments with cutting edges.
Do not submerge the machine in water for cleaning.
Do not use or keep the machine in humid places such as the bathroom.
Please use it only with a specified voltage. Find information with the specified voltage on the bottom of the machine.
Please unplug the machine after use.
UK: Please do not place at a high place to avoid falling
DE: Bitte nicht an einer hohen Stelle platzieren, um St ü rze zu vermeiden
FR: Ne pas placer l'appareil en hauteur pour é viter qu'il ne tombe
IT: Non posizionarlo in alto per evitare cadute
ES: No lo coloque en un lugar alto para evítar ca í das
2.
1.
2.
3.
4.
5.
6.
7.
8.
9.
10.
11.
12.
Thank you for purchasing. Please read all instructions before use.
1.Never use the machine on wet fur & wet hair
Safety Tips
1
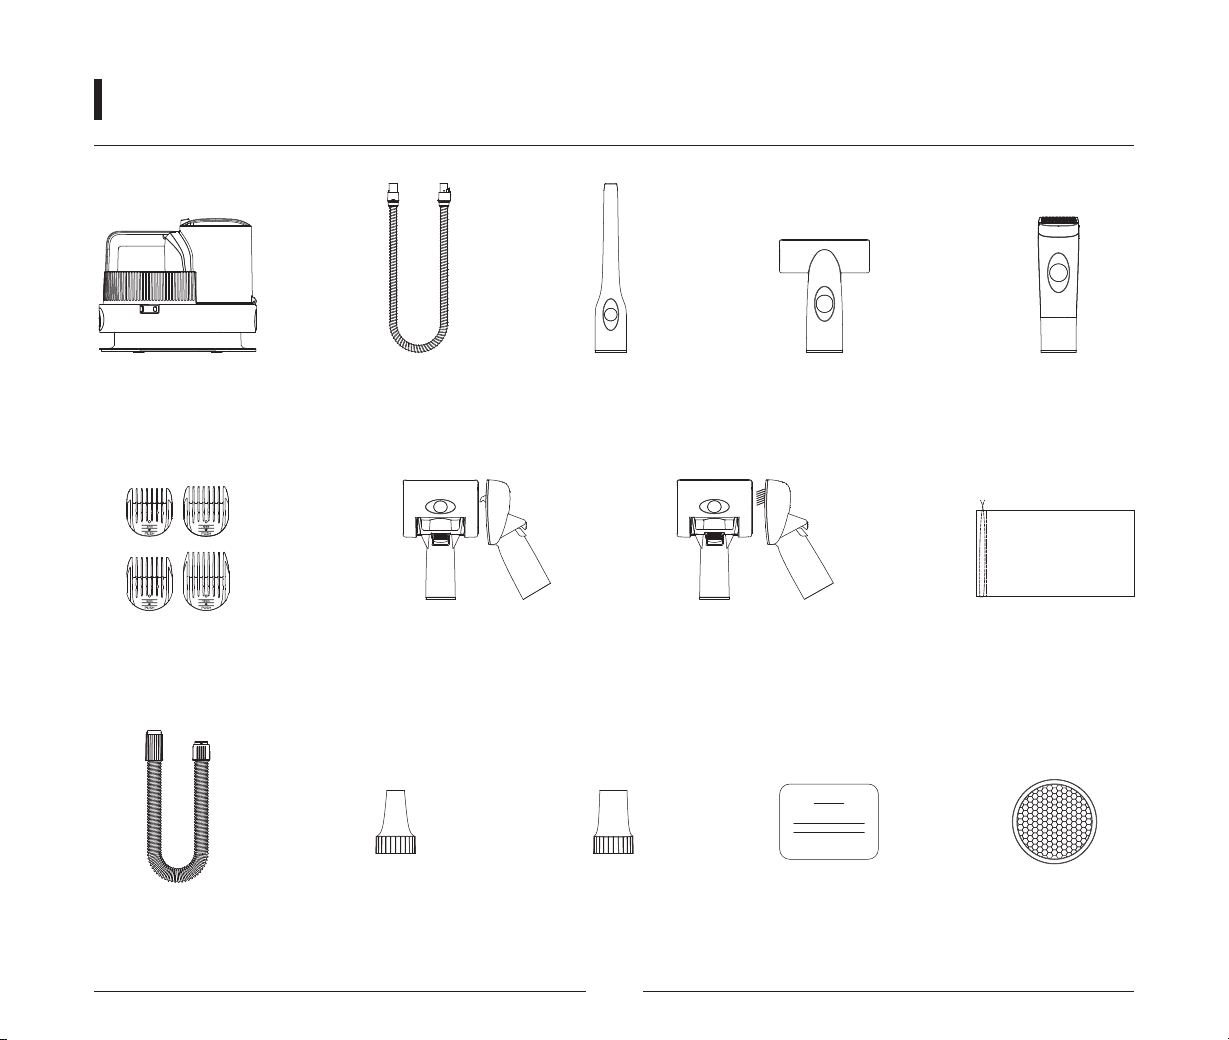
Drying Hose ×1 Narrow Nozzle ×1 Manual ×1Round Nozzle ×1
Filter ×1
(Inside the vacuum)
Clipping Comb ×1
De-matting Brush ×1
Front View Side View
Slicker Brush ×1
Front View Side View
Storage Bag
Pack List
Electric Clipper ×1
Nozzle ×1 Hair Remove Brush ×1Hose ×1Vacuum Device ×1
2
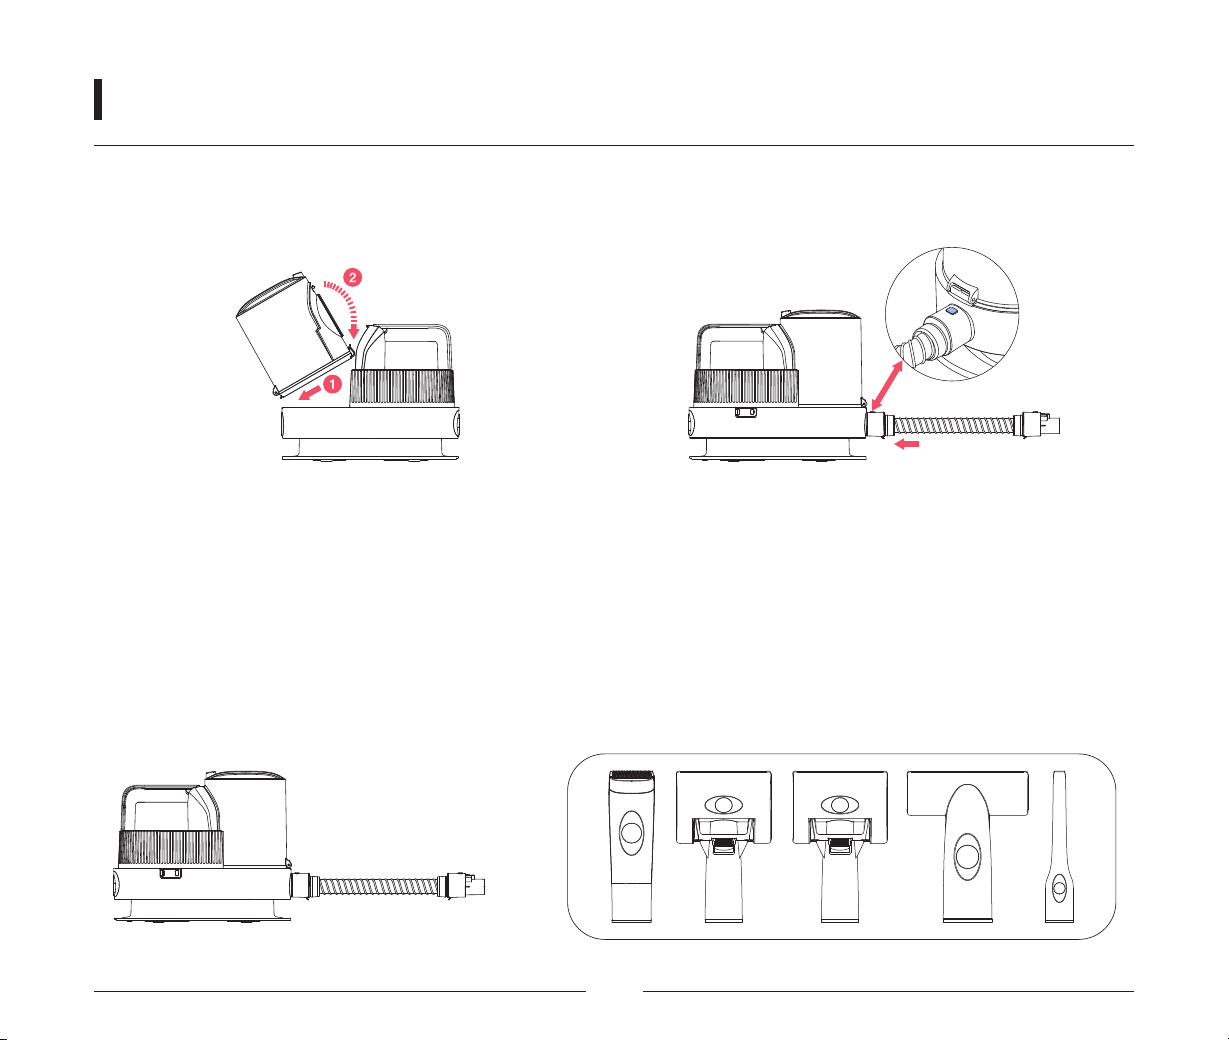
Step 1. Assemble Dust Cup
Step 2. Connect Accessories To The Hose
Quick Start
1. Gently place the dust cup in the direction of
the arrow. The sound of the button indicates
that it has been fastened. Make sure it's well
fixed.
2. Connect the hose to the device by pressing
the button of the hose.
3
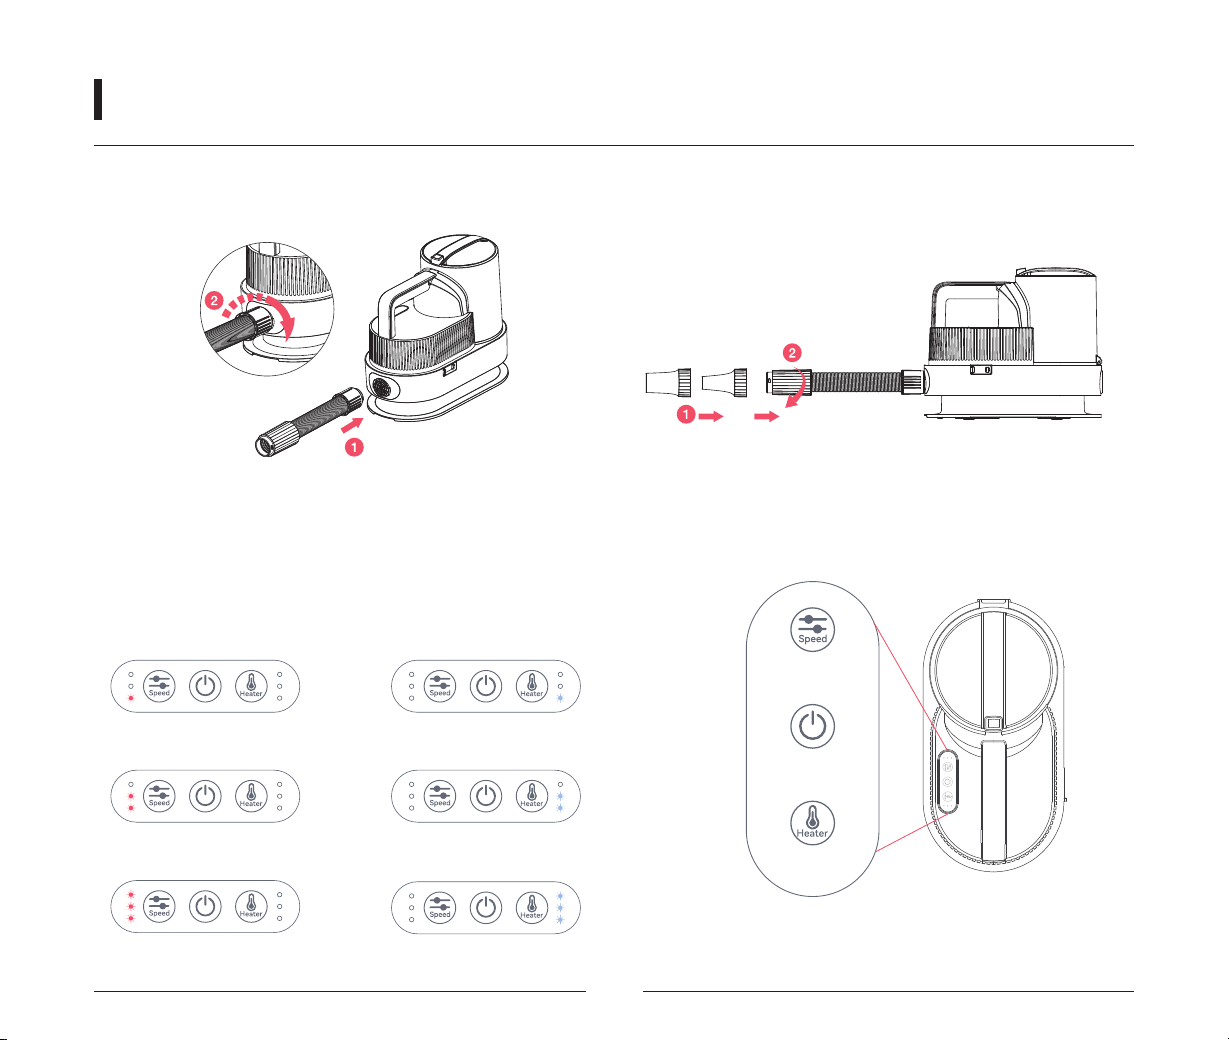
Step 3. Installation Of Nozzles
Step 4. Plug In And Turn On The Machine
Quick Start
1. Rotate one end of the hose clockwise and
install it to the connector of the main unit.
2. Insert any nozzles into the joint of the handle
to ensure that the installation is firm.
Note: Please start from Eco mode to make
our furry friends get used to the vacuum.
Speed Button
Power Button
Heating Switch
Eco Mode
Standard Mode
Turbo Mode
Standard: 45ºC
Warm: 50ºC
Hot: 55ºC
4
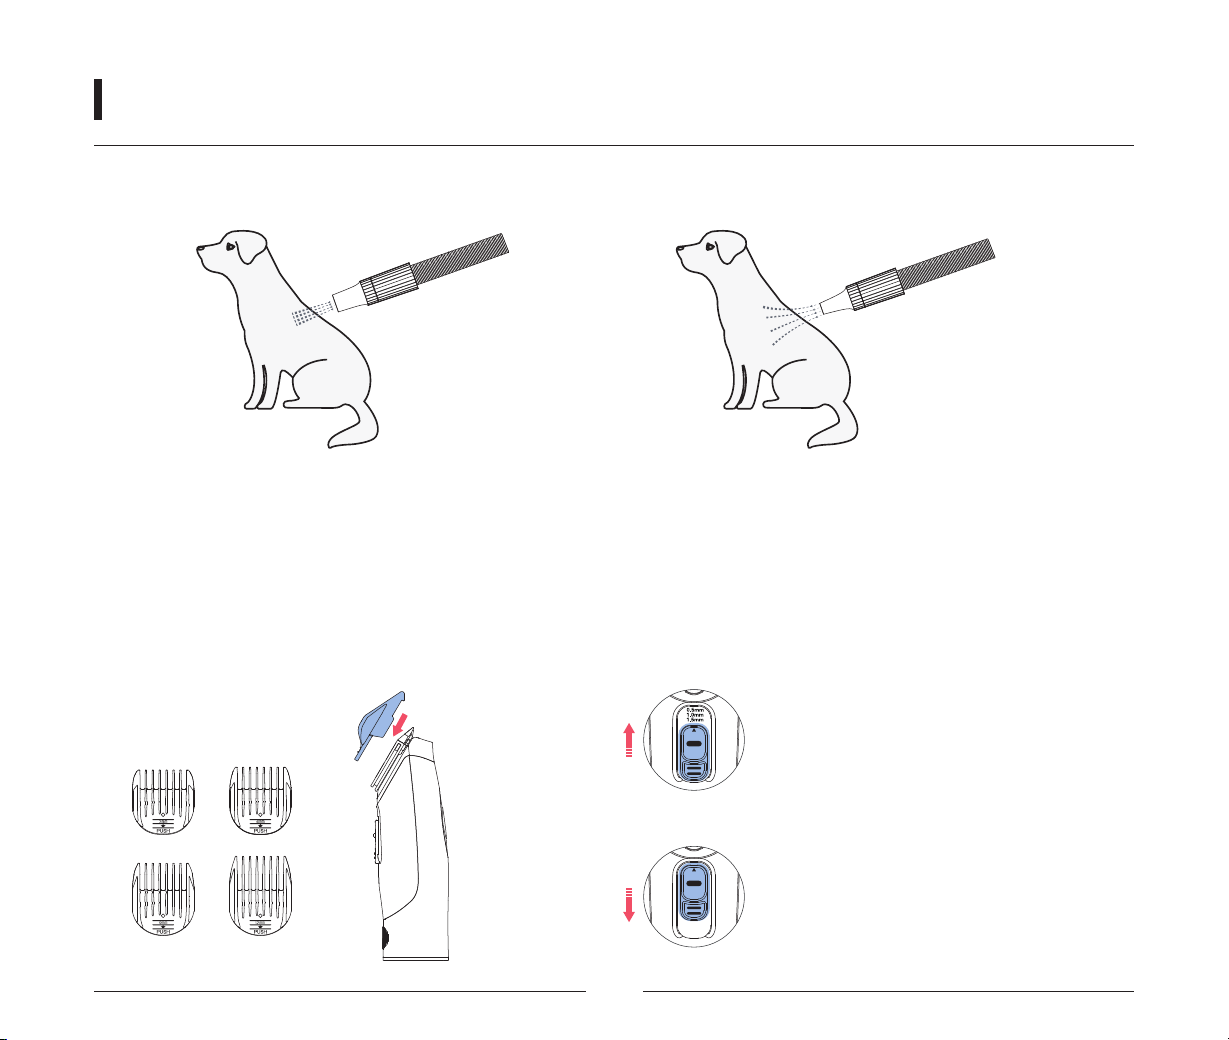
1. Air Drying Hose
2. Electric Clipper
Quick Start
1. Dries hair gently using smooth air.
1. According to different needs of hair style to
choose guard comb.(optional use)
2. Adjust the hair retention length.
2. Fast, precise airflow for controlled styling,
one section at a time.
Note: Please do Not press the self-locking
button in the middle when sliding up
Slide Up to Decrease the hair length
from 2mm-1.5mm-1mm-0.5mm.
Note: Please press the self-locking button
in the middle when sliding down
Slide Down to Increase the hair length
from 0.5mm-1mm-1.5mm-2mm.
Install
Rotatable
Narrow Nozzle
Round Nozzle
Concentrated blowing force
5
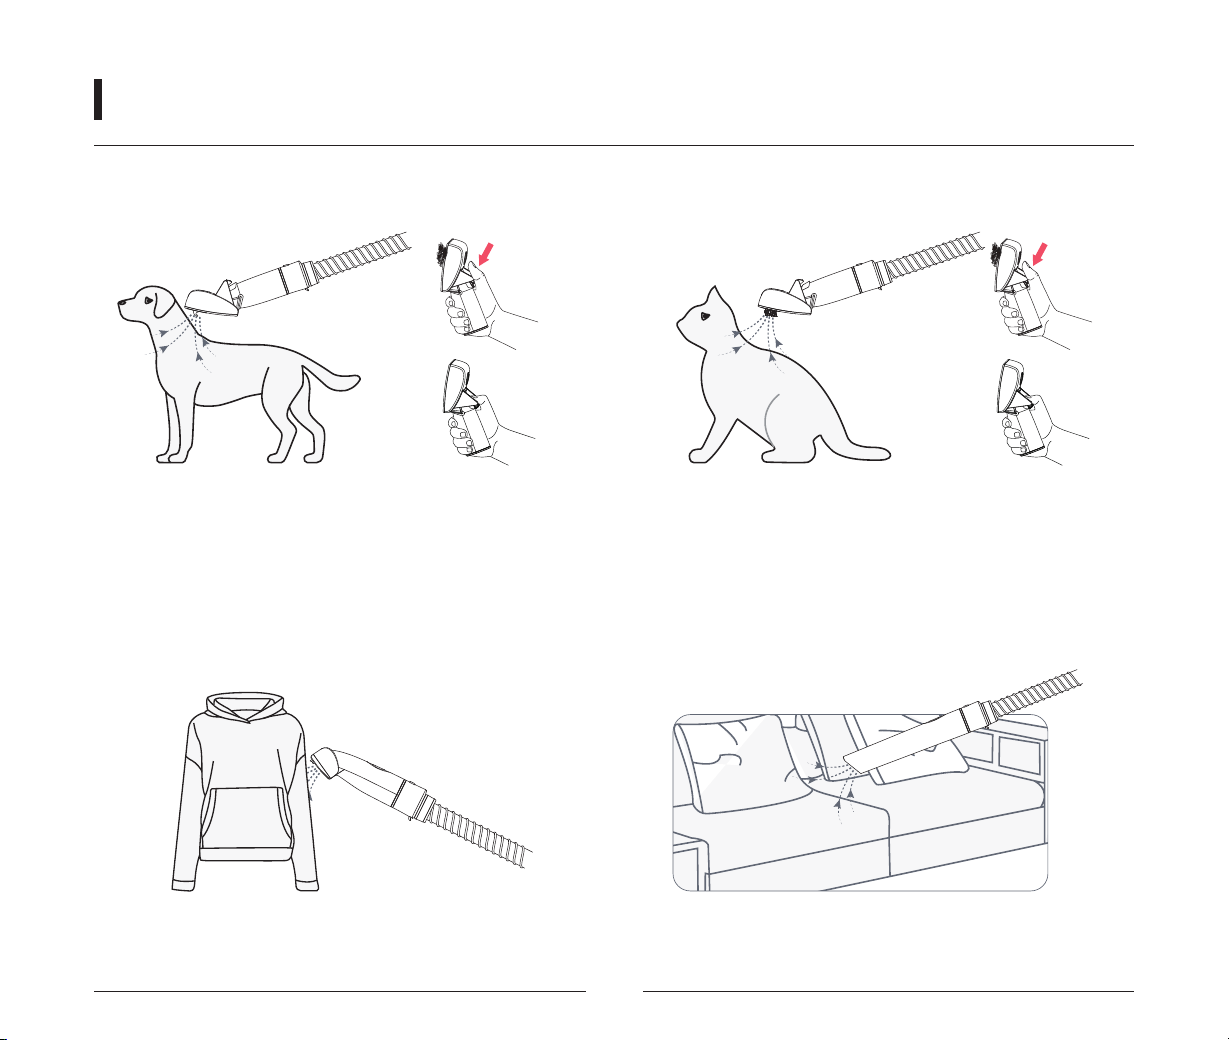
3. De-matting Brush 4. Slicker Brush
5. Hair Remove Brush 6. Nozzle
Quick Start
• Gently eliminates tangles, knots, dander, and
trapped dirt.
Tips: Be careful with the blade part.
• Effectively removes pet hairs from your clothes,
sofa, bed.
• Easily cleans dirt and pet hair from sofa, carpet,keyboard,
also hair clipper.
• Easily removes loose hair, shedding mats, tangled hair,
dander, and dirt from your lovely pets.
Suggestion: We suggest replace slicker brush every 3 months.
Before
Hair be sucked in
Push
Before
Hair be sucked in
Push
6
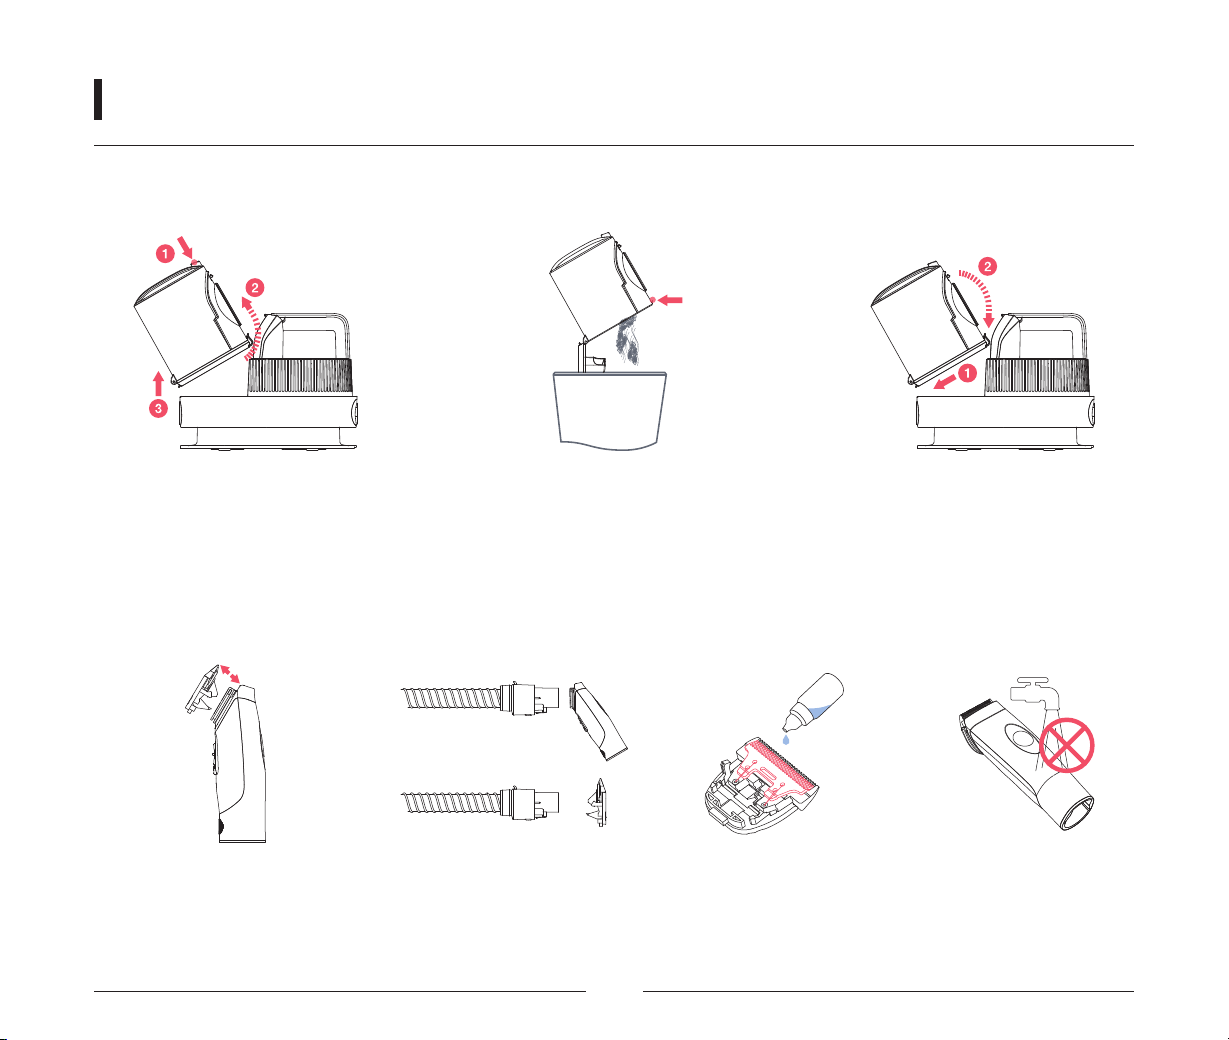
Clean Dust Cup
Clean Electric Clipper
Care & Maintenance
1. Press the button, and slightly lift
the dust cup in the direction of
arrow.
3. Install the dust cup in the direction
of the arrow.
2. Open and empty the dust cup.
Tips: The dust cup must be dry before install
it back to machine.
1. Make sure the button slides
down to the bottom first. Push
outward to remove the blade.
3. Drop some lubricant
(not included) on the
blade.
4. Don’t wash the electric
clipper body with water.
2. Suction the debris from
the blade and clipper.
7
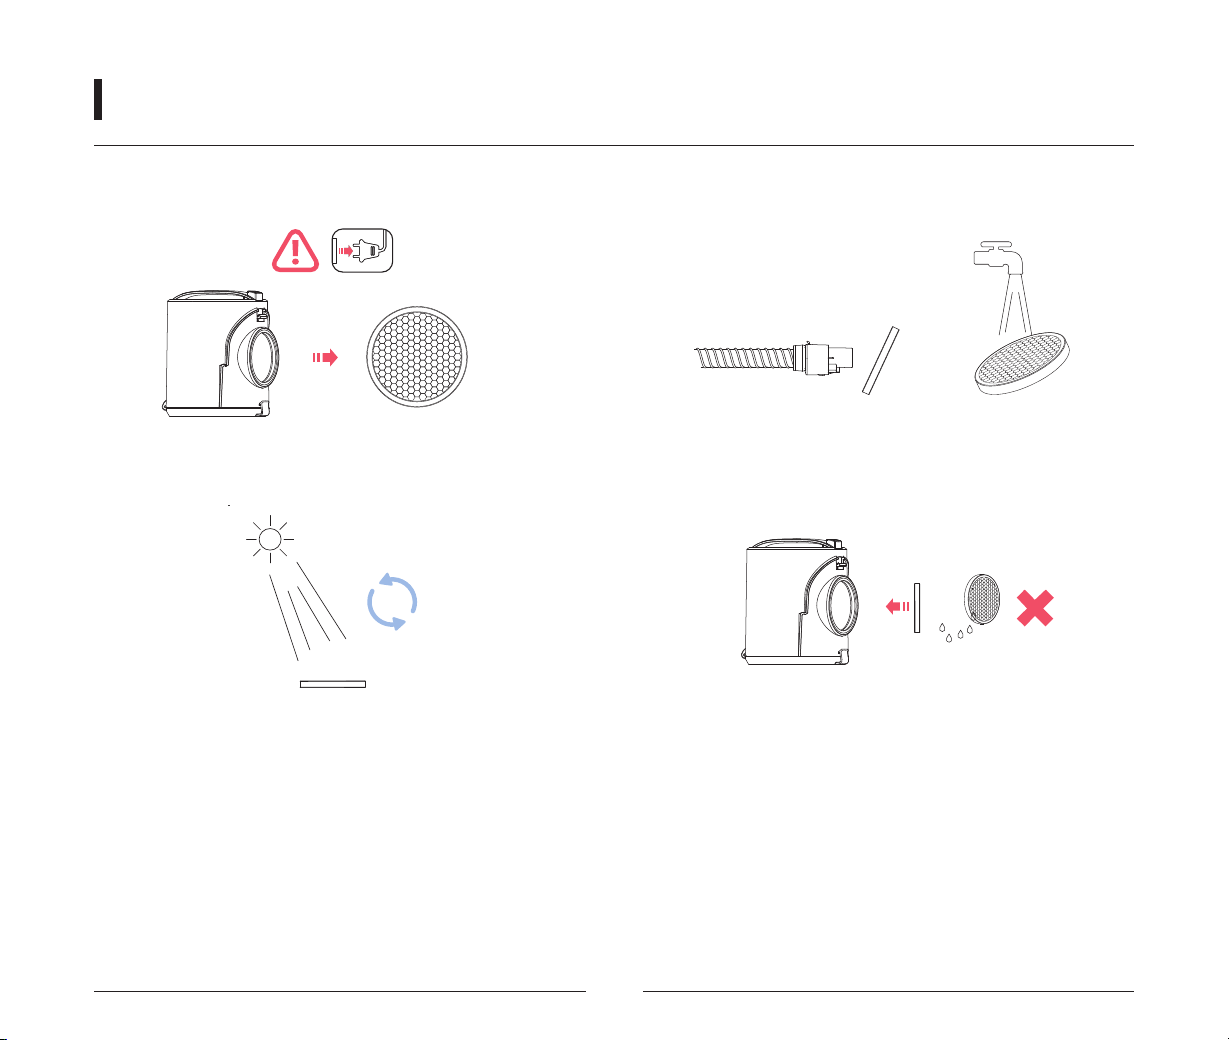
Clean Filter
Care & Maintenance
1. Remove the dust cup, take out the filter.
2. Suction the filter or wash it for cleaning.
3. Dry filter in a ventilated place for at least 24 hours
after cleaning.
4. Install the filter back to the original place after it is
completely dry, please be sure to install it properly.
Notes:
• Filter should be cleaned at least every other month.
• Do unplug the power before cleaning.
• Filter must be dried before install back into the machine.
• Undried filter can cause short circuits and machine malfunctions.
24h
8
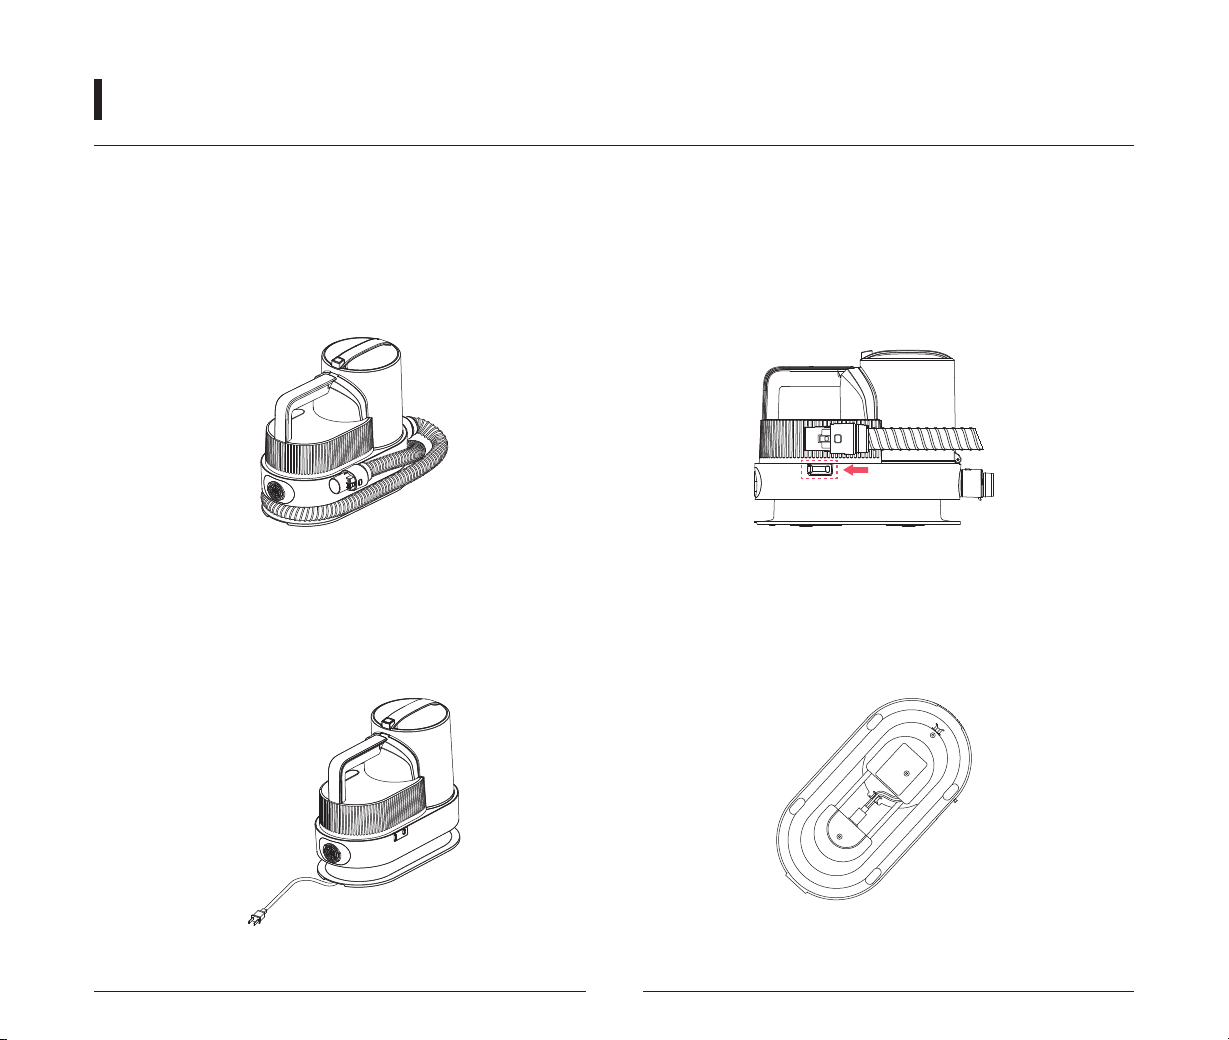
Hose Storage
Power Cord Storage
Care & Maintenance
Winding the hose clockwise on the vacuum, then clip the hose head on the side slot.
Note: If the connecting pipe is broken, the electric shear push will not be able to be used, please keep the connecting pipe
properly.
Winding and placing the power cord properly at the bottom of the vacuum.
9
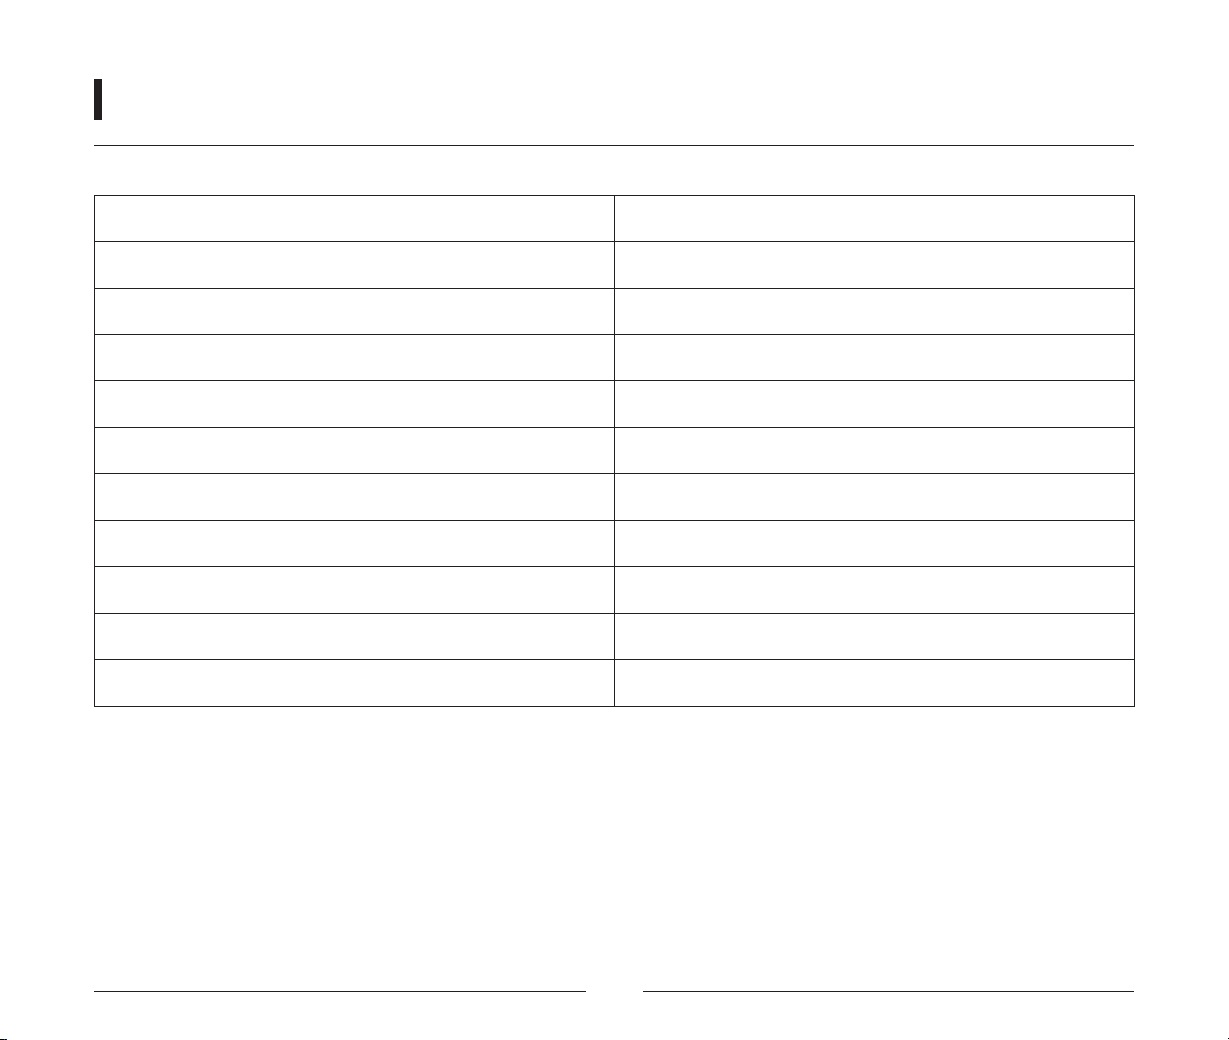
Specifications
Capacity
Rated power
Vacuum degree
Wind Speed
Temperature setting
Noise
Power cord length
Suction hose length
Retractable dryer hose length
Net Weight
Product Size
2.5L
vacuum 650W, vacuum+dryer 1100W
≥11KPa
80m/s (with max suction speed)
Standard 45℃, Warm 50℃, Hot 55℃
≤62dB
2.5m
1.5m
1.5m after stretching
2.8kg
L322 × W166 × H274mm
10

Fault Possible causes
Solution
The motor does not turn
Weakened suction
There is a abnormal
noise in operation
Sudden stop
Re-enter the power supply, ensure
that the power outlet has power, and
turn on the switch.
Remove the hair in time.
1. Remove blockages in time.
2. If there is still abnormal noise after
removing the blockage, stop using
it immediately and contact the
company's after-sales department
in time.
1. Reinsert the power cord plug.
2. Turn off the power switch, clean up
the dust cup garbage, and wait 30
minutes before turning it on.
1. Check whether the power plug is
firmly inserted.
2. Check whether the power outlet
has electricity.
3. Check whether the vacuum cleaner
switch is on.
1. Check the filter element for animal
hair.
2. Check whether the hair in the dust
cup is too full.
Check whether the filter element is
blocked.
1. The power cord plug is not plugged
in.
2. The dust cup is blocked or the air
outlet is blocked, causing the motor
thermostat to start protection.
Fault Analysis
11

Warranty
12 months warranty from the purchase date. Limited free repair for the purchased product. Consumables and
accessories are not subject to warranty.
Within the warranty period, if the machine is damaged or malfunctions during general use, it will be repaired free of
charge . If it cannot be repaired, a replacement will be provided.
The following conditions are paid repairs even during the warranty period:
➀Damage caused by misuse or carelessness.
➁Damage in transit.
➂Damage caused by pets (biting, scratching, etc.)
➃Damage caused by fire, flood, earthquake, hurricane or other natural disasters.
➄Damage during use other than general household use (long-term commercial use, etc.)
This warranty does not cover any of the following conditions:
➀Product purchased from sales channels without authorization (secondary market, auctions, etc.)
➁Disassembles or repairs the product without permission.
➂Consumables and accessories.
Shipping costs will be borne or reimbursed by us when the product is covered by warranty service. However, cost of
packaging materials will not be covered.
If it is not covered by the warranty, shipping costs and repair fees will be charged when returning.
The warranty period of the replacement product is based on the original order's warranty.
Repair or replacement is only valid in certain countries or areas.
Please contact us for further guidance if any issues .
Warranty terms may be updated without notice. We reserves the right to it. All repairs and replacement services will be
handled under the latest warranty terms.
1.
2.
3.
4.
5.
6.
7.
8.
9.
10.
12